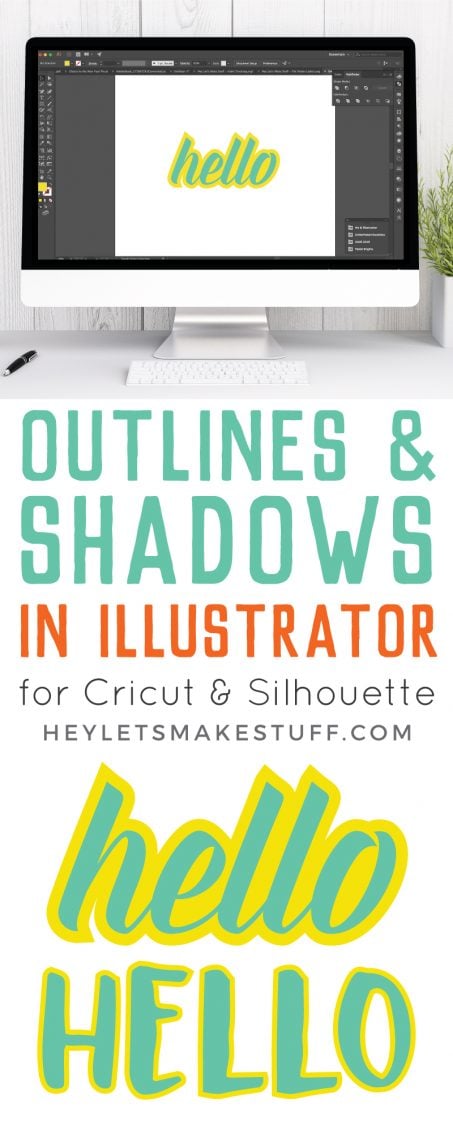
Frustrated trying to create an outline in the Cricut Design Space? It’s not easy! Here’s a much easier way to create an outline in Illustrator.

One of the questions I get asked most often is how to create an outline or shadow (usually for text, but also for shapes) in the Cricut Design Space. There used to not be a way, but recently Cricut added the Offset Tool so you can do it!
But if you want to use Adobe Illustrator, I have a super easy way to do it. Illustrator is the design program that I use to make almost all the files you see here on my blog. There’s a bit of a learning curve, but there are a ton of tutorials online, and I am building my own library of tutorials—most of which are designed specifically for the Cricut. I know that not everyone has Illustrator, but my post on How to Make SVG Files for Cricut Using Illustrator is one of my top posts, so I know that some of you do!
So let’s learn something new, shall we?
How to Create an Outline in Illustrator Around Individual Letters
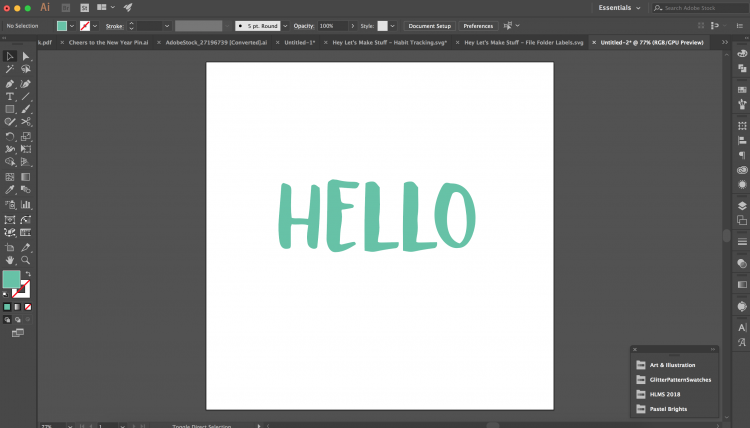
Start by using the text tool to write whatever word you want. Select your font using the dropdown at the top. Make sure it’s the final one you want to use — you won’t be able to change it at a later point.
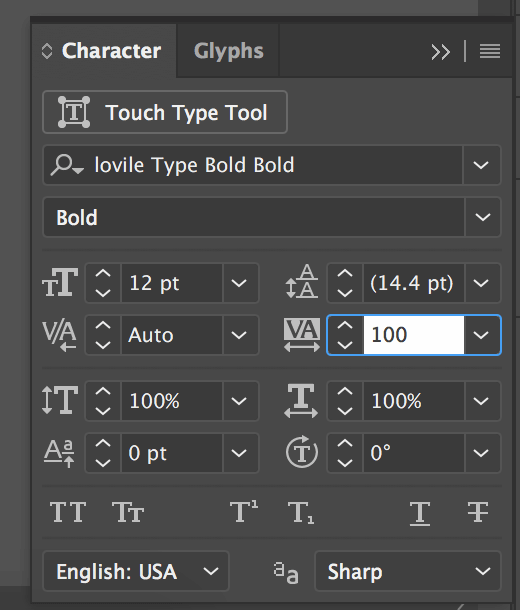
If your letters are close together, use letter spacing (also called “tracking”) to space out the letters a bit. You need enough space to outline each letter without them overlapping. Do this in the character panel (Window > Type > Character). The tracking adjuster is highlighted below. It is normally set at 0, but for this I spaced it out to 100.
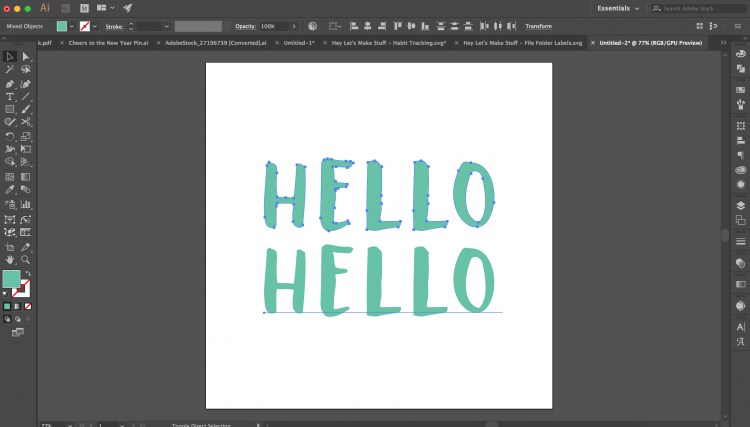
Then outline your text. This basically takes your text from a font to a shape. You can do this by going to Type > Create Outlines or using the shortcut shift+cmd+O. You can see the difference in this photo — the bottom HELLO is still a font, while the HELLO at the top is outlined with points. The top one can be cut by a Cricut, the bottom cannot.
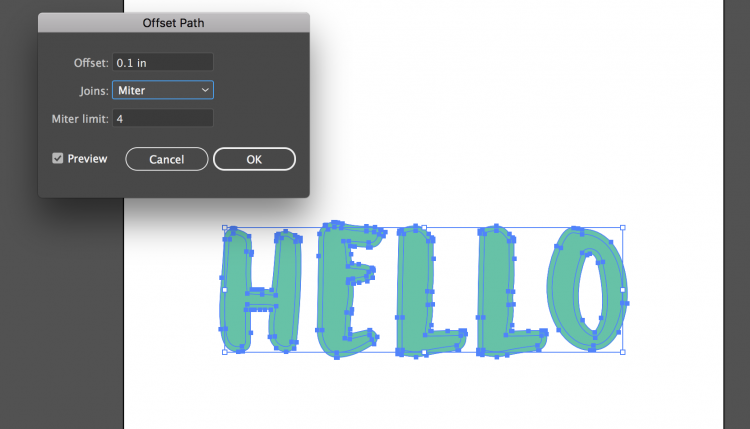
Now we will use a tool called Offset Path to create an outline. Object > Path > Offset Path. Turn on the preview. You can play around with the offset amount here, to change the size of your outline. Once you are happy, click OK.
Your two paths will be the same color, so make sure to change them so they cut in two different colors on your Cricut. Do this by ungrouping the two shapes (the letters and the outline) by selecting it and going to Object > Ungroup or using the shortcut shift+cmd+G. Then you can select the outline pieces and recolor them. If you want to group them together again, use Object > Group or cmd+G.
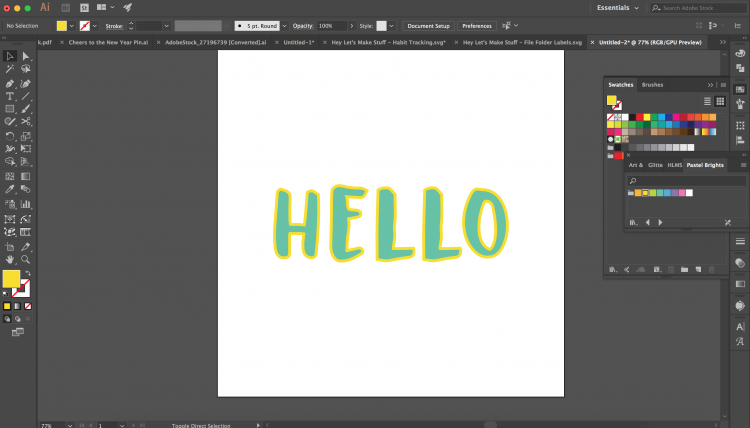
How to Create a Shadow for a Whole Word
Now we’ll look at creating a shadow for a whole word. I do this most often with cursive fonts, but it also works for block fonts and even shapes. Start by writing your word like you did in the first example. Use the dropdown to change the font. You do not want to use any letter spacing/tracking here.
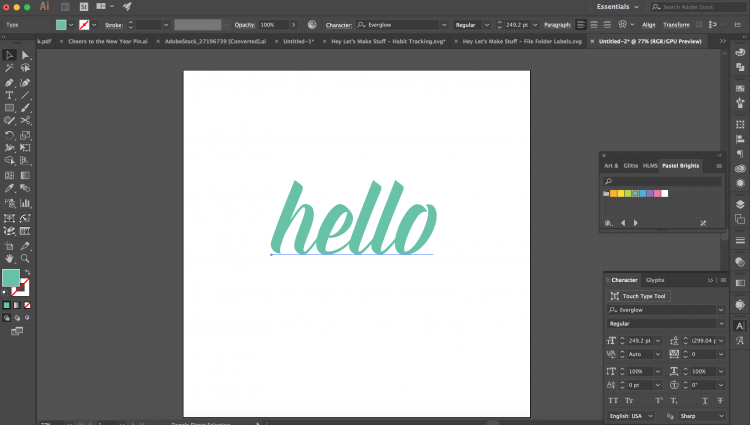
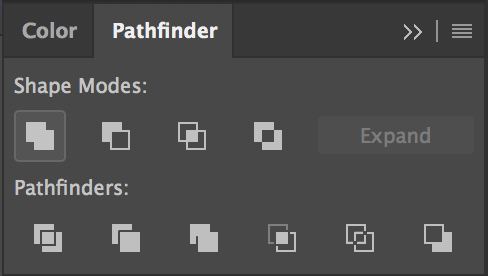
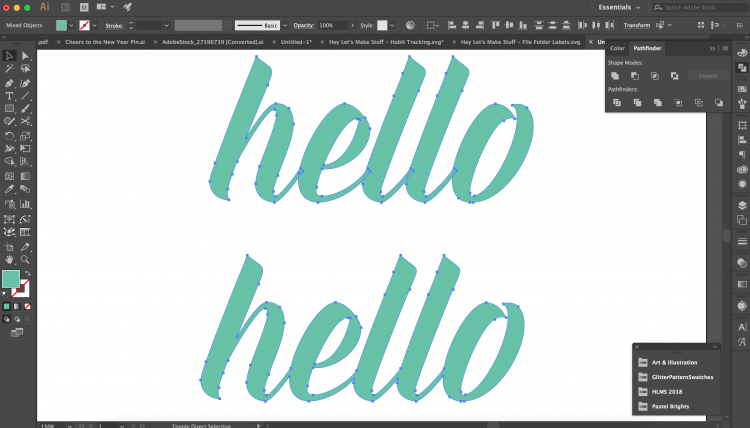
Then outline your font by going to Type > Create Outlines or using the shortcut shift+cmd+O. This will turn your font into a shape. You can see in this image that the five letters in HELLO are still single letters that overlap. Let’s make this into one continuous shape by using the Pathfinder tool. Go to Window > Pathfinder and open the pathfinder window. The top left option will “unite” the letters into one shape. You can see the difference between the top and bottom shapes — the top is still separate, the bottom is united.
We will then use the same Offset Path tool we used above. You can play around with the size of the offset here as well. I like a chunkier offset, but you can choose something smaller if you’d like. Click OK.
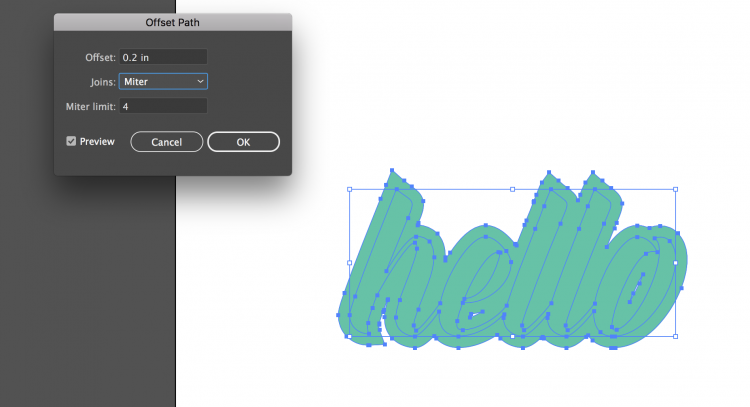
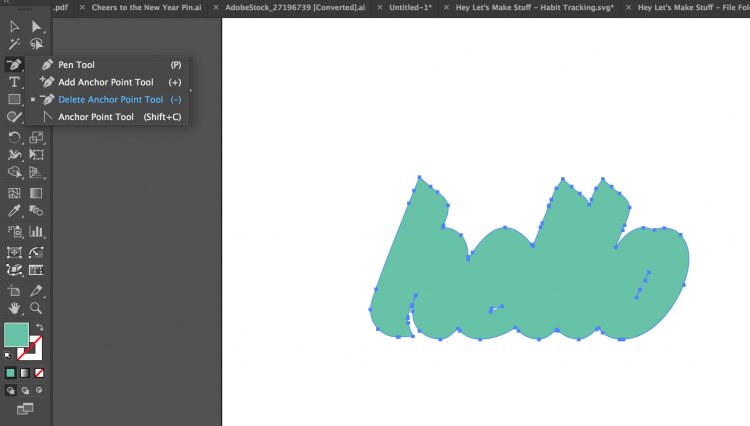
You will notice that I don’t have a full shape behind my text. There are small cutouts behind the E and the O. I don’t want these. Click the Delete Anchor Point Tool in the left-hand menu (shortcut is the hyphen “-“). Then click on those extra points to delete them until you have on solid shape.
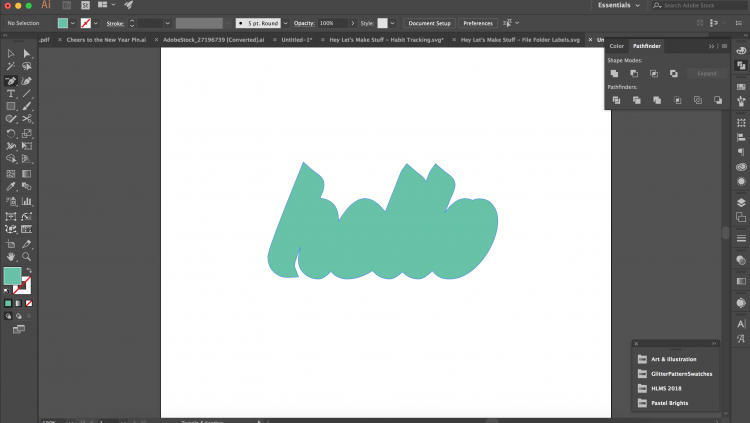
Color your outline a different color than your text and you’re ready to go!
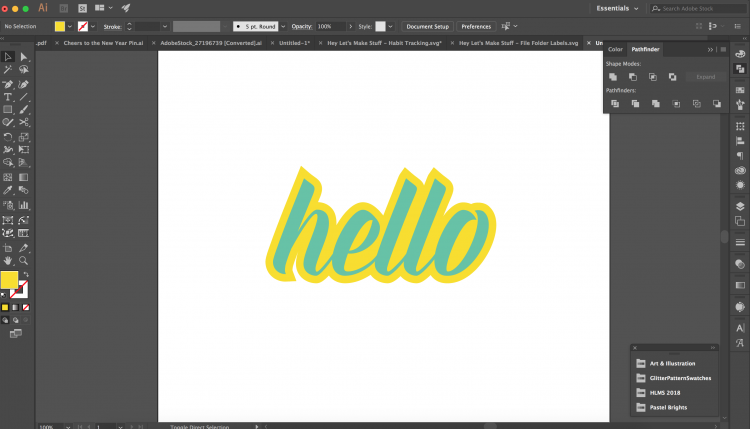
In both instances, simply save your file as an SVG to import into the Cricut Design Space. You can also export as a DXF to cut in the Silhouette Studio.
Hope you found this tutorial helpful! If you have anything you’d like to learn in Illustrator, leave me a comment and I’ll see about adding it to my editorial calendar in the future!


Comments & Reviews
Trupti says
This was extremely helpful, thank you so much
Nidhi says
Thanks this was very helpful. Which is the handwriting font used by you.
Daniela Moraes says
Thank you for sharing this!
Liz says
I’ve been wondering how to do this FOR-EVER! Thanks!