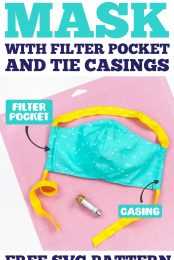
This filter pocket mask pattern is designed with casings so it works with elastic, bias tape, ribbon, hair ties, and more. This mask SVG is designed to be marked and cut on the Cricut Maker with the rotary blade.

I had a pharmacist friend (hi Katie!) ask me this week to make her a mask, specifically with a filter pocket. The two masks SVG patterns I’ve shared so far, the pleated mask and the fitted mask, do not have a filter pocket. So I went looking for a third pattern to make using my Cricut Maker and the Rotary Blade.
If you’d asked me at the beginning of March what I planned to post on my blog in April, “a crap ton of masks” was not on my radar. Hello, 2020.
Anyway, I landed on a pattern from Julie at the Crafty Quilter. Instead of reinventing the wheel, she allowed me to digitize her pattern for the Cricut Maker and rotary blade. You can also mark your pattern using the fabric pen. THANK YOU Julie!
Not only does Julie’s pattern have a place to insert a filter, it also has casings on the sides. This means that you can use all sorts of ties, including elastic, bias tape, ribbon (non-statin works better because it won’t slip as badly), twill tape, etc. You can loop your ties around the ears, tie behind your head, or use a mask ear-saver.
Bonus—I also found it the easiest of the three to sew up (though none of the three patterns are particularly difficult).
For my masks, I used a piece of elastic ribbon designed for making hair bows for babies. I’d ordered them a while back for a baby shower, but didn’t end up using them. This elastic is working pretty well, as long the ends are “sealed,” which you can do with a little bit of fabric glue or by touching it against an iron. This elastic will melt, so don’t iron it!

Supplies
- Coordinating Thread
- Cricut Maker with Rotary Blade
- Large FabricGrip Mat
- Cricut Fabric Pen
- Bias tape, ribbon, hair ties, elastic
- Safety pin for inserting straps through casing
- Paper clip or other wire
- Pocket Filter Fitted Mask SVG

This Cricut Maker SVG is free (I’m not even asking for your email!) so that as many masks can be made as possible. Need help with your Cricut? Get started with my Cricut Basics eBook!
Setting Up Your Mask File in Cricut Design Space
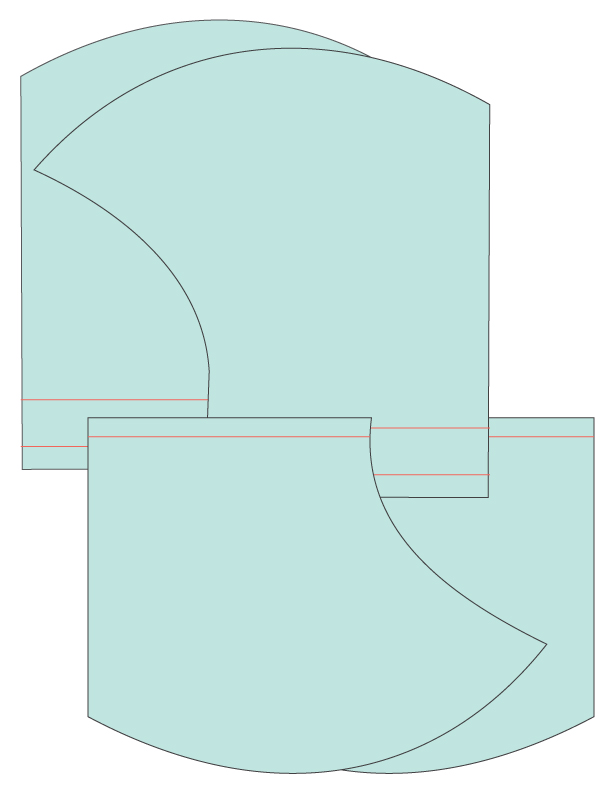
Upload the SVG to Cricut Design Space. You will see two types of layers: the fabric mask pieces, and a bunch of lines.

In the Layers Panel, select all of the lines and change the linetype to Draw in the Edit Toolbar at the top. Your Cricut Maker can use a fabric pen to draw your markings instead of having to mark them by hand.

Then Ungroup all of the pieces (using Ungroup at the top of the Layers Panel). Use the Attach tool to attach the draw lines to the correct fabric piece. Each set will have its fabric piece and draw lines under a heading of Attach in the Layers Panel.

Once you have all of your pieces correctly attached, hit Make It in the upper right.
In the Prepare screen, select the 12″ x 24″ mat. Then move and rotate your shapes to fit more pieces on your piece of fabric.

Then mark and draw your file using the fabric pen and the rotary blade.
See Julie’s post for detailed sewing instructions!
What You Need to Know About Sewing Masks
Like I said in my other mask posts, before you start churning out masks, talk to healthcare folks you know. What do they actually need? I made this mask because my pharmacist friend asked for this type of pattern. Don’t just churn out masks without finding a need first.
You can also ask your friends and family members which mask they might prefer. There’s no “right” mask to make, so find out what people want, and then get sewing. Here are a few options:
- Pleated Mask Pattern
- Fitted Mask Pattern
- Filter Pocket Fitted Mask Pattern
- No-Sew Mask Pattern
- Scrub Cap Pattern
I designed this mask to be cut on a Cricut Maker with the rotary blade. Unfortunately, the Cricut Explore will not cut un-bonded fabric. If you iron on interfacing before you cut, you can use the Bonded Fabric blade and your Cricut Explore, though the results aren’t quite as clean as the rotary blade.
As always, the best defense for COVID-19 is to STAY HOME!


Comments & Reviews
G says
I’m assuming this is sized for adults (?). What do I need to do to size for kids? Yes, I know nothing about what I’m doing when it comes to sewing!
montREALady says
I want to know the same re kid-sized masks for the Maker!
Sylvia says
Thank you for the Cricut patterns. I was wondering which of the masks can be used as a cover on top of the N95. I have one mask and dont want to wear it out too soon. Again, thank you for the patterns
Doninique says
I have the maker I downloaded the svg file but for some reason the sizing of the pieces is really small what should the actual dimensions of the pieces be
Blessedmommi says
Hi Doninique,
I’m having the same problem with the design being tiny when in design space. Were you able to fix it?
Cori George says
Sorry about that! The taller pieces should be 6.25″ tall and the shorter pieces should be 4.95″ tall.
dawn says
looking at mask
Penny says
This is just what I have been looking for but I do not have a maker and also want to know if there is a pdf to make a pattern.
Penny says
Found it at the site you linked above. Should have looked there first. Thanks again for all you do.
Paige says
I absolutely love your designs but I do not have a maker! Is there anyway these files can be in PDF format so I can print them and use as a pattern?
Thank you! — A frontline social worker
Amy Motroni says
Here is the original pattern if you don’t have a Maker:
https://thecraftyquilter.com/2020/03/versatile-face-mask-pattern-and-tutorial/
Amy, HLMS Support