Create beautiful handmade felt bows in just minutes! These bows are perfect for gift wrap, hair accessories, party decor and more. Here’s how to make felt bows with your Cricut!
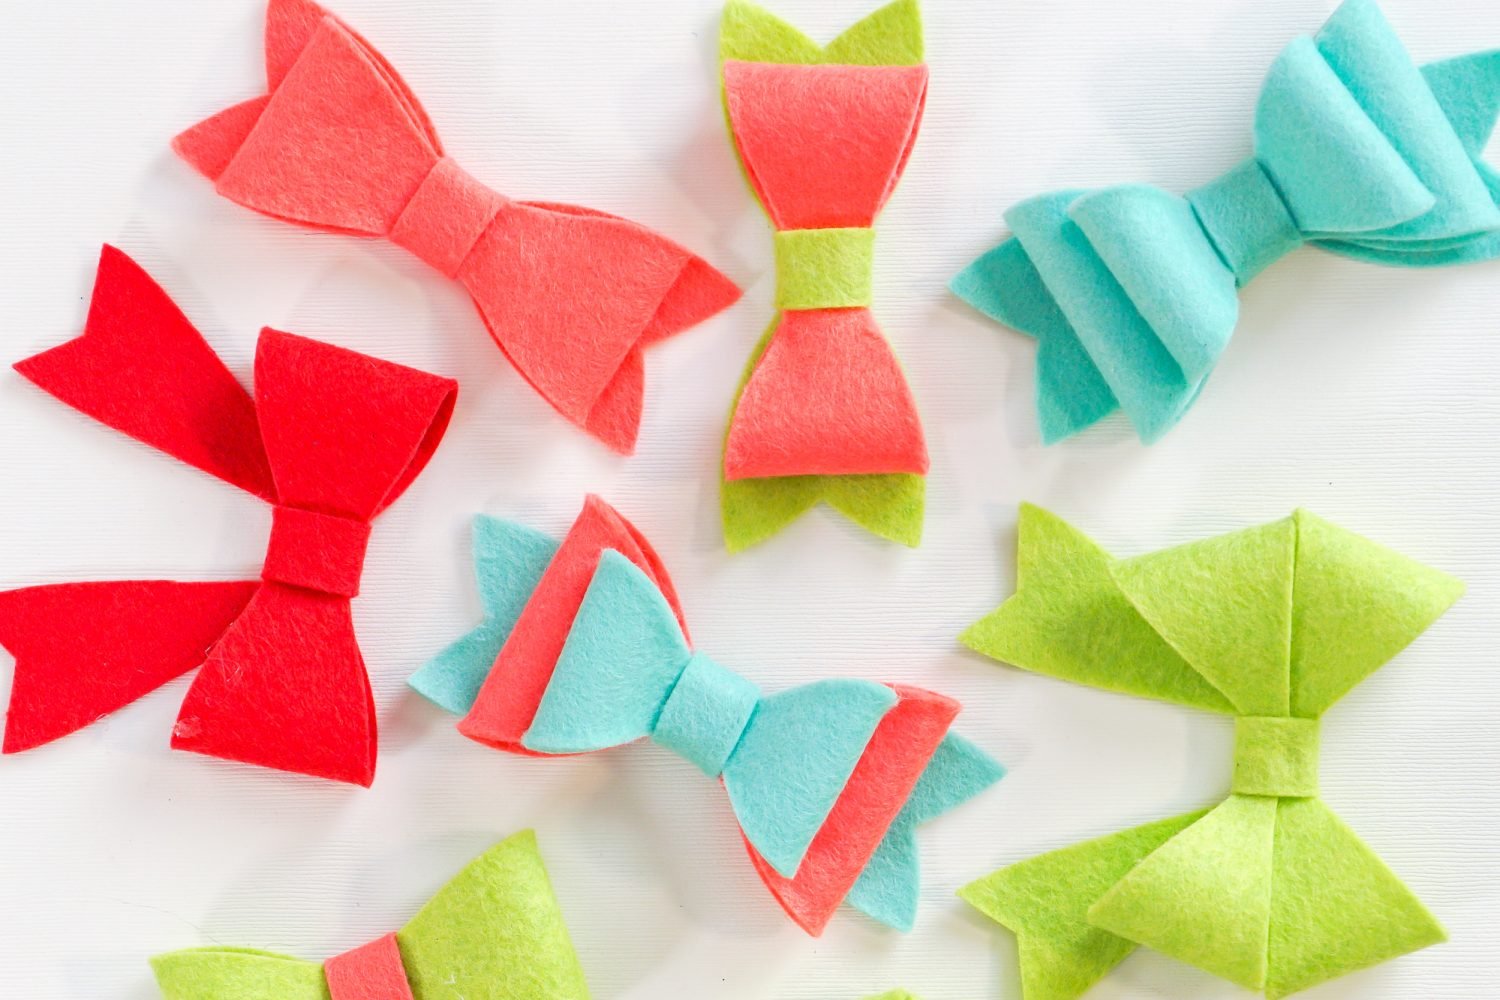
Hello my friends, I’m back and ready to craft for the 25 Days of Cricut Christmas! We’re on Day 17 and today’s project is a fun one—felt bows!
I chose this project because there are SO many ways to incorporate felt bows into your holidays. Felt, for some reason, just FEELS like Christmas to me. It’s warm, it’s cozy, it feels handmade. It’s one of my favorite materials to craft with. So let’s make some bows!
If you’d like to get this series in an ebook format PLUS all of the SVGs needed to make all 25 projects check out the 25 Days of Cricut Christmas eBook Bundle!
To make these bows, I’ve used wool blend felt cut with my Cricut Maker’s rotary blade, but you can also cut felt with a Cricut Explore. These bows are perfect as gift toppers, hair accessories (great stocking stuffers!), and for holiday decor and party ideas. You can cut them any size—buy felt off the bolt and make some BIG bows!
Holiday Felt Pillow Supplies
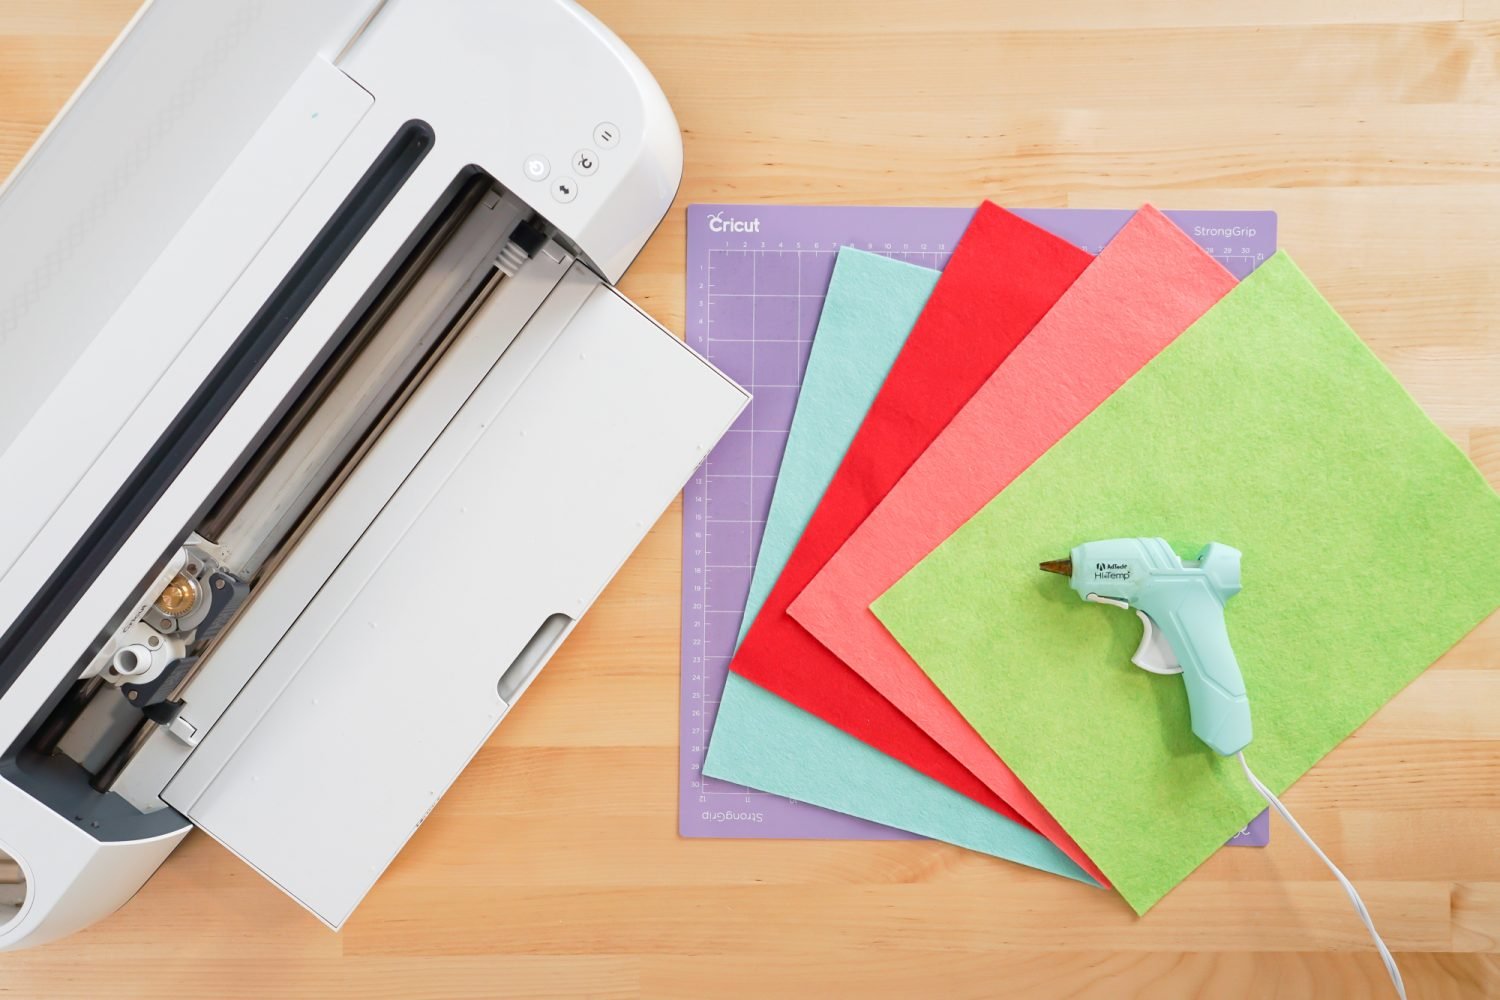
- Cricut Maker with Rotary Blade or Cricut Explore with Fine Point Blade
- Felt (I prefer Benzie Felt)
- Green StandardGrip or purple StrongGrip mat
- Scissors (optional)
- Brayer (optional)
- Hot glue gun
- Felt Bow Template SVG
Grab the SVG for this Project
Felt Bow Instructions
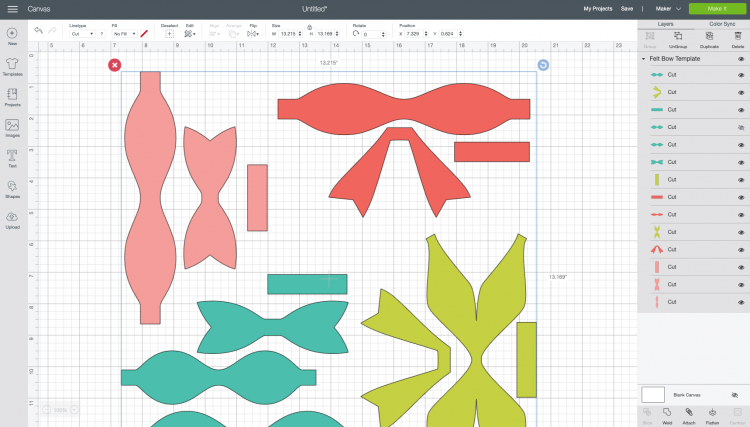
Upload Bow Template File to Cricut Design Space
Let’s start by uploading the bow template file to Cricut Design Space (see Uploading SVG Files to Cricut Design Space if you need help).
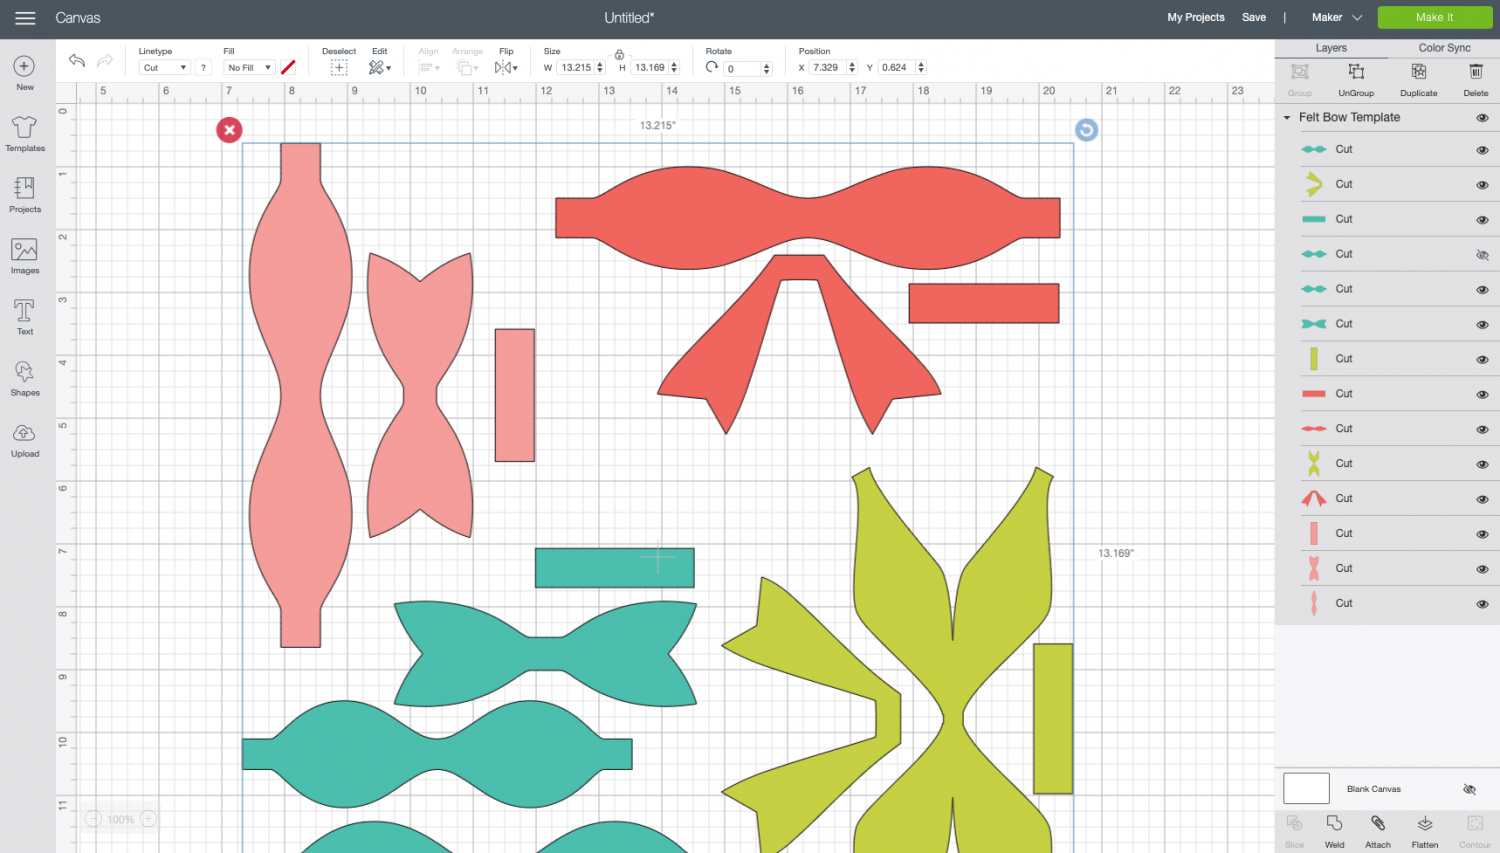
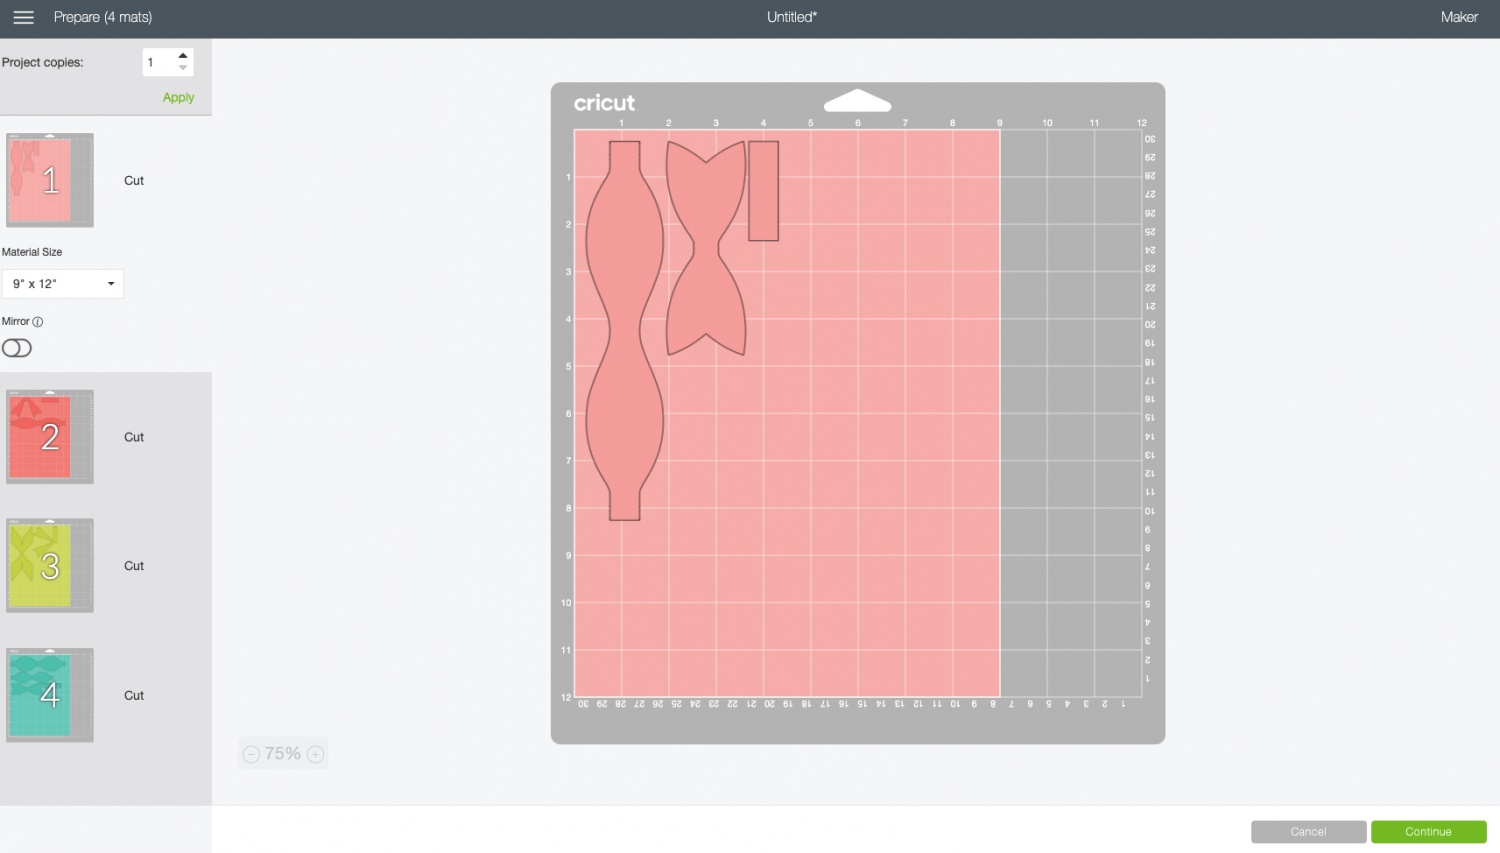
From here, you can resize or recolor your bows for whatever project you’re making. When you’re ready to cut your felt, click Make It in the upper right. You’ll be taken to the Prepare Screen, where you’ll find all of your bow pieces on different Cricut mats.
If you are using a specific size of felt, you will want to change that in the dropdown on the left-hand side for each layer. I am using 9″ x 12″ felt, so I made sure to change my material size.
Cut Your Felt for Your Gnome Pillow
On the Make Screen, you’ll set your material. I am using wool blend felt, which is thicker than Cricut felt. To make sure it cuts all the way through, use the “Denim” setting.
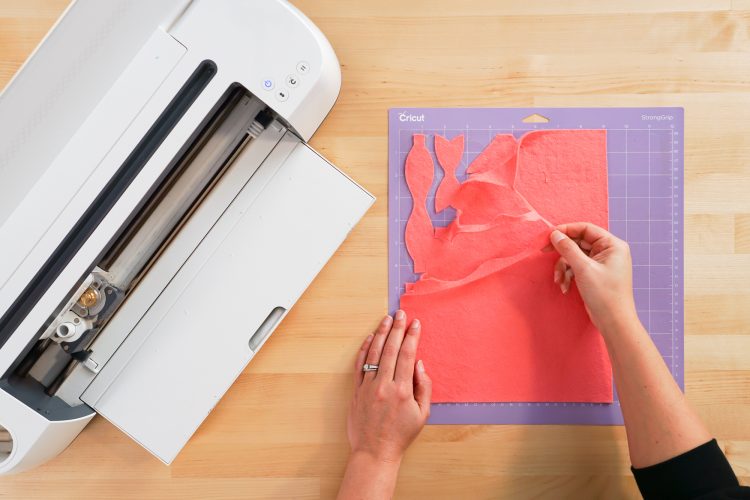
Again, I am using my Cricut Maker for this project, so I have my Rotary Blade inserted into my machine. If you have a Cricut Explore, you can try the fine point blade. You may need to finish your cuts with scissors by hand if the felt doesn’t cut all the way through.
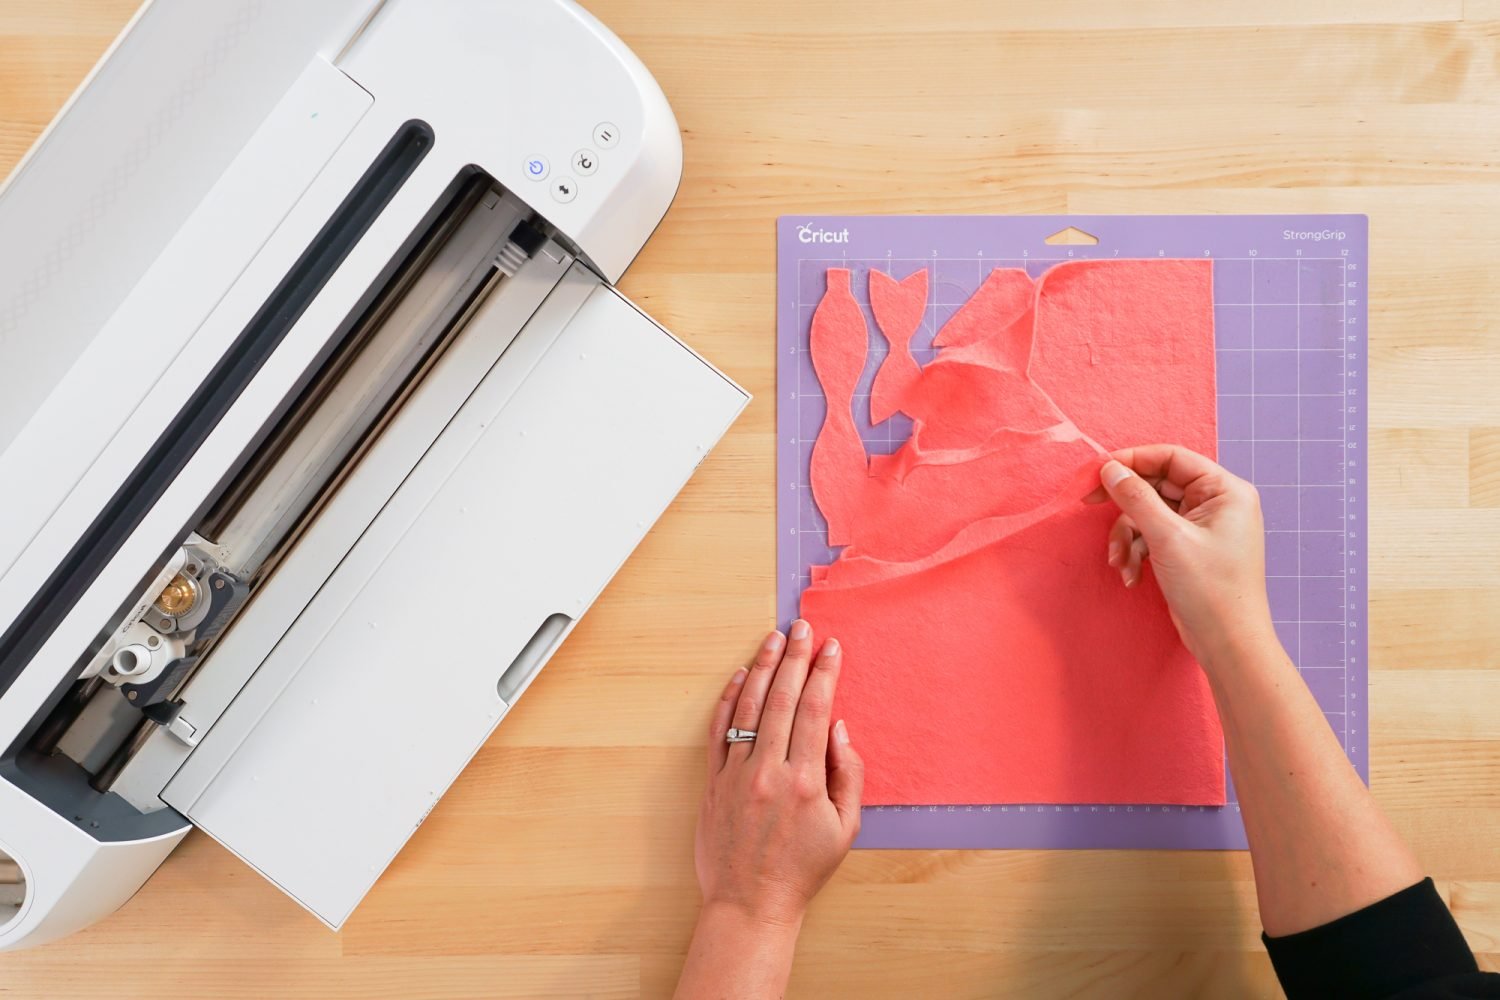
When your Cricut is done cutting, carefully peel up all of the extra felt from around your bow pieces. Then carefully lift the bow pieces off the mat, trying your best not to stretch them.
Assemble the Bows
The bows are all assembled in similar ways. You’ll fold the bow pieces to the center, attach to the ribbon piece, and wrap with the center piece. Let’s start with the easiest bow.
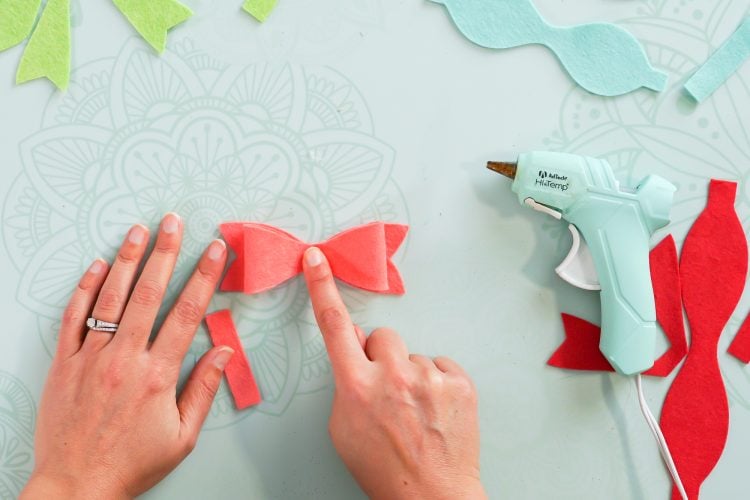
Start by folding the bow piece over from the outside to the center, securing with hot glue.
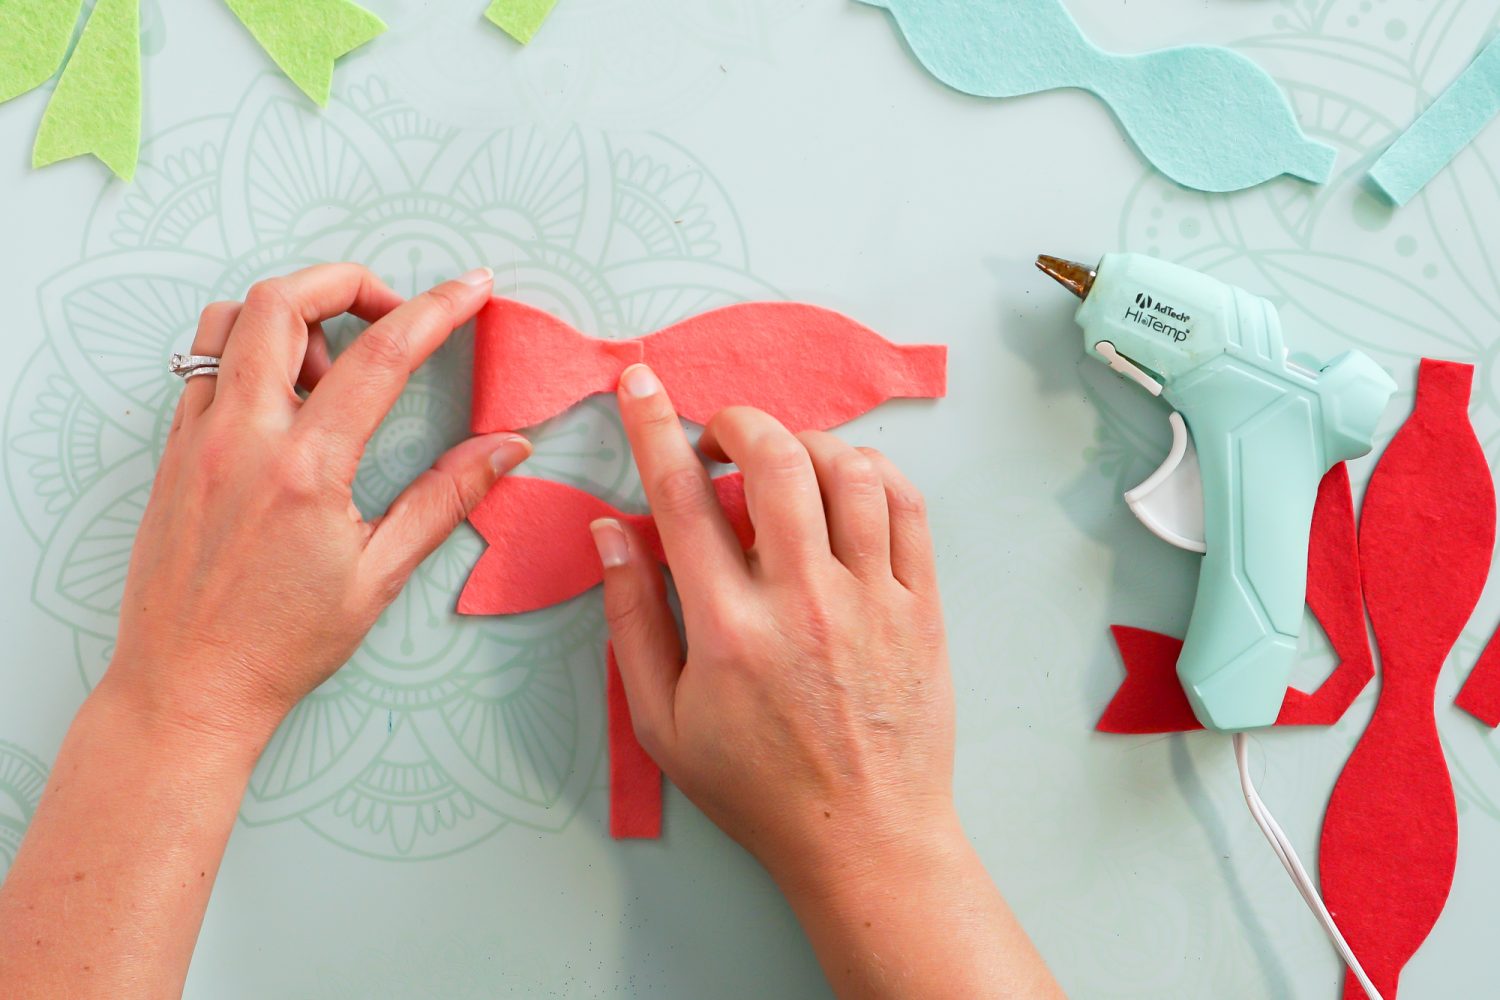
Repeat on the other side. The tabs will overlap in the middle.
Then flip it over so the tabs are on the back, and glue the bow piece to the ribbon piece.
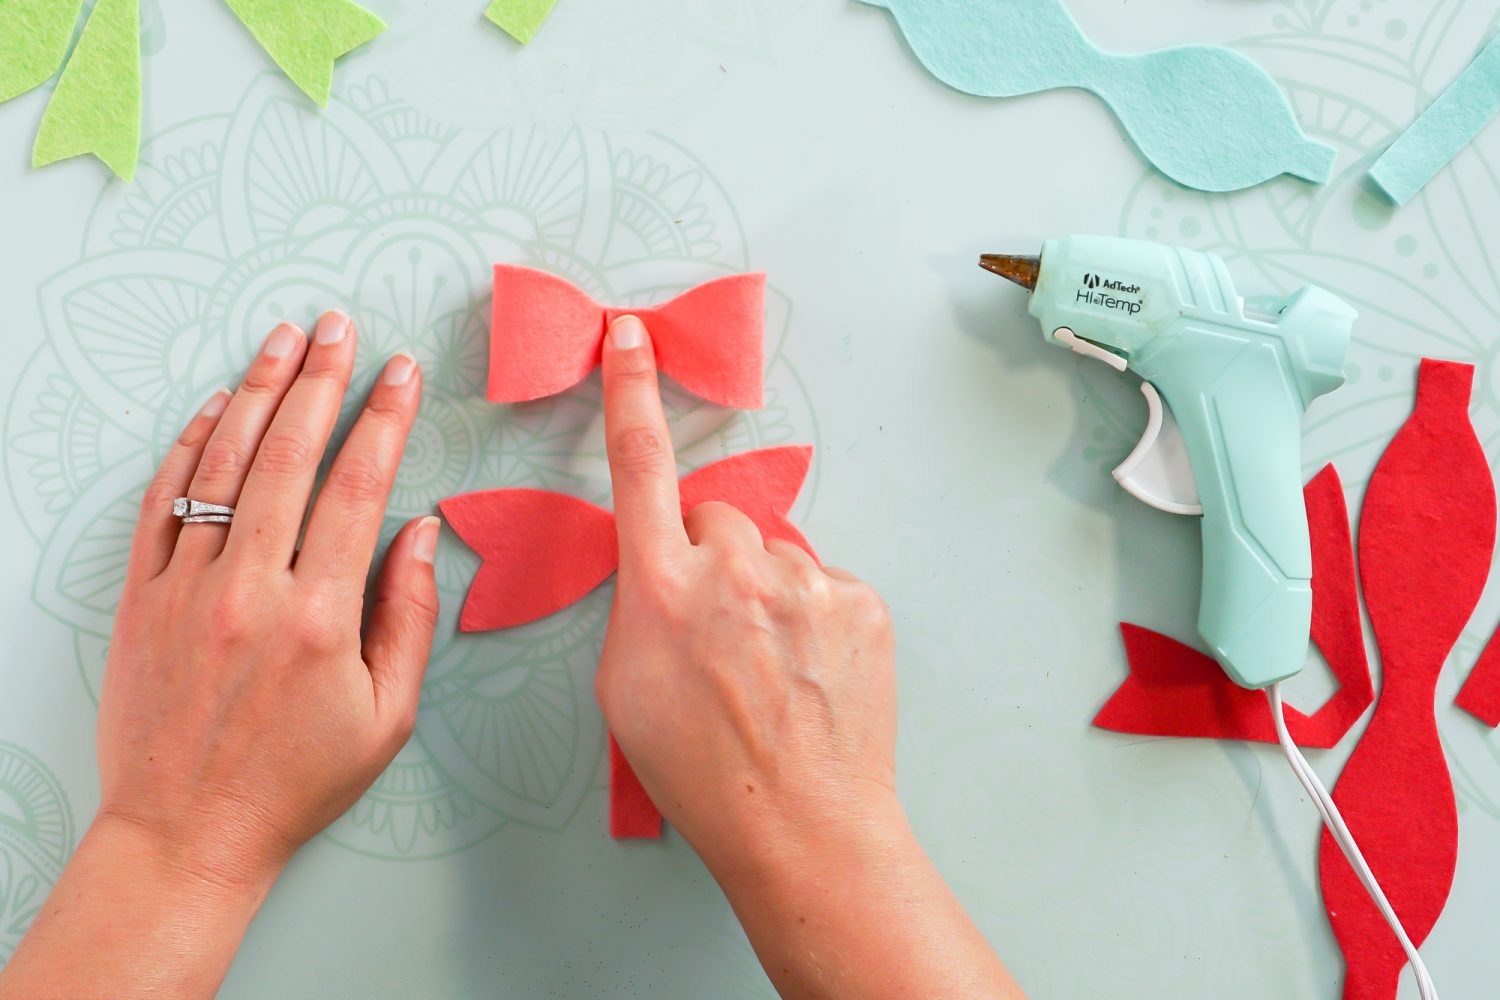
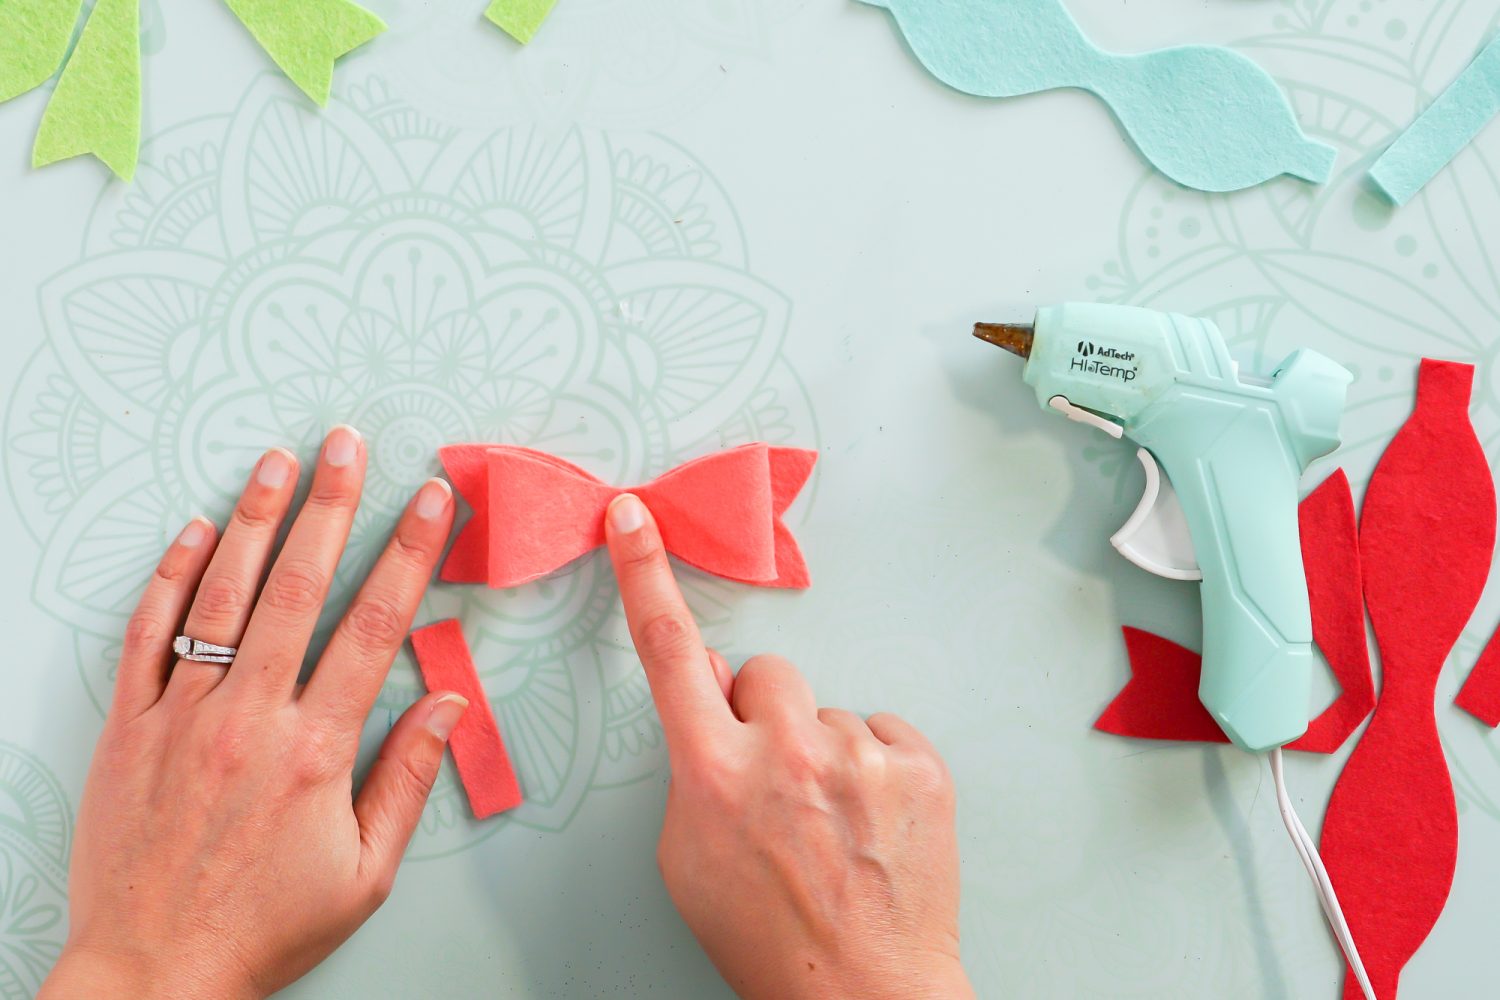
Finally, wrap the center piece around the bow you’ve made and secure in the back with hot glue. Depending on the thickness of your felt and how tight you wrap it, you may need to trim a bit of this center piece so it doesn’t wrap all the way around to the front.
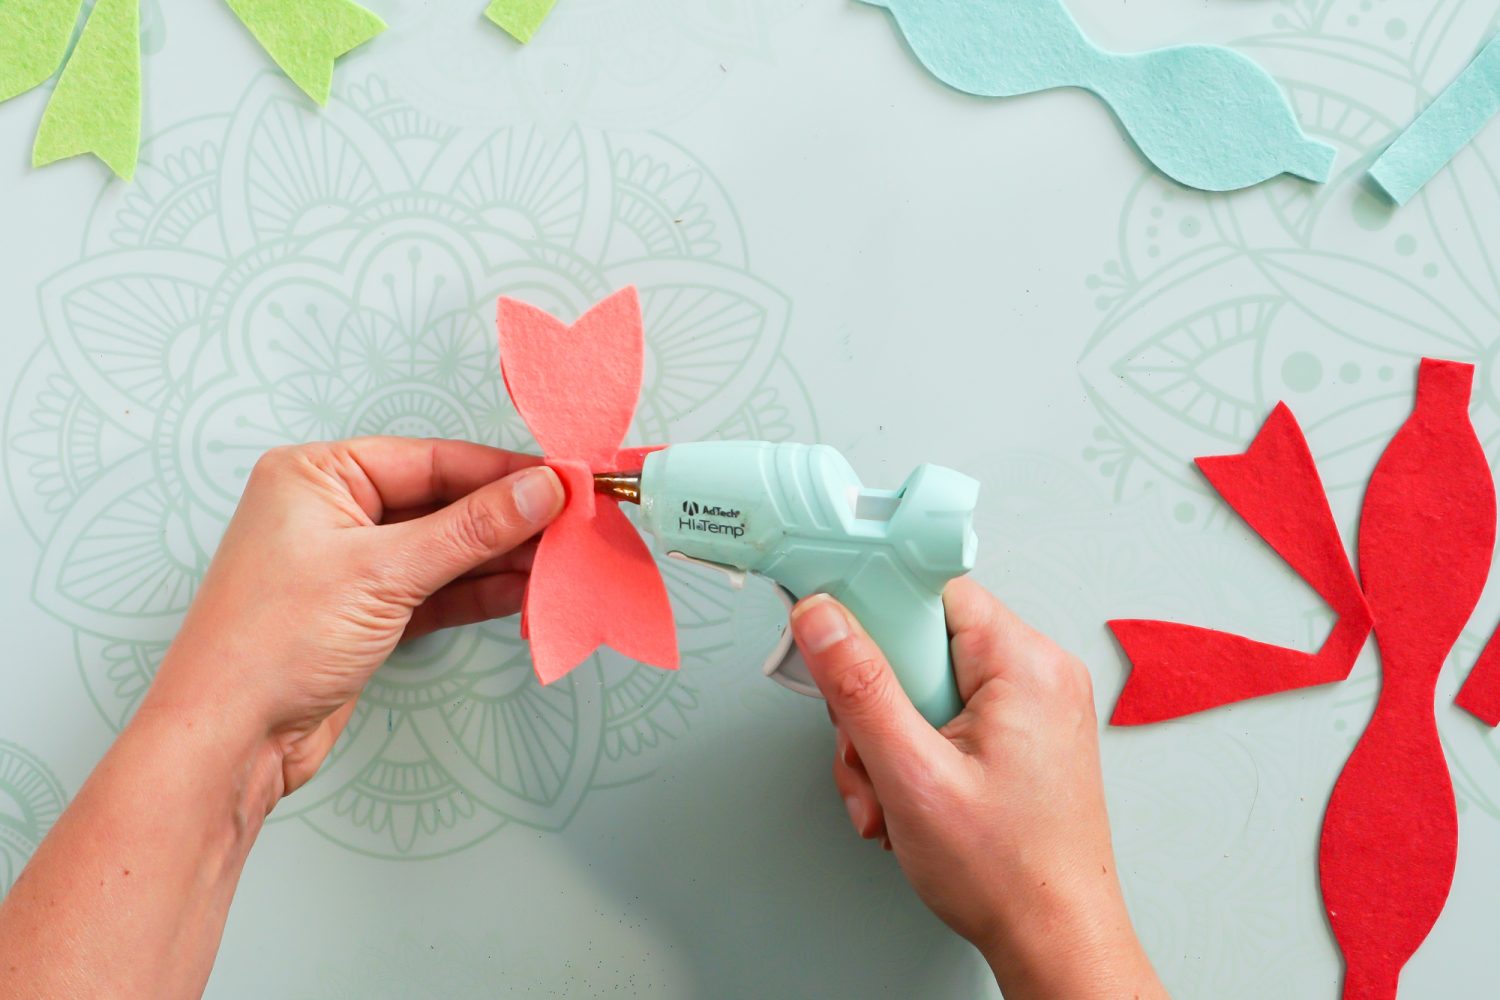
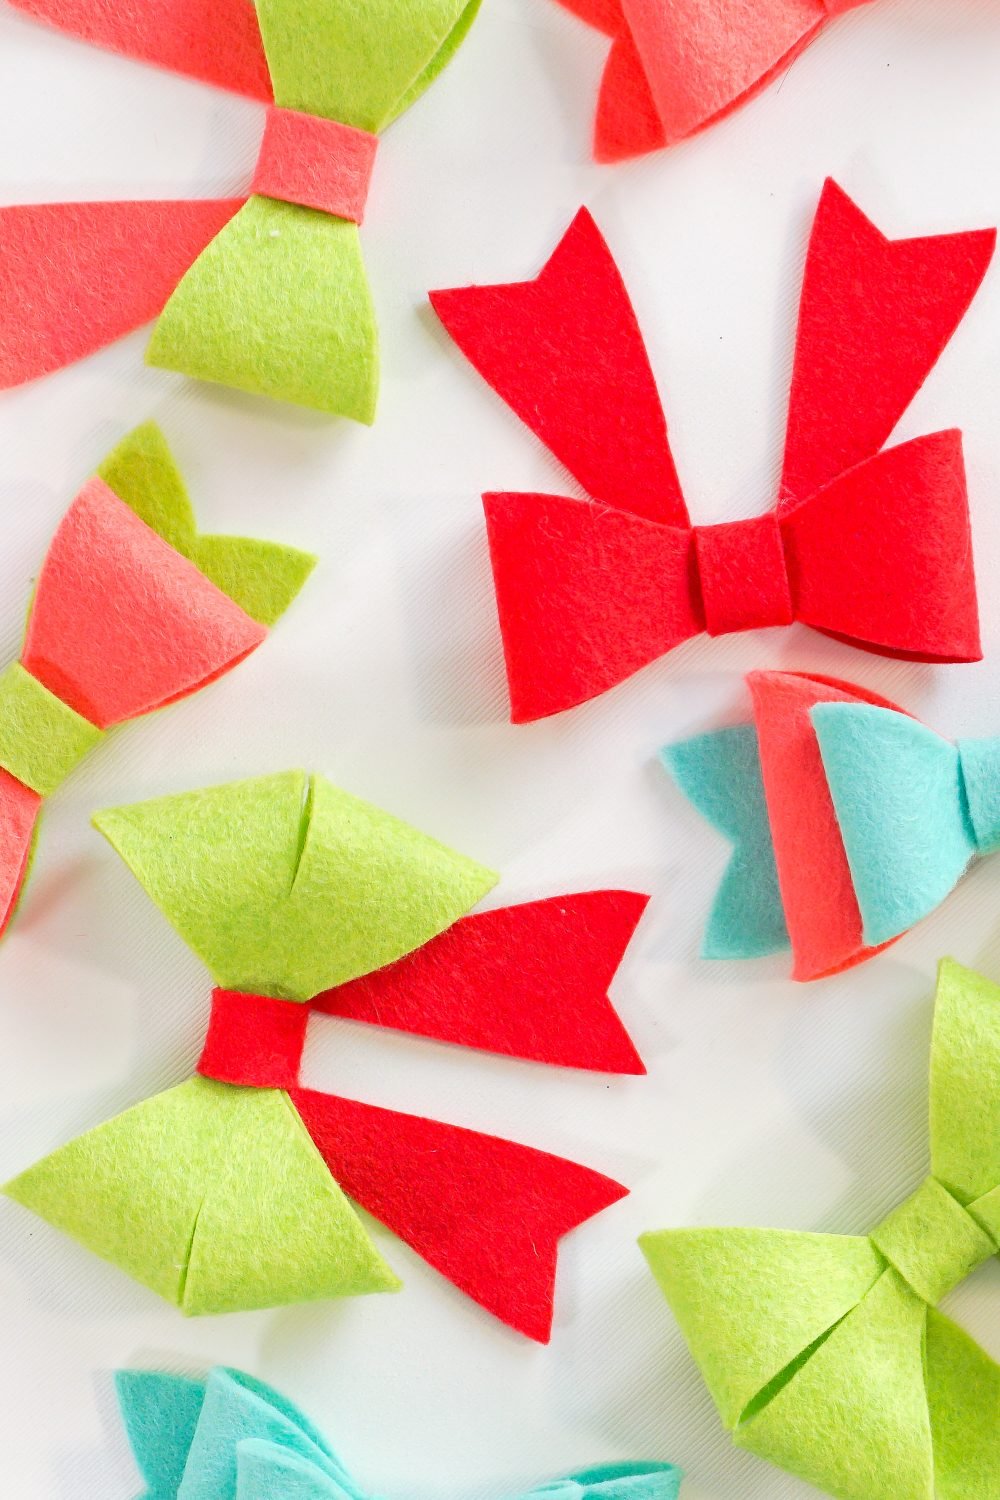
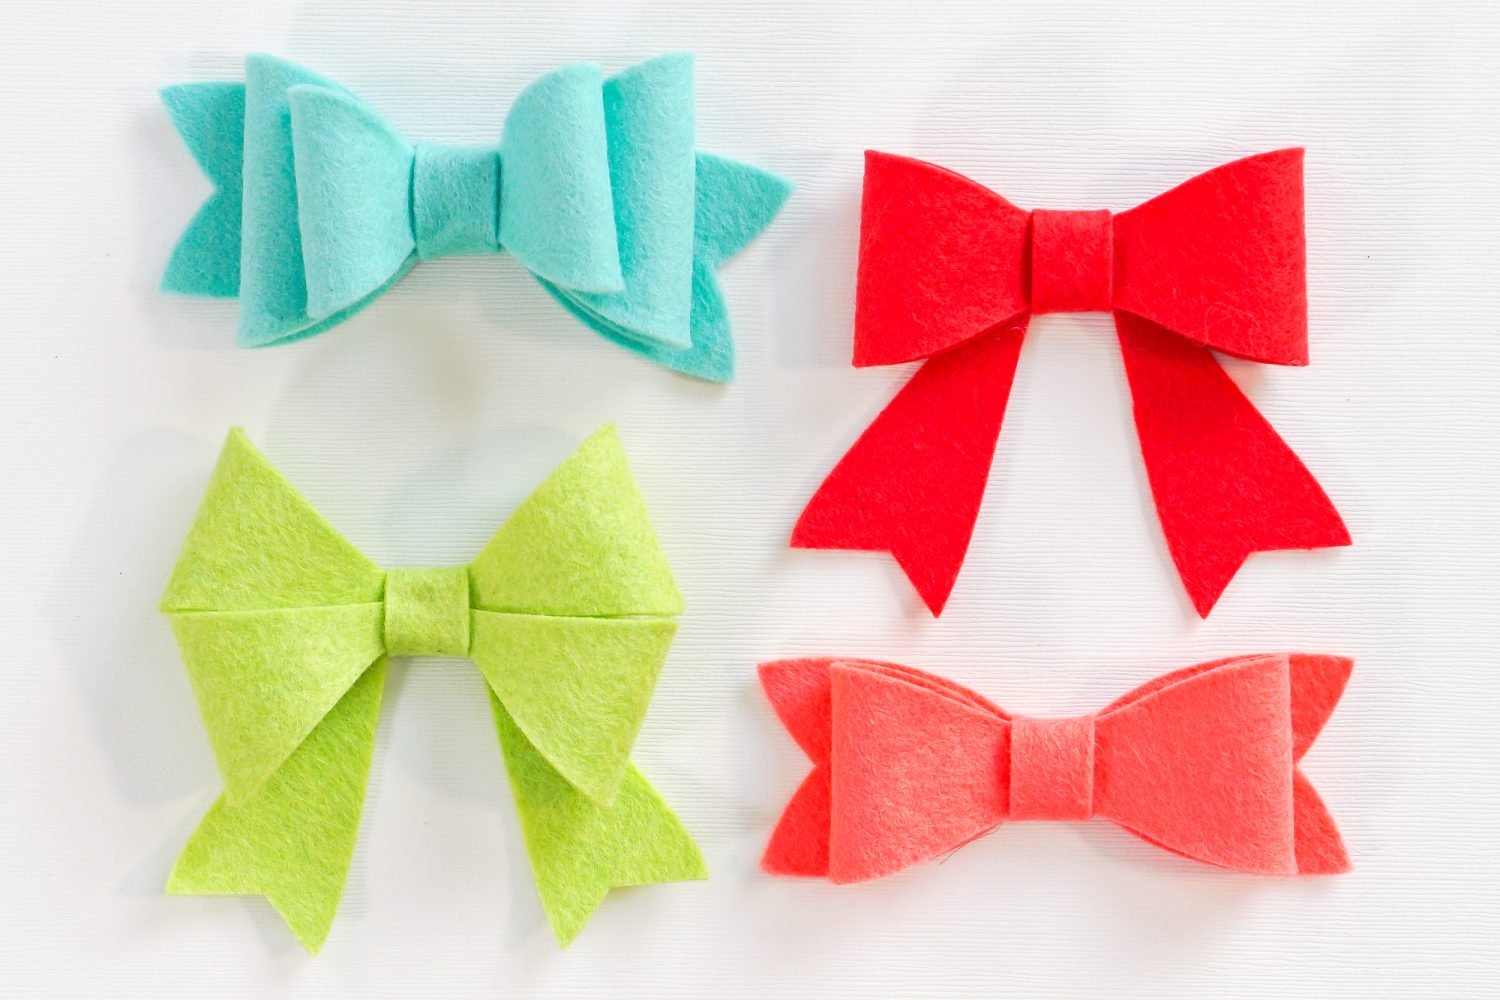
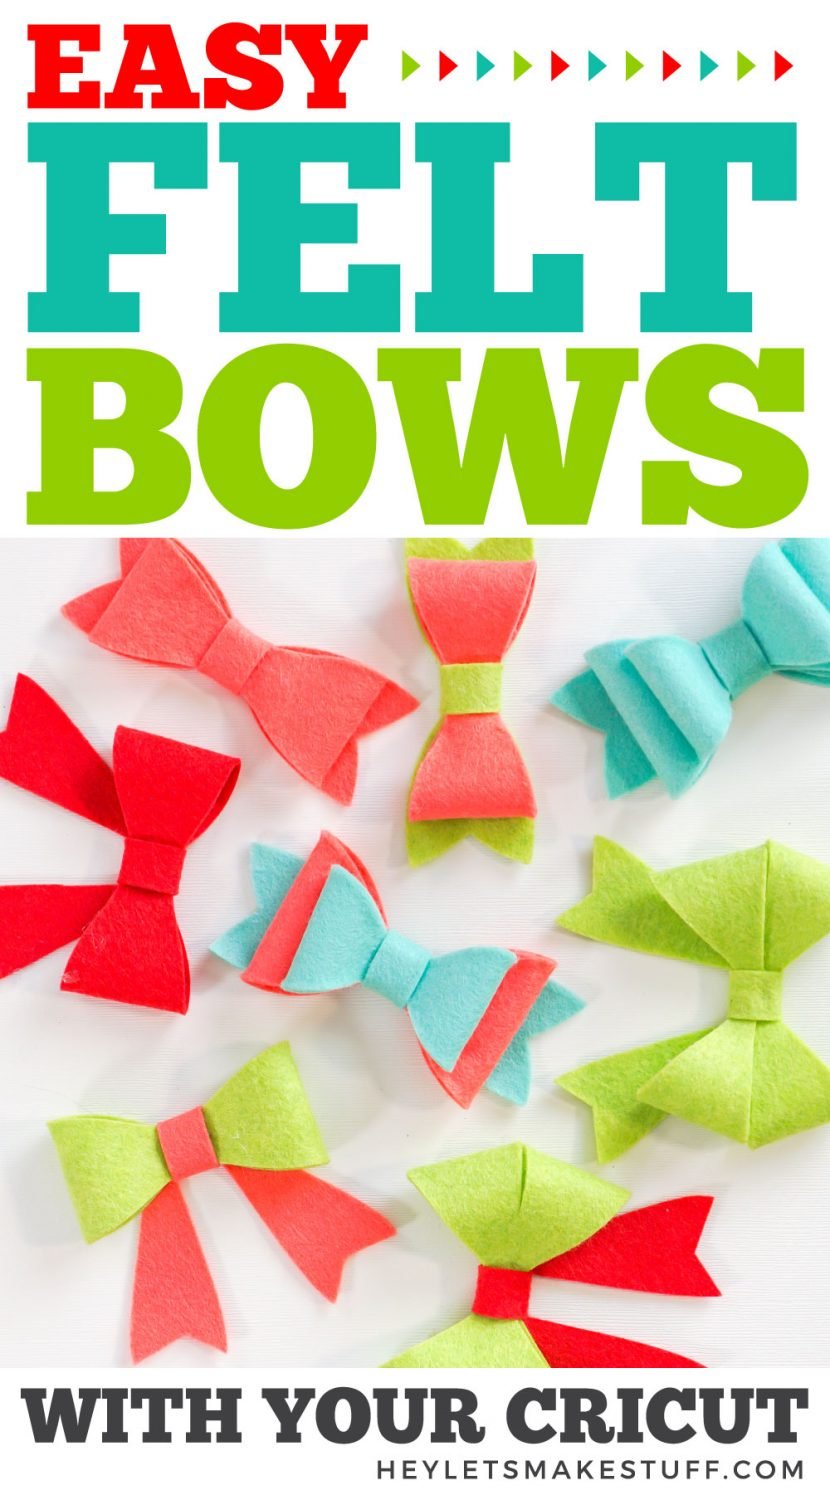
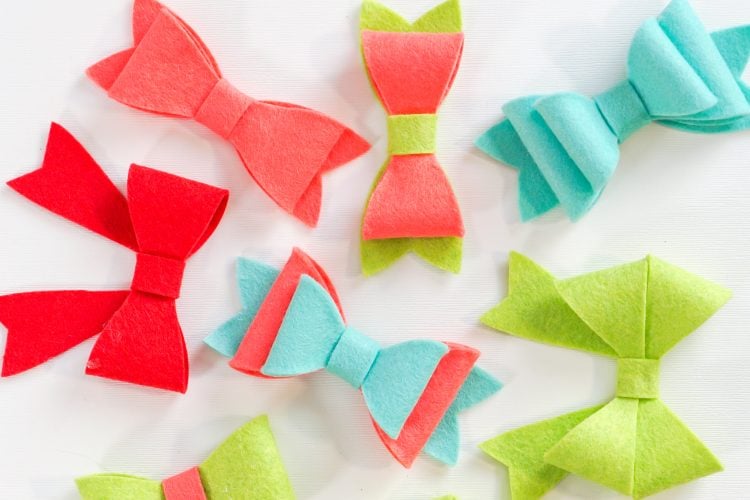
The other bows are assembled in the same way. The stacked bow just has two bow pieces, with the smaller bow piece stacked on top of the larger bow piece.
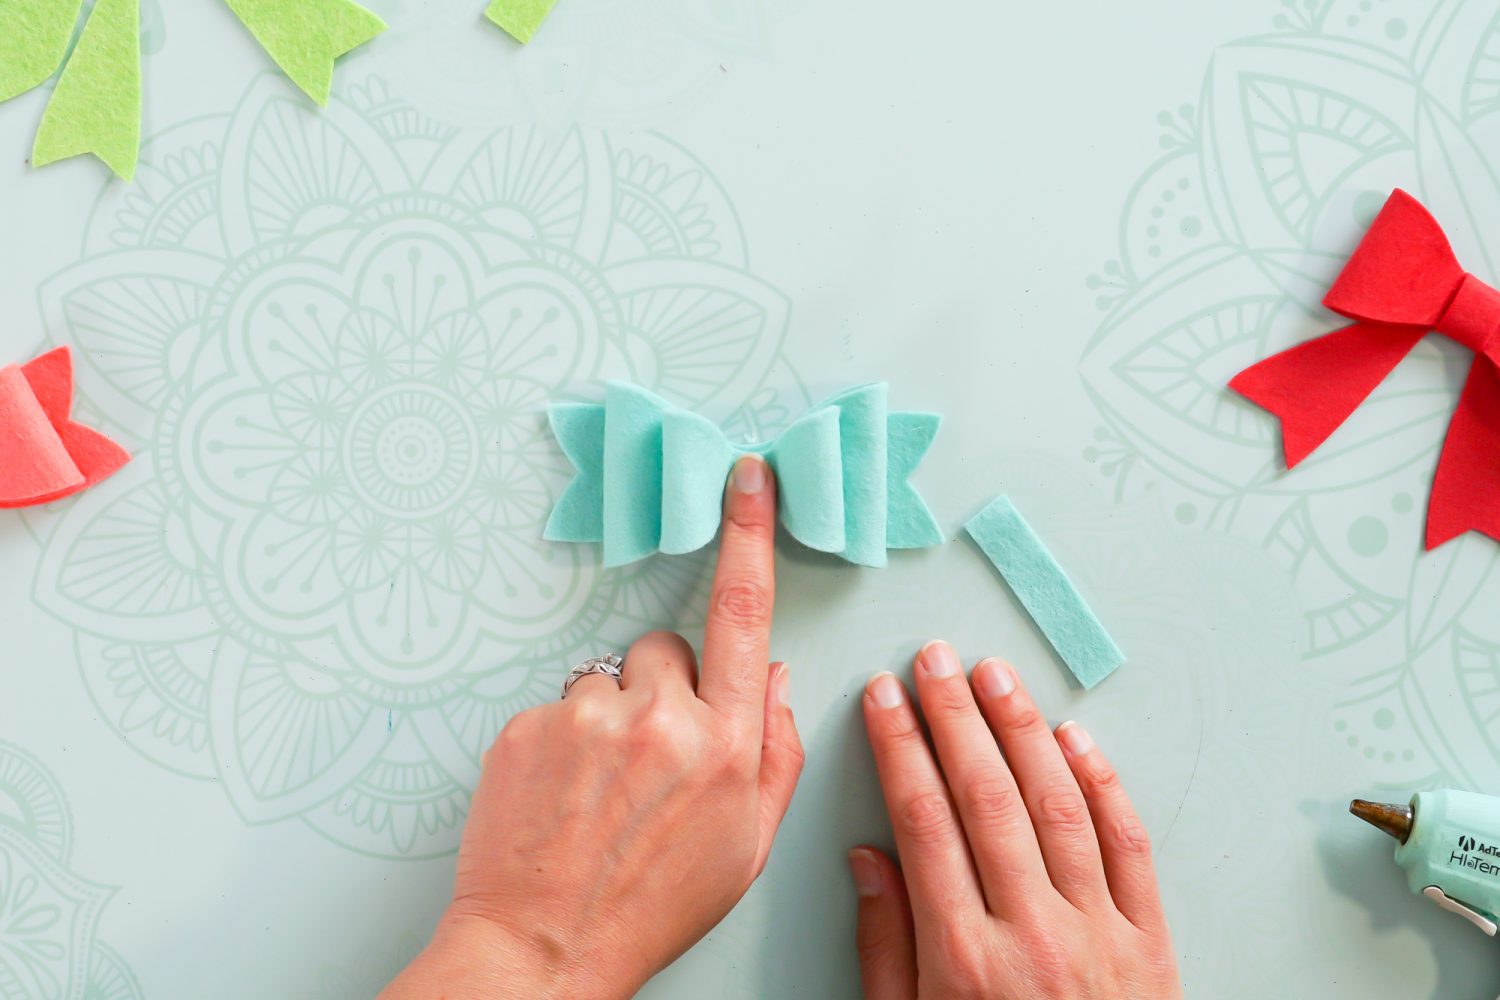
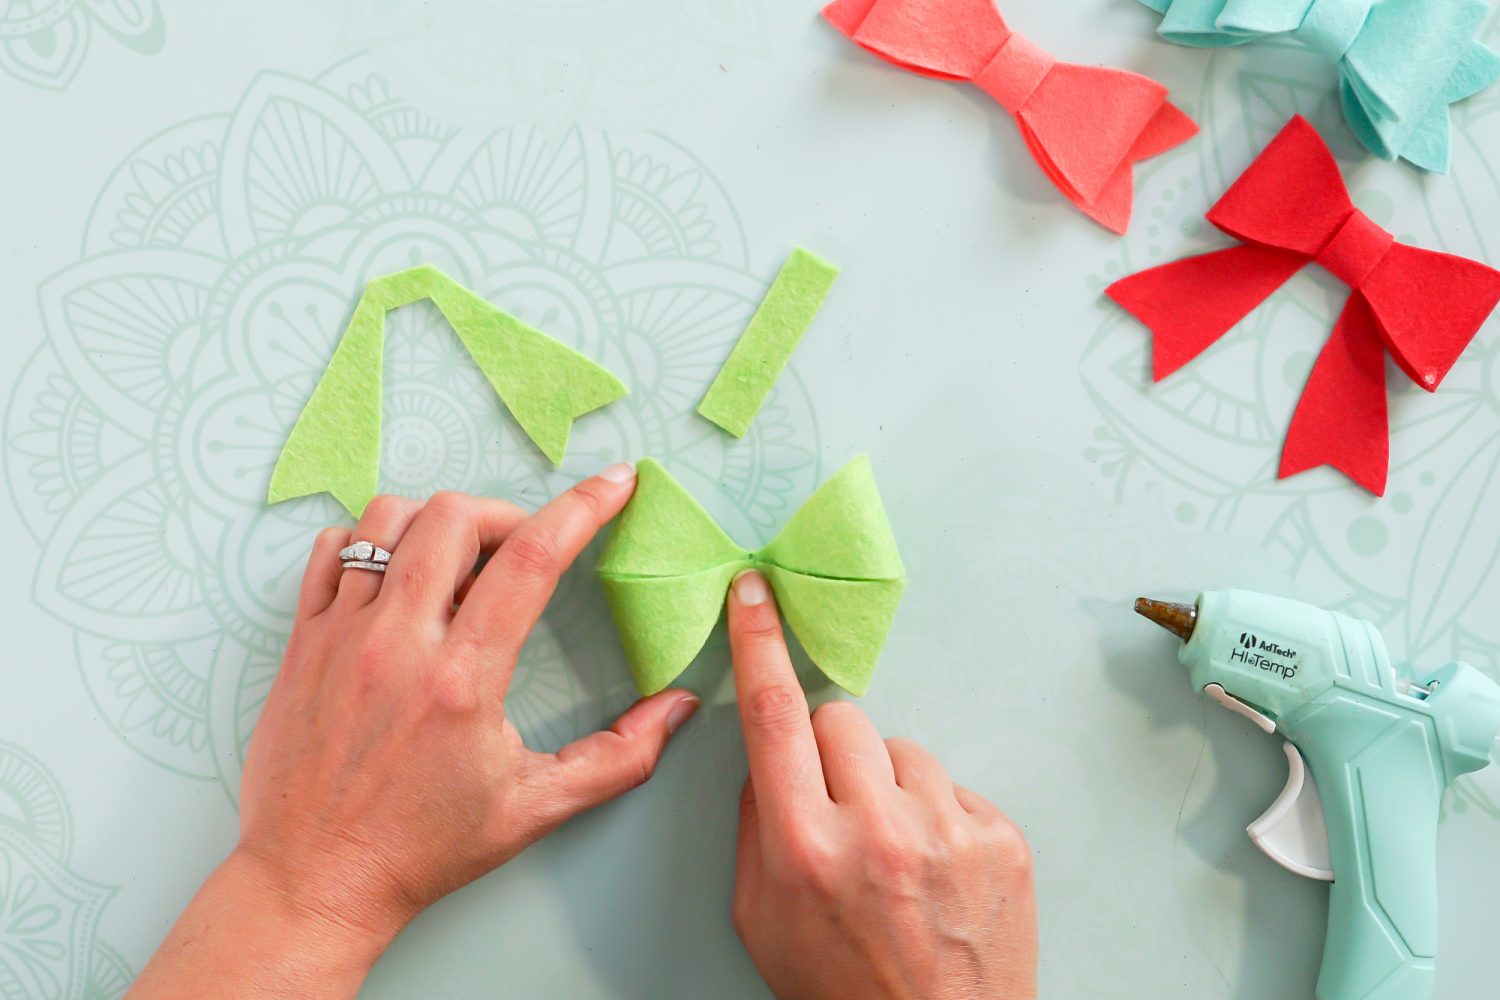
The split bow has four pieces to bring to the center and then is assembled in the same way as the others.
All four bows are so cute!
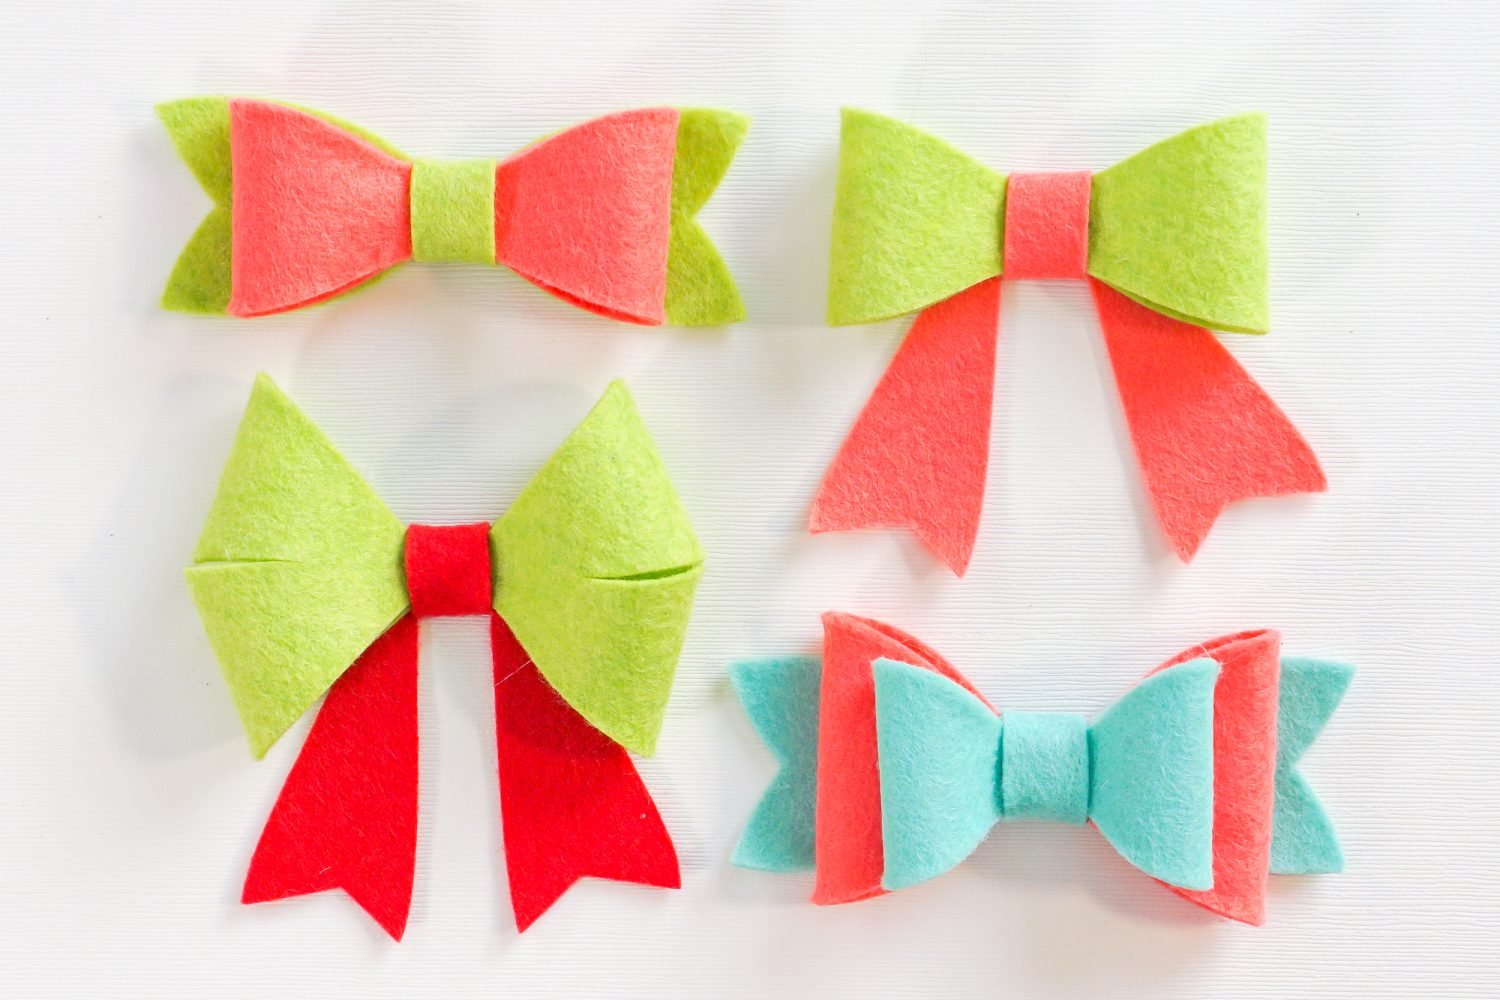
You can also change up the colors you are using and do a little mix and match!
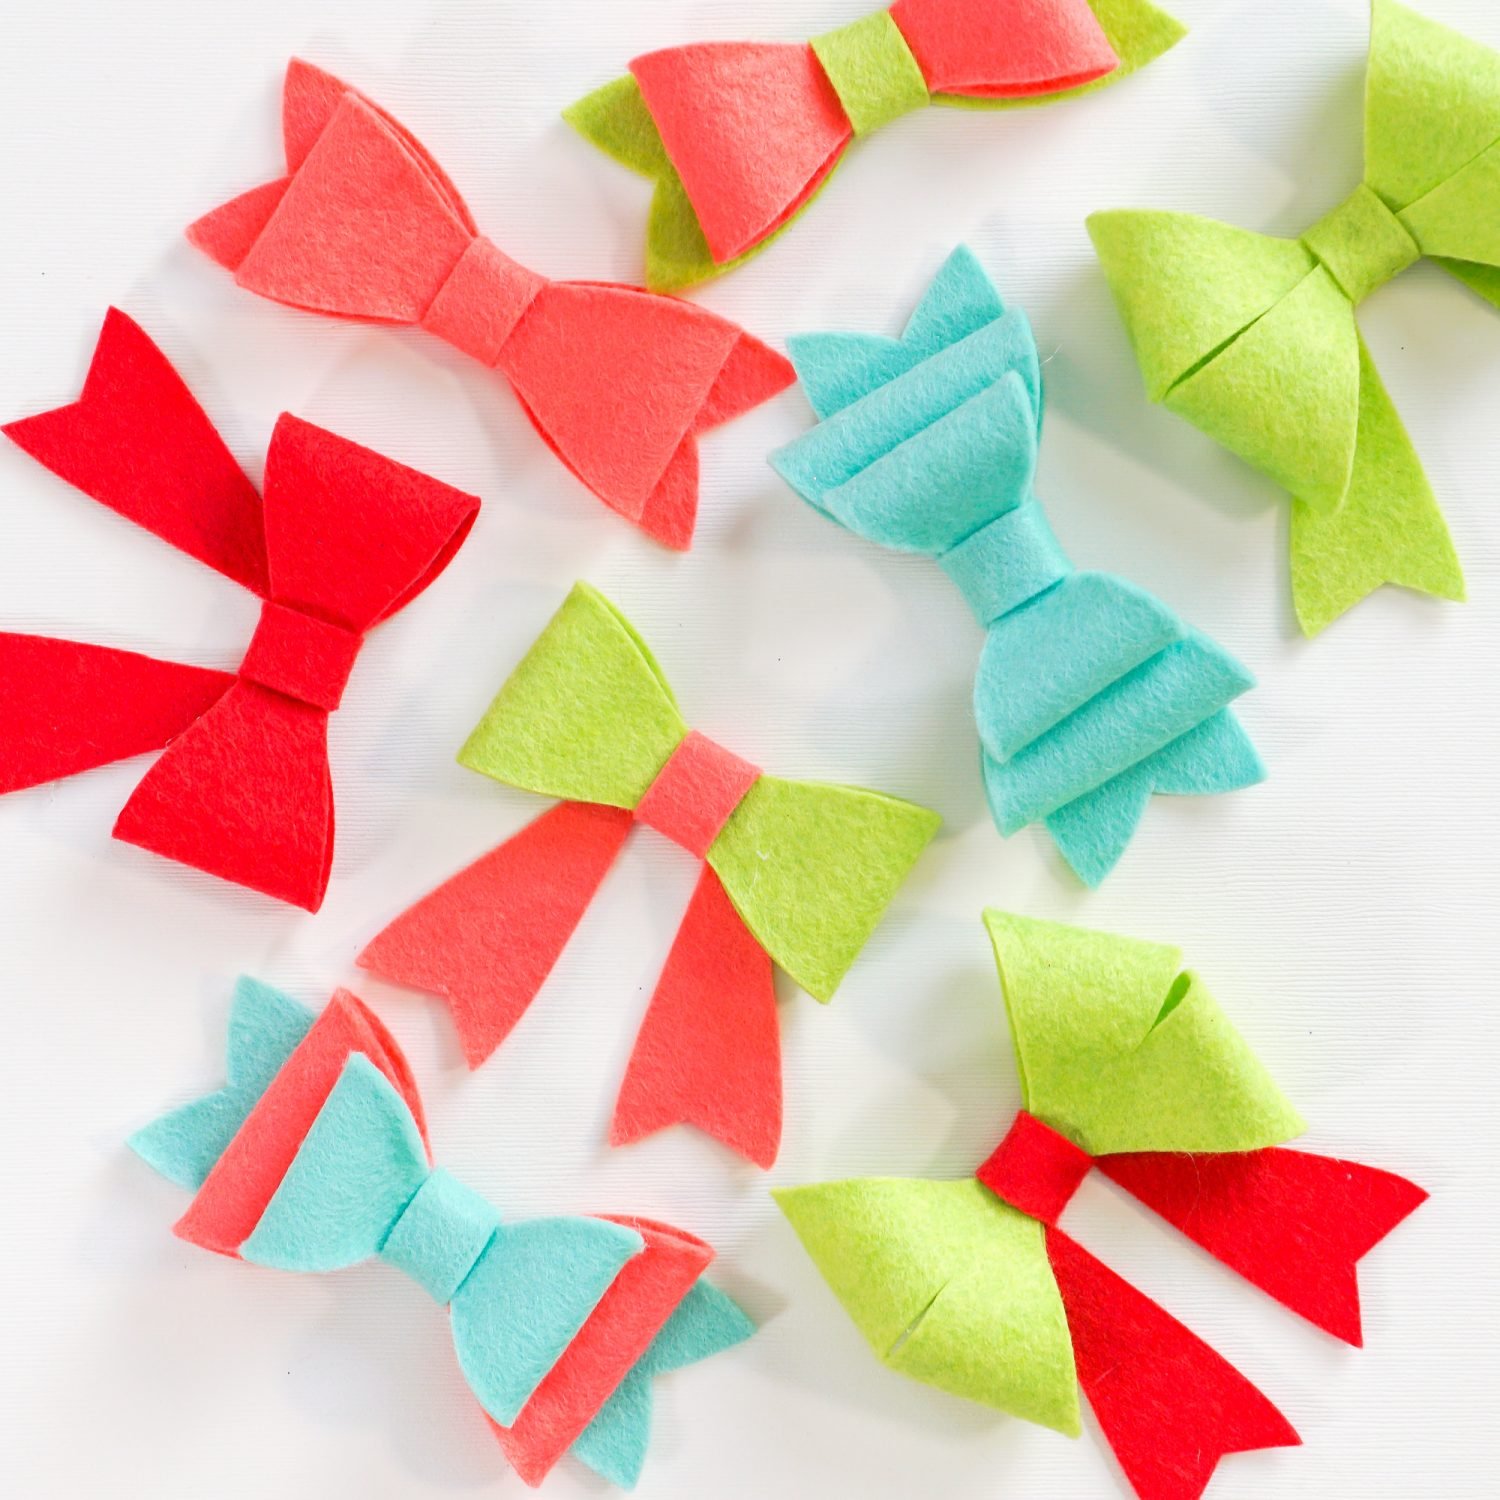
These are also so great cut in glitter or metallic felt, and you can cut them in thin leather and suede as well!
CRICUT FELT BOWS
Supplies
- Felt various colors
Instructions
- Upload the bow template to Cricut Design Space.

- Cut the felt using your Cricut.

- Use the hot glue gun to assemble the bow.

- Add to gift wrap, make into hair accessories, or use in decor and party projects!

Make All the 25 Days of Cricut Christmas Projects!
We’ll be adding links as each day goes live! Grab the full bundle with all of the projects and SVGs in our 25 Days of Cricut Christmas eBook!
- Day 1: DIY Christmas Countdown Calendar
- Day 2: Snow Globe Shaker Card
- Day 3: Happy Holly Days Christmas Banner
- Day 4: Felt Gnome Pillow
- Day 5: Cookies for Santa Tray
- Day 6: Snowflake Coasters
- Day 7: Customized Christmas Banner
- Day 8: Etched Holiday Baking Dish
- Day 9: DIY Gift Card Holder
- Day 10: Christmas Apron
- Day 11: Christmas Quilt Block Artwork
- Day 12: Constellation Glitter Ornaments
- Day 13: DIY Christmas Card Holder
- Day 14: Papercut Christmas Village
- Day 15: Funny Christmas Socks
- Day 16: Veneer Pinecone Earrings
- Day 17: How to Make Felt Bows
- Day 18: Personalized Santa Sacks
- Day 19: Newborn Footprint Ornaments
- Day 20: Layered Christmas Mandala
- Day 21: Customized Pot Holders
- Day 22: Sleigh Rides Christmas Sign
- Day 23: Hot Cocoa Mug Gift
- Day 24: Print then Cut Gift Tags
- Day 25: Matching Christmas Pajamas


Comments & Reviews
Giselle says
Hello, they are very nice. I have a question can you directly print for example a name on the felt fabric and of ues how to do that. Thank you alot
Crystal Summers says
Hi Giselle,
You could use your Cricut machine to cut heat transfer vinyl and iron it onto felt. That is probably the best and longest lasting way to add a name to the bows.
Hope this helps!
Crystal, HLMS Community Manager
Yvonne says
I love making bows for my grand babies, this is perfect.
Tammy Moser says
These are so cute, lots of fun! Thank you!!
Dustin says
These are adorable! I bet this save lots of money and can be a fun project to do together!