There are several methods you can use for layering iron-on vinyl. This is how to do it using the Slice tool in Cricut Design Space!

I get a lot of questions about different techniques for layering iron-on vinyl you’ve cut with your Cricut. Today I’m going to share my favorite method to layer iron-on vinyl—using the Slice tool in Cricut Design Space. By using this tool, you can avoid actually putting layers upon layers of iron-on vinyl on top of each other.
We’ll be using these adorable macaron files I designed for Fresh Cuts! I love macarons—every time we’re out in the Napa Valley (we’re lucky—it’s only an hour and a half away from our house!), I stop in at Bouchon Bakery. And when I say “stop in” I mean wait for an hour in line. They have giant macarons in all sorts of flavors. Melt in your mouth goodness, right there! These macaron cut files were designed based on my love of their macarons!
Buy the Macaron Bundle Here
Using Slice for Layering Iron-On Vinyl
I started to explain this Slice method in text, but it got really convoluted. So I finally decided to do something I don’t do very often—make a video! Watch to learn how to use this method in Cricut Design Space.
Once you have all of your layers cut, you can then layer them using your EasyPress or iron! See this post for an in-depth tutorial, or follow along here for the basics.
Usually I start by stacking all of my my layers to make sure they fit properly and so I can get my placement correct.
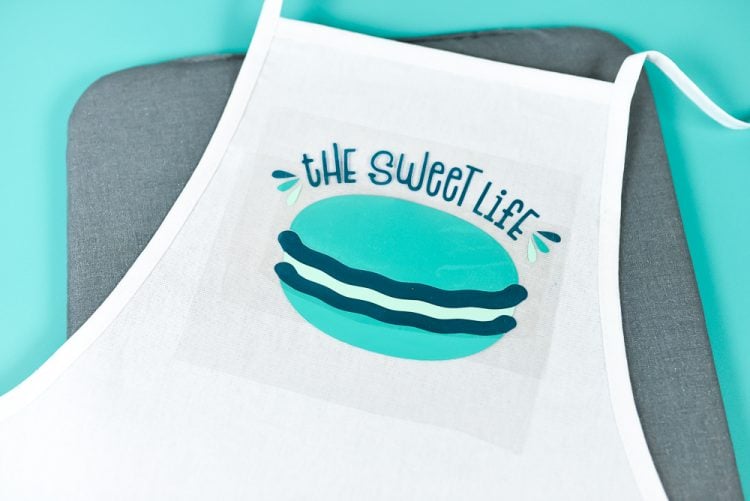
Then I peel back everything but the bottom layer.
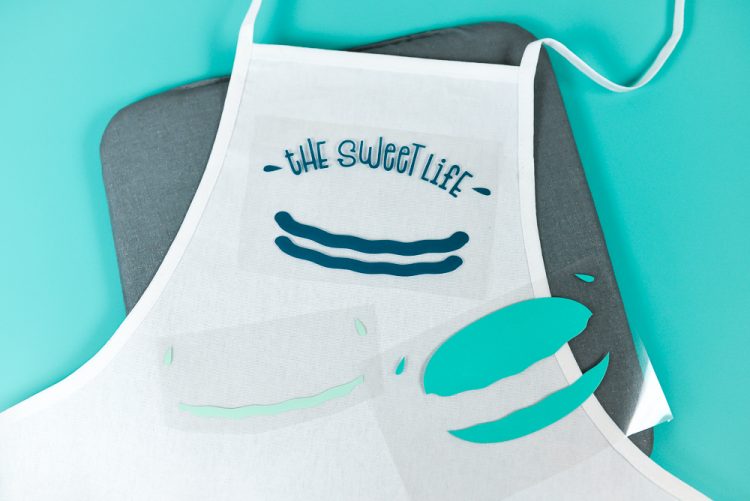
I adhere as usual using my EasyPress (see my post for adhering iron-on vinyl here—it includes information for using your iron, EasyPress, or heat press). When I’m layering vinyl, I always use a piece of cotton fabric or other pressing material (like a teflon sheet) when I’m pressing. I don’t want the plate of my EasyPress touching the vinyl I’ve already adhered. I find that it’s hit or miss on whether or not this can make the vinyl bubble, so I just use the pressing cloth so I don’t risk it. See my Layering Iron On Vinyl post for more details.
Then do the two other layers and your layered vinyl project is finished!

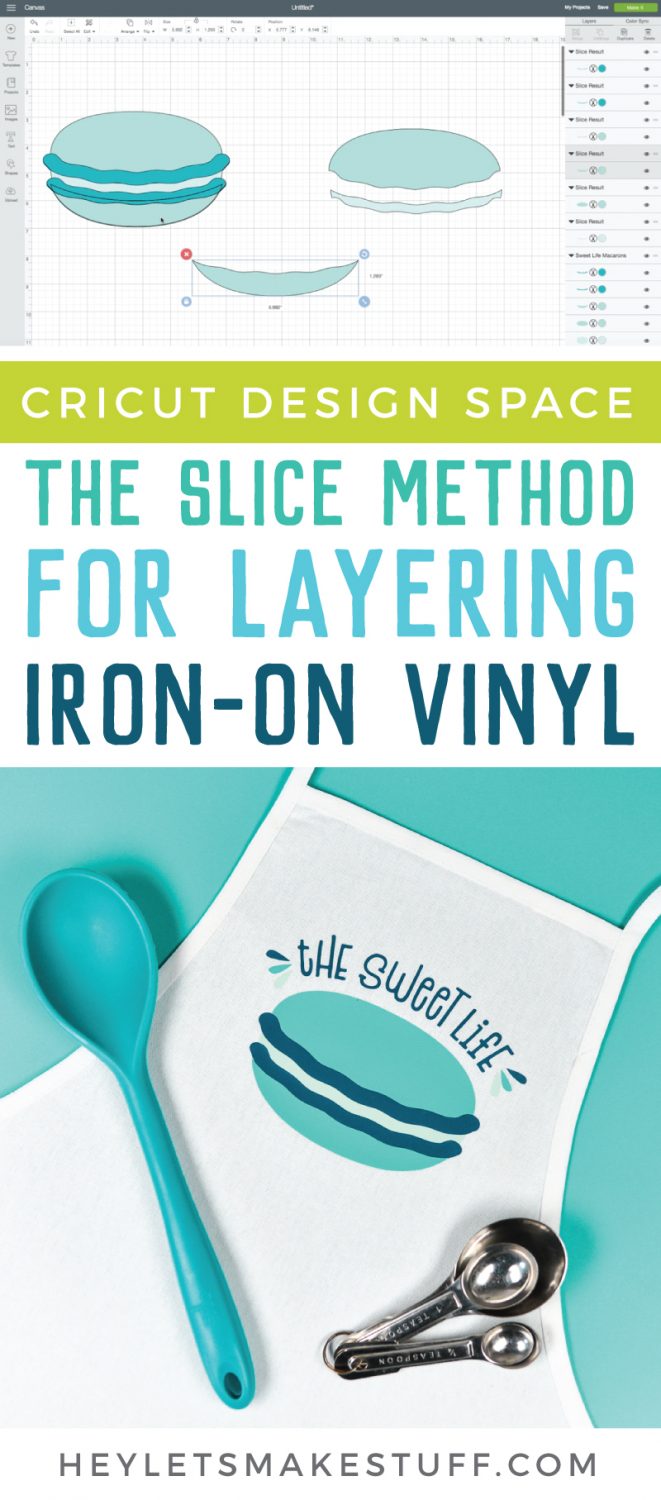


THE SLICE METHOD FOR LAYERING IRON-ON VINLY (HTV)
Equipment
- Cricut Maker or
- piece of cotton fabric
Supplies
- Free Sweet Life Macaron File #C144
- Iron-On Vinyl your choice of colors
Instructions
- See post for video on how to use the Slice Tool method in Cricut Design Space. Explaining it in text got really convoluted.Once you have all of your layers cut, you can then layer them using your EasyPress or iron! See this post for an in-depth tutorial, or follow along here for the basics.Start by stacking all of your layers to make sure they fit properly and to get the placement correct.

- Then peel back everything but the bottom layer.

- Adhere as usual using an EasyPress (see this post for adhering iron-on vinyl here—it includes information for using your iron, EasyPress, or heat press). When layering vinyl, always use a piece of cotton fabric or other pressing material (like a teflon sheet) when pressing. You do not want the plate of the EasyPress touching the vinyl that's already been adhered. It's hit or miss on whether or not this can make the vinyl bubble, so just use the pressing cloth so you don't risk it. See this Layering Iron On Vinyl post for more details.Then do the two other layers and your layered vinyl project is finished!




Comments & Reviews
Christine Petchnick says
You showed me something new, thank you for sharing.
LETTA BRIDGES says
Thank you! This was very helpful.