
THE SLICE METHOD FOR LAYERING IRON-ON VINLY (HTV)
There are several methods you can use for layering iron-on vinyl. This is how to do it using the Slice tool in Cricut Design Space!
Equipment
- Cricut Maker or
- piece of cotton fabric
Ingredients
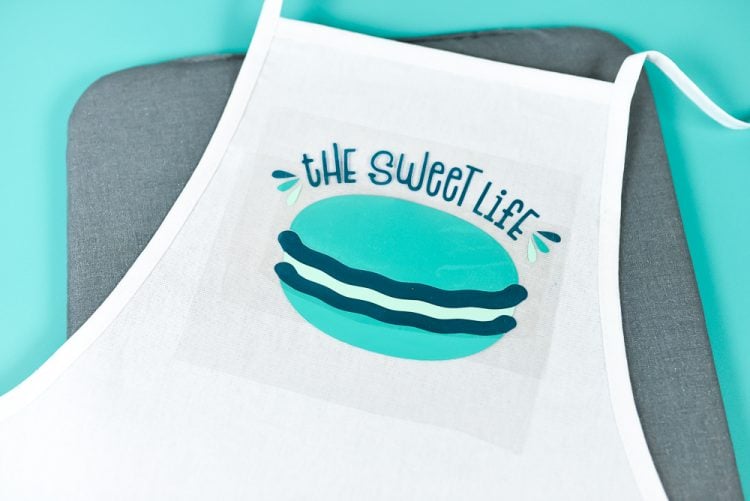
- Free Sweet Life Macaron File #C144
- Iron-On Vinyl your choice of colors
Instructions
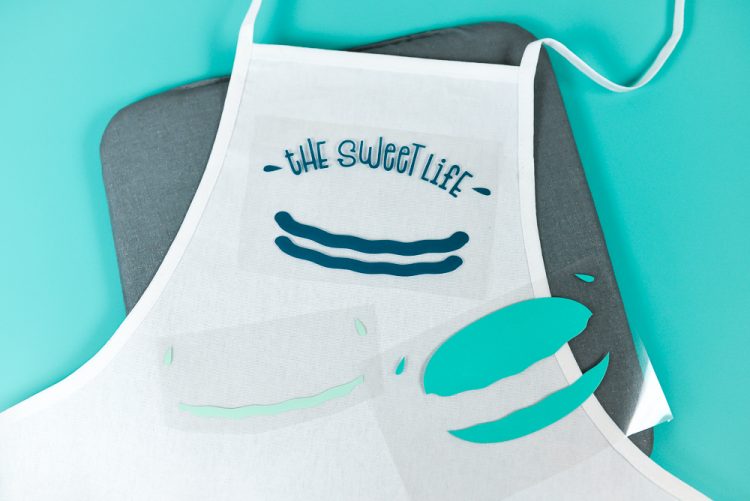
- See post for video on how to use the Slice Tool method in Cricut Design Space. Explaining it in text got really convoluted.Once you have all of your layers cut, you can then layer them using your EasyPress or iron! See this post for an in-depth tutorial, or follow along here for the basics.Start by stacking all of your layers to make sure they fit properly and to get the placement correct.
- Then peel back everything but the bottom layer.
- Adhere as usual using an EasyPress (see this post for adhering iron-on vinyl here—it includes information for using your iron, EasyPress, or heat press). When layering vinyl, always use a piece of cotton fabric or other pressing material (like a teflon sheet) when pressing. You do not want the plate of the EasyPress touching the vinyl that's already been adhered. It's hit or miss on whether or not this can make the vinyl bubble, so just use the pressing cloth so you don't risk it. See this Layering Iron On Vinyl post for more details.Then do the two other layers and your layered vinyl project is finished!