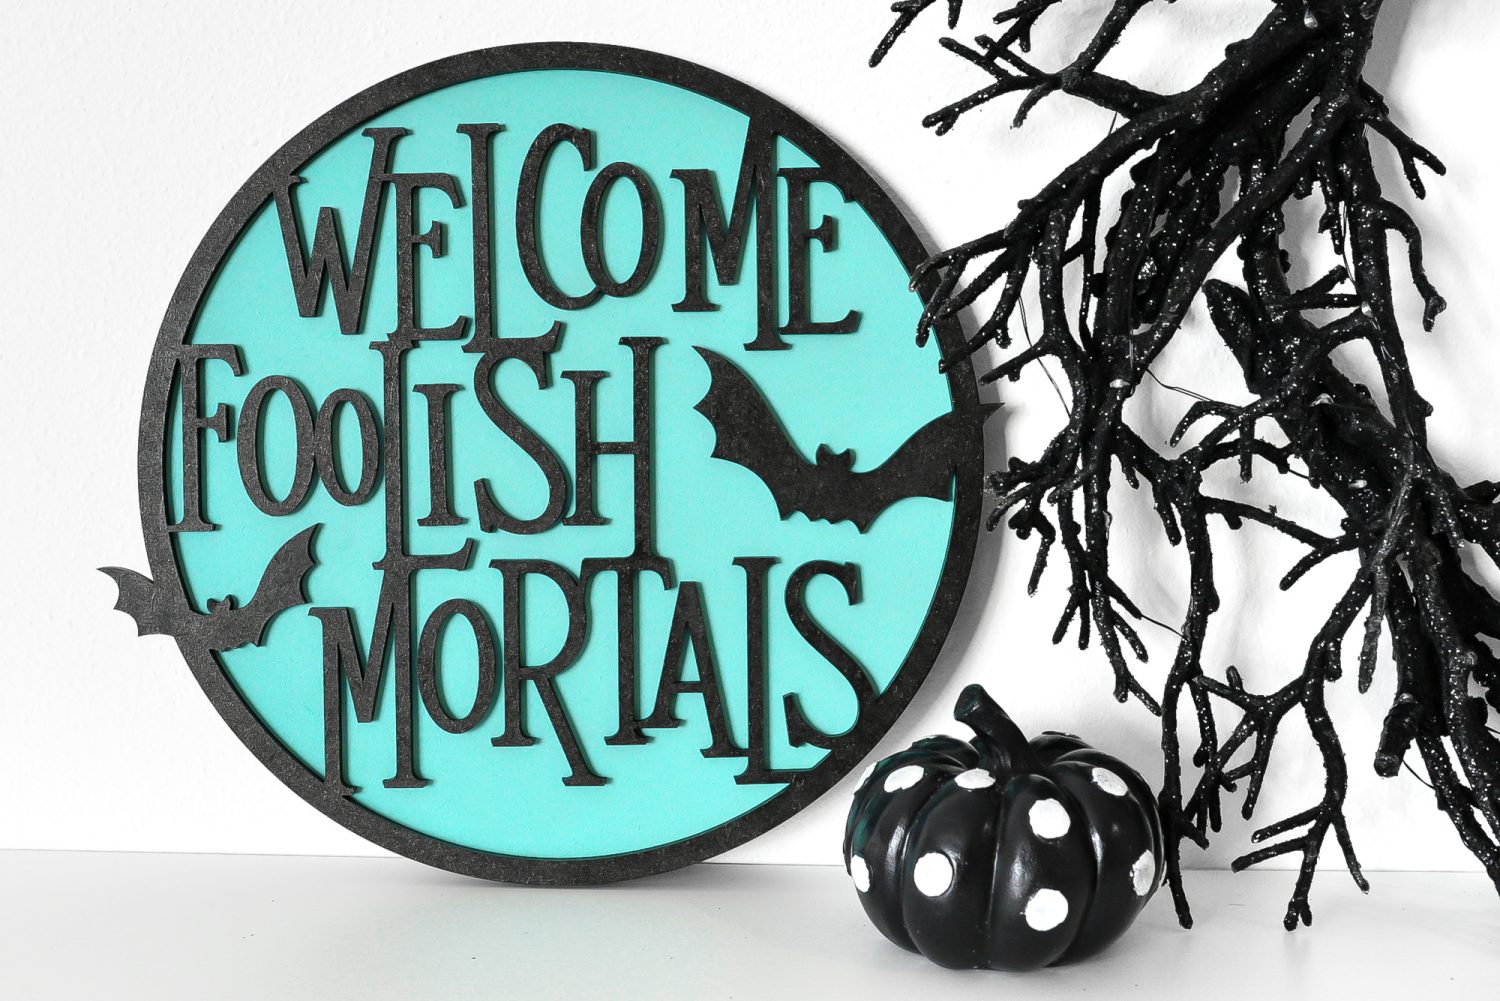
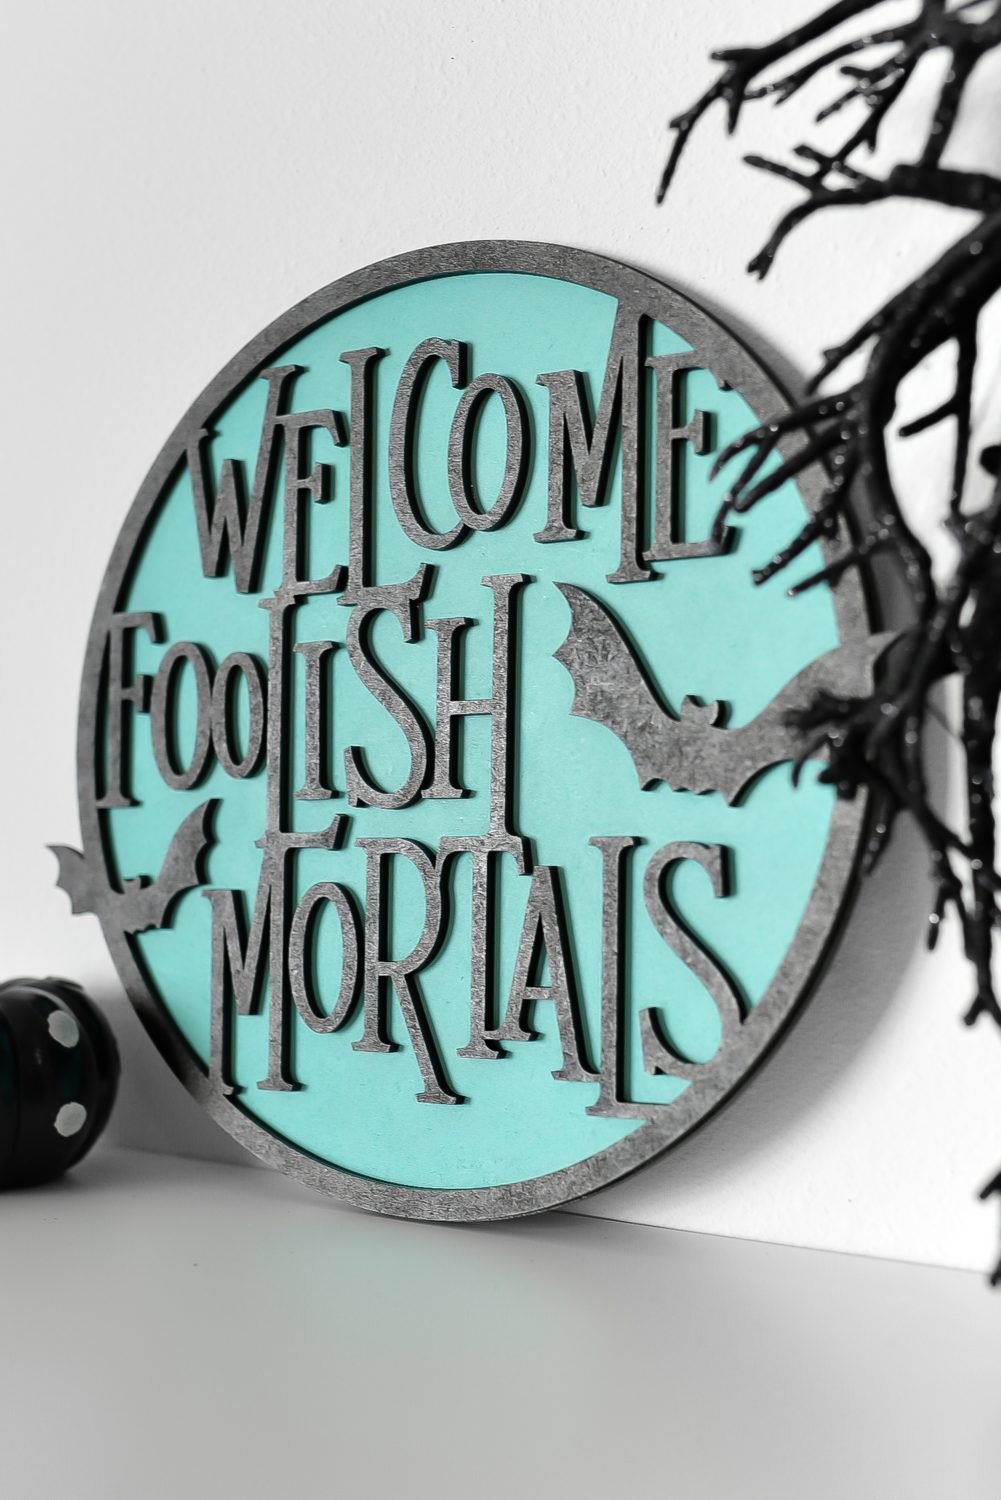
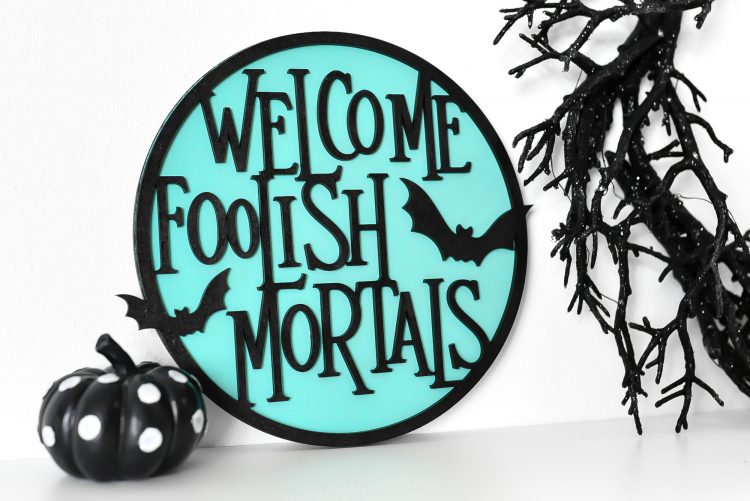
Get ready for a ghoulish visit to the Haunted Mansion by crafting this “Welcome Foolish Mortals” wood sign! This Halloween sign is made using the Glowforge, and can also be cut on a Cricut or other cutting machine.
When I lived in Southern California for college, I had a season pass to Disneyland. I spent countless hours there with friends, often studying with flashcards while waiting in line for the rides. We’d go on rainy Tuesdays in February and practically have the park to ourselves. One of my absolute favorite rides is the Haunted Mansion—I can still say the entire script from beginning to end!
As you may have seen on Instagram or here on my blog, I recently got a Glowforge and I’ve been having a lot of fun learning how to create awesome projects with it. Today I’ve created a “Welcome Foolish Mortals” Halloween sign using my Glowforge and a sheet of proof-grade draftboard.
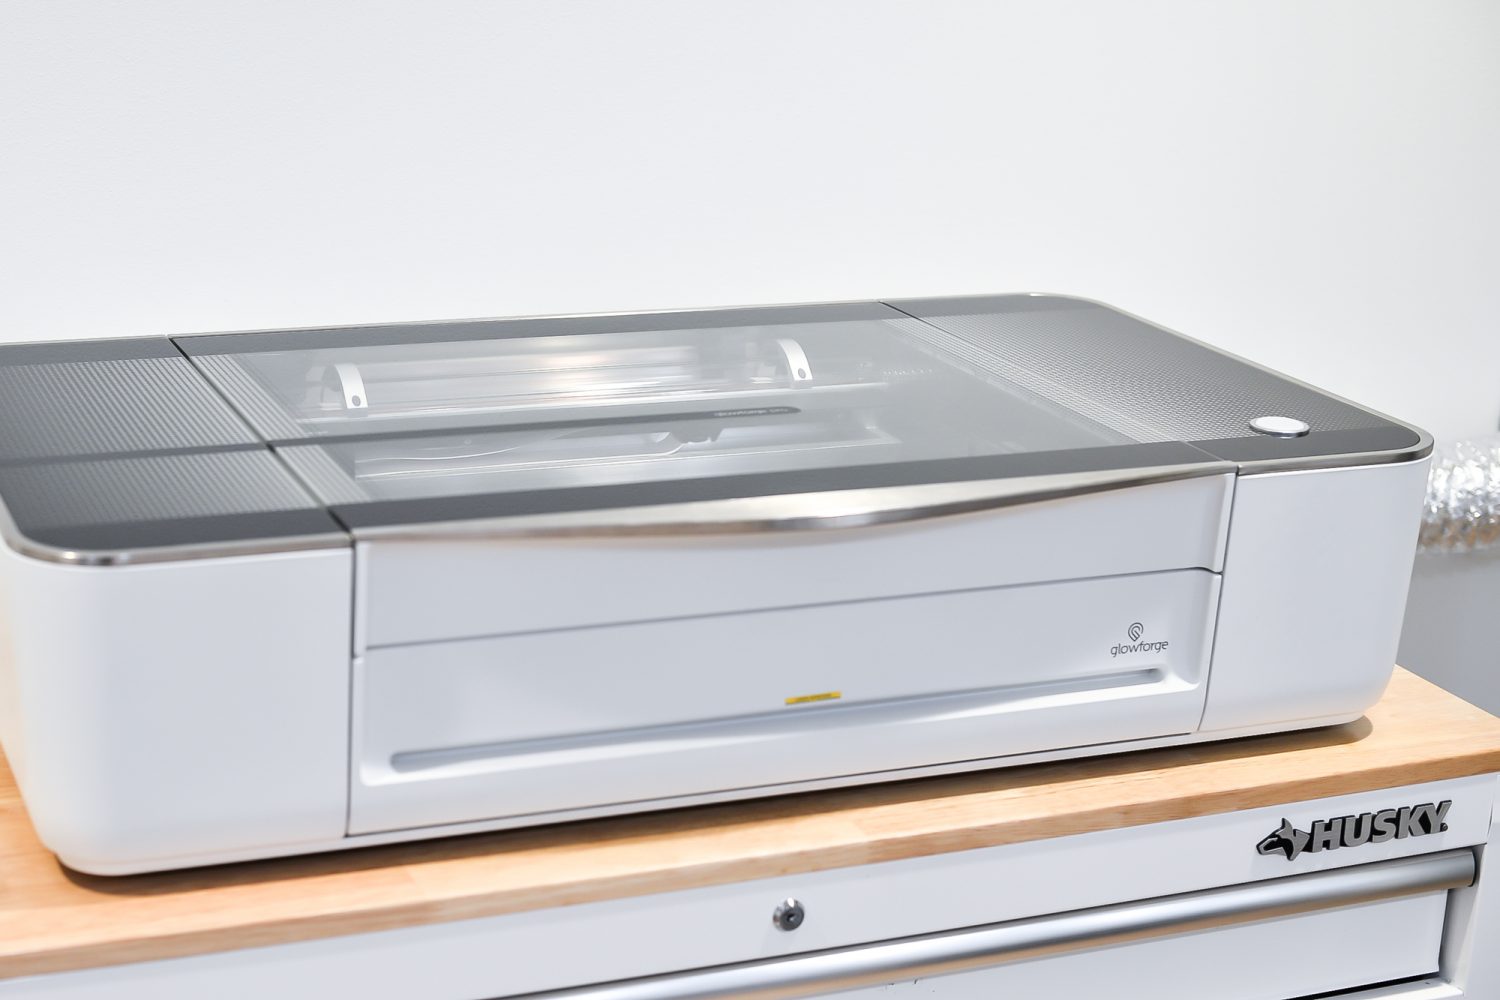
Want to learn more about the Glowforge and why I think it’s an amazing addition to your craft room? Check out my Glowforge Overview!
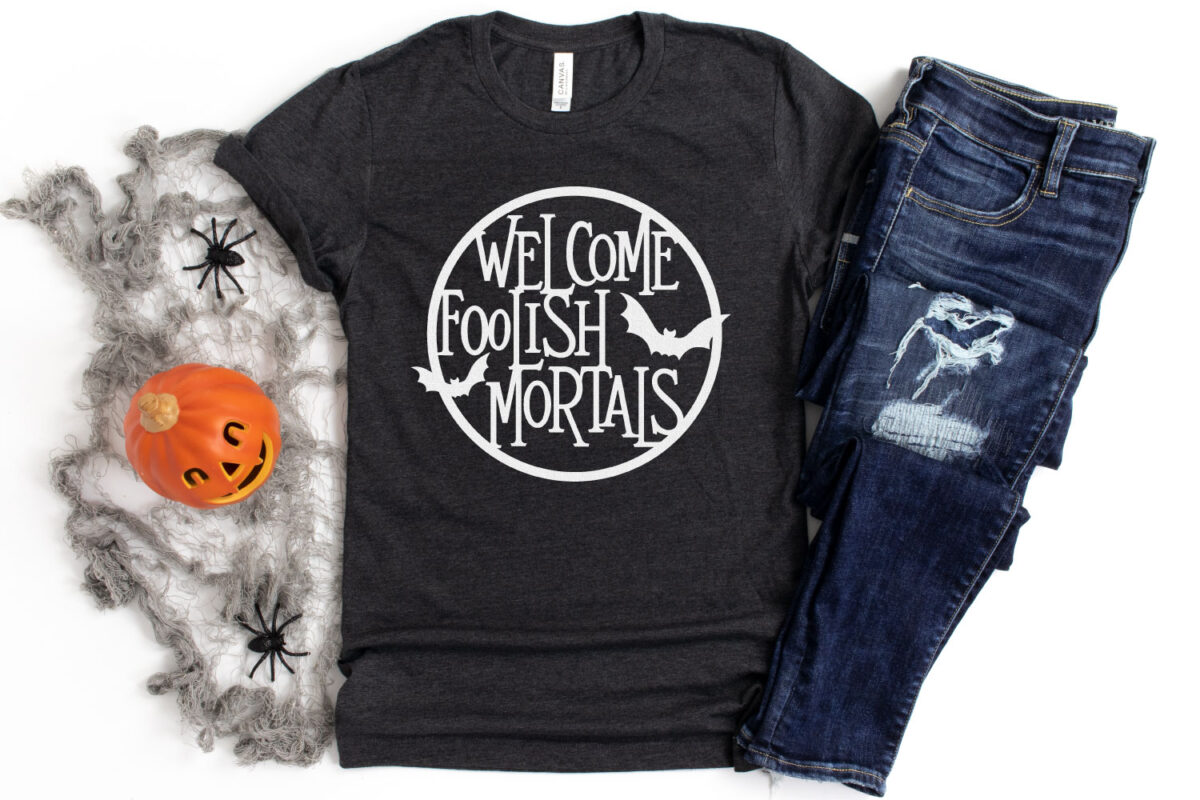
Cricut fans—not to worry! You can also make this sign using a pre-made wood circle and iron on vinyl, you can put it on a shirt or pillow or other creative project. Grab the Cricut version of the file here.
Glowforge Halloween Sign Supplies
I used craft paint and a makeup sponge to paint my sign. There are many ways to paint draftboard, so if you have a method you prefer, feel free to use it! And of course, you can paint it any colors you’d like. Some other ideas: traditional orange and black, a glow in the dark background, glitter, or even a spooky night sky.
- Glowforge
- 1 sheet of proof-grade medium draftboard
- Craft paint
- Makeup sponge
- E6000 or other craft glue
- Ribbon for hanging (optional)
- SVG (See below. Click the dropdown and purchase a commercial license if you’d like to sell anything made with this file!)
Get the Free File
Want access to this free file? Join my FREE craft library! All you need is the password to get in, which you can get by filling out the form below. The file number is: L1.
Glowforge Halloween Sign Instructions
Place your draftboard in the bed of the Glowforge. Go to app.glowforge.com and click on New Design: Upload from file.
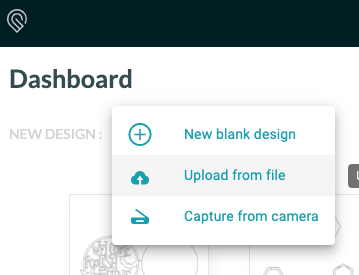
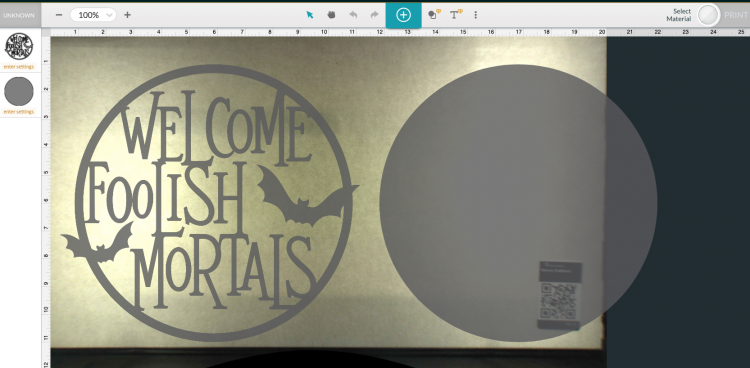
Navigate to the Foolish Mortals SVG you downloaded from my library above and the Glowforge app will load it into the software.
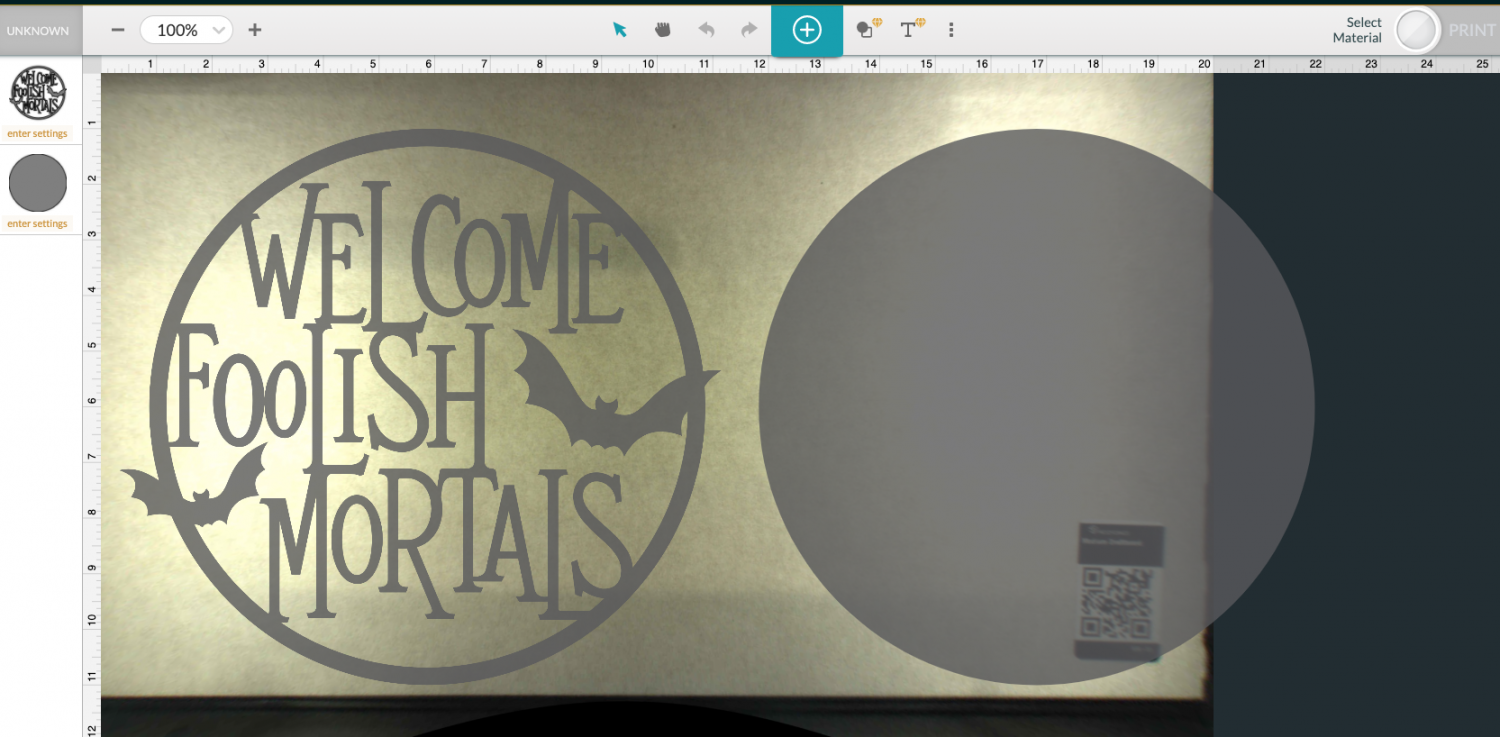
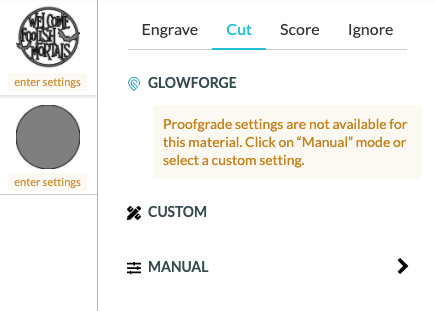
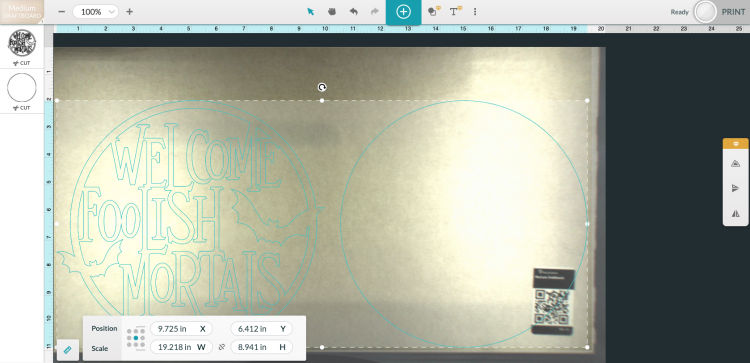
Now you’ll need to select the settings for these two pieces. Both pieces are intended to be cut, so select each piece in the left-hand sidebar and select “cut” for both.
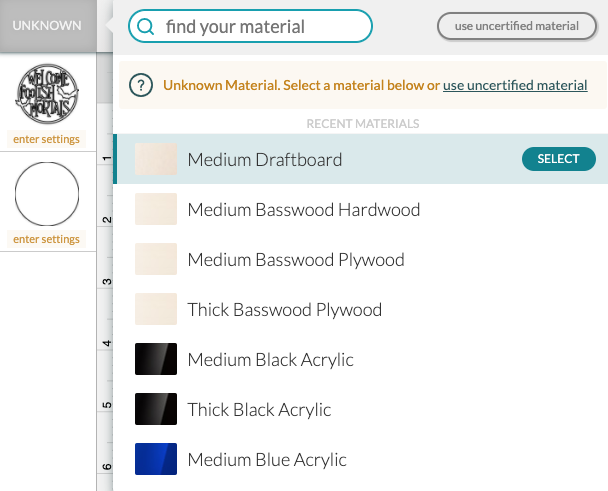
You’ll notice that my Glowforge didn’t recognize that this is medium draftboard (even though the QR code is down in the righthand corner). it just happens occasionally, or you may want to flip your draft board so the QR code isn’t readable. You can click on the material setting in the upper left and select Medium Draftboard.
Then select both images and resize them to fit on your draftboard. Mine are about 9″ tall.
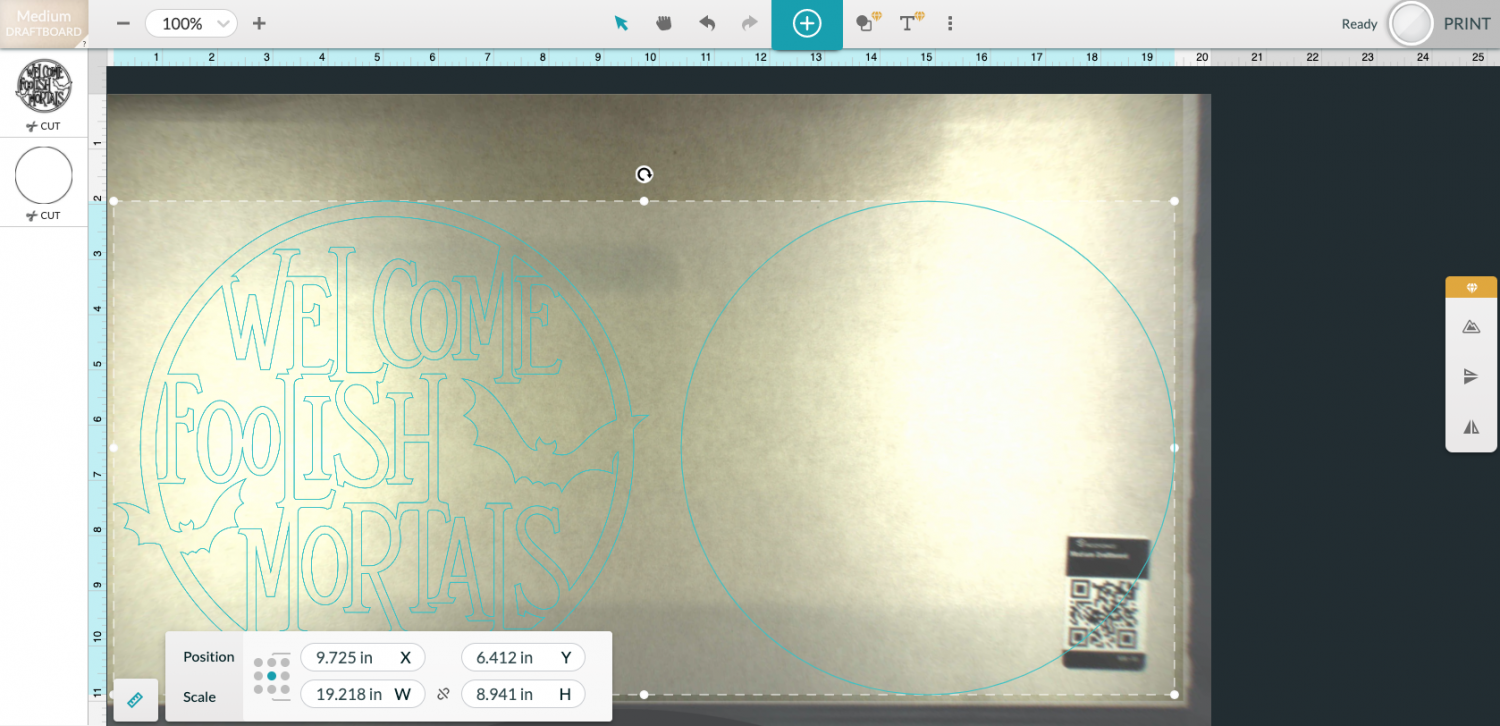
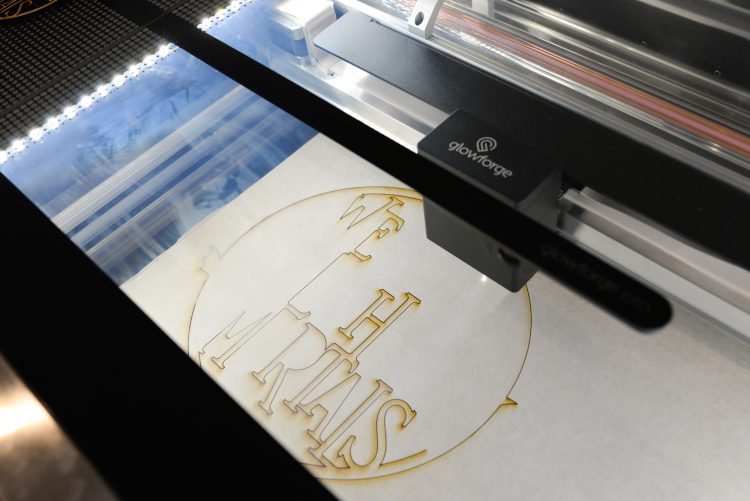
Then you are ready to cut! Click Print in the upper right and your Glowforge will prepare. Once it’s ready, the big button will turn blue. Press it to print (cut) your Halloween sign!
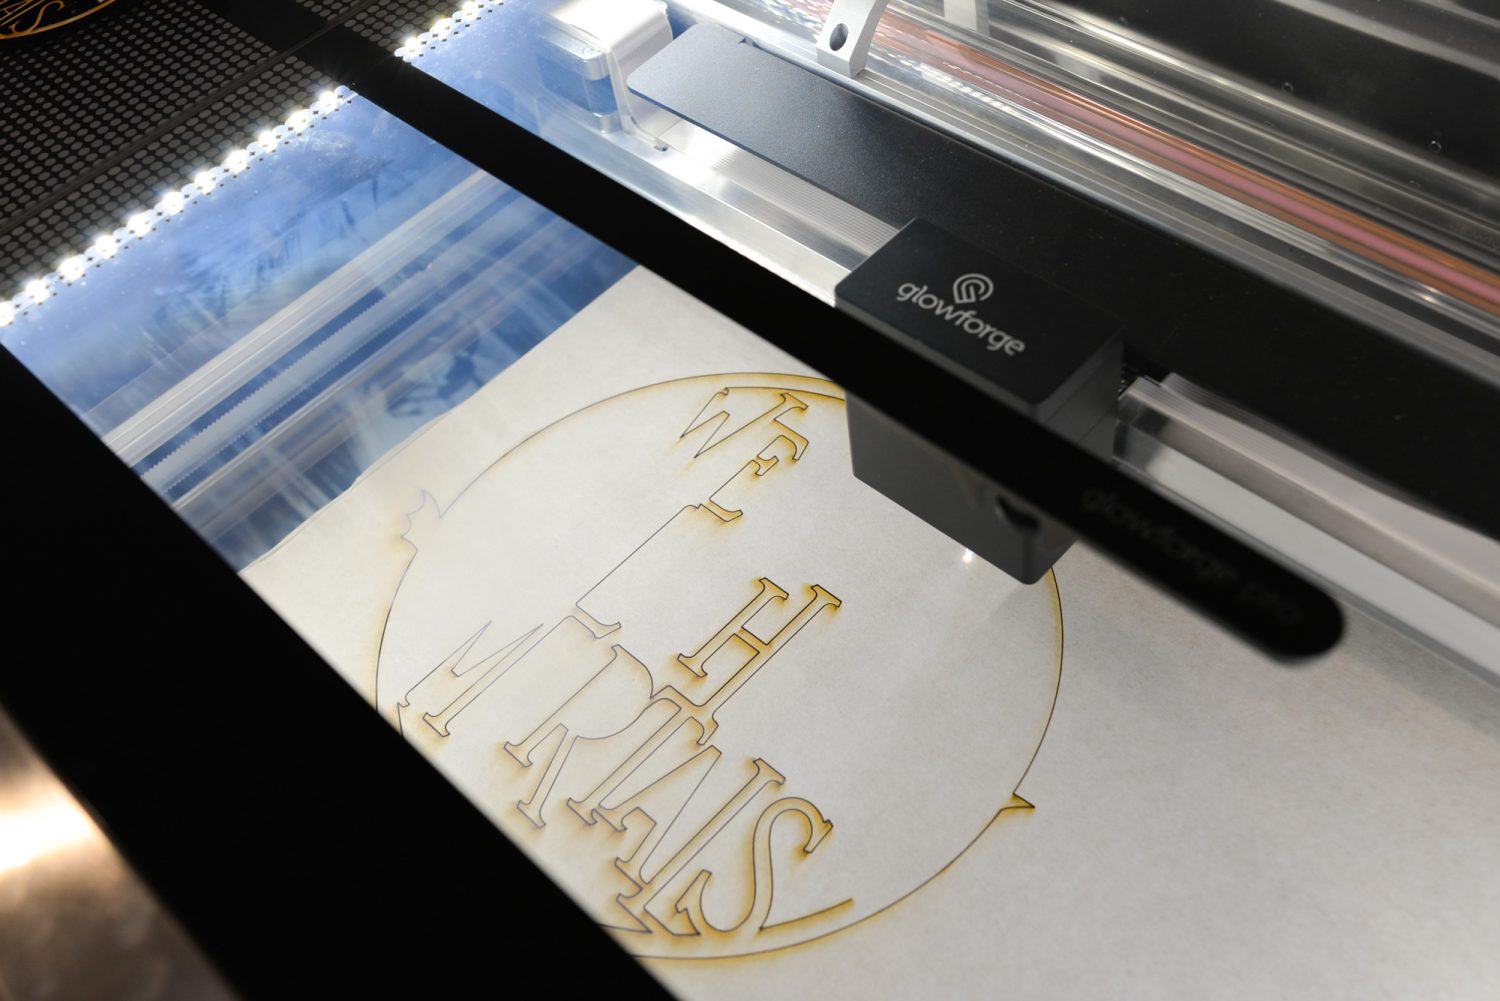
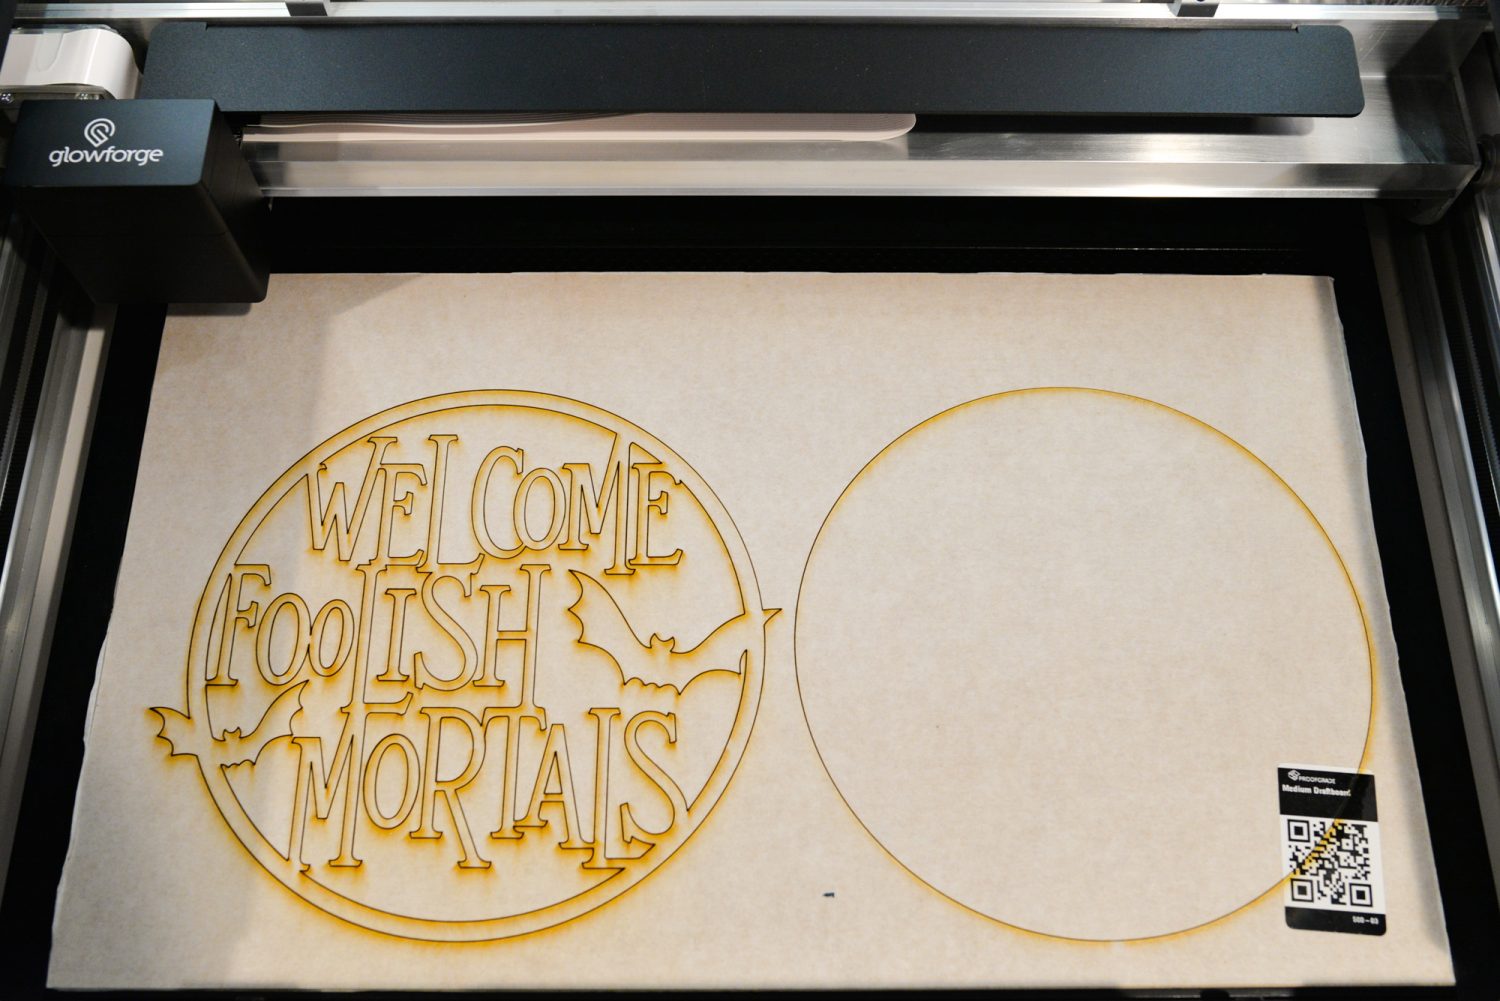
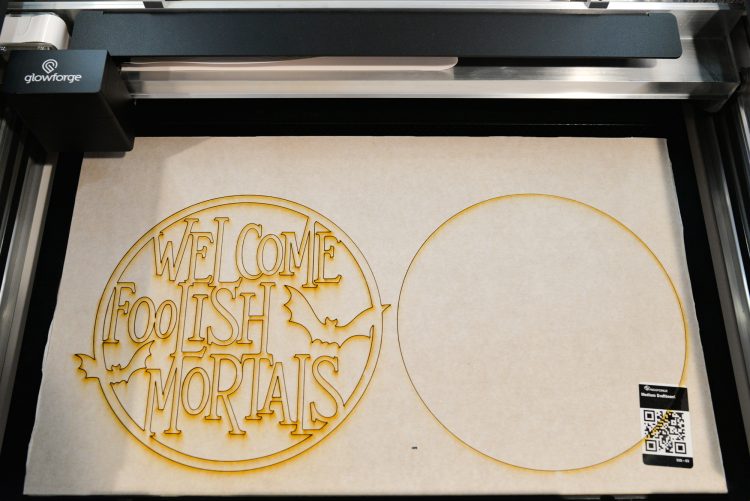
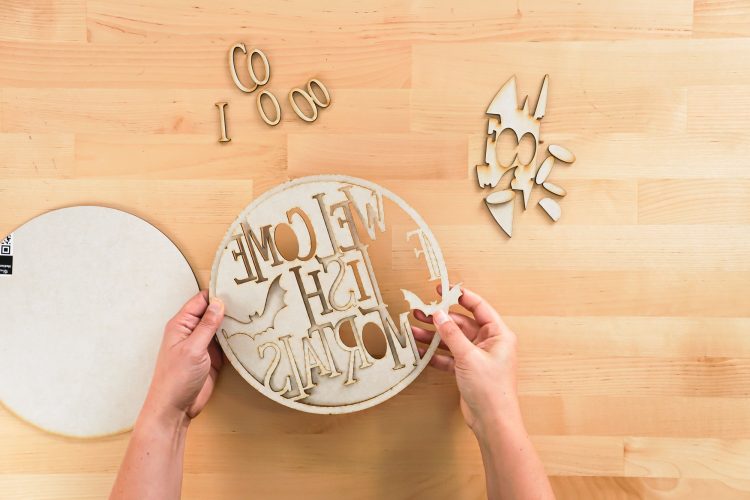
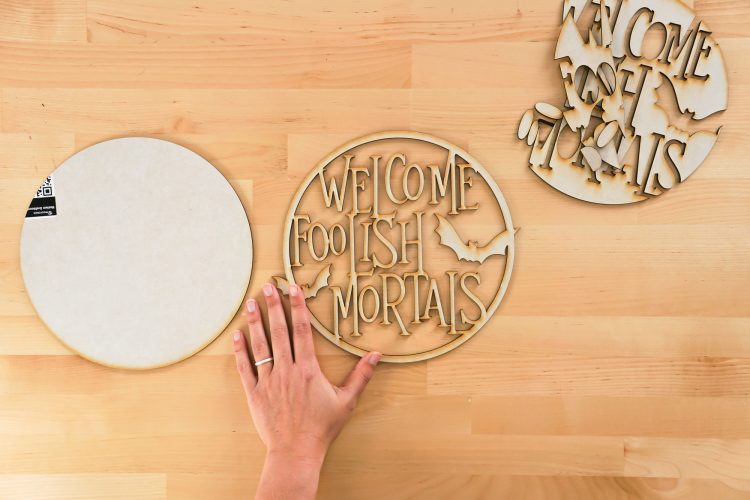
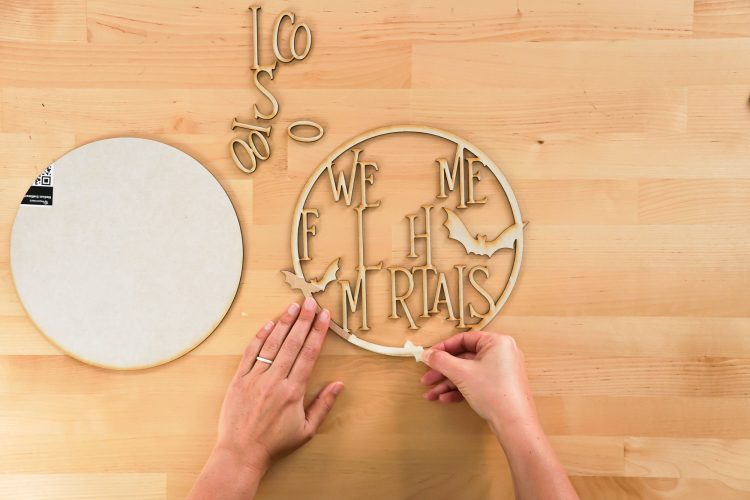
Once it’s finished, carefully remove the project from the bed of the Glowforge. A few of the smaller pieces may fall out—make sure you don’t lose any of the loose letters. Pull out any remaining negative pieces.
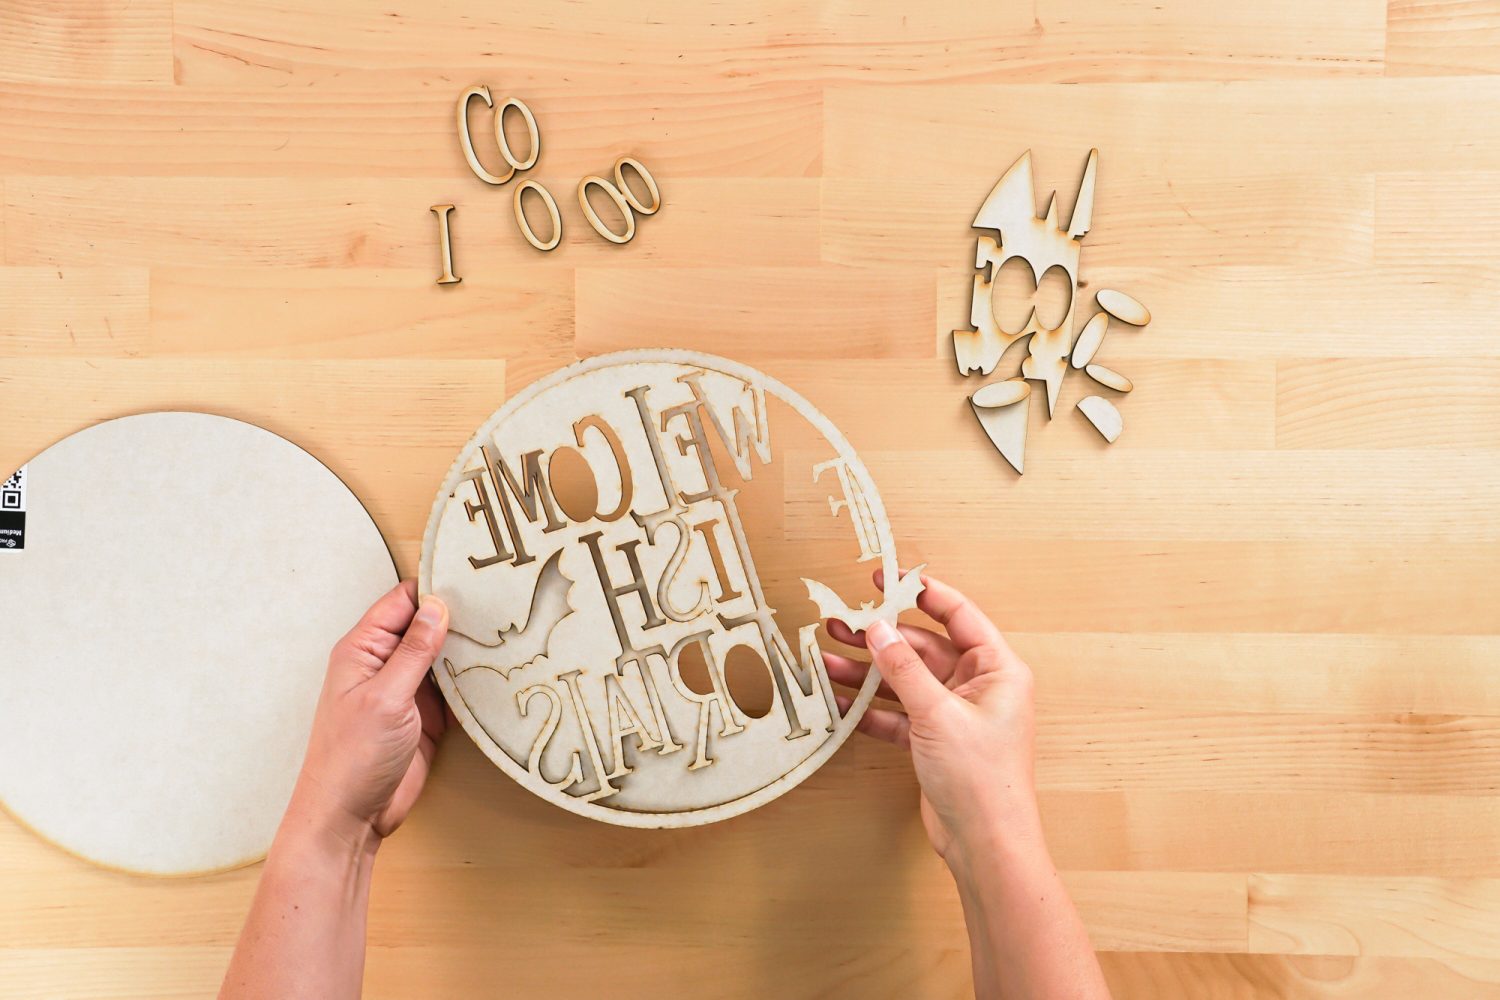
Once you have all the pieces removed, put them together to make sure you have all of the loose letters.
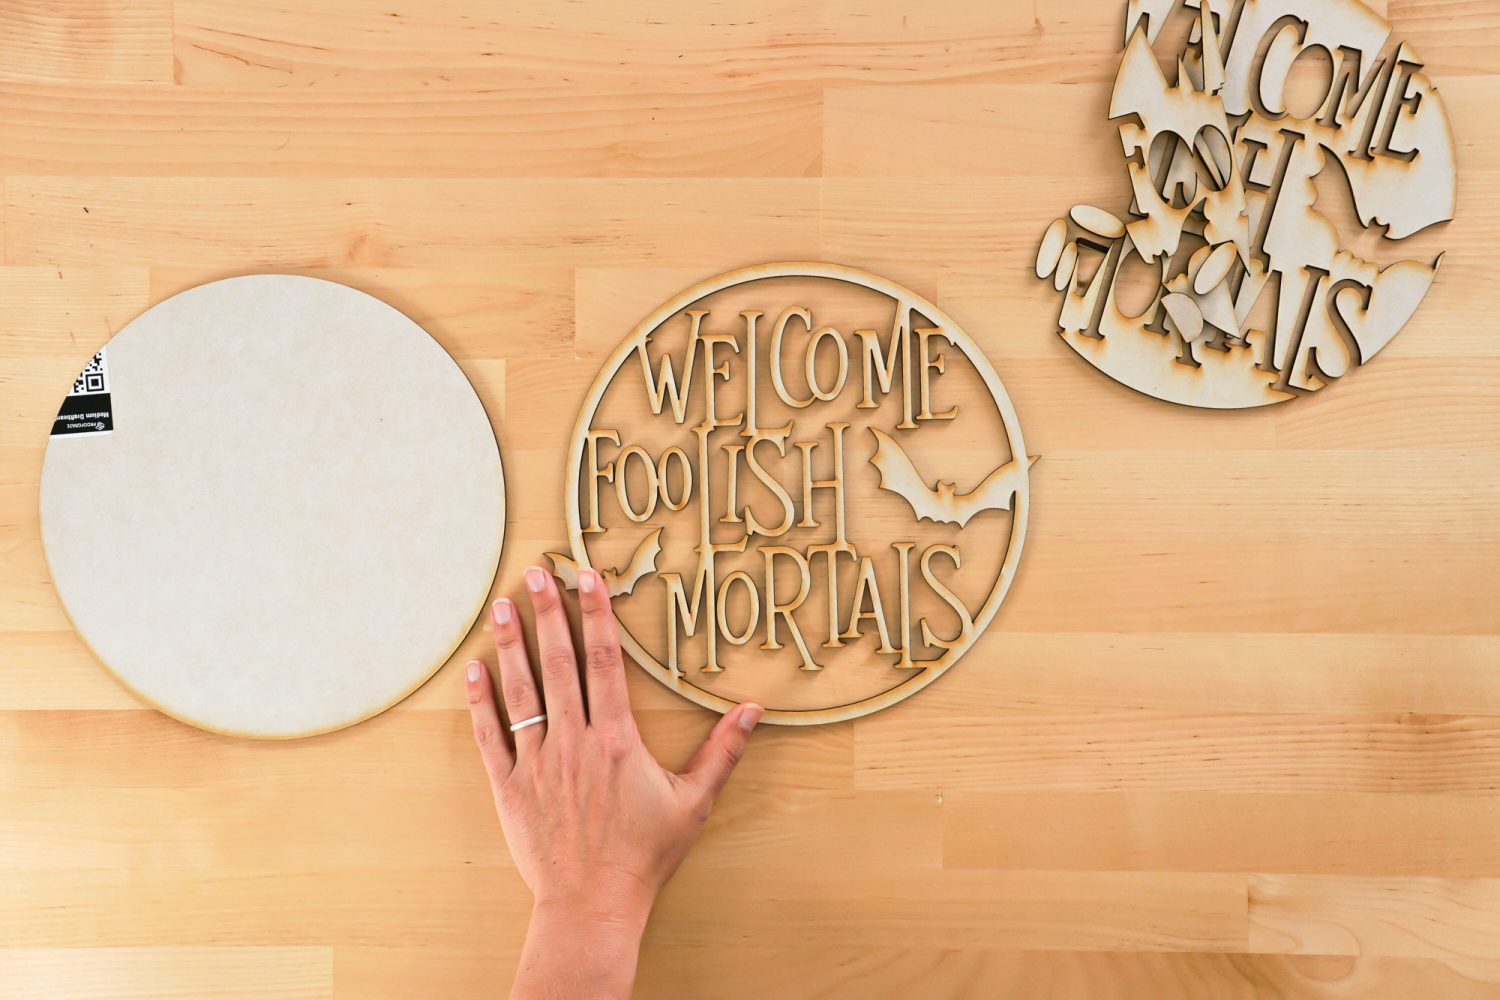
Then you are going to remove the “mask” (which is basically a masking tape sheet) from the entire Halloween sign. Take your time and don’t pull on any of the delicate pieces too hard.
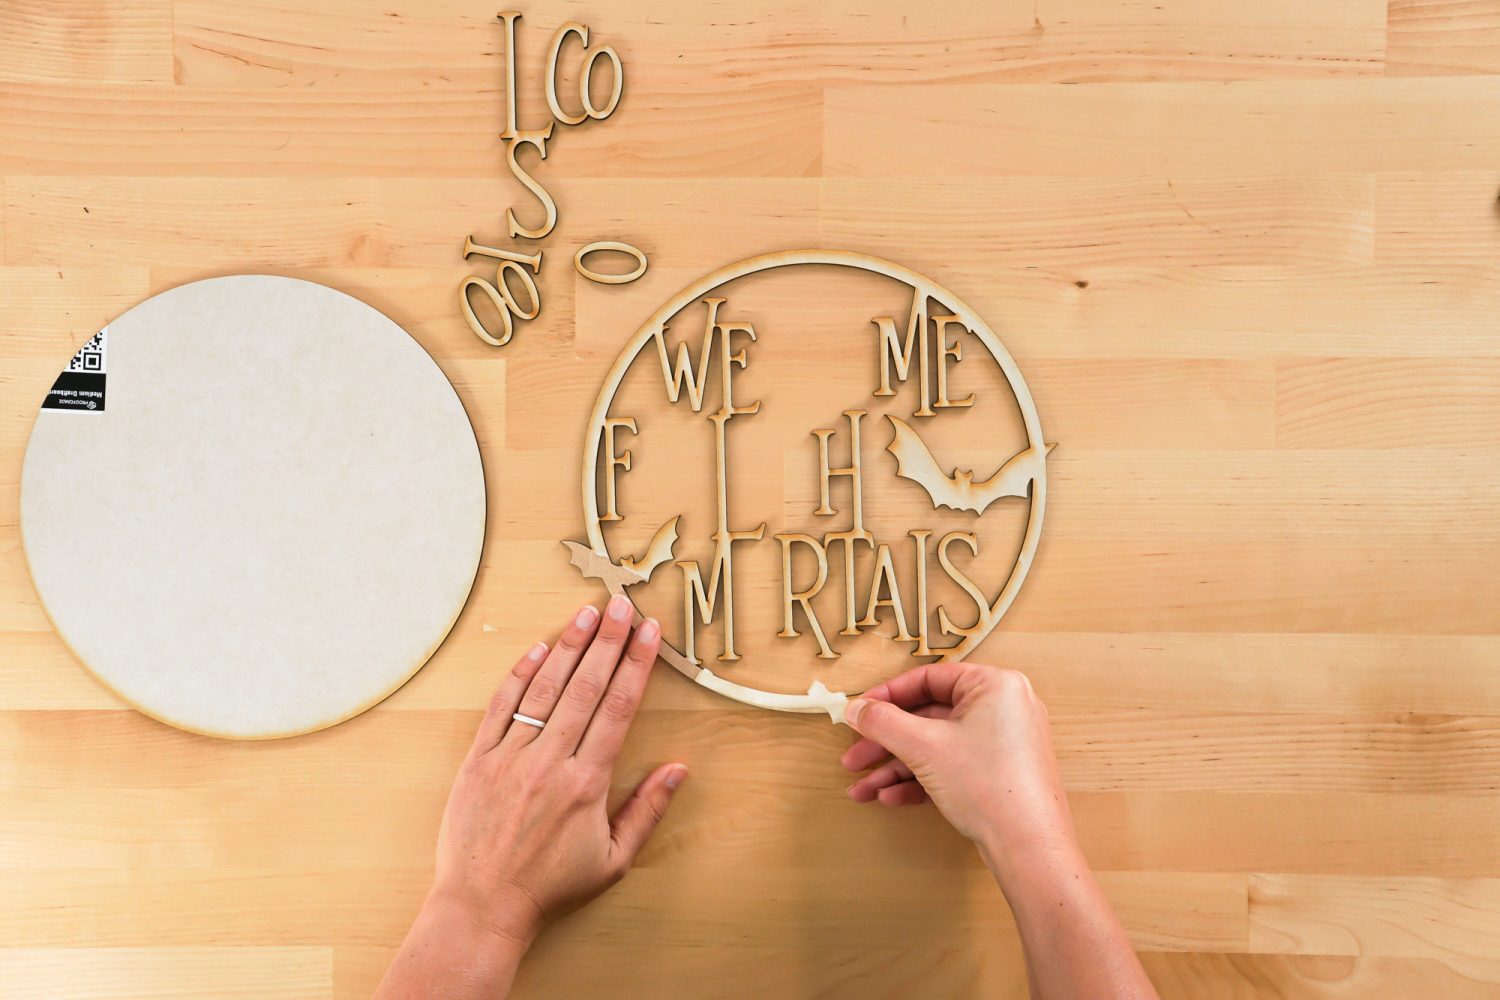
Remove the mask on both sides of your cut, as well as on the big circle.
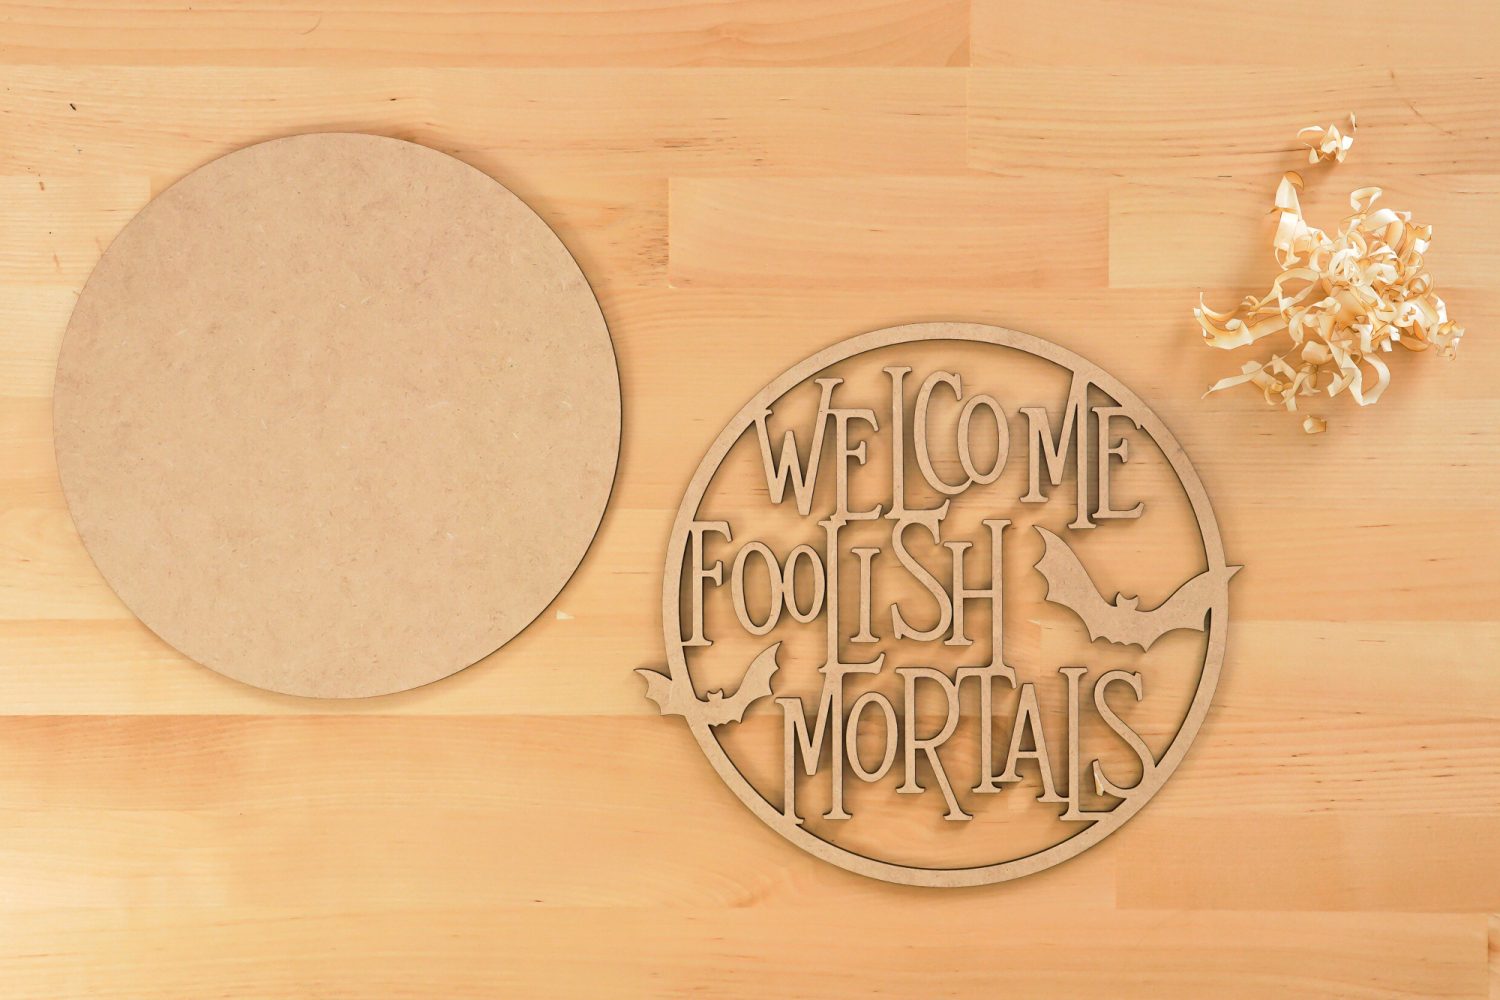
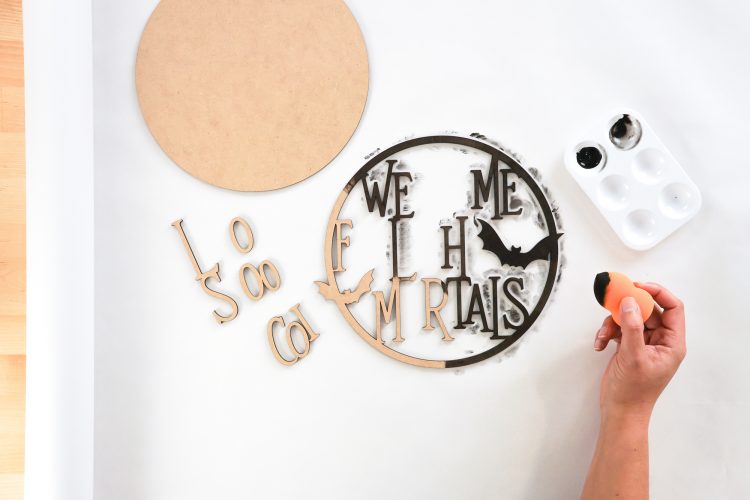
It’s time to paint your project! I used two colors of craft paint, daubed on with a makeup sponge. I like the makeup sponge because it creates a fairly smooth texture compared to some of the other sponges, and it doesn’t leave brush strokes like a paint brush.
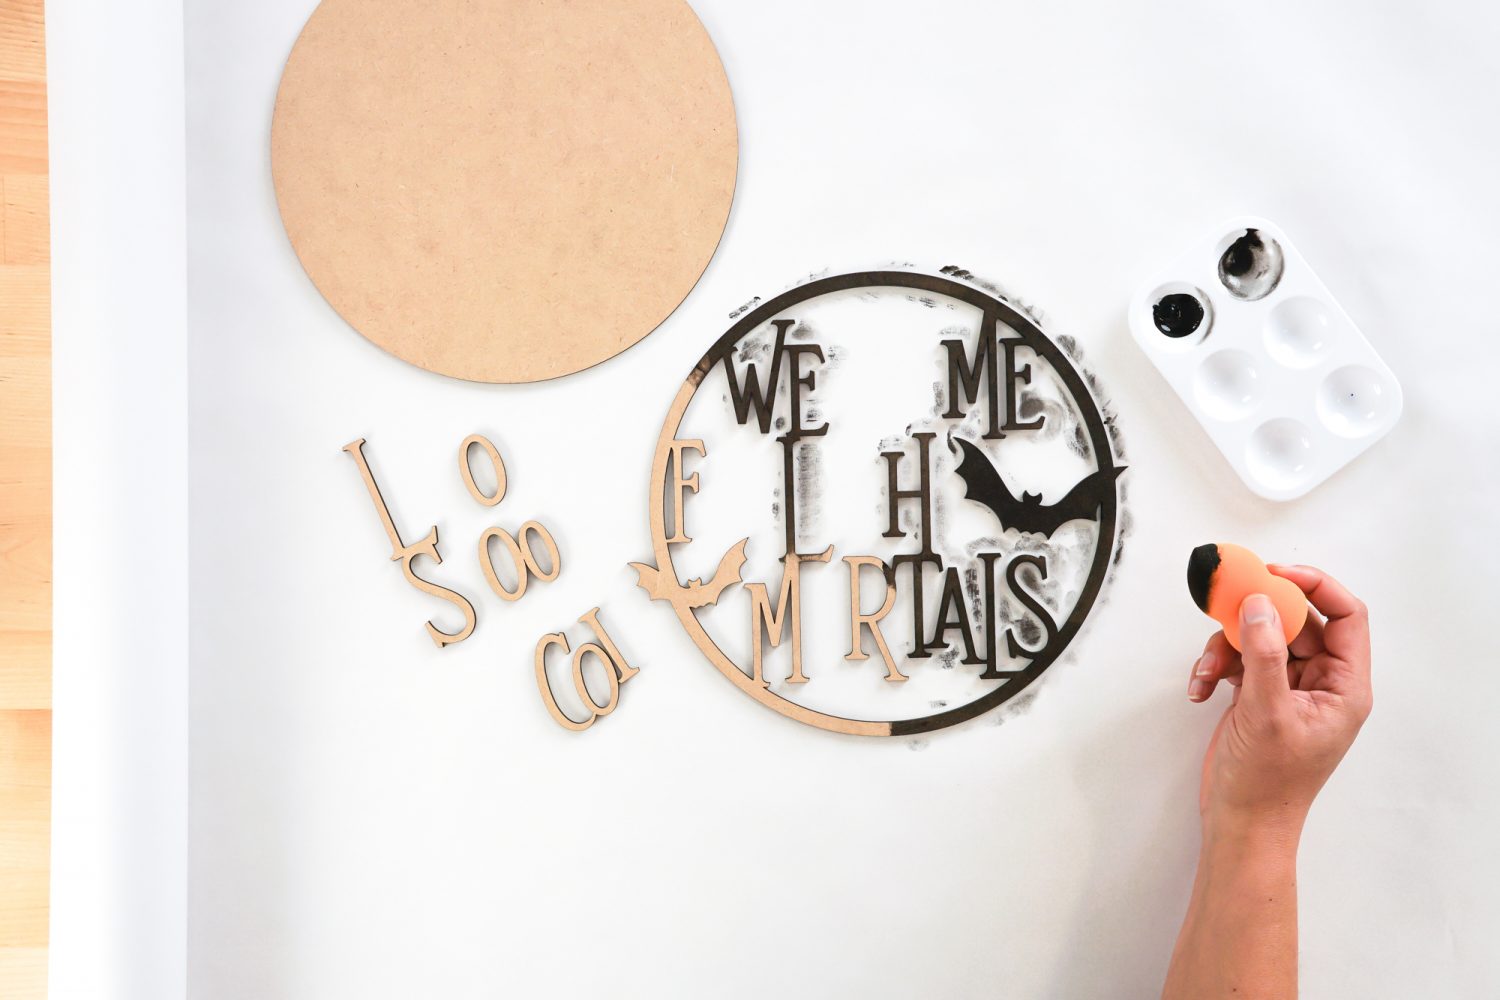
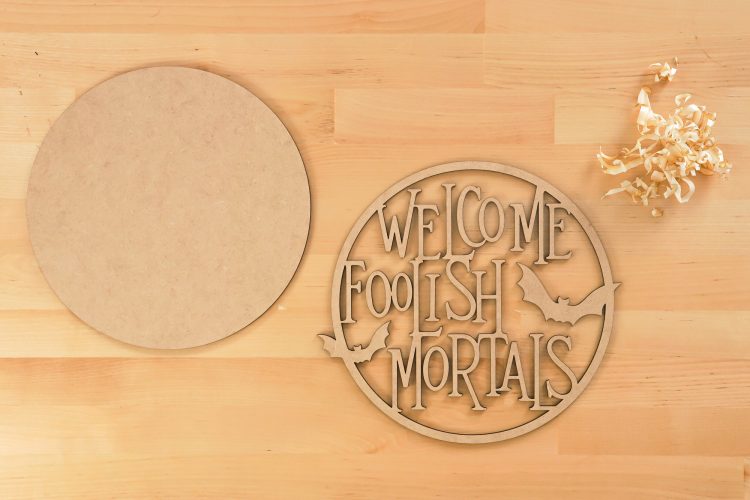
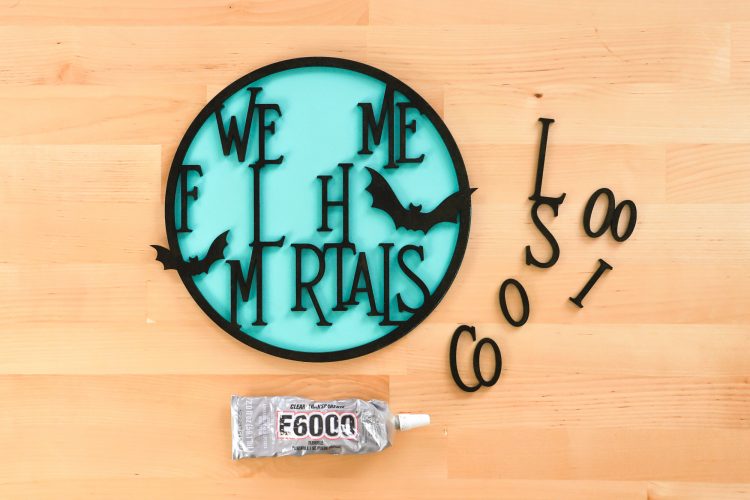
Then use the E6000 or other glue to adhere your image to the back circle. Don’t use a lot of glue—it’ll seep out if you’re not careful. I also set a huge stack of books on top when I’m done, so that the glue really adheres.
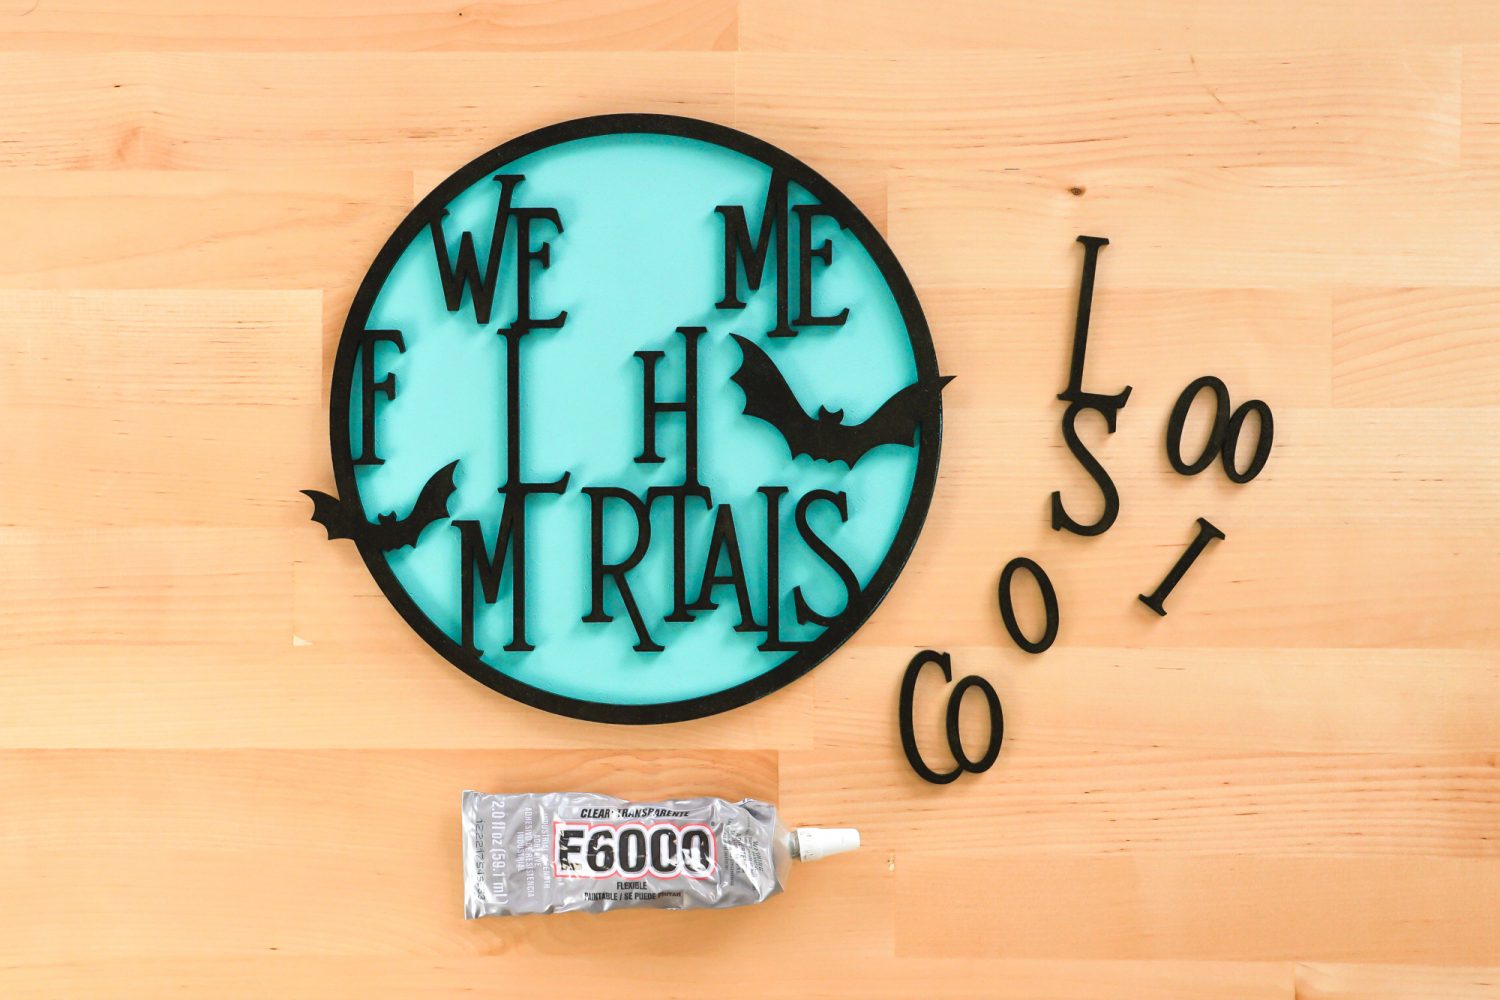
That’s it! The paint time is the longest part of this Halloween sign—the whole thing cut in less than 8 minutes. This is why I love my Glowforge for projects like this. Professional level projects in a minimal amount of time!
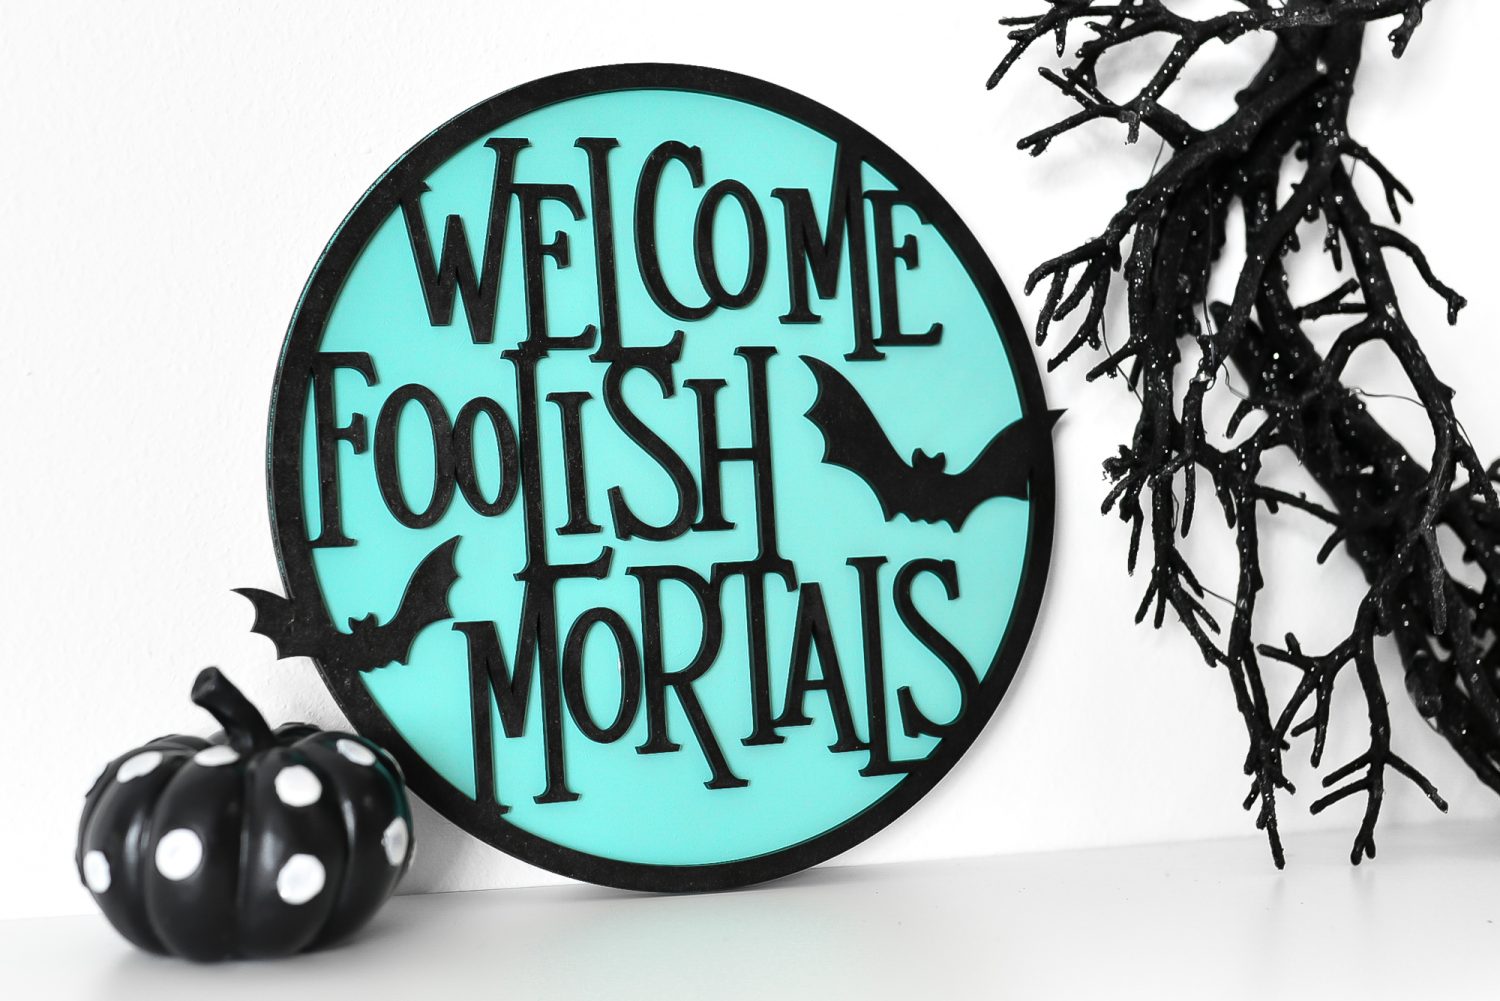
Have questions about this project or the Glowforge in general? Happy to answer them in the comments! Also check out my round up of 20+ Free Disney SVG Files!
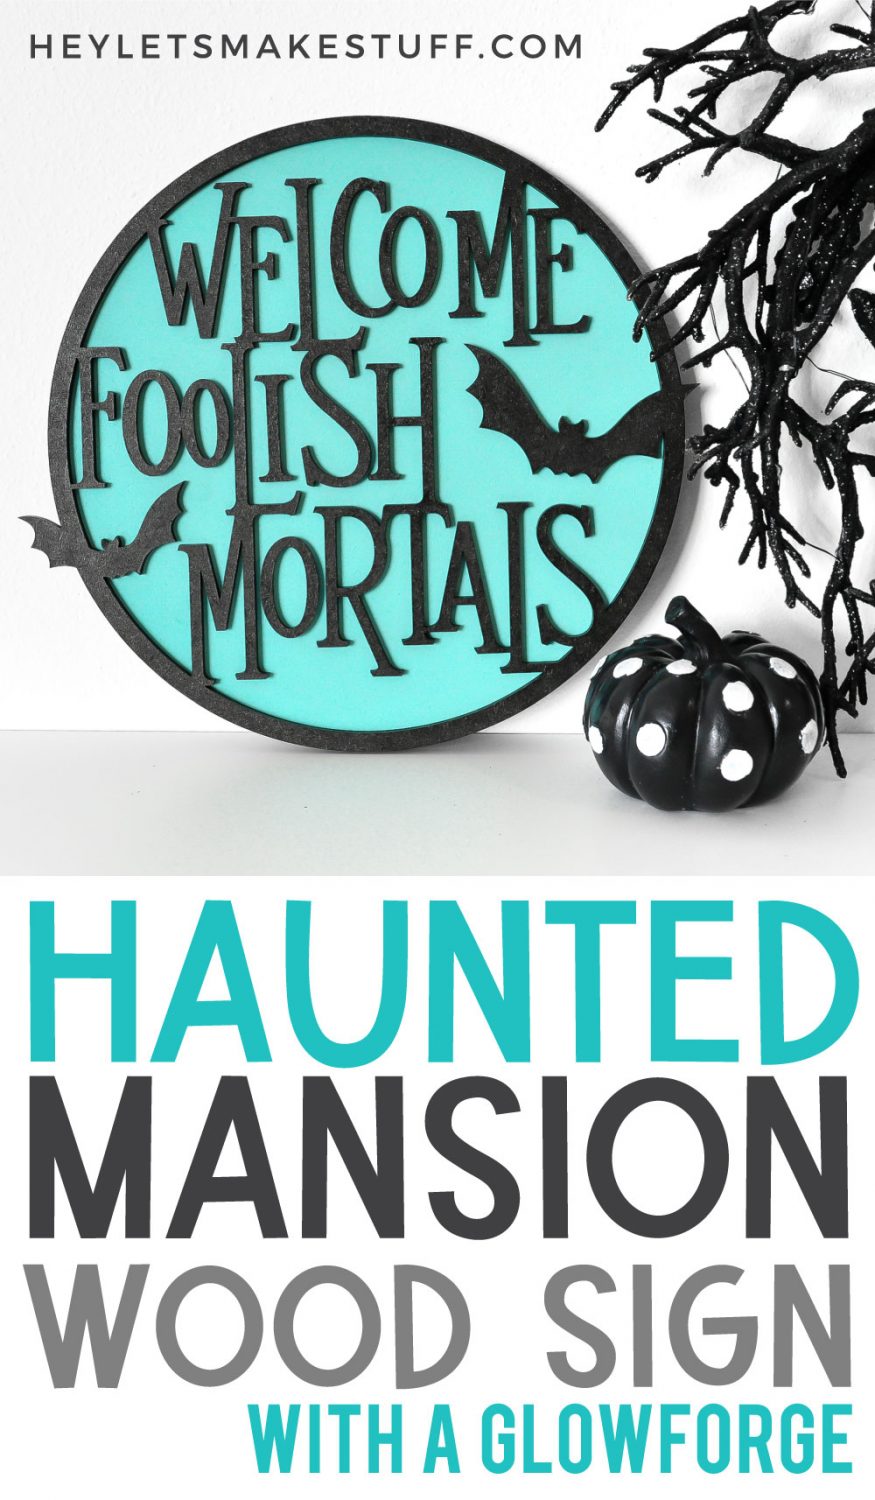
Haunted Mansion Halloween Sign
Equipment
- E6000 or other
Supplies
Instructions
- Glowforge Halloween Sign InstructionsPlace your draftboard in the bed of the Glowforge. Go to app.glowforge.com and click on New Design: Upload from file.

- Navigate to the Foolish Mortals SVG you downloaded from my library above and the Glowforge app will load it into the software.

- Now you'll need to select the settings for these two pieces. Both pieces are intended to be cut, so select each piece in the left-hand sidebar and select "cut" for both.

- You'll notice that the Glowforge being used didn't recognize that this is medium draftboard (even though the QR code is down in the righthand corner). it just happens occasionally, or you may want to flip your draft board so the QR code isn't readable. You can click on the material setting in the upper left and select Medium Draftboard.

- Then select both images and resize them to fit on your draftboard. For this project they are about 9" tall.

- Then you are ready to cut! Click Print in the upper right and your Glowforge will prepare. Once it's ready, the big button will turn blue. Press it to print (cut) your Halloween sign!


- Once it's finished, carefully remove the project from the bed of the Glowforge. A few of the smaller pieces may fall out—make sure you don't lose any of the loose letters. Pull out any remaining negative pieces.

- Once you have all the pieces removed, put them together to make sure you have all of the loose letters.

- Then you are going to remove the "mask" (which is basically a masking tape sheet) from the entire Halloween sign. Take your time and don't pull on any of the delicate pieces too hard.

- Remove the mask on both sides of your cut, as well as on the big circle.

- It's time to paint your project! Two colors of craft paint were used, daubed on with a makeup sponge. The makeup sponge creates a fairly smooth texture compared to some of the other sponges, and it doesn't leave brush strokes like a paint brush.

- Then use the E6000 or other glue to adhere your image to the back circle. Don't use a lot of glue—it'll seep out if you're not careful. Set a huge stack of books on top when done, so that the glue really adheres.

- That's it! The paint time is the longest part of this Halloween sign—the whole thing cut in less than 8 minutes.



Leave A Reply!