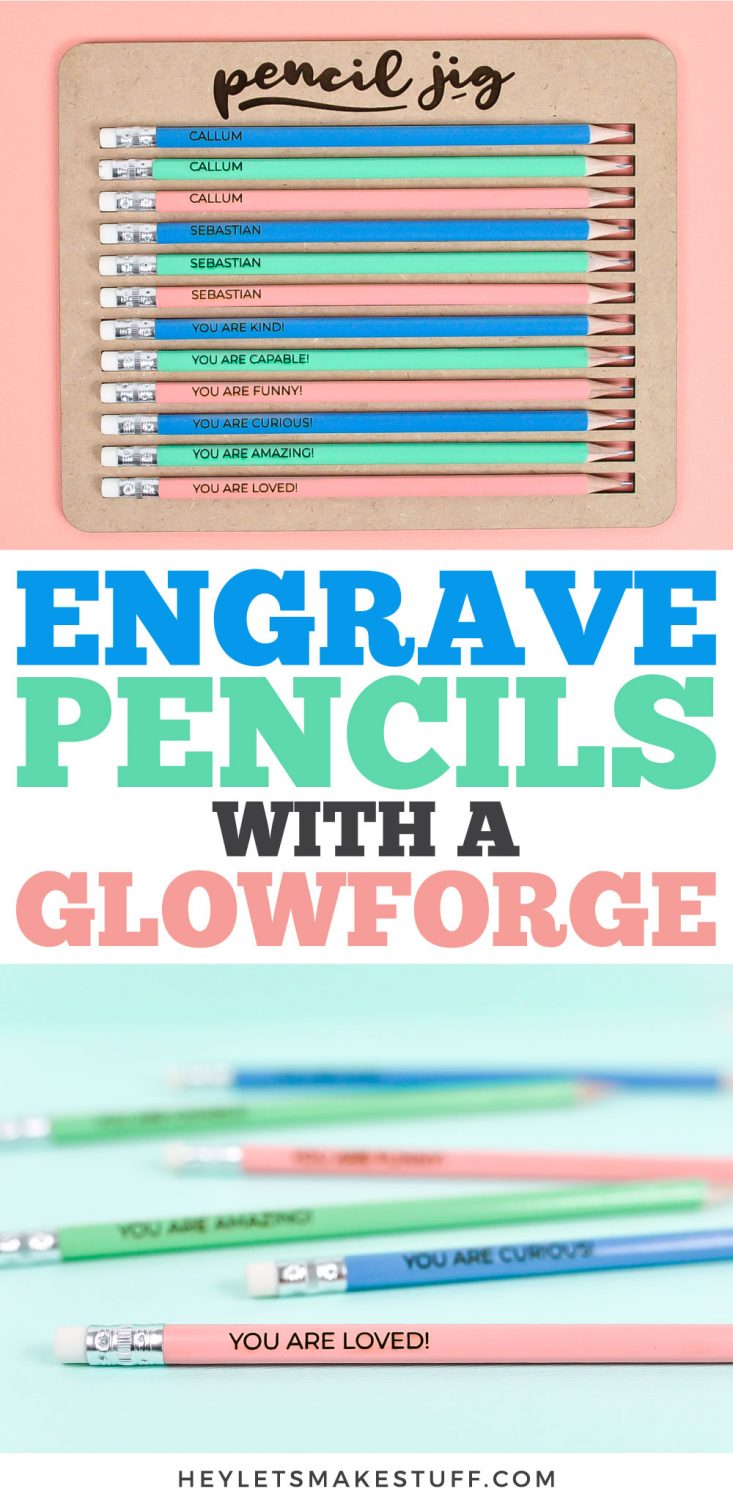
It’s time for back to school—create custom pencils using this Glowforge tutorial and pencil jig! Here’s how to engrave pencils with a Glowforge using any text you’d like.
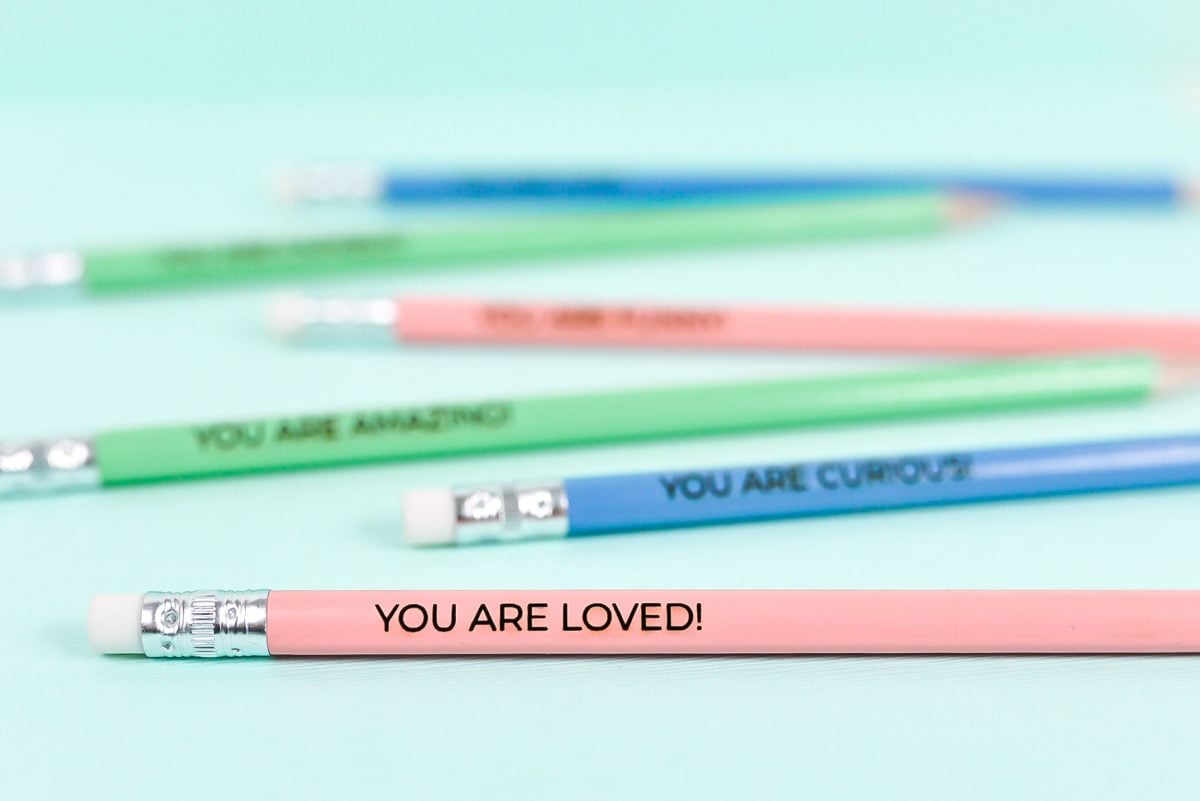
Have you started school supply shopping yet?
At the top of the list are usually No. 2 pencils! They’re a staple, regardless of how old your child is or where they attend school. This year, I found No. 2 pencils in assorted colors and purchased them for my boys. To think all we used to have were plain, yellow pencils!
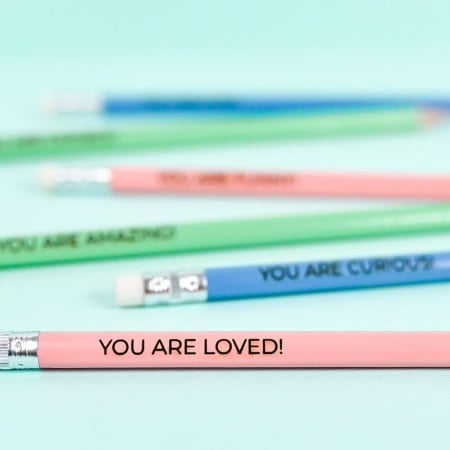
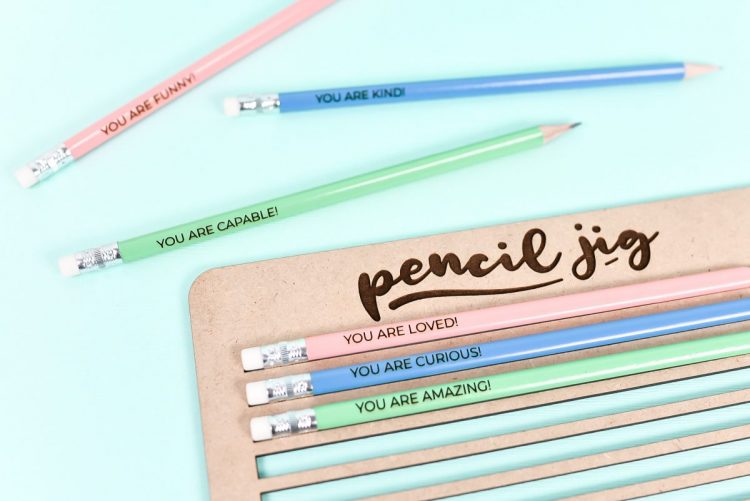
These colored pencils are already so fun, but I knew I wanted to do something a little different to jazz them up! So, I broke out my Glowforge and engraved them for my boys. I made a few for myself, as well. Goodness knows, we can all use a bit of encouragement these days!
Not sure what a Glowforge is? I wrote all about it in my Glowforge Overview: What to Know Before You Buy! You can also save up to $500 on a machine in that post!
Whether you’re sending your kids back to school in person, virtually, or at home, times are uncertain and our kids can use any additional support—whether it’s a few words of encouragement, extra snuggles, or something as small as customized pencils. You could add names, inspirational quotes, or even inside jokes to pencils. Think of it like lunchbox notes, but on pencils!
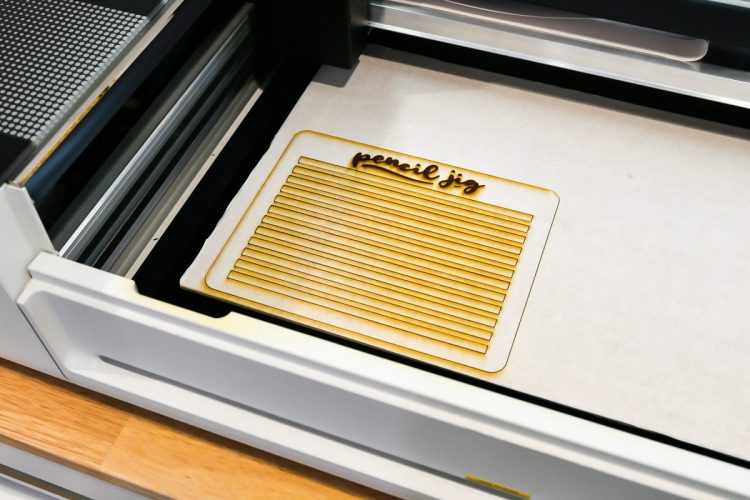
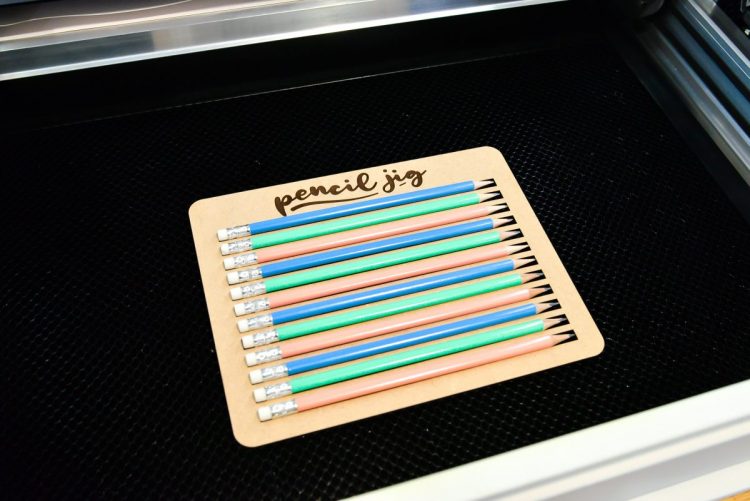
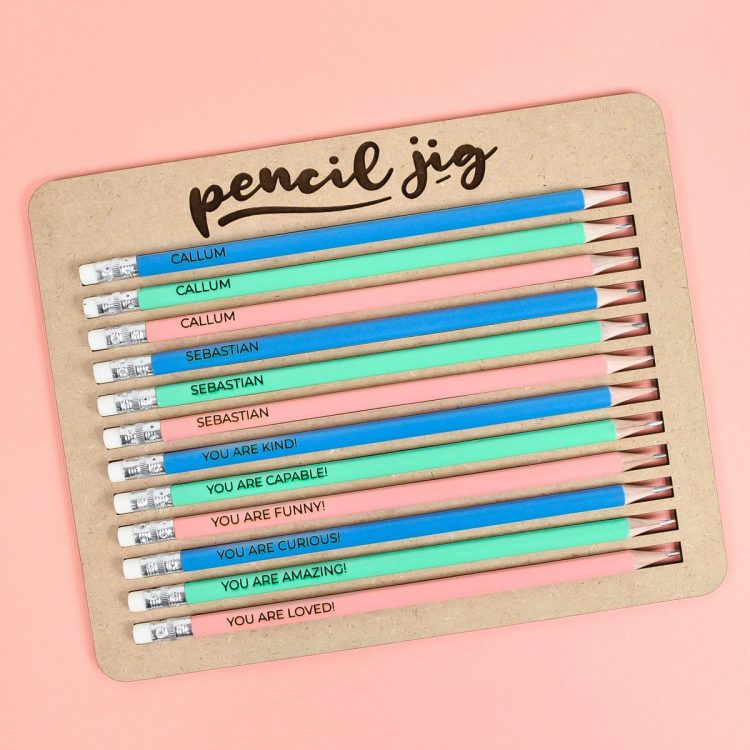
To make engraving pencils with your Glowforge easier, I’ve designed a pencil jig. A jig, in this sense, is basically a template you can use to hold your pencils in a precise location so you can engrave them. This is much easier than trying to engrave pencils on their own, since pencils like to roll around and, well, do anything but lie there and be still and straight.
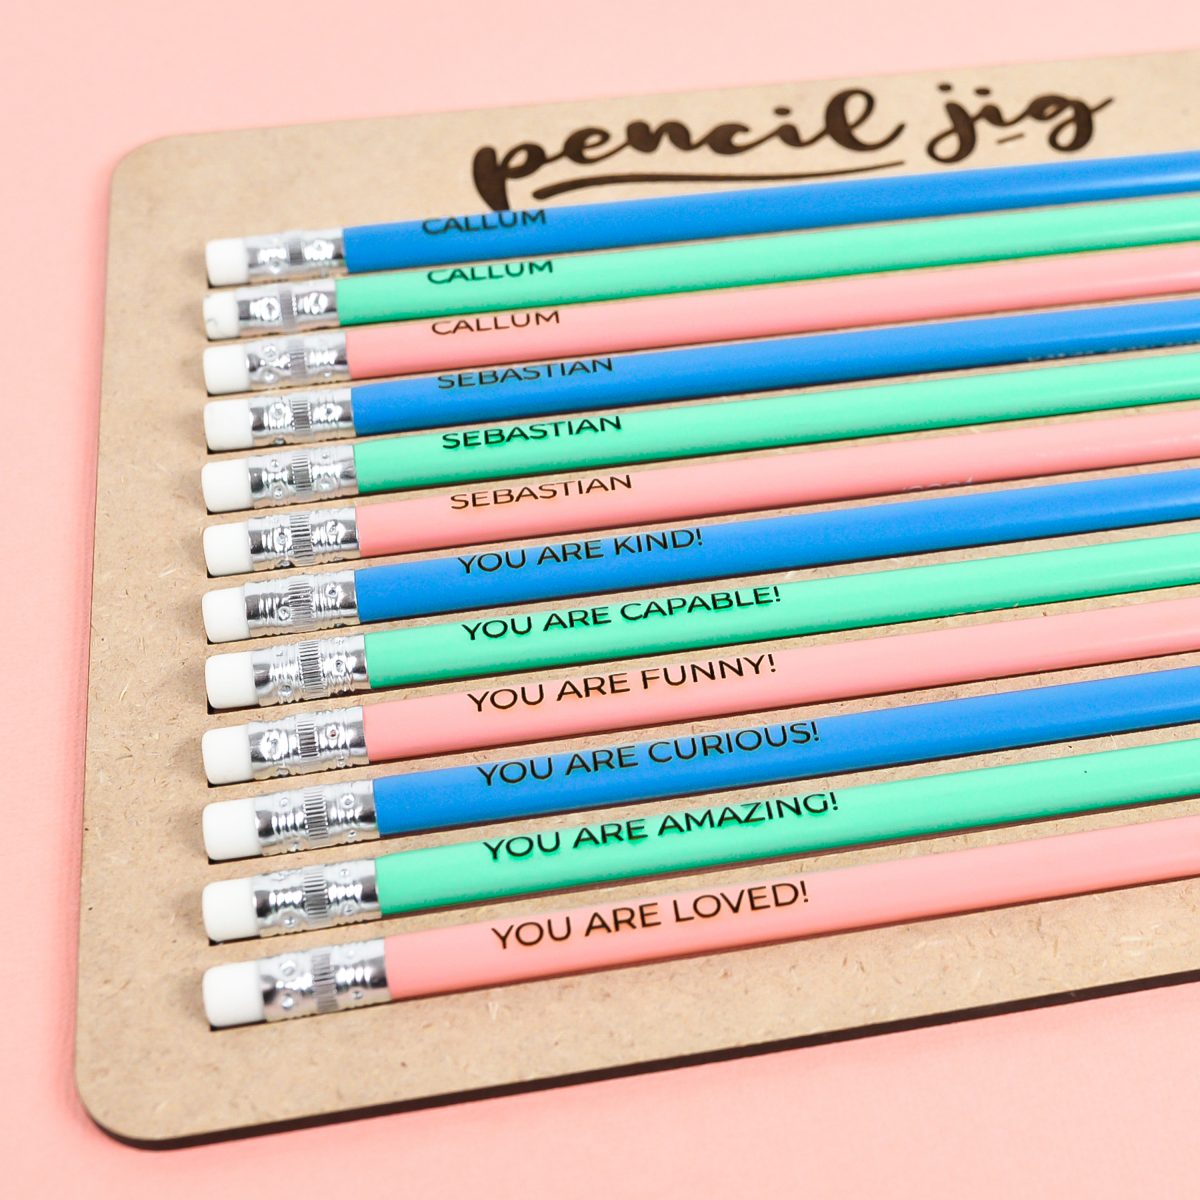
The pencils I used have a triangular barrel, but this tutorial and jig also work for standard hexagonal pencils.
Supplies for Engraved Pencils
- Glowforge or other laser cutter
- One sheet of Glowforge proof-grade draftboard or other material of your choice (wood, acrylic, etc.)
- Pencils
- Pencil Jig SVG
Engraved Pencils Instructions
Make Your Jig
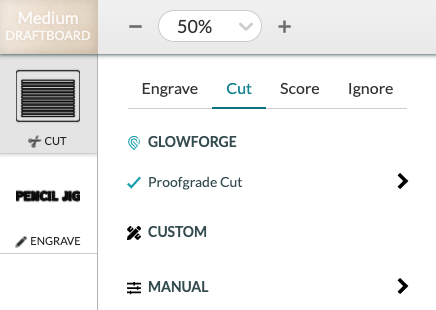
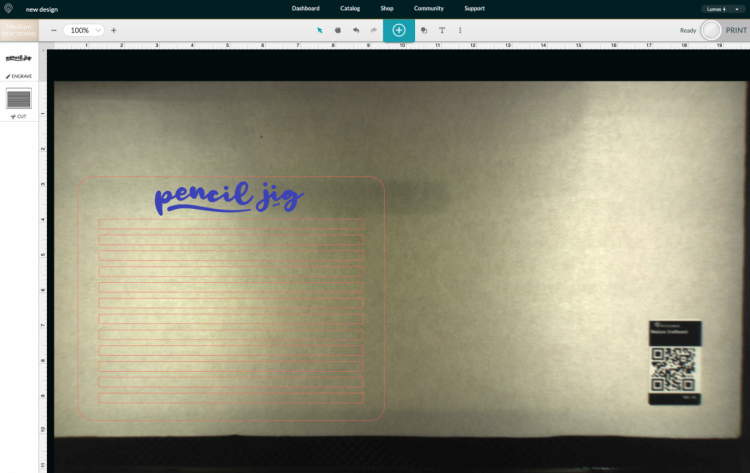
To make the pencil jig, place your material in the Glowforge and upload the SVG file to the Glowforge app. The file has two layers that will both come in set to “engrave” so you will need to change the actual jig piece to “cut” on the left. Click on the jig piece and select “Cut.”
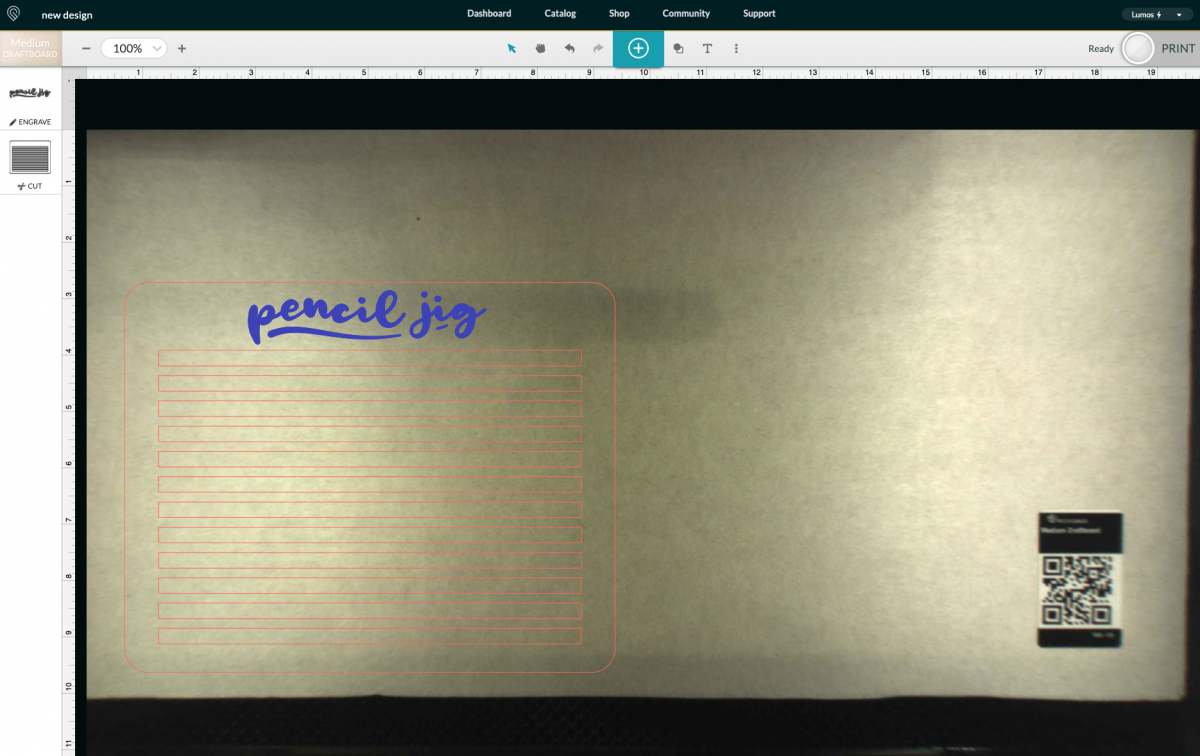
That’s it! If needed, move your jig to the edge of your material so you don’t waste any material, click Print, and then when it’s ready, the big glowing Glowforge button. Your Glowforge will engrave and cut your jig.
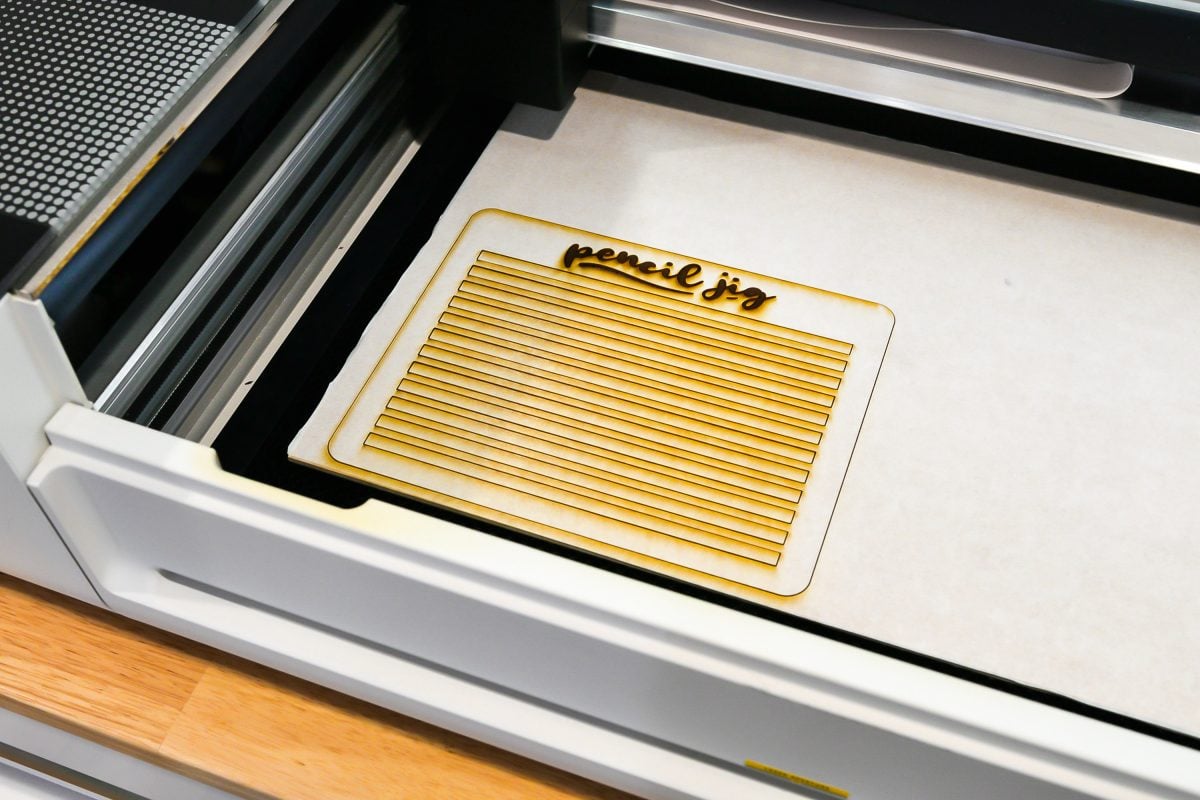
Once your print is jig is done, peel off all of the masking tape and it’s ready to use!
Engrave Pencils with the Glowforge
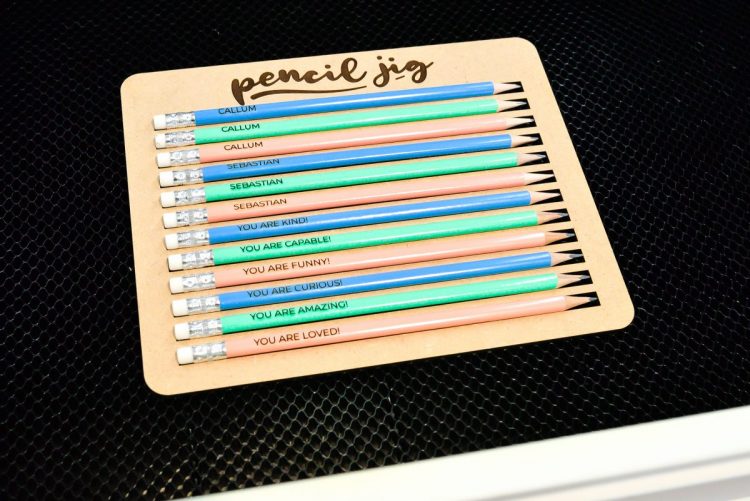
Now we’re going to engrave the pencils. Place the cut jig into the Glowforge and add your pencils. I do not mask my pencils because it makes it hard for me to center the text—there is a slight ghosting around the edge of the letters once they are engraved, but it’s so light that I barely notice. You could also play around with the manual settings, lowering your power or resolution if you’d like. Learn more about working in Glowforge Manual Mode.
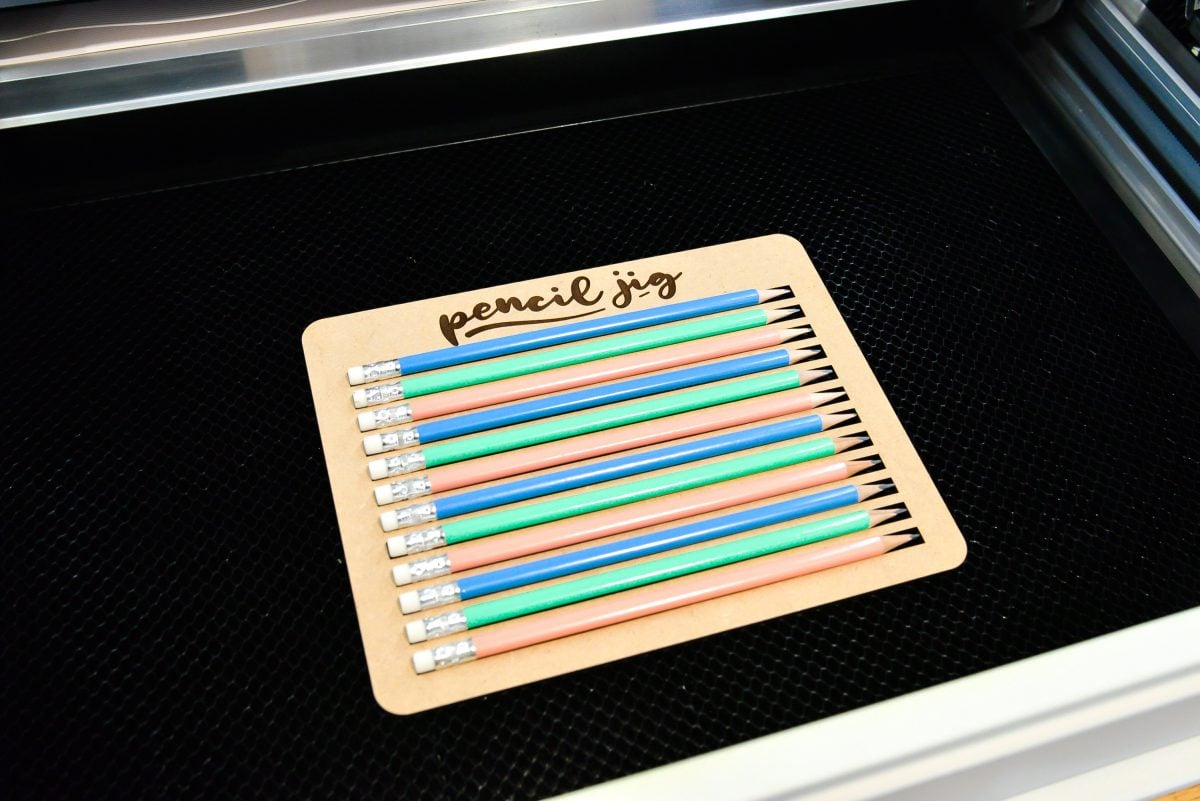
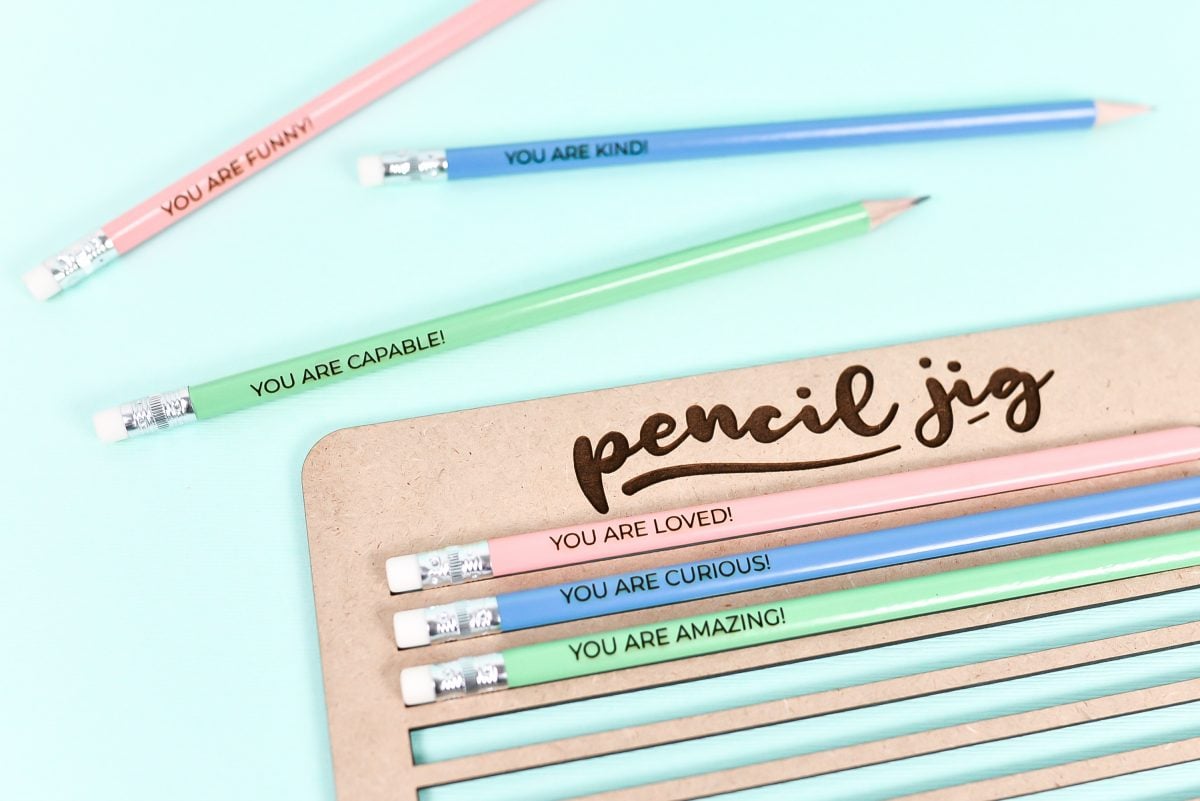
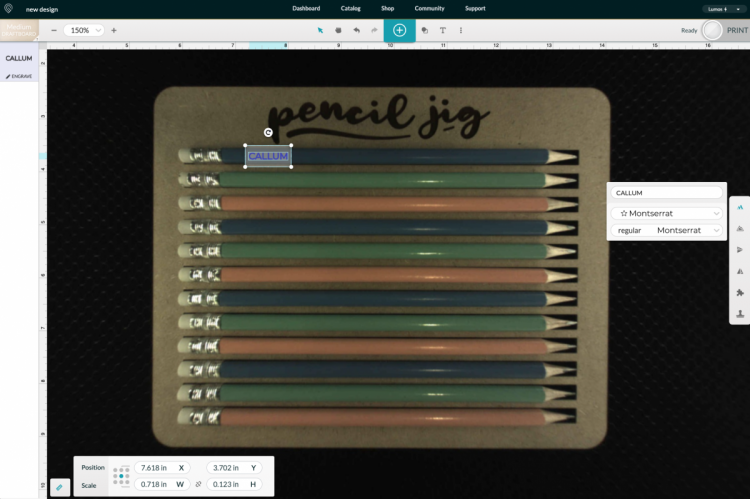
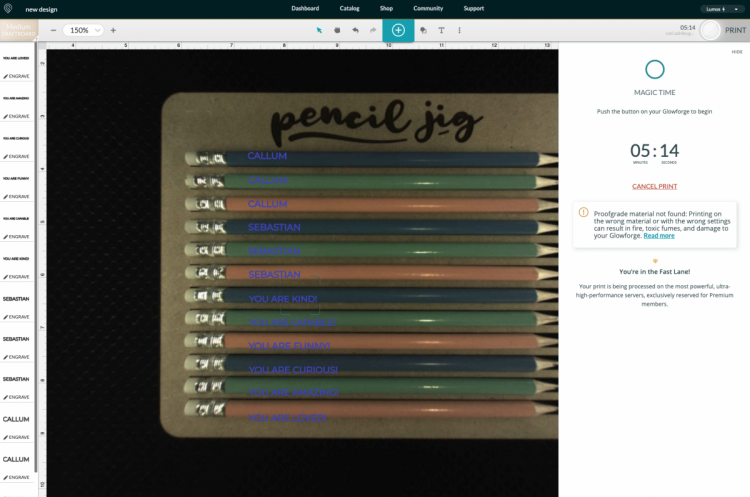
Then use the text tool in the Glowforge app to add your text to your pencils. I like a simple, thin, san-serif font for these since the writing is small. I went with Montserrat, a go-to font of mine.
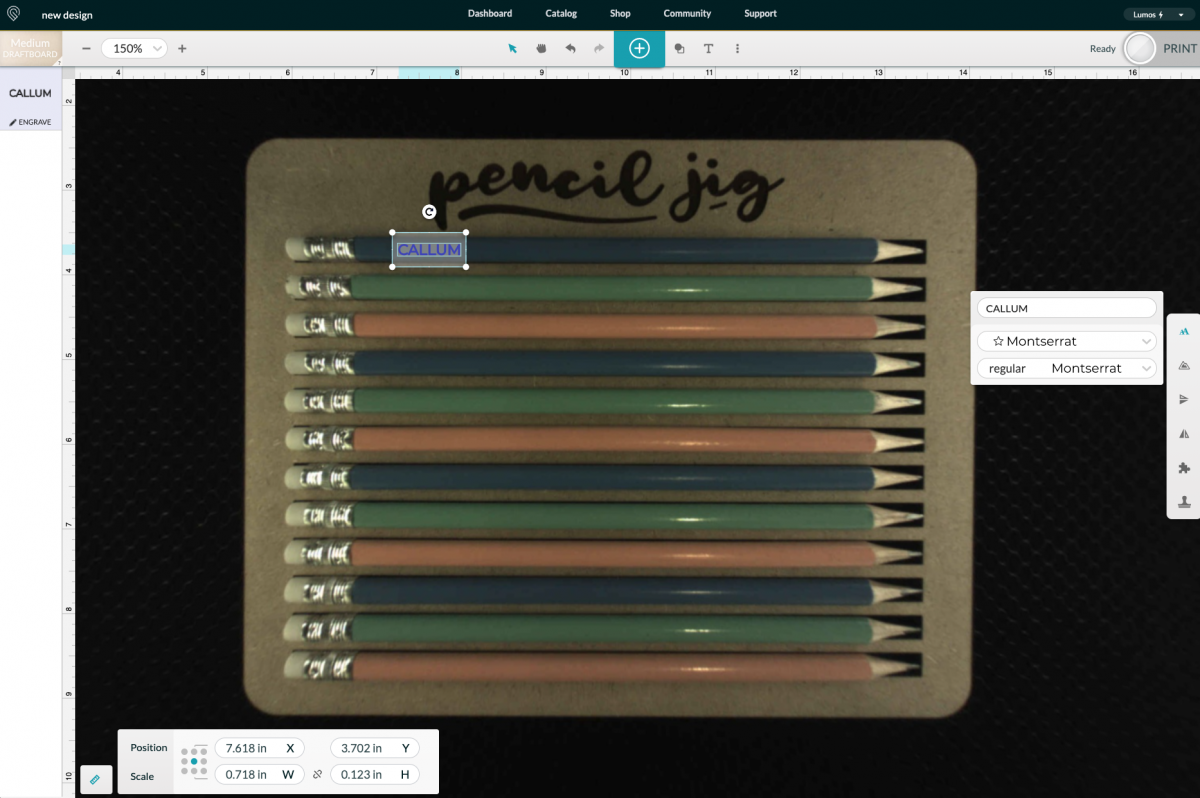
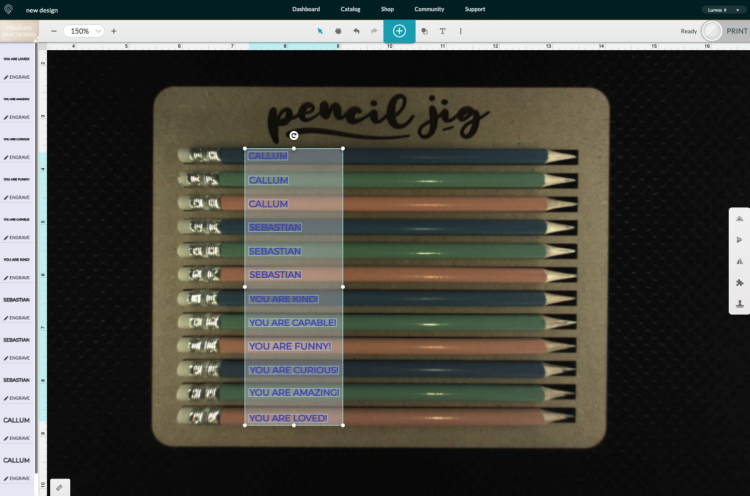
Copy and paste and change the text as needed for each pencil.
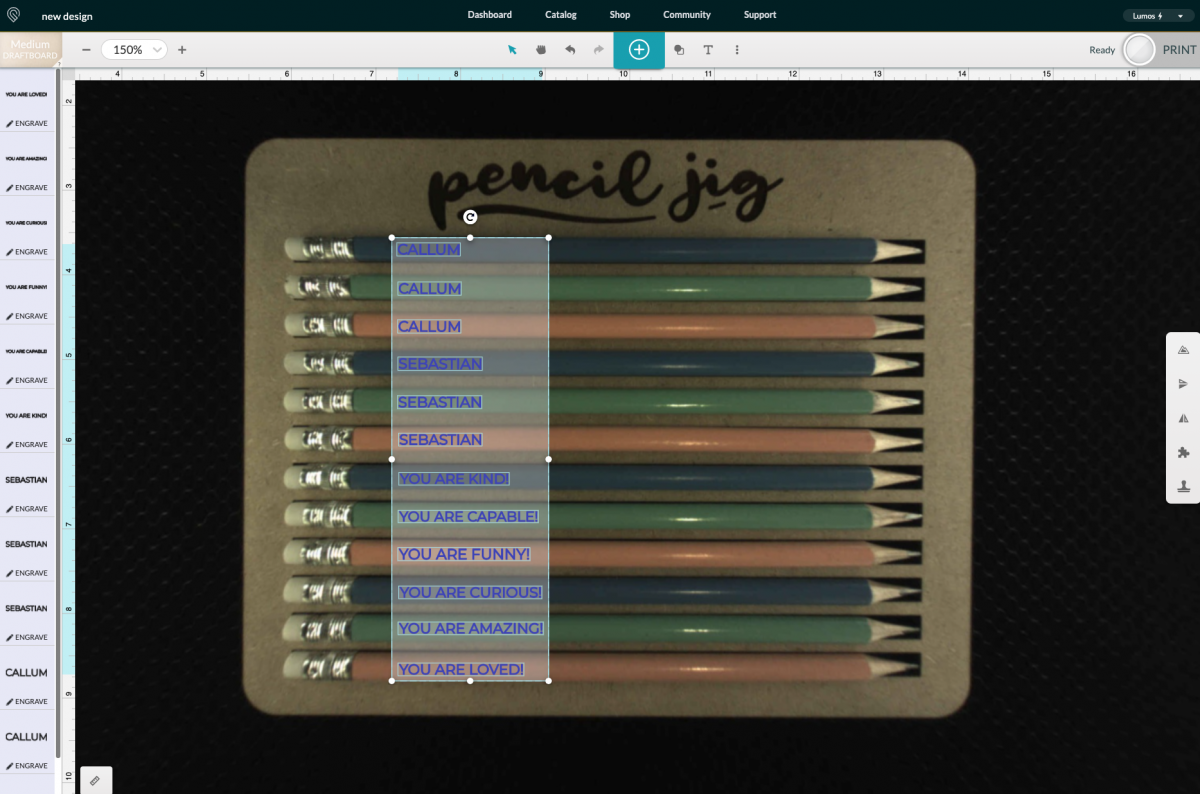
Once you have everything lined up, hit Print in the upper right. You’ll notice that your image may shift a bit so that your words are no longer over your pencils.
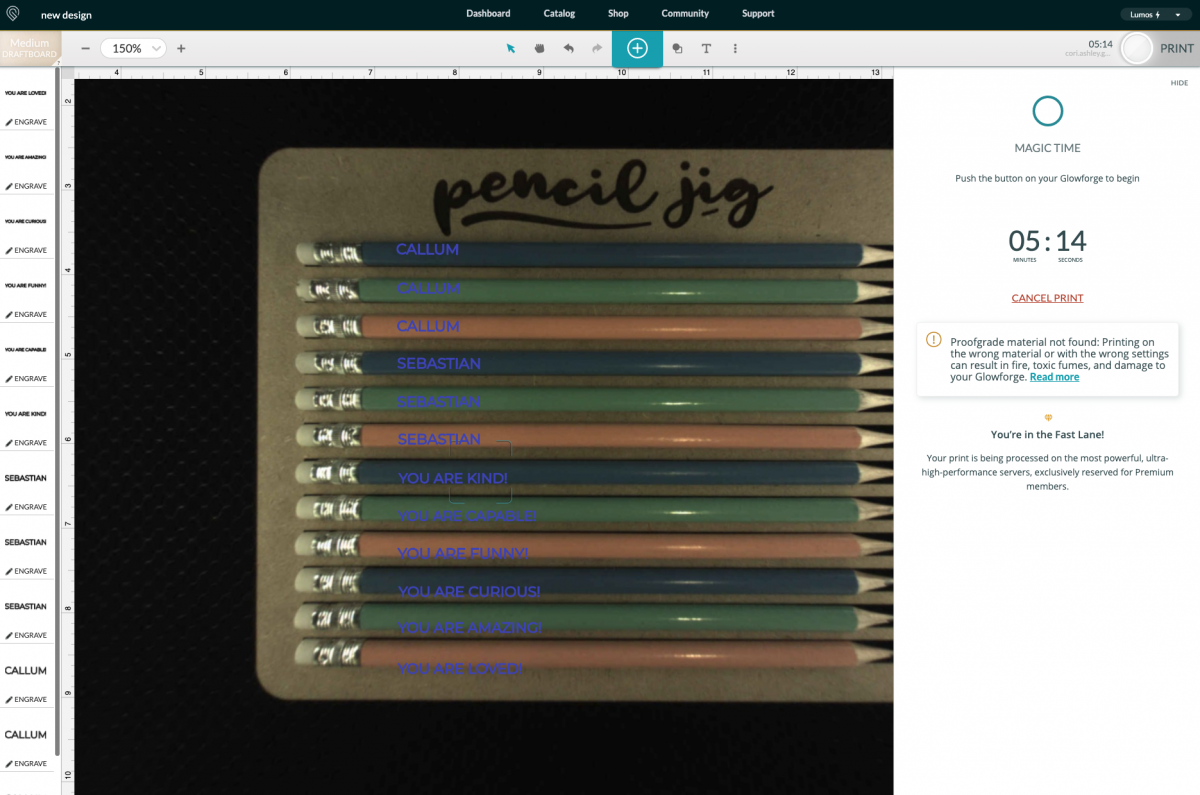
DON’T move your words. They will engrave properly as is—it’s just the fisheye of the Glowforge lens that makes it appear this way. Click the magic blue button on your Glowforge and it will engrave your pencils!
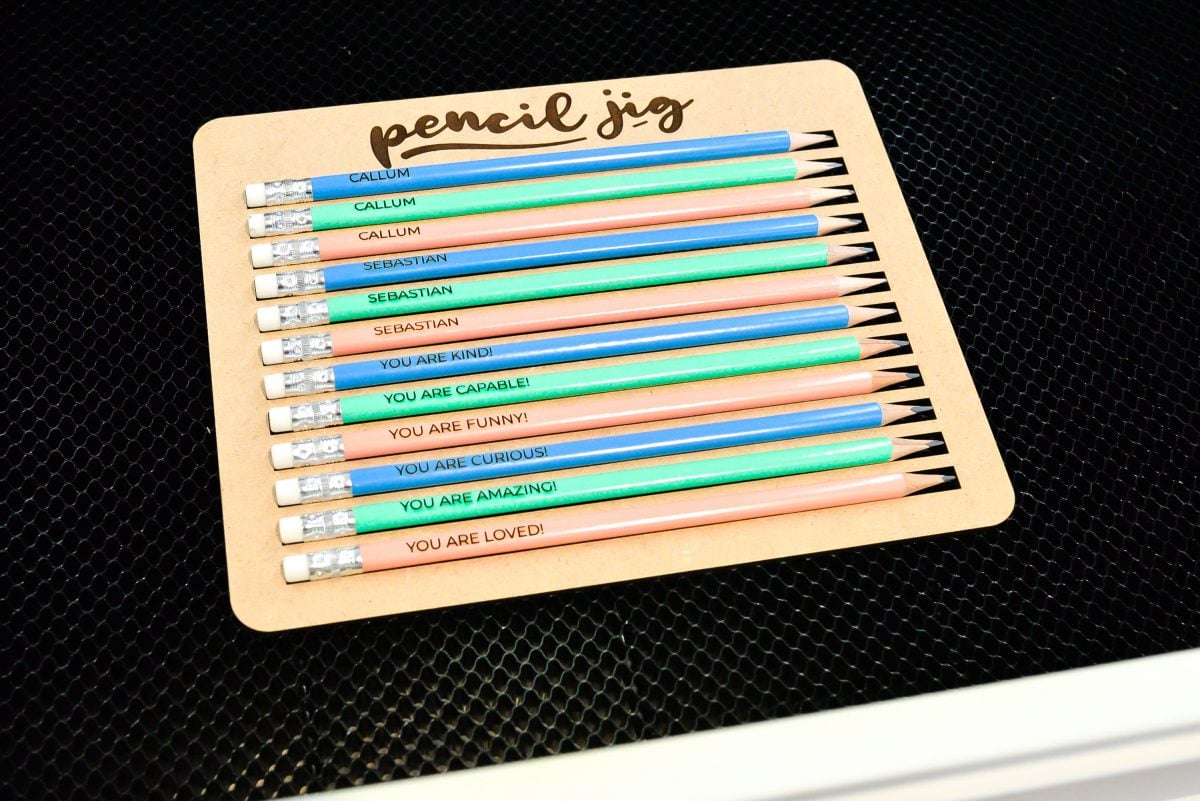
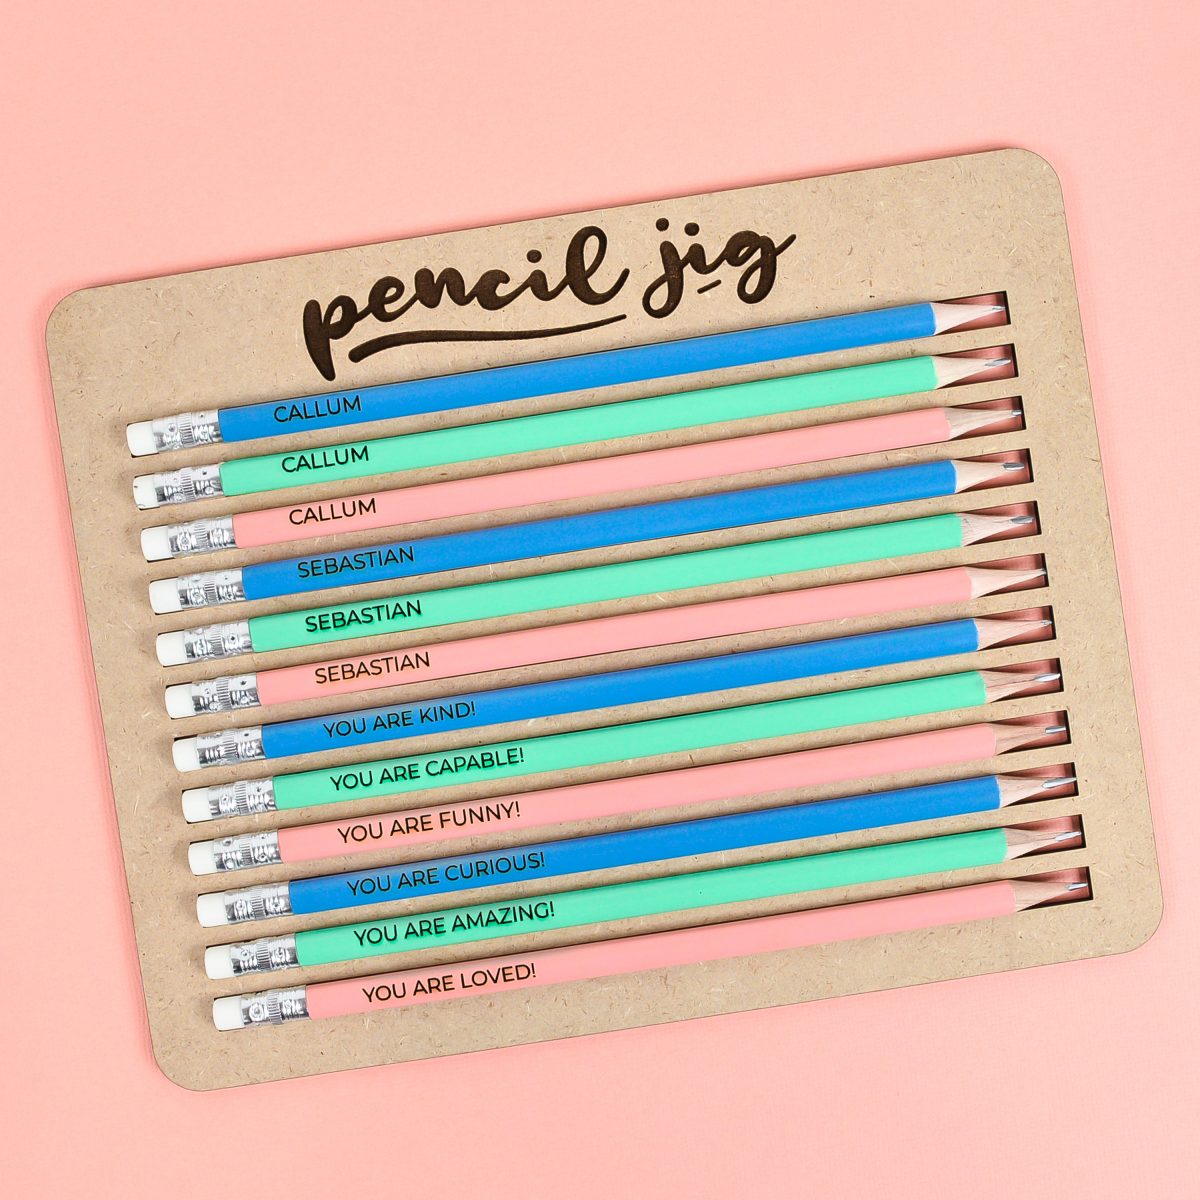
That’s it! You can re-use the jig as many times as you’d like—you’ll always get a dozen perfect pencils!
HOW TO ENGRAVE PENCILS WITH A GLOWFORGE
Equipment
- Glowforge or other laser cutter
Supplies
- 1 sheet Glowforge proof-grade draftboard or other material of your choice (wood, acrylic, etc.)
- Pencils
- Pencil Jig SVG
Instructions
- Make Your JigTo make the pencil jig, place your material in the Glowforge and upload the SVG file to the Glowforge app. The file has two layers that will both come in set to "engrave" so you will need to change the actual jig piece to "cut" on the left. Click on the jig piece and select "Cut."

- That's it! If needed, move your jig to the edge of your material so you don't waste any material, click Print, and then when it's ready, the big glowing Glowforge button.

- Your Glowforge will engrave and cut your jig.Once your print is jig is done, peel off all of the masking tape and it's ready to use!

- Engrave Pencils with the GlowforgeNow we're going to engrave the pencils. Place the cut jig into the Glowforge and add your pencils. Do not mask the pencils because it makes it hard to center the text—there is a slight ghosting around the edge of the letters once they are engraved, but it's so light that it is barely noticeable. You could also play around with the manual settings, lowering your power or resolution if you'd like. Learn more about working in Glowforge Manual Mode.

- Then use the text tool in the Glowforge app to add your text to your pencils. For this project went for a simple, thin, san-serif font since the writing is small. Montserrat, is a go-to font and was used for this project.

- Copy and paste and change the text as needed for each pencil.

- Once you have everything lined up, hit Print in the upper right. You'll notice that your image may shift a bit so that your words are no longer over your pencils.

- DON'T move your words. They will engrave properly as is—it's just the fisheye of the Glowforge lens that makes it appear this way. Click the magic blue button on your Glowforge and it will engrave your pencils!

- That's it! You can re-use the jig as many times as you'd like—you'll always get a dozen perfect pencils!




Comments & Reviews
Annette Stewart says
Quick question, Do you hit the auto focus before you hit the print button?
Sarah says
I found your engrave settings for the aura, but what are your engrave settings for the GF Pro?
Basharat says
Great Idea
Thanks for sharing
Which Lazer cut is the best and how much it costs
Thanks
Crystal Summers says
Hi Basharat,
These pencils are engraved with a Glowforge. Here’s a link to her post, which gives more details on how a Glowforge works, as well as pricing/purchasing options: https://heyletsmakestuff.com/glowforge/
Hope this helps!
Crystal, HLMS Community Manager