HOW TO ENGRAVE PENCILS WITH A GLOWFORGE
It's time for back to school—create custom pencils using this Glowforge tutorial and pencil jig! Here's how to engrave pencils with a Glowforge using any text you'd like.
Equipment
- Glowforge or other laser cutter
Ingredients
- 1 sheet Glowforge proof-grade draftboard or other material of your choice (wood, acrylic, etc.)
- Pencils
- Pencil Jig SVG
Instructions
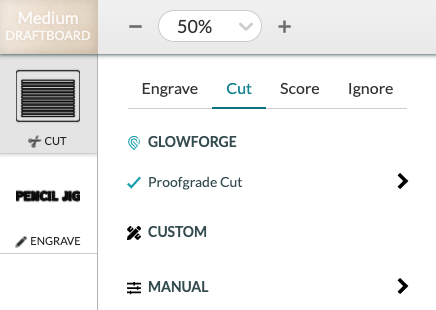
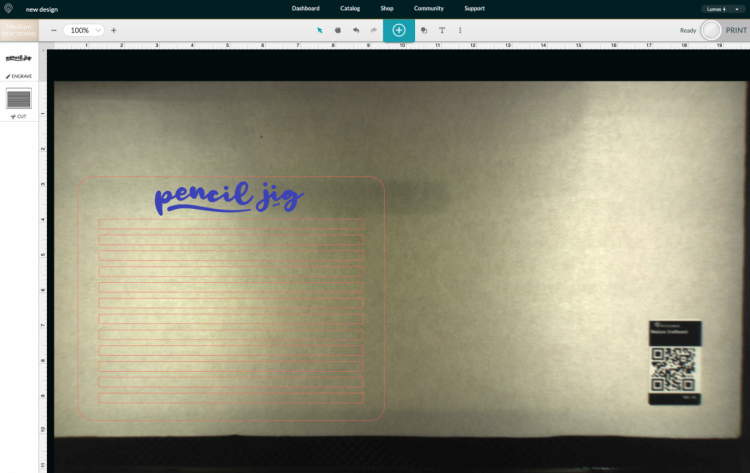
- Make Your JigTo make the pencil jig, place your material in the Glowforge and upload the SVG file to the Glowforge app. The file has two layers that will both come in set to "engrave" so you will need to change the actual jig piece to "cut" on the left. Click on the jig piece and select "Cut."
- That's it! If needed, move your jig to the edge of your material so you don't waste any material, click Print, and then when it's ready, the big glowing Glowforge button.
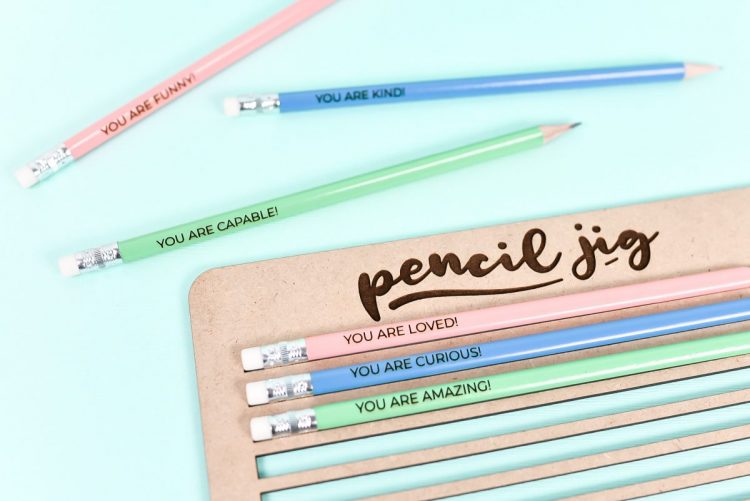
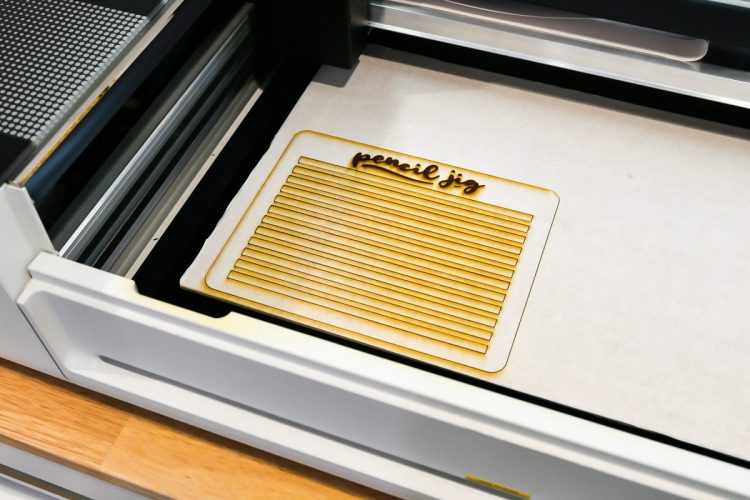
- Your Glowforge will engrave and cut your jig.Once your print is jig is done, peel off all of the masking tape and it's ready to use!
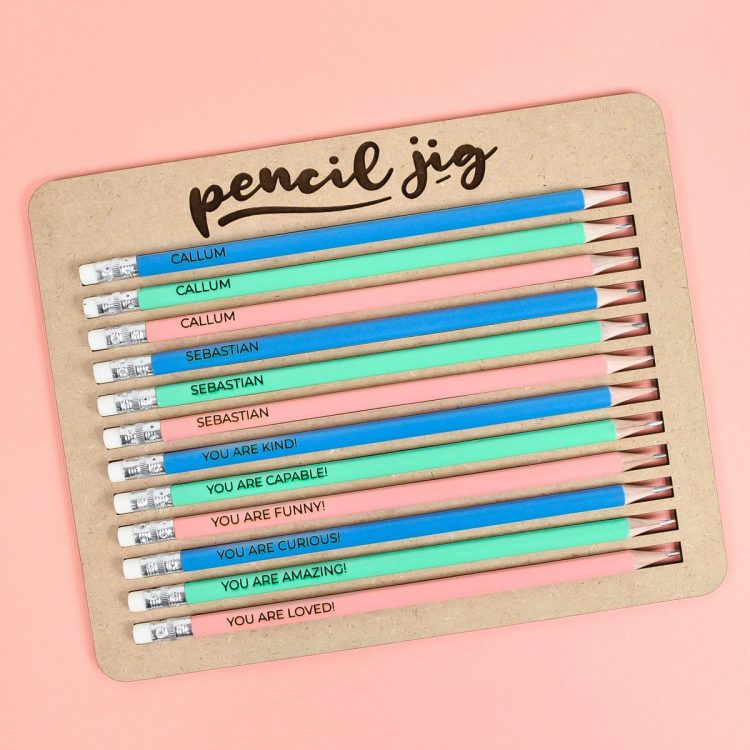
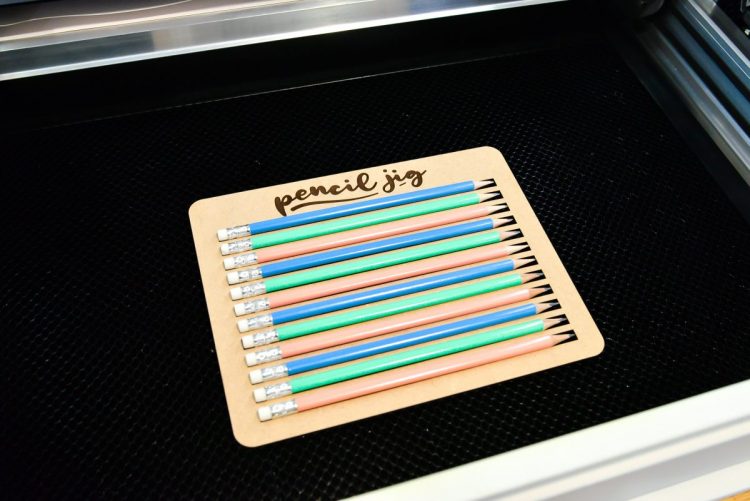
- Engrave Pencils with the GlowforgeNow we're going to engrave the pencils. Place the cut jig into the Glowforge and add your pencils. Do not mask the pencils because it makes it hard to center the text—there is a slight ghosting around the edge of the letters once they are engraved, but it's so light that it is barely noticeable. You could also play around with the manual settings, lowering your power or resolution if you'd like. Learn more about working in Glowforge Manual Mode.
- Then use the text tool in the Glowforge app to add your text to your pencils. For this project went for a simple, thin, san-serif font since the writing is small. Montserrat, is a go-to font and was used for this project.
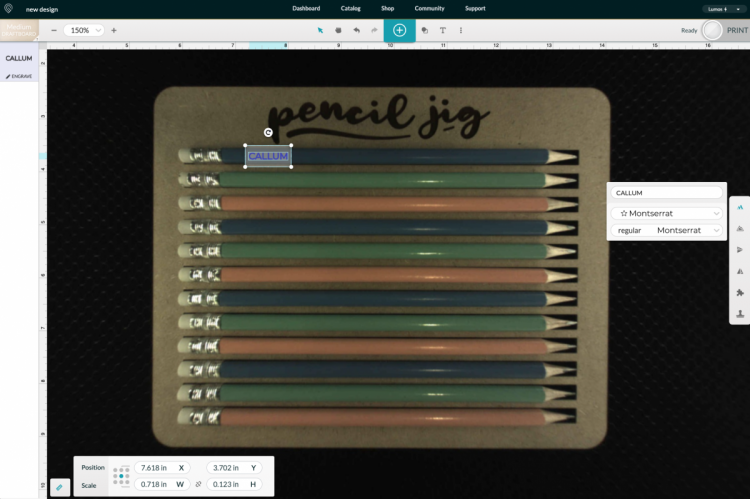
- Copy and paste and change the text as needed for each pencil.
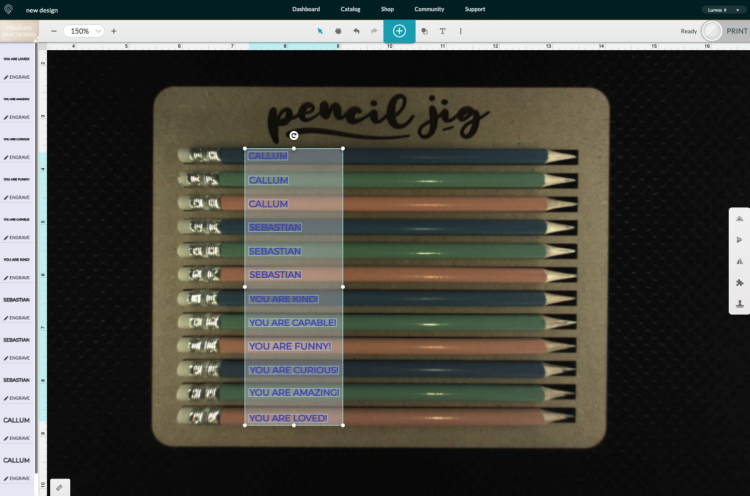
- Once you have everything lined up, hit Print in the upper right. You'll notice that your image may shift a bit so that your words are no longer over your pencils.
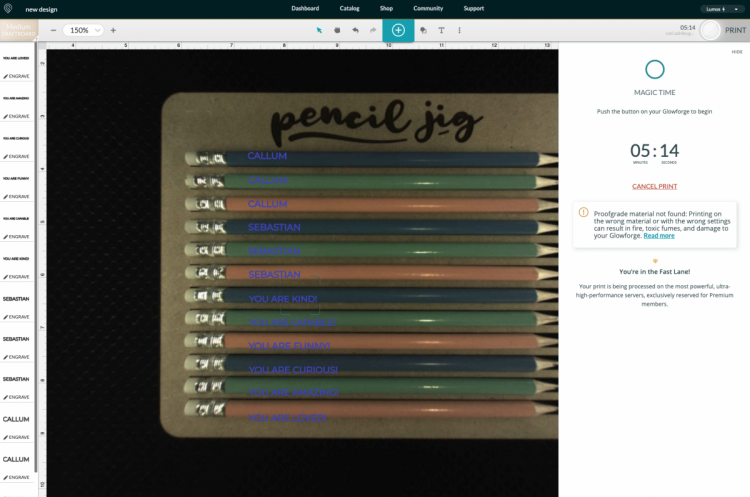
- DON'T move your words. They will engrave properly as is—it's just the fisheye of the Glowforge lens that makes it appear this way. Click the magic blue button on your Glowforge and it will engrave your pencils!
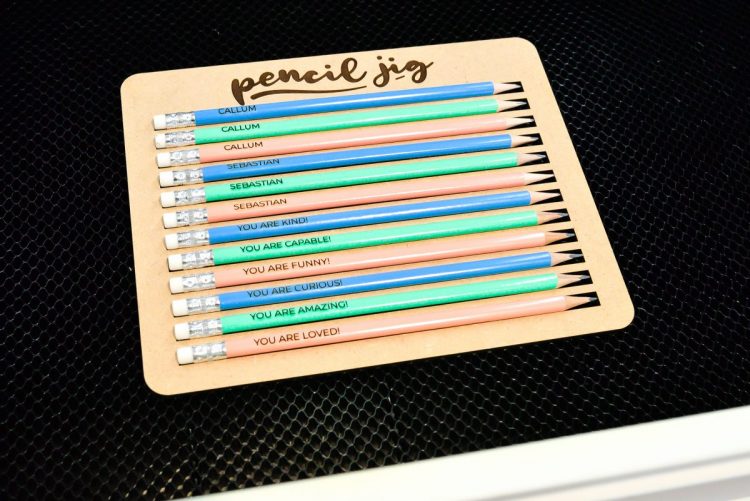
- That's it! You can re-use the jig as many times as you'd like—you'll always get a dozen perfect pencils!