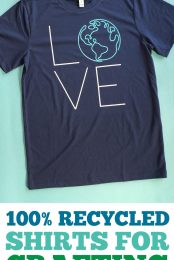
Want a t-shirt option that’s better for the environment? Check out the BELLA+CANVAS EcoMax tee! Check out what makes this t-shirt different, plus get more eco-friendly crafting ideas.
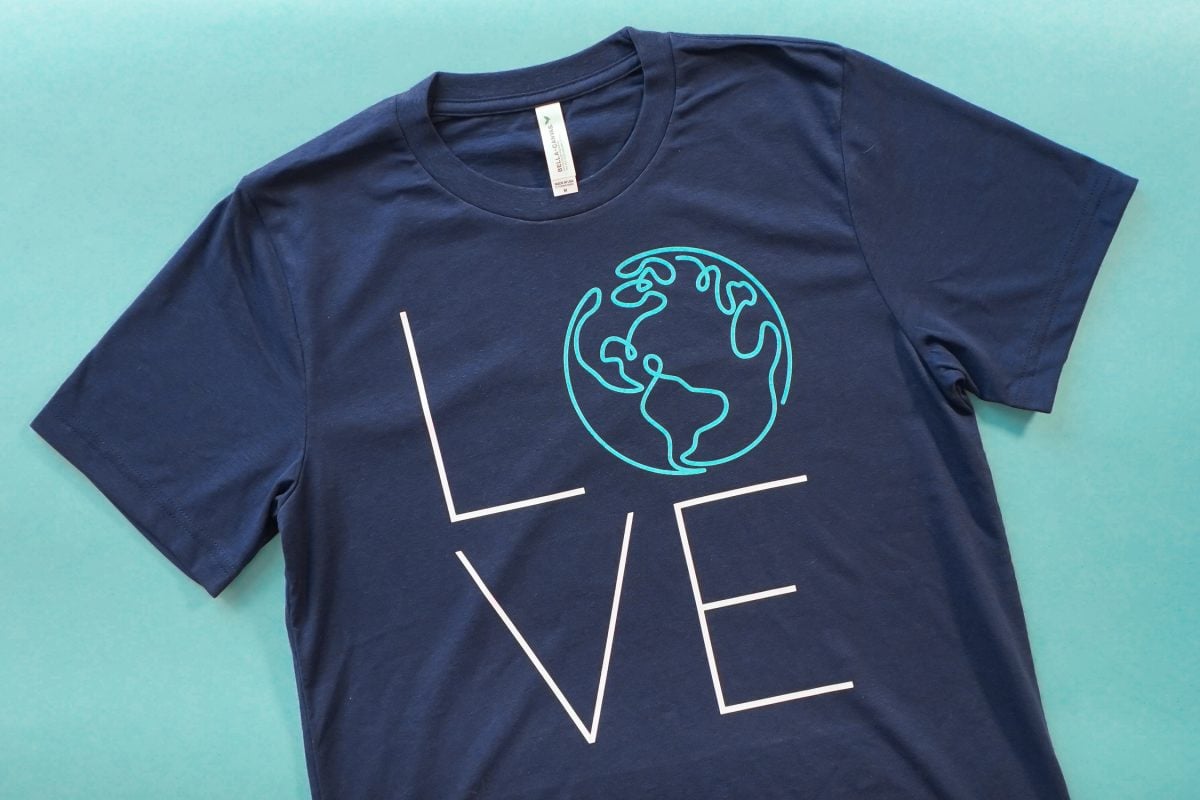
One of my least favorite things about crafting is how much waste it can create. I’m always trying to be a little more eco-friendly in my crafting, so in today’s post I’m going to share some of my favorite ways to be a little kinder to the environment in your craft room!
The BELLA+CANVAS EcoMax Tee
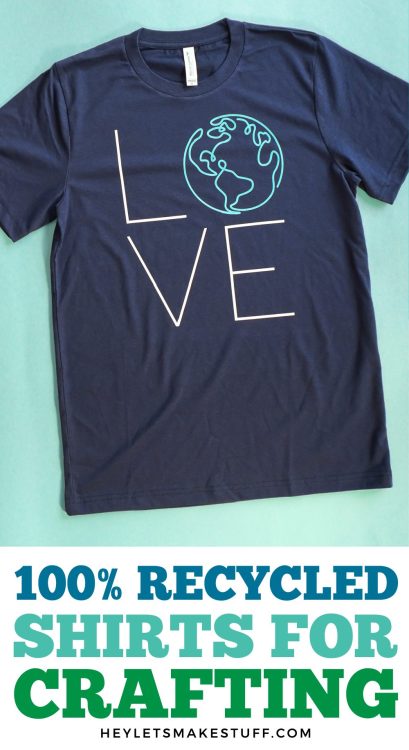
This post came about because BELLA+CANVAS just launched their new EcoMax tee. This super soft tee is made from 100% recycled materials. And when I say 100%, I mean 100%! The fabric, the thread, and even the tags are all recycled materials.
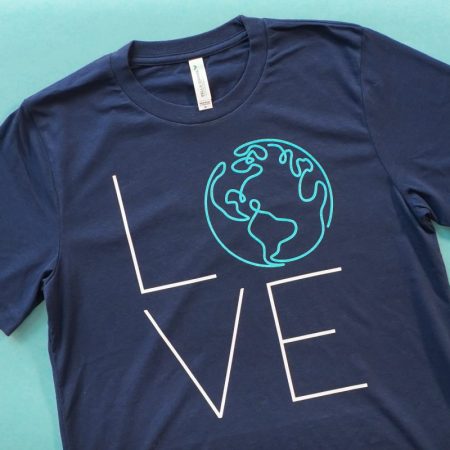
You can tell this shirt apart from other BELLA+CANVAS tees because it has a small leaf symbol on the tag.
BELLA+CANVAS uses the cutting scraps from other t-shirts plus up to seven plastic water bottles per tee for these recycled shirts. The shirts are 35% recycled cotton and 65% recycled polyester. The tees are so soft and currently come in white, black, and navy in their popular 3001 unisex silhouette.
Did you know you can buy BELLA+CANVAS garments at wholesale pricing without a reseller license? Get a BELLA+CANVAS Maker’s Account! This account allows you access to the wholesale side of their business without the need for any permits or licenses. Even better? It’s free! Learn more in my post Buying Wholesale Blanks without a Resale License!
Because these shirts are 65% polyester, you can sublimate on them! The image may be a bit more faded and vintage looking than a fully polyester shirt, but you can definitely use these for your sublimation projects. Of course, you can use these tees for other decoration methods as well, like HTV, DTF printing, white toner printing, etc.
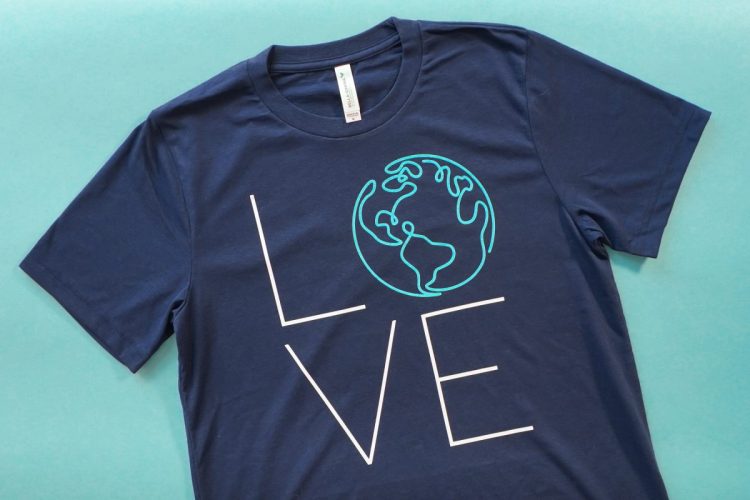
Today I wanted to use this eco-friendly tee to make a cute shirt for Earth Day or just to show your love for the planet. You can grab this free SVG below to make your own! I’m using white and teal HTV, but of course you could use whatever colors you’d like for this project, depending on the color of your shirt and your preferences.
Watch the Video
Want watch a video of everything in this post? Hit play below! Or keep reading for all the details.
Get the Free File
Want access to this free file? Join my FREE craft library! All you need is the password to get in, which you can get by filling out the form below. The file number is: C475.
Crafting an Eco-Friendly Tee
Supplies
Grab everything you need to make this tee (except for the tee itself…grab that below!) from my Amazon store!
- BELLA+CANVAS EcoMax Tee
- Cricut or other cutting machine
- Green StandardGrip mat
- White HTV (see below)
- Teal HTV (see below)
- Weeding hook
- Lint roller
- Cricut EasyPress or other heat press
OEKO-TEX Standard 100
Eco-friendly crafting tip: When looking for HTV, look for materials that have an OEKO-TEX Standard 100 certification. This means that they are certified to safe and chemical-free for humans, including babies. Some of the cheaper brands of HTV you might buy on Amazon are not OEKO-TEX certified. If you want the safest materials, make sure they fall under the Standard 100 certification. I am using Siser EasyWeed, which is certified under these standards.
Instructions
Let’s make our tee!
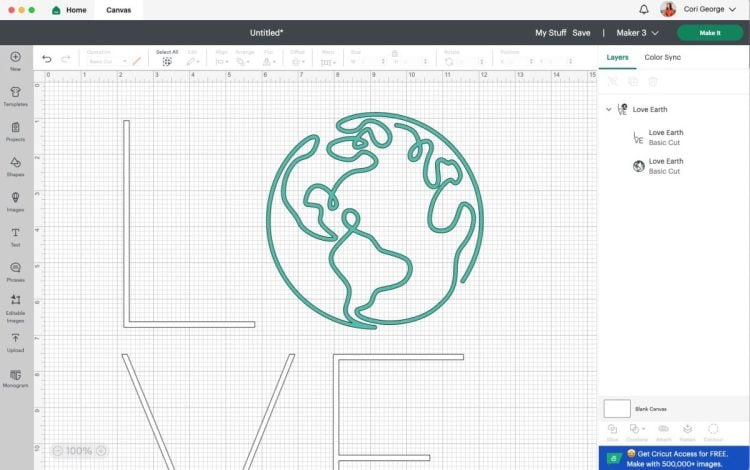
Start by uploading your SVG to Cricut Design Space. Resize your file to fit your tee and cut it out using your Cricut machine. (If you need help, check out my post Using HTV on a Shirt).
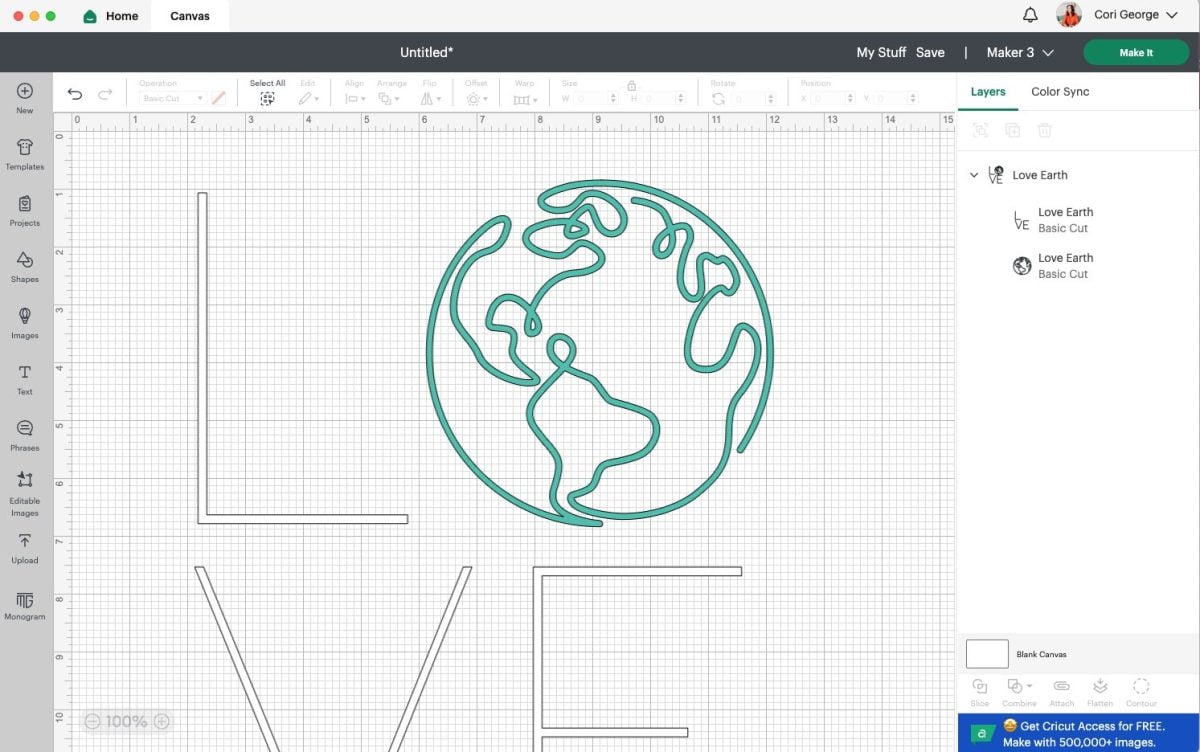
Eco-friendly crafting tip: Instead of buying new Cricut mats, you can clean your old Cricut mats! I also sometimes use masking tape to help hold my materials to an older mat.
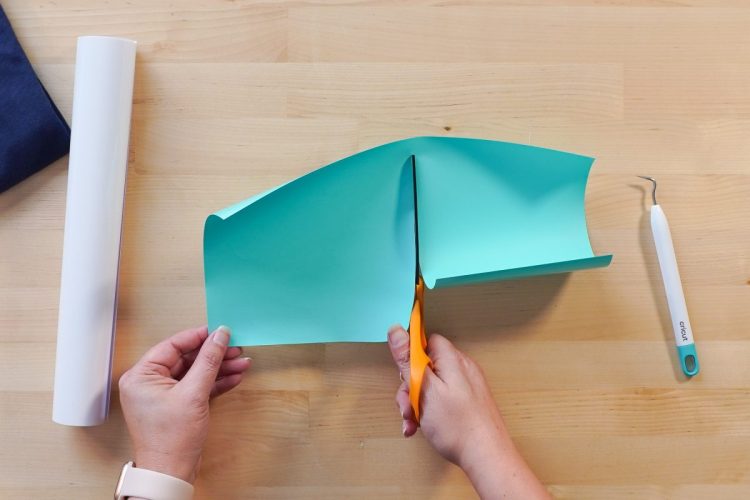
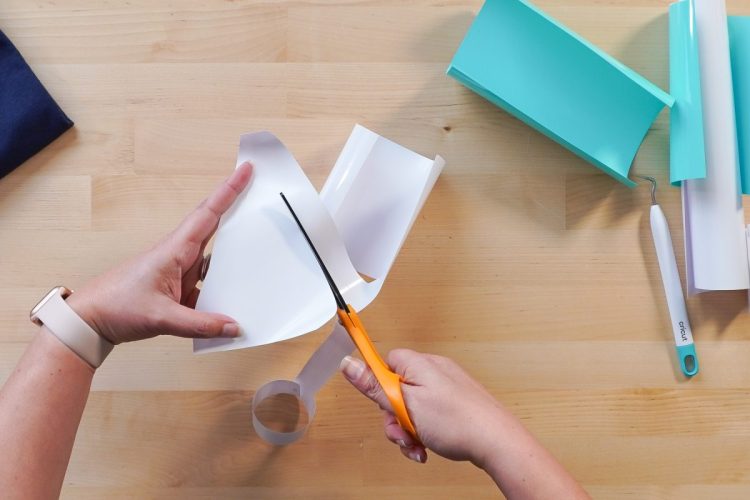
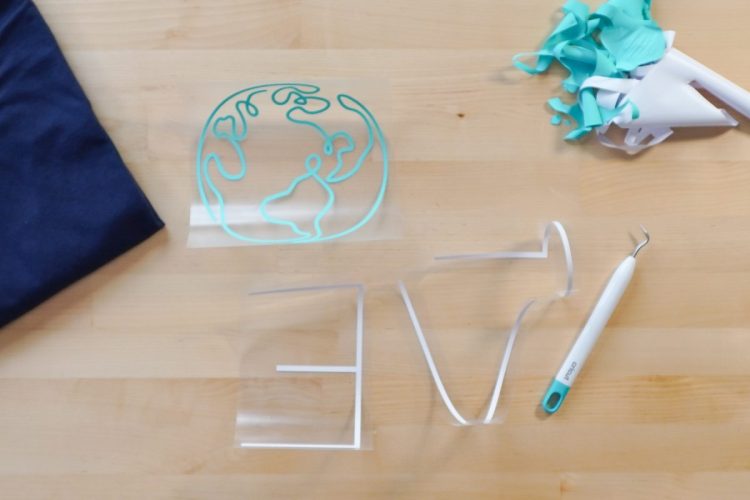
Before you weed your project, cut off any excess HTV using scissors. This project has a lot of excess that we can save for future projects—I even cut inside the L and the V. I probably could’ve cut inside the E as well, but those scraps felt smaller than what I normally keep.
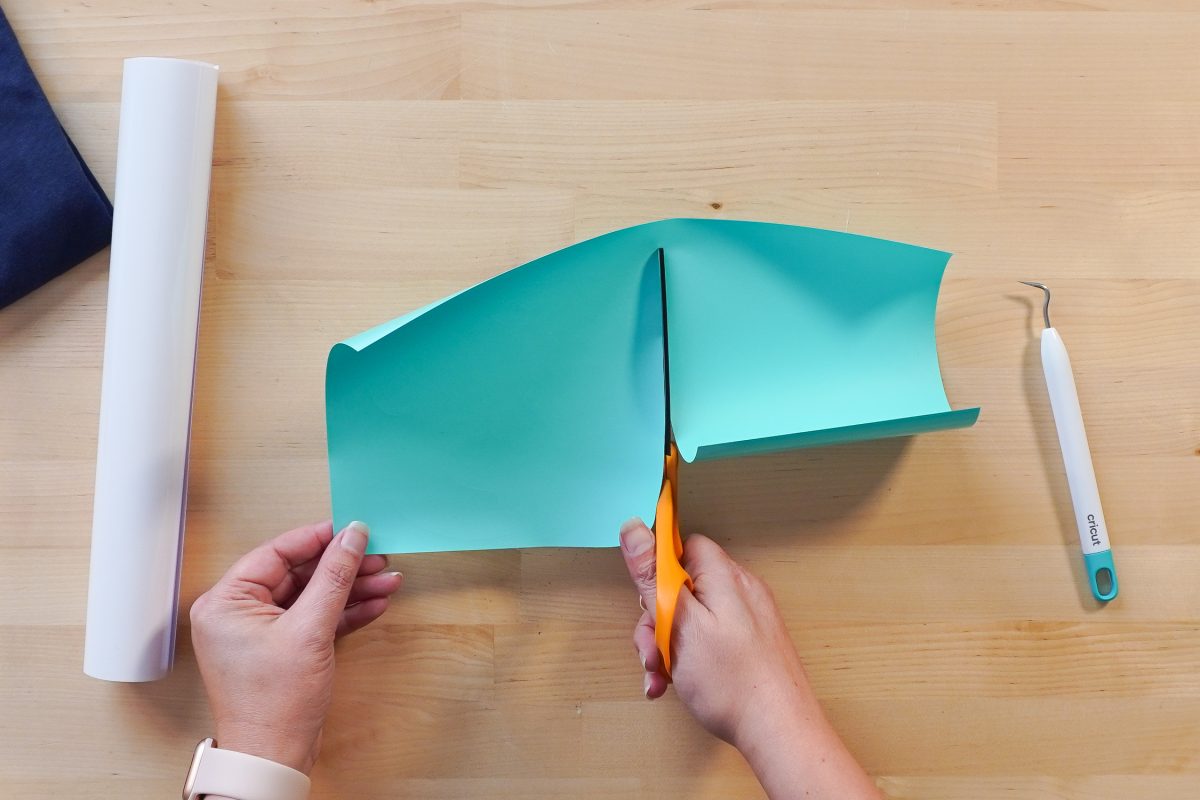
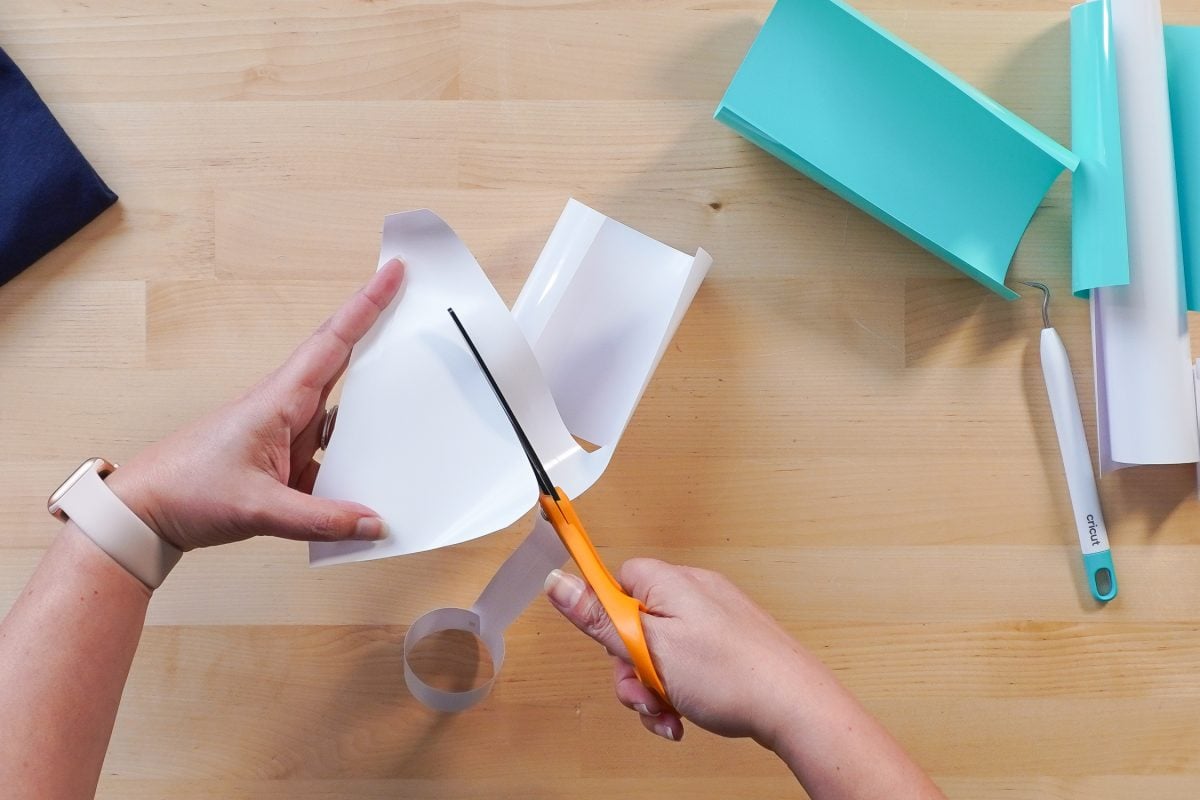
Eco-friendly crafting tip: Add scraps to your scrap bin for using on other projects, instead of tossing them!
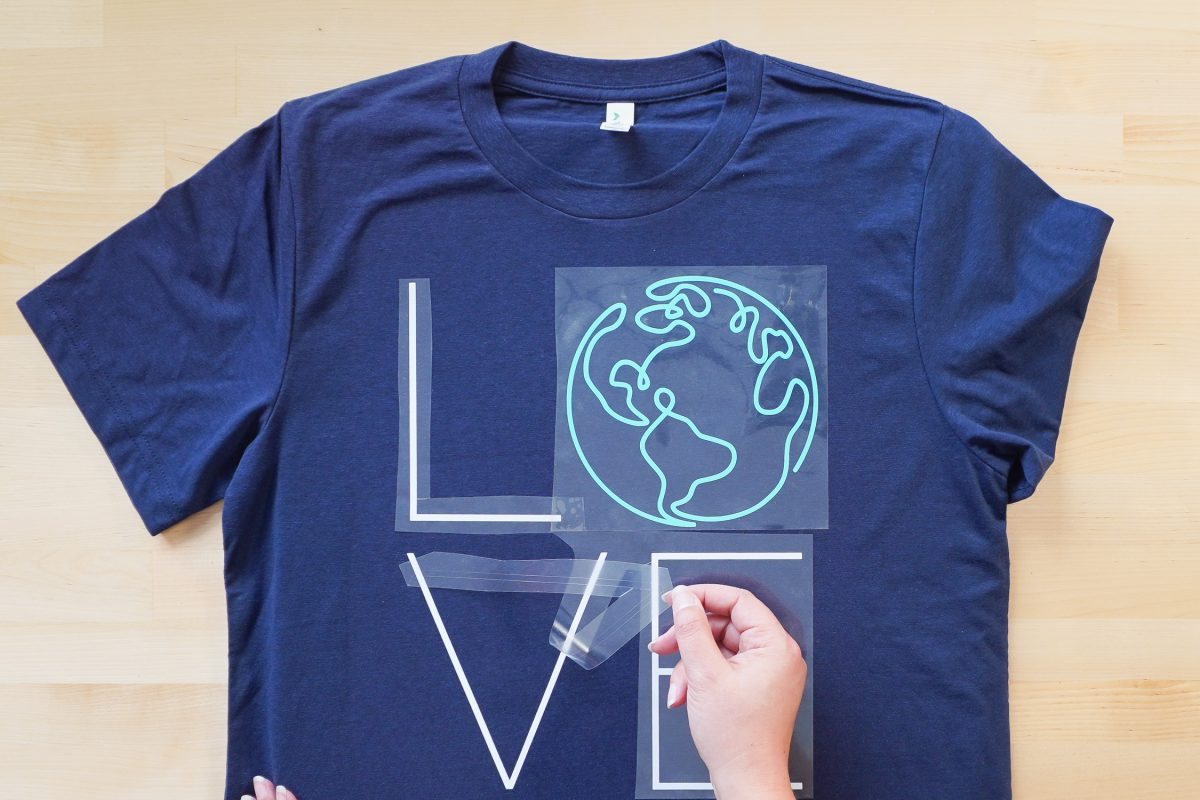
Use your weeding hook to remove all of the excess materials from both pieces of HTV. Because I cut out a lot of the carrier sheet, the L V and E are a bit curly, but they lay flat on the shirt no problem.
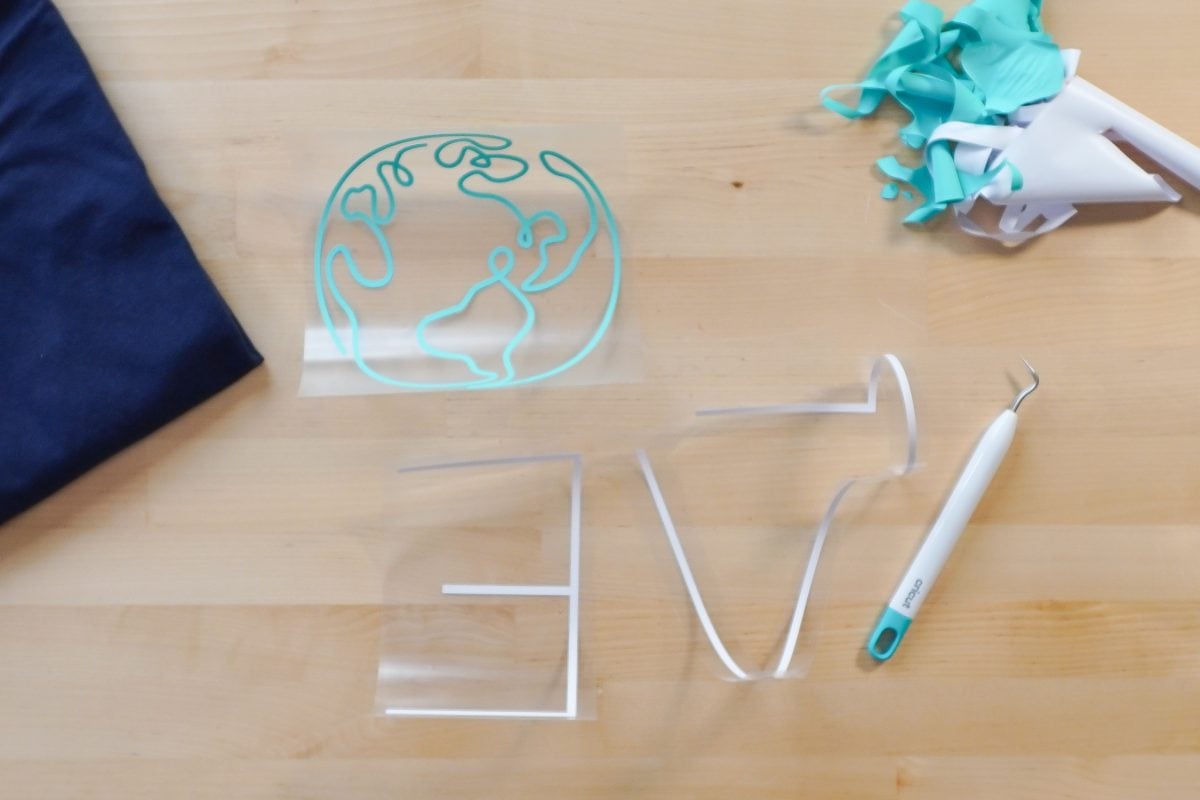
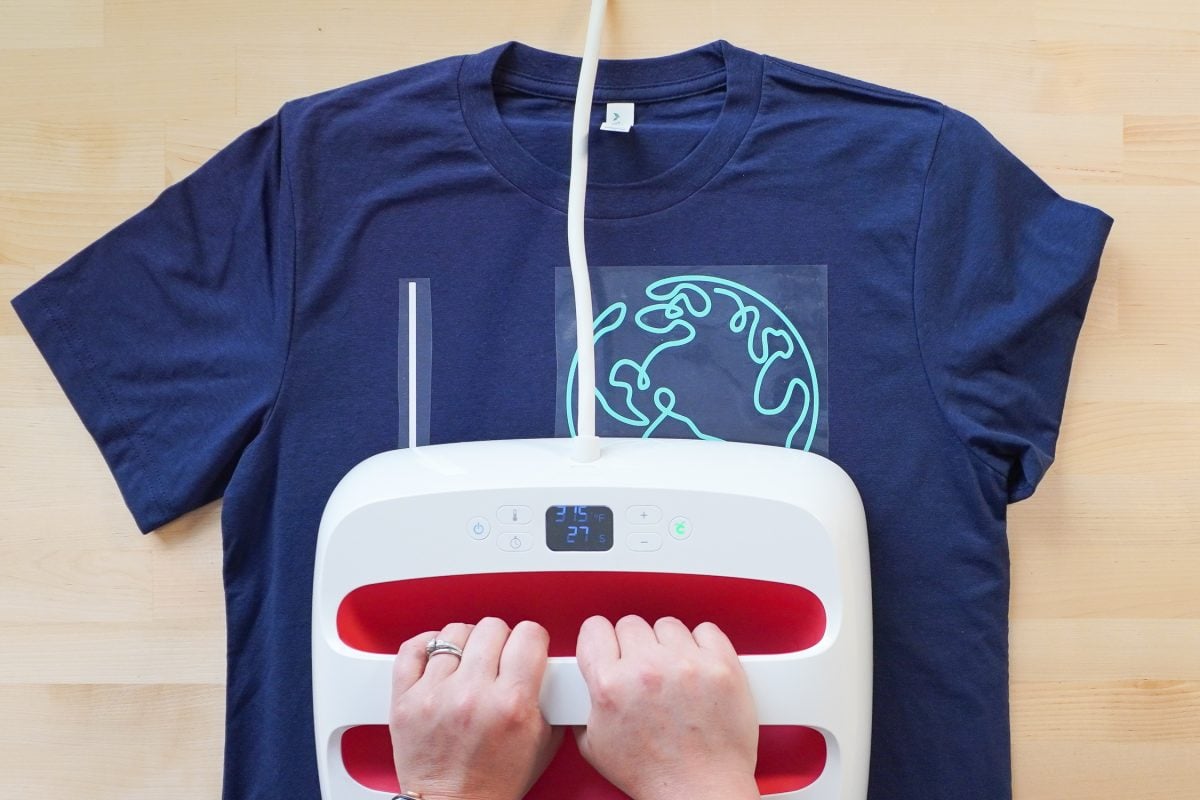
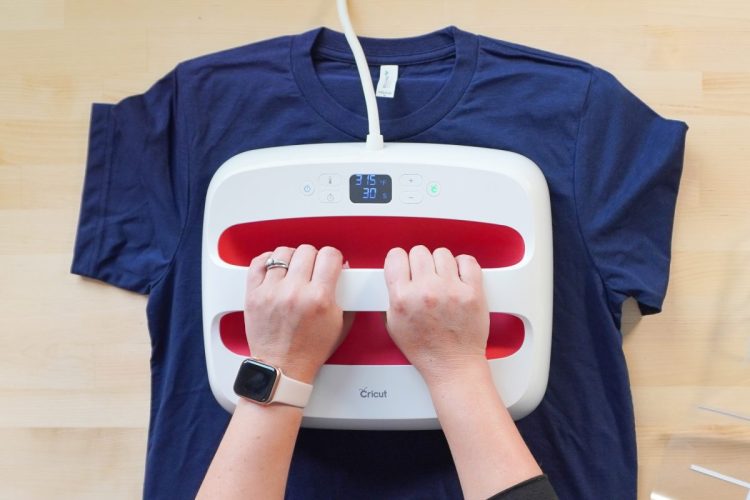
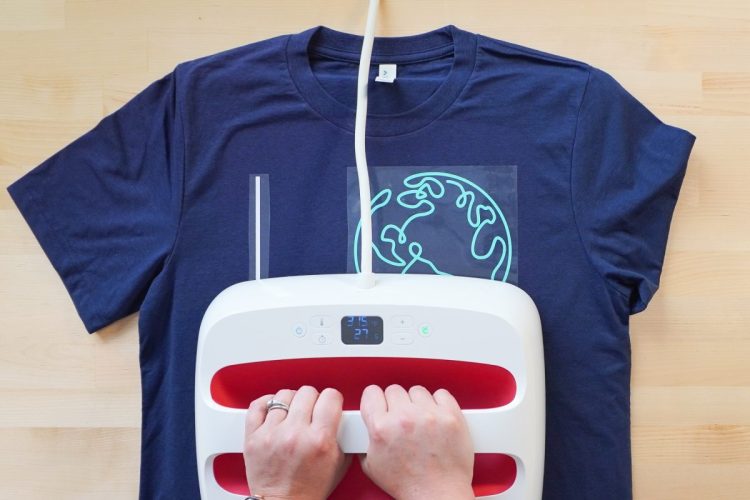
Lint roll your shirt to clean it and prepare it for pressing. Set your EasyPress to 315°. When it comes to temperature, pre-press your shirt for 15 seconds to remove any moisture.
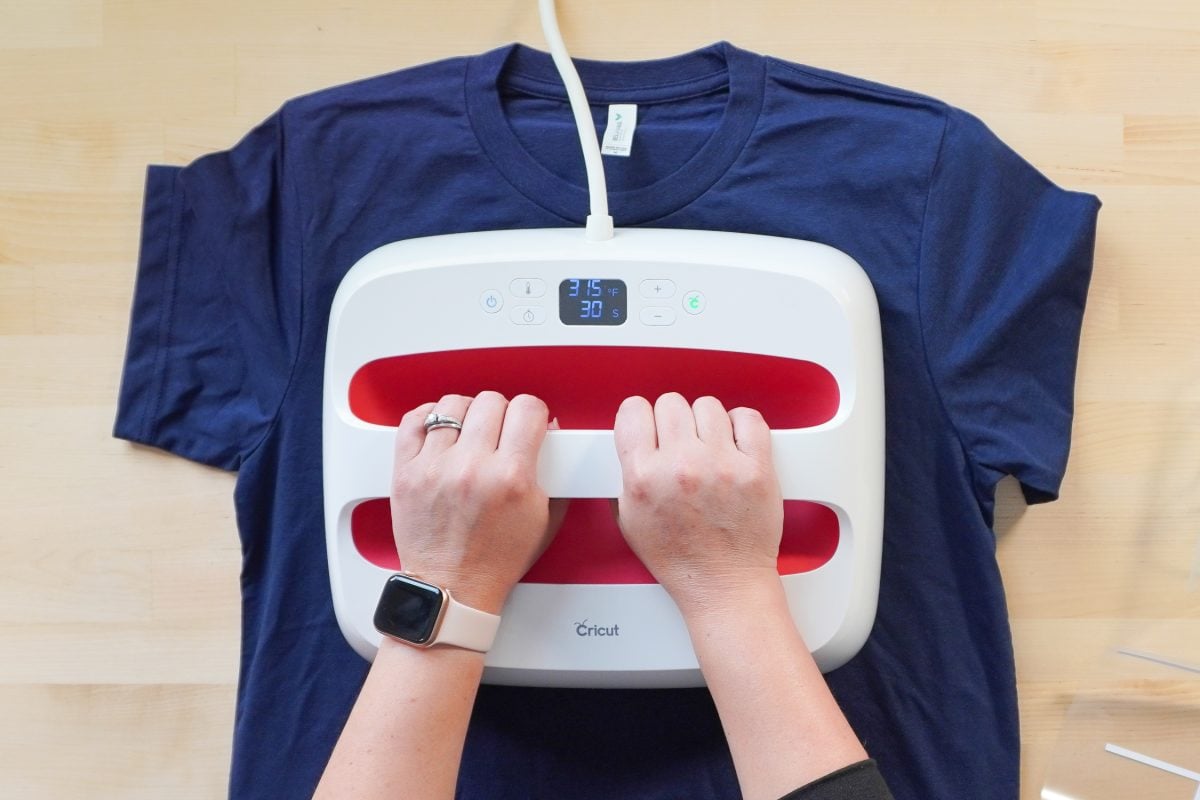
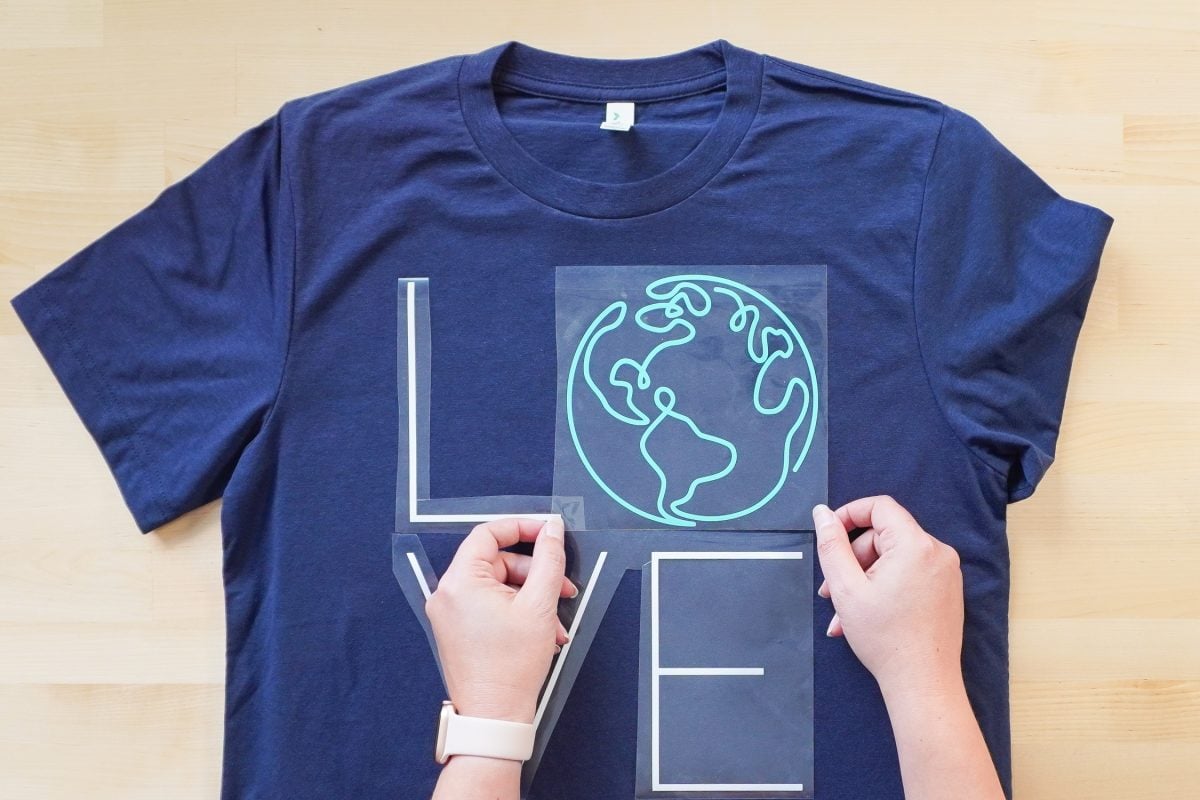
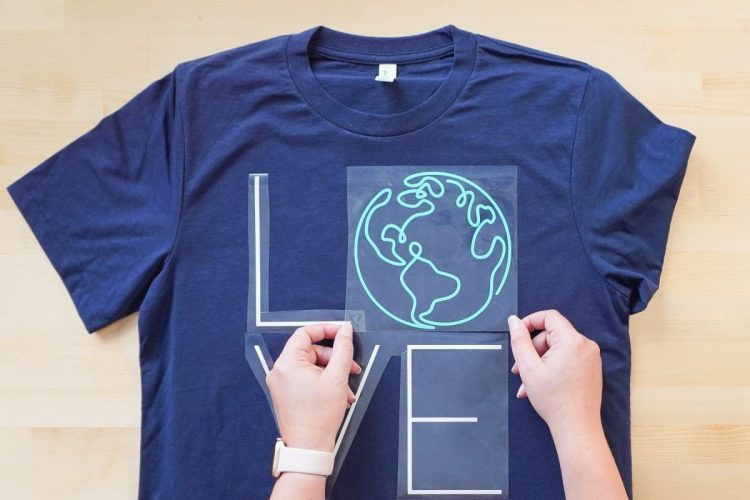
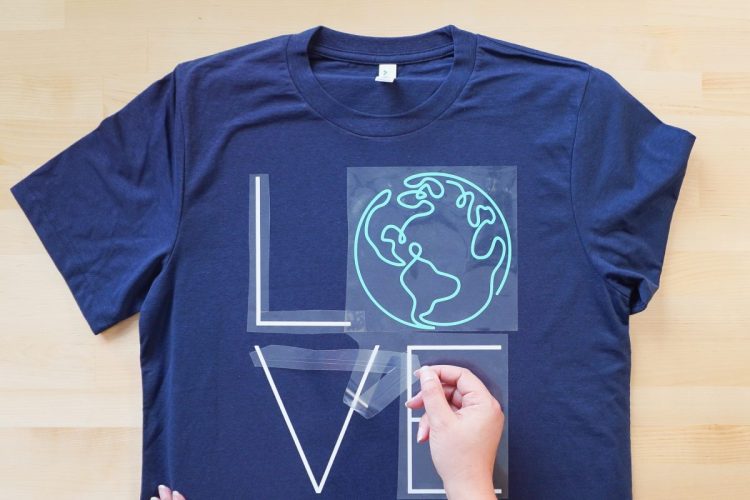
Add your HTV to the shirt. Because of the way this is designed, you can press both colors at the same time if you’d like.
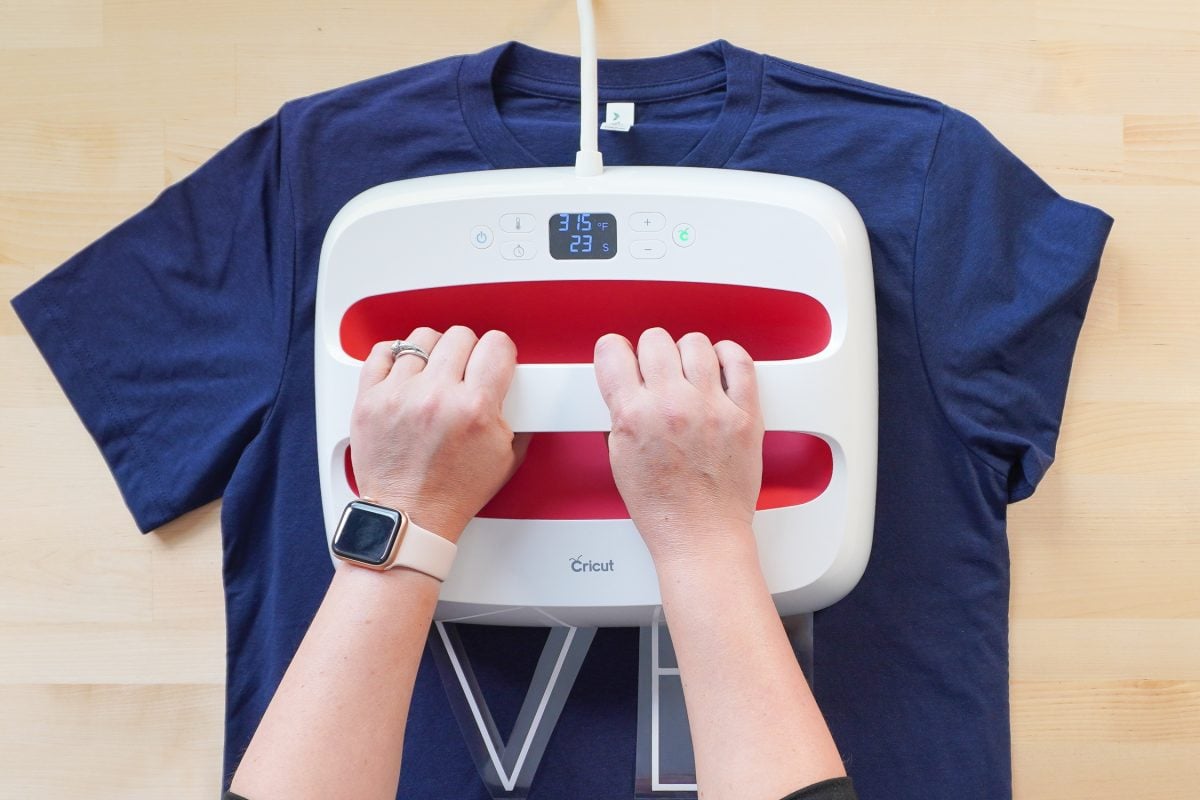
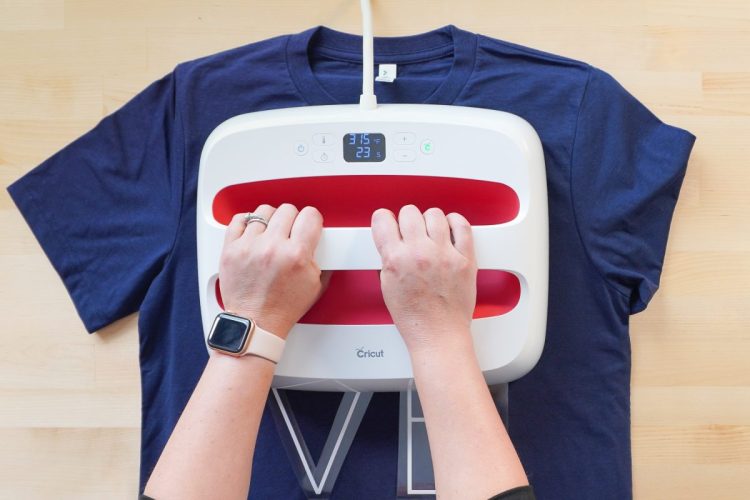
Press your HTV for 30 seconds. My image was large enough that I needed to press it twice.
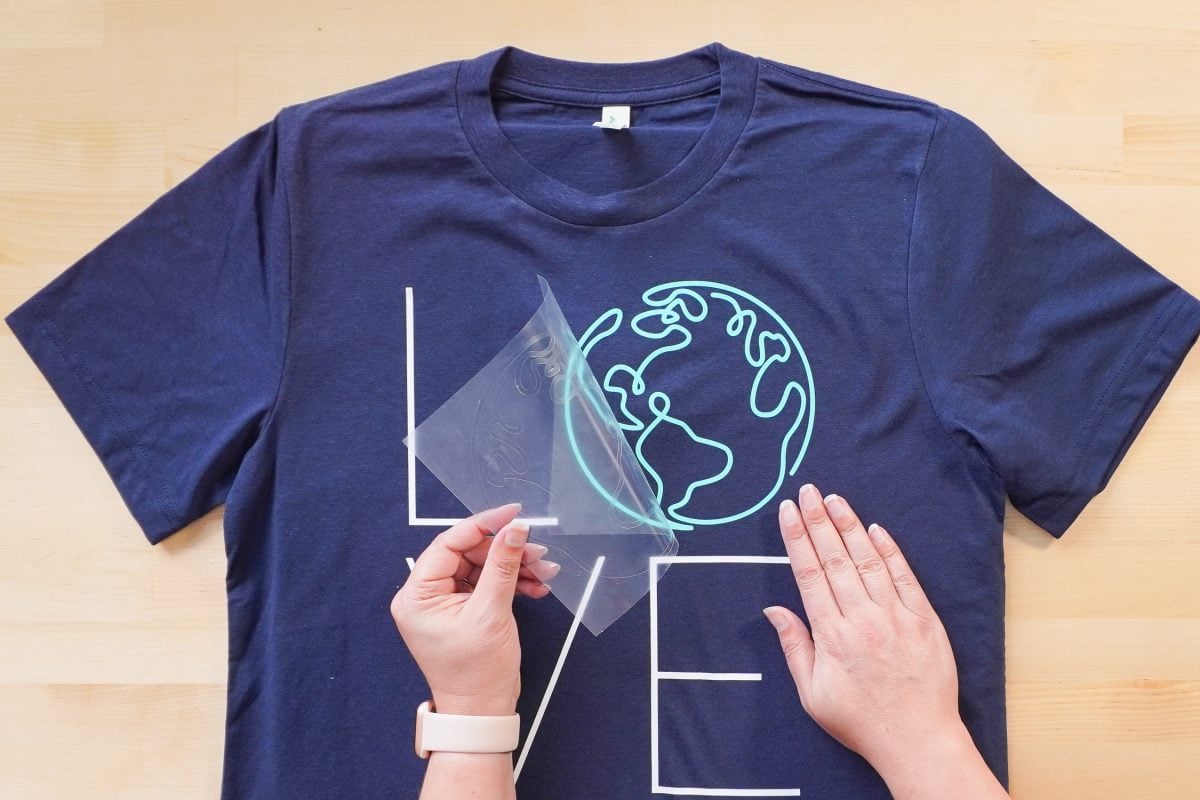
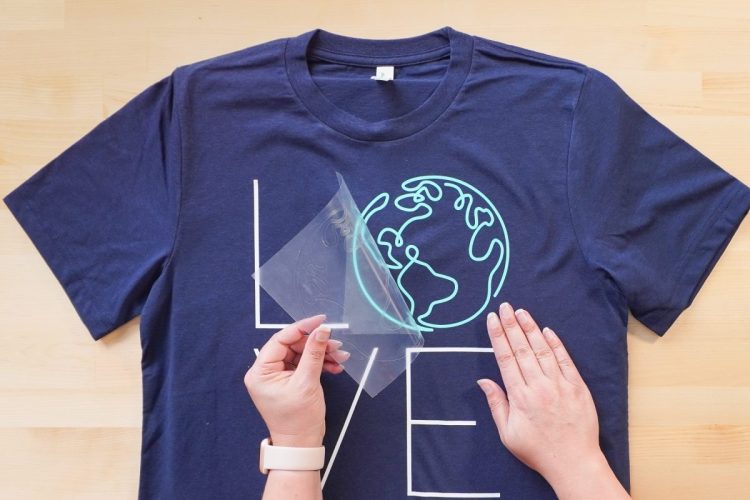
When it’s cool to the touch, peel back the carrier sheet.
If you’re having issues with the HTV sticking, see my post Tips to Get HTV to Stick and Last Longer.

Recycling through Ridwell
Another way to recycle a lot of the materials you may come across in crafting is through a newer company called Ridwell. They aren’t in every city (you can sign up to show that you want it and they’ll notify you when they come to your city!), but if they are in your city I couldn’t recommend them more highly! We’ve been using their service for more than three years and we’ve been so happy with it.
Ridwell recycles things that your normal recycling company won’t pick up. This includes (it’s different in every area, so check your specific list—for example, we don’t have clamshell packaging yet):
- Plastic film
- Multi-layer plastic
- Threads (anything fabric that’s not wet or moldy)
- Light bulbs
- Batteries
- Clamshell packaging
- Latex paint
- Fluorescent lightbulbs
They also have a featured category that switches every pickup. It’s been both craft and sewing supplies in the past, along with corks, bottle tops, books, diapers, winter clothes, and more.
A lot of the materials I use in crafting can be recycled through Ridwell. For example, the plastic film that rolls of vinyl are packaged as well as Amazon bubble mailers go in my plastic film bin. Sewing scraps go into threads. Thicker plastic wrapping from some sublimation blanks goes into multi-layer plastic. While I still have quite a bit of waste while crafting, I like knowing that a lot of it now goes to make new products, like Trex decking.
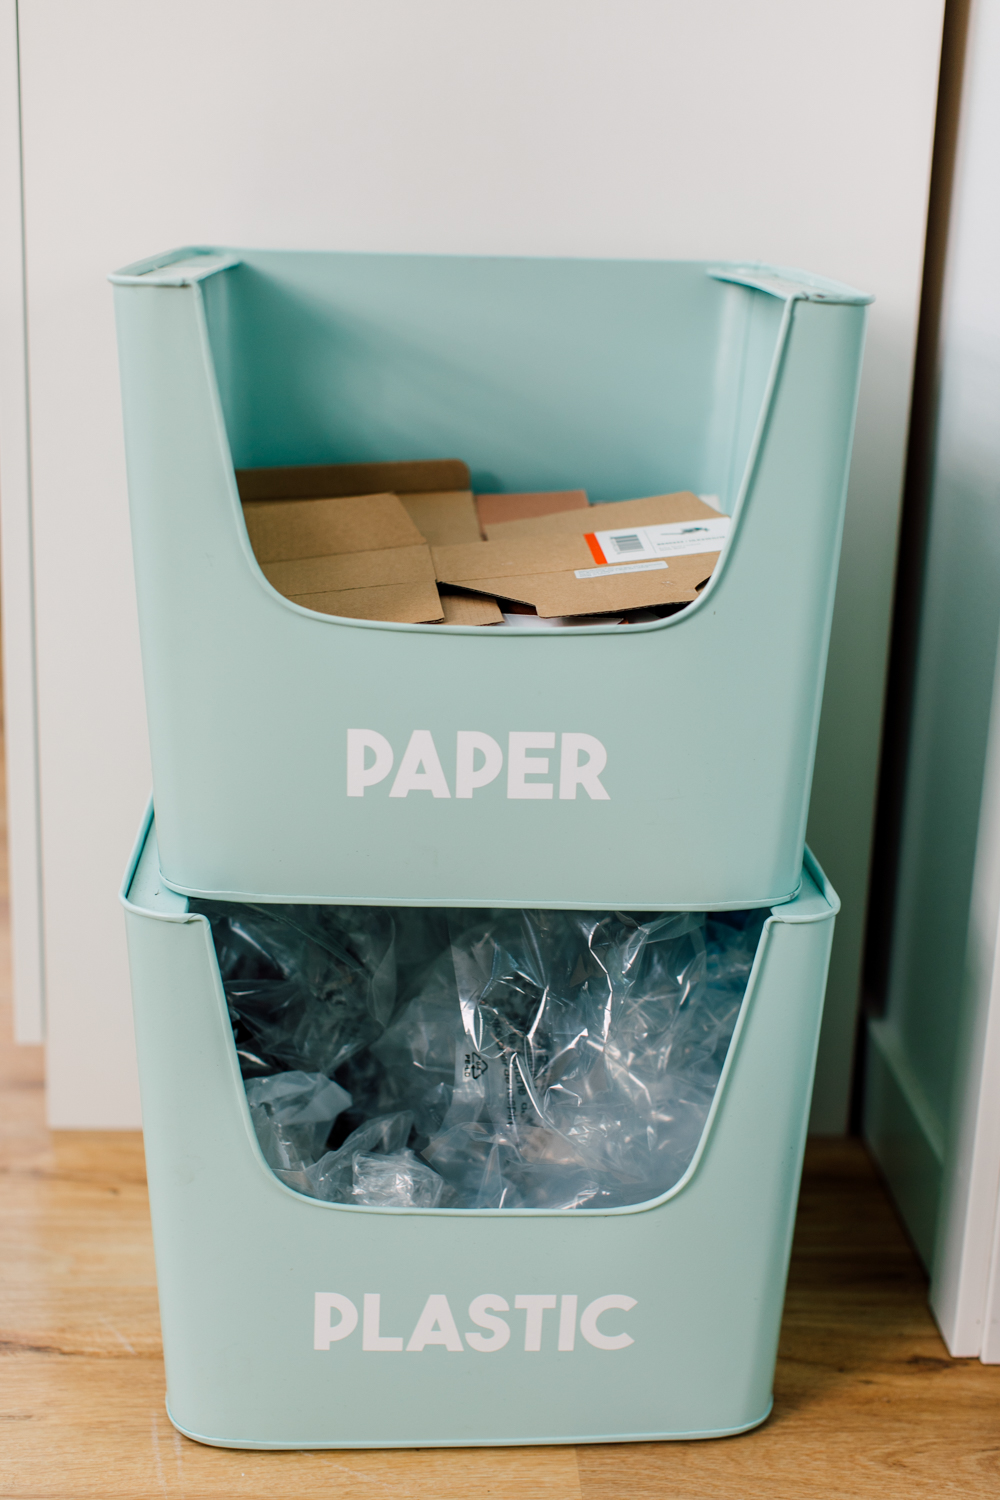
Eco-friendly crafting tip: Having recycling bins right in your craft space makes it easy to recycle!
Utilize Buy / Sell / Trade Groups
One other way to be more eco-friendly in your craft room is to utilize buy/sell/trade groups online. One of my favorites is our local Buy Nothing group. Everything in the group is free. Just post what you have and if someone wants it, they come pick it up. Here are some things I’ve given away in our local group:
- Craft supplies I know I won’t use
- The cardboard tubes from inside rolls of vinyl
- “Grab bags” of scrap vinyl and HTV
- Finished projects I’ve made specifically for my channels that I don’t want to keep
- Electronic stuff I once used for producing content that I no longer use
- Small craft storage furniture I’m not using anymore
- A completely dead heat press that someone thought they could fix
I’d much rather have these things find homes in our neighborhood than be trashed in a landfill!
I hope you found these tips to improve your eco-friendly crafting! If you have your own ideas, I’d love to hear them in the comments!
CRAFTING AN ECO-FRIENDLY TEE
Equipment
- Cricut EasyPress or other
Instructions
- OEKO-TEX Standard 100Eco-friendly crafting tip: When looking for HTV, look for materials that have an OEKO-TEX Standard 100 certification. This means that they are certified to safe and chemical-free for humans, including babies. Some of the cheaper brands of HTV you might buy on Amazon are not OEKO-TEX certified. If you want the safest materials, make sure they fall under the Standard 100 certification. For this project Siser EasyWeed is being used, which is certified under these standards.
- Start by uploading your SVG to Cricut Design Space. Resize your file to fit your tee and cut it out using your Cricut machine. (If you need help, check out this post Using HTV on a Shirt).Eco-friendly crafting tip: Instead of buying new Cricut mats, you can clean your old Cricut mats! You can also use masking tape to help hold the materials to an older mat.

- Before you weed your project, cut off any excess HTV using scissors. This project had a lot of excess that can be saved for future projects.Cuts were made inside the L and the V and probably could've cut inside the E as well, but those scraps felt smaller than what is normally kept.

- Eco-friendly crafting tip: Add scraps to your scrap bin for using on other projects, instead of tossing them!

- Use your weeding hook to remove all of the excess materials from both pieces of HTV. Because a lot was cut out of the carrier sheet, the L V and E are a bit curly, but they lay flat on the shirt no problem.

- Lint roll your shirt to clean it and prepare it for pressing. Set your EasyPress to 315°. When it comes to temperature, pre-press your shirt for 15 seconds to remove any moisture.

- Add your HTV to the shirt. Because of the way this is designed, you can press both colors at the same time if you'd like.

- Press your HTV for 30 seconds. My image was large enough that I needed to press it twice.

- This image was large enough that it needed to be pressed twice.

- When it's cool to the touch, peel back the carrier sheet.

- If you're having issues with the HTV sticking, see this post Tips to Get HTV to Stick and Last Longer.

- Your finished product!



Leave A Reply!