Did you know the Cricut Maker can cut matboard? Get all my best tips for cutting matboard with the Cricut Knife Blade, including tricks to ensure your matboard projects turn out great!

It’s time for another Knife Blade tutorial! Make sure you read them all before cutting with your Knife Blade—it will save you a lot of time (and money!) if you’re doing things right the first time. Today we’re covering matboard. All of the tips here today also apply to illustration board and artboard as well!
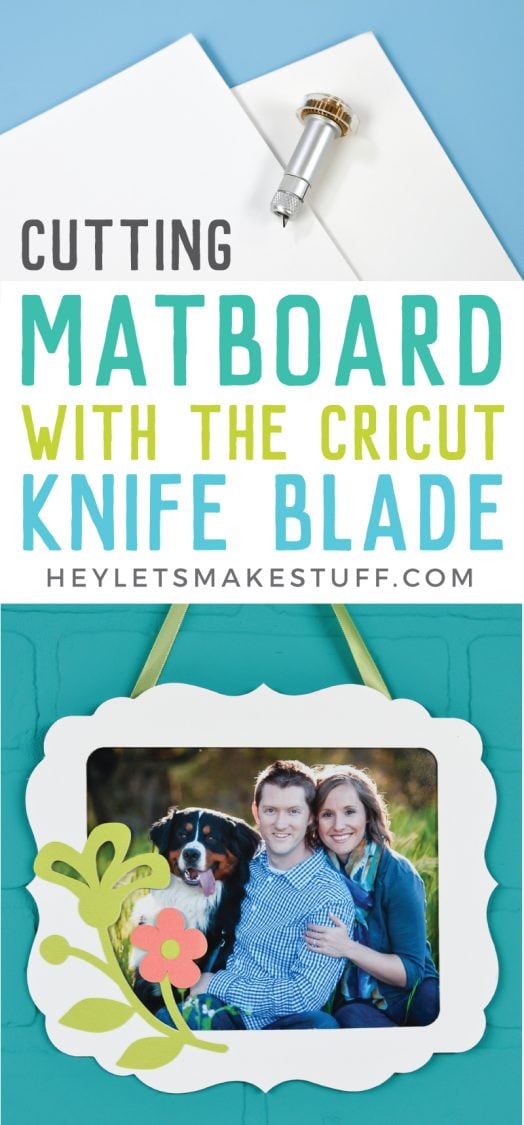
Side note: how cute and well rested do we look in that engagement photo from 2013? Ahh, life before kids.
What is Matboard?
Matboard is a high quality paper product that is assembled in layers (called “ply” in this case). Its main use is for matting artwork and photography—it provides a little space between the artwork and the glass, and it’s decorative as well. But it can also be used in other applications, like scrapbooking and other paper crafts where quality is an issue. And now, thanks to the Knife Blade, you can cut it easily without any special mat cutting equipment!

Matboard comes in a wide range of colors, with either a white core or a colored core that matches the outside of your matboard. I prefer to cut the colored core matboard—I feel like the white core can look a little ragged since every imperfection in the cut seems magnified with it.
Note that most professionally cut mats are cut at a 45° angle (also called a bevel), clearly showing the core of the matboard. The Cricut will only cut straight up and down, so if you’re making archival type photo mats, you might want to take this into account. Still, I think matboard is a great material to use with your Knife Blade for scrapbooking and other paper crafts where you want some sturdiness to your project. Chipboard is also a great option, though chipboard requires a longer cut time.
What to Look for in Matboard
The Cricut Maker and the Knife Blade are qualified to cut both 2-ply and 4-ply matboard. Matboard goes all the way up to 8-ply, but that’s too thick to cut, so stick to 2-ply and 4-ply matboard that is less than 2mm thick.
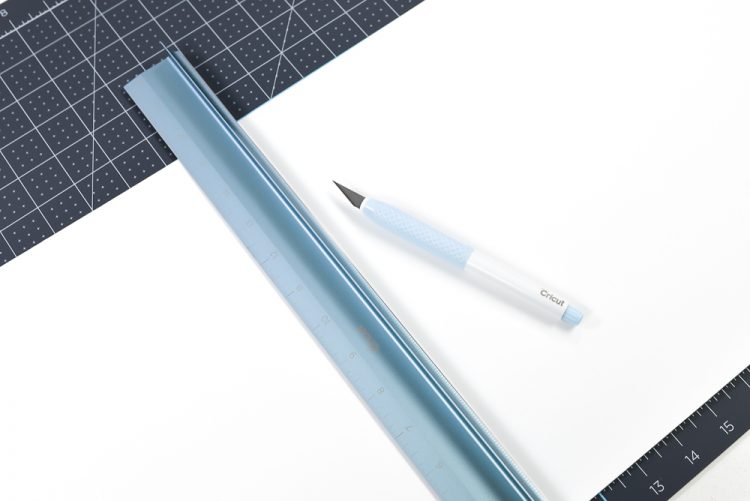
If you’ve read my Cricut Knife Blade Tips For Success post (you really should before you cut anything with your Knife Blade!), you’ll know that the maximum width the Cricut Knife can cut is 11″ wide (instead of 12″ material), so keep that in mind when looking for matboard. You can always buy larger pieces and cut down with a craft knife and ruler.
Where Can I Buy Matboard?
Finding uncut matboard isn’t as easy as some of the other materials. Amazon has a big selection, as do framing-specific websites like Frame Destination and Matboard HQ. You may also have luck in your local craft store, though I couldn’t find many options on their sites online.
Tips For Cutting Matboard
Here are a few things you want to keep in mind when cutting matboard. If you haven’t read it already, make sure to review Cricut Knife Blade Tips For Success. That post has important information you need to know any time you use your Cricut Knife Blade.
I mentioned in the success tips post to keep your cuts at least the width of a pencil wide. The smaller the cuts, the more likely your matboard is to start peeling in layers, since it is a “ply” material. You can do smaller, but be prepared for you matboard to peel a bit. I’ve found that those smaller cuts are often the interior pieces, which are scrap anyway, so it doesn’t bother me to see them on my project—but keep it in mind as you design and plan.
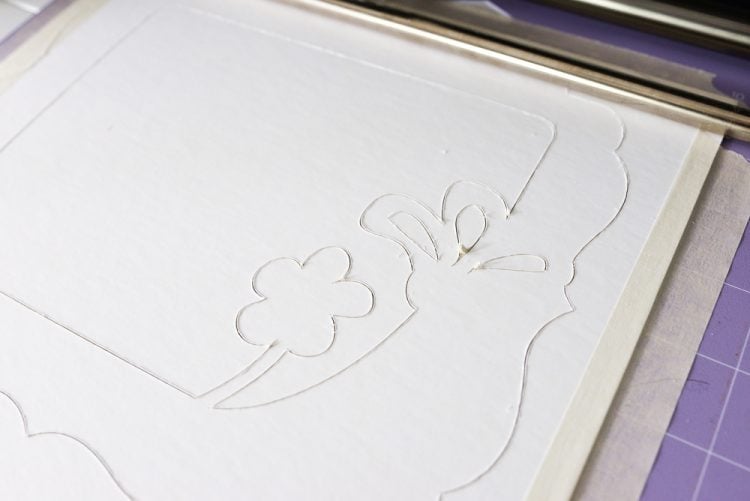
When cutting matboard, use a StrongGrip mat, and make sure to tape down all four edges. If your mat is not new, use a brayer to really press your matboard into the adhesive on the mat. You don’t want it shifting during cutting!
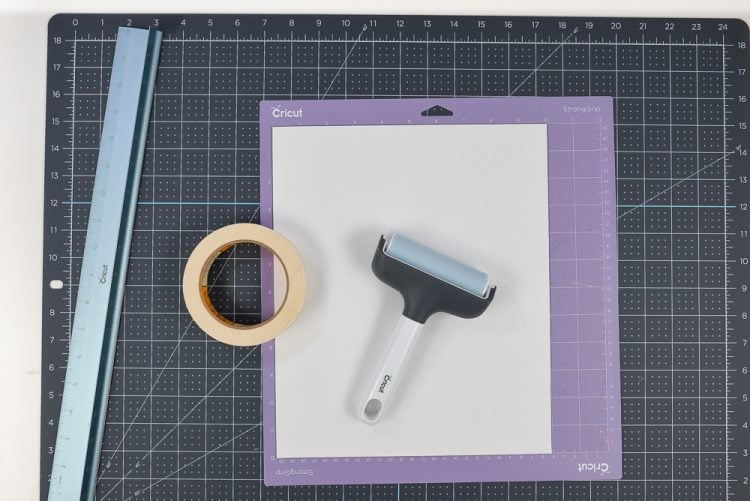
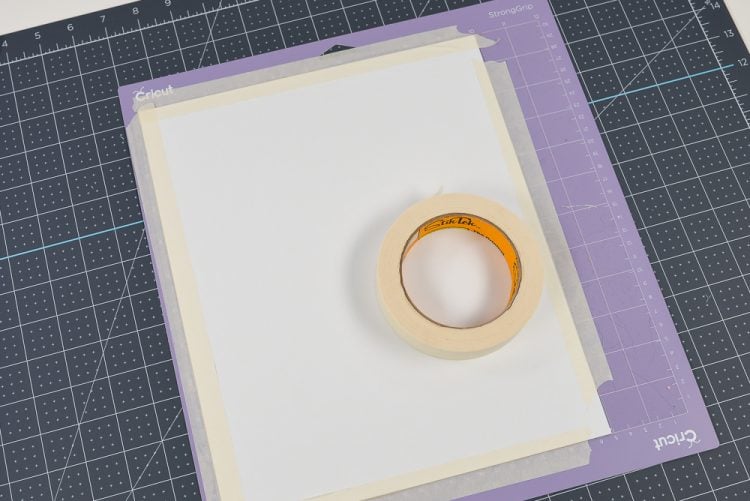
I mirror my image so that the “ugly” side is on the back — the part that may have a bit of peeling or tape marks. Matboard tends to tear a bit when you pull up masking tape, so for me, it’s a must to mirror it.
Make sure your piece is no wider than 11″ wide. Move the star wheels to the right on your machine so that they do not hit your matboard (see that tips post above).
While cutting matboard, if pieces start to “pop” out of your project, you can remove the smaller pieces. I’d keep larger pieces in the machine, however—removing them can cause your material to shift slightly. If one of these popped pieces jams your Cricut, do not remove your project from your machine! Clear the debris (I like canned compressed air for this purpose) and hit the “go” button again to restart where the machine left off.
Like I said in my tips post, cutting thicker materials takes far more passes than cutting thinner materials. 4-ply matboard gets 8 passes, but I’ve found I need to add one or two more when I cut. You can do this at the end of your cut by NOT unloading your mat and pressing the Cricut “C” on your machine to do one more pass. If you do that and there’s still small corners or parts that haven’t cut all the way through, but the majority has, then remove your mat, release your project, and use a craft knife to cut the last little bits in the corners.
I made this cute frame using Design Space Image #M42D6C and 4-ply matboard and cardstock! Probably one of the fastest projects I’ve made using the Knife Blade—matboard really does cut faster than some of the other Knife Blade materials!



Comments & Reviews
Maggie Bui says
Hi Cori,
I m planning to purchase a Cricut. I wonder with Cricut, can I design the cut by my own drawing, not follow the SVG or template, same as hand cut? Thank you for your advice.
HEATHER says
You can buy mat board from the framers at Michael’s! The price depends on the mat. I believe it was 24×36
Trevor says
Hi – drafting tape, which is designed to peel away from paper cleanly https://en.wikipedia.org/wiki/Drafting_tape may work better than masking tape
Rosemarie Mahon says
What size may board?
Bobbie Schultz says
I calibrated my knife blade before cutting my Matt board. It did not cut all the way through and when I removed it from the purple Matt a part of the backing of the Matt board stuck to the purple Matt. It tore off. I am a beginner and I had no idea what the machine meant when it said how many passes it would make. I have since learned. Also I should have taken the option to do one more pass but it looked like the pattern was cut all the way through.
Cori George says
Also be sure to bend the mat away from the matboard instead of peeling the matboard off the mat. This will help keep it from tearing. Here are a few more tips, too: https://heyletsmakestuff.com/tips-for-removing-materials-from-your-cricut-mat/
Lizz says
Your article does not say what setting to use for mat board
Liz, HLMS Reader Support says
There is a setting already set up for you in Design Space named ‘Matboard 4 Ply’.
Make sure to follow all of the remaining instructions listed in the blog post for best results.
Happy Crafting!
Liz, HLMS Reader Support
Taylor says
Do you have any info on how to do the actual application part of this? We are just trying to cut out a rectangle in a specific part of the mat and it wants to put the rectangle in the Corner.
Thanks!
Liz, HLMS Reader Support says
You can actually ‘place’ your cuts anywhere you want on the mat, you just move the image to your desired placement after you click the ‘Make It’ button.
Happy Crafting!
Liz, HLMS Reader Support
Rebecca says
Wondering if you have tried cutting mat board that has a soft texture (looks a bit like crushed velvet or suede, just a little bit of nap and not very deep), and if so, how well did it work?
Thanks!