Learn how to cut fabric on the Cricut Maker, as well as insider tips and tricks for getting the most out of your machine and your fabric.
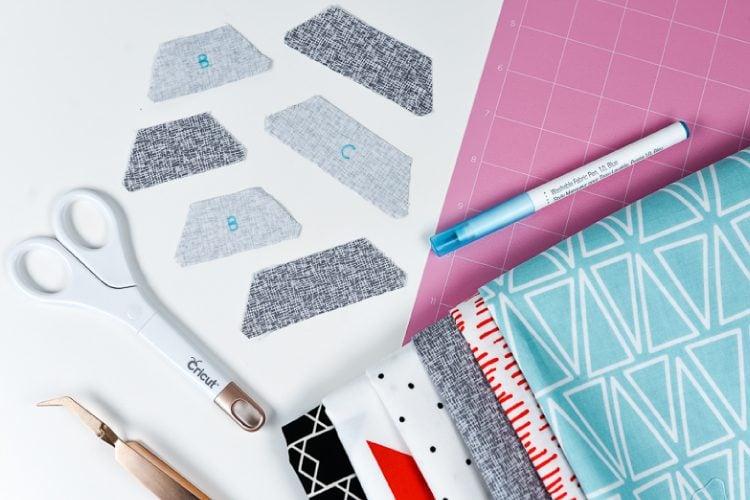
Hey friends! I have my new Cricut Maker all set up and running here in my studio, so it’s time to start sharing tutorials on how to use it!
One of the features I’m most excited about is the Cricut Maker’s ability to cut fabric using the all-new rotary blade and pink fabric grip mat. (And don’t worry, Explore users—I still have a ton of tutorials in the works for you as well!)
Both the rotary blade and the 12″ x 12″ pink mat come in the box with your new Cricut Maker, so you don’t have any additional cost at the outset!
Stop pulling your hair out and start creating confidently with your Cricut! Finally understand how to use your Cricut with my Learn Your Cricut eBooks!
Cutting fabric on the Cricut Explore is possible, but you have to “bond” the fabric — iron a stabilizer to the back. With the Cricut Maker, you can cut fabric without using that stabilizer! Because it uses the rotary blade instead of the fine tip blade, you don’t have the risk of the blade pulling at the fabric and messing up your cuts. The rotary blade seamlessly cuts a huge variety of different materials perfectly the first time.
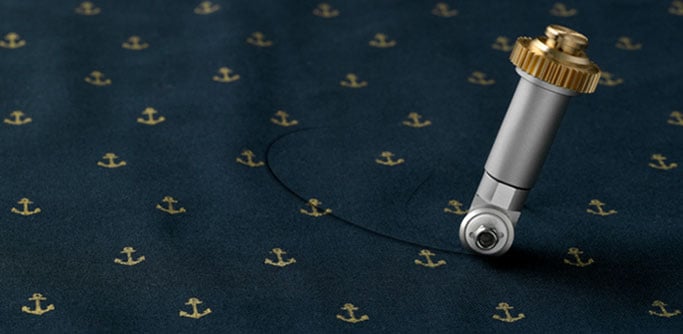
And unlike a handheld rotary blade, it’s almost impossible to nick the blade (I go through so many handheld rotary blades because I nick them!).
At the event, someone asked how long the rotary blade would last. The speaker told us that they cut out 150 mats of small moustaches, perfectly, before they just gave up testing it because they had so many other things to test. So….it’ll last you a good long while, and it’s only $12.99 to replace the blade should you end up dulling it.
There are a ton of sewing patterns available in the Cricut Design Space (they hope to have 500 by the end of the year!) designed to specifically be cut on the Cricut Maker.
Fifty of them are free right now as part of Cricut Access, and there are so many more licensed patterns from Simplicity and Riley Blake for a small fee. Today I’m making a free project I first saw at the Cricut Make-a-Thon weekend — these adorable color wheel coasters.
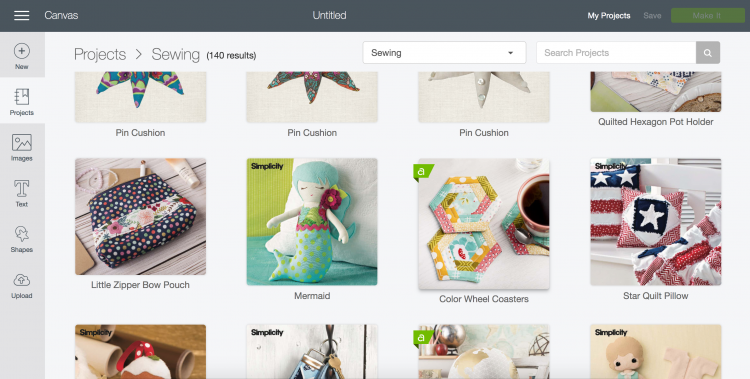
I’m using five fabrics from the Creative Rockstar line, and one from the Apricot and Persimmon line, to make six. Cricut is also breaking into the fabric world, and their new lines are super cute and are cut 12″ x 24″ to make them easier to use with the 12″ x 24″ fabric grip mat.
How to Cut Fabric on the Cricut Maker
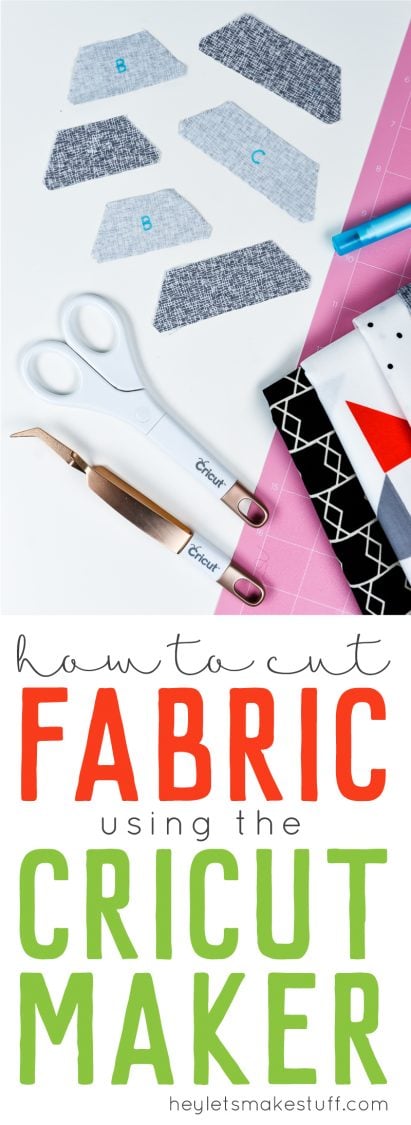
Place your fabric right-side down on your pink fabric grip mat (see below for more details) like you would any other material you’d cut on the Cricut. The fabric below is a medium gray, but very light on the back.
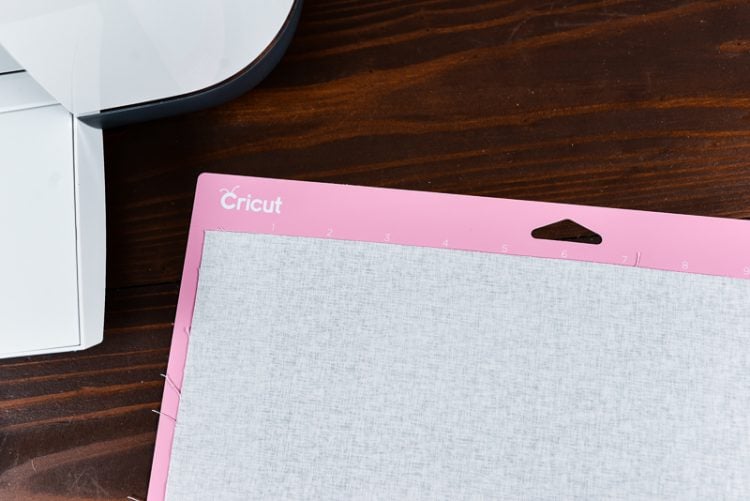
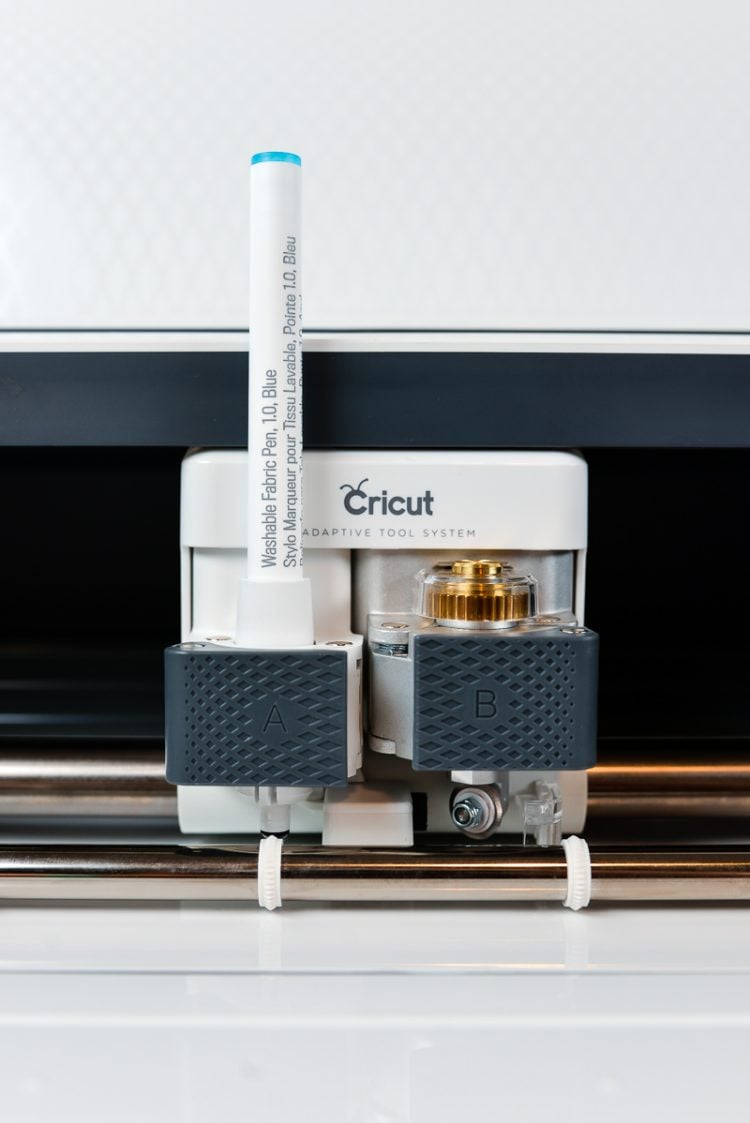
If your pattern has markings, you will insert the washable fabric pen. And hit the go button! The Cricut Maker will draw any markings, and then it will take the rotary blade over to the right and run a few tests on it to make sure it’s the correct blade. Then it will cut your image! To watch it work is a thing of beauty. It cuts so beautifully and with such precision.
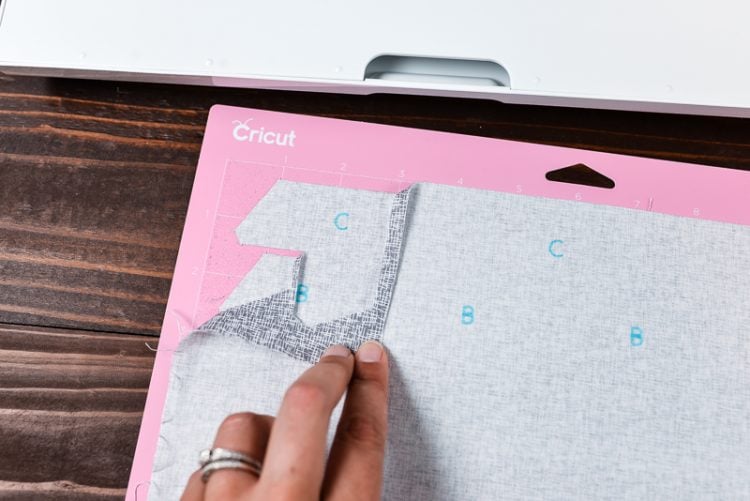
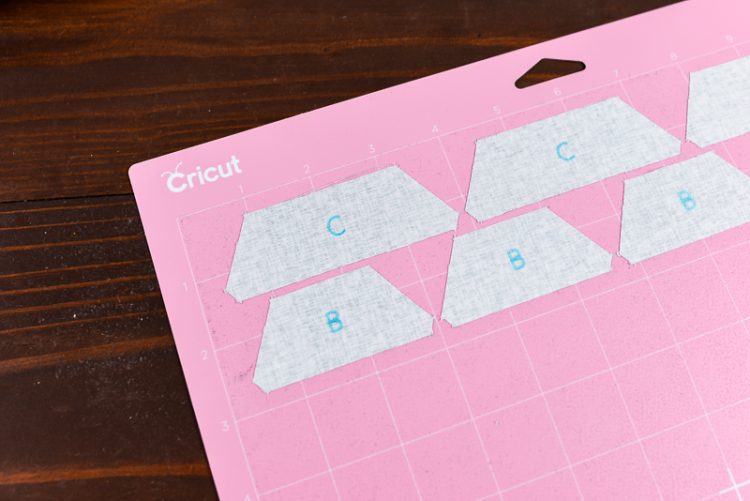
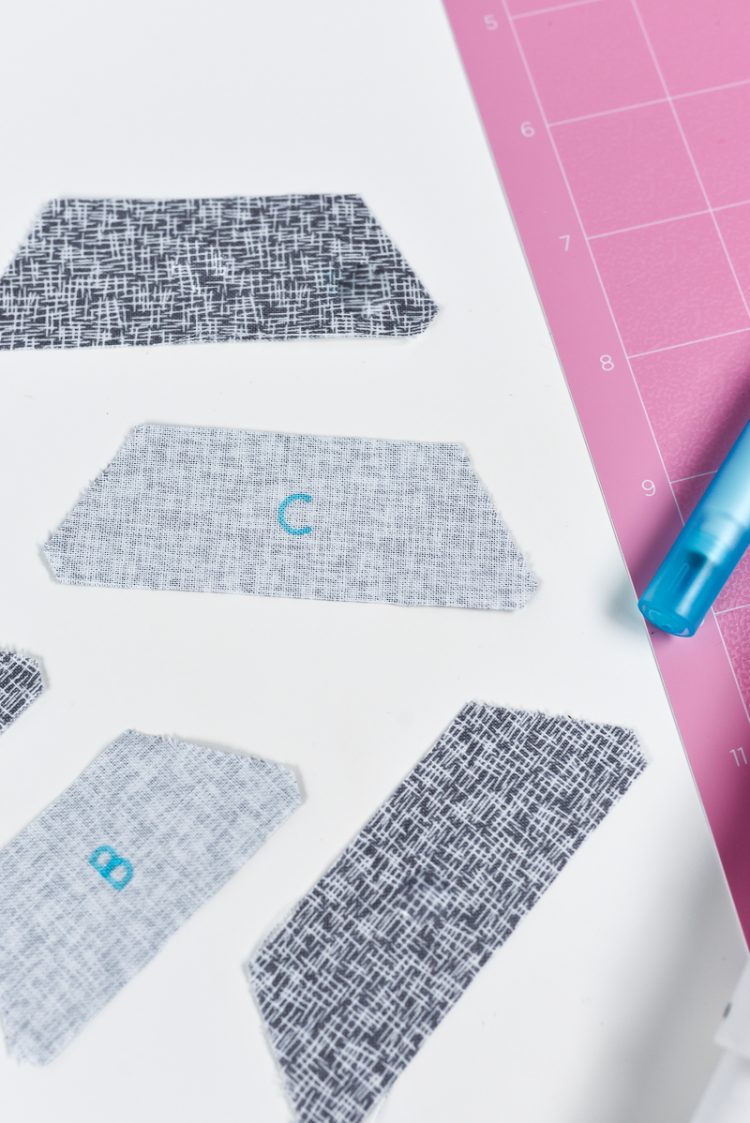
When it’s done cutting, you may notice that you can barely see the cut marks. But as you peel the fabric away, you’ll see that it has cut your pieces perfectly. You can use tweezers to help you lift the fabric pieces off the mat without stretching them.
Tips for Cutting Fabric on the Cricut Maker
Here are a few tips I’ve picked up from the Make-a-Thon and by using the machine to cut fabric myself.
- Place your fabric right-side down on the Cricut mat. This is how the Cricut Maker expects the fabric to be and patterns are designed to be cut right-side down. It also makes it easier to see washable pen marks on darker fabrics or more complex patterns.
- If your mat ends up covered in threads, don’t worry about it. Place your next piece of fabric right on top and the rotary blade will cut through it all.
- Never use the scraper on your fabric grip mats. The adhesive is different than the original three Cricut mats and doesn’t work well with the scraper.
- When your mat is new, just use your fingers to lightly press the fabric onto your mat.
- When your mat is worn in, use more pressure, or use a brayer to help your fabric stick to your mat.
- Be delicate when pulling your pieces off the mat — they’ll be less like to stretch.
- Remember to cap your fabric pen or you’ll have to buy a new one!
Hope that gives you a sense of how to cut fabric on the Maker, and helps you imagine all the things you can do with this incredible machine. Still haven’t purchased one for yourself? Here’s where to buy one!


Comments & Reviews
D'Lana Anderson says
Can you use the Circut Maker for projects not listed on the design space? For instance I am working on cutting out fabric for a Tula Pink quilt. Can I type in my required sizes of fabric and amounts needed?
Like (56) 1 7/8″ half square triangles?
Liz, HLMS Reader Support says
You can enter any image, shape, text that you want and the Cricut will cut it for you.
As an added plus, you can use the free shapes in Design Space (located on the toolbar) and put in a square, resize and slice it in half.
Then when you cut, you can just tell it to cut however many times you need and you’re set!!
Happy Crafting!!
Liz, HLMS Reader Support
Jax says
Ok so I cut out a shape but I wanted to sew it to a shirt for my daughter and there are no seams involved, just the shape of the cat, the edges frayed, is it possible to cut something out and have it in perfect condition to sew without seams?
Liz, HLMS Reader Support says
That is the beauty of cutting fabric using the rotary blade on the Cricut Maker.
The cut edges are perfectly smooth and depending on the quality of your fabric, shouldn’t fray when you pull it off your pink Fabric cutting mat.
Happy Crafting!!
Liz, HLMS Reader Support
Gina says
Hi I make Teddy Bears and was wondering if there’s a way I could cut the pattern pieces on a circuit
Liz, HLMS Reader Support says
You absolutely can!!
You just have to make sure you upload your patterns as a layered .svg file so that:
1. Your pattern shape doesn’t distort or change in size
2. If you have markings, you can change them to draw on the specified layer
There are a bunch of pattern based projects in Design Space if you want to refer to how they’re laid out and separated into layers as well.
Happy Crafting!!
Liz, HLMS Reader Support
Barb says
I want to cut out appliqué pieces that have heat and bond on them, can I cut them on my maker with the rotary blade?
Liz, HLMS Reader Support says
Yes, you absolutely can!! Once you start, you will be addicted – it’s so fun!!
Heat n Bond is one of my favorite mediums because it’s so versatile!!
Just make sure to choose bonded fabric when cutting.
Happy Crafting!
Liz, HLMS Reader Support
Mary Gibbs says
Thank you
Mary says
How do you get the quarter of an inch on it? Say I want a 11 inch square but, I need the 1/4 inch for the seam allowance. How would you suggest to do it?
Liz, HLMS Reader Support says
That is one of the wonderful things about using your Cricut Maker using the Design Space online software.
You can adjust the sizes of the shapes to whatever size you want to cut! Just make sure you adjust all of the shapes at the same time or else you’ll end up with mismatched pieces. There are also image sets with the quarter inch seam already included – I emailed you a screenshot of the image sets.
The names in DS under ‘Cartridges’ are called:
Quilt Shapes – Half Square Triangle
Quilt Shapes – Hexagon
Quilt Shapes – Square
I hope this helps!!
Liz, HLMS Reader Support
PGHRhonda says
Hello, I’m a total newbie to the world of Cricut and am super excited to get started with my Maker. With so many possibilities, I’m not sure where to start. Can anyone recommend a good fabric project to start with? Also, is there an approved fabric content list? I imagine all fabric should be pre-washed. Are there fabrics to avoid with the rotary cutter? Thank you so very much for your help!
Liz, HLMS Reader Support says
Here is a super easy beginner project that uses cotton fabric – see link below from Cori:
https://heyletsmakestuff.com/how-to-make-fabric-tassels-with-the-cricut-maker/
As far as fabric goes – the sky is the limit as long as you don’t exceed 2mm thickness. Most fabrics have already been tested by Cricut and have settings ready to use in Design Space. I suggest you start exploring the different settings or you can see a complete list here:
https://help.cricut.com/hc/en-us/articles/360009504773-Which-materials-can-I-cut-with-my-Cricut-Explore-and-Maker-machine-
Happy Crafting!!
Liz, HLMS Reader Support
Robin Heath says
I purchased a cricut maker machine as a gift. I would like to know what are the best supplies to purchase for machine to get this person started. She wants to be able to do everything and anything on this machine
Cori George says
Here are my favorite maker accessories: https://heyletsmakestuff.com/must-have-cricut-maker-accessories/
Camille Molinaro says
I have the Maker. What is the best mat and blade to use to cut paper backed denim? And should it be face up or down?
thanks
Cori George says
Hi Camille — I haven’t tested that particular material, but I assume the rotary blade with the paper side down would be the best place to start!
Marinda Purcell says
Hello! I cut some felt pieces on my Cricut Maker today and now my mat hardly has any stick to it. Is this normal??
Thanks,
Marinda