If you’re new to the Cricut, here are a few helpful tips and tricks for creating your own custom project in the Cricut Design Space.
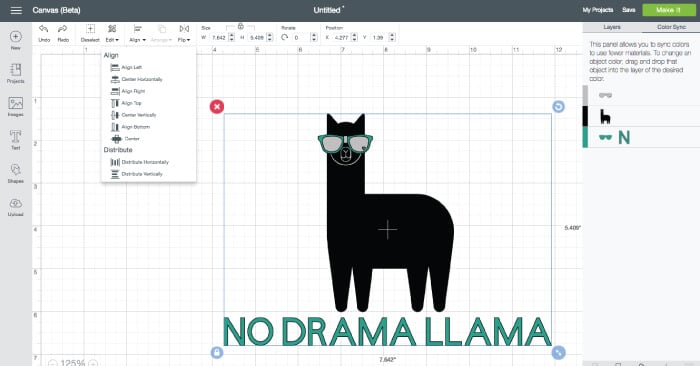
In my last post in this Cricut Series, I talked about the basics for creating a Cricut “Make It How” project. But what if the Cricut “Make It Now” library doesn’t have the project you’re looking for? I often create projects in Adobe Illustrator, but I wanted to share how easy it is to create projects within in the Cricut Design Space.
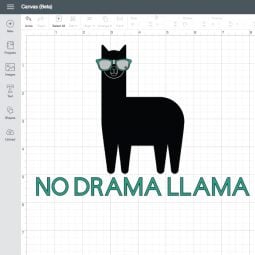
I’m a little obsessed with llamas these days — whenever I’m feeling blue I Google “llama memes” and I immediately feel better. So I decided to make this No Drama Llama cut file. Here’s how I did it, plus a few tips and tricks that will help you in getting started creating a custom project in the Cricut Design Space.
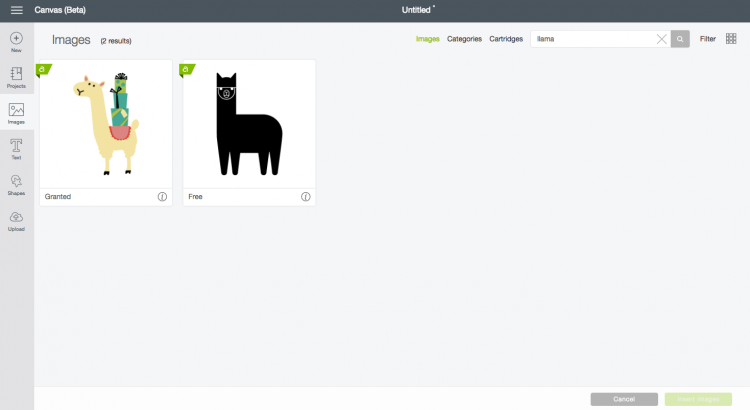
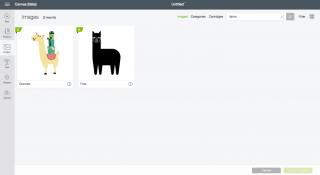
This project is Cricut images and text cobbled together in a cute llama cut file. I think I’ll put it on a t-shirt for whenever I’m feeling super chill. Start by creating a new project in the Cricut Design Space. I clicked on “Images” in the left-hand menu and searched for “llama.” Two adorable llamas popped up (seriously, love llamas) and I chose the one on the right and inserted him onto my canvas.
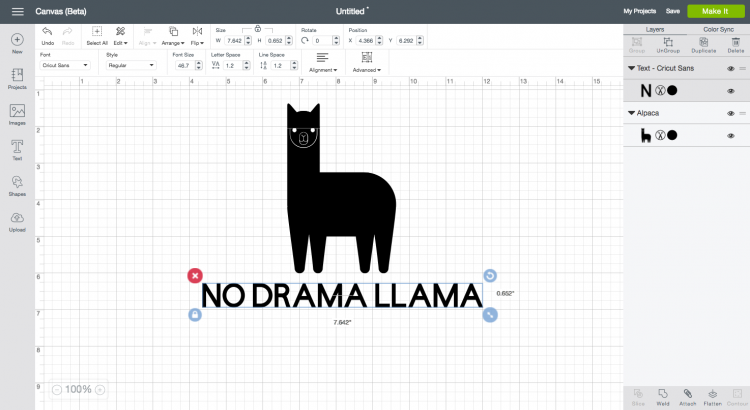
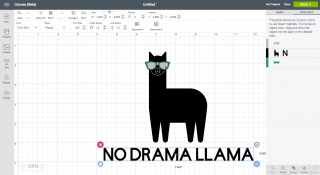
I then clicked on the text tool in the left-hand panel and typed “NO DRAMA LLAMA.” Seriously. This llama is having none of your drama. The font I used was Cricut Sans because it’s, well, undramatic. I resized it and moved it below my llama.
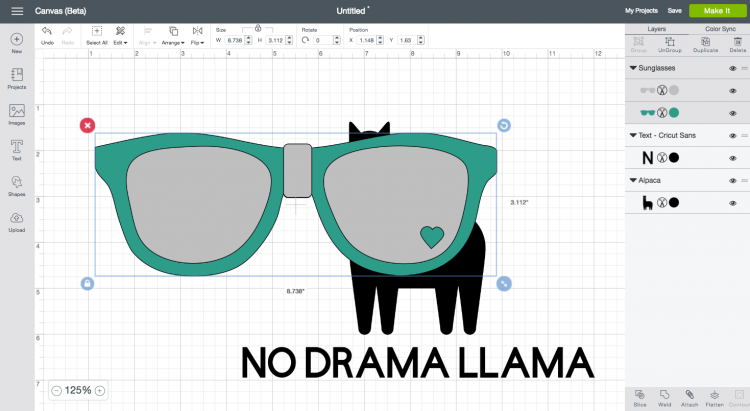
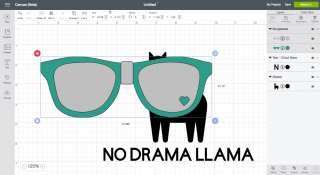
I thought about leaving the llama as-is, but decided he wasn’t chill enough. He definitely needed sunglasses. Back to the Images search, and I found a ton of great options and chose this teal pair with a heart. When I imported them into the canvas, they were enormous, so I resized them and dragged them onto my llama’s face. Much better. Totally chill. No drama llama.
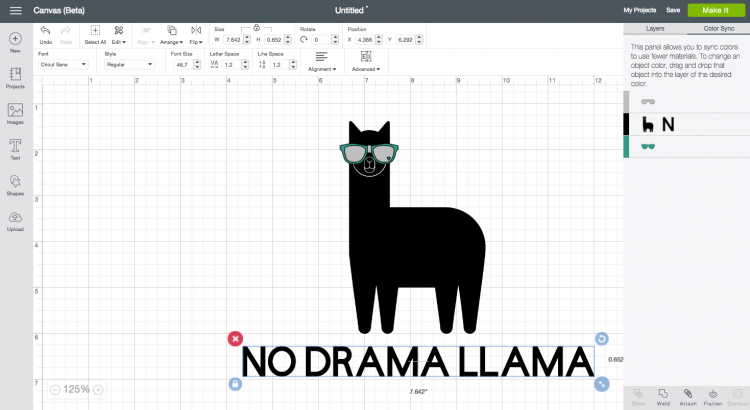
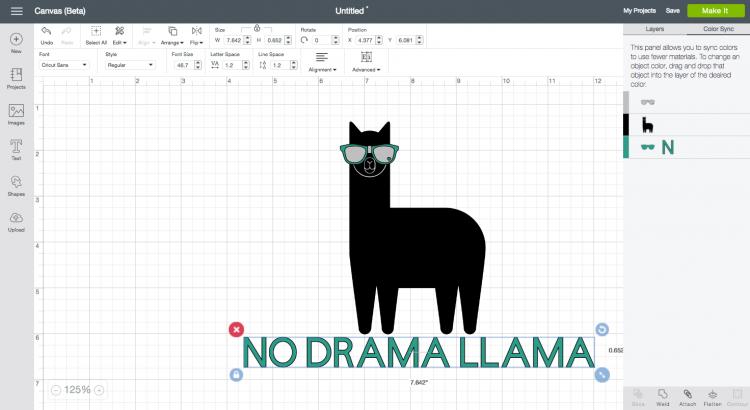
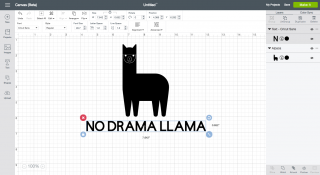
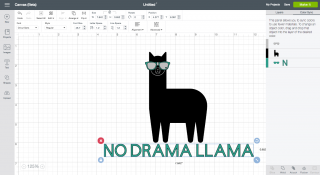
I’m a huge fan of the color teal, so I decided to change the text color to the same teal in the sunglasses. In the right-hand panel, click on the tab for “Color Sync.” In that panel, I dragged the “N” (which represents the text box) from the black layer to the teal layer, quickly changing the text to teal (I LOVE this new feature of the Cricut Design Space v3!)
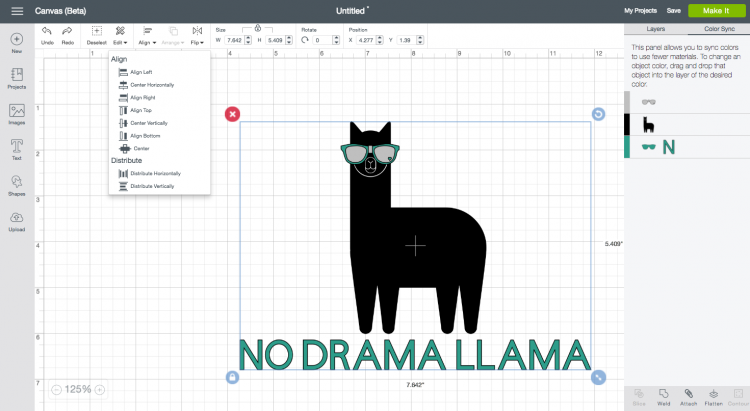
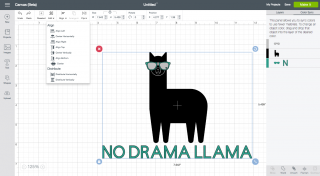
I was almost finished, but I wanted to make sure that everything was aligned, so I selected the text and the llama and used the “Align” menu in the top toolbar to align them. I had to move the sunglasses back to the right position on his face afterward.
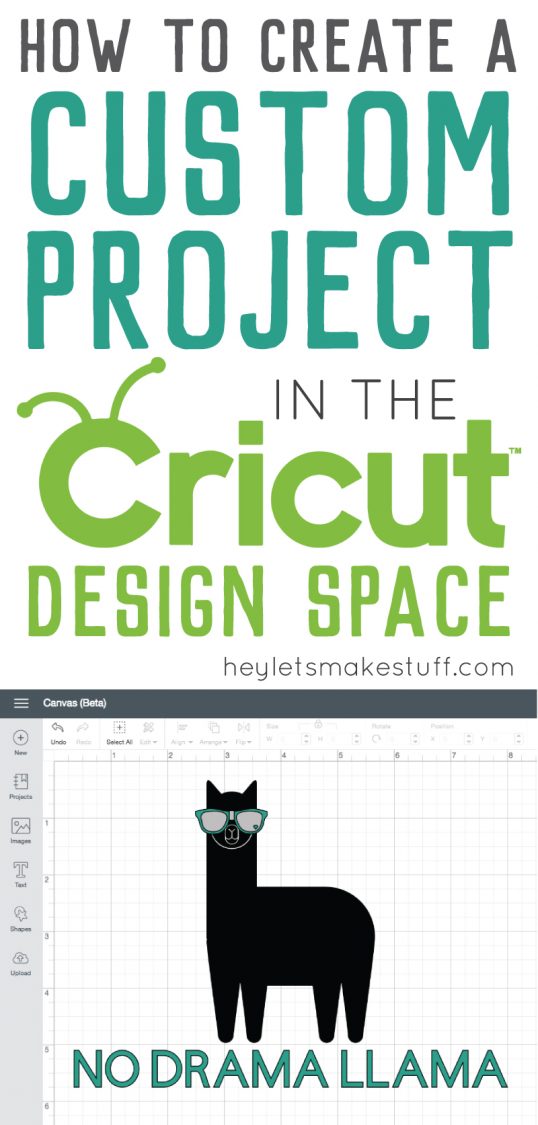
Done! This no drama llama is ready to be turned into a t-shirt, card, or other fun project! What are you going to make in the Cricut Design Space?
Equipment
- Cricut Maker or
Supplies
- Cricut Design Space image
Instructions
- Start by creating a new project in the Cricut Design Space. Click on "Images" in the left-hand menu and search for "llama." For this project the one on the right was chosen and inserted onto the canvas.

- Then click on the text tool in the left-hand panel and type "NO DRAMA LLAMA."

- This llama definitely needs sunglasses. Go back to the Images search, and search for sunglasses. For this project this teal pair with a heart was chosen. When imported into the canvas, they might be enormous, so resize them and drag them onto the llama's face.

- To change the text color to the same teal in the sunglasses go to the right-hand panel, and click on the tab for "Color Sync." In that panel, drag the "N" (which represents the text box) from the black layer to the teal layer, quickly changing the text to teal.


- To make sure that everything is aligned, select the text and the llama and use the "Align" menu in the top toolbar to align them. You may have to move the sunglasses back to the right position on his face afterward.Done! This no drama llama is ready to be turned into a t-shirt, card, or other fun project!



Comments & Reviews
RK says
Hi, I’ve been trying to find the answer to this on google and am getting nowhere- is there a way to design cricut projects for sale? Using my own images etc?
Cori George says
You can create a project using Cricut shapes, images, and fonts and link to it directly in the “share” screen. Maybe you could make that link hidden and accessible behind a paywall (Like PayPal)? That being said, there is probably licensing issues that you might run into. I’d check with Cricut’s Angel Policy to learn more about their policy regarding their files for sale. Hope that helps! Using your own images, though, no — you’ll need to use an outside design program like Adobe Illustrator and offer the files for sale.
Tammy Hogg says
Your directions are so easy and very understandable. My problem. I have uploaded a jpg file. I have to save it as print then cut or only the outline shows. However. I do not want to print it. I only want to cut. When I start my project and insert the image it shows as Print then cut. I change it on the layer area to cut. But it on,y cuts the outline. It does not make the center cuts (eyes, nose etc). What am I doing wrong?!?!
Carol Adams says
Hi Cori,
I am brand new to using a Cricut and am very excited about the creative possibilities. One of the reasons I purchased the Cricut Maker was to finish a quilt project that has been sitting on my table for a while (work keeps getting in my way of finishing!). I have a multitude of 2″ squares to cut and was hoping this would help expedite the process. I’m not sure where to start to plan how to cut the squares based on the size of the fabrics I have available. Any advice would be greatly appreciated!
Thank you,
Carol Adams
Tarissa Hopkins says
Here’s a link to one of my posts about how to cut fabric using your new Maker. I hope you find it helpful! https://heyletsmakestuff.com/cut-fabric-cricut/