HOW TO CREATE A CUSTOM PROJECT IN CRICUT DESIGN SPACE
If you're new to the Cricut, here are a few helpful tips and tricks for creating your own custom project in the Cricut Design Space.
Equipment
- Cricut Maker or
Ingredients
- Cricut Design Space image
Instructions
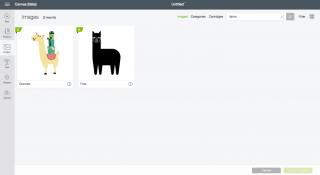
- Start by creating a new project in the Cricut Design Space. Click on "Images" in the left-hand menu and search for "llama." For this project the one on the right was chosen and inserted onto the canvas.
- Then click on the text tool in the left-hand panel and type "NO DRAMA LLAMA."
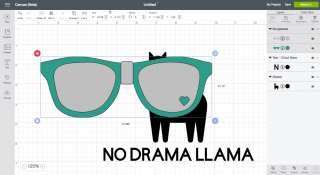
- This llama definitely needs sunglasses. Go back to the Images search, and search for sunglasses. For this project this teal pair with a heart was chosen. When imported into the canvas, they might be enormous, so resize them and drag them onto the llama's face.
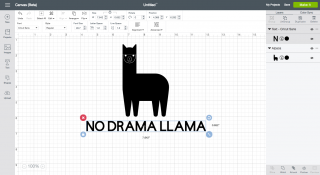
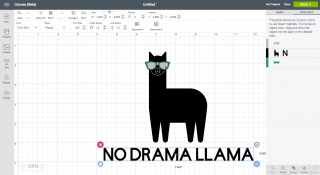
- To change the text color to the same teal in the sunglasses go to the right-hand panel, and click on the tab for "Color Sync." In that panel, drag the "N" (which represents the text box) from the black layer to the teal layer, quickly changing the text to teal.
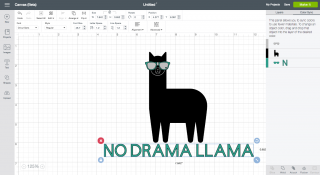
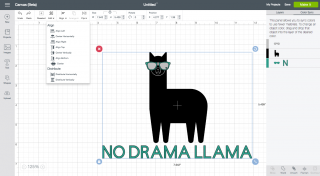
- To make sure that everything is aligned, select the text and the llama and use the "Align" menu in the top toolbar to align them. You may have to move the sunglasses back to the right position on his face afterward.Done! This no drama llama is ready to be turned into a t-shirt, card, or other fun project!