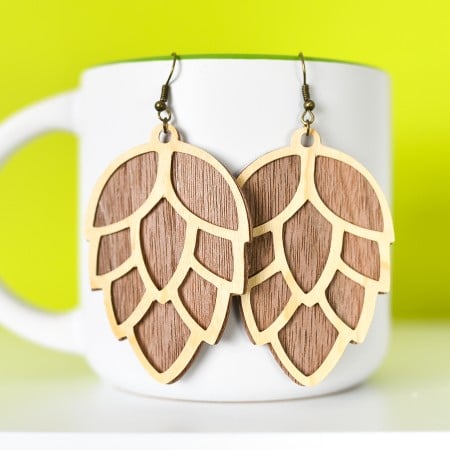
Make these understated but trendy pinecone earrings using your Cricut! Learn how to cut Cricut veneer to make these wood earrings —a great gift idea for family and friends!
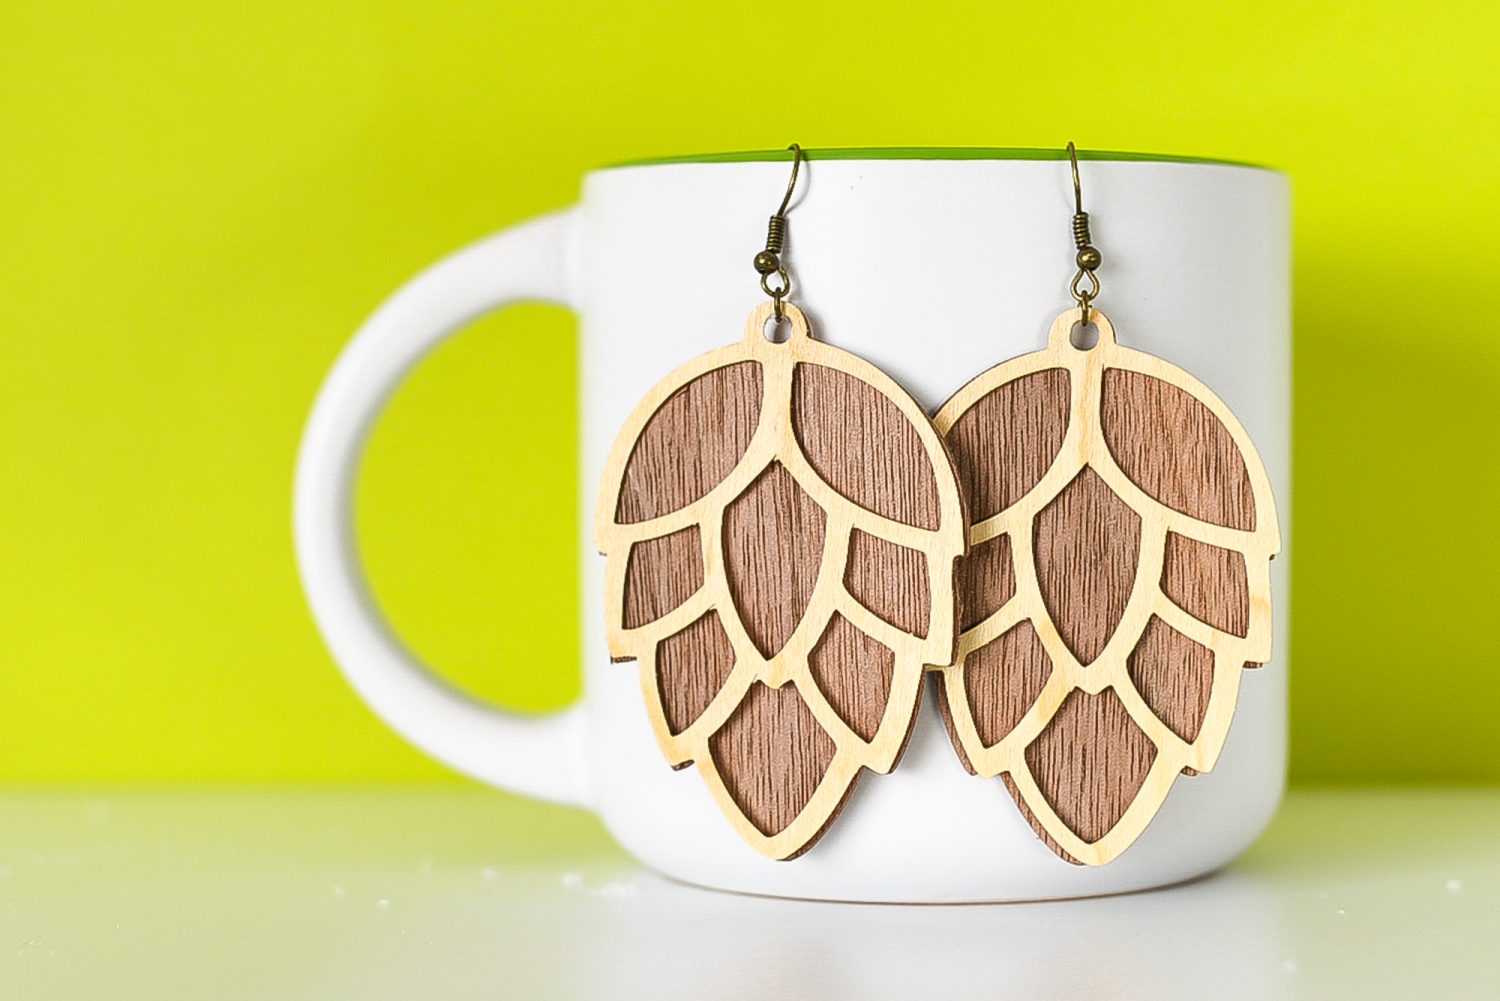
Making earrings with my Cricut is one of my favorite crafts! For Day 16 of the 25 Days of Cricut Christmas, we’re making these beautiful pinecone earrings with Cricut wood veneer!
If you’d like to get this series in an ebook format PLUS all of the SVGs needed to make all 25 projects check out the 25 Days of Cricut Christmas eBook Bundle!
When it comes to dressing for the holidays, I’m sort of a less-is-more sort of gal. I designed these pinecone earrings as a nod to the winter season without being overly holiday-themed. Even better? They take less than 15 minutes to create!
[adthrive-in-post-video-player video-id=”vbocUiky” upload-date=”2022-07-30T18:33:30.000Z” name=”Christmas Projects with a Cricut” description=”Let’s get crafting for Christmas using the Cricut! Here are a ton of easy Cricut Christmas ideas that are easy and fun to make using your Cricut Explore or Cricut Maker!” player-type=”static”]
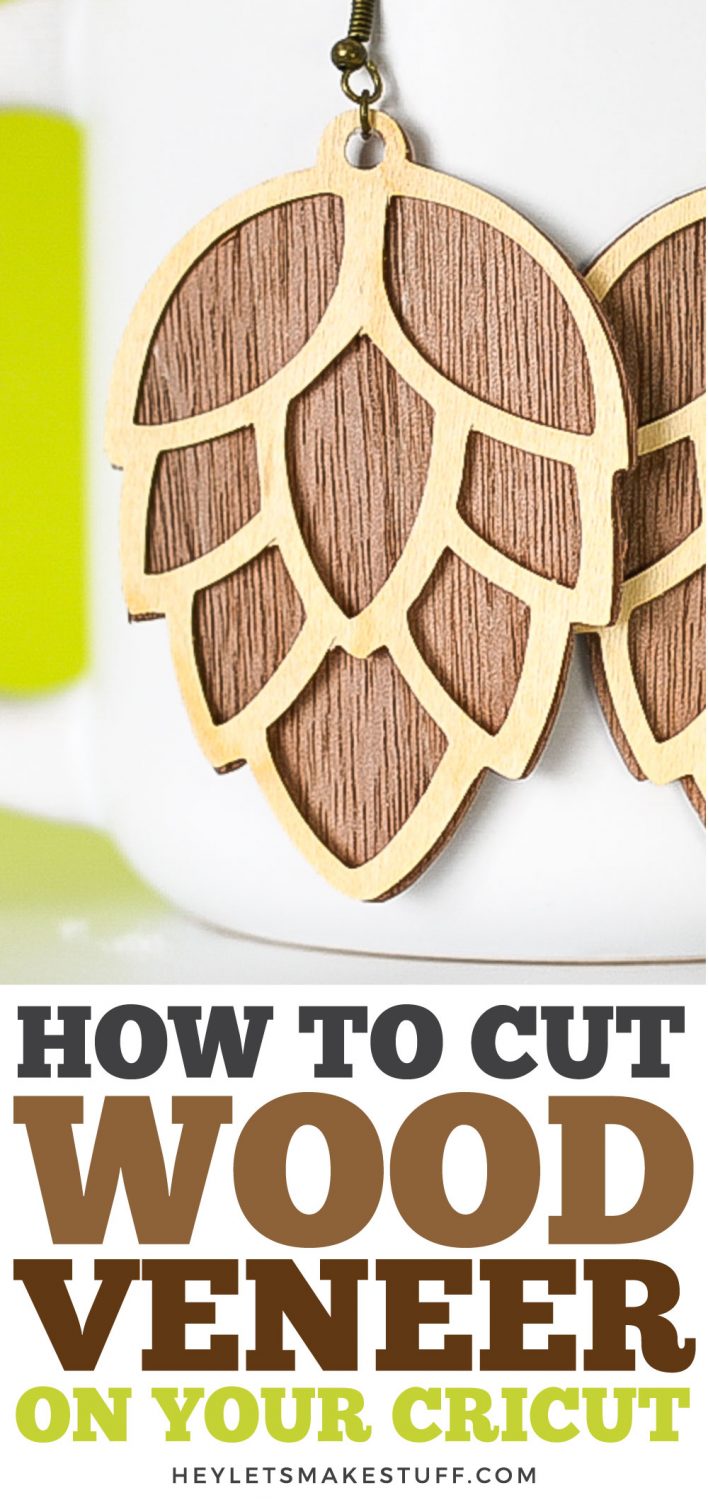
To make them, we’re going to be using Cricut’s wood veneer, which can be cut on both the Cricut Explore and the Cricut Maker using the Deep Cut blade. If you haven’t worked with wood veneer yet, this is a great project to try—I’m always impressed with how well the wood cuts.
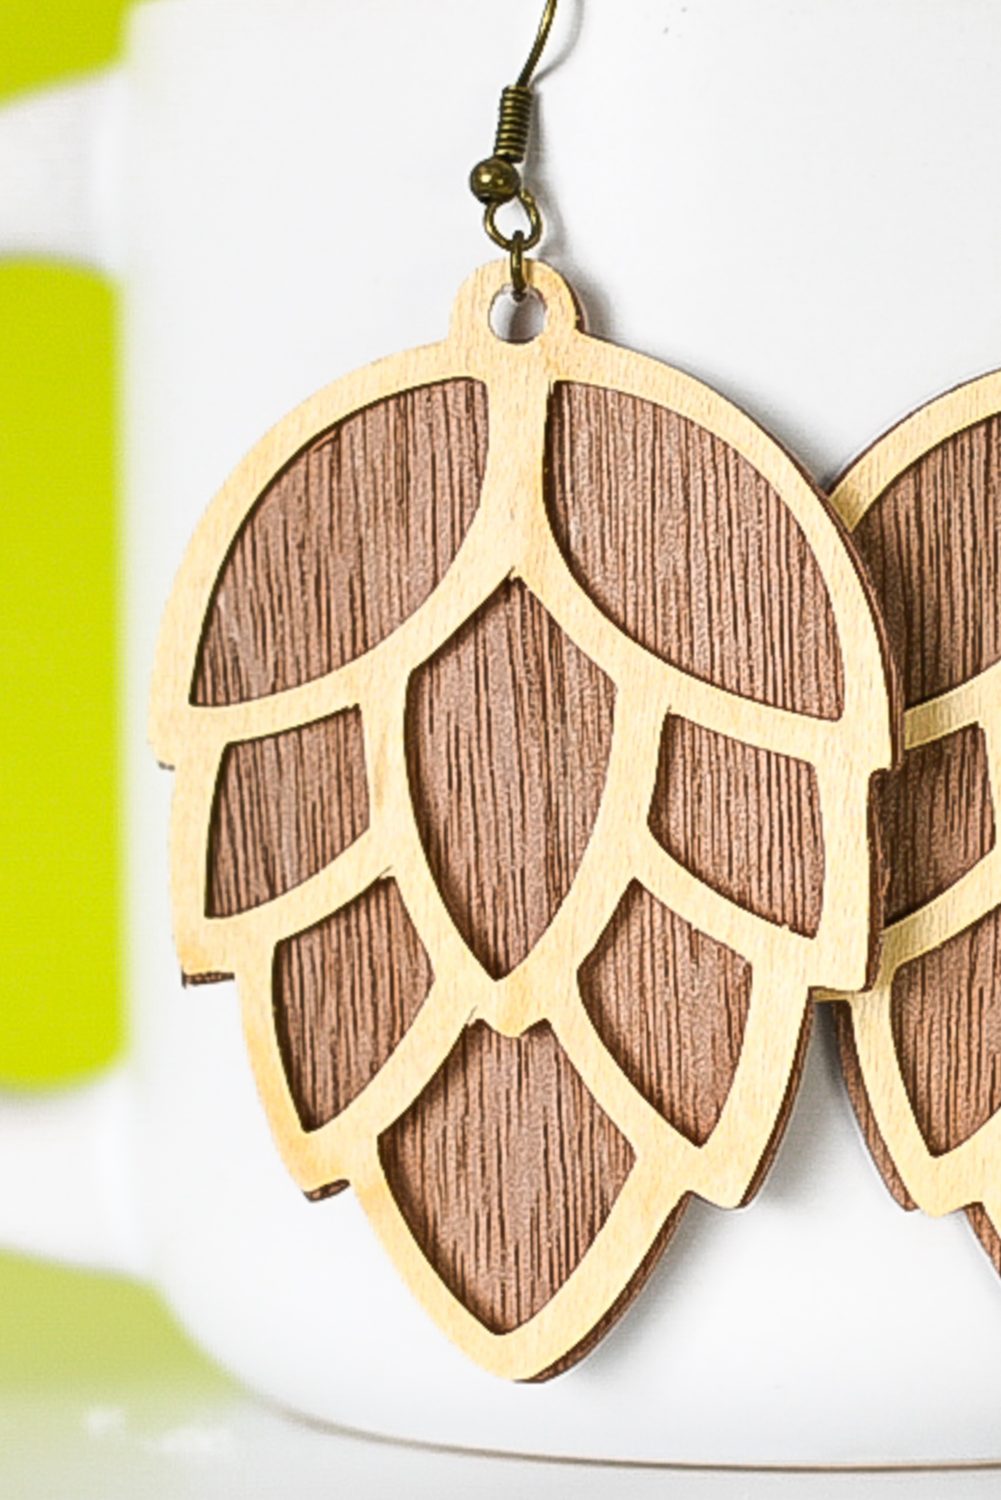
Wood veneer is real wood that’s been cut into very thin sheets and glued together for strength. I am pretty sure that Cricut’s version has a plastic layer in between two layers of wood, which increases the strength and “cutability” of this material.
Cricut veneer comes in three types of wood—cherry, walnut, and maple. I am using walnut and maple for this project. The walnut (the darkest wood) is a little more susceptible to cracking than the other two because of its deep grain, so I try to use it for the less detailed parts of a project.
Pinecone Earrings Supplies
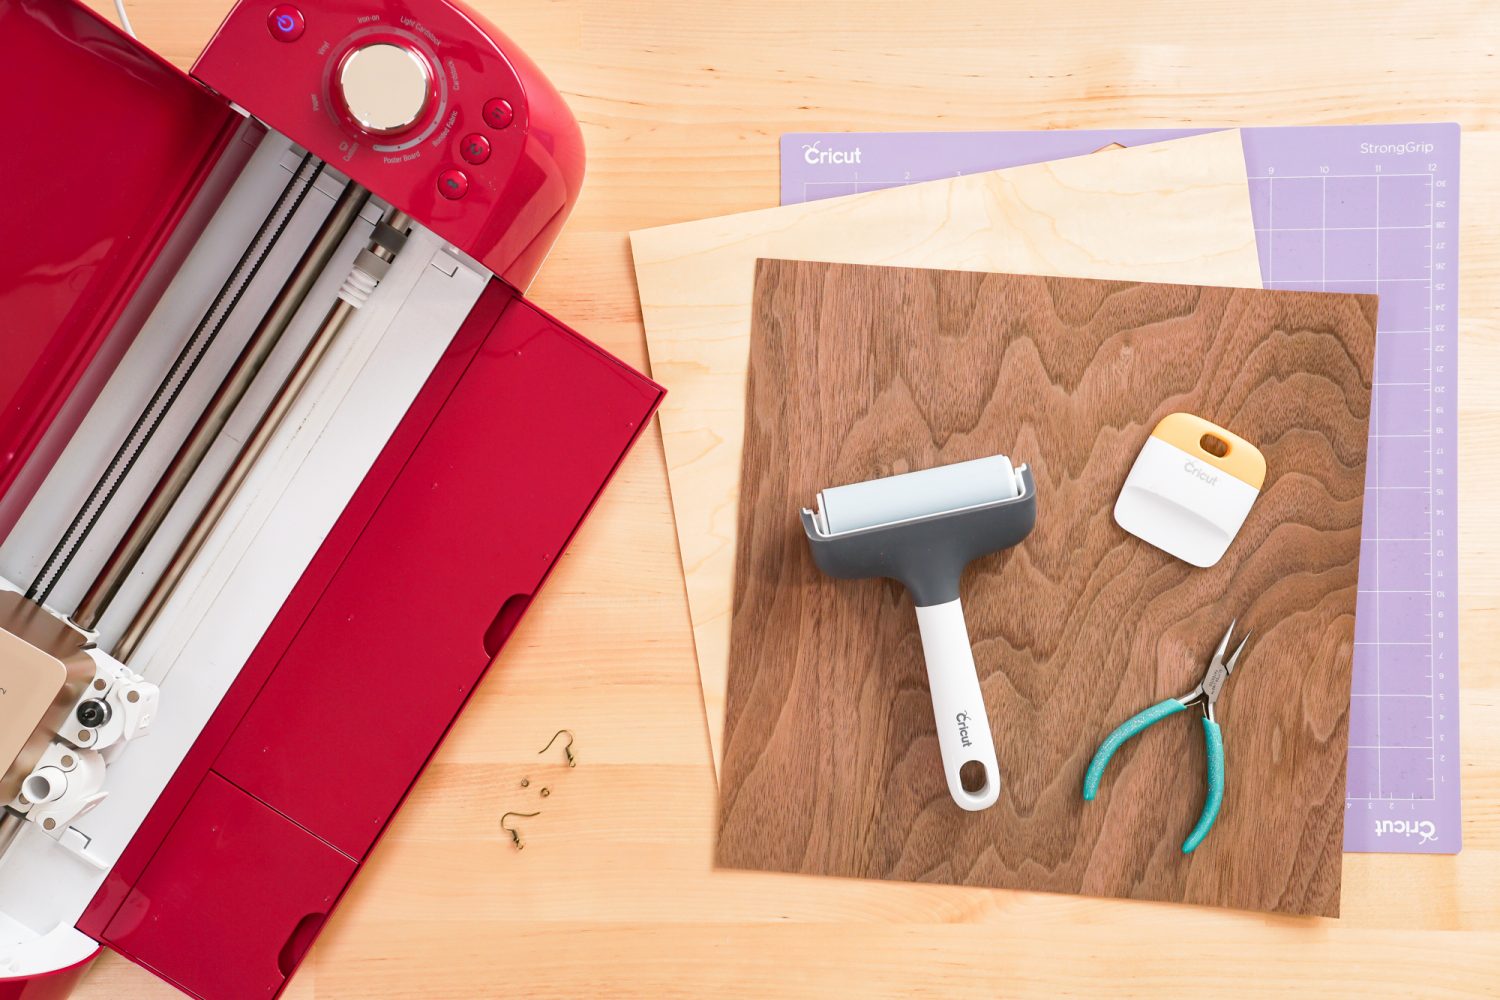
- Cricut Explore or Cricut Maker
- Purple StrongGrip Mat
- Masking tape (optional)
- Deep Cut Blade
- Cricut Wood Veneer
- Scraper or spatula or tweezers (optional)
- Fish-hook earring findings + jump rings
- Jewelry pliers
- Pinecone earrings SVG
Grab the SVG for this Project
Pinecone Earrings Instructions
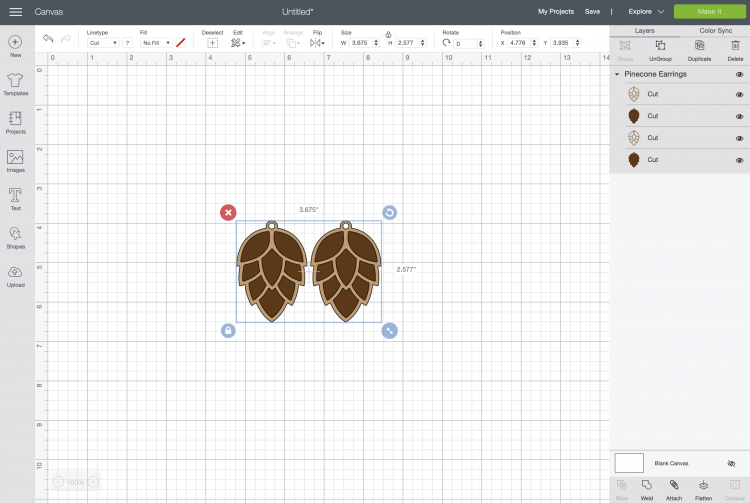
Upload the Earring File to Cricut Design Space
We will start by uploading the pinecone earring file to Cricut Design Space (see Uploading SVG Files to Cricut Design Space if you need help).
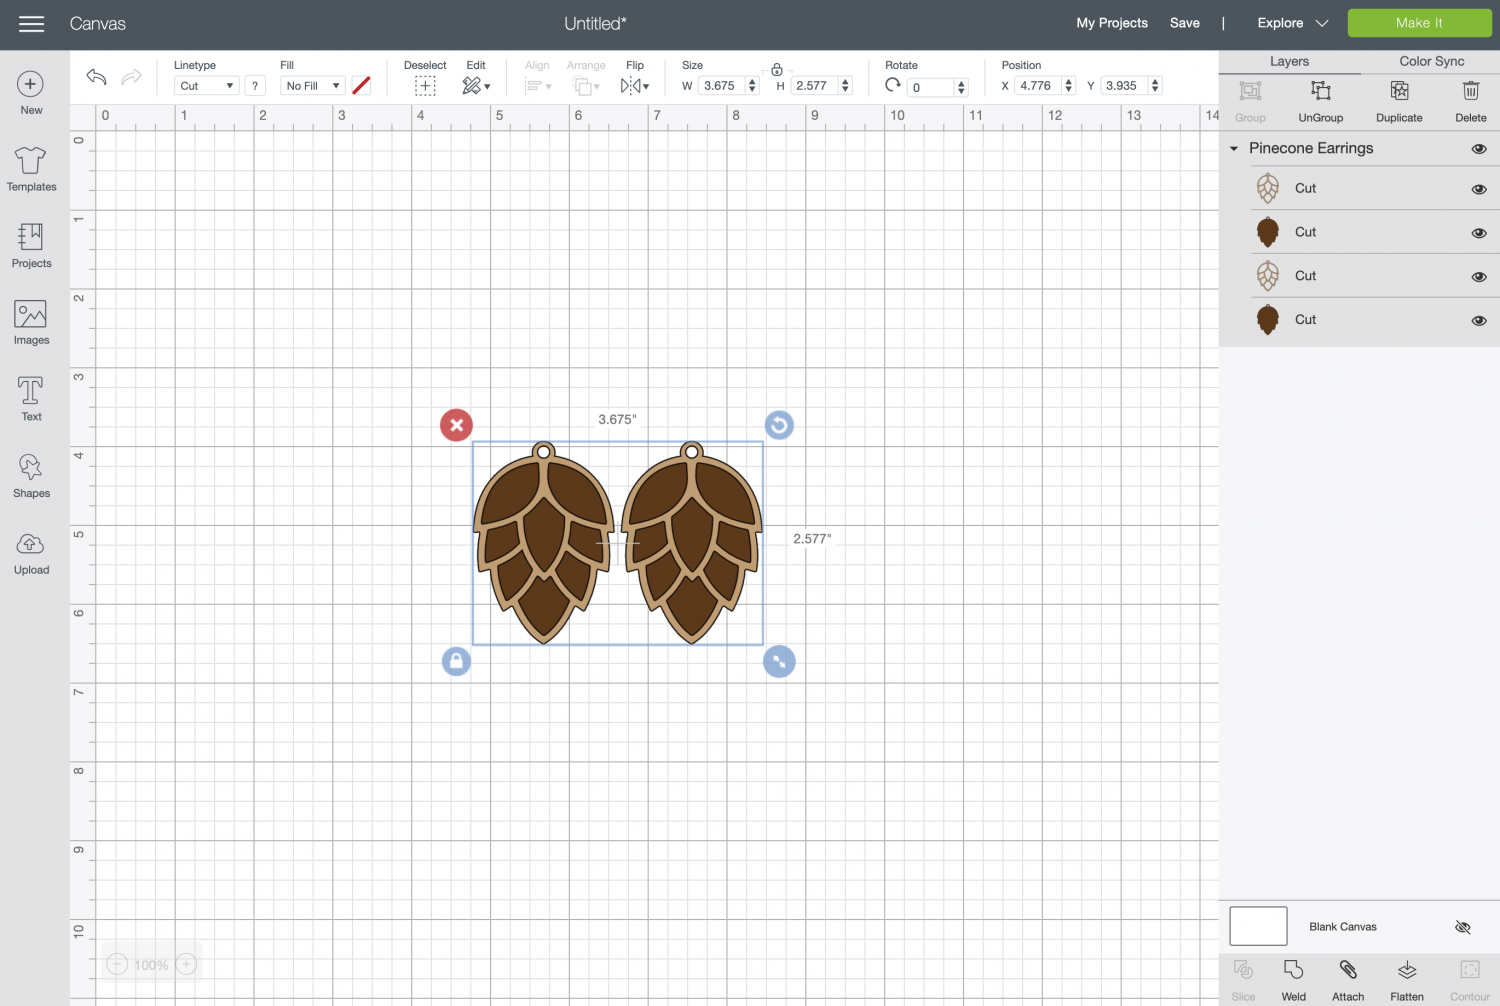
I’ve designed these to be about 2.5″ tall, but if you’d like them larger or smaller, resize them using the size tool in the Edit Toolbar at the top.
When you’re ready to make your earrings, click Make It in the upper left. On the Prepare Screen, you’ll see the two mats for this project. You don’t need to make any changes here.
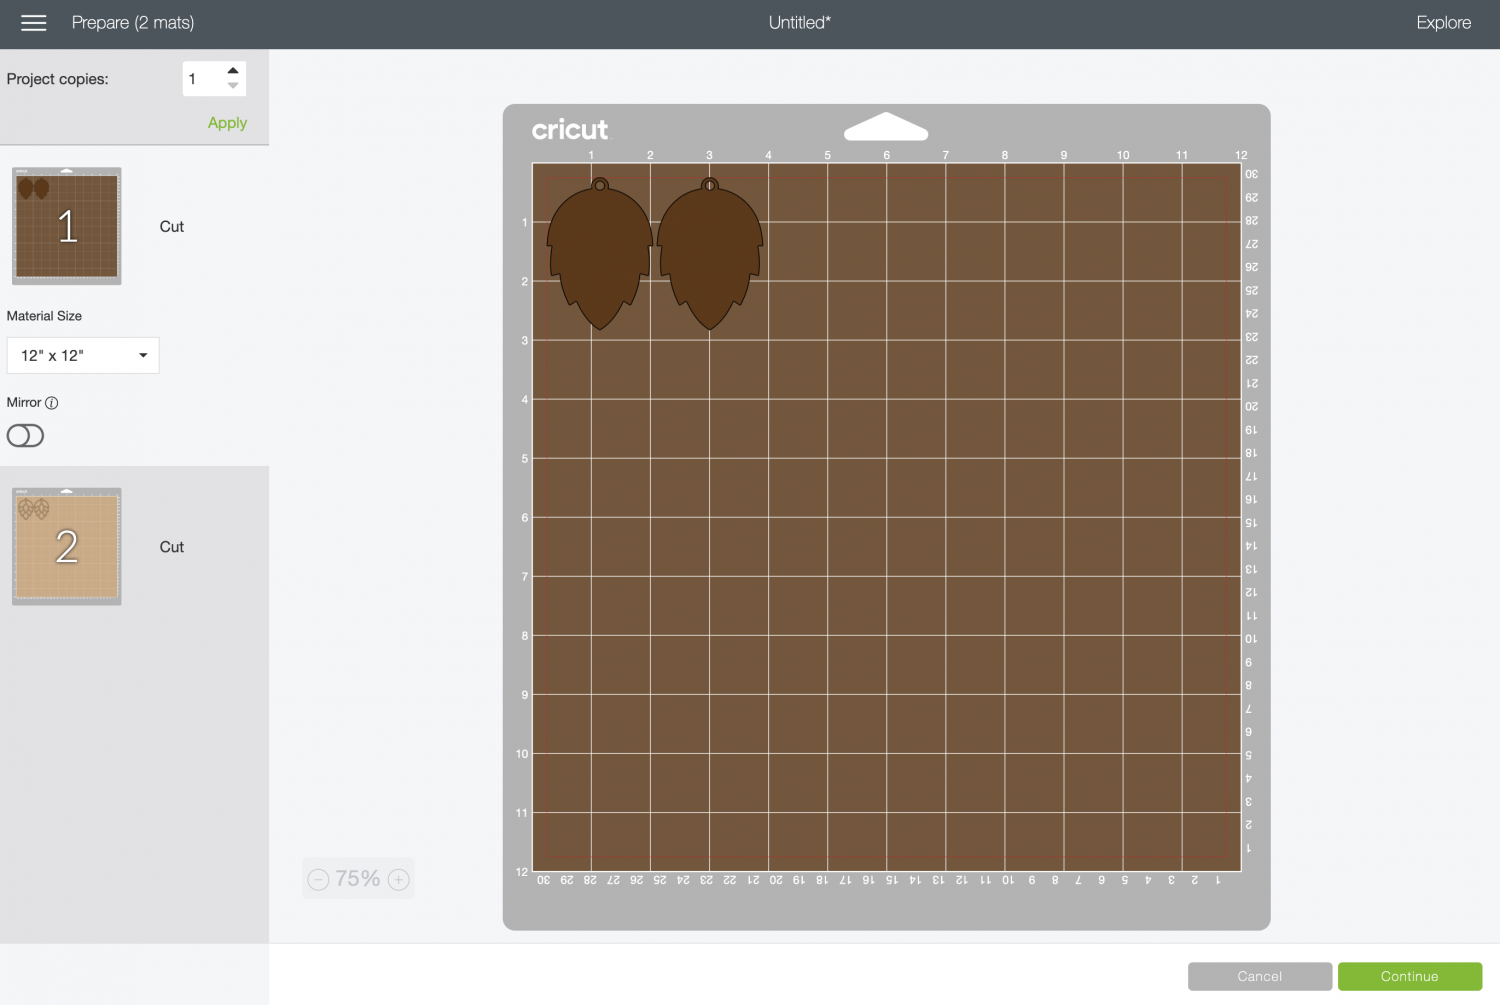
Click continue to make your project!
Cut Your Wood Veneer for Your Earrings
On the Make Screen, you’ll set your material to Veneer.
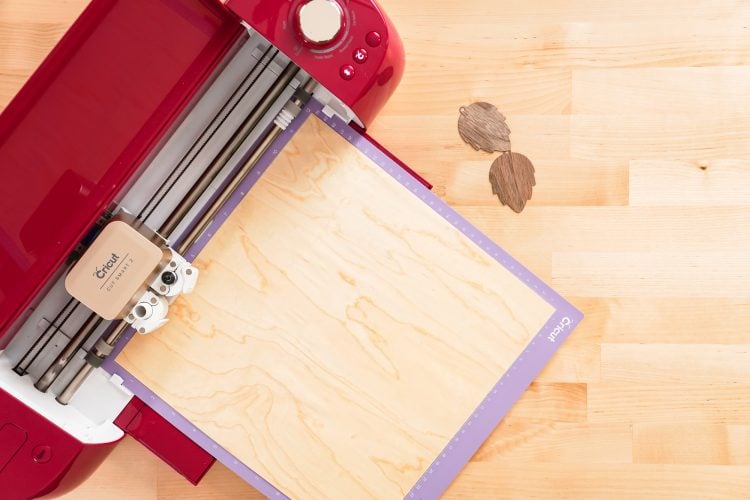
Place your veneer on the Cricut mat with the grain running from the top of the mat to the bottom, using the brayer to get it to adhere evenly. If your mat is on the older side, you can place masking tape on all four sides of your project to help keep the veneer from shifting.
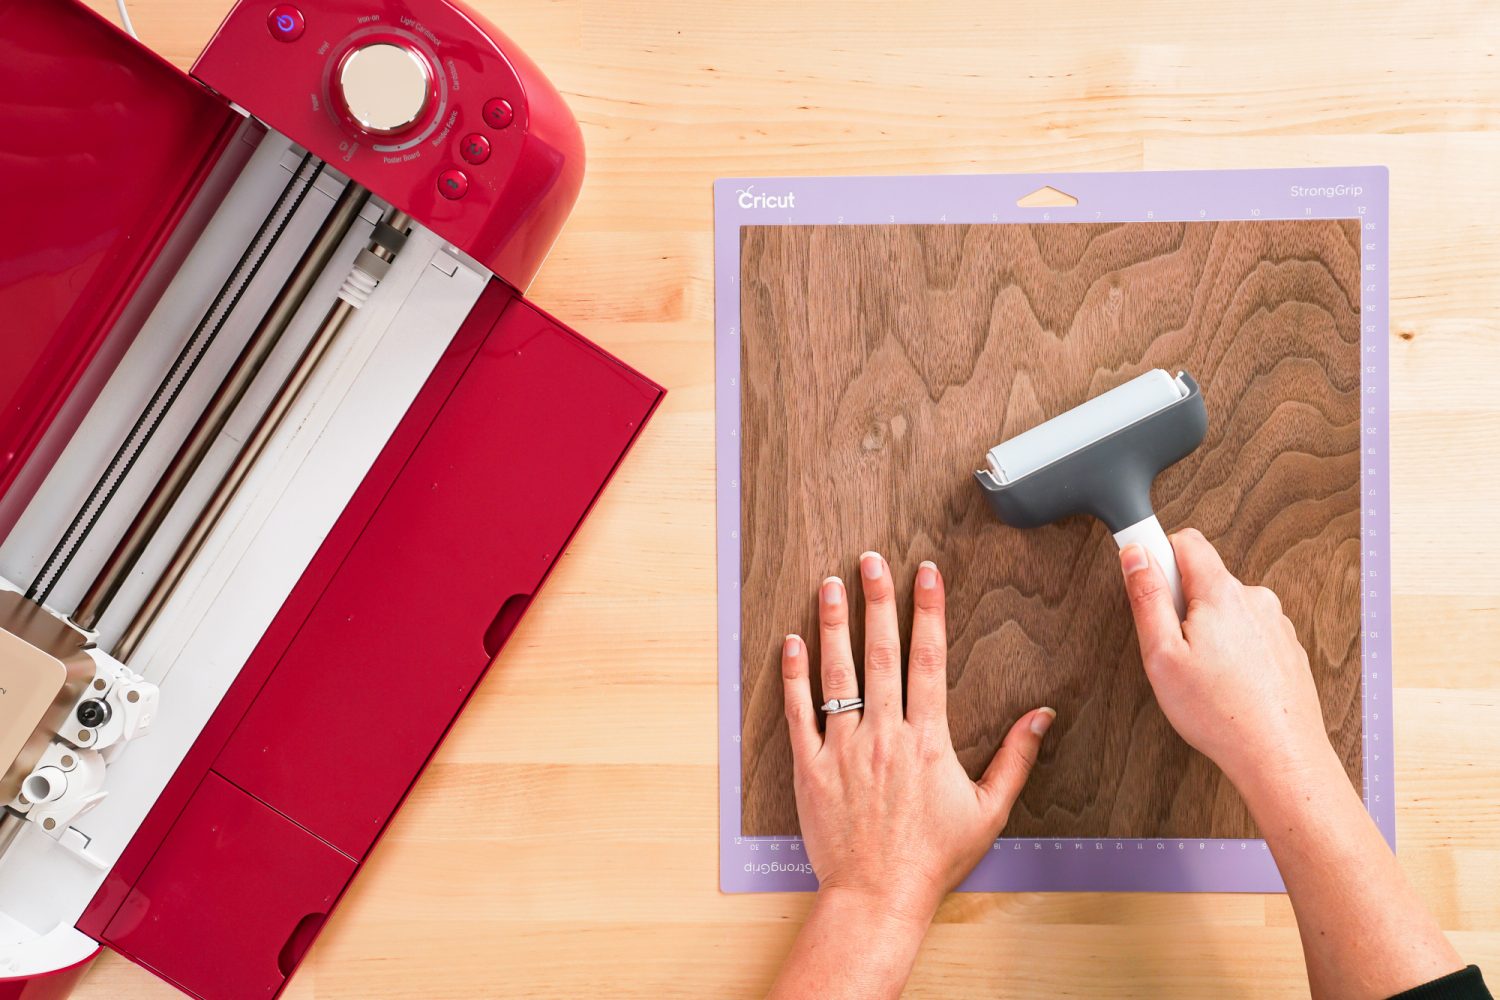
If you’re using a relatively new mat, however, I’ve found that the masking tape isn’t necessary for smaller projects like this—the adhesion of the veneer across the mat keeps it from shifting.
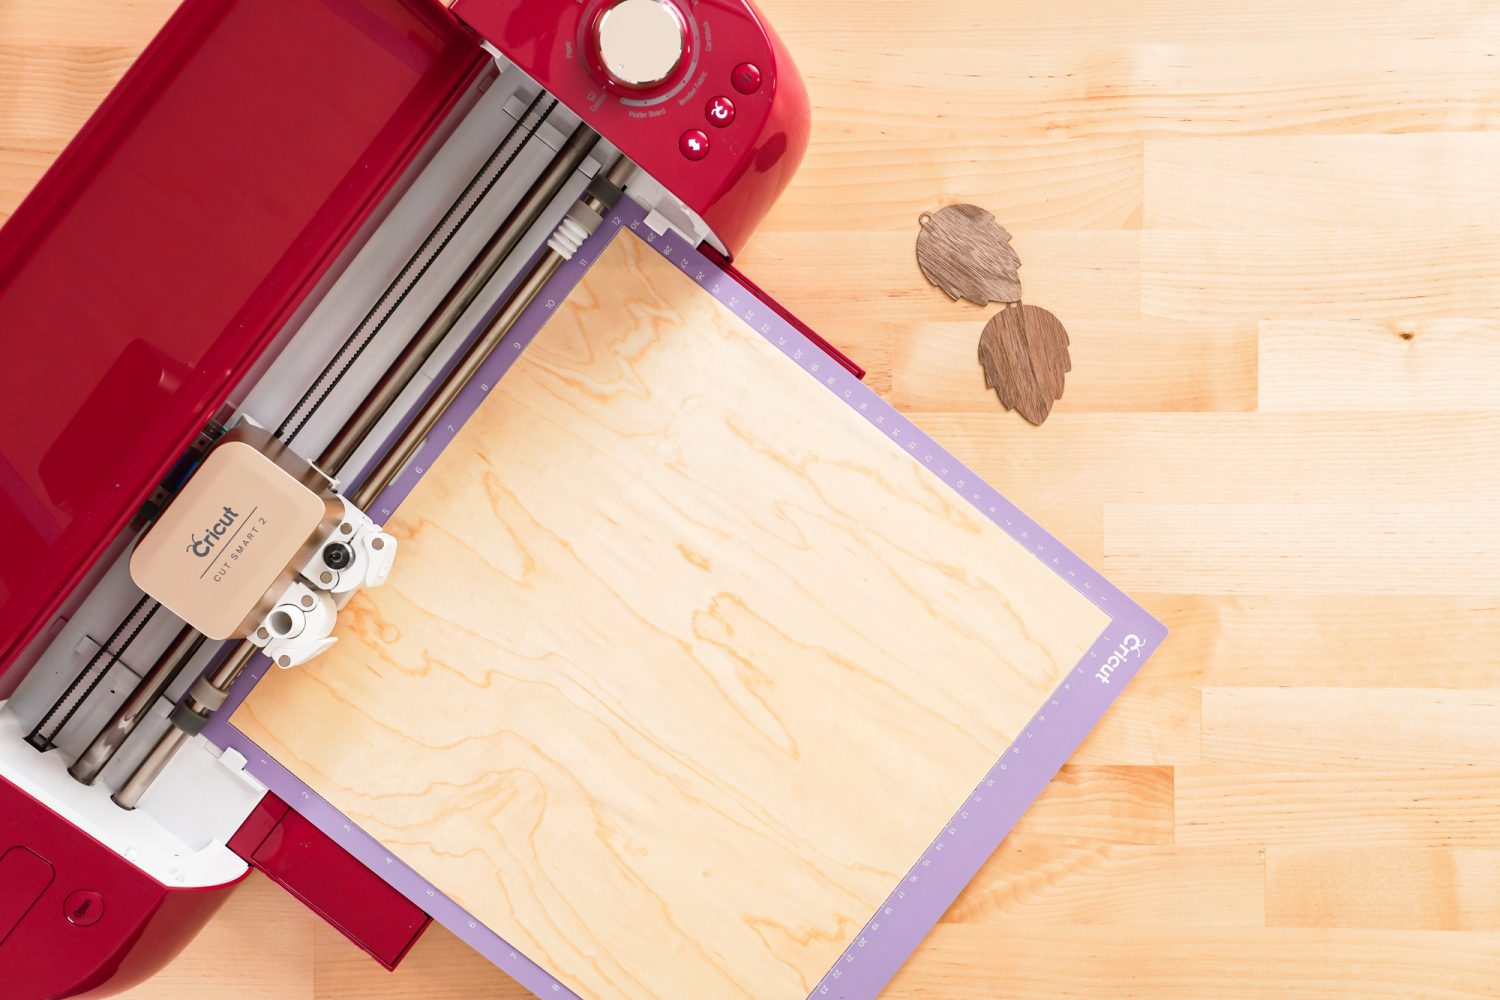
Make sure you have your Deep Cut blade in your machine, insert your mat, and your Cricut will cut your veneer!
Remove the Veneer from the Mat
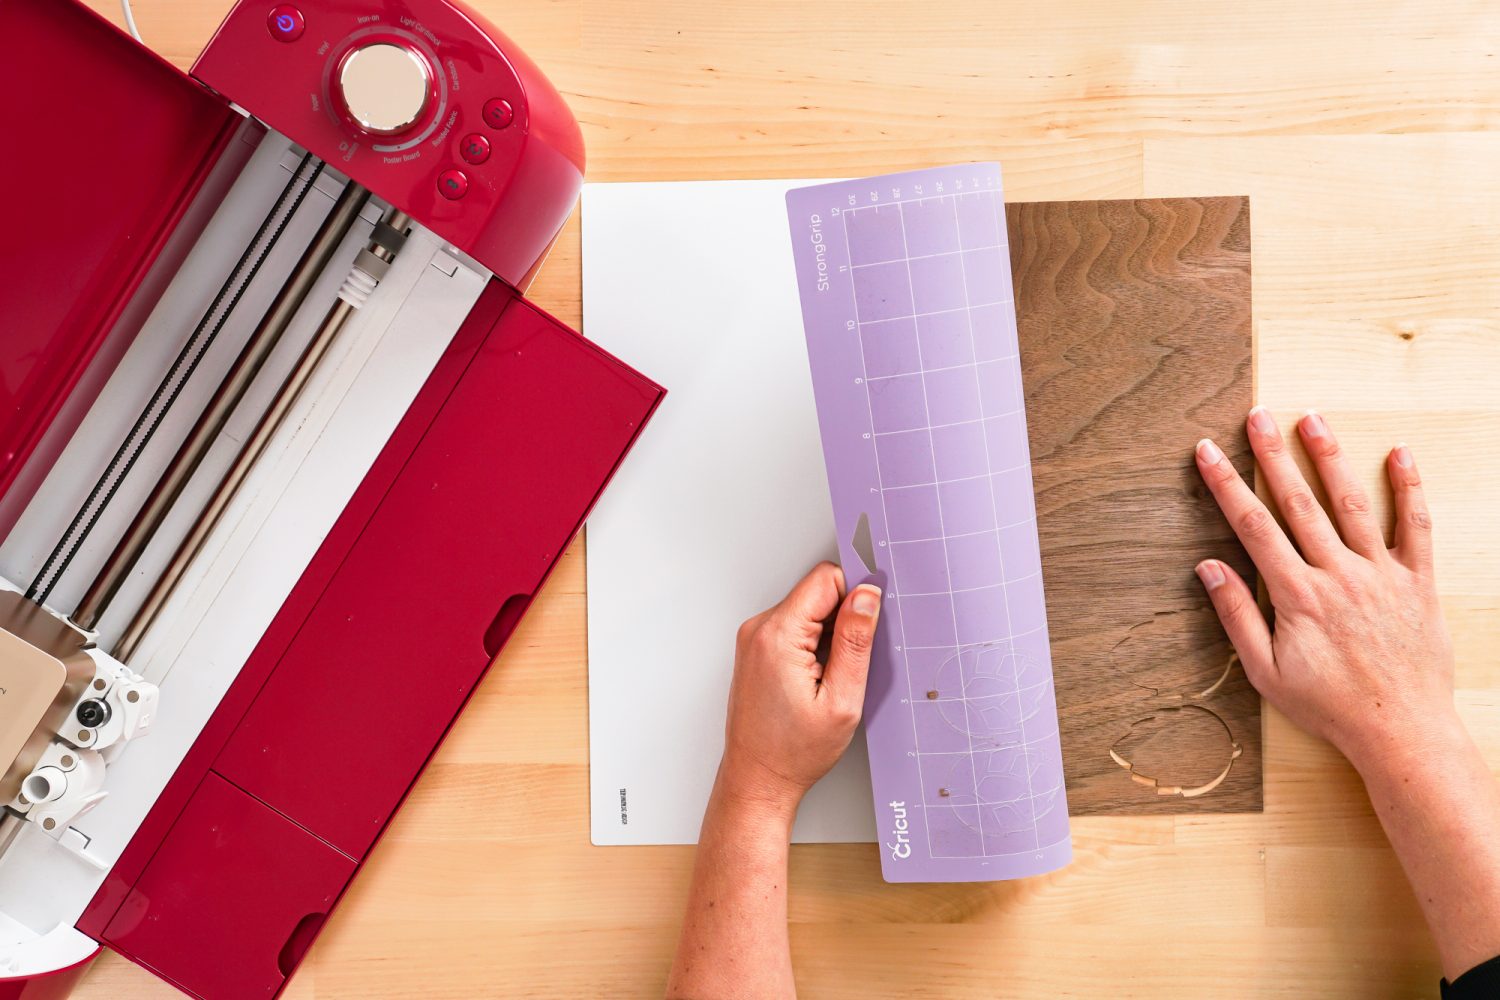
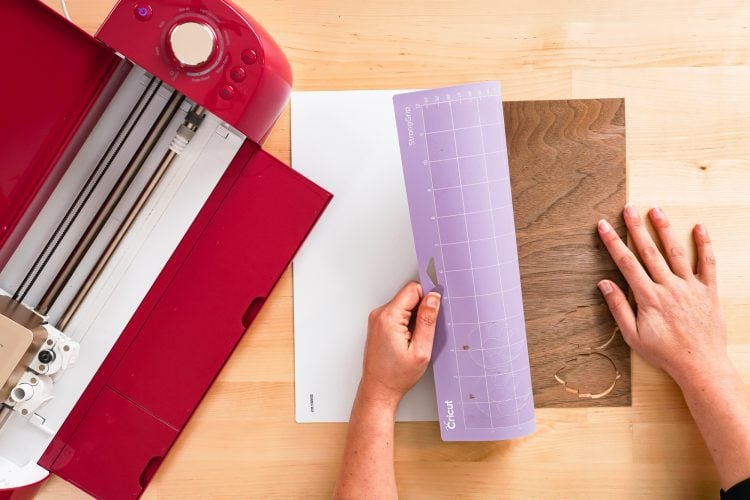
Removing any project from a Cricut mat can be tricky, but you really don’t want to crack your veneer project.
You are going to place the mat face-down on your table and carefully peel the mat away from the veneer, using your hand to keep the veneer flat on the table. You can use a scraper, spatula, or tweezers if you’d prefer, but I’ve found that my hand holding everything down gives me the best results.
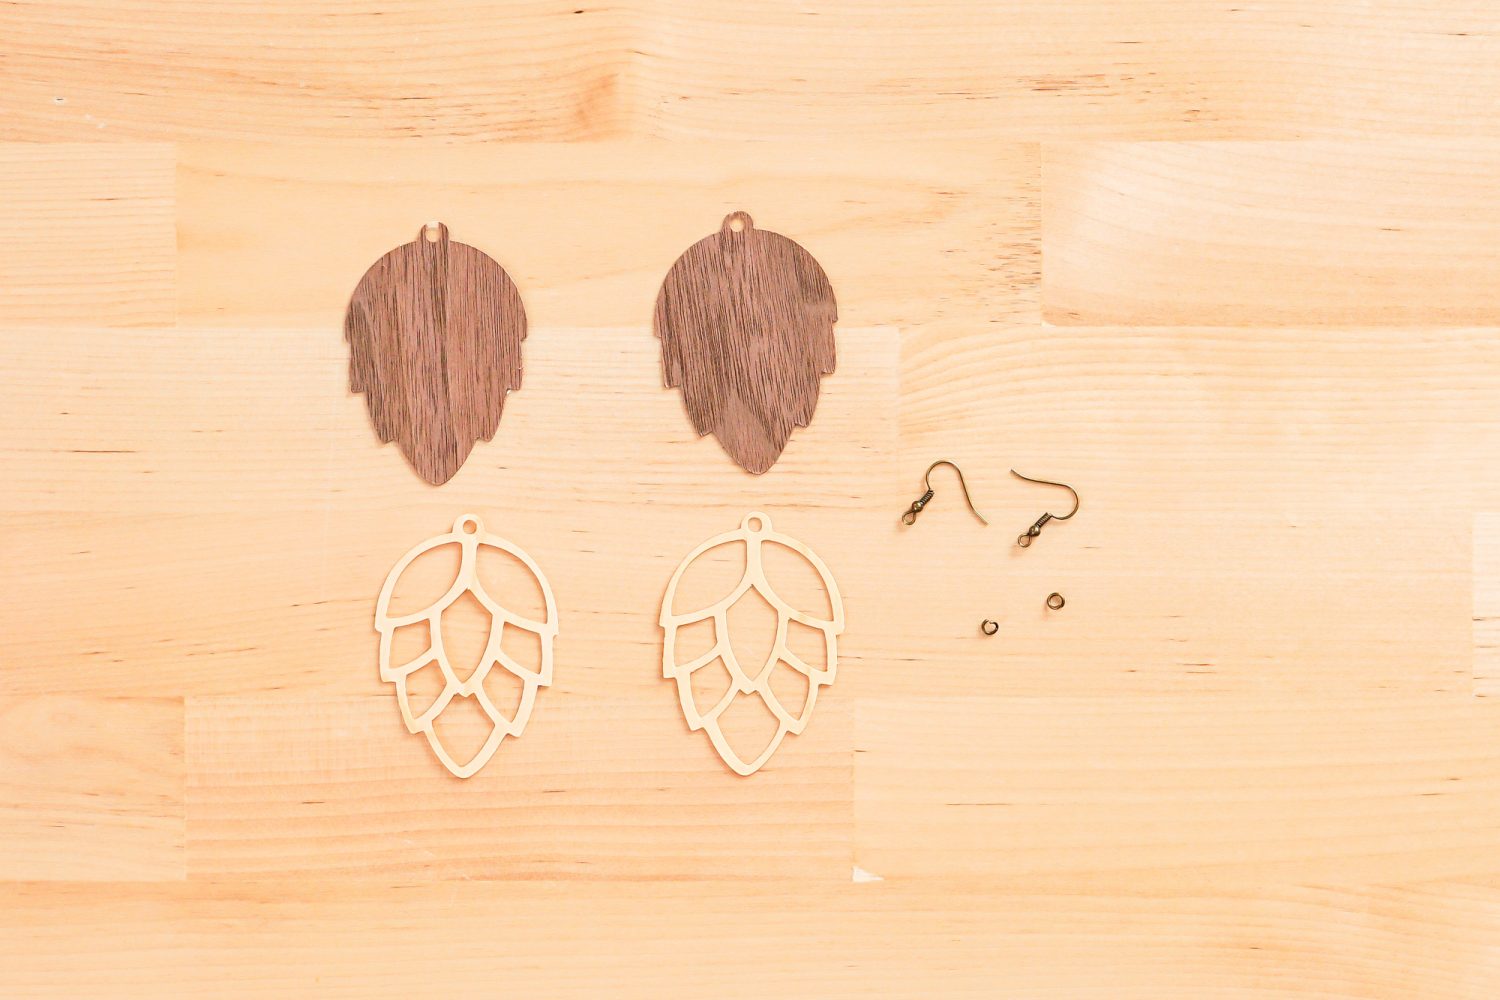
Assemble the Earrings
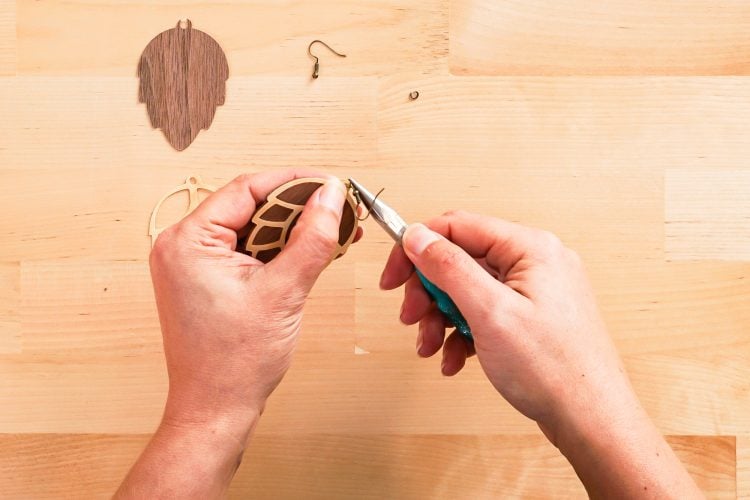
Once you have both layers cut, it’s time to assemble your earrings. Stack the two veneer earring pieces together, and slide the jump ring through the hole.
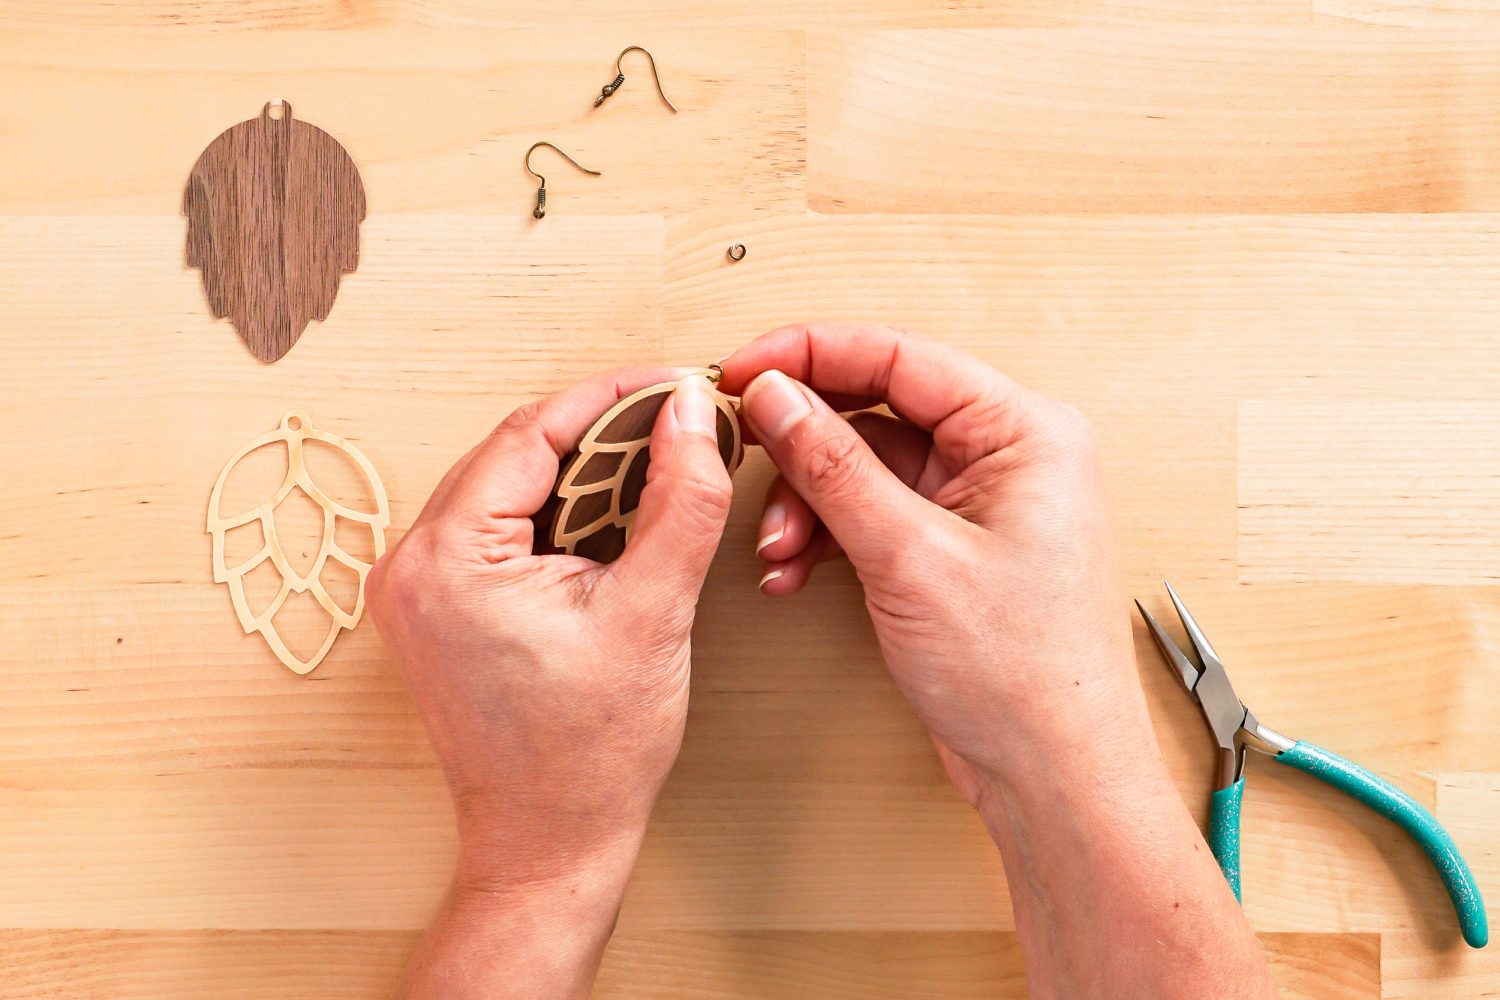
Then add the fish-hook earring finding (making sure it’s facing the right direction).
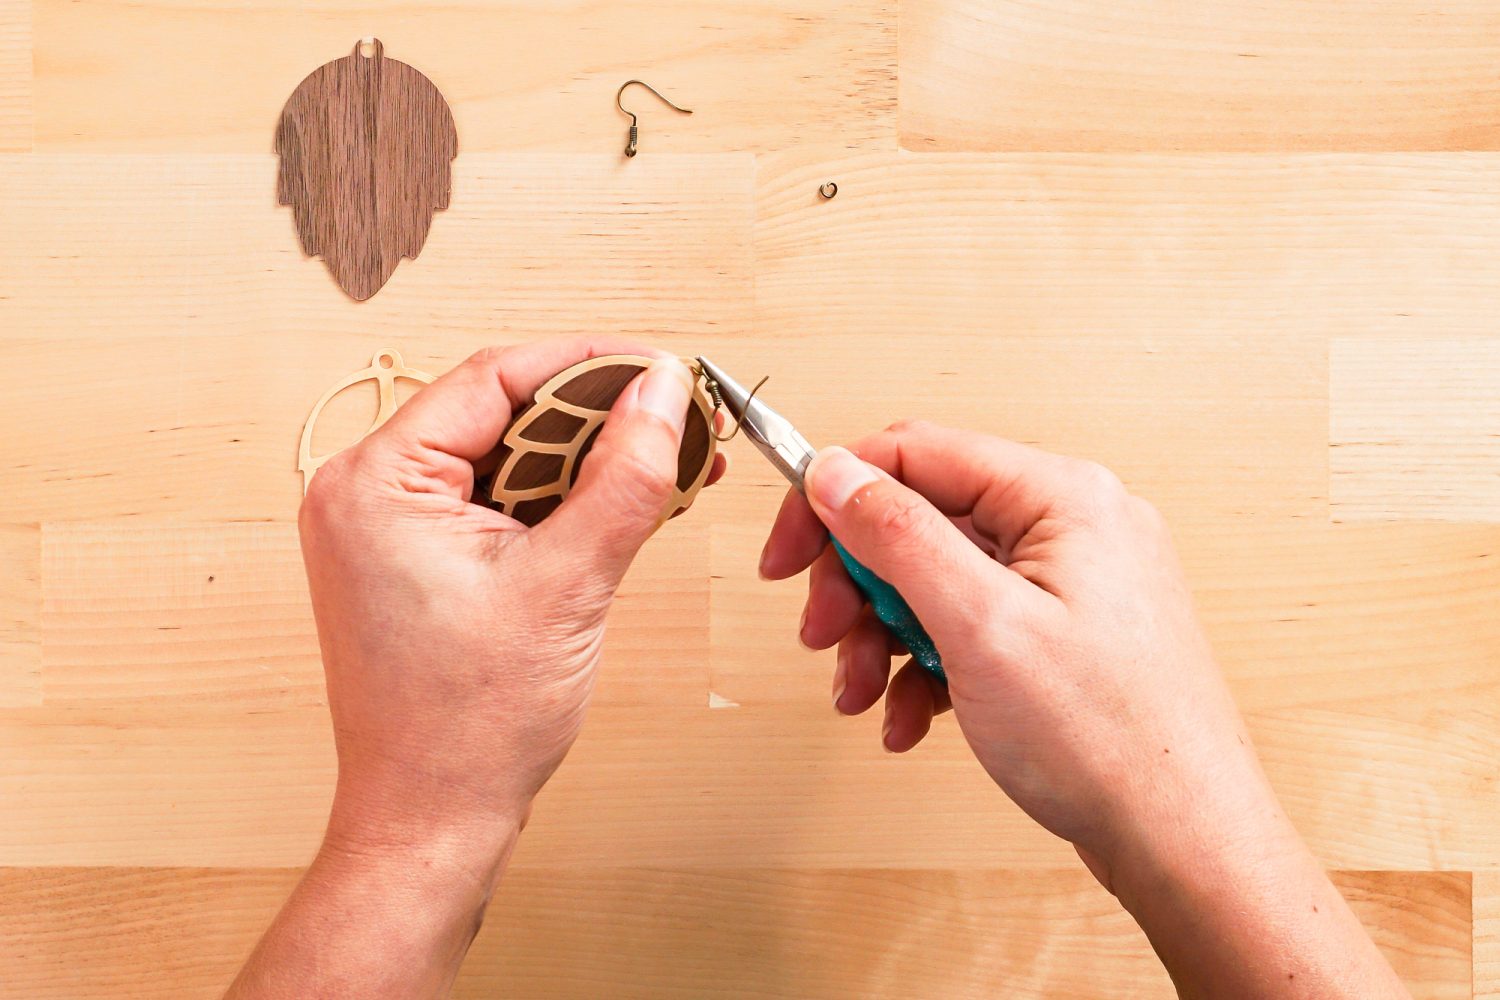
Clamp the jump ring closed using the pliers. You will most likely need to use the pliers to rotate the bottom of the fish-hook earring 90° so that your earrings hang correctly.
That’s it—You have a gorgeous pair of earrings in under 15 minutes. These wood veneer earrings make great gifts for the women in your life—sisters, friends, coworkers. They’ll love them!
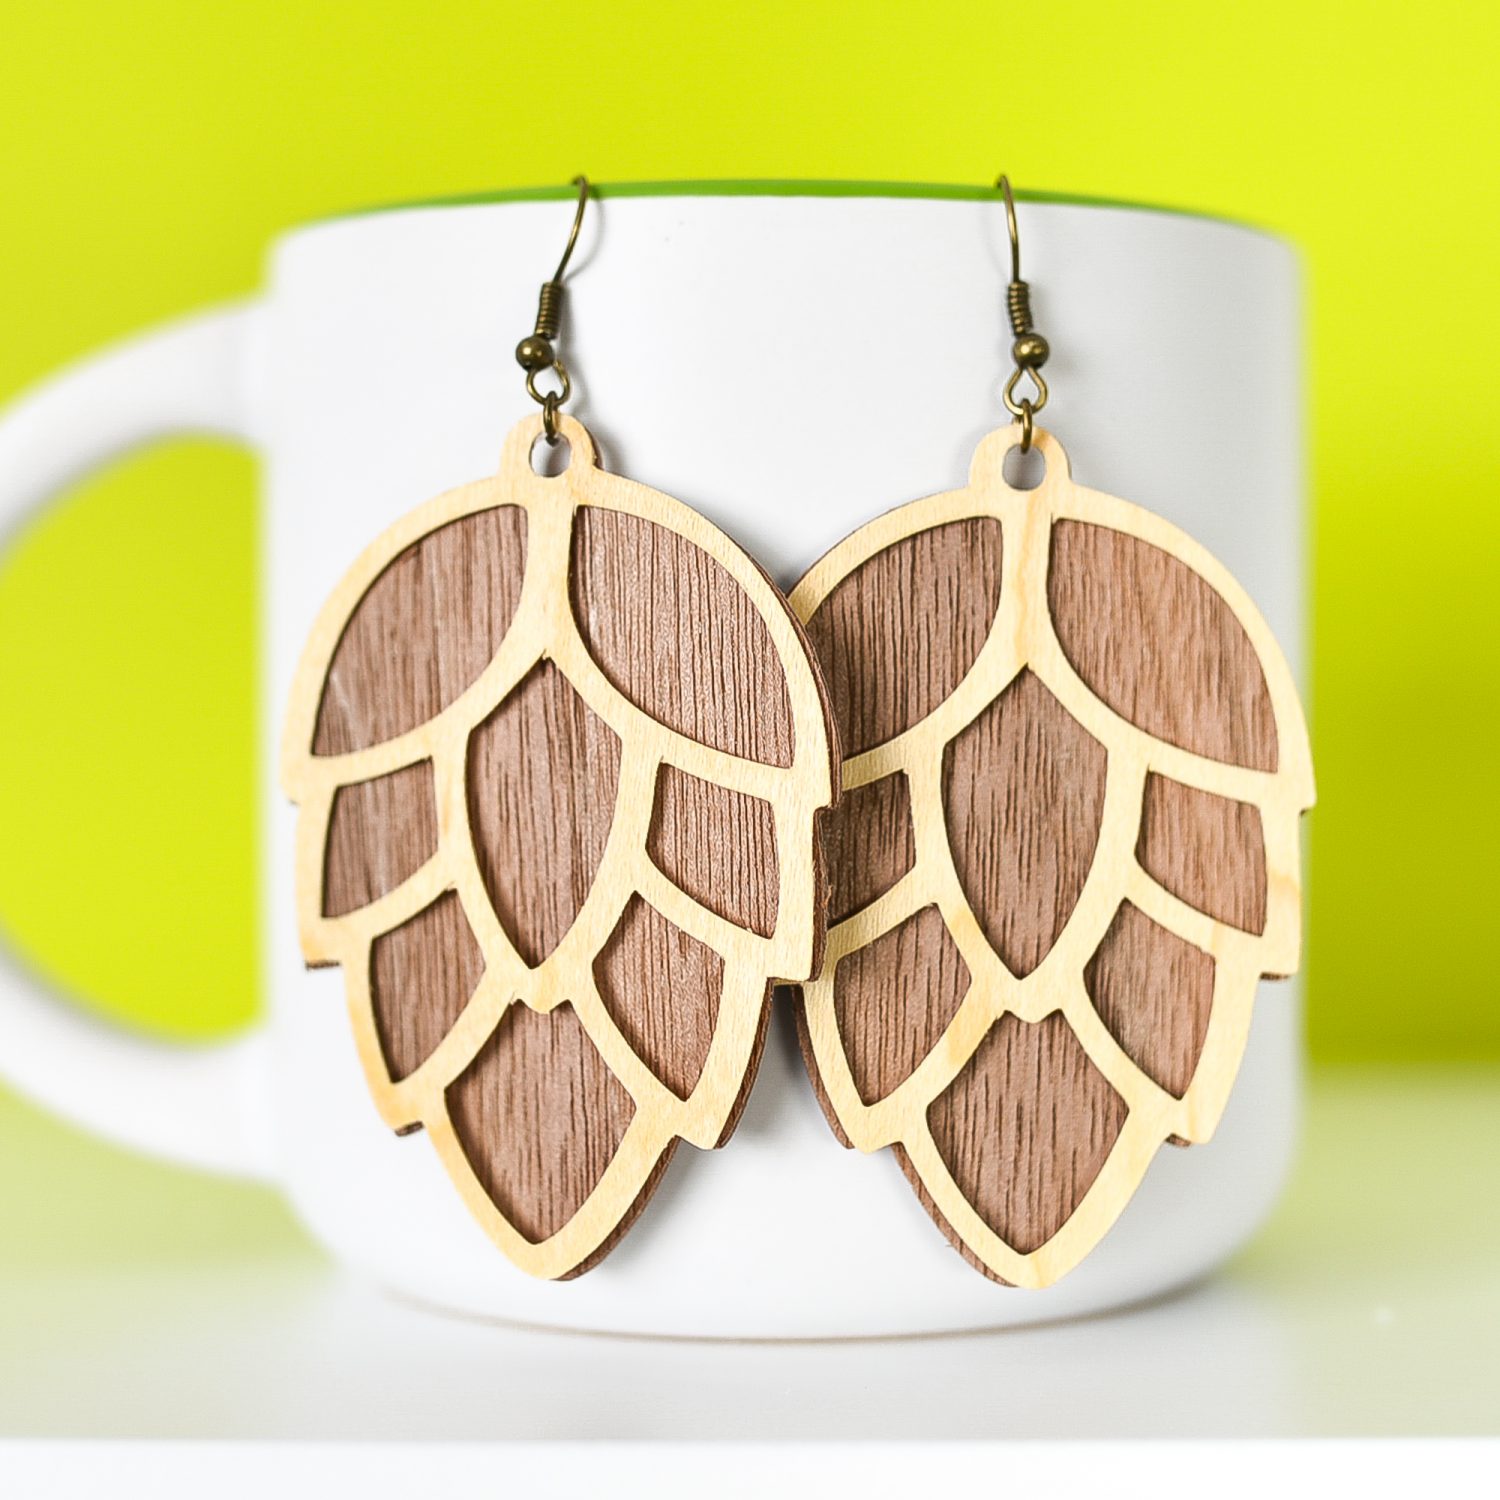
PINECONE EARRINGS
Equipment
- Deep Cut Blade
Supplies
- Cricut Wood Veneer maple and walnut
- Masking Tape optional
- 2 Fish-hook earring findings
- 2 Jewelry jump rings
Instructions
- Upload the pinecone earrings file to Cricut Design Space.

- Cut the two layers of wood veneer using your Cricut.

- Remove the veneer from the mat.

- Assemble the earrings.

Make All the 25 Days of Cricut Christmas Projects!
We’ll be adding links as each day goes live! Grab the full bundle with all of the projects and SVGs in our 25 Days of Cricut Christmas eBook!
- Day 1: DIY Christmas Countdown Calendar
- Day 2: Snow Globe Shaker Card
- Day 3: Happy Holly Days Christmas Banner
- Day 4: Felt Gnome Pillow
- Day 5: Cookies for Santa Tray
- Day 6: Snowflake Coasters
- Day 7: Customized Christmas Banner
- Day 8: Etched Holiday Baking Dish
- Day 9: DIY Gift Card Holder
- Day 10: Christmas Apron
- Day 11: Christmas Quilt Block Artwork
- Day 12: Constellation Glitter Ornaments
- Day 13: DIY Christmas Card Holder
- Day 14: Papercut Christmas Village
- Day 15: Funny Christmas Socks
- Day 16: Veneer Pinecone Earrings
- Day 17: How to Make Felt Bows
- Day 18: Personalized Santa Sacks
- Day 19: Newborn Footprint Ornaments
- Day 20: Layered Christmas Mandala
- Day 21: Customized Pot Holders
- Day 22: Sleigh Rides Christmas Sign
- Day 23: Hot Cocoa Mug Gift
- Day 24: Print then Cut Gift Tags
- Day 25: Matching Christmas Pajamas



Comments & Reviews
Julie Rozeveld says
Hi Cori. I tried to cut the veneer with my Maker, and it didn’t cut all the way through – even when I tried the cut a 2nd time before unloading the mat. Any suggestions? I’d really like for it to work!
Crystal Summers says
Hi Julie,
Is your blade dull at all? You could also try another pass. If it continues to not cut all the way through, I would reach out to Cricut Support. It may be more of a technical issue.
Hope this helps!
Crystal, HLMS Community Manager