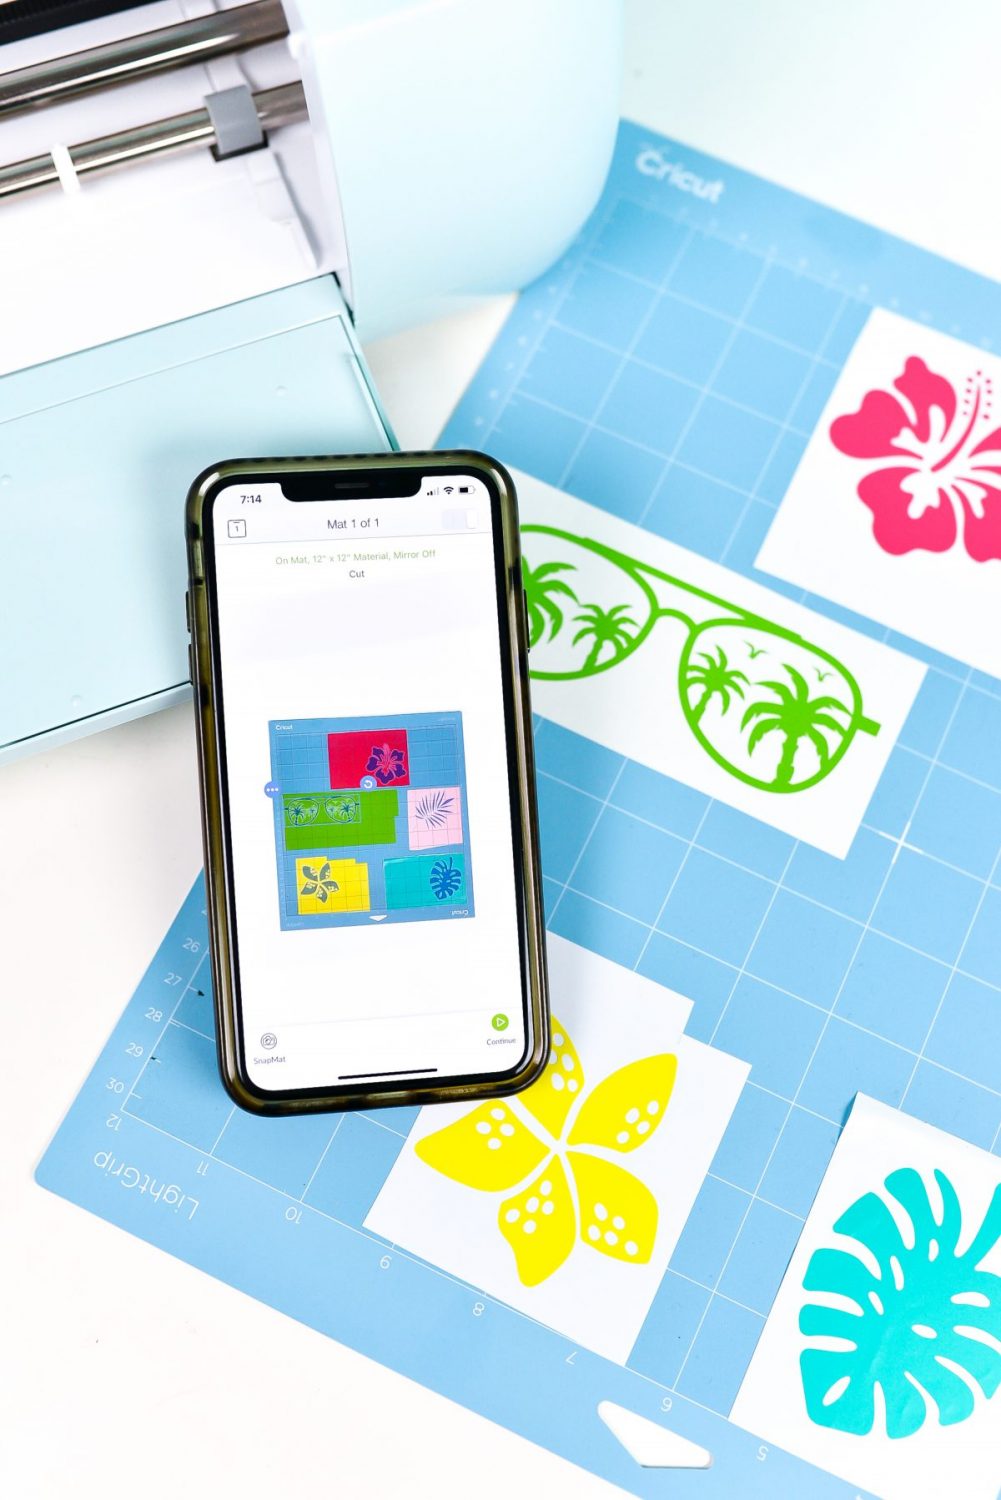
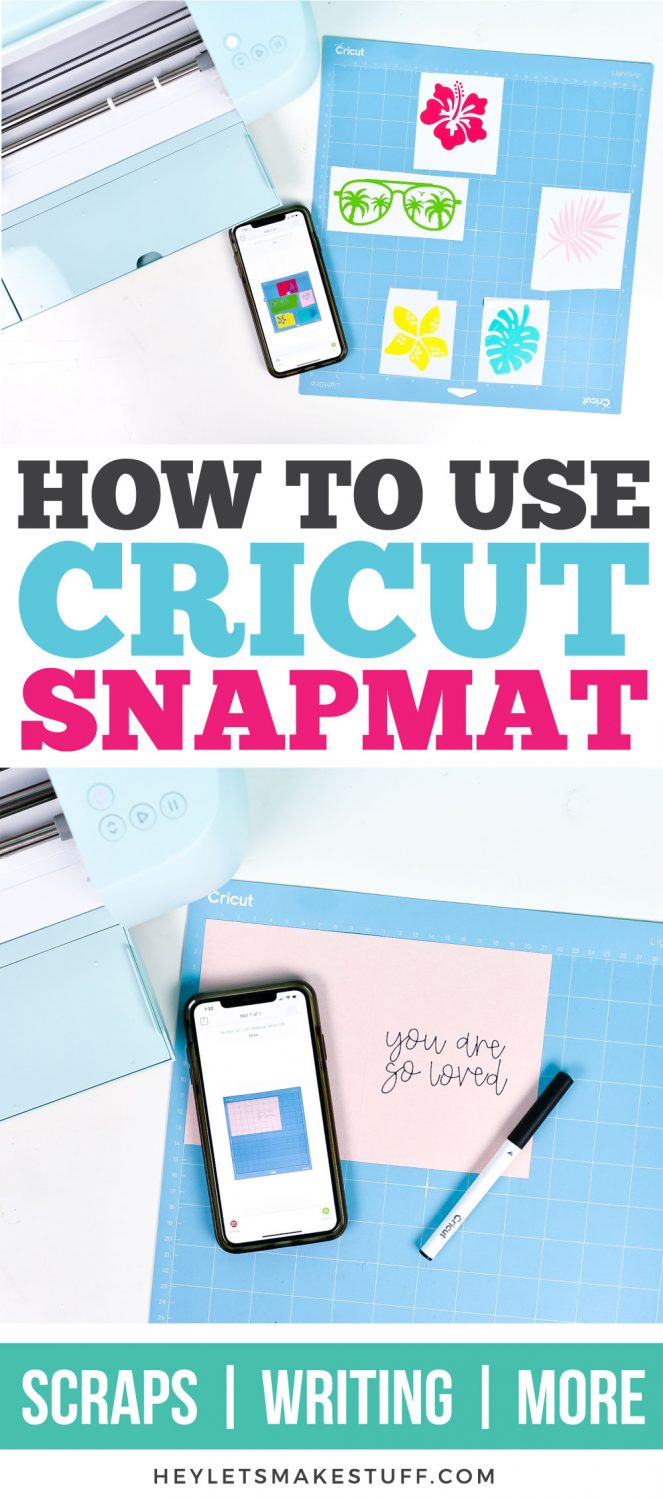
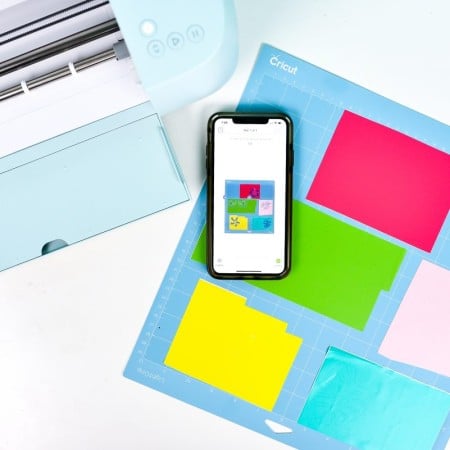
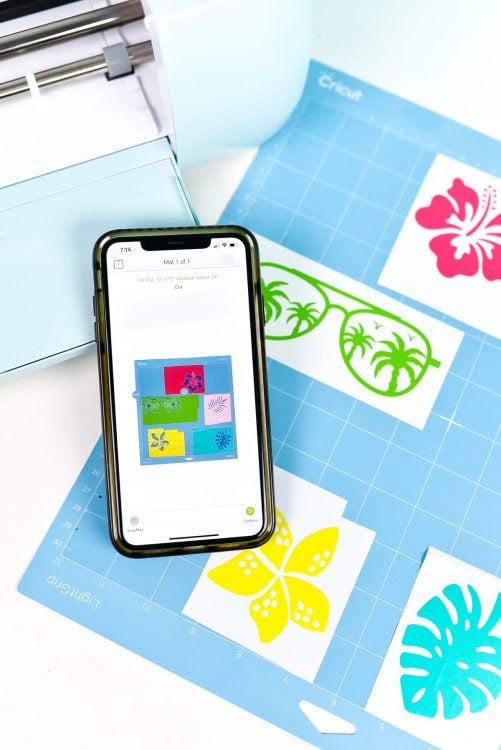
Cricut SnapMat allows you to capture a photo of your material on a cutting mat, and then reposition images over a material preview so they cut or write exactly where you want them!
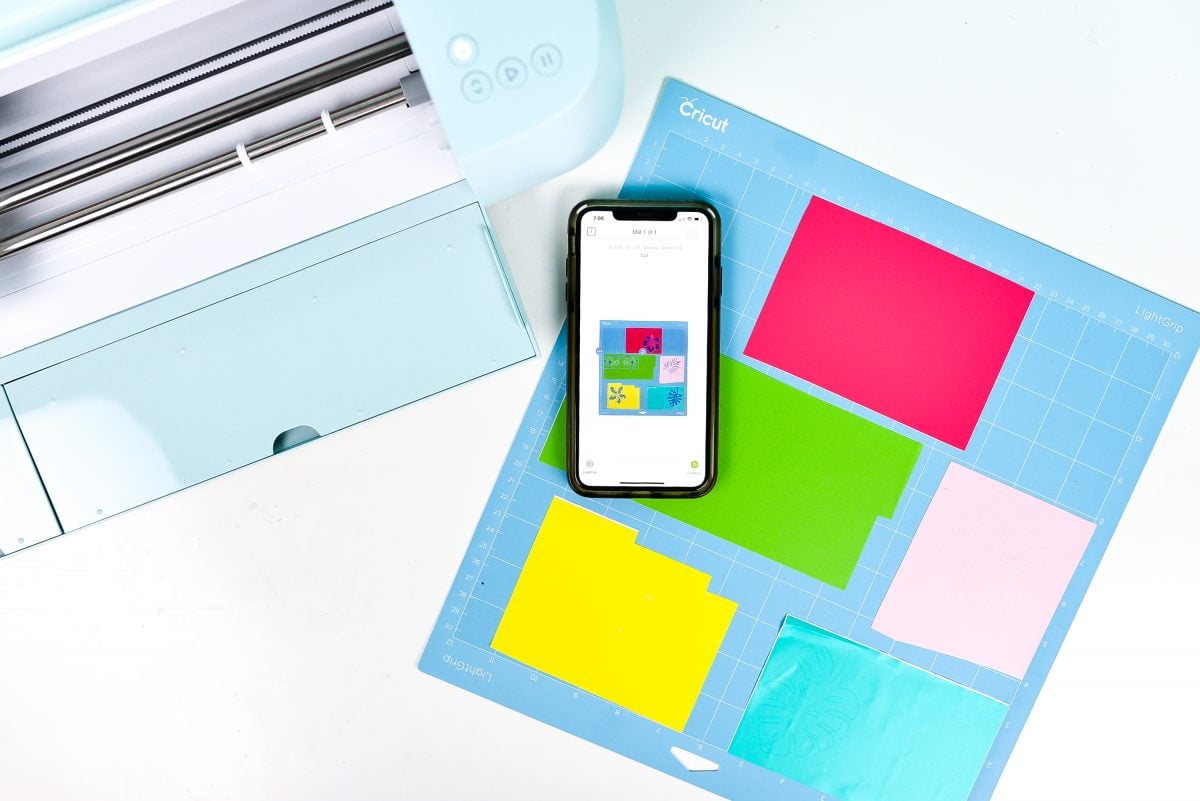
If you’re a Cricut Maker or Cricut Explore user with an iPhone or iPad, SnapMat is one of those features you’re going to LOVE!
Today I’m going to go into how to use this helpful feature for three uses:
- Cutting multiple scraps on a single mat
- Fussy cutting a patterned material (Fussy cutting is a sewing term that basically means that you’re targeting a specific part of a patterned material, rather than just cutting randomly)
- Addressing envelopes or writing inside cards
You’ll see how all three of these work below! But before we begin, let’s talk about SnapMat a bit.
What is Cricut SnapMat?
Cricut SnapMat is a feature that starts with you to taking a photo of your material on a cutting mat. Then, in the Cricut Design Space app, you will see an image preview of your mat and materials, and you can then reposition your images over your material so they cut or write exactly where you want them to!
How Accurate is Cricut SnapMat?
Pretty darn accurate! As long as your photo is clear and directly above your mat, SnapMat is accurate within a few millimeters. This is great because you can really use all of those tiny scraps you’ve been hoarding.
Important Things to Know About SnapMat
Here are a few details you need to know about using SnapMat that will save you time and frustration:
- SnapMat is only available for the iOS (Apple) app version of Cricut Design Space. It will not work on the Android app or on the desktop version of Cricut Design Space.
- SnapMat is only available for Cricut Maker 3, Cricut Maker, Cricut Explore 3, and Cricut Explore machines. It doesn’t work on Cricut Joy or older Cricut machines.
- SnapMat doesn’t work on Smart Materials, which are designed to be cut without a mat. BUT, if you have scraps of Smart Materials and want to cut them on a mat, it will work.
- Make sure to use the same material for all cuts on a single mat. There’s no way to switch from regular to glitter vinyl between cuts, for example.
- Make sure all of the images on your mat are set to the same color, even if you’re cutting in a variety of colors on the same mat. I’ll show you more about this below.
I am using my iPhone for all of these screenshots, but you can use an iPad if that’s what you have.
Using Cricut SnapMat to Cut Scraps
Let’s start with the most popular use for Cricut Snap Mat—cutting scraps.
1. Create Your Design Space File
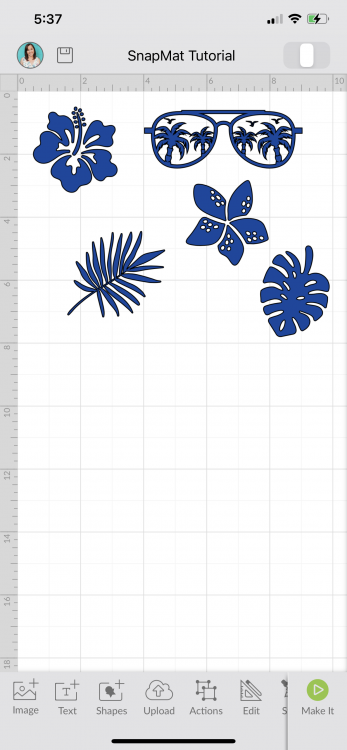
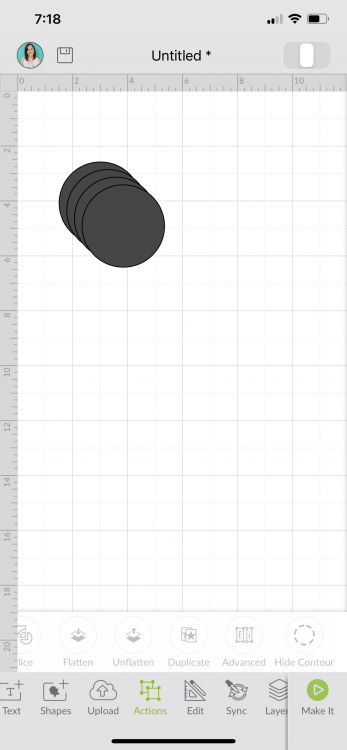
Upload or insert any images or text you want to use for your project. Resize them to fit your project. Even though in this instance we are cutting several different colors of vinyl, you want to make them all the same color.
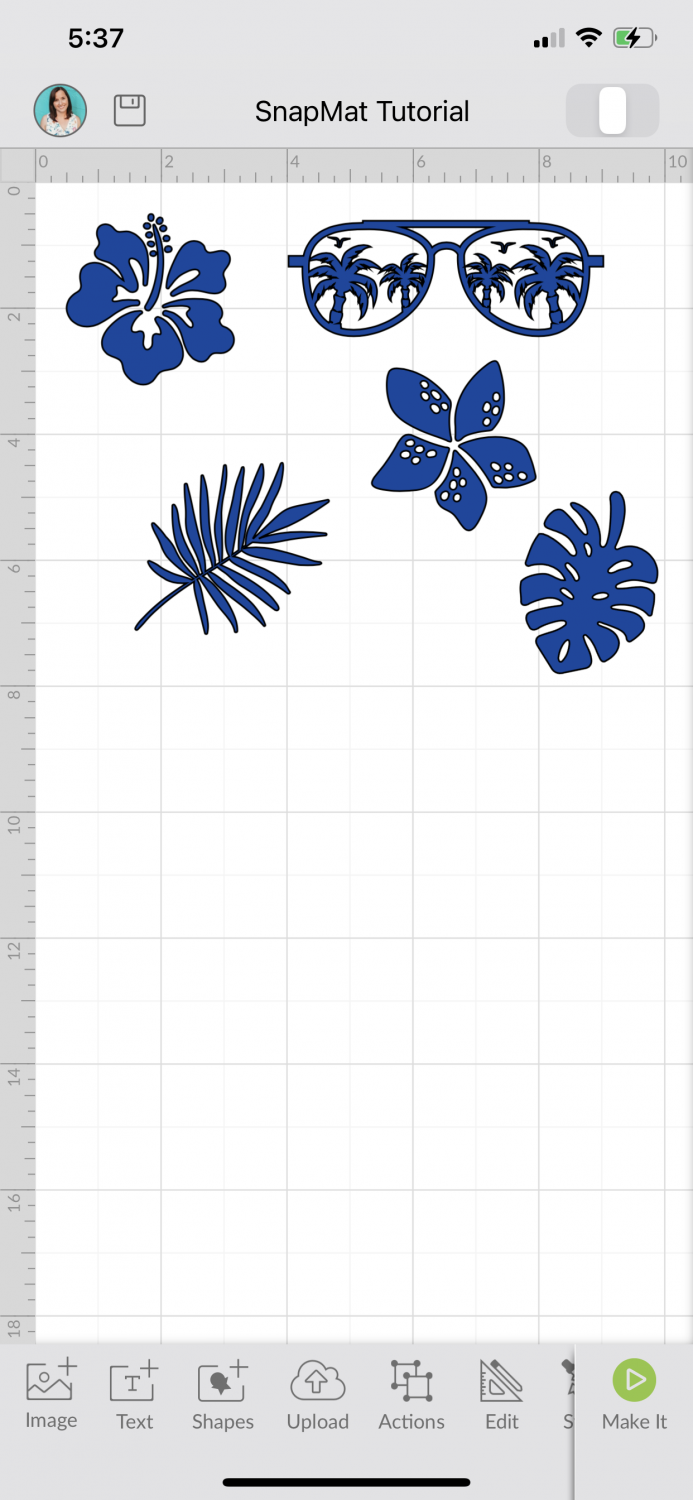
Click Make It in the bottom right.
2. Place your scraps on your mat
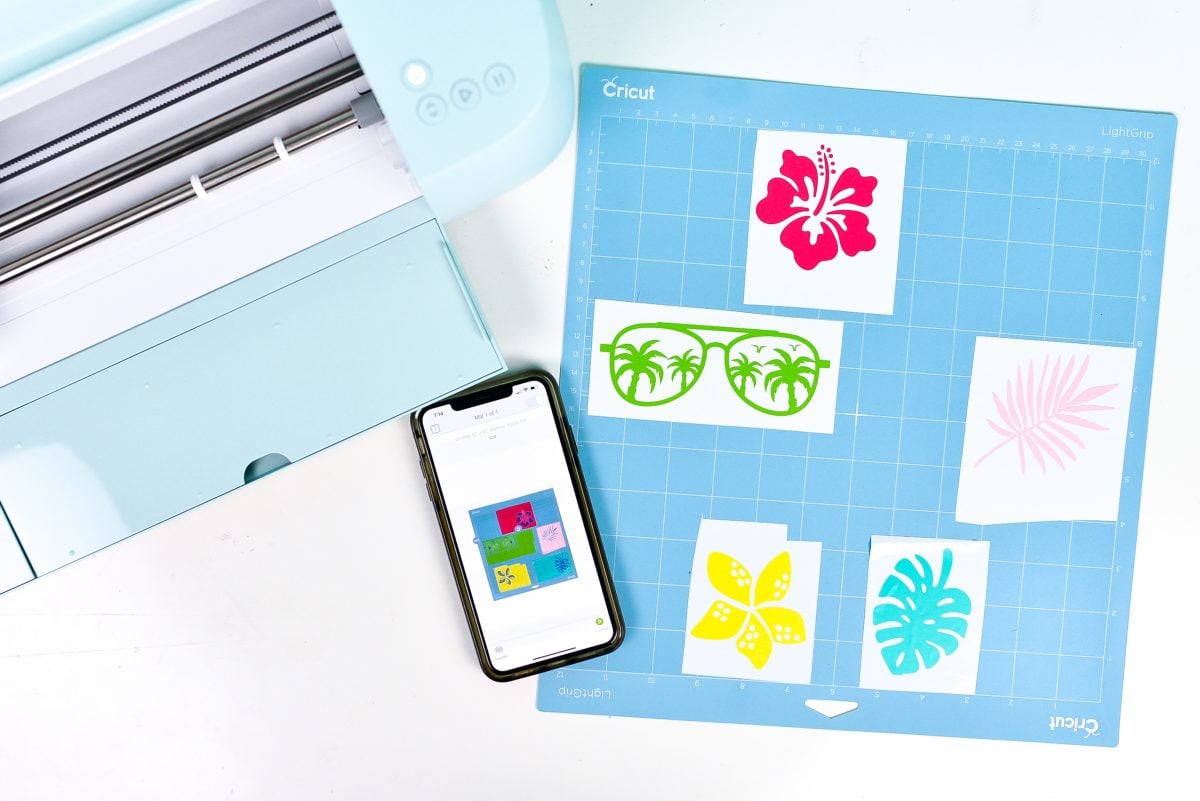
I’m using vinyl for this project, but it will work with any Cricut material that can be cut on a mat. Place your scraps on your mat—they don’t need to be perfectly spaced or anything. Just make sure they are large enough for your images.
3. Use Snap Mat to cut your scraps
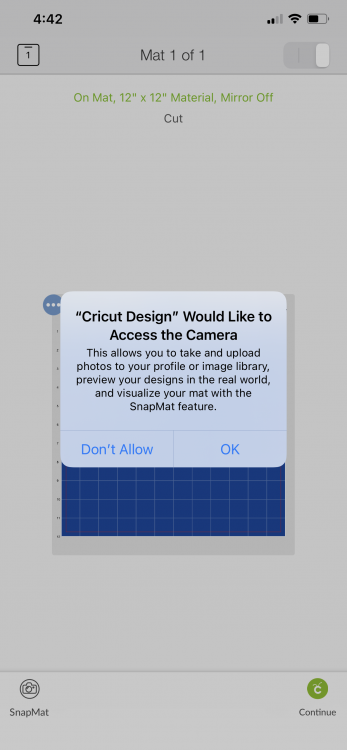
On the Prepare Screen, click the little button in the bottom corner labeled SnapMat. If you haven’t already, your iOS device will ask you to allow Cricut Design Space to access the camera.
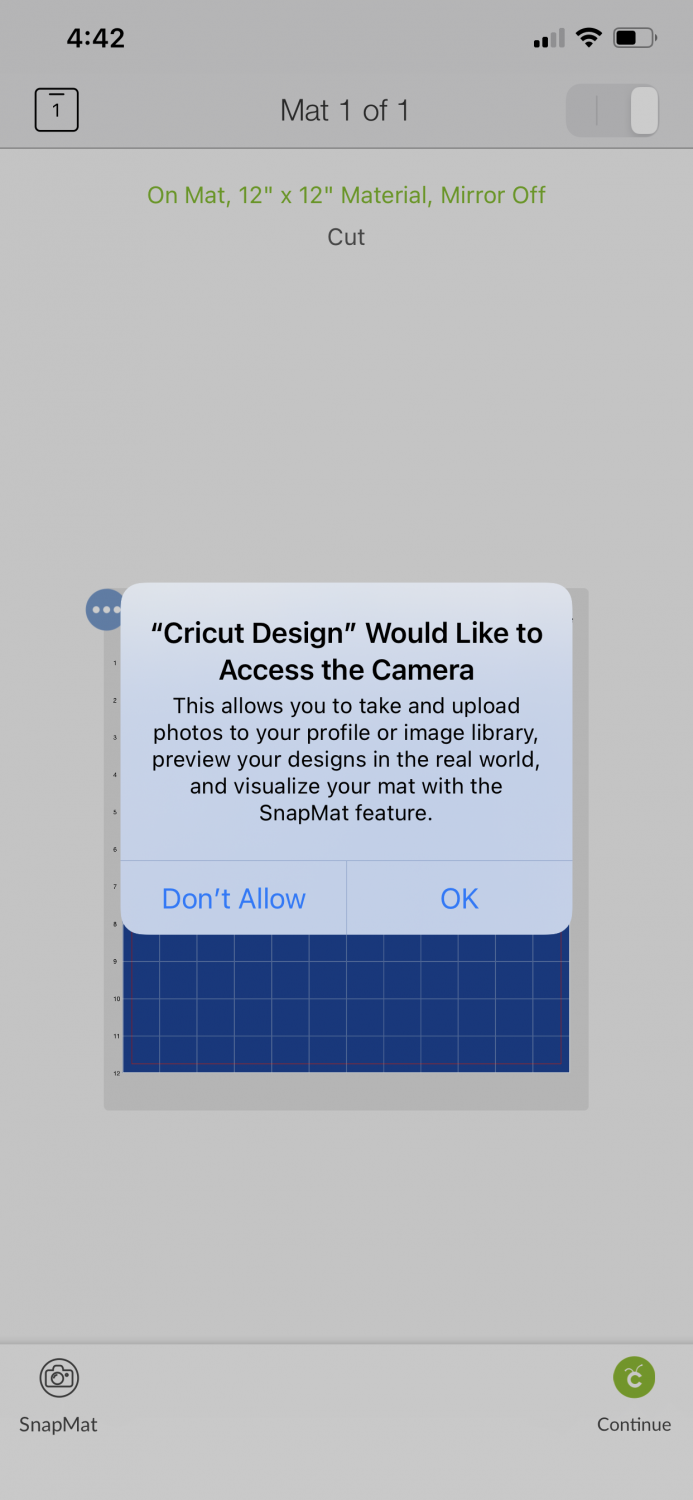
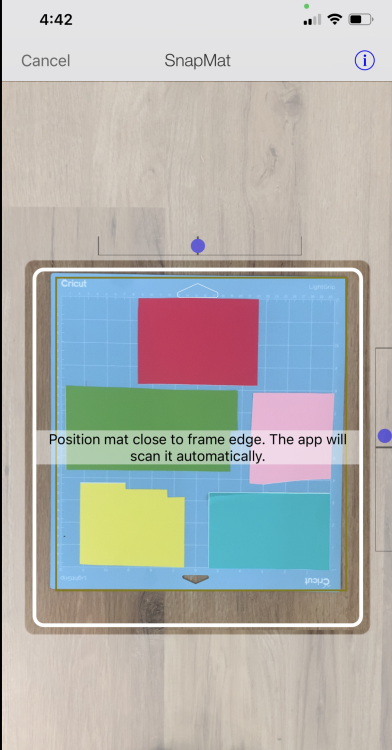
Next you’ll see a camera screen and instructions telling you to center your mat in the screen from directly overhead. I find that this is easiest for me if I put the mat on the floor vs. trying to hold my phone camera above my head if the mat is on a table.
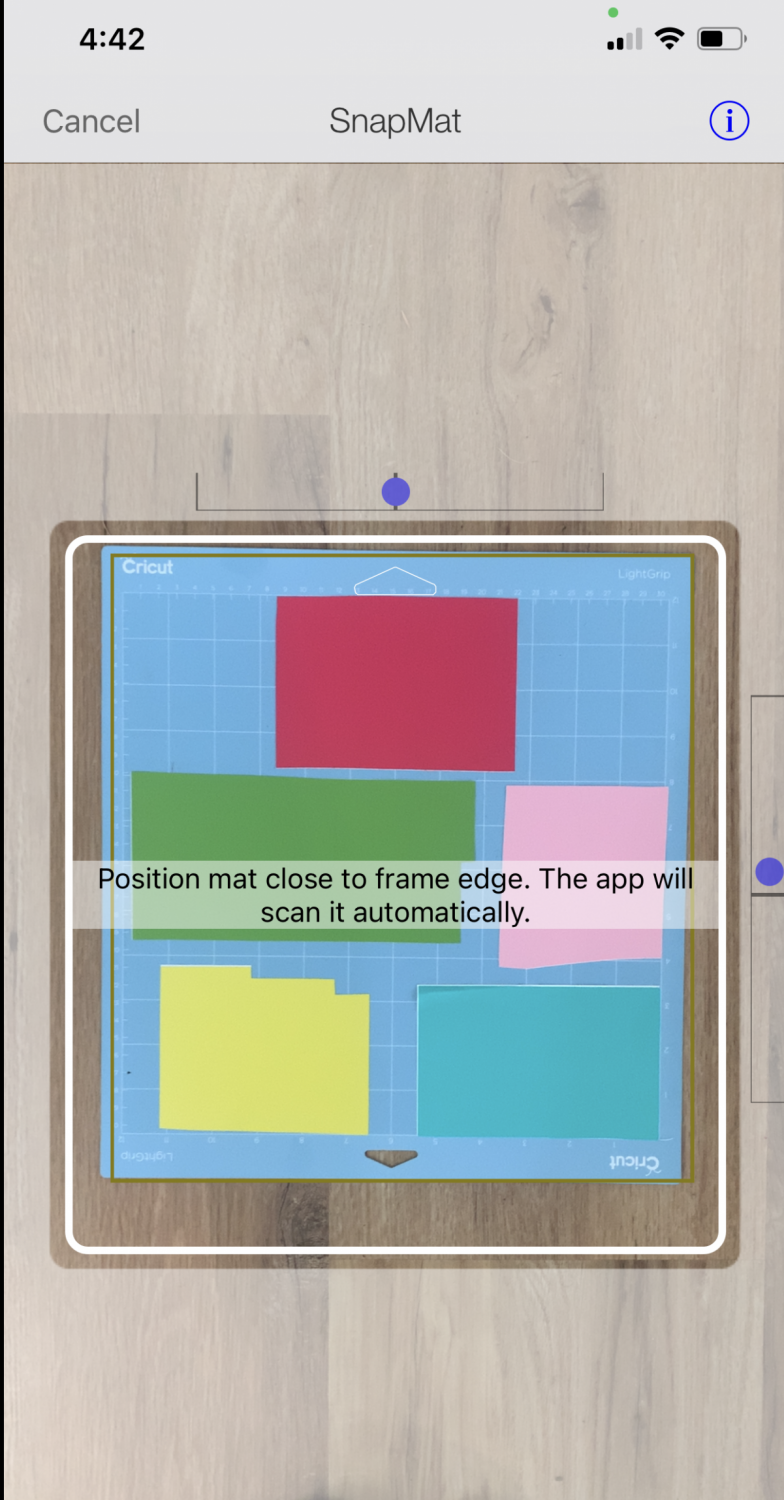
Once your mat is centered, Cricut Design Space will automatically snap a photo of it! Now your mat and your scraps are in Cricut Design Space.
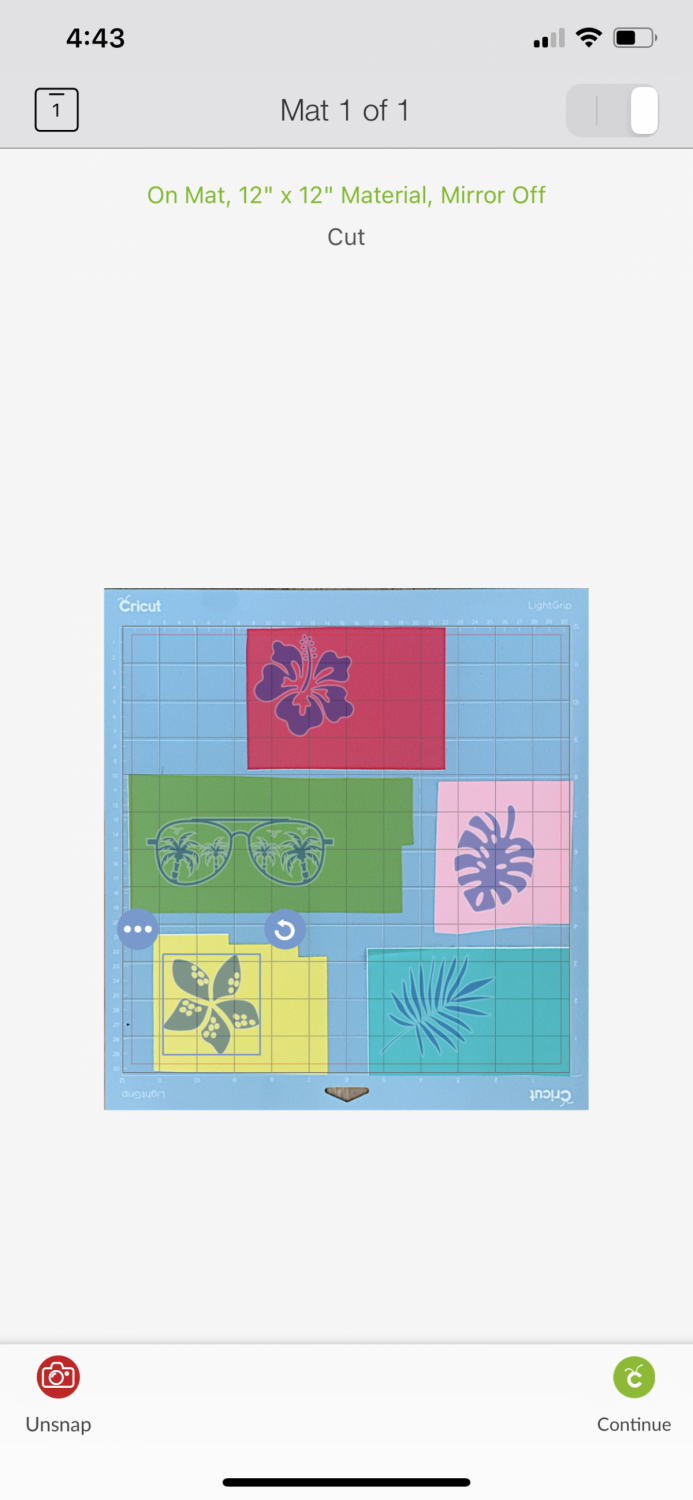
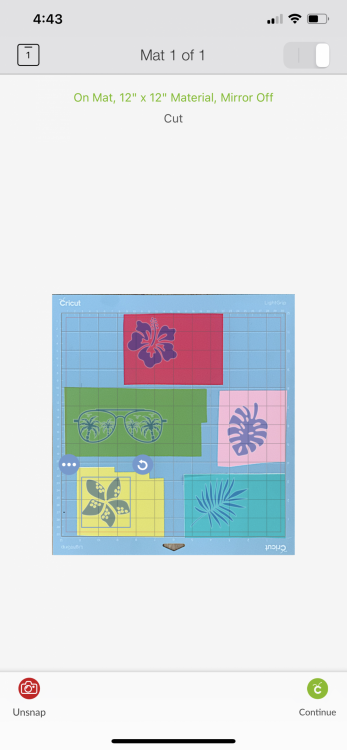
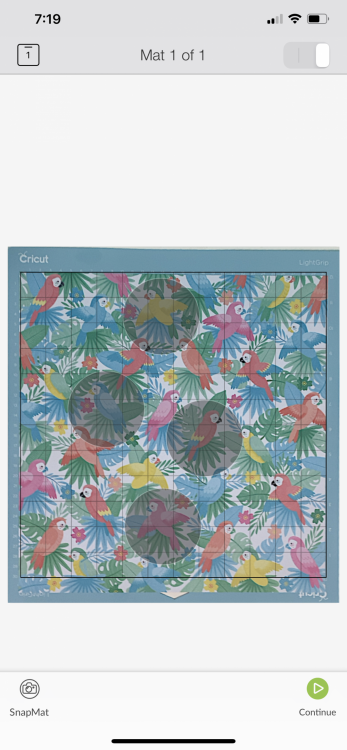
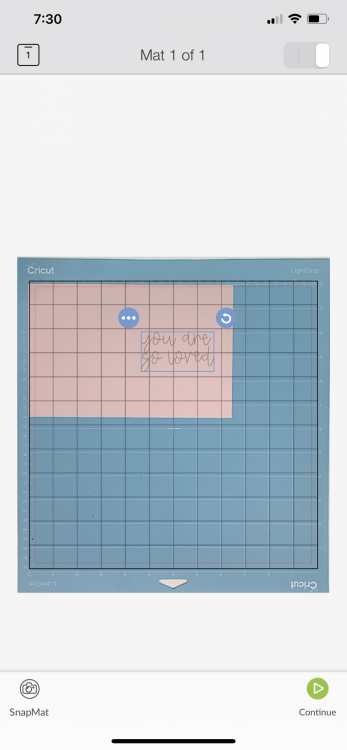
From here Design Space will add your images and you can tap one and use your finger to drag it over the scrap you want to use. Do this with all your images. You must tap to select each image before you can drag it.
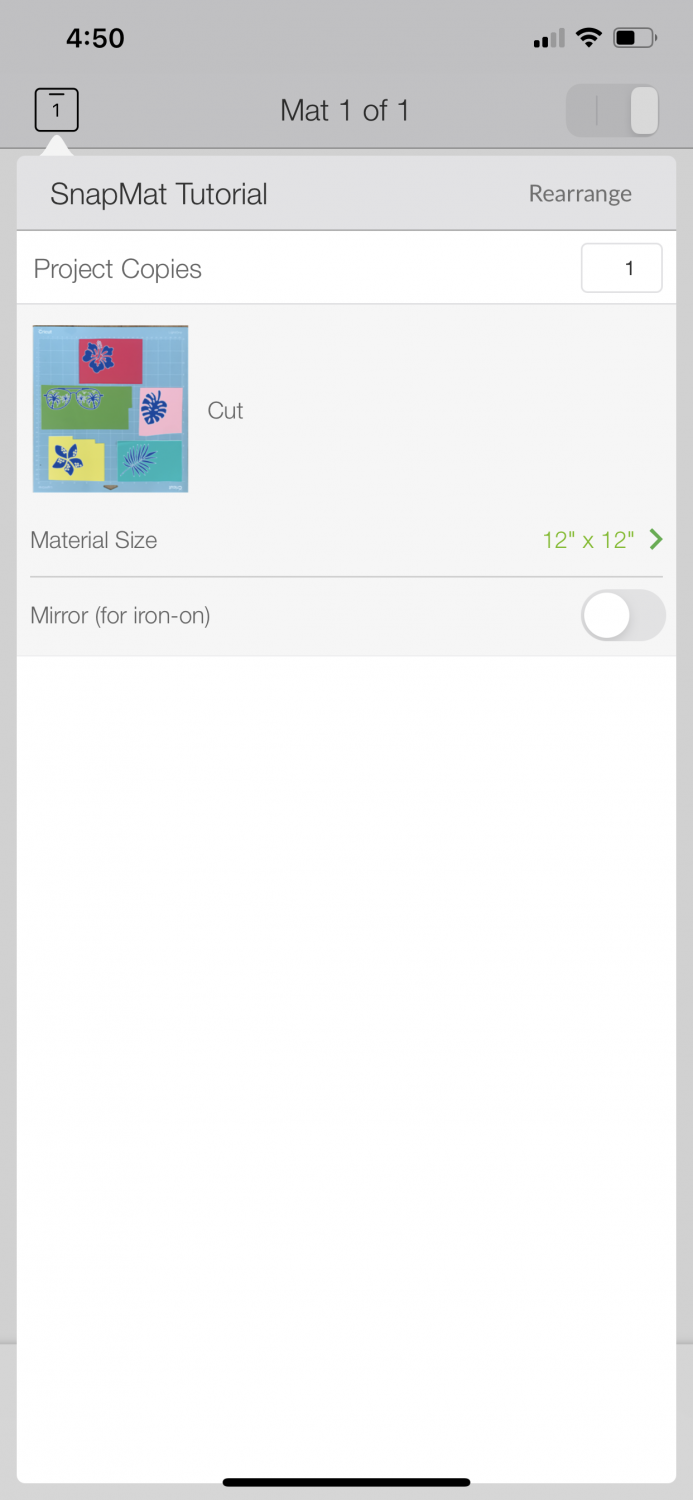
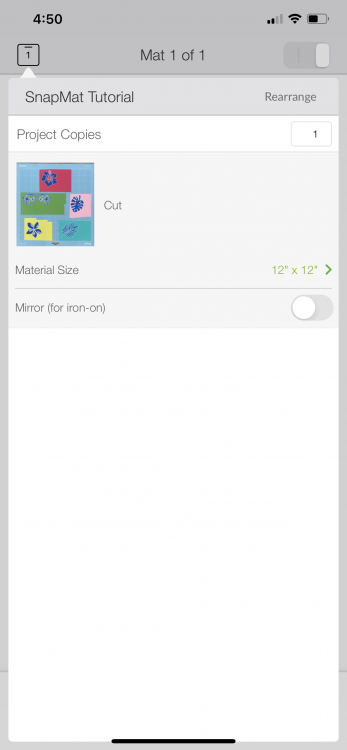
If you are looking for your Prepare Screen options, click the mat in the upper right. Here you can mirror your image if you are using iron on vinyl or another material that needs to be reversed before cutting.
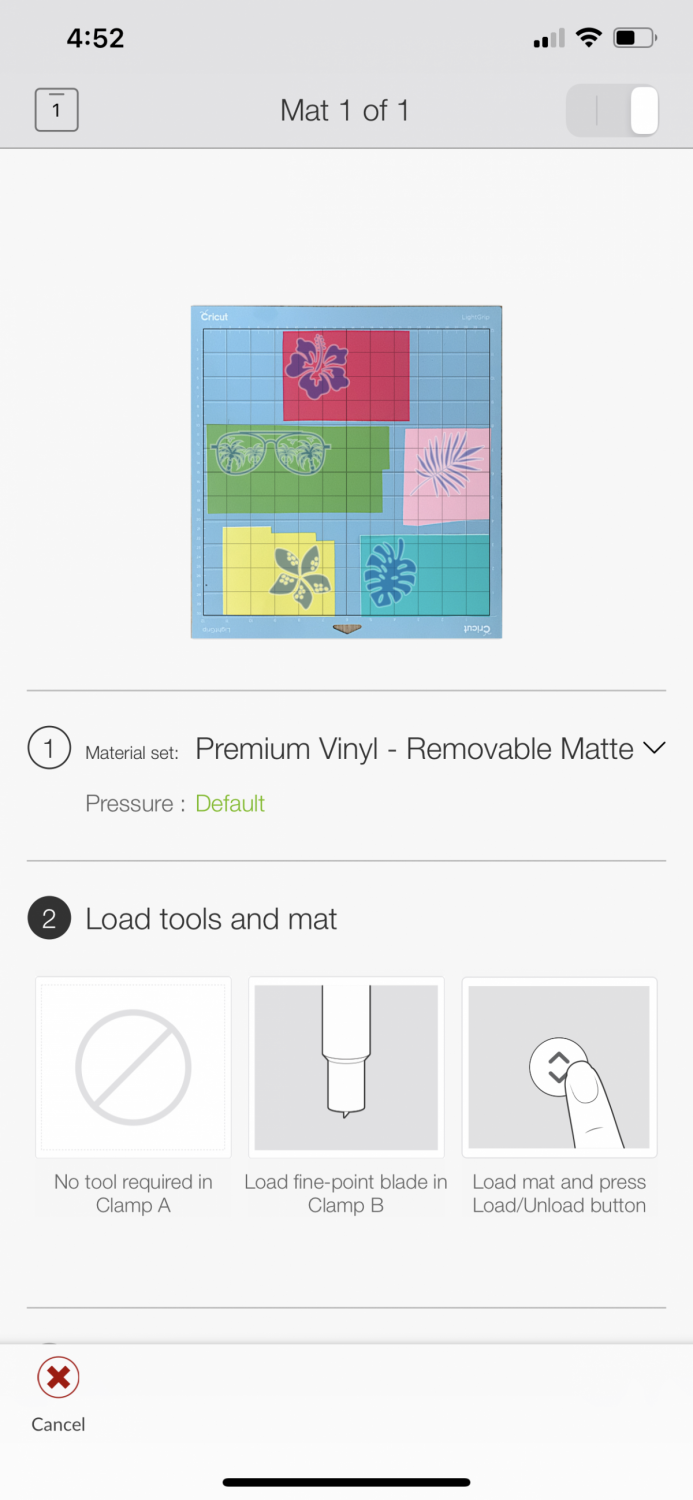
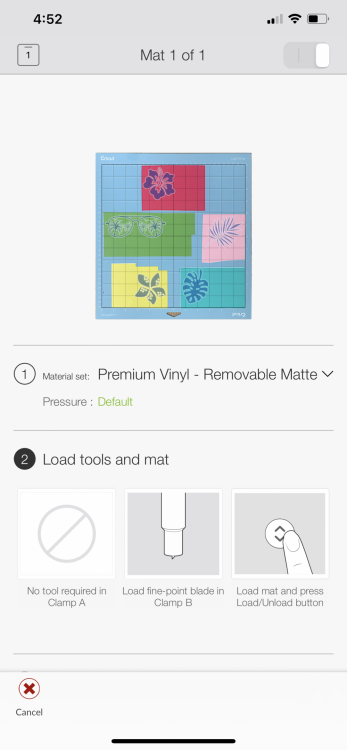
Then click Continue in the bottom right. After that, you’ll see the normal Cricut Make Screen where you can select your material. Insert your mat into your machine and your Cricut will cut your project on your scraps!
Using Cricut SnapMat to Fussy Cut Patterns
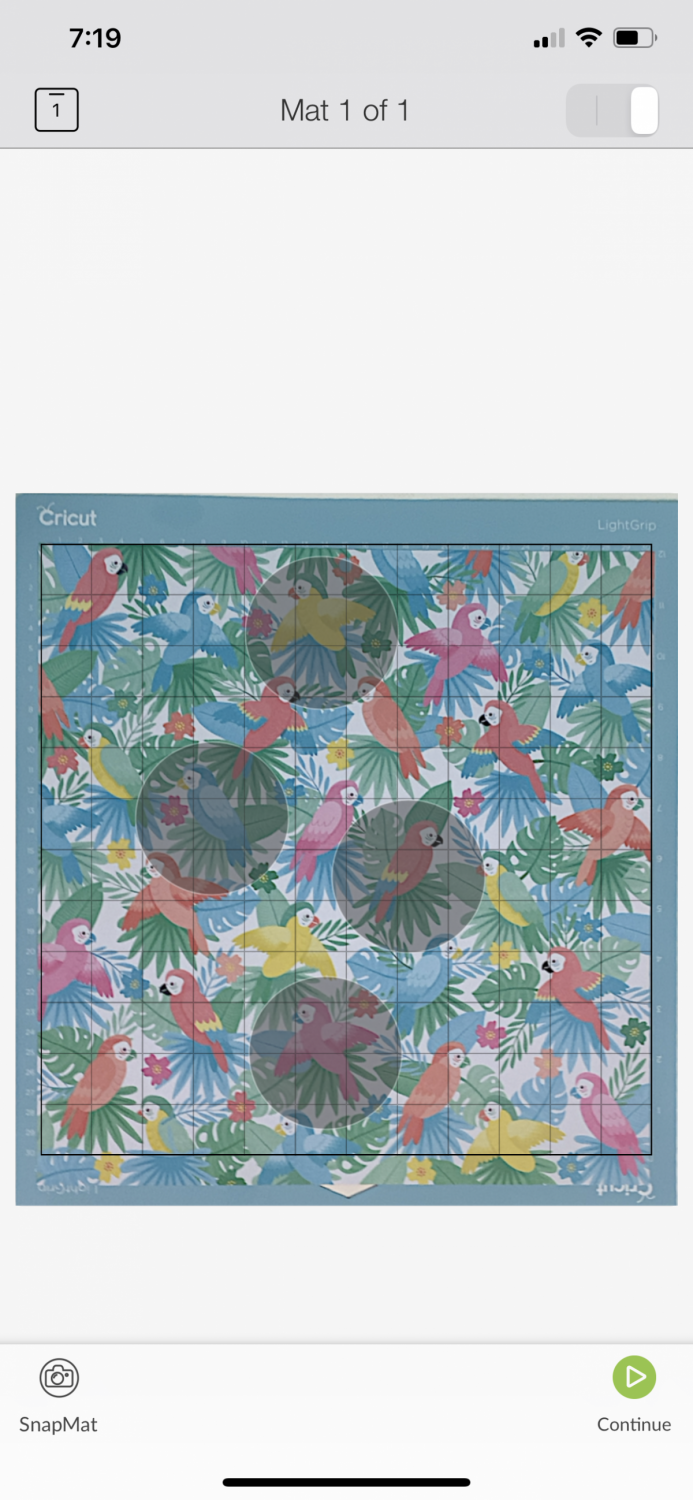
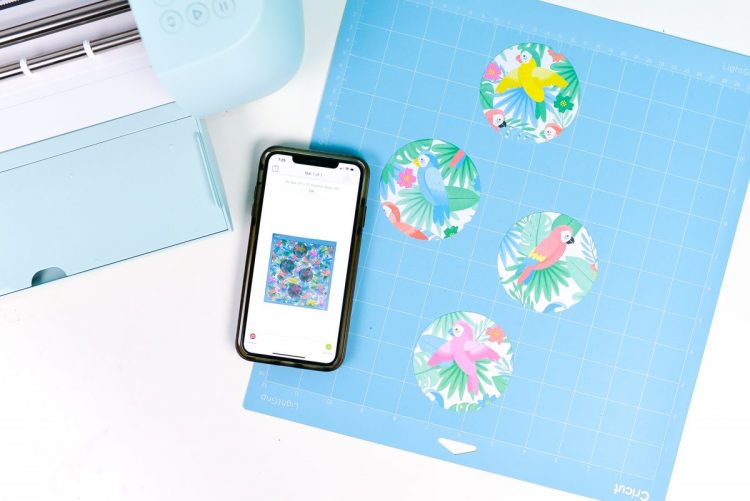
Another reason you might want to use SnapMat is for “fussy cutting” patterns. This means you target a particular area on a design for cutting, vs just cutting wherever Cricut Design Space positions your images. In this example, I want to cut circles around some birds on a piece of tropical scrapbook paper. SnapMat makes it easy!
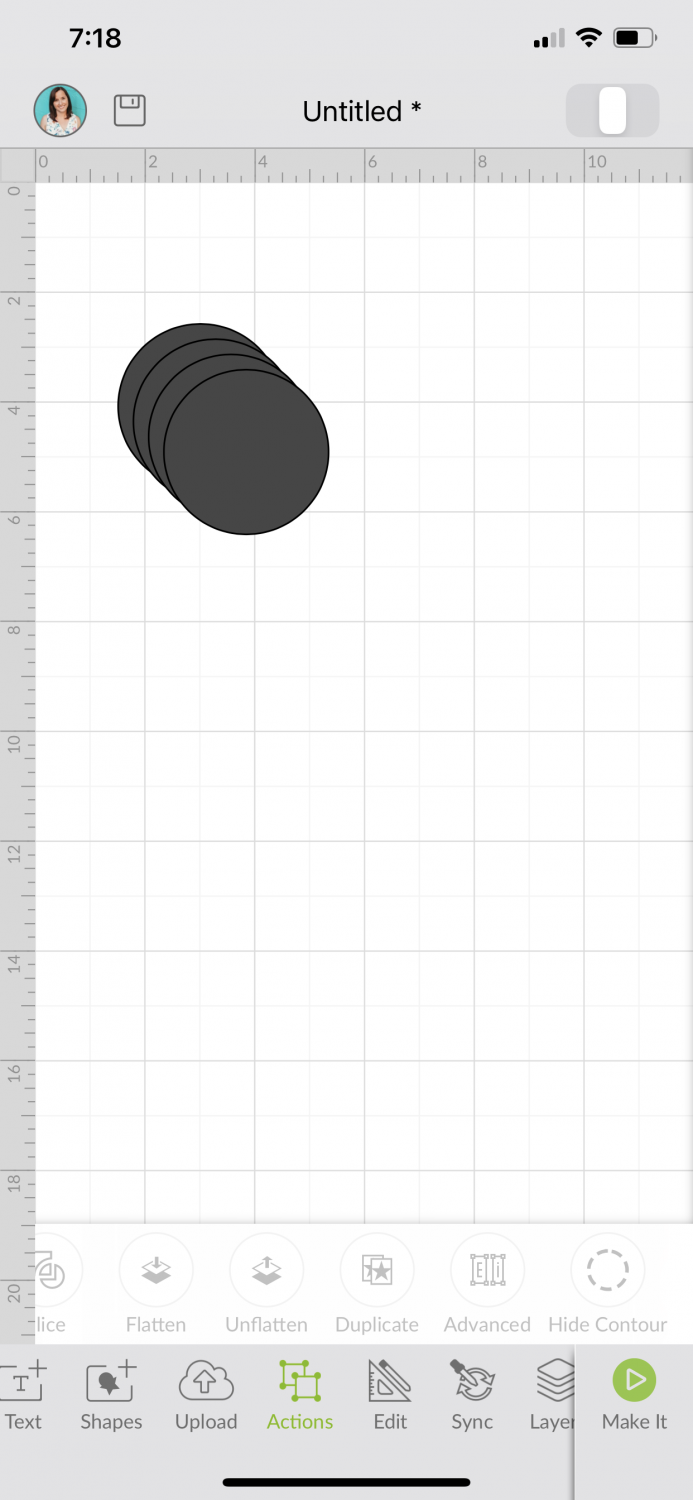
Start by creating your shape in Cricut Design Space. I made four 3″ circles so I could cut out four birds from my scrapbook paper. You can do this with any shape you’d like.
Follow the same instructions above to start making your project and photograph your mat. Then place your shapes over whatever you want to fussy cut in the SnapMat screen.
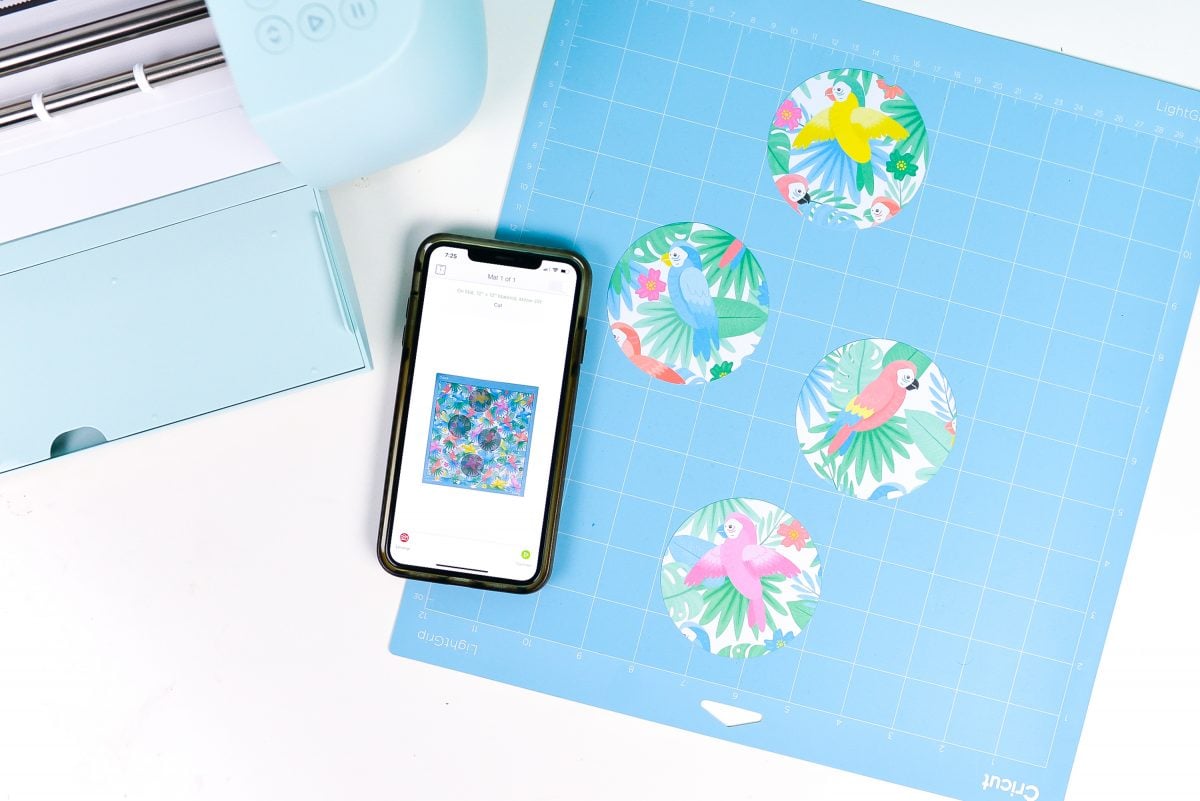
Continue, select your material, and your Cricut will fussy cut your paper! This also works well for fussy cutting fabric if you’re cutting using the Cricut Maker’s rotary blade.
Writing on the inside of a card using Cricut SnapMat
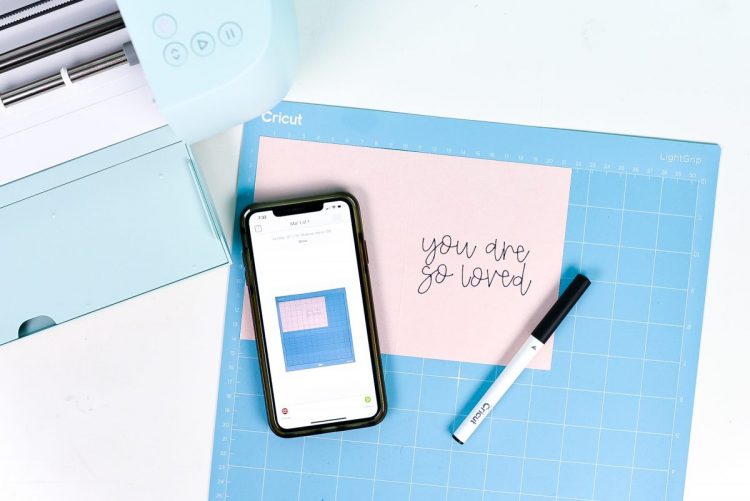
Finally, I often get the question on how to write on the inside of a card or address envelopes using the Cricut’s pen. You can try and move your image to the right location using the Move tool in Cricut Design Space (see my post How to Fit More on a Cricut Mat and Save Material!), but it’s much easier using SnapMat.
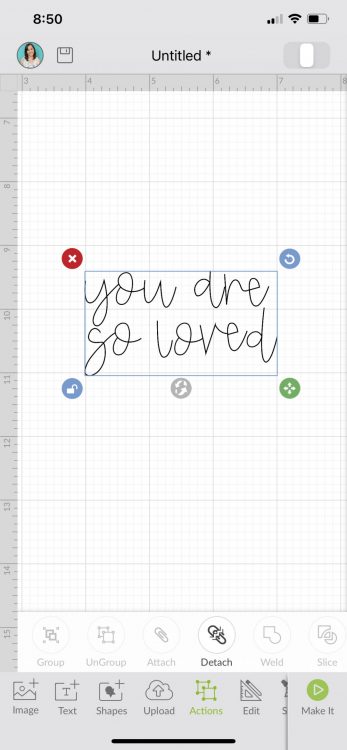
Write your sentiment in Cricut Design Space using a writing font and resize as needed. If you need help with fonts, check out All About Cricut Design Space Fonts and The Ultimate Guide to Cricut Pens for more help.
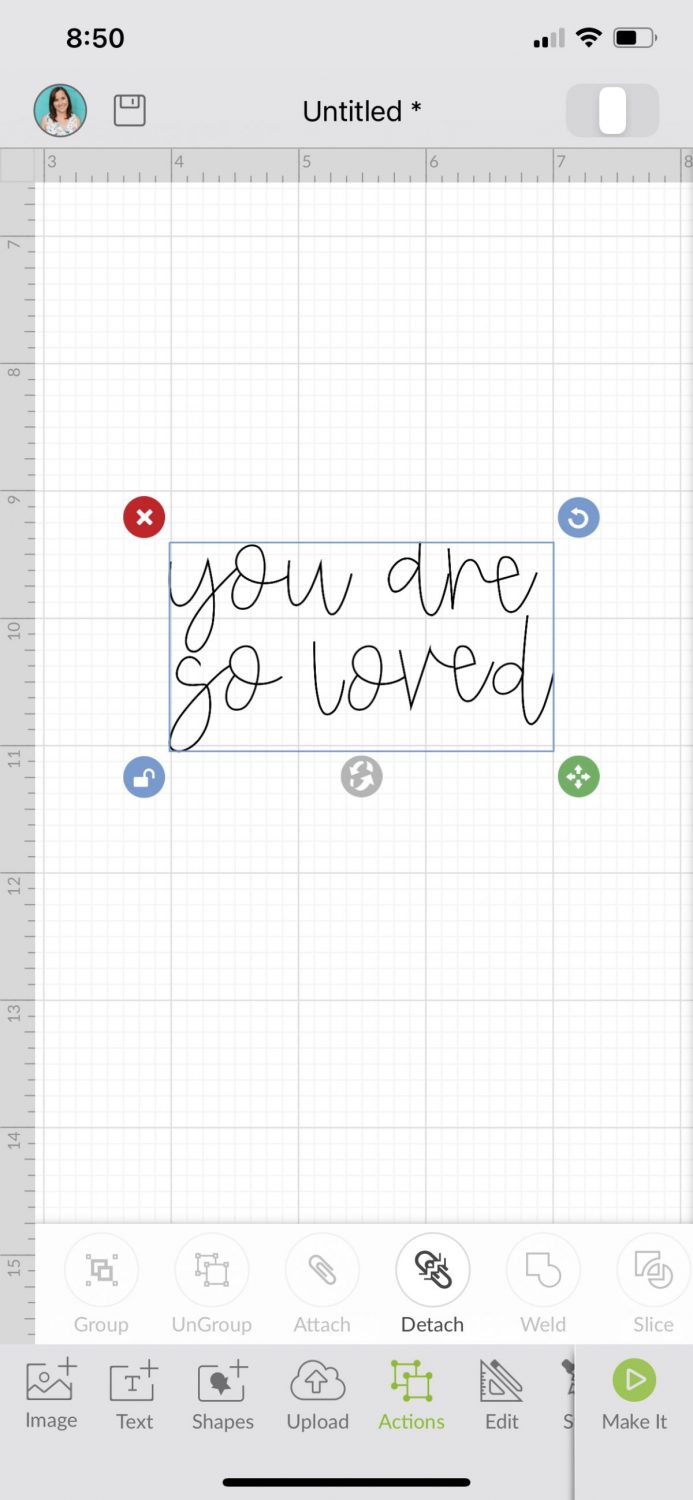
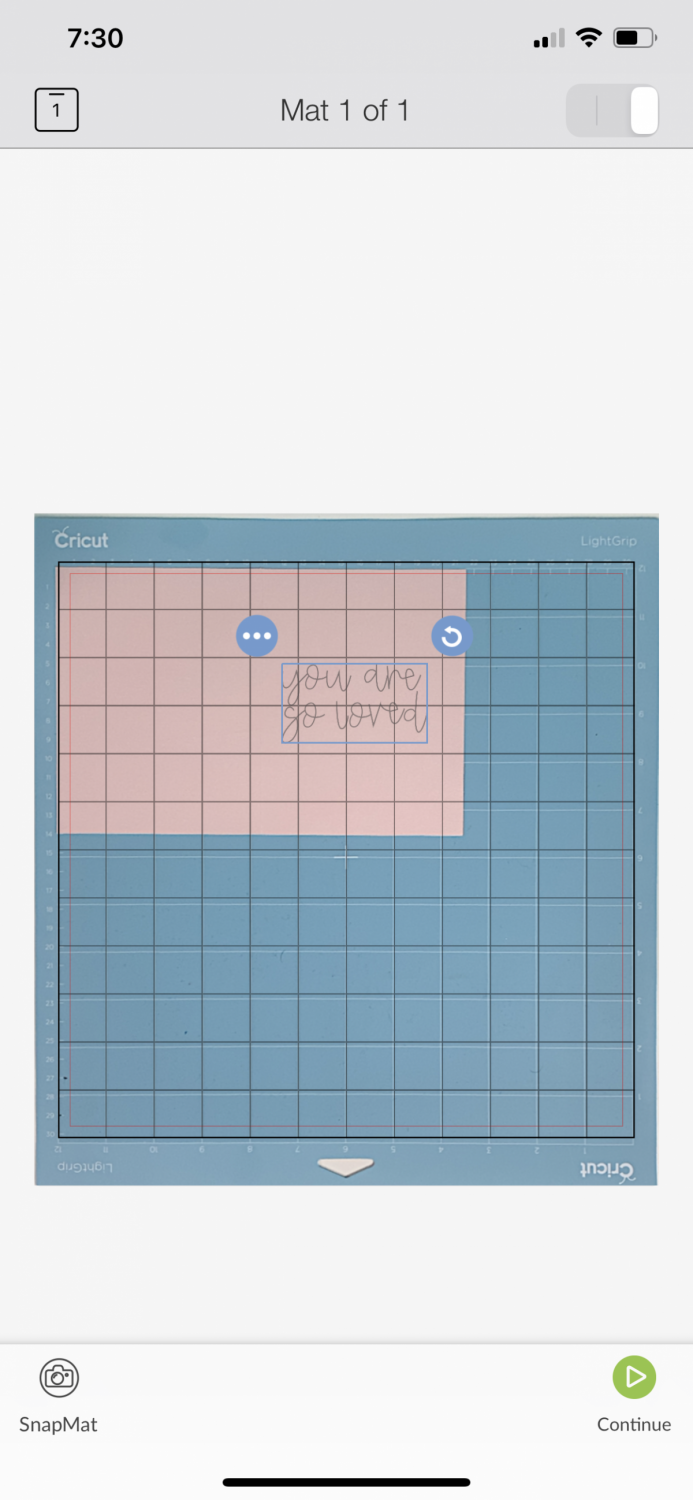
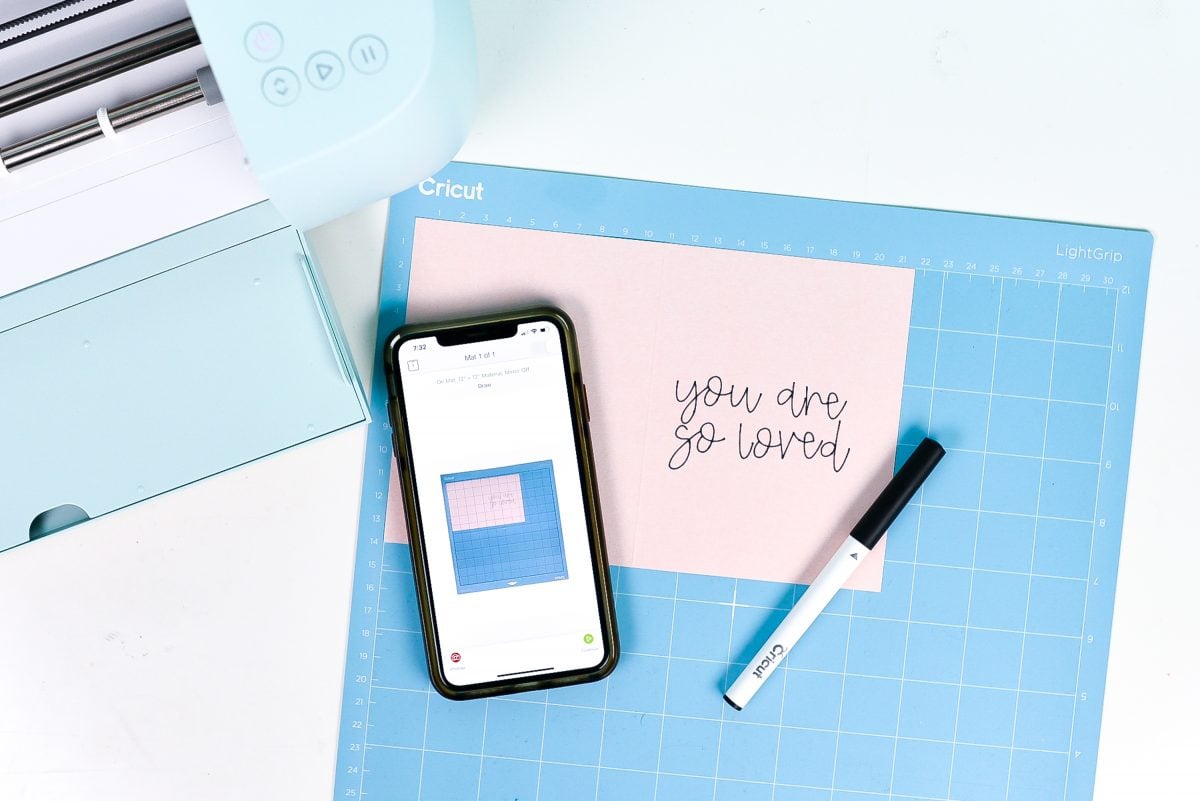
Then click Continue and follow the instructions above to start making your project and photograph your mat. From there, you can place your sentiment exactly where you want it on your card so that your Cricut will write it properly.
I hope you found this look at Cricut SnapMat helpful. This is, by far, the best way of cutting precise areas of a material! If you have questions, let me know in the comments and I’ll try and answer them!
Get a Cricut!
HOW TO USE A CRICUT SNAPMAT
Instructions
- Note: For this project, an iPhone is being used for all of these screenshots, but you can use an iPad if that's what you have.Using Cricut SnapMat to Cut Scraps1. Create Your Design Space FileUpload or insert any images or text you want to use for your project. Resize them to fit your project. Even though in this instance we are cutting several different colors of vinyl, you want to make them all the same color.Click Make It in the bottom right.

- 2. Place your scraps on your matVinyl is being used for this project, but it will work with any Cricut material that can be cut on a mat. Place your scraps on your mat—they don't need to be perfectly spaced or anything. Just make sure they are large enough for your images.
- 3. Use Snap Mat to cut your scrapsOn the Prepare Screen, click the little button in the bottom corner labeled SnapMat. If you haven't already, your iOS device will ask you to allow Cricut Design Space to access the camera.

- Next you'll see a camera screen and instructions telling you to center your mat in the screen from directly overhead. It is easiest to put the mat on the floor vs. trying to hold your phone camera above your head if the mat is on a table.

- Once your mat is centered, Cricut Design Space will automatically snap a photo of it! Now your mat and your scraps are in Cricut Design Space.From here Design Space will add your images and you can tap one and use your finger to drag it over the scrap you want to use. Do this with all your images. You must tap to select each image before you can drag it.

- If you are looking for your Prepare Screen options, click the mat in the upper right. Here you can mirror your image if you are using iron on vinyl or another material that needs to be reversed before cutting.

- Then click Continue in the bottom right.

- After that, you'll see the normal Cricut Make Screen where you can select your material. Insert your mat into your machine and your Cricut will cut your project on your scraps!

- Using Cricut SnapMat to Fussy Cut PatternsAnother reason you might want to use SnapMat is for "fussy cutting" patterns. This means you target a particular area on a design for cutting, vs just cutting wherever Cricut Design Space positions your images. In this example, I want to cut circles around some birds on a piece of tropical scrapbook paper. SnapMat makes it easy!Start by creating your shape in Cricut Design Space. Four 3" circles were made so that four birds could be cut out from scrapbook paper. You can do this with any shape you'd like.

- Follow the same instructions above to start making your project and photograph your mat. Then place your shapes over whatever you want to fussy cut in the SnapMat screen.

- Continue, select your material, and your Cricut will fussy cut your paper! This also works well for fussy cutting fabric if you're cutting using the Cricut Maker's rotary blade.

- Writing on the inside of a card using Cricut SnapMatYou can try and move your image to the right location using the Move tool in Cricut Design Space (see this post How to Fit More on a Cricut Mat and Save Material!), but it's much easier using SnapMat.Write your sentiment in Cricut Design Space using a writing font and resize as needed. If you need help with fonts, check out All About Cricut Design Space Fonts and The Ultimate Guide to Cricut Pens for more help.

- Then click Continue and follow the instructions above to start making your project and photograph your mat.

- From there, you can place your sentiment exactly where you want it on your card so that your Cricut will write it properly.



Comments & Reviews
Undead Invasion says
Cricut SnapMat is an amazing feature for precise cutting, especially for scrap materials and patterned designs. The detailed guide is super helpful for beginners and pros alike. For more creative inspirations, check out Undead Invasion!
singinggentle789 says
This feature is cool, especially the fussy cutting tip. It saved me a lot of paper. Very well organized! drift boss