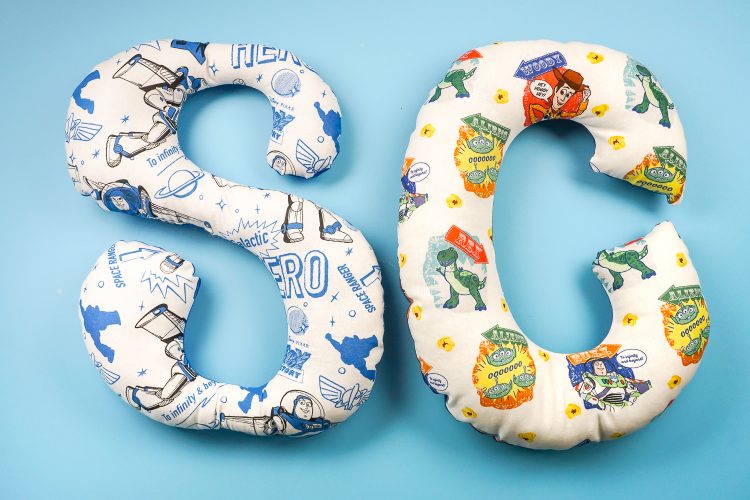
These alphabet stuffies, made using the Cricut Maker, are the perfect gift for a child learning their letters! Make one of out their favorite character fabric, like these fun Toy Story 4 patterns!

This last weekend, we took our twin boys to the movie theater for the first time to see Toy Story 4. We were a little nervous for our first theater experience with them (two four-year-olds in a theater…what could go wrong?), but it went really well!
We ate (and spilled) popcorn and enjoyed watching Woody and Buzz return to the big screen. We all loved the addition of Forky to the team (Tony Hale is just so funny), watching Bonnie’s mom and dad struggle with parenting was basically real life, and it was so fun to see Bo’s life as toy with no kid. There were a few suspenseful moments (the Bensons!) that had the boys in our laps, but overall I’m so happy with how well they did.
I’m sewing up another project with this colorful Toy Story 4 fabric today! Make sure to check out my first project, a handy pocket tote bag. Both of these projects can be made using the Cricut Maker and the Rotary Blade.
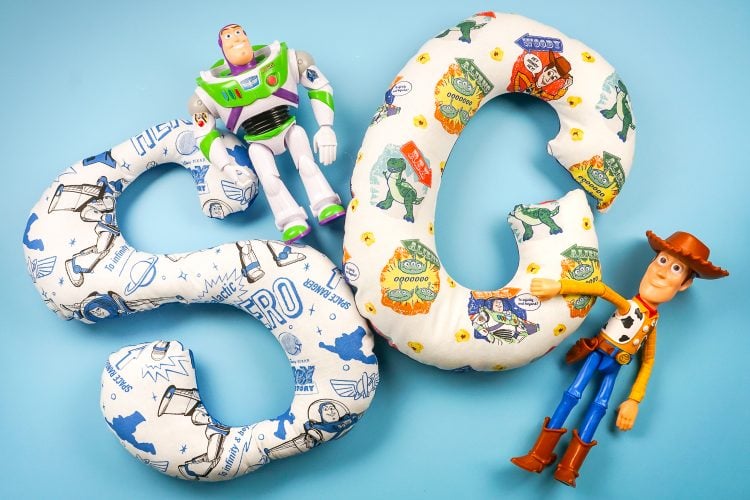
These adorable alphabet stuffies are perfect for this age group—my boys are obsessed with finding “their letter” on signs and in books, as well as writing their C and S on every piece of paper imaginable. I knew they’d love these personalized alphabet stuffies, particularly because they feature characters from the movie they just saw!
Alphabet Stuffies: Supplies
- 1/3 yard fabric in two patterns/colors
- Cricut Maker with Rotary Blade
- Pink FabricGrip Mat
- Brayer (optional)
- Sewing machine
- Coordinating thread
- Poly-Fil or other stuffing
- Hand-sewing needle
Alphabet Stuffies: Instructions
Make Your File in Cricut Design Space
We’re going to start in Cricut Design Space. Technically you can cut these letters by hand, but the Cricut Maker makes it so easy to make perfect letters, every single time.
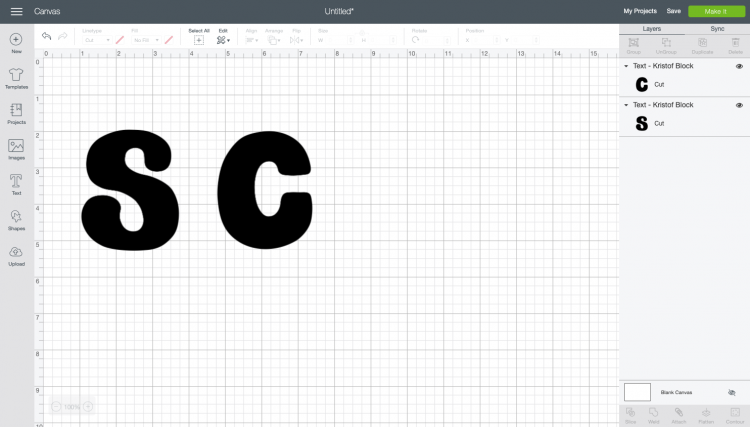
Find a chunky font with fairly consistent thick/thin strokes. I ended up using the same font as I used on my tote bags: Kristoff Block. It’s perfect for this project!
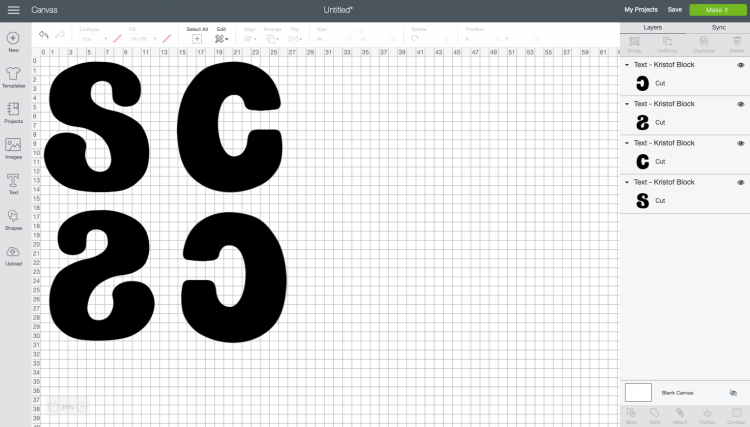
In Design Space, type your initial. I am making both a C and an S—obviously choose the letter or letters you want to make.

Then change the size of each letter to 11.5″ wide—the width of a Cricut mat. Duplicate each letter and use the Flip tool to flip the copies. (Note that I zoomed way out so I could see all my letters).

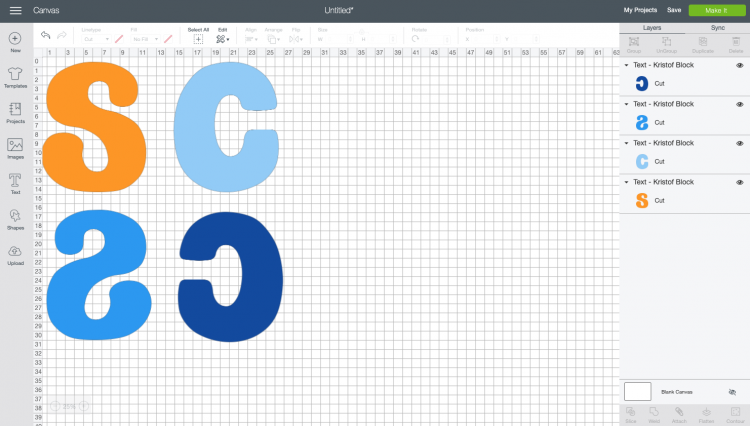
Next, change the colors of your letters to reflect the fabrics you are using—this helps you keep your fabrics straight when cutting.

Then click Make It in the upper right! You’ll be taken to the prepare screen where you’ll get a warning that you’re going to need the bigger mat—click OK.

Your mats should be good to go as is, so hit Continue to go to the Make screen.

In the Make screen, you’ll select cotton as your fabric. Then insert the Rotary Blade into your machine.
Cutting the Fabric on Your Cricut
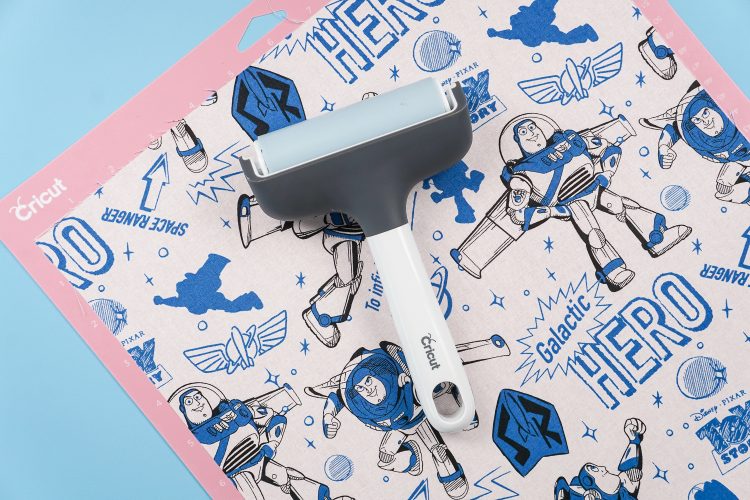
Prepare your fabric to cut. Cut it down to 11.5″ wide, plus the height of your letter. I always iron it as well. Then place it on the large pink FabricGrip mat. Use a brayer to smooth it out, particularly if your mat is a little old and less sticky than it was originally.

Insert the mat into your Cricut Maker and press the arrow button to pull it into your machine. Double-check you have the Rotary Blade installed and click the blinking C to cut!
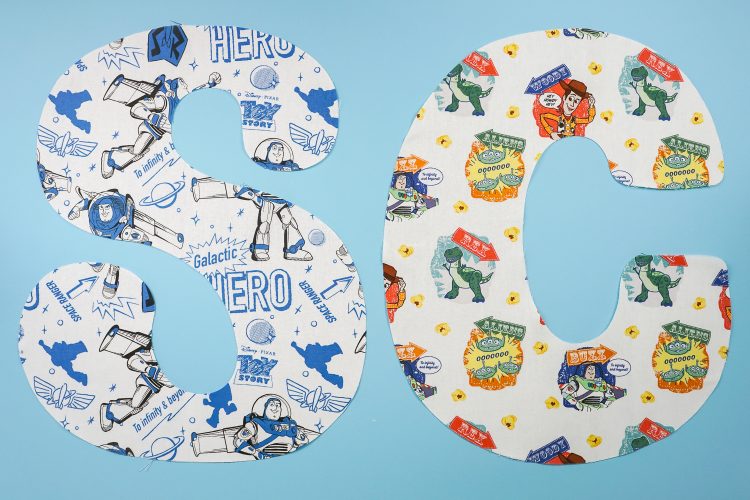
Once your files are cut, peel off the extra fabric from your mat and then carefully remove the fabric letter. Check out this post for more on removing materials from your FabricGrip mat.

Sewing Your Alphabet Stuffies
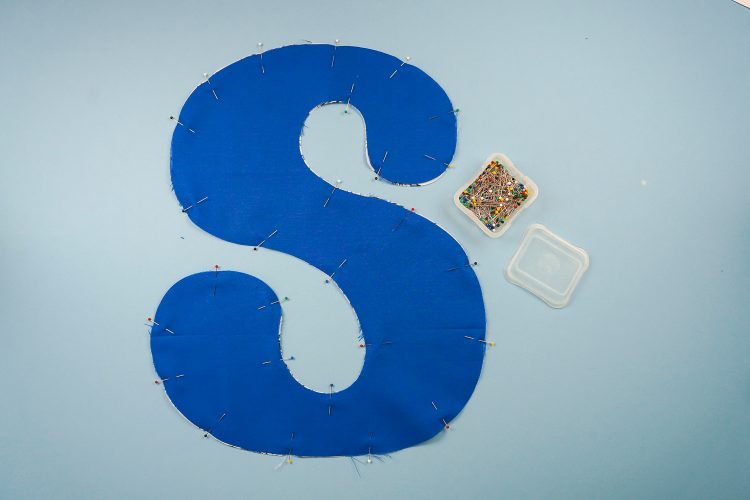
Place the front and the back of your letter, right sides together and pin. I tend to pin curves heavily—it’s so easy for fabric to shift!

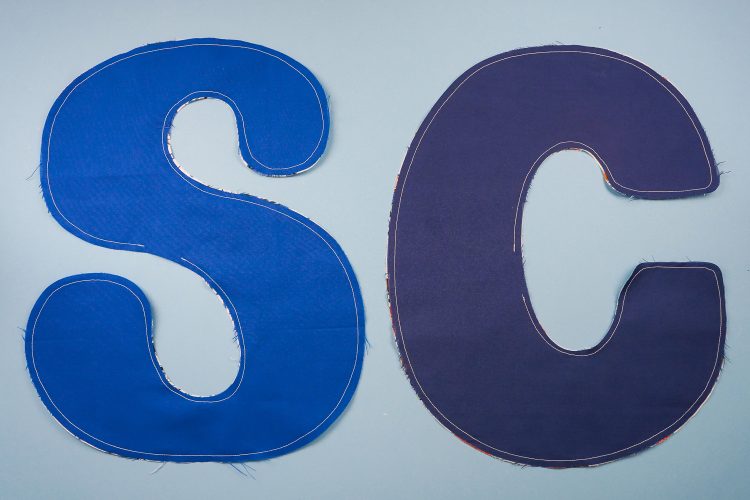
Using a 1/4″ seam, sew along the edge of your letters, going slowly around the tight curves. Leave a 1.5″ gap for turning. Note that if you have a letter with an “inside” piece, like an A or an R, you will need to hand-sew that interior piece. Do not sew around the interior piece, or you will not be able to turn it.

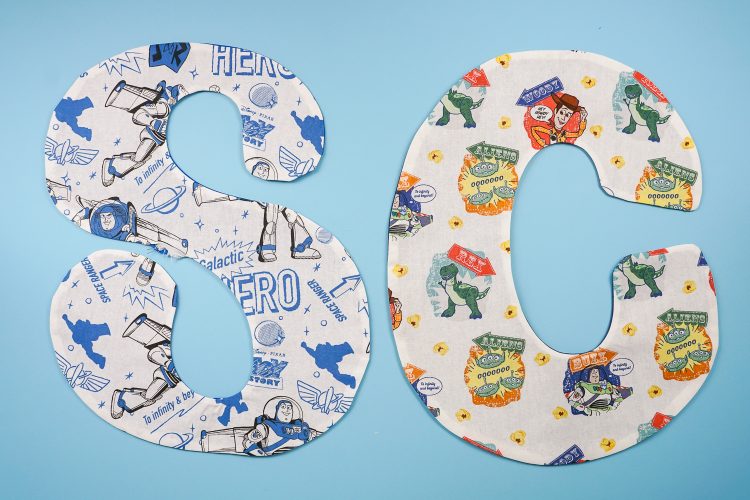
Once you’ve sewn your letters, clip the curves and turn them right side out. Press.

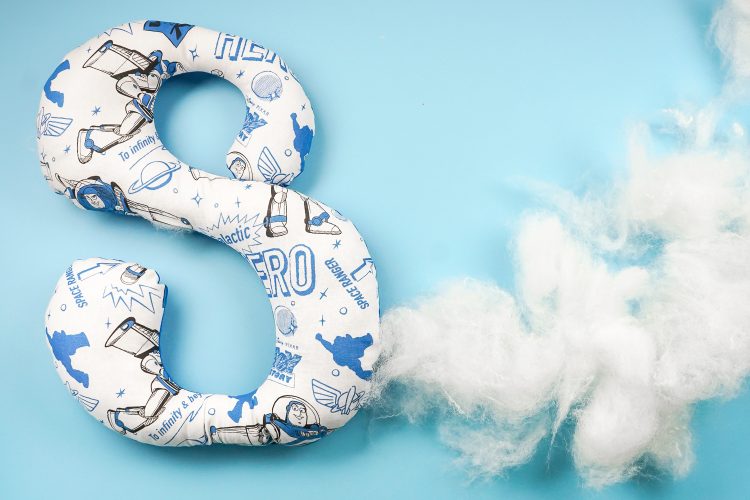
Stuff with Poly-Fil or another fiber stuffing, Letters tend to be a little floppy, so stuff them well.

Then hand sew the small hole shut. Again, if you are using a letter that has an interior piece, you’ll have to hand sew that. Tack it in a few places to keep the stuffing inside, and then whipstitch around the whole thing.

My boys LOVE how these turned out! Cal saw his and said, “It’s BUZZ, mama! To infinity, let’s be gone!” Which maybe is the cutest misquote in history, don’t you think?


ALPHABET STUFFIES
Equipment
- Poly-Fil or other stuffing
Instructions
- Make Your File in Cricut Design SpaceWe're going to start in Cricut Design Space. Technically you can cut these letters by hand, but the Cricut Maker makes it so easy to make perfect letters, every single time. Find a chunky font with fairly consistent thick/thin strokes. For this project, Kristoff Block was used In Design Space, type your initial. For this project making both a C and an S—obviously choose the letter or letters you want to make.

- Then change the size of each letter to 11.5" wide—the width of a Cricut mat. Duplicate each letter and use the Flip tool to flip the copies.

- Next, change the colors of your letters to reflect the fabrics you are using—this helps you keep your fabrics straight when cutting.

- Then click Make It in the upper right! You'll be taken to the prepare screen where you'll get a warning that you're going to need the bigger mat—click OK.

- Your mats should be good to go as is, so hit Continue to go to the Make screen.In the Make screen, you'll select cotton as your fabric. Then insert the Rotary Blade into your machine.

- Cutting the Fabric on Your CricutPrepare your fabric to cut. Cut it down to 11.5" wide, plus the height of your letter, and iron it as well. Then place it on the large pink FabricGrip mat. Use a brayer to smooth it out, particularly if your mat is a little old and less sticky than it was originally.

- Insert the mat into your Cricut Maker and press the arrow button to pull it into your machine. Double-check you have the Rotary Blade installed and click the blinking C to cut!Once your files are cut, peel off the extra fabric from your mat and then carefully remove the fabric letter. Check out this post for more on removing materials from your FabricGrip mat.

- Sewing Your Alphabet StuffiesPlace the front and the back of your letter, right sides together and pin. Pin the curves heavily—it's so easy for fabric to shift!

- Using a 1/4" seam, sew along the edge of your letters, going slowly around the tight curves. Leave a 1.5" gap for turning. Note that if you have a letter with an "inside" piece, like an A or an R, you will need to hand-sew that interior piece. Do not sew around the interior piece, or you will not be able to turn it.

- Once you've sewn your letters, clip the curves and turn them right side out. Press.

- Stuff with Poly-Fil or another fiber stuffing, Letters tend to be a little floppy, so stuff them well.

- Then hand sew the small hole shut. Again, if you are using a letter that has an interior piece, you'll have to hand sew that. Tack it in a few places to keep the stuffing inside, and then whipstitch around the whole thing.






Leave A Reply!