Want a vibrant decoration method for almost any type or color fabric? Try Supacolor transfers! You don’t even need a printer to use them—just order, press, and you’re good to go!
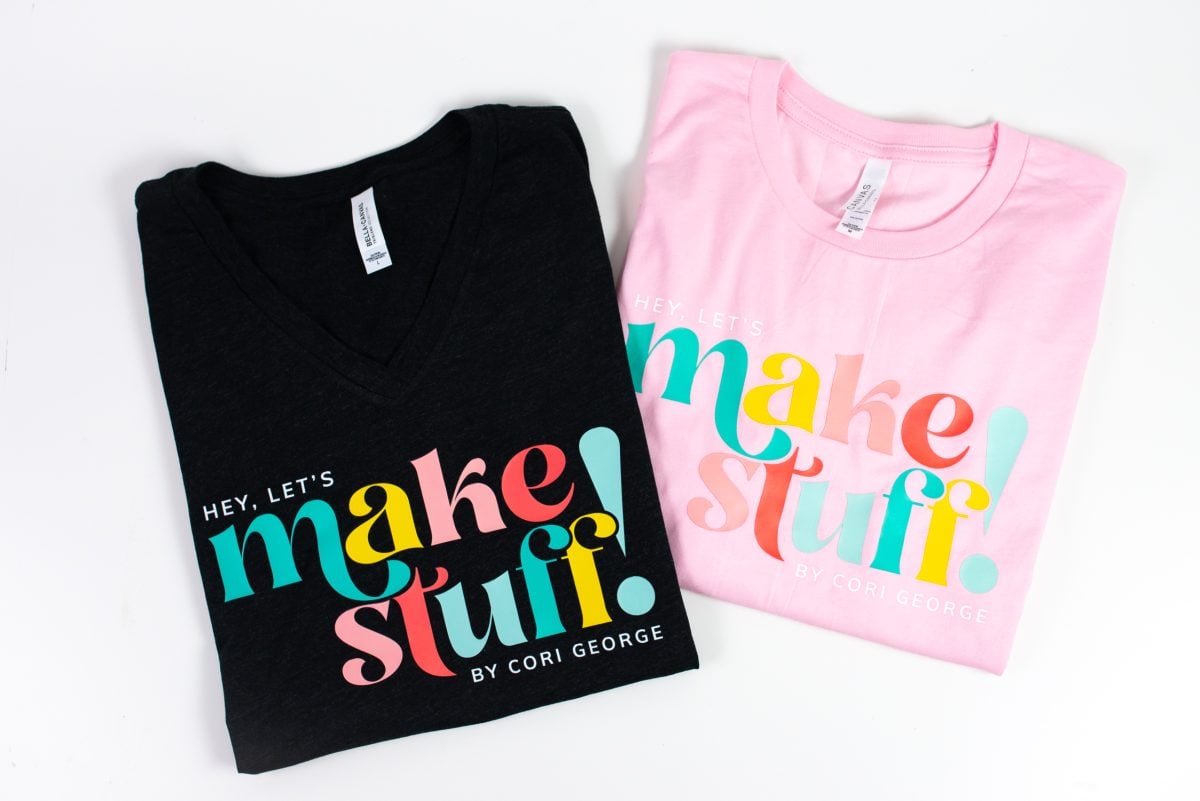
One of the questions I get most often is “how do I sublimate on dark or cotton shirts?” Because sublimation requires white (or light) polyester fabric to work, there’s actually no way to sublimate directly onto dark or cotton shirts. So I’ve been working on a series of posts that give you alternatives to sublimation when you want to use a shirt that’s not white or polyester.
This post is all about Supacolor transfers, but you can also check out these other methods for decorating shirts and other garments:
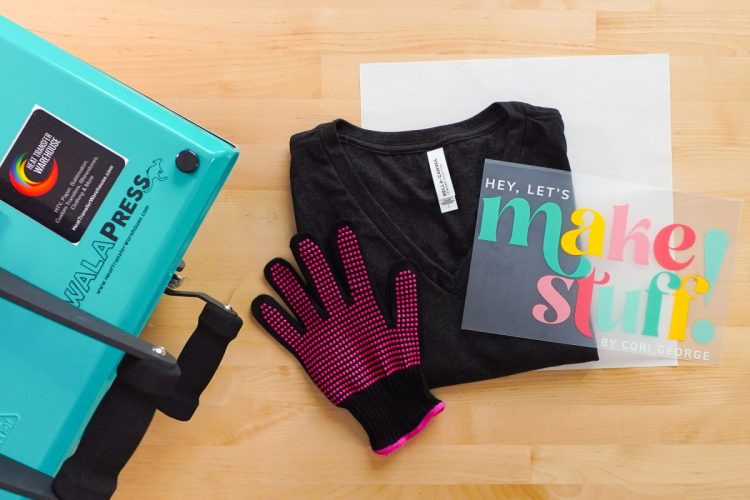
For this project, I’m using a super-soft dark gray BELLA+CANVAS triblend v-neck tee (style 3415). Definitely not sublimation material being a dark color and only 50% polyester, but perfect for using with Supacolor!
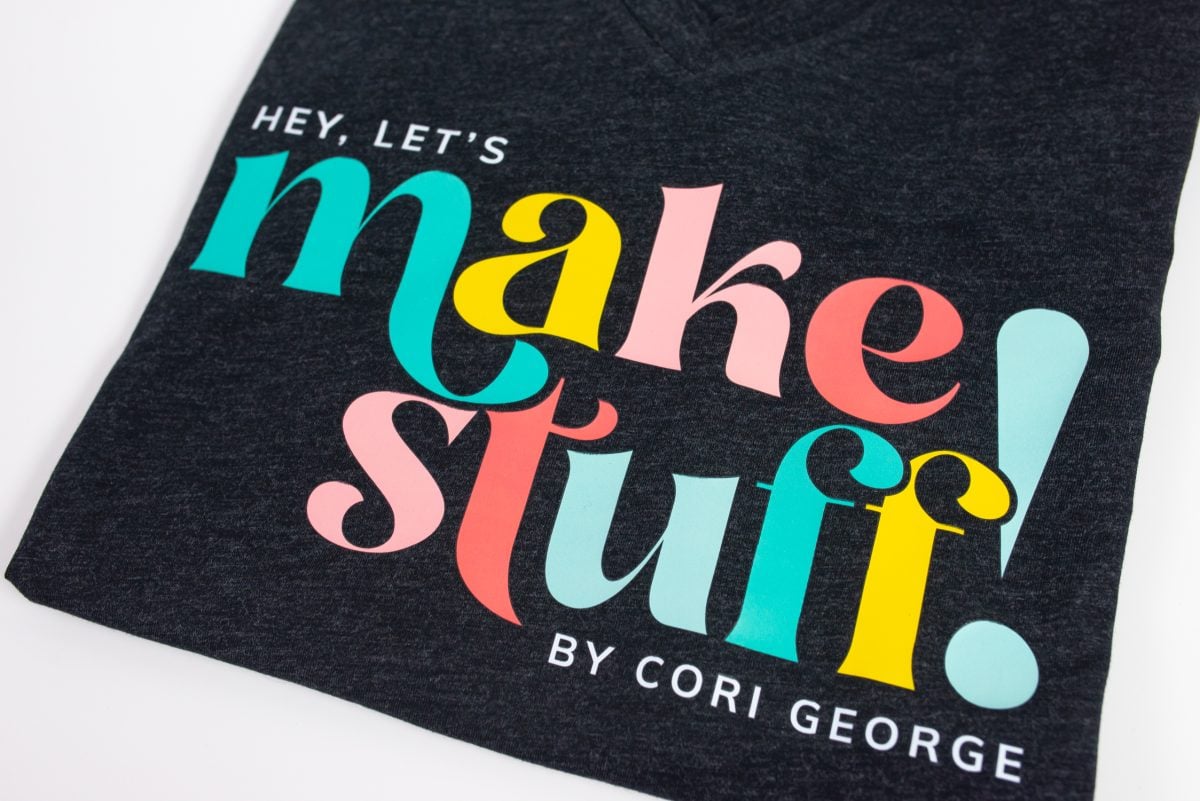
You can feel good about buying from BELLA+CANVAS because they provide ethical working conditions in their entire supply chain (their factories exceed the standards enforced by the Fair Labor Act) and they have eco-friendly production processes, including recycling their scraps. With more and more companies in the news about unethical labor practices and environmentally damaging production methods, it’s nice to know your garment supplier is doing things the right way!
Did you know you can buy BELLA+CANVAS garments at wholesale pricing without a reseller license? Get a BELLA+CANVAS Maker’s Account! This account allows you access to the wholesale side of their business without the need for any permits or licenses. Even better? It’s free! Learn more in my post Buying Wholesale Blanks without a Resale License!
Watch Supacolor In Action!
Watch this video to get all the details on Supacolor and to see it in action! If you’d prefer a written tutorial, read on!
What is a Supacolor transfer?
A Supacolor transfer is sort of a combination of a screen print and a direct to film (DTF) print. The design is printed directly to the film and then a screen printed layer of water-based ink (also eco-friendly!), which helps the colors pop and the transfer to last longer. You upload your design, Supacolor professionally prints it and ships it to you, and then you apply it to your garment using a heat press, making them super convenient.
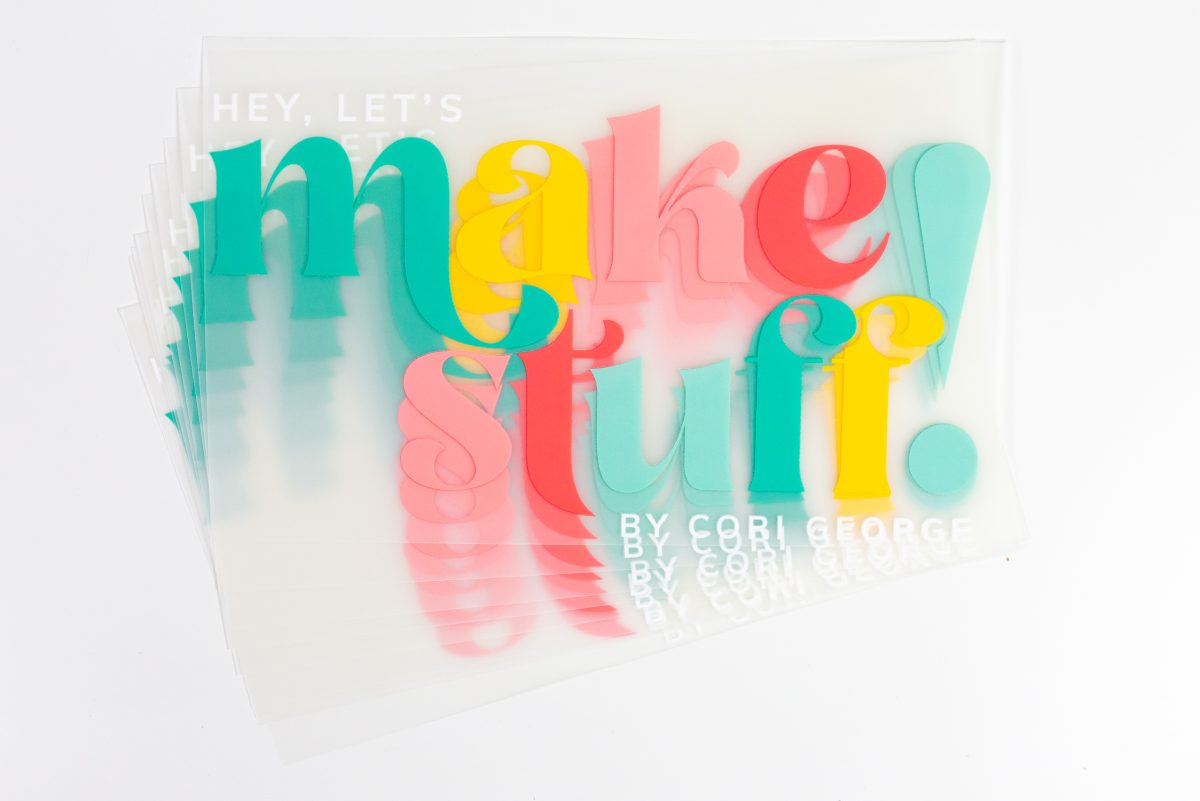
There are some important options when creating your order that we’ll go through later in this post.
You can’t print Supacolor transfers in your own printer. You can get your own DTF printer or white toner printer to print similar transfers—however those can be expensive. If you just have a smaller number of shirts to make, Supacolor is a great option.
Supacolor pricing
Pricing is based on the size of your prints. For example, my 10 prints used the 8.3″ x 11.7″ transfer, which ended up being $6.67 a transfer plus shipping. There are discounts for ordering in bulk. For example, my transfer would’ve been $5.55 per transfer had I ordered 20. And then it goes down to $4.29 when ordering 50 transfers.
What is Supacolor good for?
Supacolor is a convenient option when you need to make more than a few shirts but not A TON of shirts.
To start, Supacolor does have a minimum order of 10 prints. There’s no one-off orders here, so if you need a single transfer this is not the transfer for you. So Supacolor is good for family reunion shirts, team hats, vacation tees, and similar orders if you have a small crafting business. Basically anything you need to batch!
But if you need to make hundreds of shirts, you may be better off investing in a DTF, DTG, or white-toner printer. At the cost per sheet of Supacolor, it does make sense to upgrade to printing yourself at some point. Only you can decide when to make that choice, though!
And, like I said, Supacolor is great for making dark or non-polyester shirts that are not good for sublimation, like many of those from BELLA+CANVAS.
How is Supacolor different than sublimation?
Supacolor uses white ink in their printing process to create their transfers. Sublimation ink, however, is not able to print white and it needs polyester for the ink transfer process to work. So Supacolor transfers can be used on all sorts of materials and colors that are incompatible with sublimation.
That being said, Supacolor does sit on top of the fabric vs. being infused into the fibers of the material. While not completely permanent like sublimation, Supacolor transfers are rated for 70 washes when applied correctly. We’ll cover how to do this later in this post.
How is Supacolor different than printable HTV?
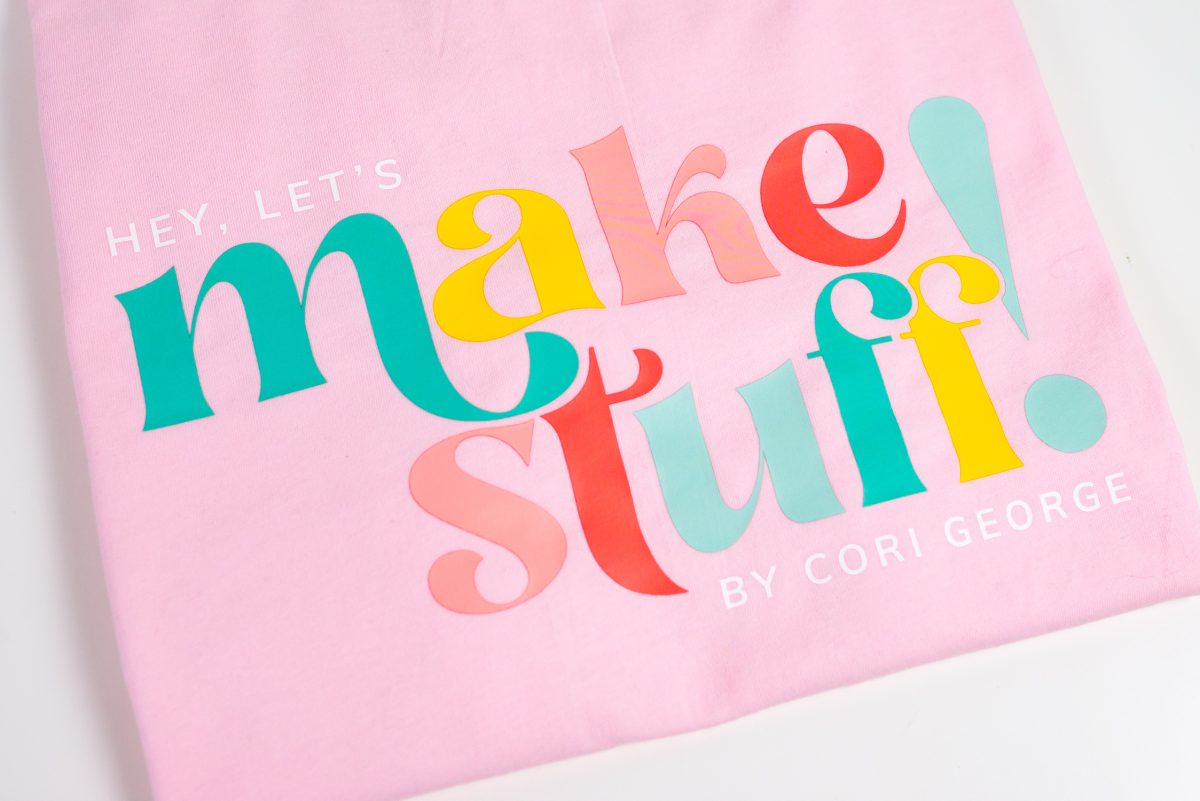
Supacolor prints are rendered in four full colors (and more—they have metallic spot colors now!), which means you can use it for all sorts of images that wouldn’t work well with HTV. the project I’m making, for example, has six different colors in the logo. You could cut, weed, and press six layers of vinyl (hoping that you get them all lined up perfectly!) or you can get a Supacolor transfer and press once.
You can also do patterns, gradients, grunge, illustrations, complex artwork, and other designs that wouldn’t work well with HTV.
What types of materials work with Supacolor?
Supacolor offers a few different types of transfers. I’m using their Wearables transfer, which is good for cotton, poly/cotton blends, and straight polyester in any color you can imagine (BELLA+CANVAS has more than 300 garment colors!).
They also have other types of transfers for different types of materials, like garments that have already been sublimated, hats, promotional gear, etc. I think most everyday crafters will be using their Wearables transfer, but do take a look at their other options if you’re doing something beyond a simple garment.
What heat press do you need for Supacolor transfers?
Supacolor recommends a traditional heat press for these transfers. You need a press that can create heavy pressure. I used a WALApress from Heat Transfer Warehouse and it worked well.
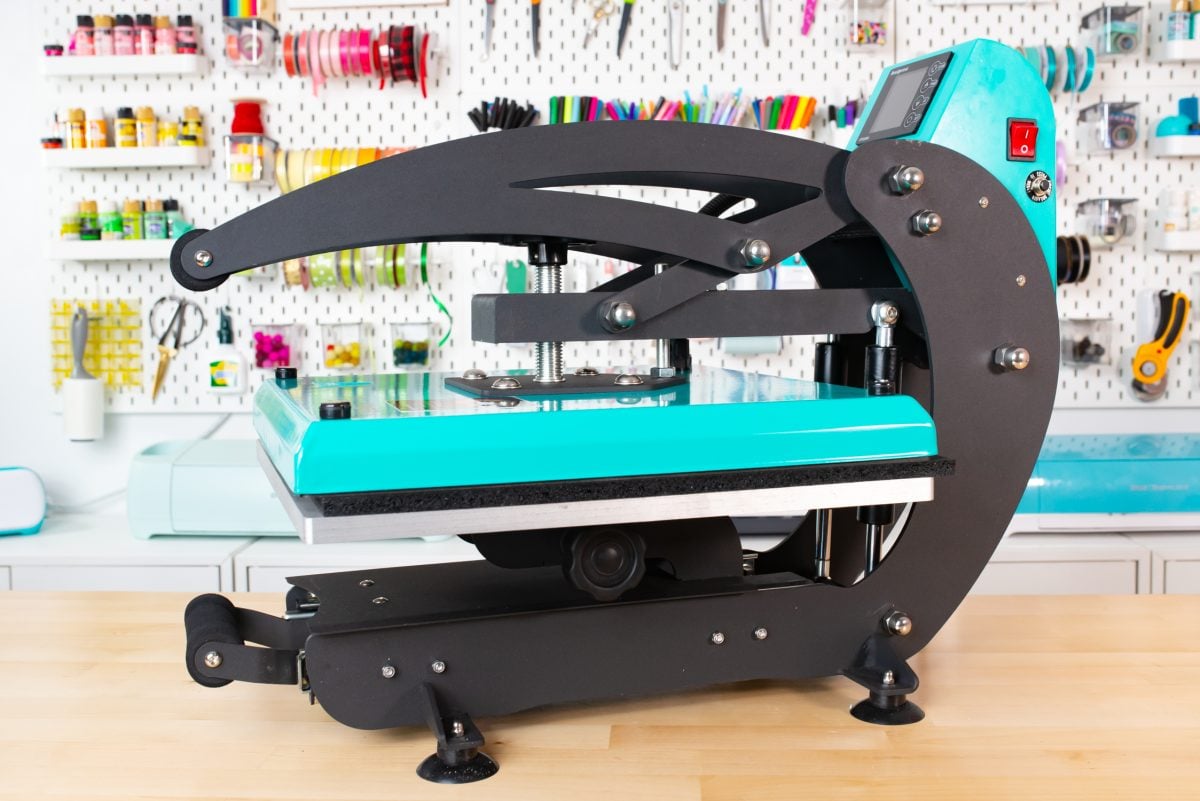
I also tested Supacolor transfers with both my Cricut Autopress and with my Cricut EasyPress. The Autopress actually adhered the transfer pretty well, and the EasyPress a little less than that. While both transfers technically stuck, I would be wary of how they would hold up in the wash. Definitely something to test if you want to use either an auto press (Cricut, HTVront, Vevor, etc.) or an EasyPress.
Supacolor transfer sizes
The maximum size for a single Supacolor transfer is 11.7 x 16.5. You can also “gang” your prints, so you could combine a bunch of smaller prints into a single larger print. This can help you save money by purchasing ganged prints instead of a bunch of smaller individual prints.
Creating your Supacolor artwork
When you’re getting your artwork ready to upload, there are a few things to keep in mind.
- Anything that is transparent on your file will be transparent on your transfer. So if you want a white background, make sure to include it in your artwork.
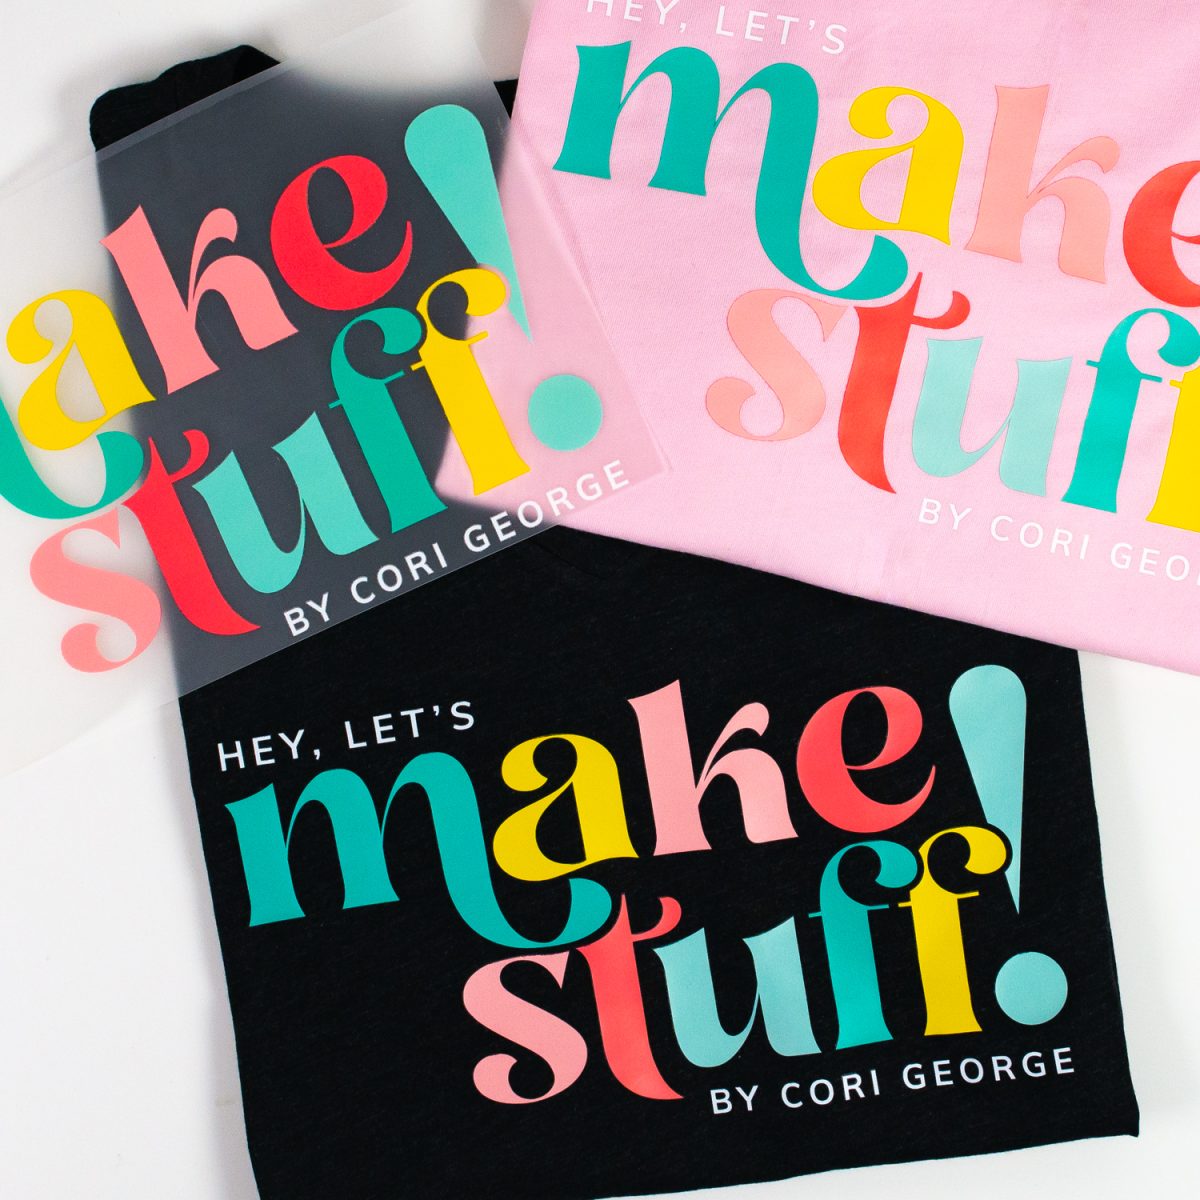
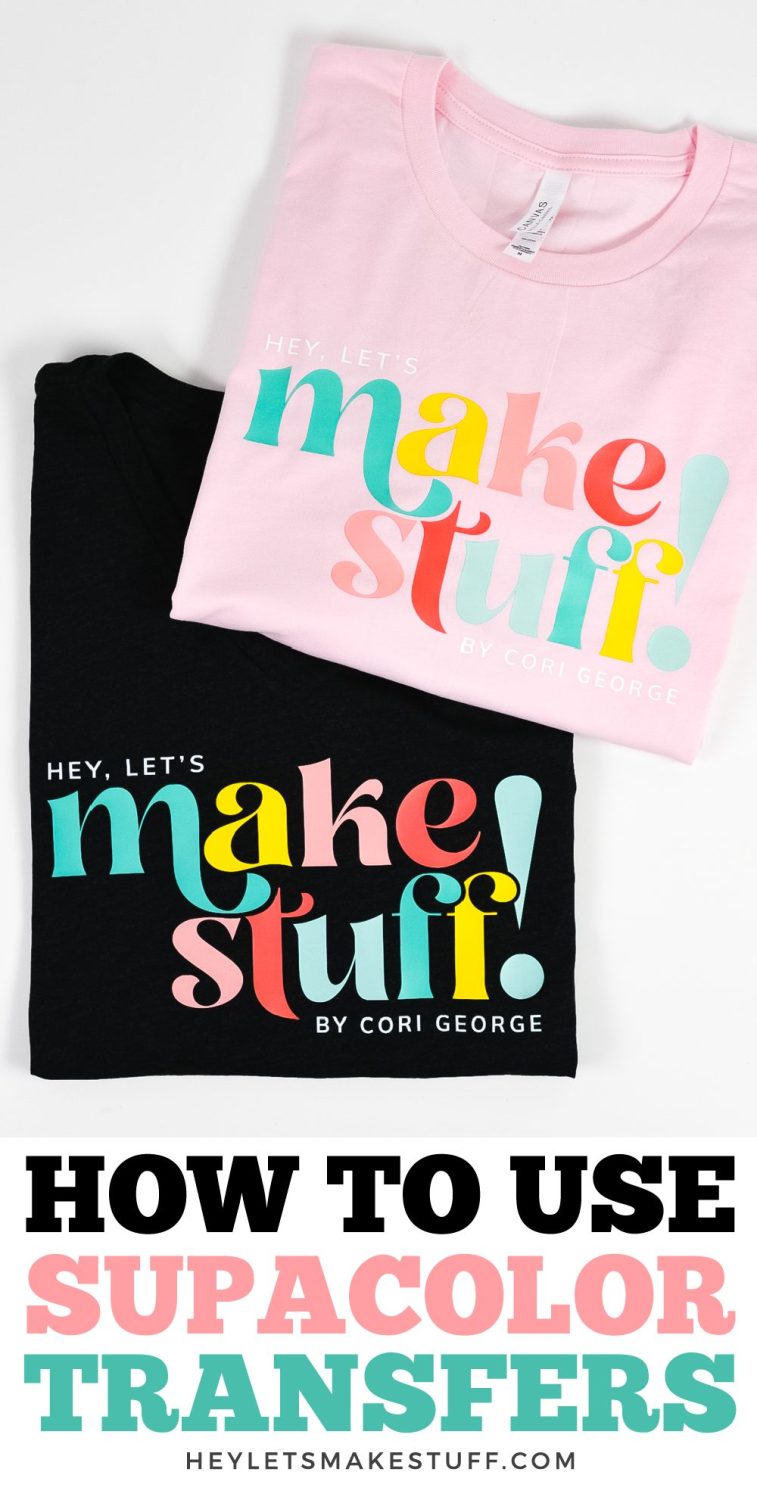
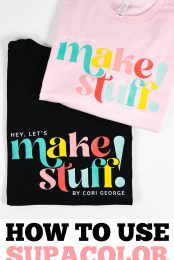
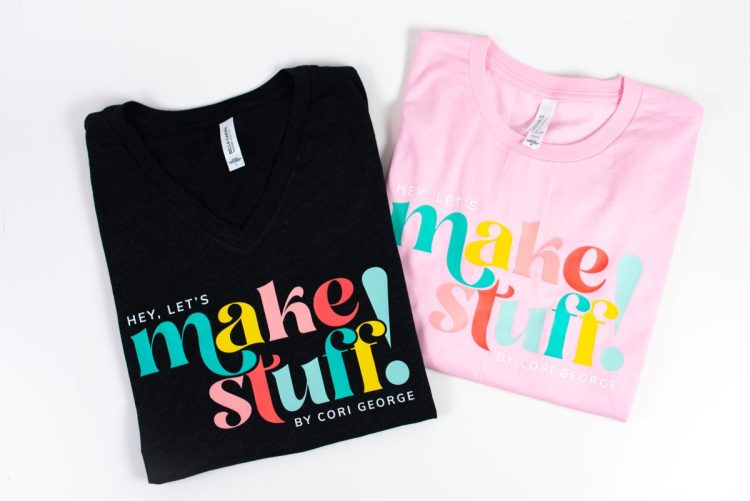
- Think about the garment colors you’ll use. My logo normally has “Hey, Let’s” and “By Cori George” in black, but I knew I wanted to put this on a darker garment so I changed those to white so they would show up on the black shirt. You can see in the pink image below that the white doesn’t show up as well on the pink—I would’ve been better off with black text for that one.
- If you’d prefer working with a template, they have a huge selection of templates on their site.
- Supacolor prefers a vector PDF (similar to an SVG), but can take other artwork as well.
- You can order a $10 digital proof if you are worried about your artwork being correct.
Ordering your Supacolor transfers
While you can order your transfers directly through Supacolor, I ordered mine through Heat Transfer Warehouse, which is one of my favorite distributors. They have folks looking directly at the artwork and they may be able to spot issues and warn you about them before printing (not guaranteed, of course! The best course of action is to get your file uploaded correctly the first time.).
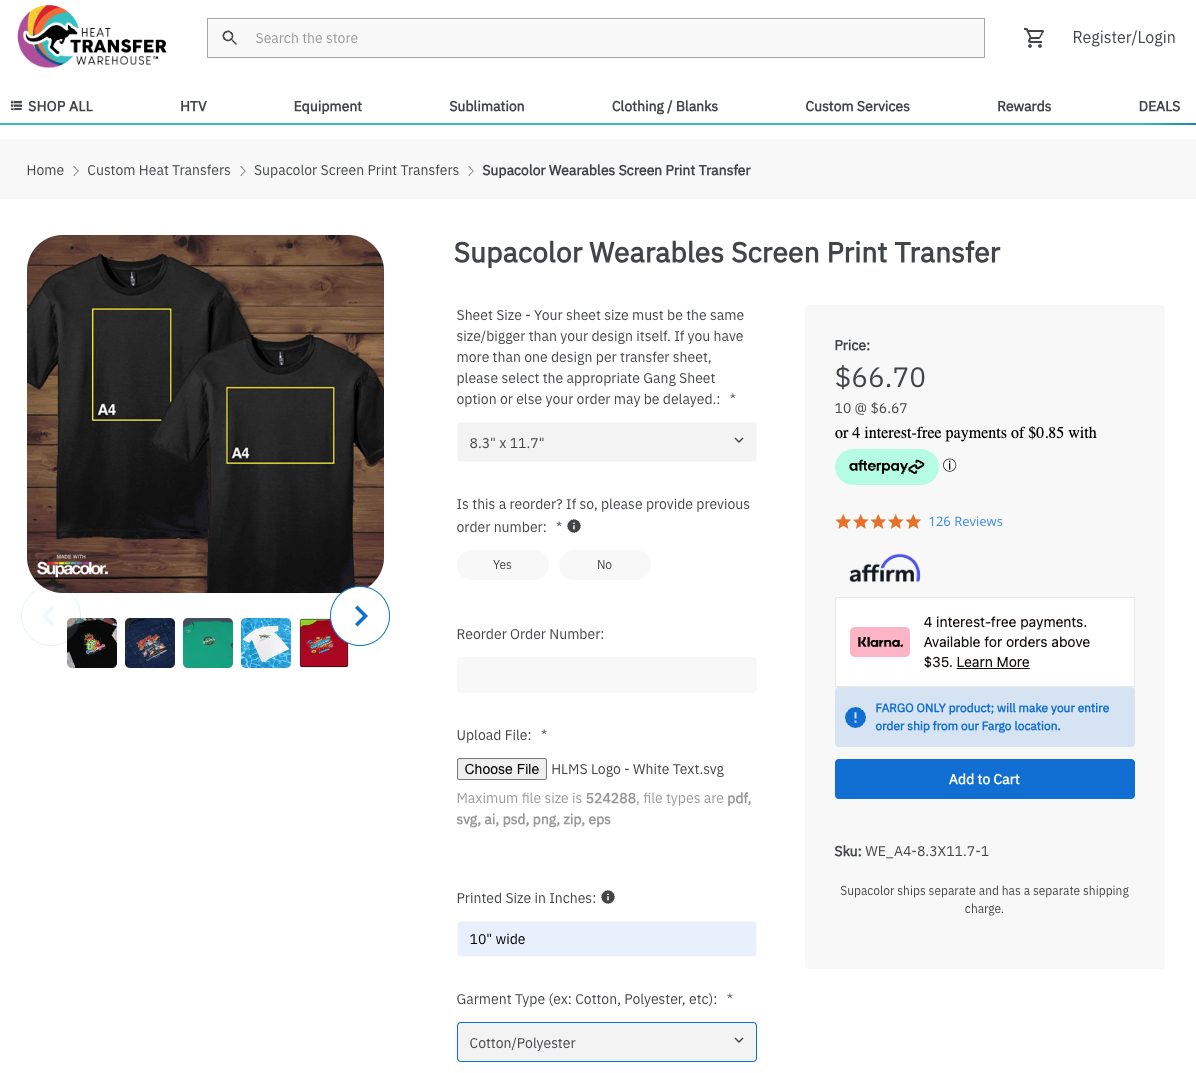
Let’s walk through my order. I chose the Wearables Screen Print Transfer. From here, I chose my sheet size. I knew I wanted a transfer that was 10″ across, so my best option was the 8.3″ x 11.7″ sheet size.
From there, I uploaded my artwork file and manually added that I wanted the transfer to be 10″ wide. I also chose cotton/polyester as my materials, since I knew I was going to be using the BELLA+CANVAS tri-blend tee.
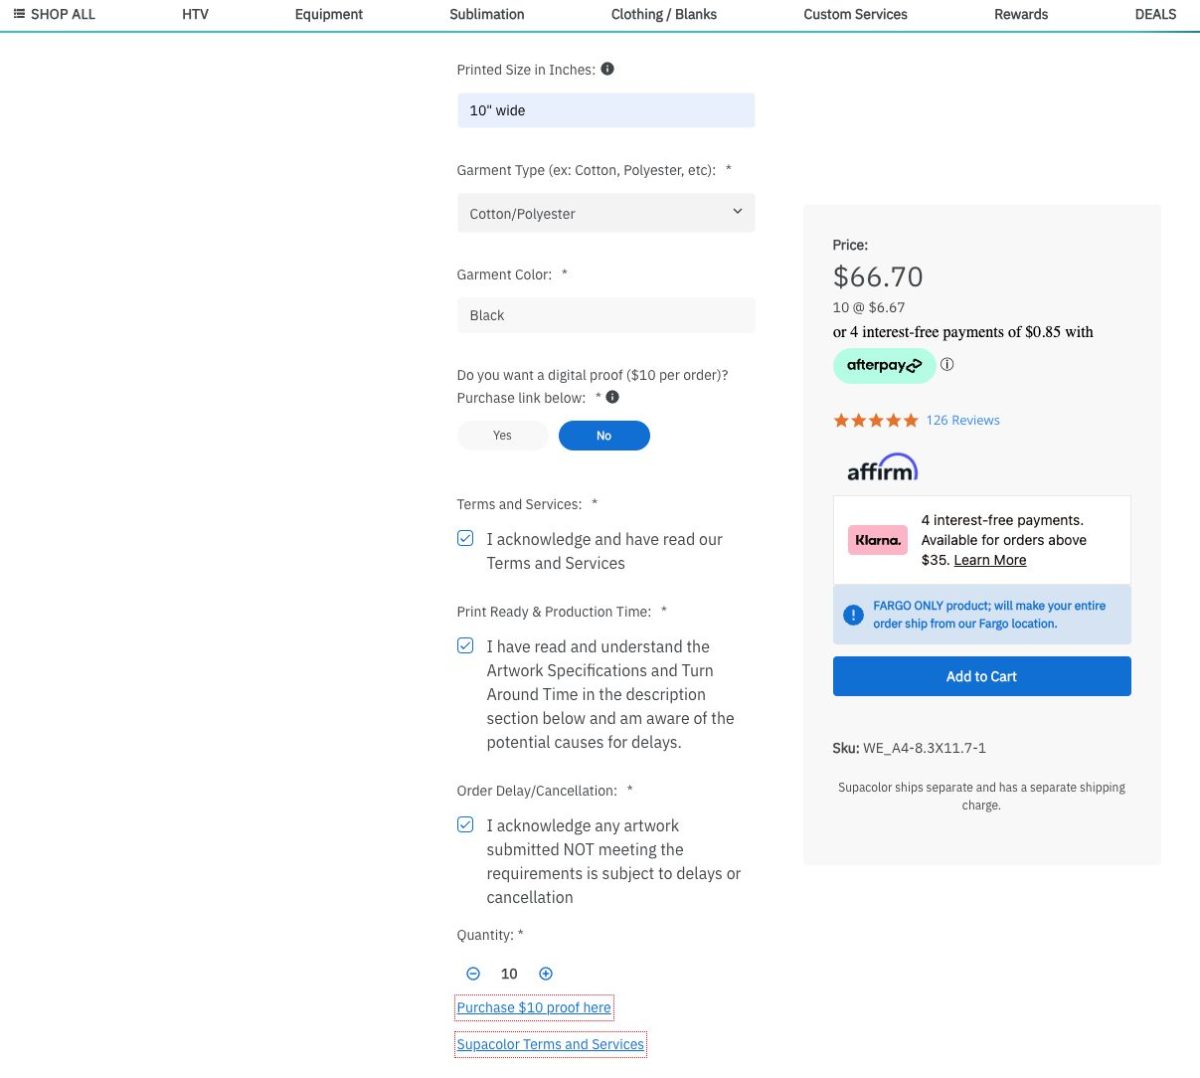
Scrolling down a bit, chose my garment color as black (this will ensure it’s printed correctly to appear on a darker garment) and selected that I didn’t want a digital proof. I checked some other boxes and added to cart!
It did take a little over a week from ordering to receiving my order, since these are custom printed. They may not be the best option for a rush order that needs to be made right away.
Pressing a Supacolor transfer
While it may be a bit of work to get your artwork set up and everything ordered, using these transfers is super easy!
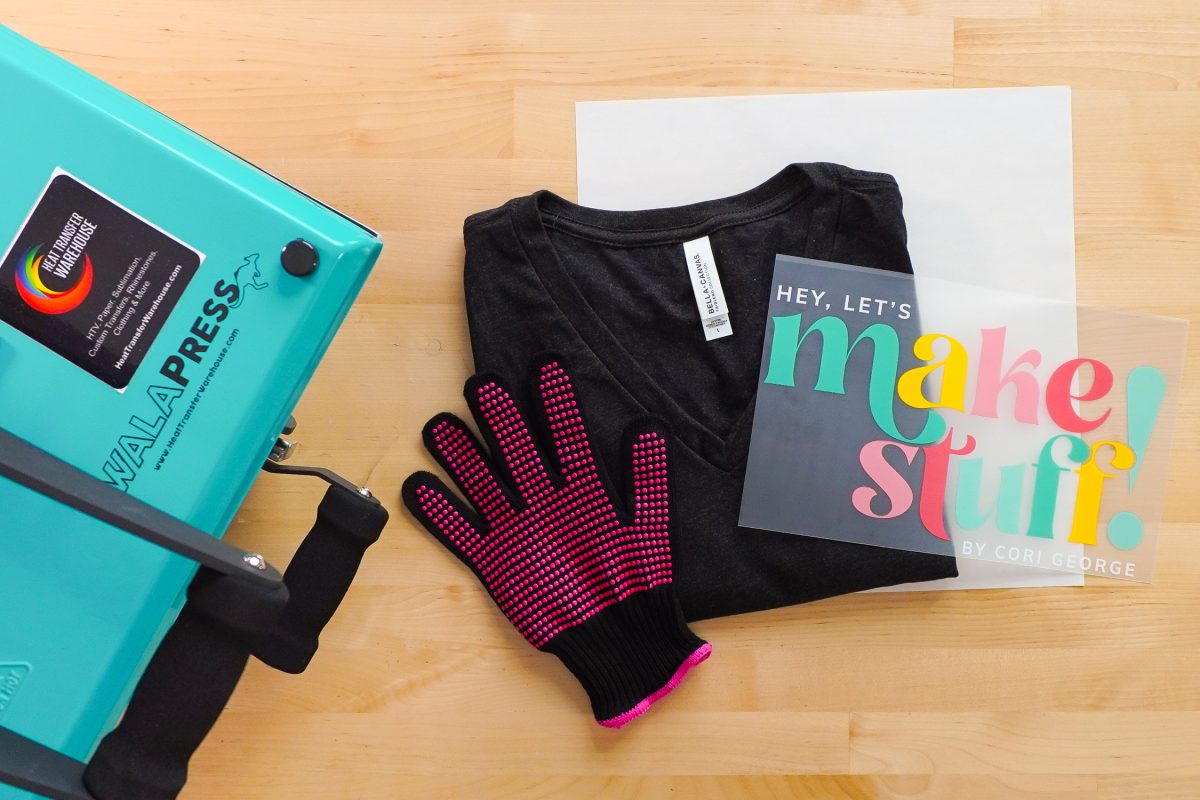
The biggest thing you need to know is that you will need heavy pressure for Supacolor transfers. I am using my WALApress and I’ve set the pressure to very heavy—I can close it, but just barely.
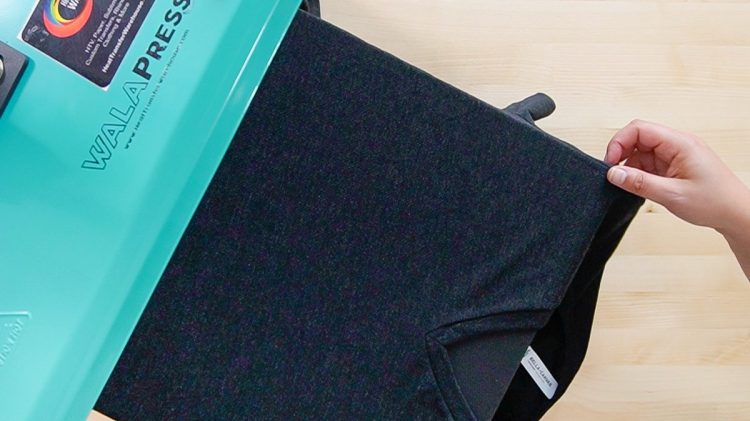
Add your shirt to the press, if possible making sure the bottom platen goes inside the shirt. It’s better to not have both layers of the shirt on the platen, just the layer that you’re going to be pressing on.
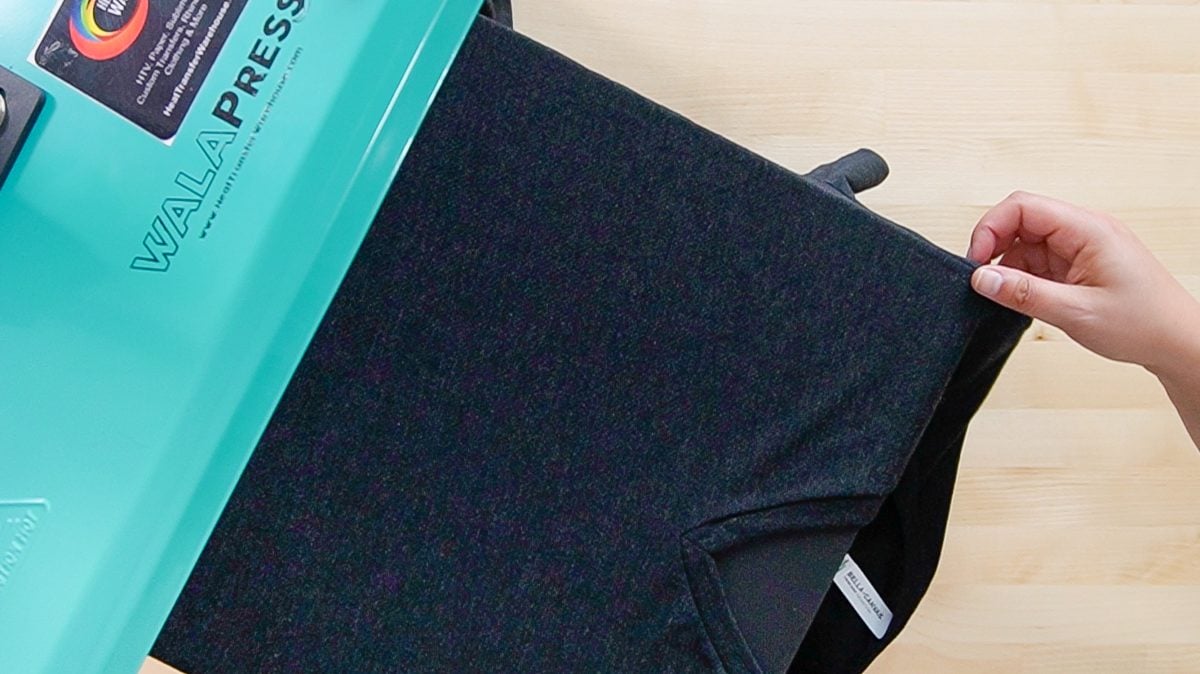
Prepress your shirt at 320° Fahrenheit until there is no steam being released from the shirt. This is important—any moisture in your shirt will inhibit the adhesive and your transfer will not adhere as well or wear as long.
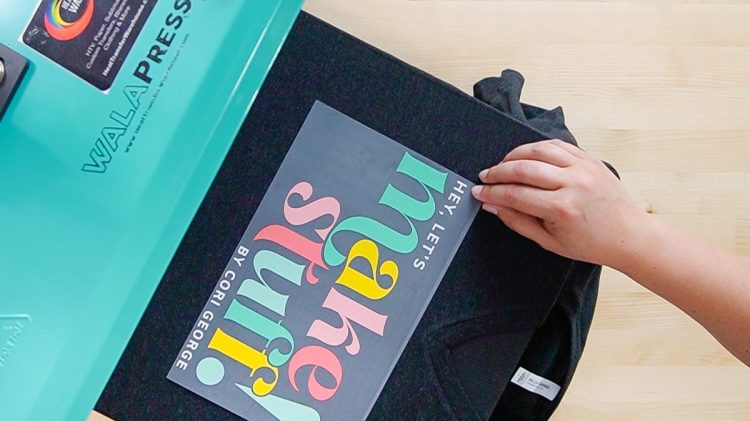
Once your shirt has cooled a bit from the prepress, add your transfer.
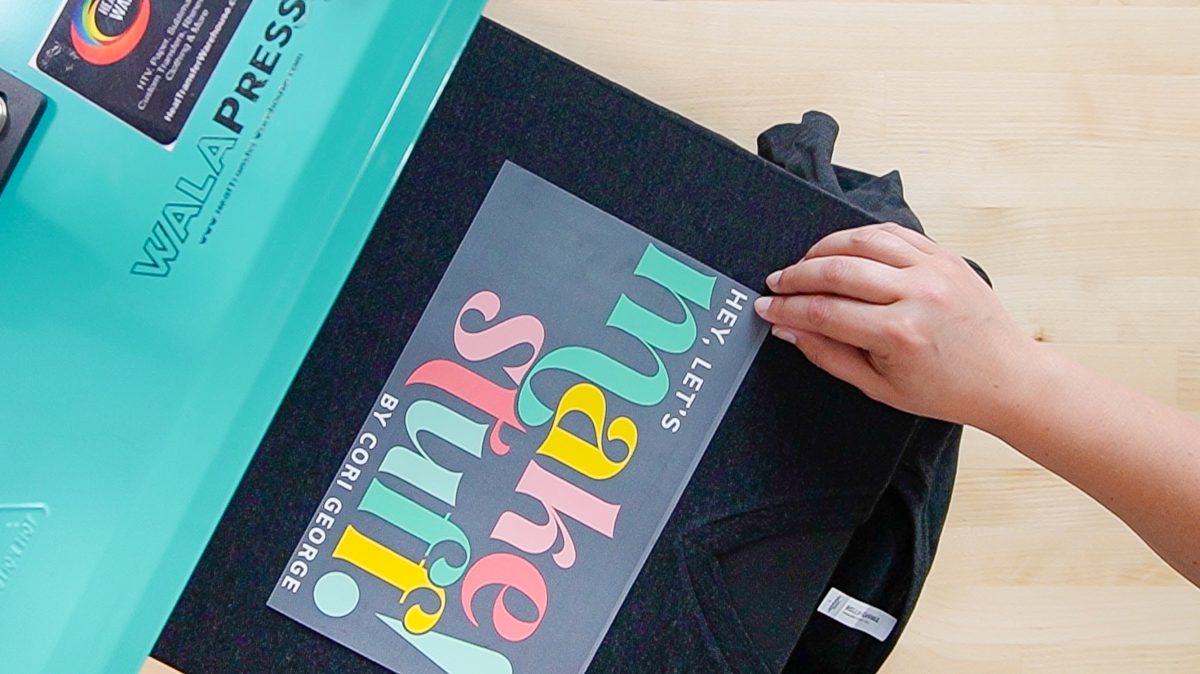
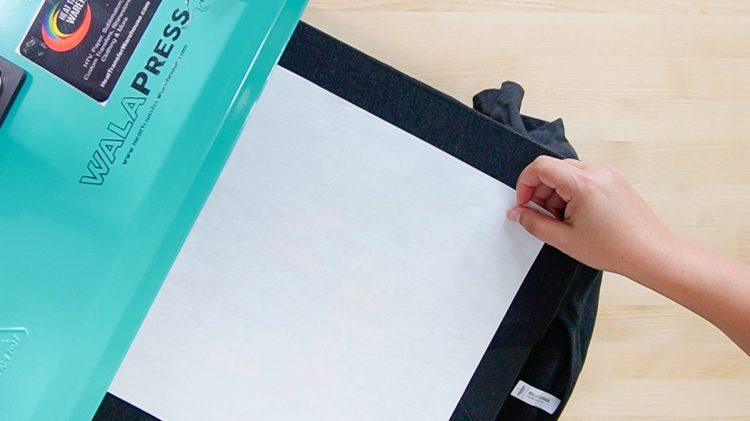
Then add a piece of parchment paper or a teflon sheet over the top and press at 320° for 12-15 seconds.
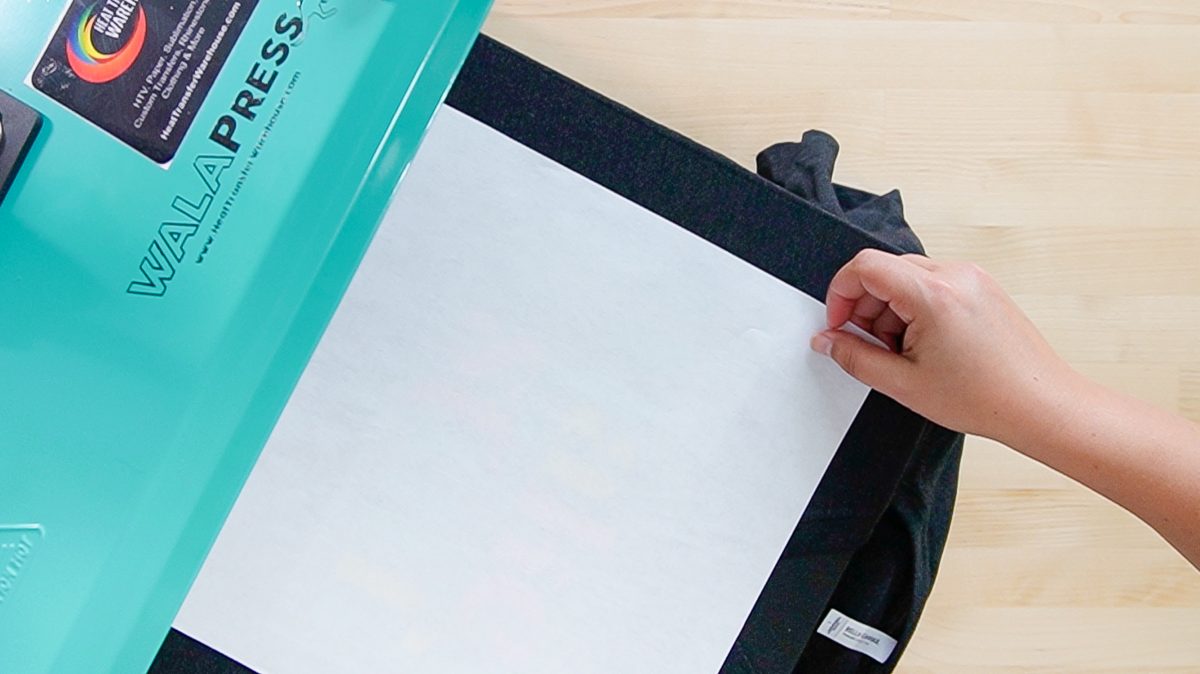
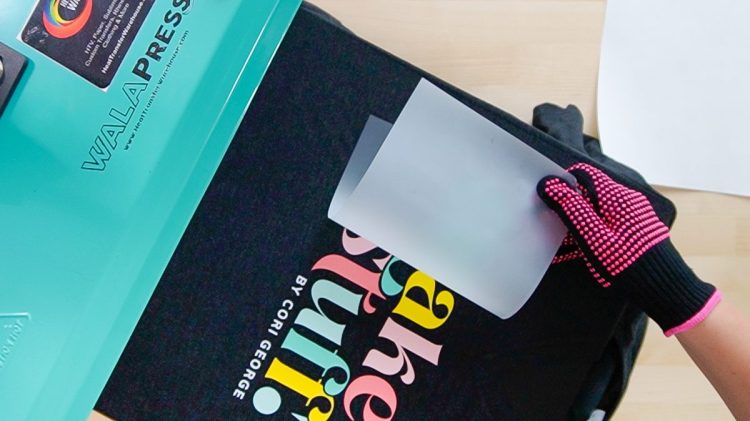
You’ll want to peel off the carrier film in one, confident go while the shirt is still hot. If you pause partway through peeling back that sheet, it can create problems in your image.
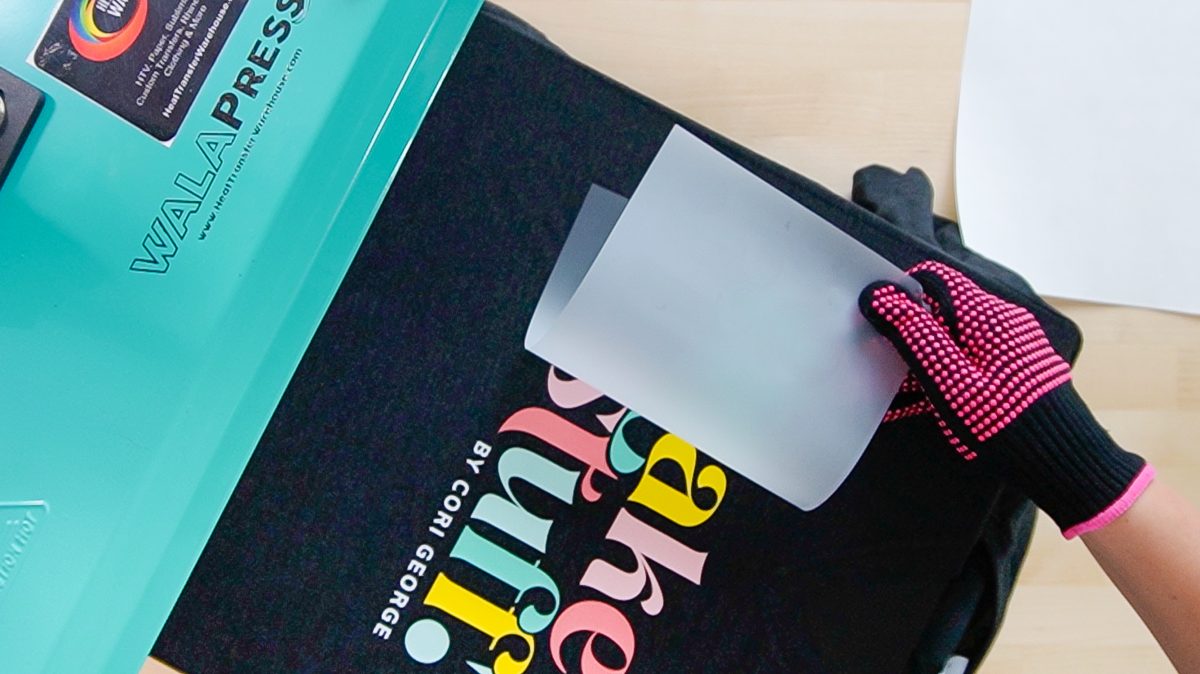
Cover with the parchment paper or teflon sheet and press once again for 2-4 seconds to seal the edges of the transfer and you’re done!

It’s so easy to make shirts with Supacolor transfers. Yes, you do need a minimum order and they aren’t the least expensive option, but they are very simple to use and you can make a lot of shirts in a short amount of time!
Make sure you’re grabbing BELLA+CANVAS tees for your project. They worked so well for this project and didn’t leave pressing marks from the heavy pressure of the press!
PRESSING A SUPACOLOR TRANSFER
Equipment
- WALApress from Heat Transfer Warehouse (recommended) or
Instructions
- While it may be a bit of work to get your artwork set up and everything ordered, using these transfers is super easy!

- The biggest thing you need to know is that you will need heavy pressure for Supacolor transfers. For this project a WALApress is being used and the pressure is set to very heavy—It can close, but just barely.Add your shirt to the press, if possible making sure the bottom platen goes inside the shirt. It's better to not have both layers of the shirt on the platen, just the layer that you're going to be pressing on.

- Prepress your shirt at 320° Fahrenheit until there is no steam being released from the shirt. This is important—any moisture in your shirt will inhibit the adhesive and your transfer will not adhere as well or wear as long.Once your shirt has cooled a bit from the prepress, add your transfer.

- Then add a piece of parchment paper or a teflon sheet over the top and press at 320° for 12-15 seconds.

- You'll want to peel off the carrier film in one, confident go while the shirt is still hot. If you pause partway through peeling back that sheet, it can create problems in your image.

- Cover with the parchment paper or teflon sheet and press once again for 2-4 seconds to seal the edges of the transfer and you're done!It's so easy to make shirts with Supacolor transfers. Yes, you do need a minimum order and they aren't the least expensive option, but they are very simple to use and you can make a lot of shirts in a short amount of time!Make sure you're grabbing BELLA+CANVAS tees for your project. They worked so well for this project and didn't leave pressing marks from the heavy pressure of the press!



Comments & Reviews
Francis Wiley says
@geometry dash spam, Great idea. I always thought dark cotton shirts were difficul to print on, now there’s another great option.