PRESSING A SUPACOLOR TRANSFER
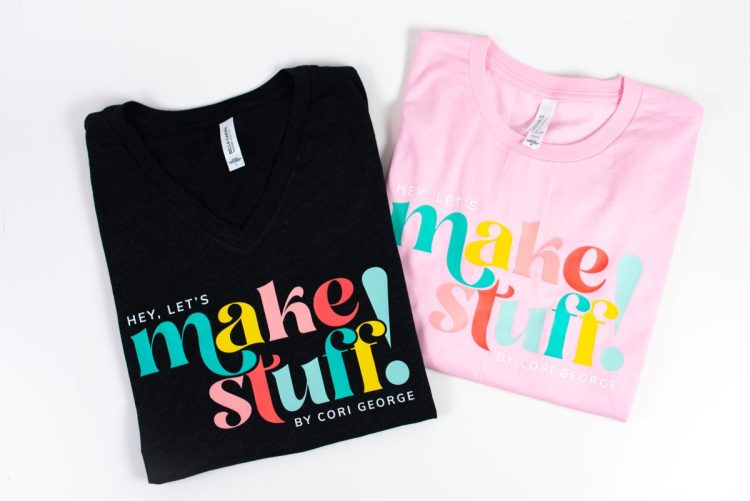
Want a vibrant decoration method for almost any type or color fabric? Try Supacolor transfers! You don't even need a printer to use them—just order, press, and you're good to go!
Equipment
- WALApress from Heat Transfer Warehouse (recommended) or
Instructions
- While it may be a bit of work to get your artwork set up and everything ordered, using these transfers is super easy!
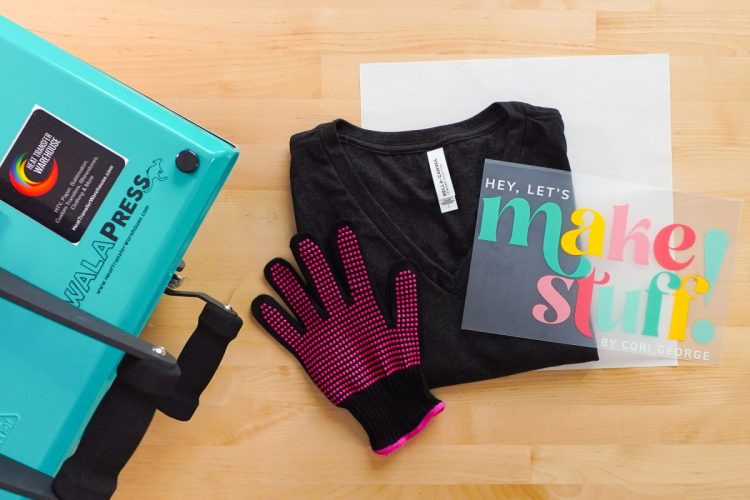
- The biggest thing you need to know is that you will need heavy pressure for Supacolor transfers. For this project a WALApress is being used and the pressure is set to very heavy—It can close, but just barely.Add your shirt to the press, if possible making sure the bottom platen goes inside the shirt. It's better to not have both layers of the shirt on the platen, just the layer that you're going to be pressing on.
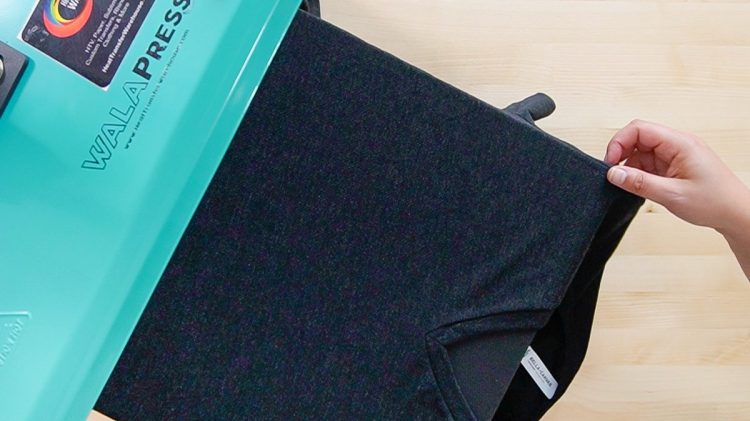
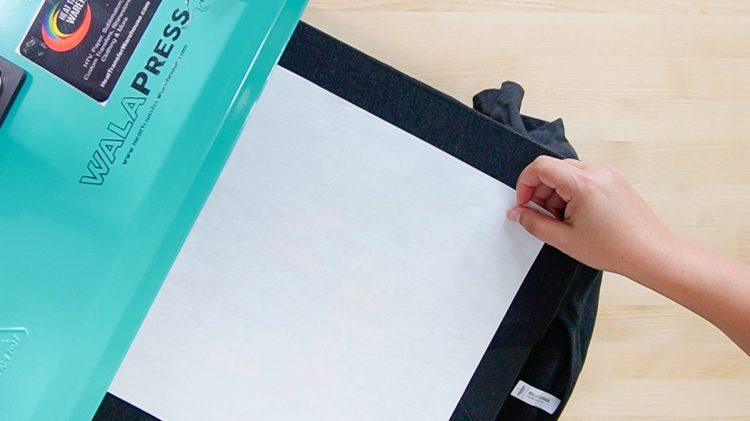
- Prepress your shirt at 320° Fahrenheit until there is no steam being released from the shirt. This is important—any moisture in your shirt will inhibit the adhesive and your transfer will not adhere as well or wear as long.Once your shirt has cooled a bit from the prepress, add your transfer.
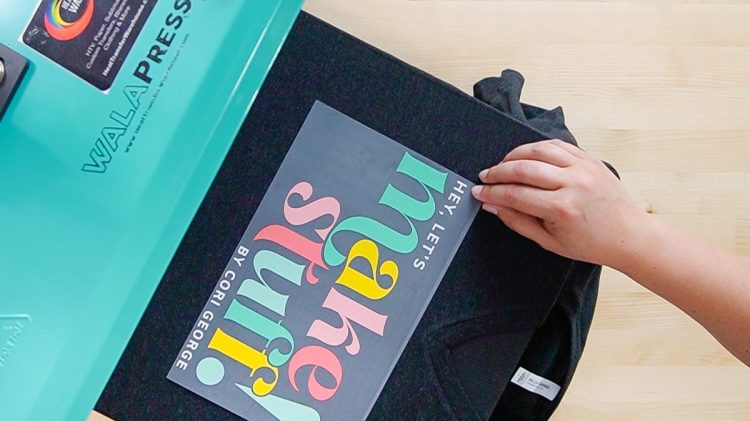
- Then add a piece of parchment paper or a teflon sheet over the top and press at 320° for 12-15 seconds.
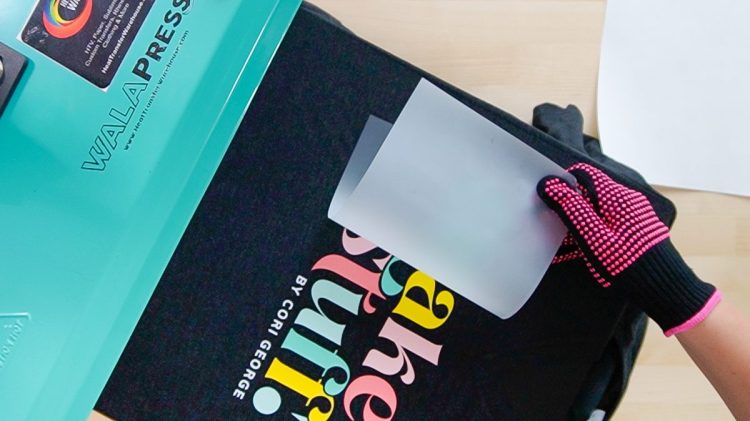
- You'll want to peel off the carrier film in one, confident go while the shirt is still hot. If you pause partway through peeling back that sheet, it can create problems in your image.
- Cover with the parchment paper or teflon sheet and press once again for 2-4 seconds to seal the edges of the transfer and you're done!It's so easy to make shirts with Supacolor transfers. Yes, you do need a minimum order and they aren't the least expensive option, but they are very simple to use and you can make a lot of shirts in a short amount of time!Make sure you're grabbing BELLA+CANVAS tees for your project. They worked so well for this project and didn't leave pressing marks from the heavy pressure of the press!