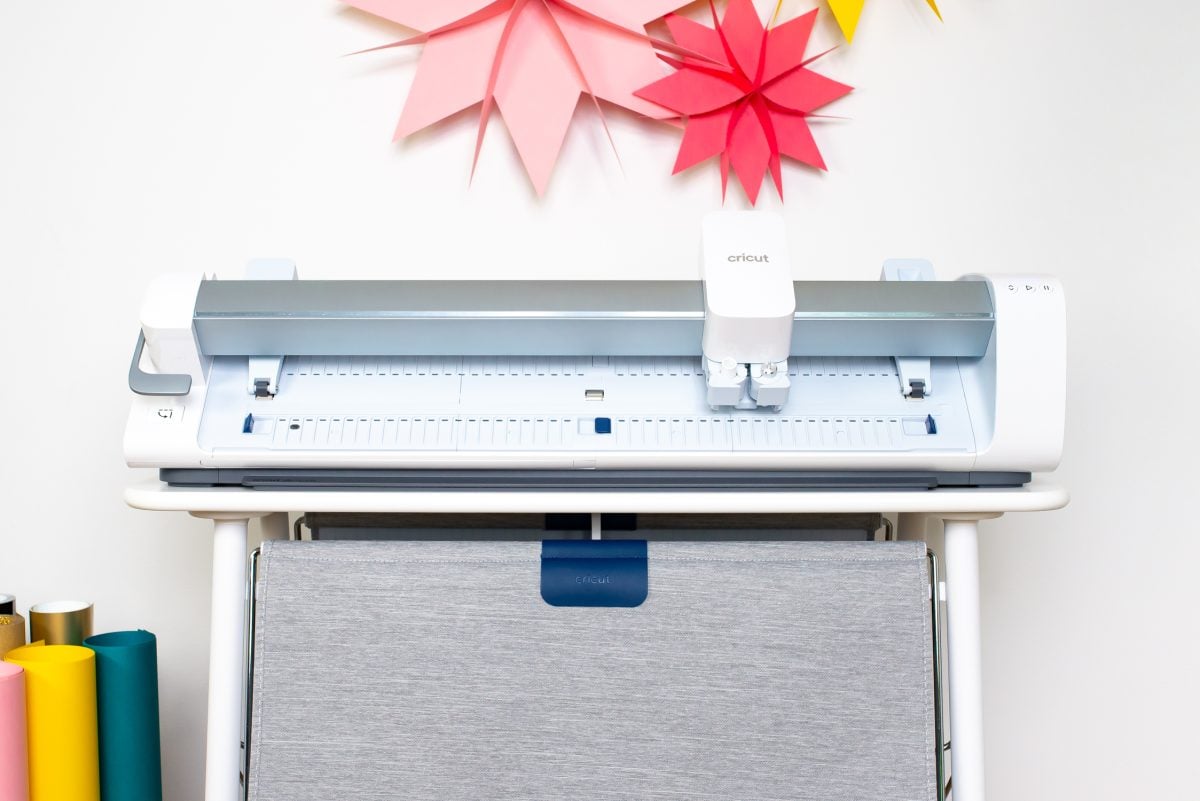
Cricut fans have wanted a larger machine and it’s finally here! Meet Cricut Venture, which is much more than just a larger cutting machine. Here are all the Cricut Venture details—it’s different than any cutting machine you’ve used before!
This post is sponsored by Cricut, but as always my opinions are my own.
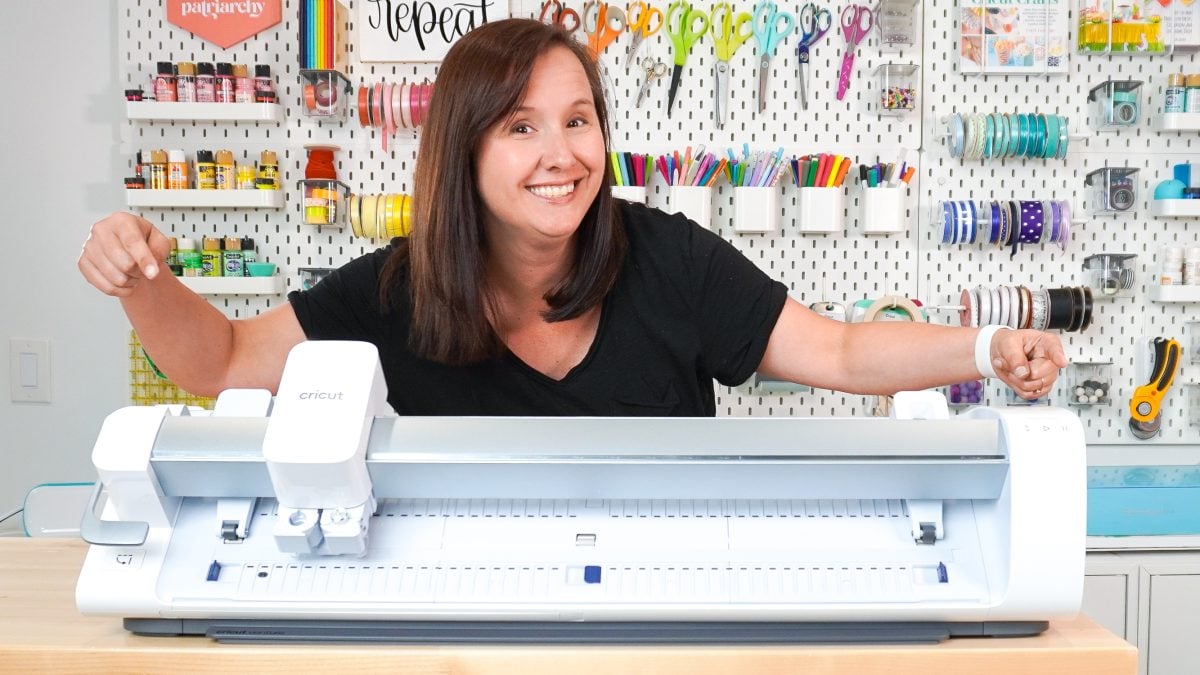
Cricut users have been asking for a larger 24″+ machine for years, and it’s finally here! I’ve worked with Cricut for nearly a decade (!!) and all that time I’ve hoped for a larger machine to make even bigger projects. So when Cricut invited me to be on the launch of Cricut Venture I couldn’t say yes fast enough.
Cricut Venture is much more than just Cricut’s version of a large format cutting machine. In this post, I’m going to share all of the details of this new cutting machine including a complete overview of the machine and what makes it different from some of the other large-format consumer machines on the market. I also share my overall opinion on the machine, including pros and cons and what you should know before you buy. This way you can make the best choice for your needs, skill level, and budget.
Then in future posts I’m going to share some large-format and batched projects you can make using this machine and more! This post is very long and detailed, but if you have any questions, please let me know in the comments.
Watch My Review of Cricut Venture Here
Want a video overview? Check out my whole review here! If you’d rather have a written review, read on!
What is Cricut Venture?
Cricut Venture is Cricut’s newest cutting machine, launched in July 2023. This machine has some similarities with the other Cricut machines, but overall, it’s a completely new machine designed from the ground up. This is not a bigger Cricut Explore or Cricut Maker—it has its own unique design.
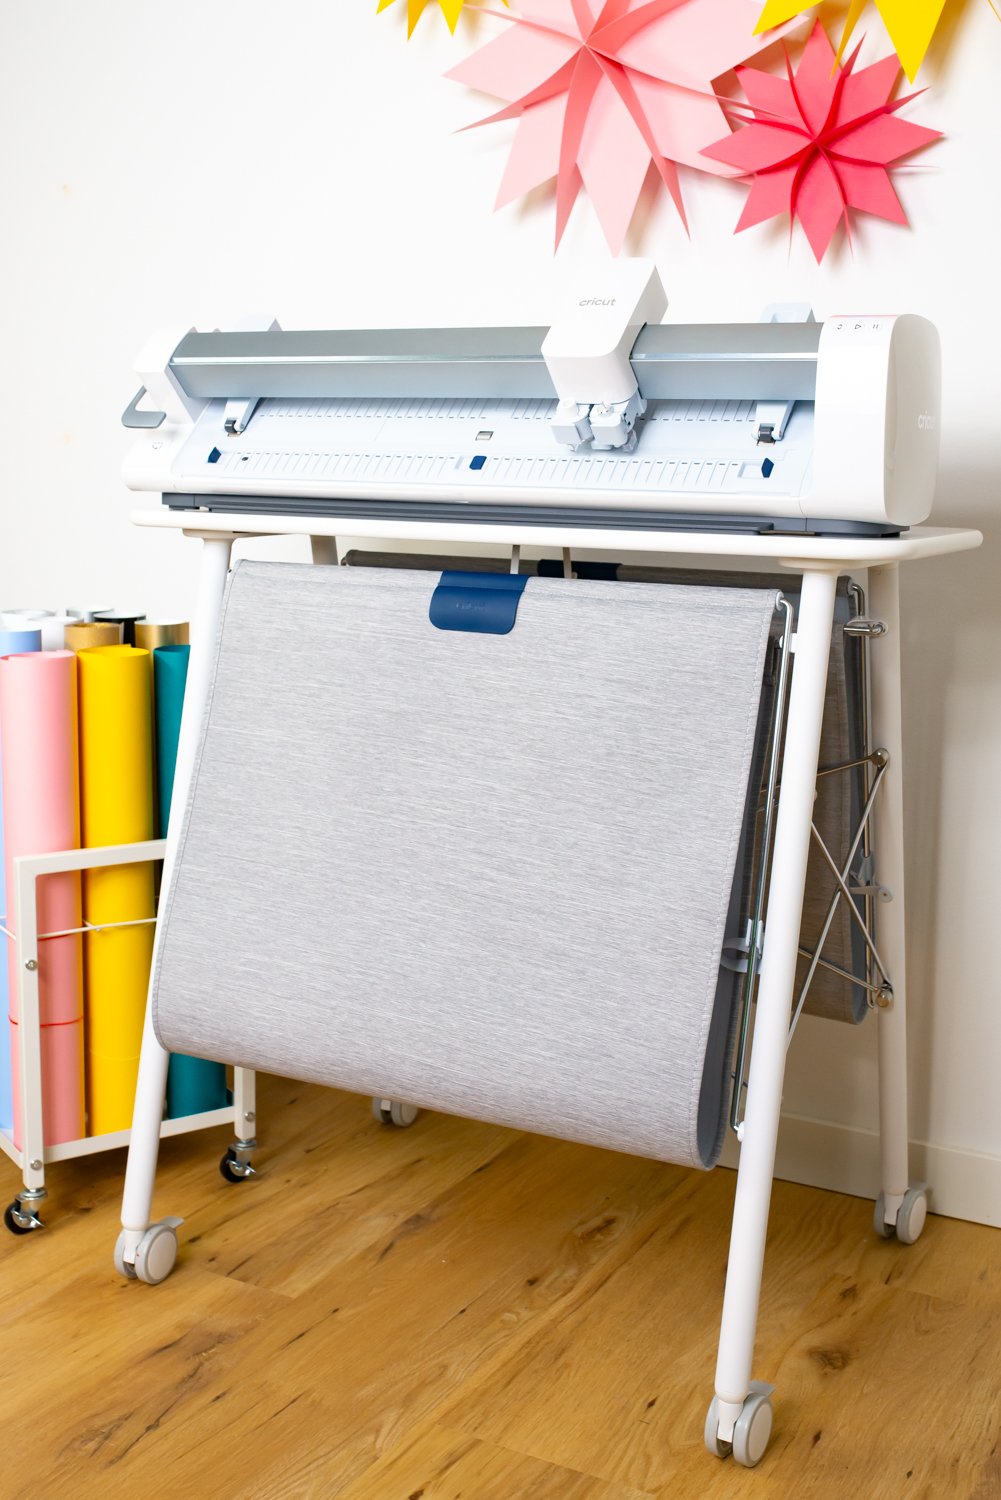
There’s definitely some new lingo here. I used the same language as in the Quick Start Guide, so if you’re not sure what I’m referring to, please ask or check the guide for a diagram of all the machine parts.
Overall Look and Design
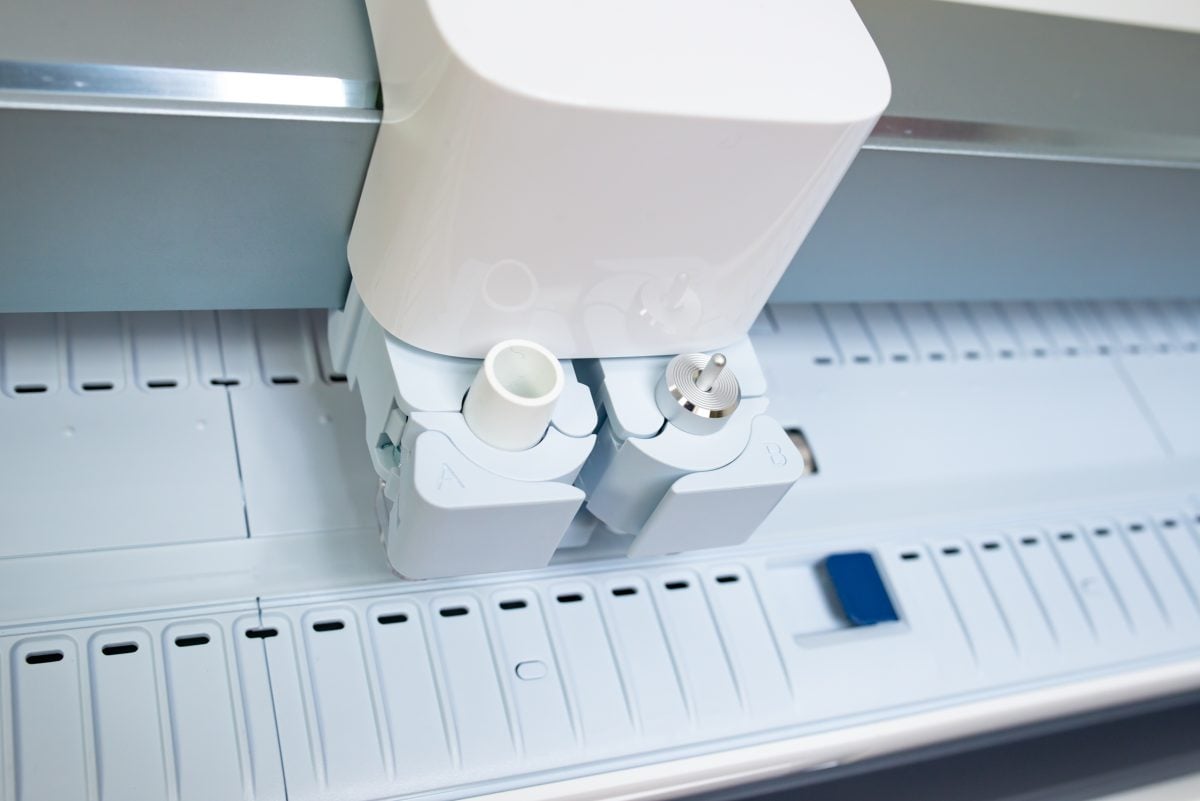
To start, Cricut Venture looks totally different than any other Cricut machine. It has a carriage that rides along a rail that sits outside the machine, a bit more like a professional plotter if you’re familiar with one. The carriage is quite large, but it does have an A and B clamp, just like other Cricut machines.
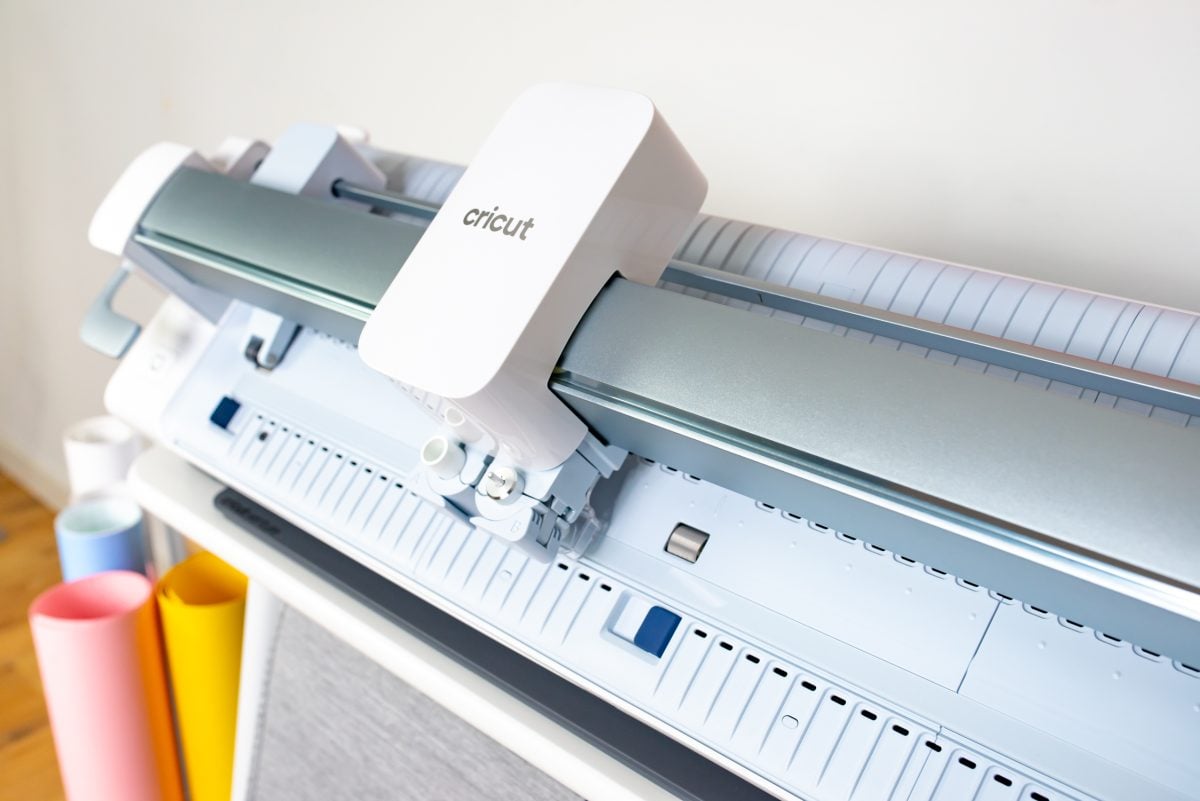
There’s a big lever on the left side that allows you to insert and secure your mats and materials for cutting. It also has holes along the bed of the machine that create vacuum pressure to hold your materials flat for cutting. This does mean that the machine makes a bit more noise than other Cricut machines while the vacuum system is running.
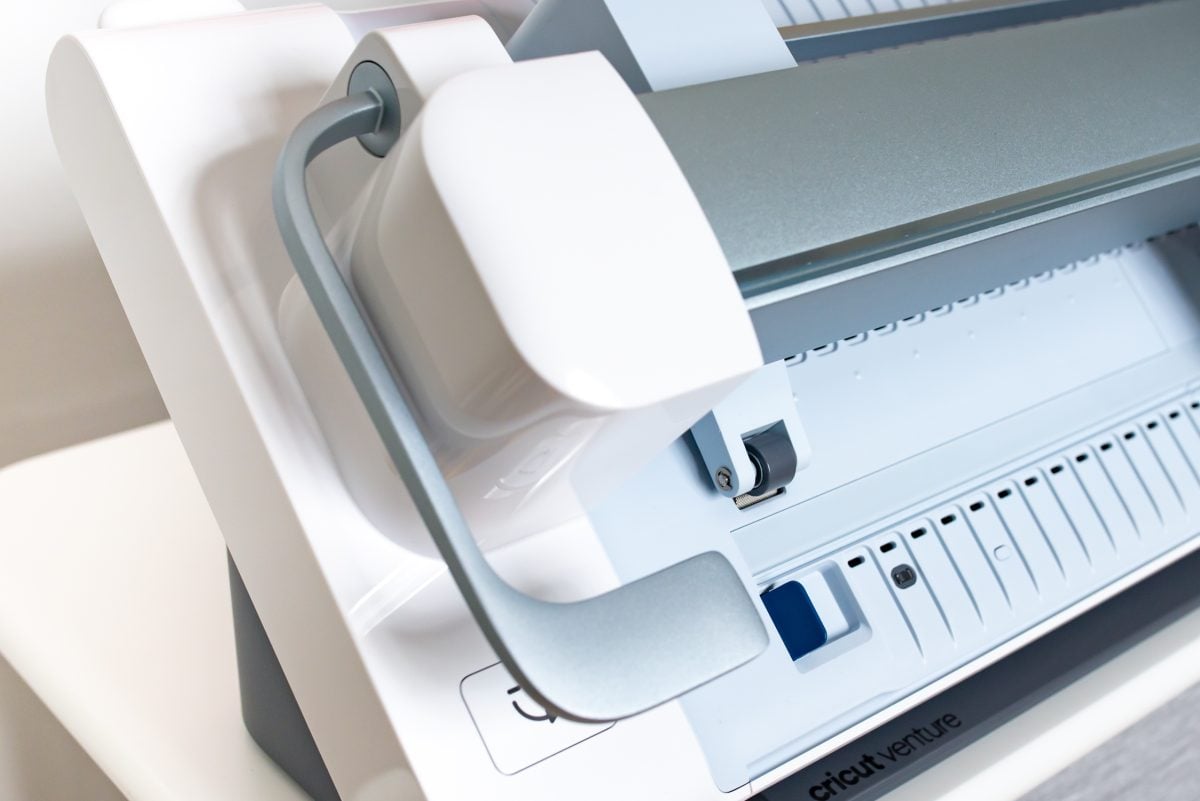
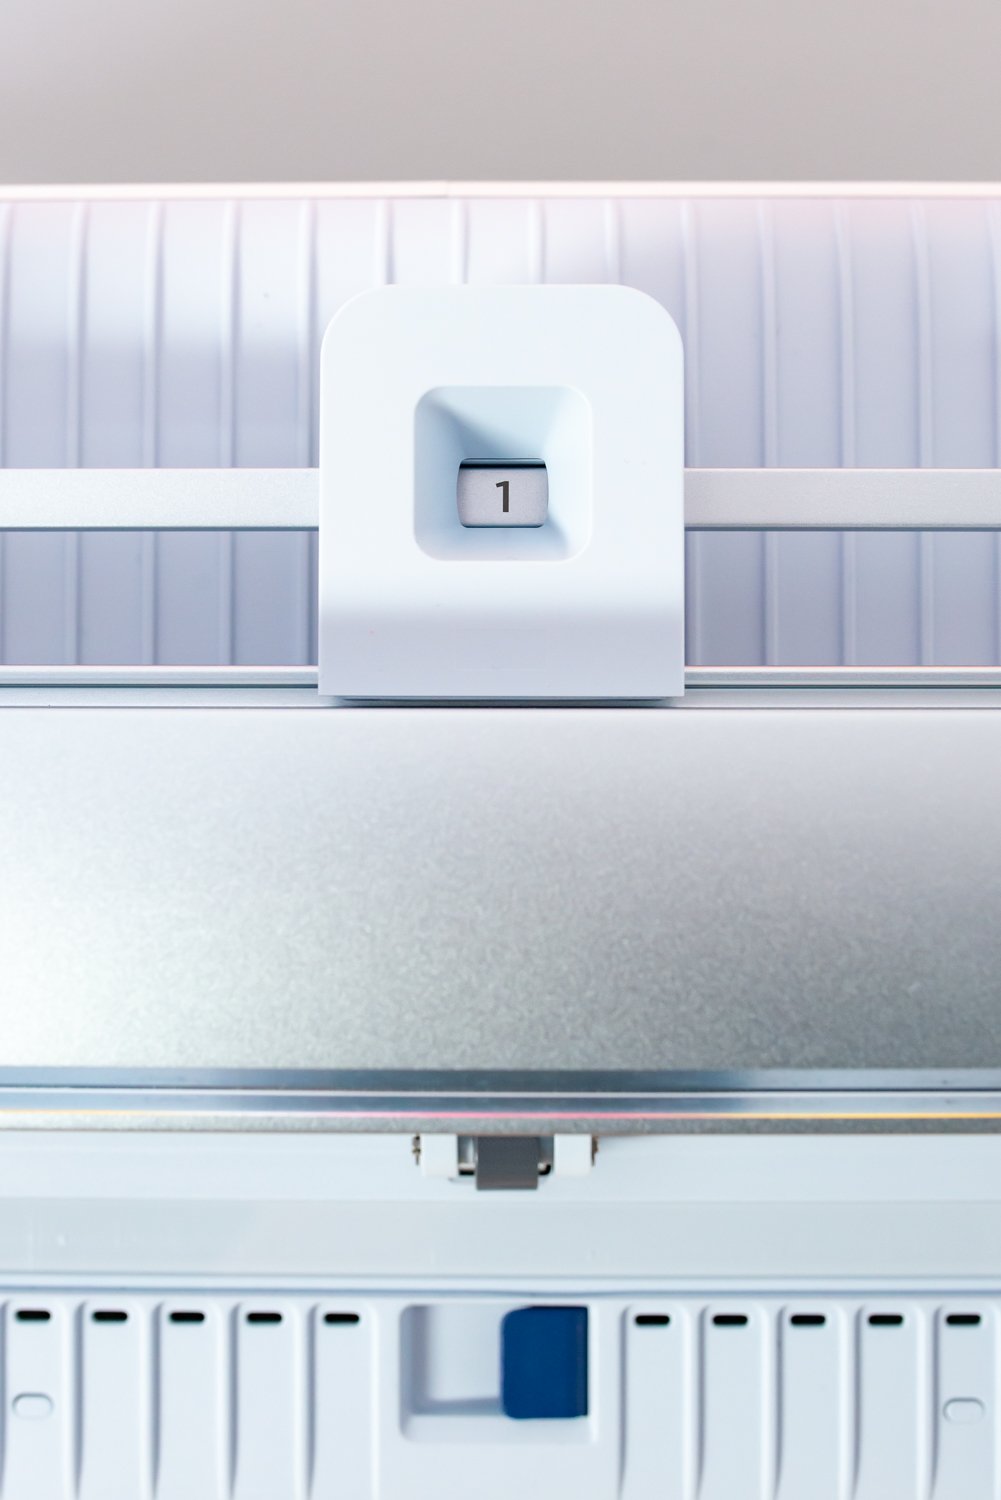
It also has adjustable pinch rollers and guides for using materials of different sizes.
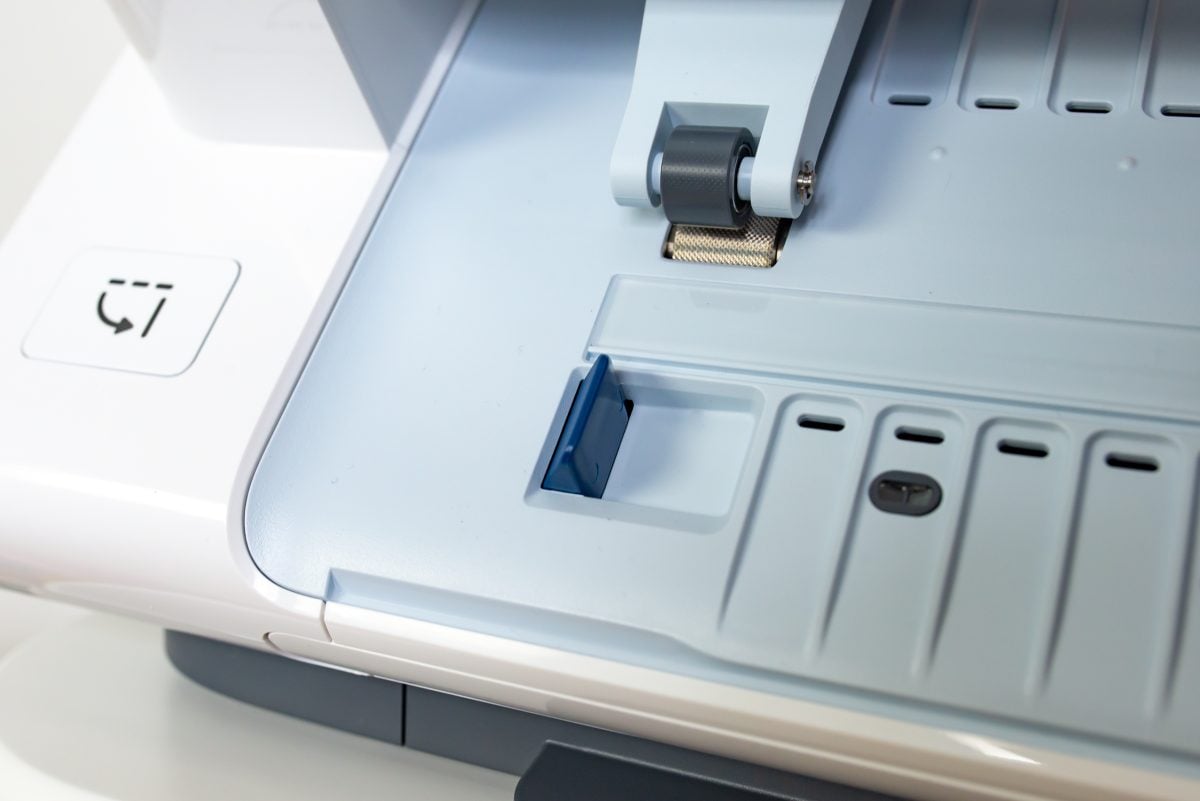
When you load your materials, you’ll need to press the mat support button. This pops up some small guides that allow you to set your mat in the machine without it slipping through.
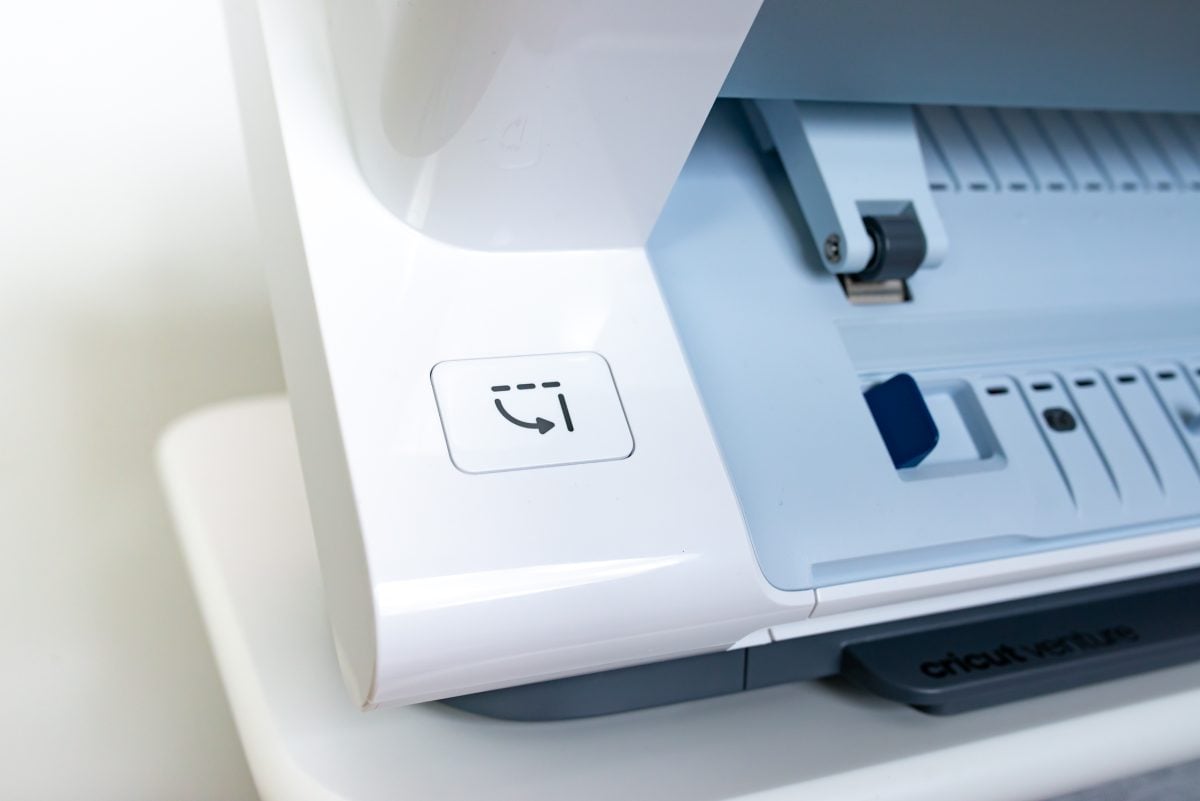
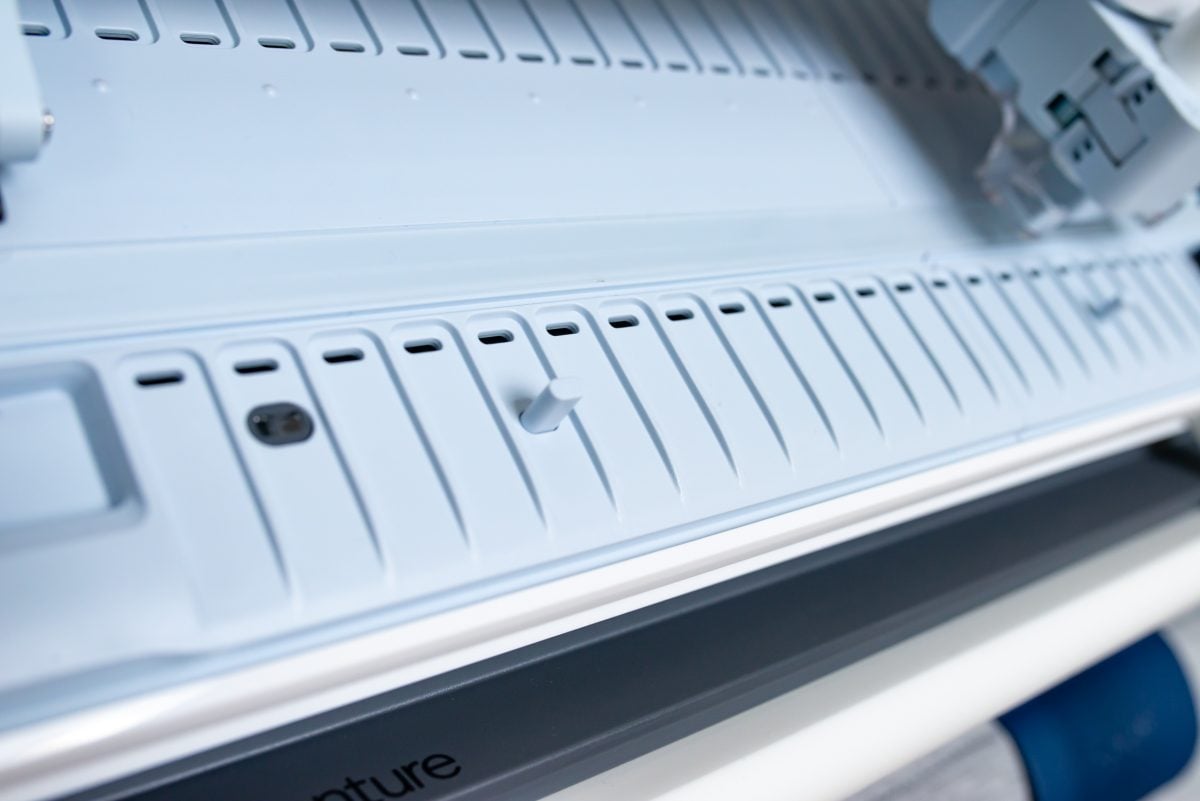
On the back of machine is the power button, as well as the plug for the cord and a place to connect your computer via USB. I used WiFi to connect, but I will mention that Cricut included two USB cables—one to connect via USB and one via USB-C. This is helpful for Mac folks like me who don’t have a regular USB port on their computer.
The buttons on the right of the machine will be familiar to Cricut users—a load/unload button, a play button, and a pause button. There’s also a status light that can tell you if things are good to go or if there’s an issue.
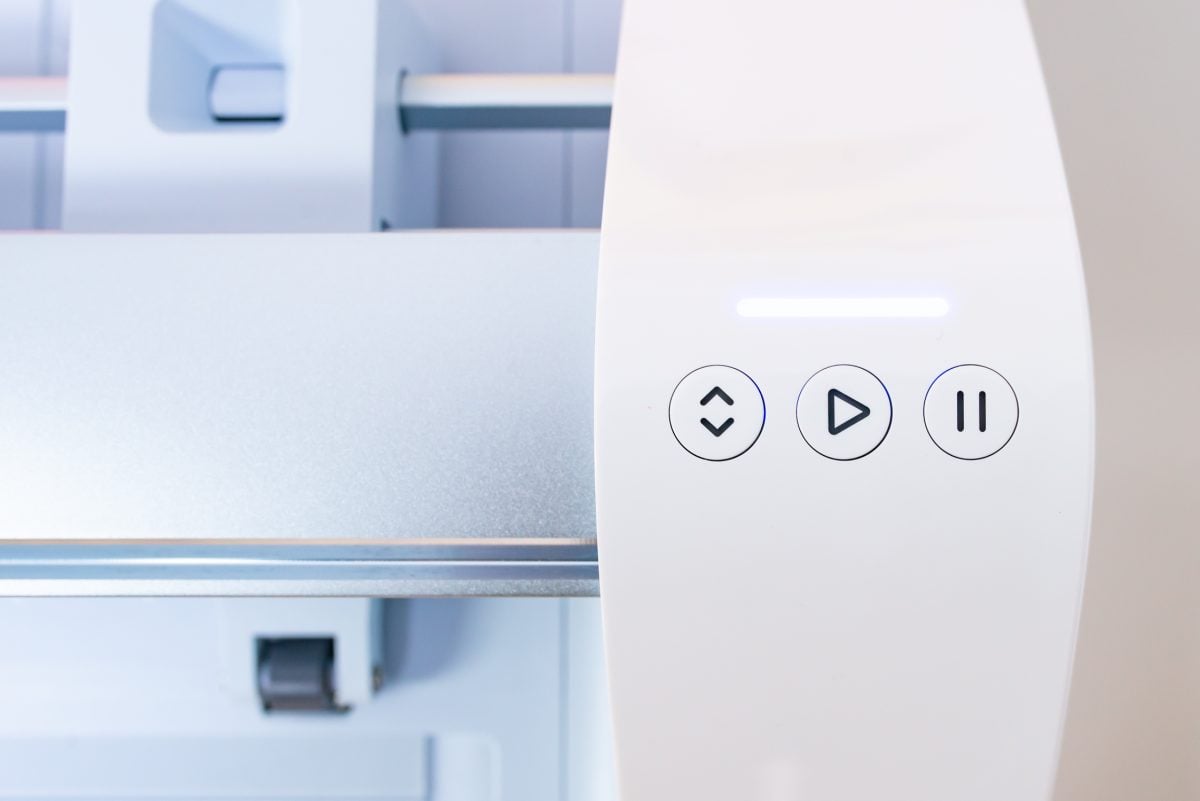
Overall, it took me a bit of time to familiarize myself with the machine since it’s different than other Cricut machines—using the lever, moving the pinch rollers, remembering to push the mat support button, etc. But after making a few projects I got the hang of things and I was able to adjust the guides and load and unload materials easily.
45° Angle Design
The biggest difference is that Cricut Venture sits at a 45° angle, so your mat/materials are fed at an angle. This may look strange, but it’s actually pretty innovative engineering. One of the biggest difficulties with other 24″ cutters is the amount of horizontal space you need to cut. We’re often talking six feet of space or more across the span of a table or workbench for the mat/materials to move forward and backward through the machine as they are being cut.

But because Cricut engineers designed Cricut Venture to cut at an angle, it utilizes the empty space above and below the machine, meaning you need significantly less space to use it. This makes it much more practical in many craft rooms, instead of needing a large work surface to run the machine.
Because of the 45° angle, Cricut Venture needs to sit at the edge of a sturdy table so the material can move both above and below the machine. This may affect where you want to use your machine, but every table does have an edge (four of them, usually!) so you should be able to scoot the machine to the edge of the table to use it.
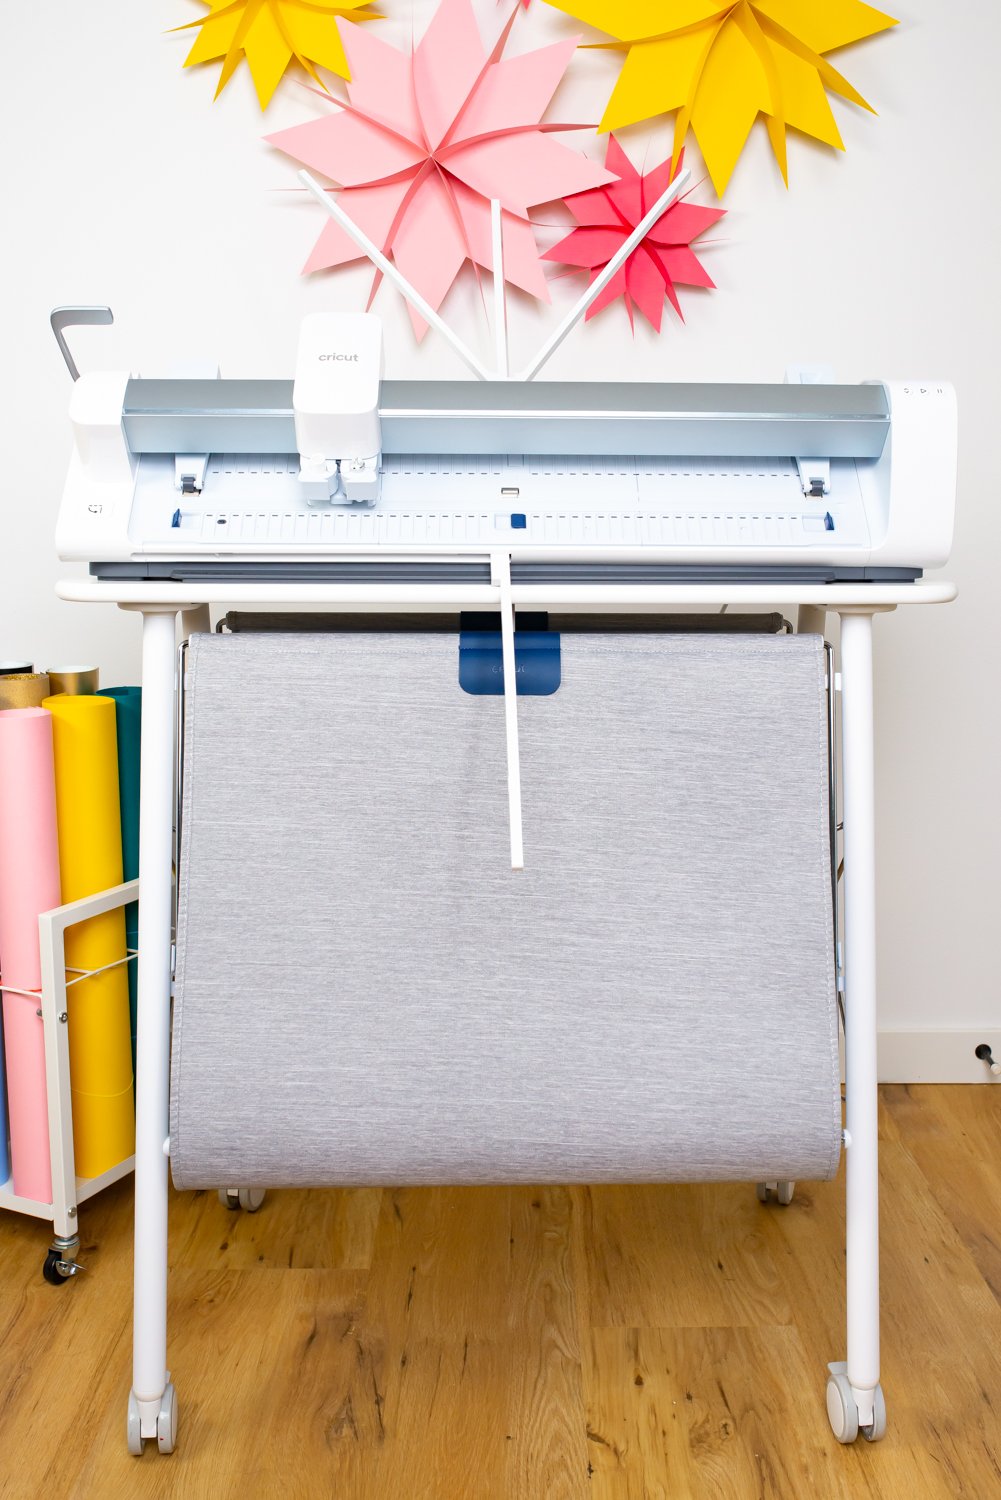
If you are using it with the Cricut Venture Docking Stand, it makes it even easier to make projects using long Smart Materials because it has specialized “catch” baskets that help corral the materials as they are being cut. I’ll talk more about the Docking Stand in a bit!
Cut Size
You can make really enormous cuts with this machine using both Smart Materials and cutting other materials on mats.
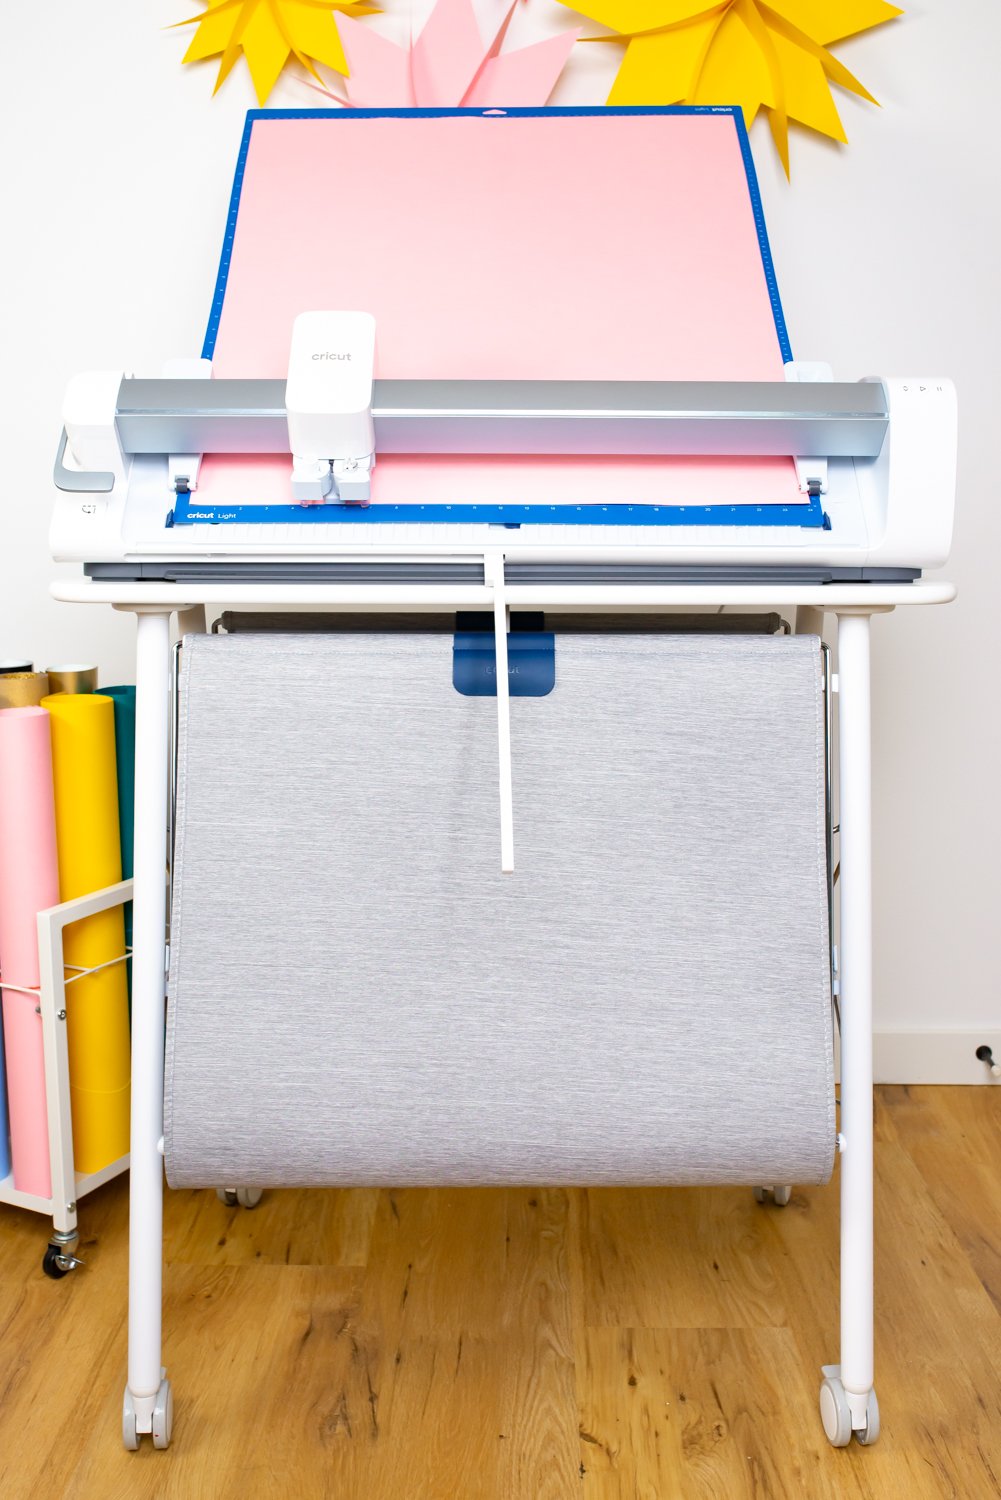
Here are the cut sizes:
- 13″ 5 ft Smart Iron On, Smart Vinyl, Smart Stencil: 12″ x 56.75″
- 23″ 5 ft Smart Iron On, Smart Vinyl, Smart Stencil: 24″ x 56.75″*
- 13″ 21 ft Smart Iron On and Smart Vinyl: 12″ x 140.75″ (can do repeated cuts at this length for the entire roll)
- 25″ 21 ft Smart Iron On and Smart Vinyl: 24″ x 140.75″ (can do repeated cuts at this length for the entire roll)
- 25″ 75 ft Smart Vinyl: 24″ x 140.75″ (can do repeated cuts at this length for the entire roll)
- 13″ Smart Paper: 12″ x 22″
- On a 24″ x 12″ mat: 23.75″ x 11.75″
- On a 24″ x 28″ mat: 23.75″ x 27.75″
*Cricut doesn’t recommend cutting Smart Iron-On Glitter in lengths over 5 feet. The cuts become less accurate beyond that length.
If you are cutting Smart Materials, you’ll need an extra 3.25″ of material in length added to your design—this allows the pinch rollers to hold the material (this is similar to the other Cricut machines that work with Smart Materials).
You can cut smaller standard materials like regular sheets of scrapbook paper or scraps of vinyl. I also tried cutting four 12″ x 12″ pieces of cardstock on the large mat. Just made sure that none of my images were overlapping the seams and I was able to cut it! Basically this cuts four standard Cricut mats in a single go, which is great if you want to use smaller materials.
Speed
When I got my Maker 3 and Explore 3 machines in 2021, I was really impressed with how much more quickly they cut than my older Maker and Explore Air 2 machines.
But the Cricut Venture? It’s even faster. One of my boys watched it cut and said “I feel like we’re in fast motion!”and I had agree. It’s really hard to describe just how quickly this machine cuts—it has to be seen to be believed. This train image (#M11E4B86D) in just 1:30!
I cut a floral book image (#M48072355) in a speedy 1:40 using Cricut Venture and matless Smart Vinyl. I cut the same image using my Cricut Maker 3 using matless Smart Vinyl and it took 2:39, nearly a minute slower. And my original Maker took 4:17 to cut it using vinyl on a mat—much slower! If you’re cutting/drawing a lot of images, this speed difference is more than a little significant.
And it’s just as fast cutting with a mat in Cricut Venture. Watching it cut cardstock was impressive!
Mat Supports
There are a few ways to support the mat while cutting, particularly if you’re using the larger mats. Press the Mat Support Button on the bottom left of the machine. To start, this will pop up little mat support tabs from the base of the machine. When you slide your mat into the machine, it will rest on these supports.
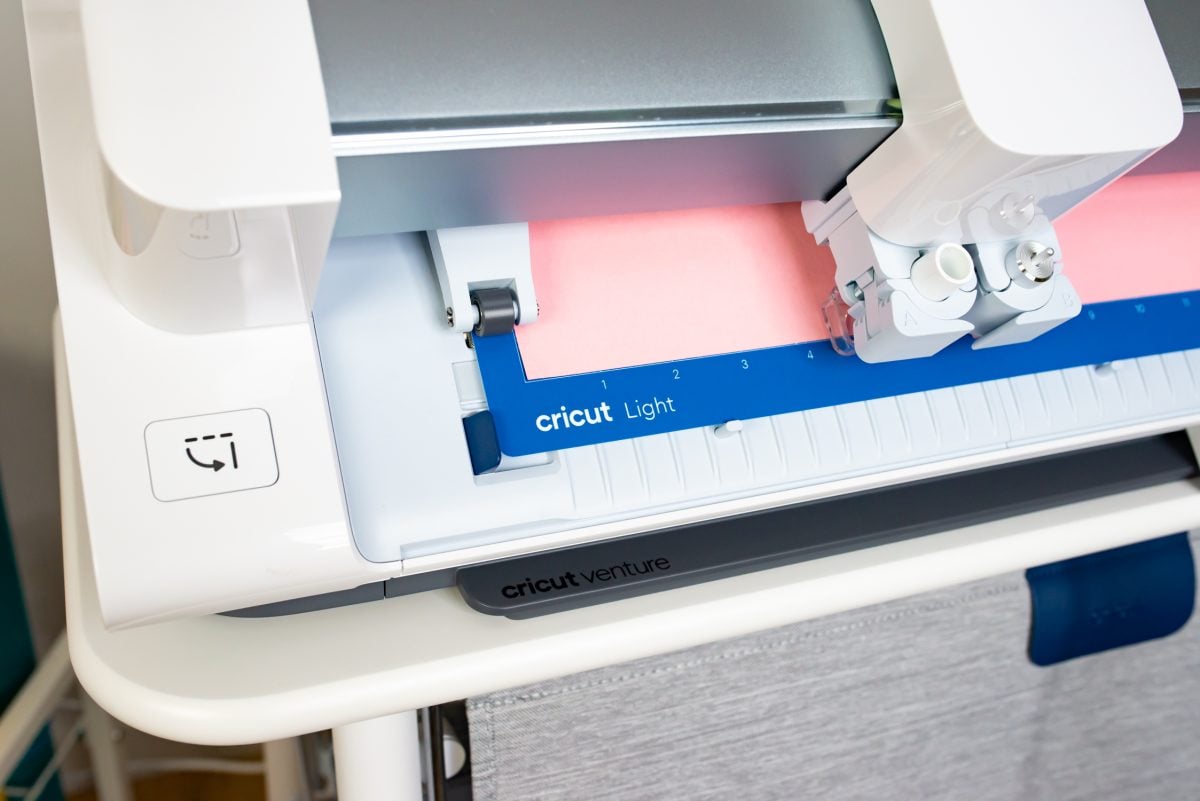
It will also extend two Mat Support Arms, which will help hold your mat. If you’re using the large mat or a heavier material that is bending the mat on either side of the singular mat support, add the Mat Support Extension Arms—these are two more diagonal arms that will support your mat above the machine.
Quality
While I do think pretty much all Cricut products feel like they are high quality, Cricut Venture feels even more solid and durable with many metal components.
Print then Cut
I was really pleased to see that Cricut included Print then Cut in this new machine. Cricut Print then Cut will now actually work for images on the large Cricut Venture mat—close to 24″ x 28″ (with a little space in the corners for the registrations marks). If you have a large format printer, this is awesome—and I’m totally jealous! Imagine how many stickers you could make in a single go. Sublimation at this size could be so much fun, too!
Design Space
A nice thing about using Cricut Venture is that if you’re a current Cricut user, there isn’t a huge learning curve because you can use the same Cricut Design Space program you’re already familiar with. They’ve updated Cricut Design Space to account for the larger materials, but overall you’re already ready to start making things with Cricut Venture.
That being said, you must use the Desktop version of Design Space with Cricut Venture. You can’t use any of the apps. Projects at a larger scale would be difficult on a small device and I think the desktop version provides a better user experience.
What’s in the Cricut Venture Box?
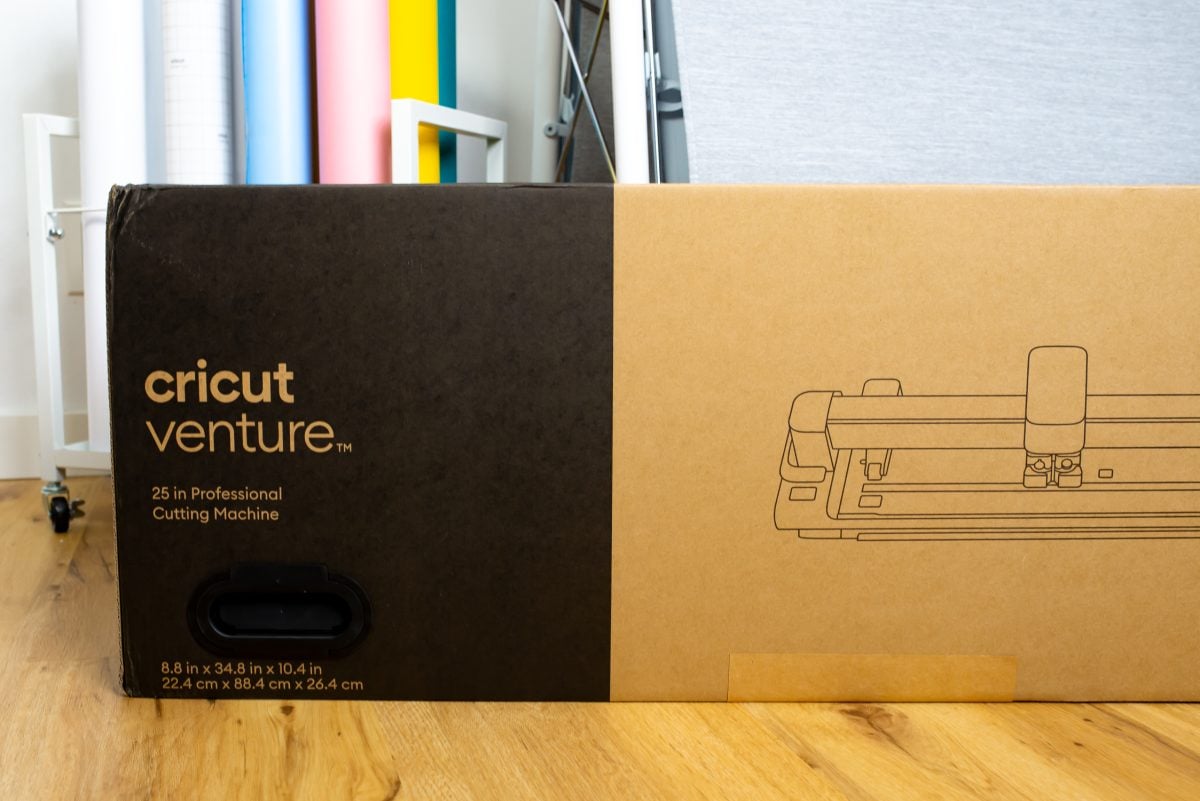
Inside the Cricut Venture box, you’ll find:
- The Cricut Venture machine itself
- Performance Fine Point Blade pre-installed in the B-clamp
- Cut off tool that stores in a slot in the top left corner of your machine
- Two dark gray roll supports that help guide Smart Material rolls as they are being cut in your machine
- Cleaning tools, including a brush, a microfiber cloth, and a tool for cleaning the rail (tutorial coming soon)
- Two USB cables—one for USB ports and one for USB-C ports
- Power cable
- Mat support extension brackets
- Black and white vinyl rolls for test cutting
- Quick start guide, safety guidelines, and a warranty document
The box with the machine is heavy. I struggled to lift it myself but I was able to get it on my desk to unbox it. You may need a helper. Slit through the tape and then there are four black plastic handles that need to be “opened” (lift the tab) and they will pop out of the box and allow you to open it.
How big is Cricut Venture?
Once it’s out of the box, Cricut Venture is heavy but not unmanageable. I am able to lift it and carry it from place to place.
The Cricut Venture cuts huge projects but I actually think the machine size is very reasonable for its capabilities. It’s about 34.5″ wide, 8″ deep, and about 11″ tall if you’re including the carriage.

Like I mentioned before, the 45° cutting angle means it takes up significantly less room than similar machines. You’ll need about 40″ of space total, split between the front and back of the machine so the material can move back and forth, compared to six feet or more for other machines. It can easily sit on a standard size counter since half of that space is in front and below the machine.
What types of materials can I cut with Cricut Venture?
Cricut Venture, in many ways, is a very large Cricut Explore 3. Which means it can cut 100 materials, including all kinds of adhesive vinyl, iron on, paper, cardstock, Infusible Ink, faux leather and suede, and Cricut felt.
And while it can cut all of those materials beautifully, Cricut Venture really is built to excel with Smart Materials. With the addition of the roll supports behind the machine (and even more features on the Docking Stand, which we’ll get to in a bit), this machine is purpose-built for cutting projects using long rolls of Smart Materials.
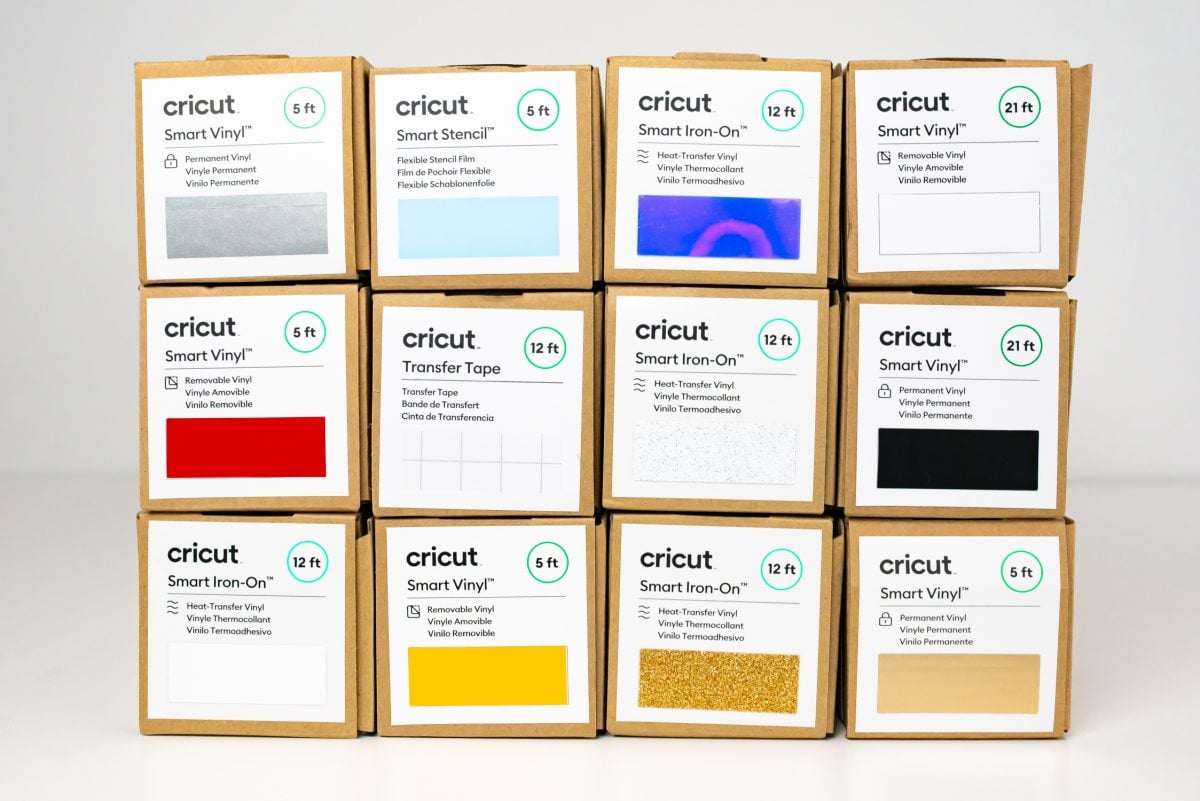
Cricut is launching a bunch of new materials along with Cricut Venture, including permanent Smart Vinyl, removable Smart Vinyl, Smart Stencil, Smart Iron On, Smart Paper, and Cardstock in a decent variety of colors and sizes. My hope is that they will continue to expand the colors they have, particularly in the cardstock. I want even more possibilities for giant paper flowers, rosettes, and stars!
What types of blades and tools work with Cricut Venture?
Cricut Venture comes with the Performance Fine Point Blade. This is a stronger version of their regular Fine Point Blade and is designed for the force and speed of the machine. You can use a regular Fine Point Blade in Cricut Venture, but it will wear out more quickly. But it’s nice to know that, in a pinch, you can use a Fine Point Blade from one of your other machines.

Most of the materials in the previous section, including Smart Materials and cardstock, need the Performance Fine Point Blade (or regular Fine Point Blade).
Then you can use other tools and blades that you may have for your other Cricut machines in Cricut Venture as well. So far, they don’t have special versions of these tools for Cricut Venture, but these current tools work:
You can cut slightly thicker materials, like craft foam, cork, and some chipboard using the Deep Point Blade.
You can cut fabric using the Bonded Fabric Blade, though the fabric does need to have some sort of stabilizer applied to the back—it won’t cut unstablized fabric like the Rotary Blade that comes in the Maker machines.
Using the Foil Transfer Tool, you can foil your projects. The sheets of foil are limited to 12″ x 12″, but you may be able to patch together sheets of foil for larger images. Would love to see larger sheets for huge foiled projects!
You can also use all of the pens and markers you have. Additionally, Cricut came out with some really big markers specifically for Cricut Venture. I think these are perfect for making posters for science fair projects, garage sale signs, protest signs, and more!
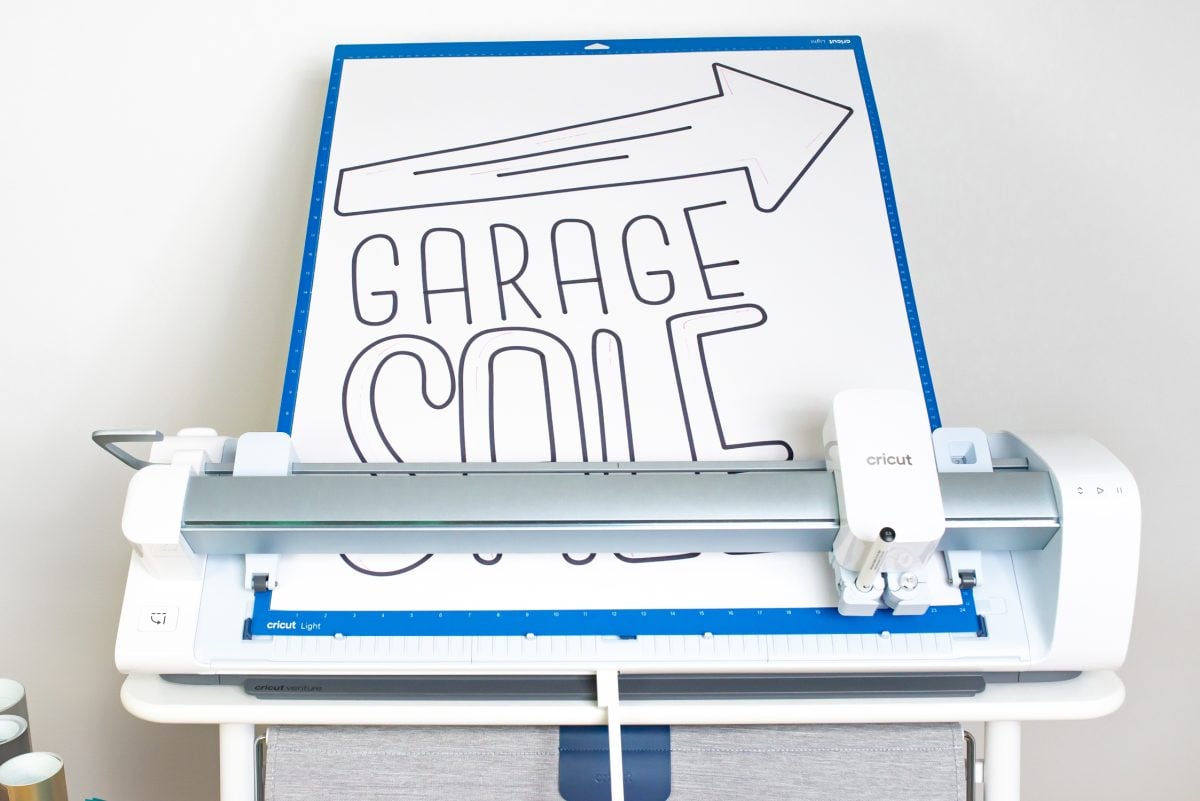
Finally, you can use the Scoring Stylus in Cricut Venture as well. This is one of the few things I’ve run across that hasn’t worked perfectly. I was scoring the stars I made to hang above my machine and on two of them, I think it exerted too much pressure, tearing my cardstock and sending the Scoring Stylus flying. Cricut can make adjustments to things like this via updates, so hopefully they’ll have this one sorted quickly.
You’ll also notice that the machine does not have the gold gear at the top of the tool housing like the Maker machines. This means it can’t use the Maker-specific tools like the Rotary Blade, Knife Blade, and Quick-Swap tools. Including these blades would’ve made the machine more expensive and heavier, so Cricut opted to keep it for the Explore-level tools only.
What mats work with Cricut Venture?
Because of the way this machine is designed, including the force and speed of the machine as well as the size, there are all-new mats for this machine. They are similarly colored to the existing Cricut mats, but darker in color so you can easily tell them apart from the mats designed for the Joy, Explore, and Maker machines.
The tacks are the same: the blue LightGrip mat, the green StandardGrip mat, and the purple StrongGrip mat. There is no pink FabricGrip mat—just use the regular StandardGrip mat for cutting bonded fabric.
They come in two sizes: 12″ x 24″ and a huge 24″ x 28″. Cricut is also launching larger materials to go on this large mat, including 24″ x 28″ cardstock. Giant paper flowers? Yes please!
Cricut Venture Accessories
In addition to the machine tools and blades and the mats, there are a few accessories you’ll want to know about as well.
The first is the Cut Off Tool, which is used with Smart Materials. It comes with your Cricut Venture and looks a bit like a sliding letter opener. You can use it to manually trim off your project after it’s cut. I found it a bit fussy to use at first—you’ll get a more even cut if you pull down on the material while cutting. The Cut Off Tool stores in the top left corner of the machine.
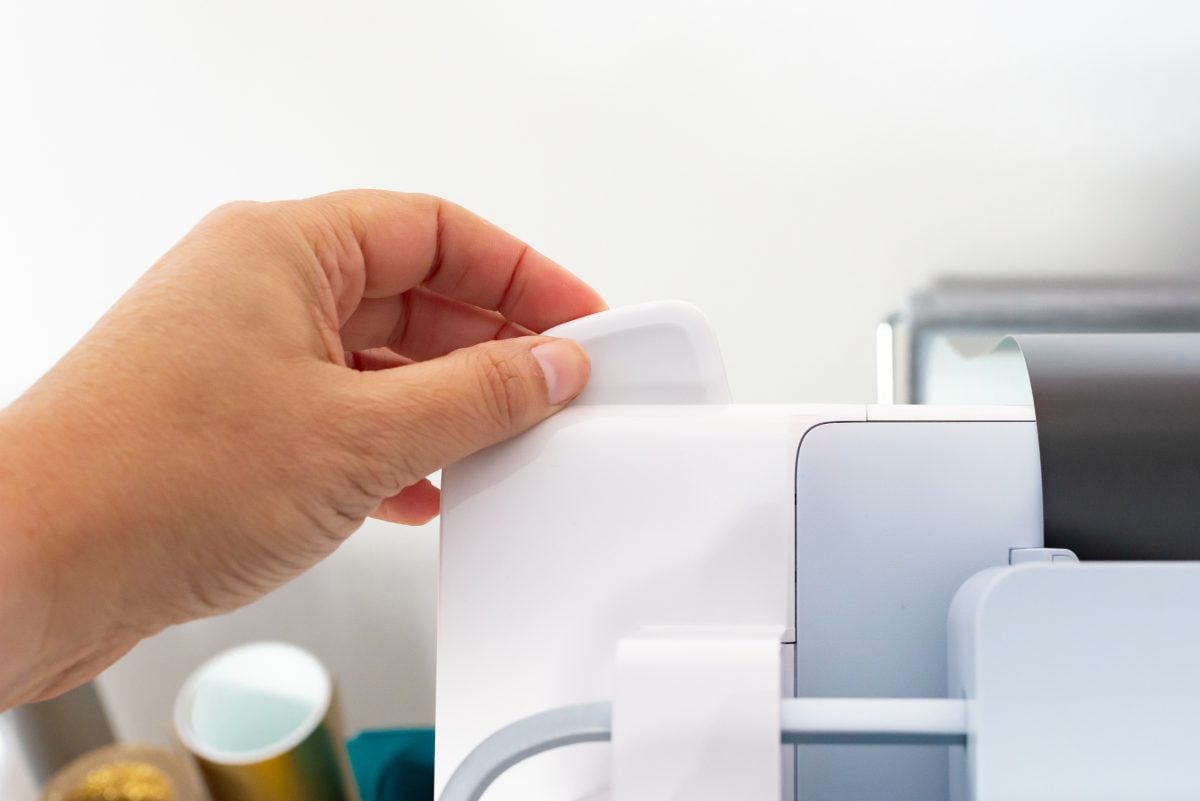
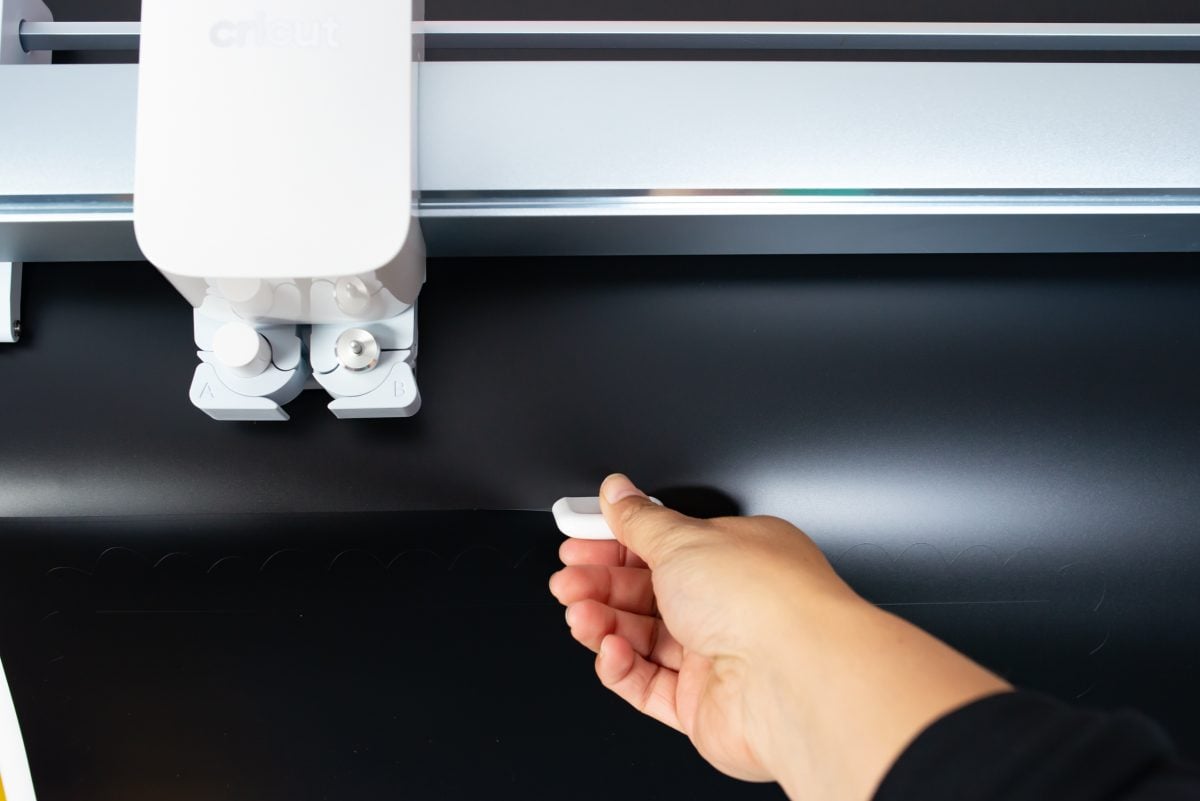
There’s also the Auto Cutoff Blade, which works in the B Clamp of the machine. This is sold separately. This cuts your material automatically when the cut is finished. I like using this tool with the Docking Stand—without it, your project ends up on the floor.
The Cricut Venture Docking Stand
I mentioned the Cricut Venture Docking Stand earlier. I have a full post about the Docking Stand, but here’s a quick overview.
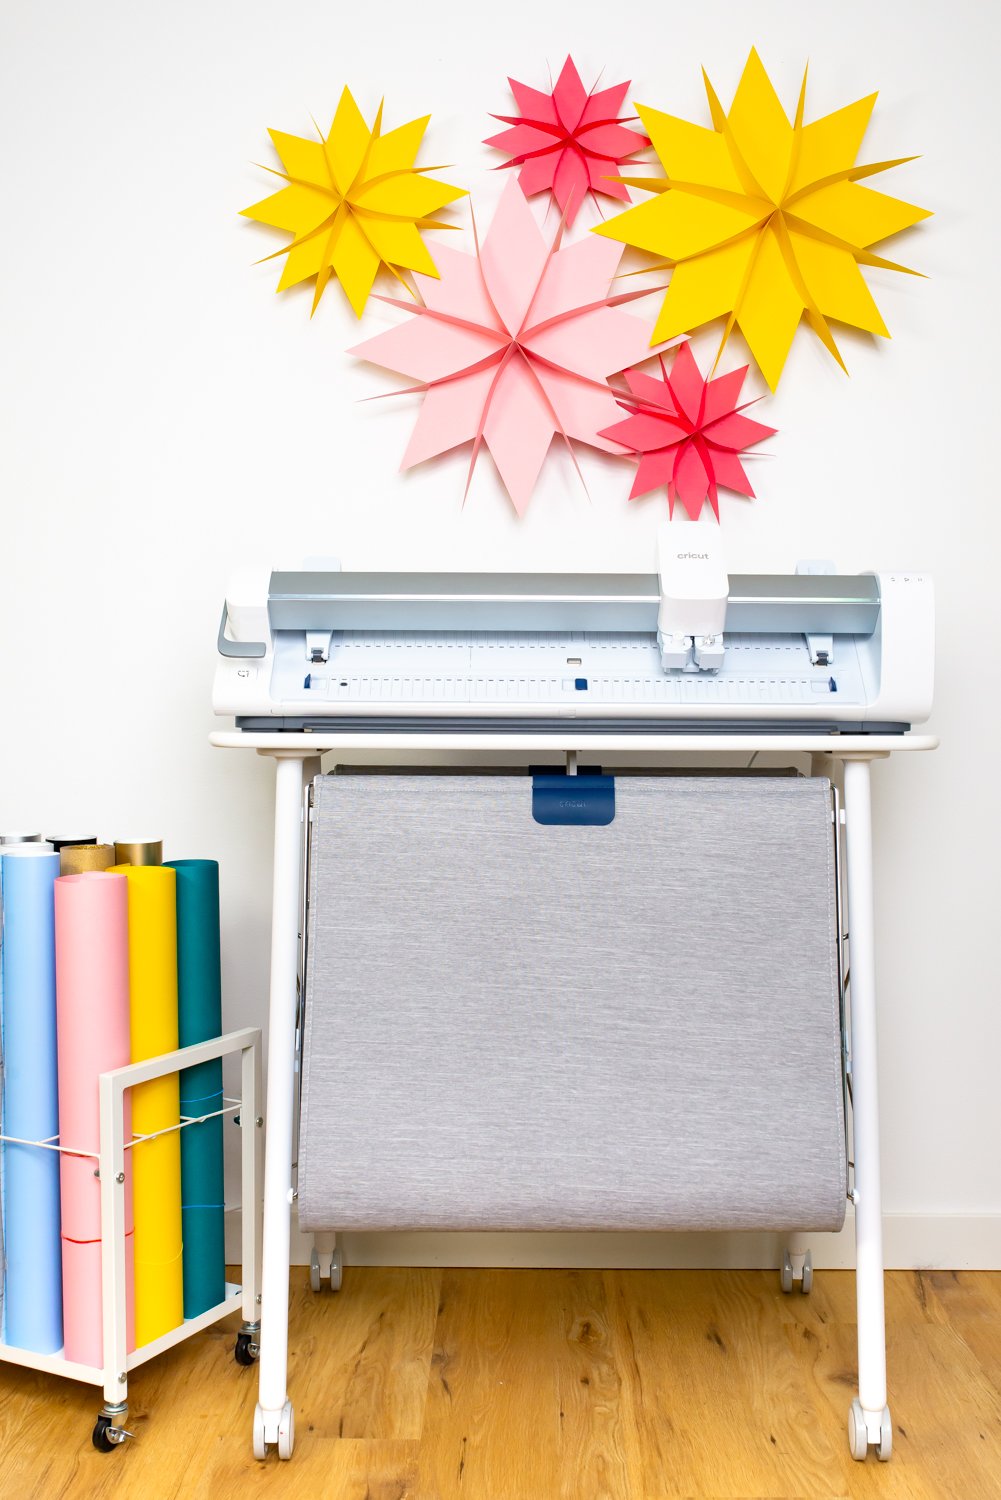
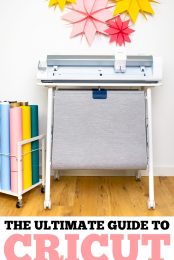
This Docking Stand is designed specifically to make working with Cricut Venture easier. This cart has some great features, including big rollers in the back for holding large rolls of Smart Materials, built-in storage hooks for the large mats, and easy glide wheels. As I was trying to figure out the best way to photograph the machine and stand for this post, I’ve been rolling it all over the place and it’s really sturdy and easy to move.
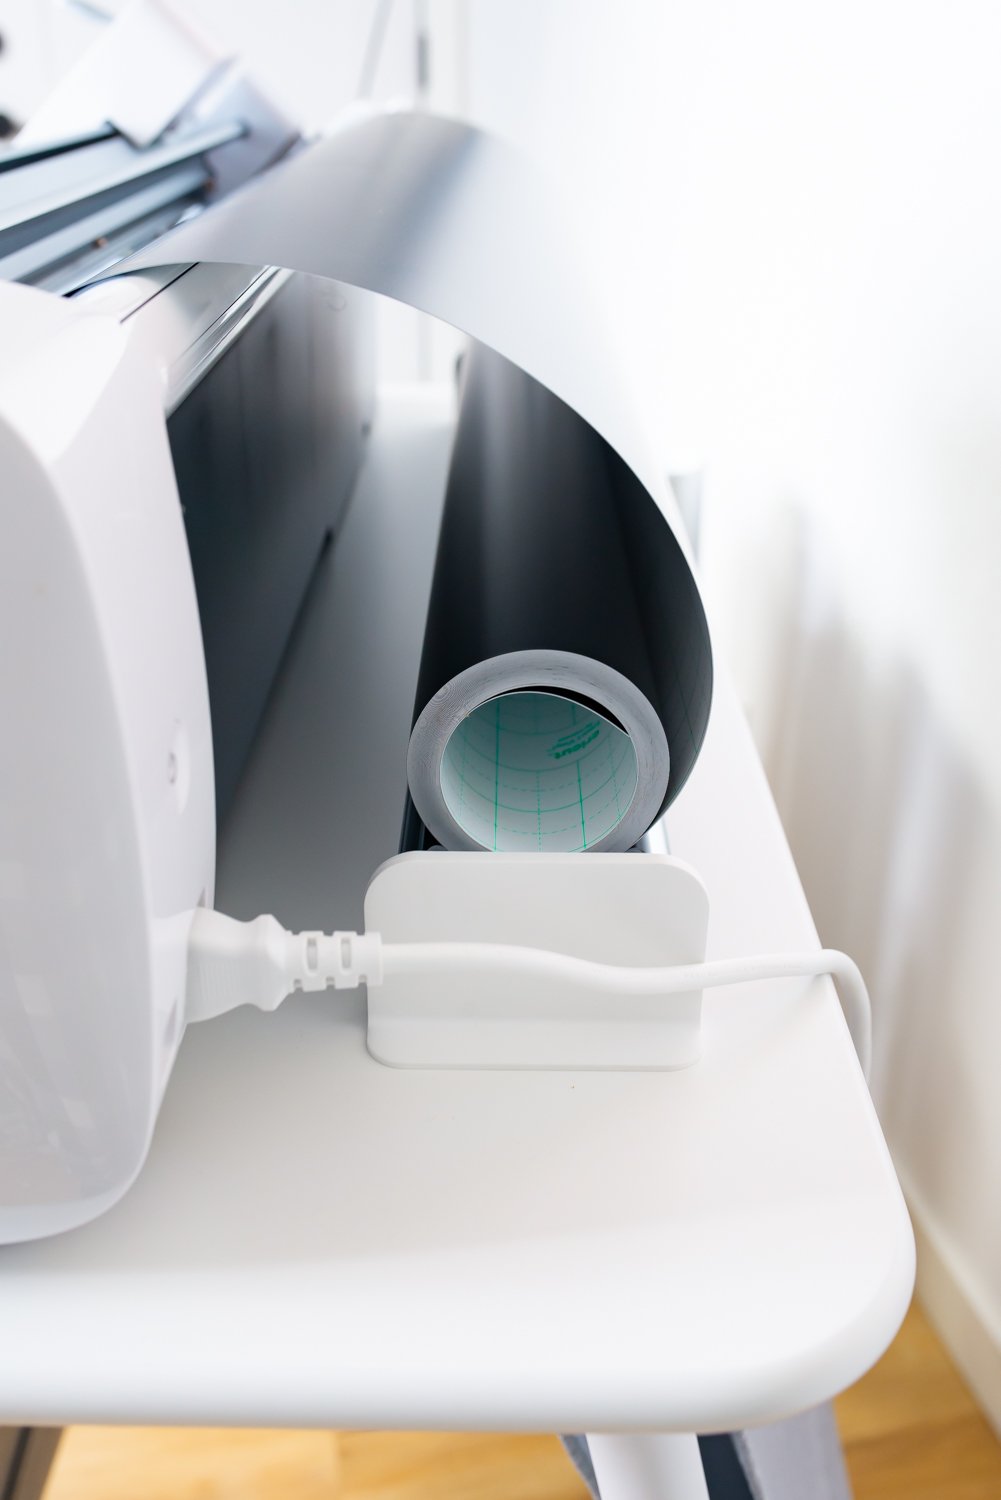
There are also “catch baskets” that contain your Smart Materials as you cut, instead of letting your longer projects just fall onto the floor. Dog hair has been one of my biggest frustrations when it comes to using Smart Materials—the static electricity created by the Smart Materials attracts our dog’s hair and it can be a mess. These catch baskets, however, are lined with a material that is “static dissipative,” which means it basically removes that static electricity from the material, making it much less a magnet for dog hair. On top of that, the rolls never hit the ground (where all the dog hair lives!) so Smart Materials remain much cleaner in these baskets than they do otherwise.
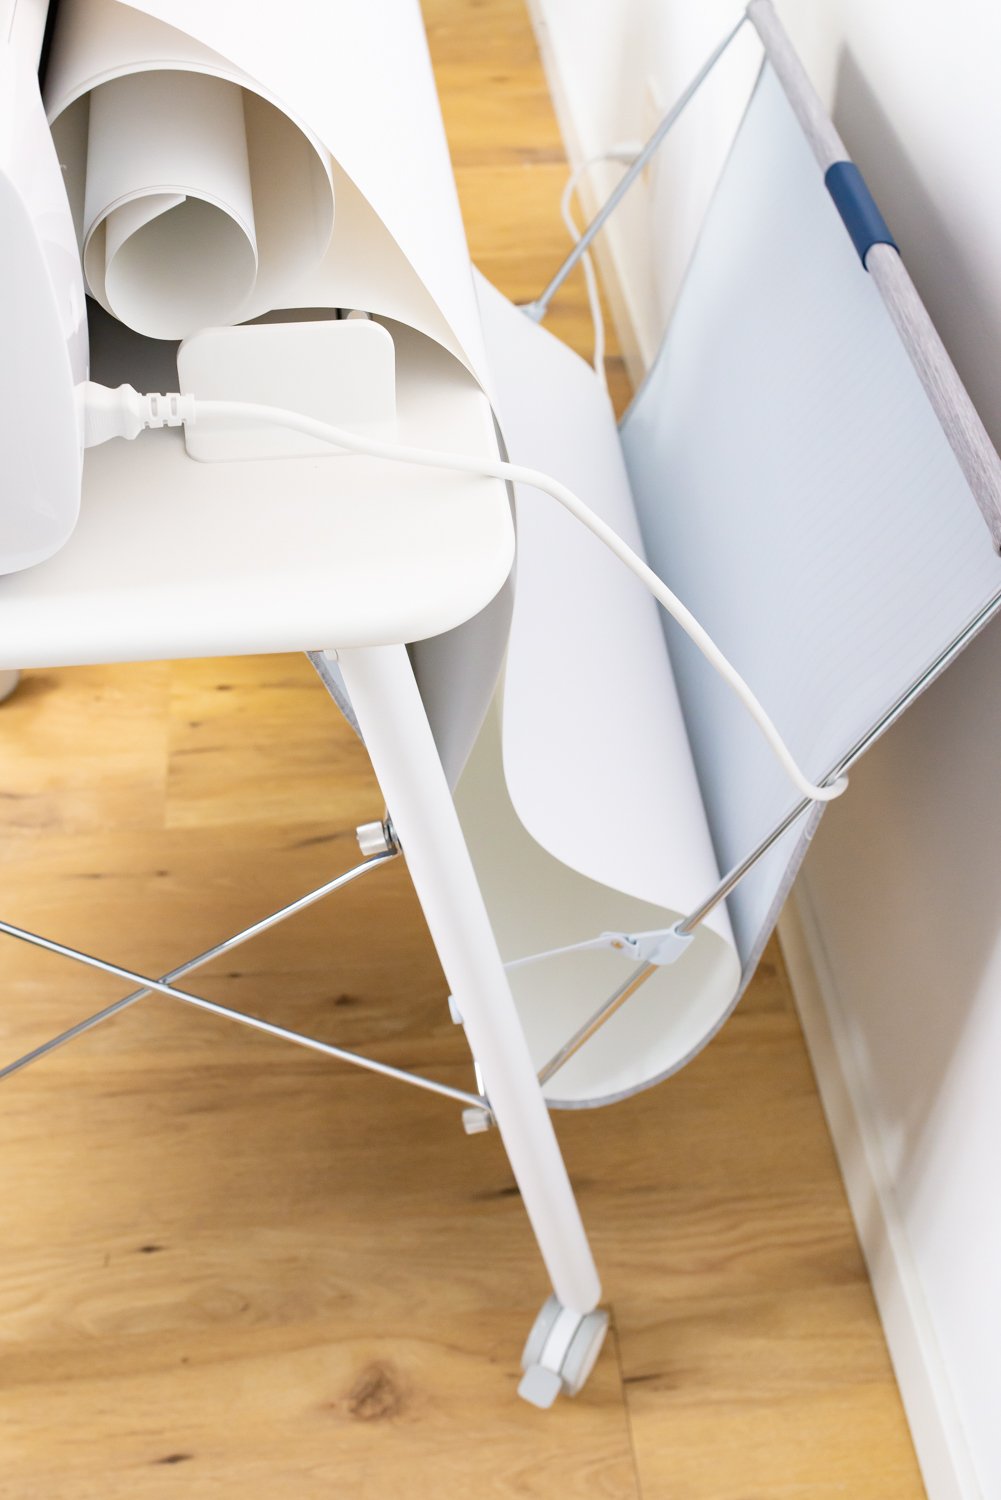
Learn more about the Cricut Venture Docking Stand in my upcoming post! (New Post: The Cricut Venture Docking Stand: Do You Really Need It?)
How to Cut Matless Smart Materials with Cricut Venture
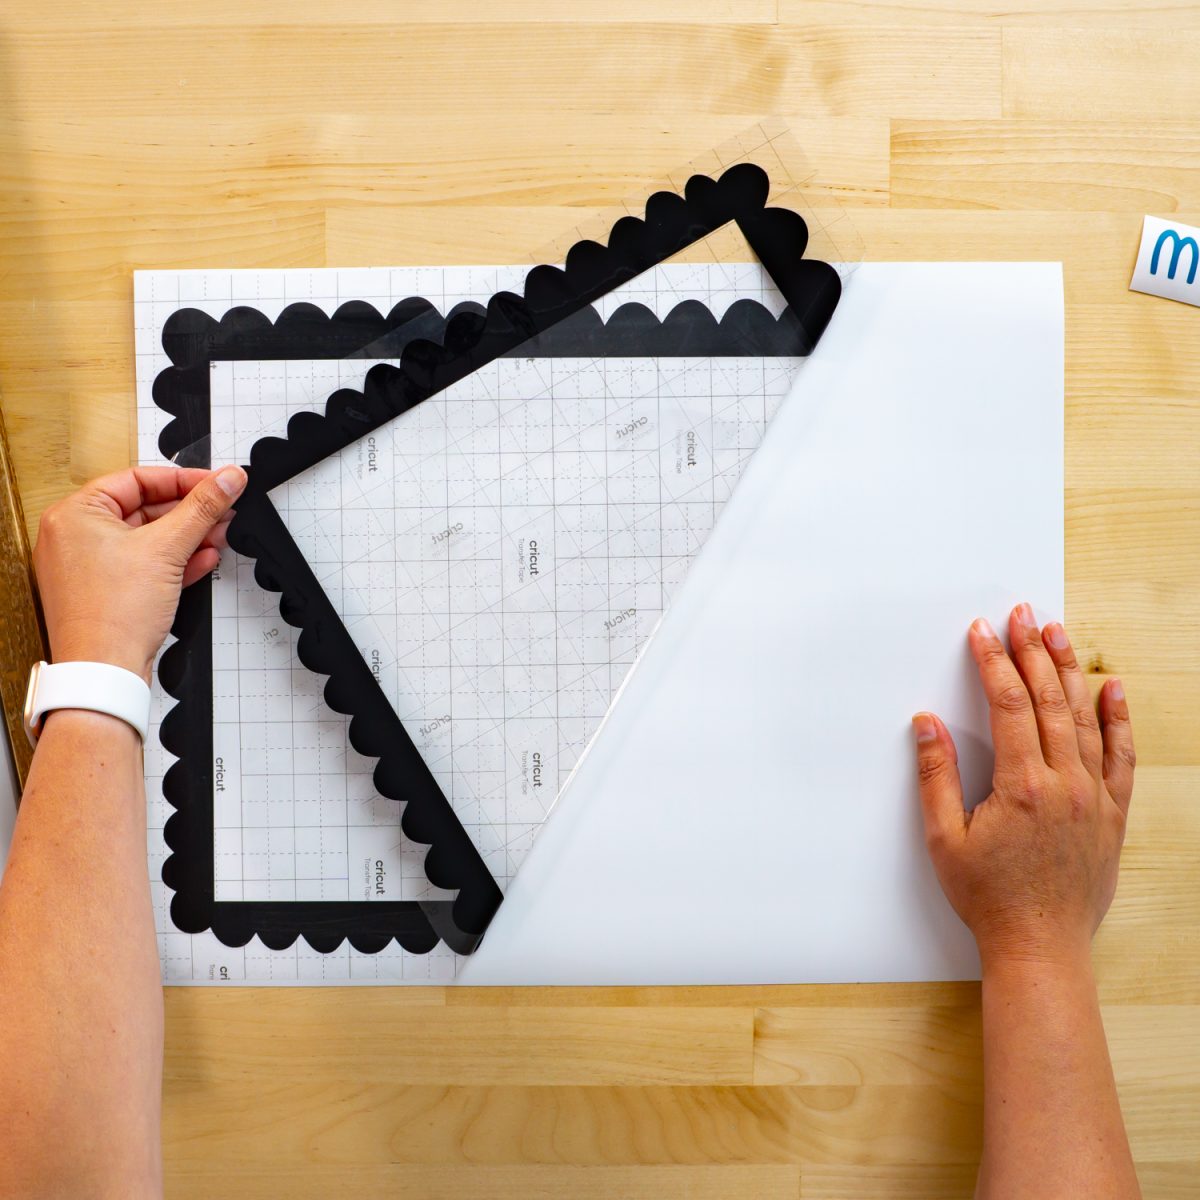
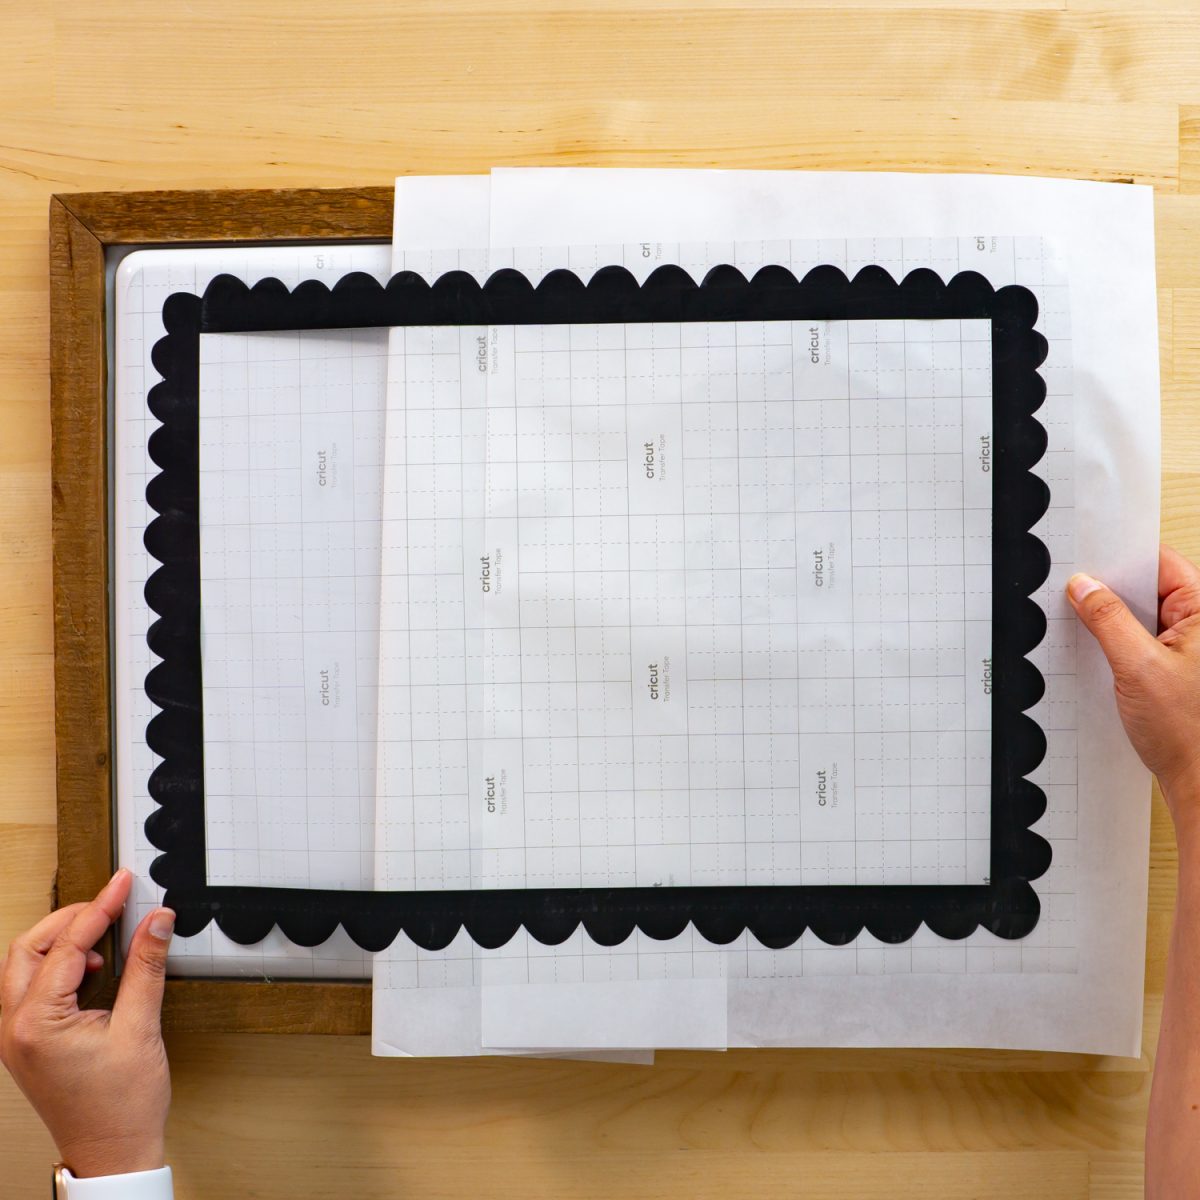
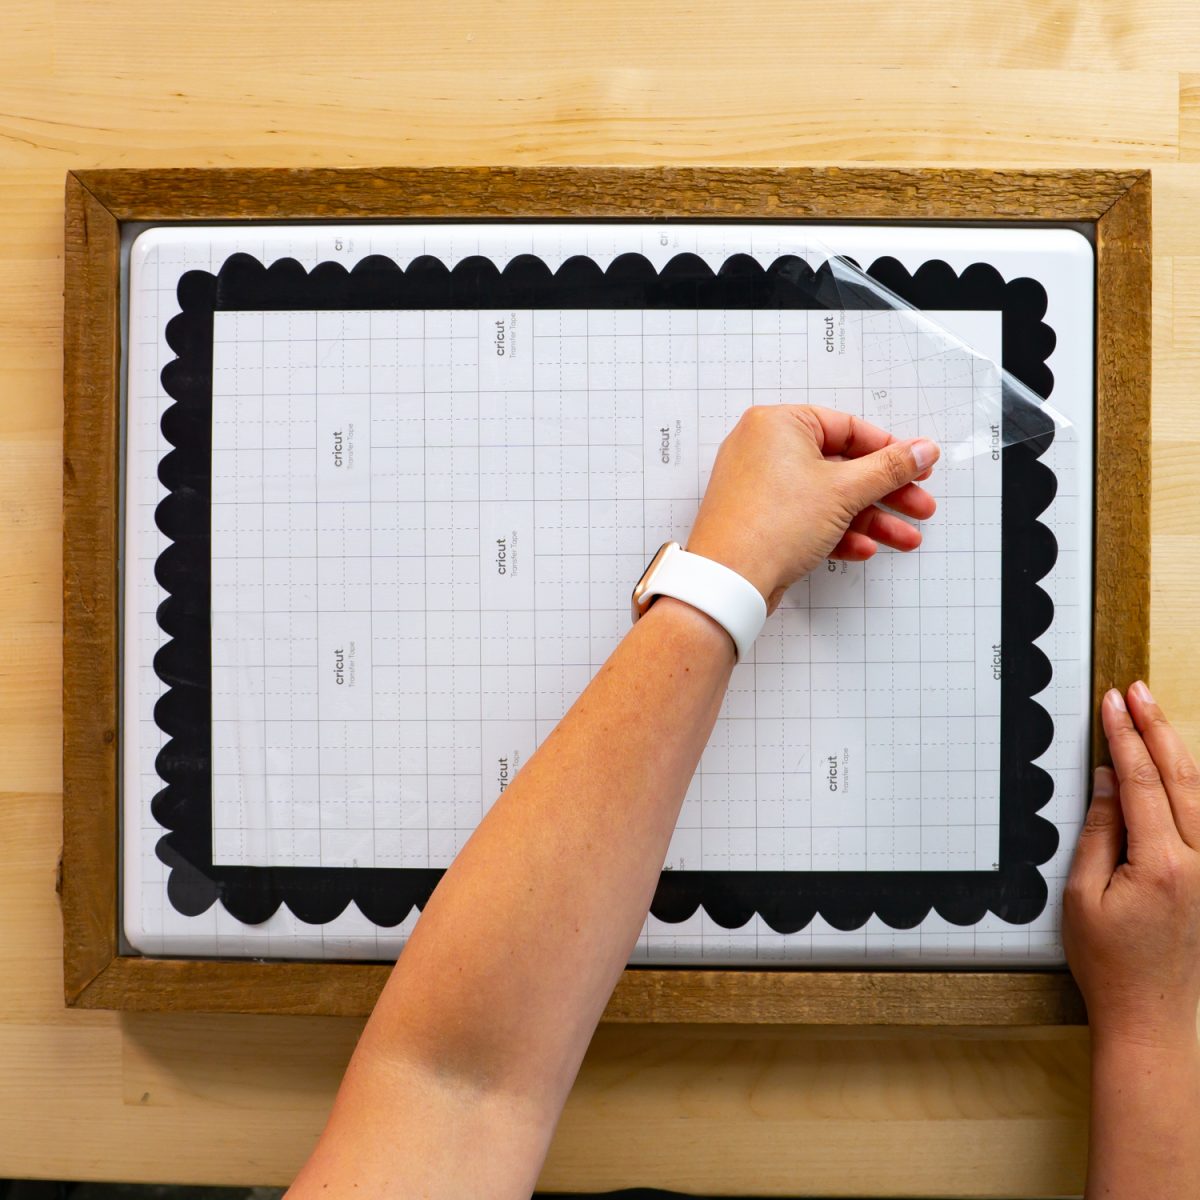
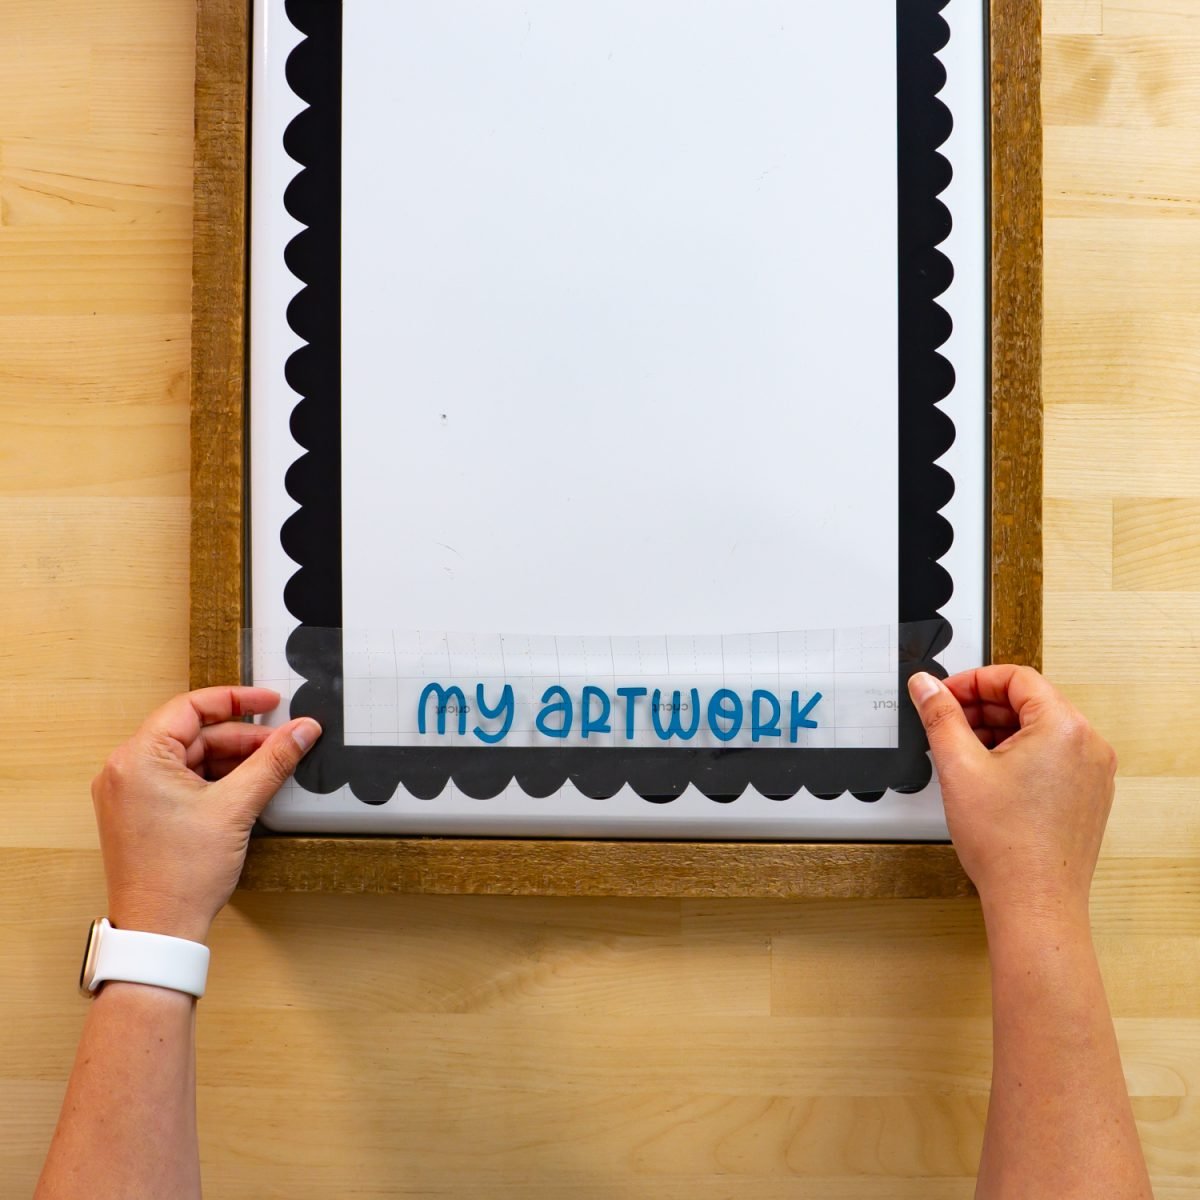
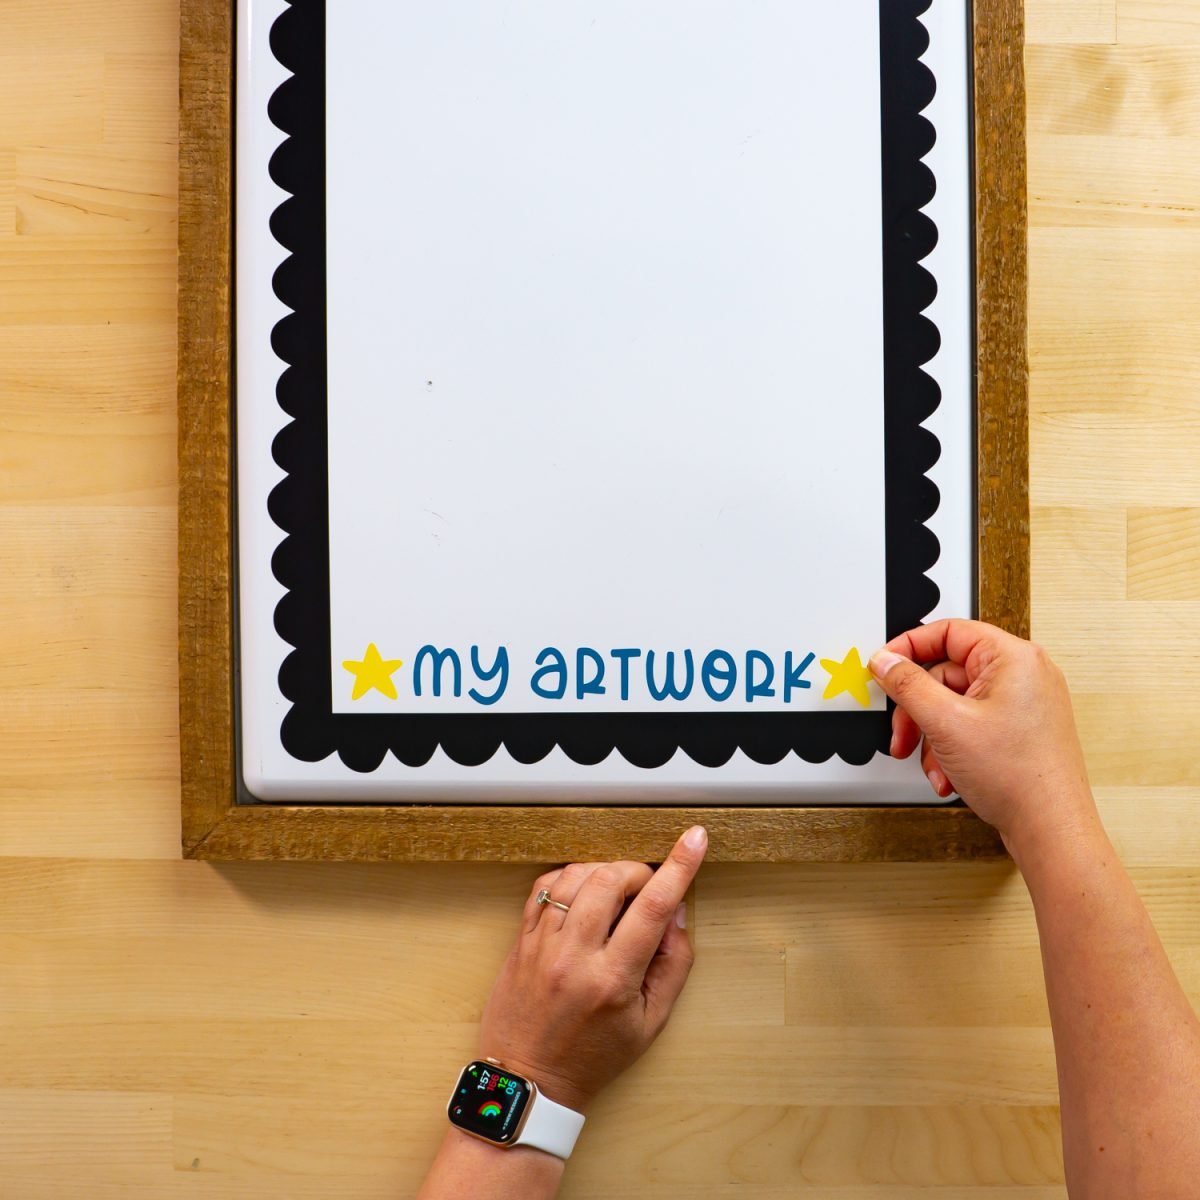
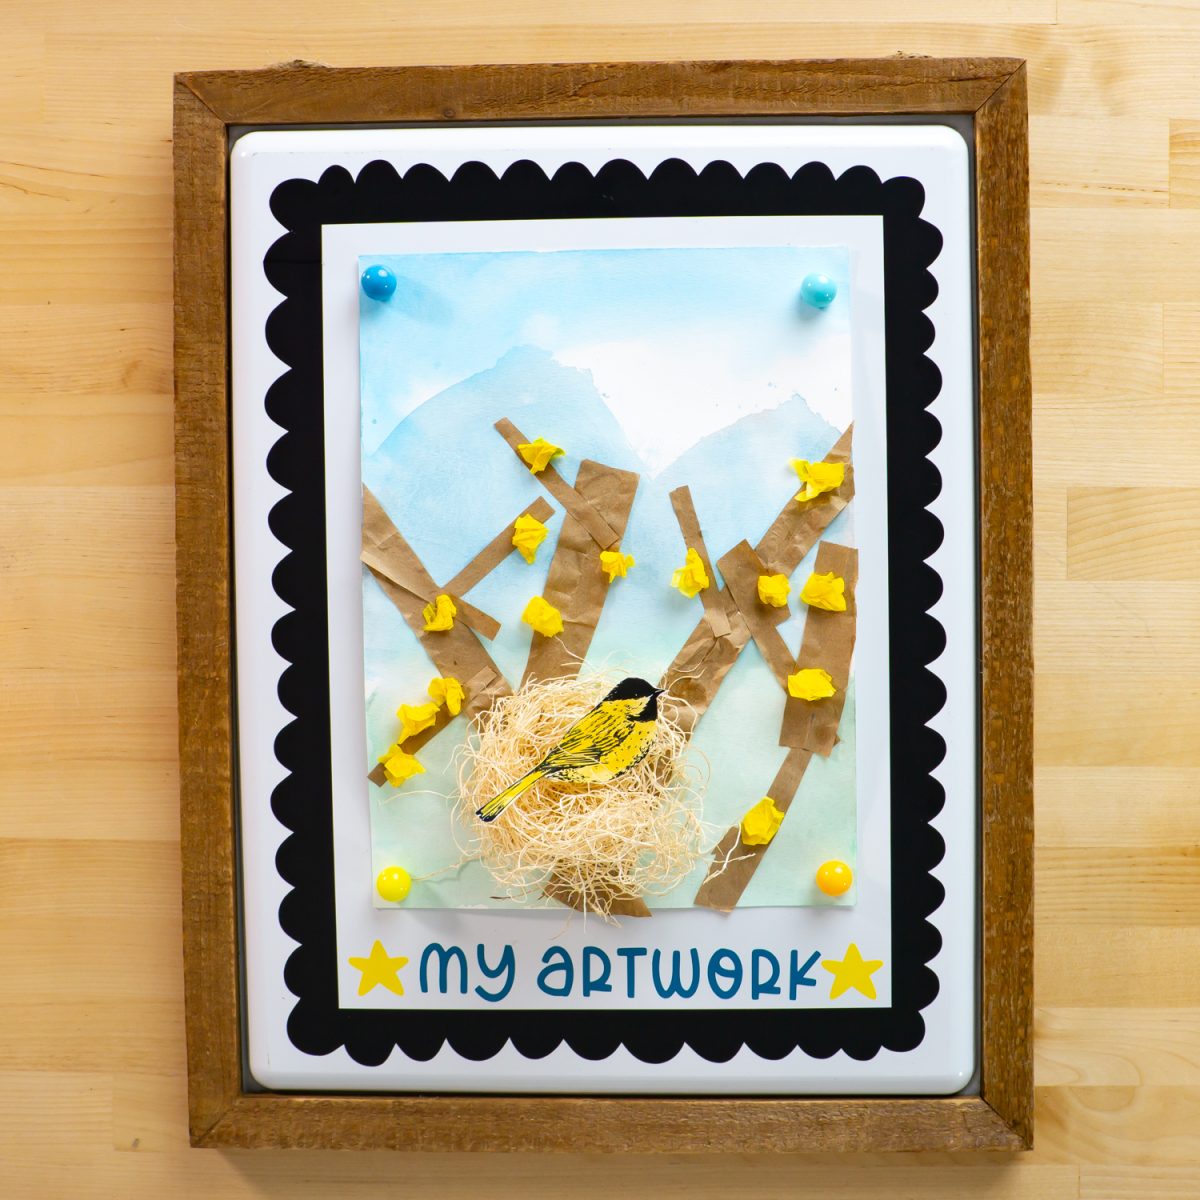
Let’s make a couple projects with Cricut Venture, starting with Smart Materials! I’m going to cut a big vinyl frame (#M4BDFCA1B) to add to a metal sign I have so that we can have a place to hang my boys’ artwork without damaging the walls. The piece of vinyl I’m cutting for the frame is larger than anything I could’ve cut on my Cricut Explore or Maker, and then I’m cutting scraps for the wording and stars to show how easy it is to cut “normal” materials as well.
Start by resizing your frame to fit your space. I am using a hanging metal sign, but you could also do a variety of frames made from vinyl on a wall! For my project, it’s 12.5″ wide. I then added some text using the Cricut font DTC Spring Break and two stars (#M4BDF6731).
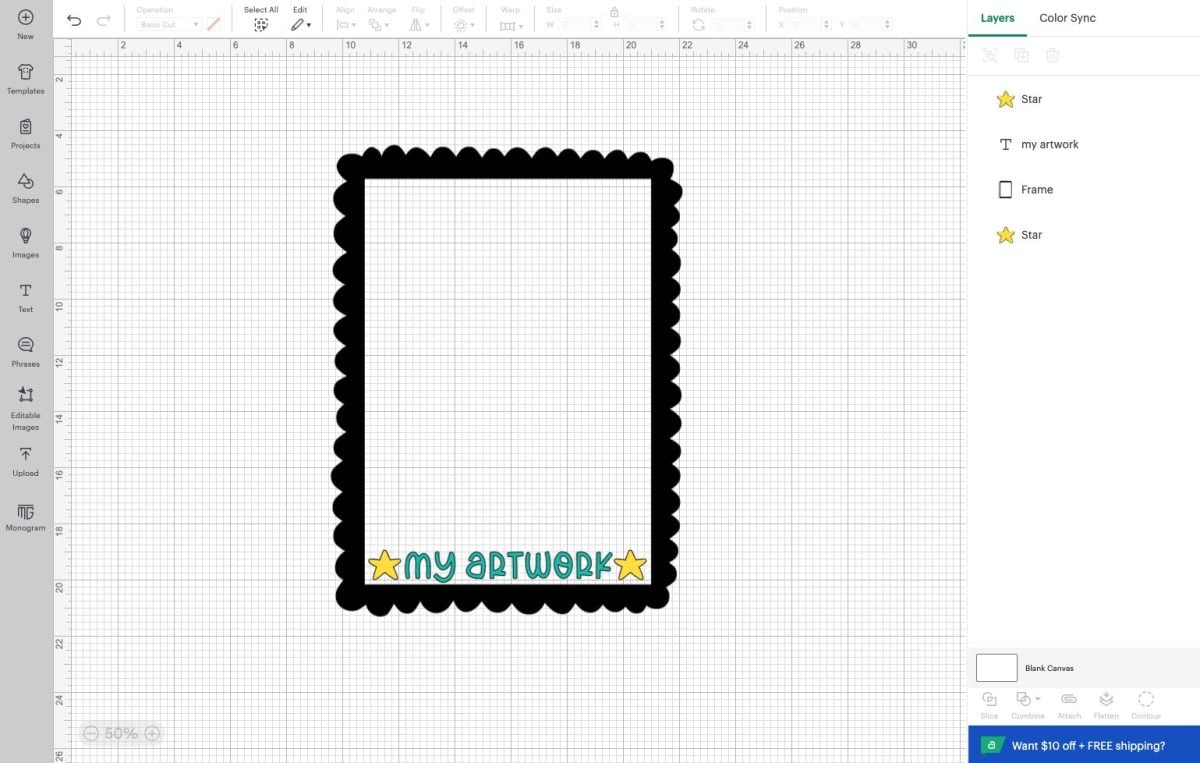
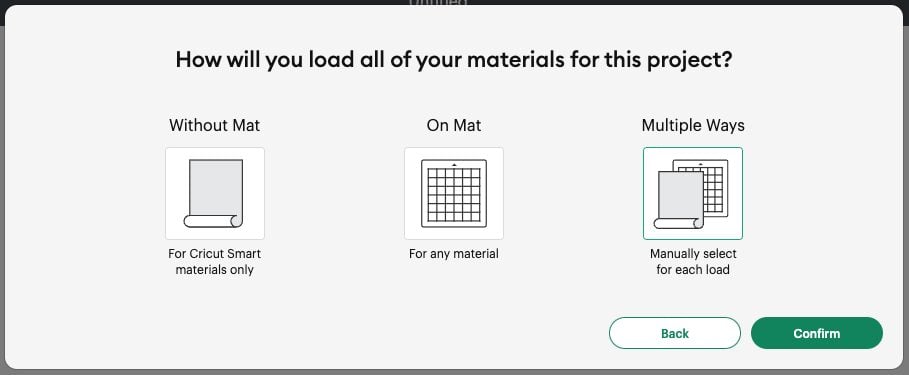
Once you have your frame(s) sized correctly. hit Make It in the upper right. For my load type, I chose Multiple Ways because I’m going to cut my large frame piece on black removable Smart Vinyl and my smaller scrap pieces on a 12″ x 24″ mat.
In the Prepare Screen, you’ll see your images laid out on the different materials and mats. Use the tools in the left sidebar to change any mat load settings you’d like (I changed my blue and teal layers to cut on a mat).
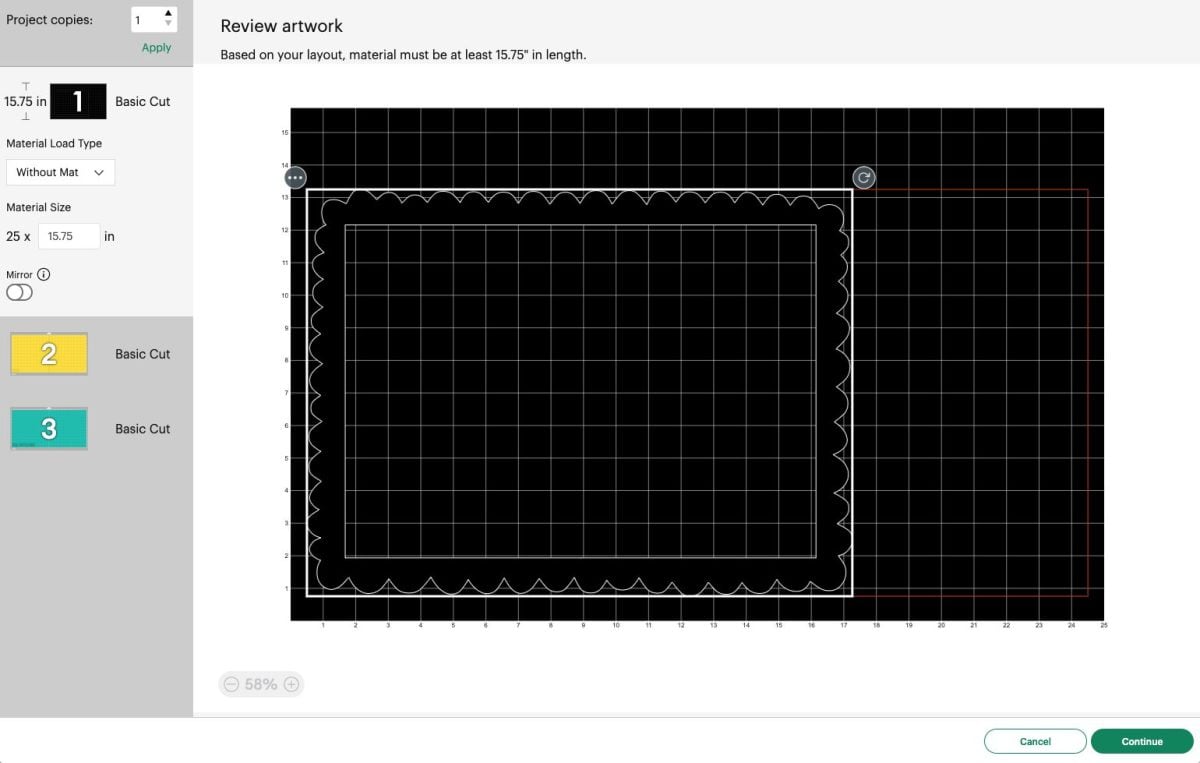
In the Make Screen, select your material. Cricut Design Space will prompt you for everything you need to do. Note that these images may change as Design Space is updated in the future.
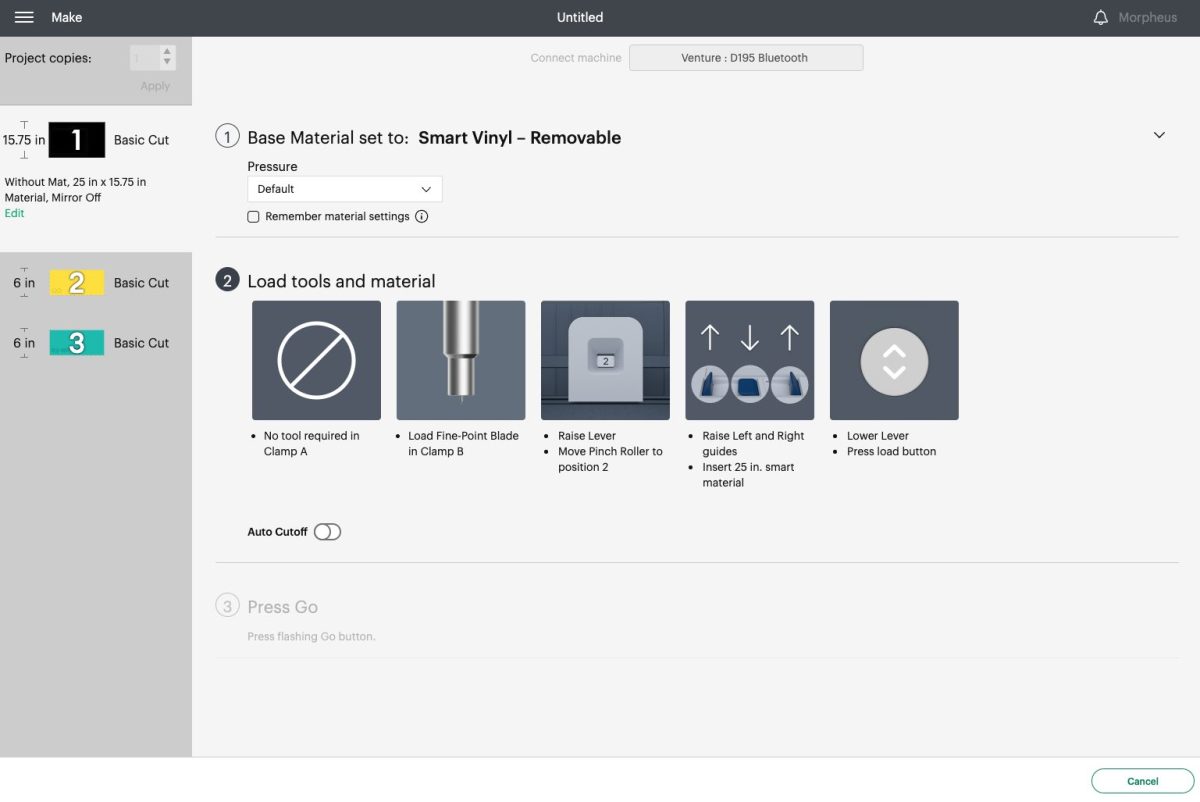
First, make sure you have the correct blade inserted into the B-Clamp of your machine.
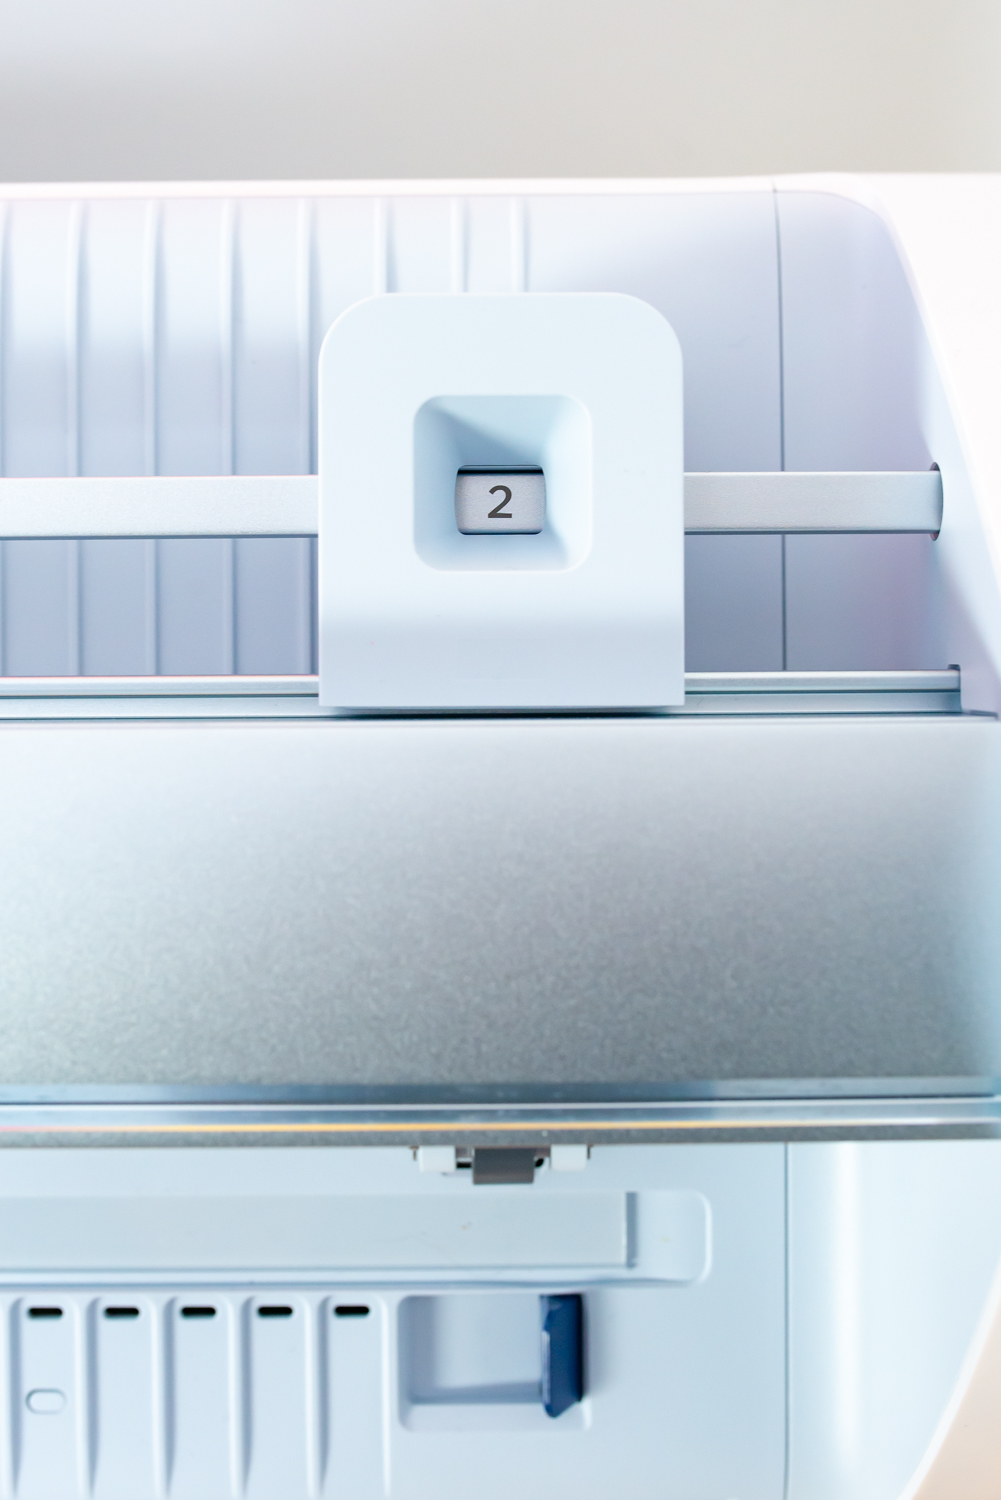
Raise the lever on the left. Slide the right pinch roller to the right so it is on position number 2. You will not be able to slide the pinch roller unless the lever is open.
Then look at the dark blue guides on the floor of the machine. You will want the two on the right and left to be open, and the center to be closed.
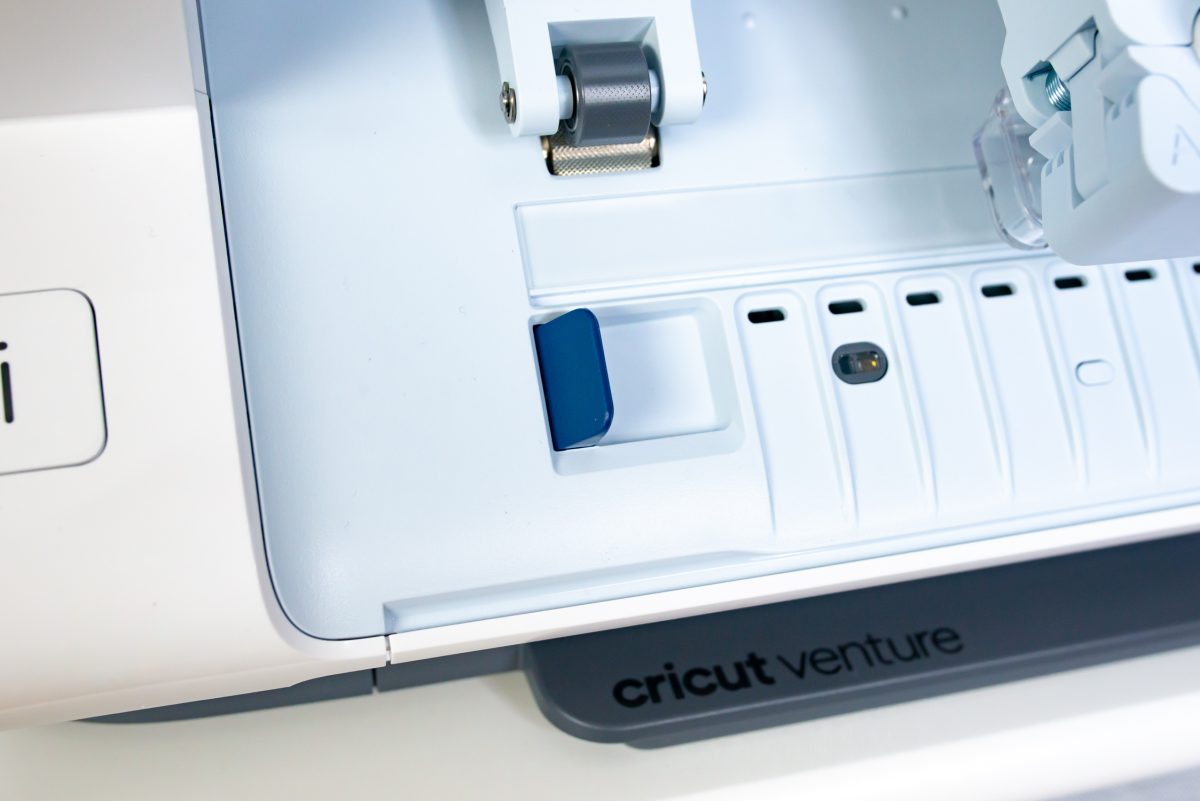
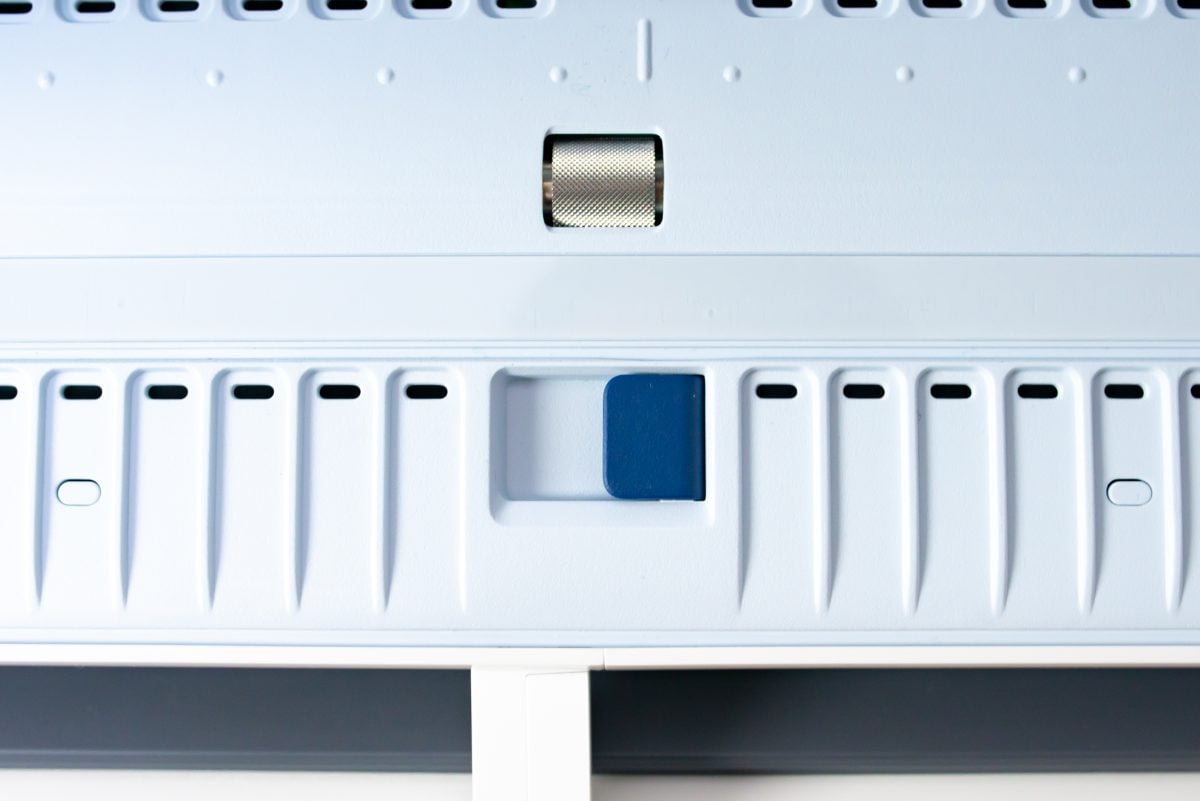
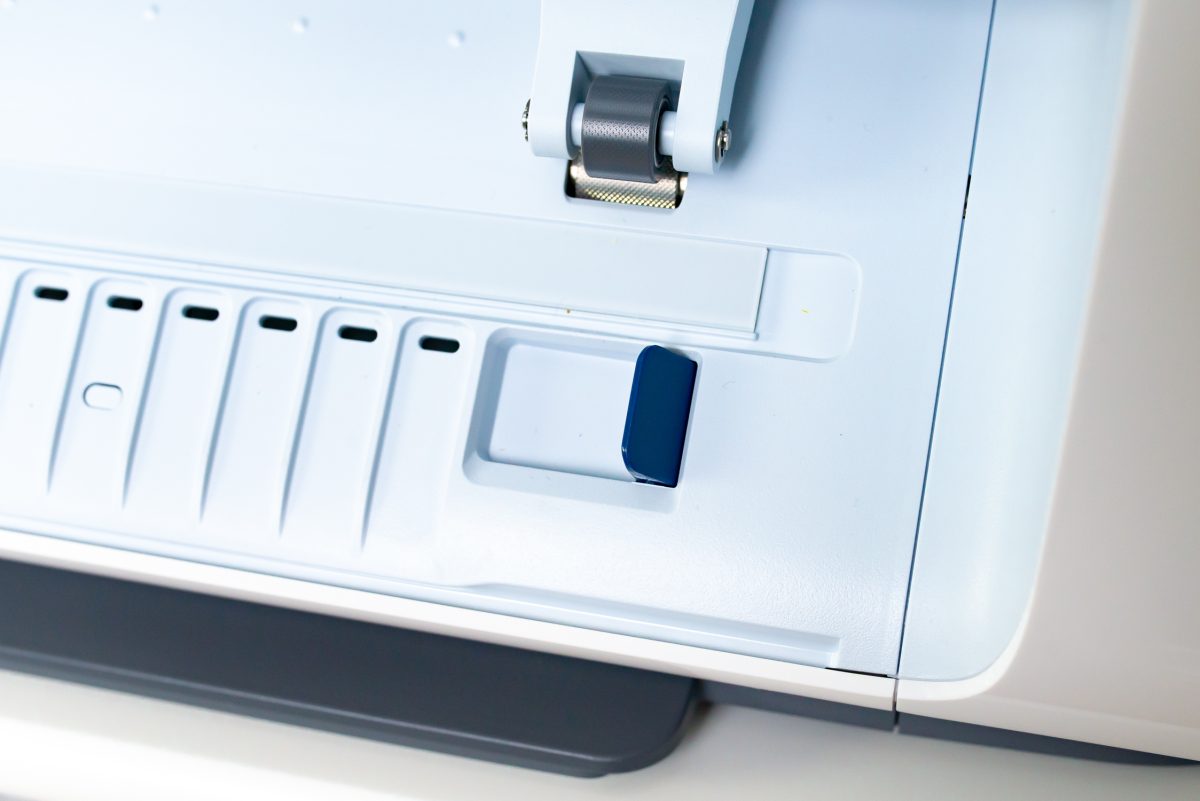
Next you’re going to insert your Smart Vinyl into your machine. If you have the Docking Stand, there is a set of rollers on the back where you can put your roll. If you don’t, Cricut Venture comes with smaller roll holders that can be attached to the back of the machine to hold your roll. Feed the vinyl in over the top of the machine and under the guides. You want the vinyl to just cover the sensor on the lower left.
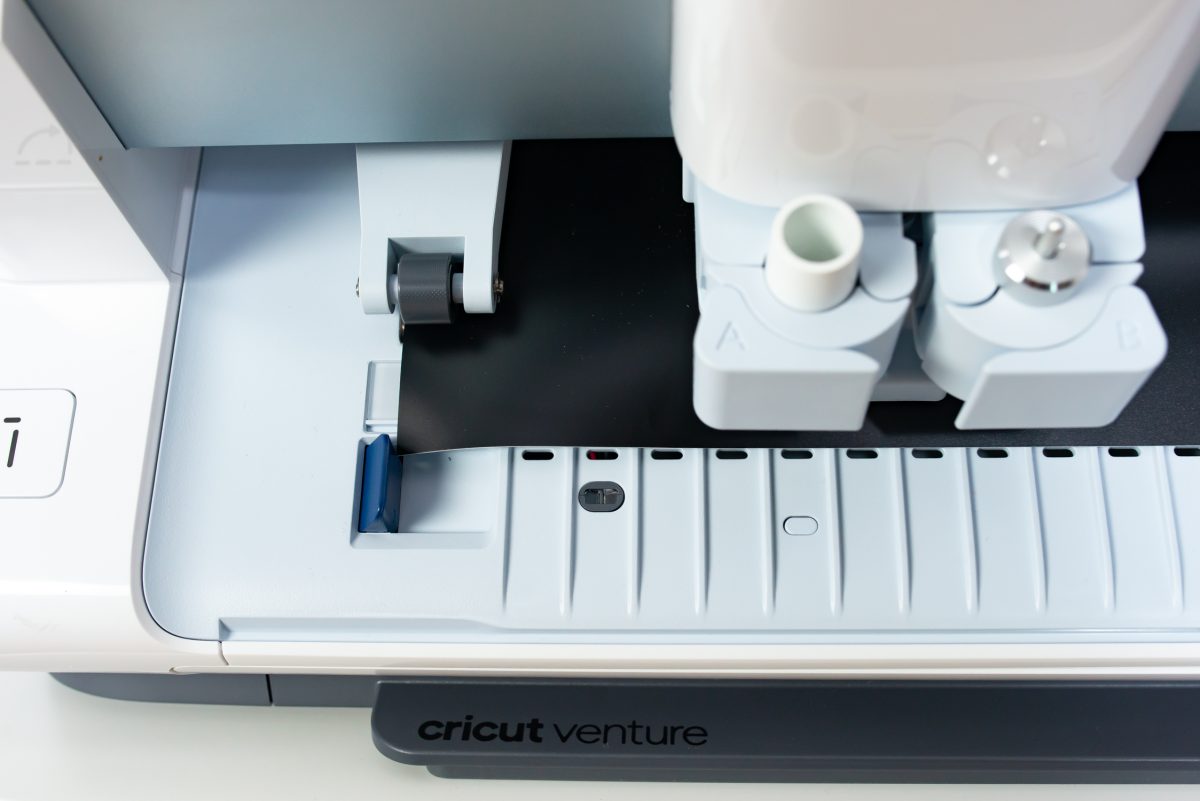
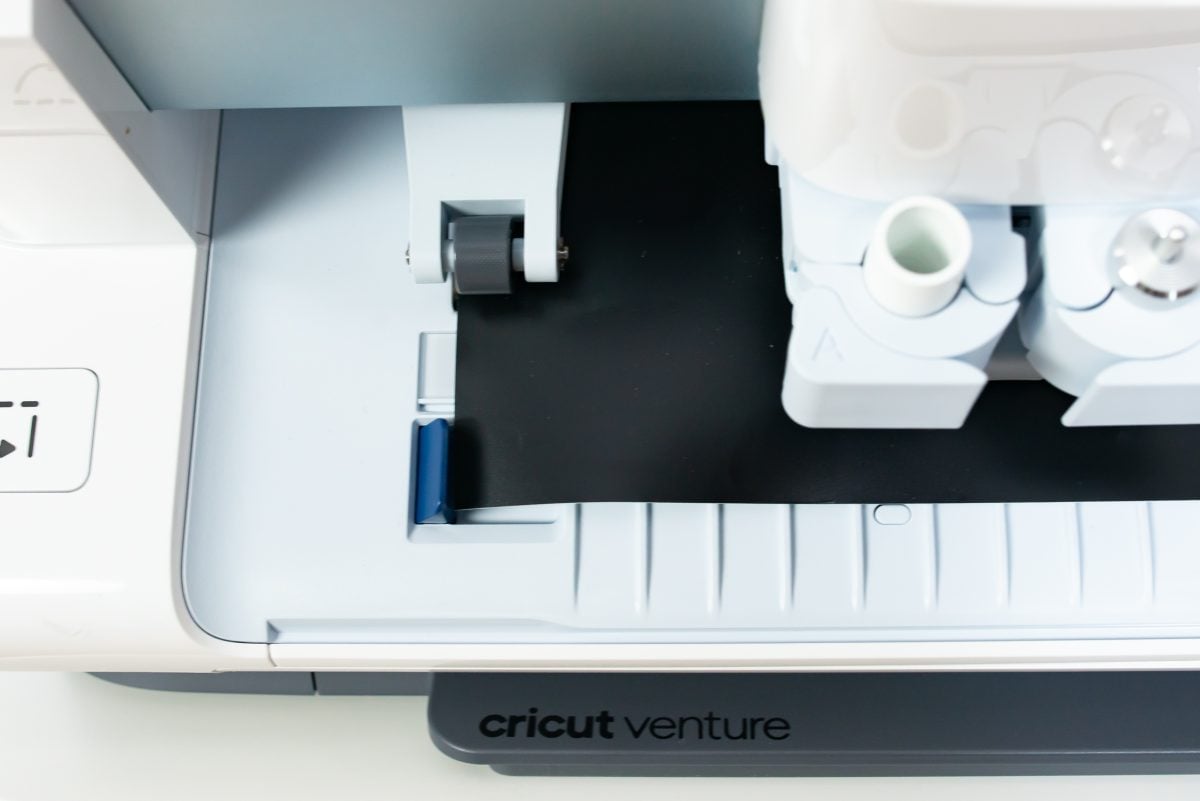
Lower the lever on the left to secure your material.
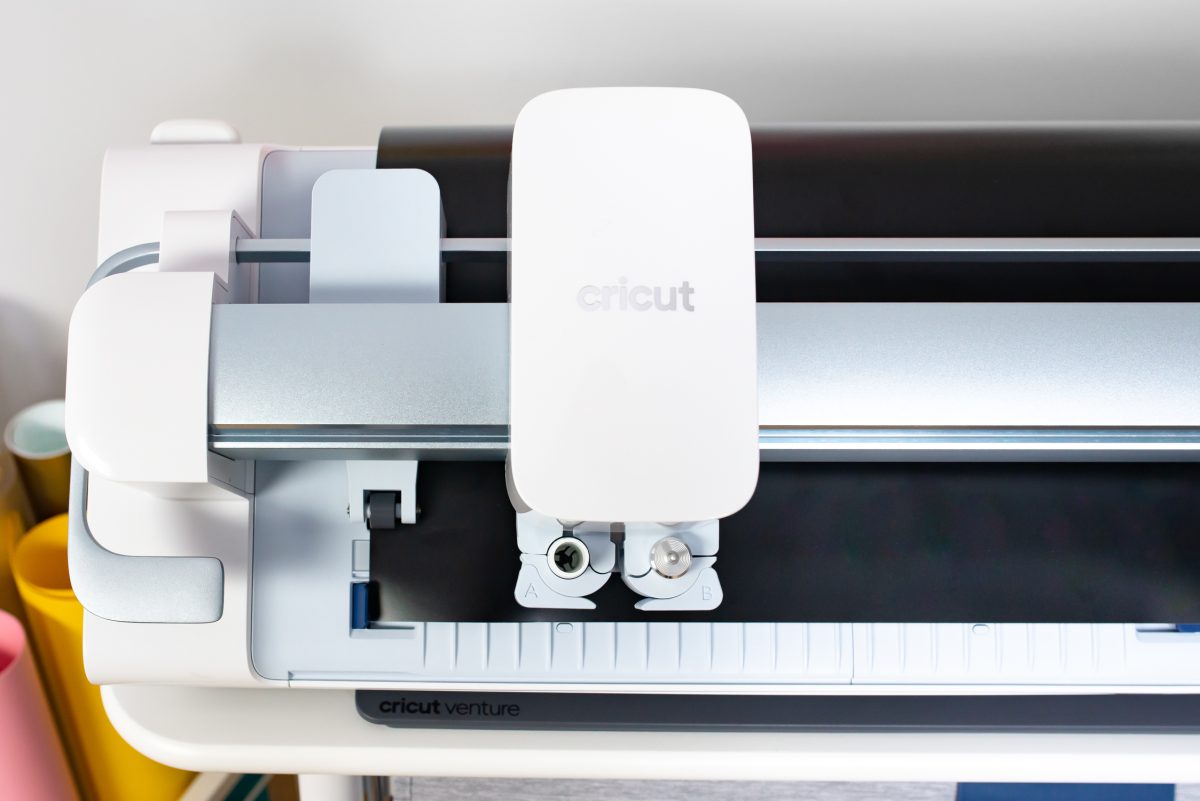
Now you’re ready to cut! Hit the Load button on the machine and your Cricut will confirm you have enough material to make your project. Then hit the blinking play button to cut your project! To cut the two images on a mat, see the next section.
Next you’re going to assemble your project! This post is already SO long, so for more information on the assembly process, check out. my post How to Use Adhesive Vinyl with a Cricut!
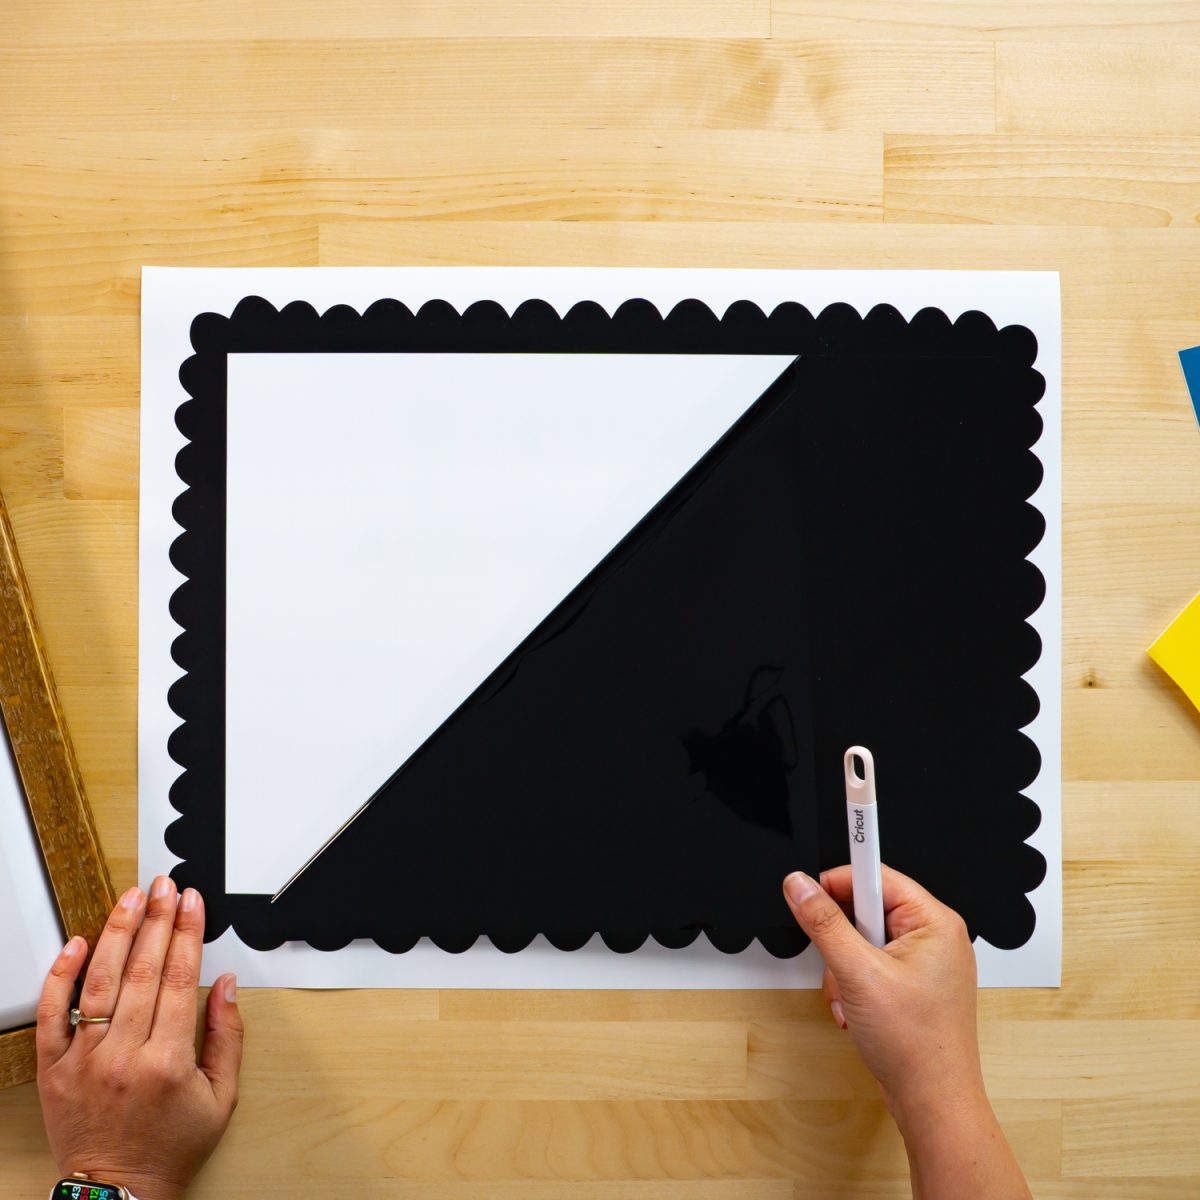
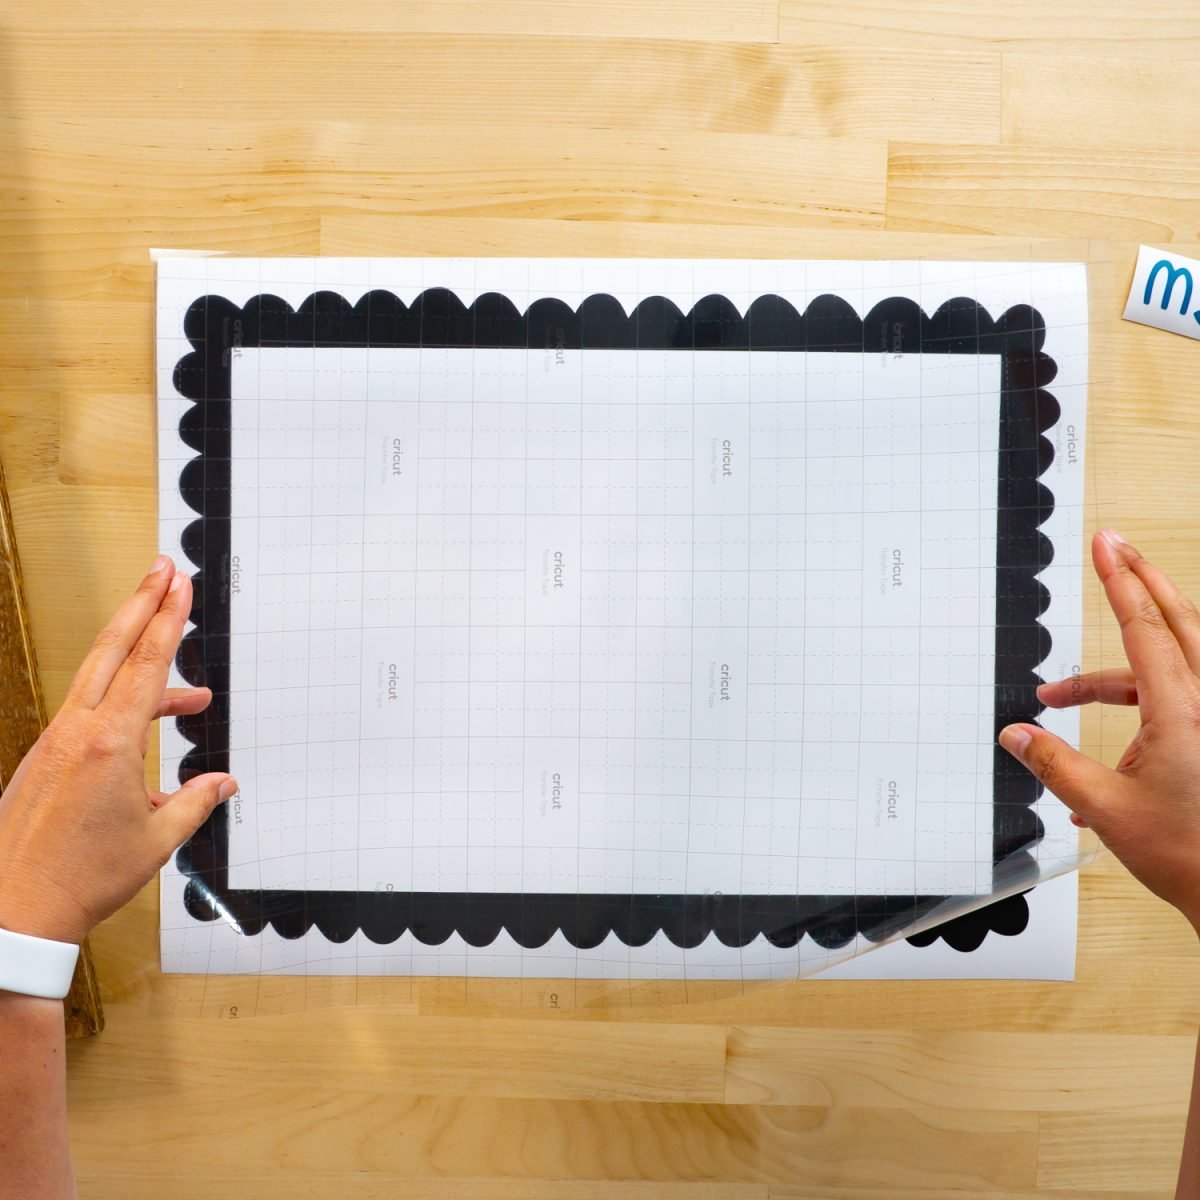
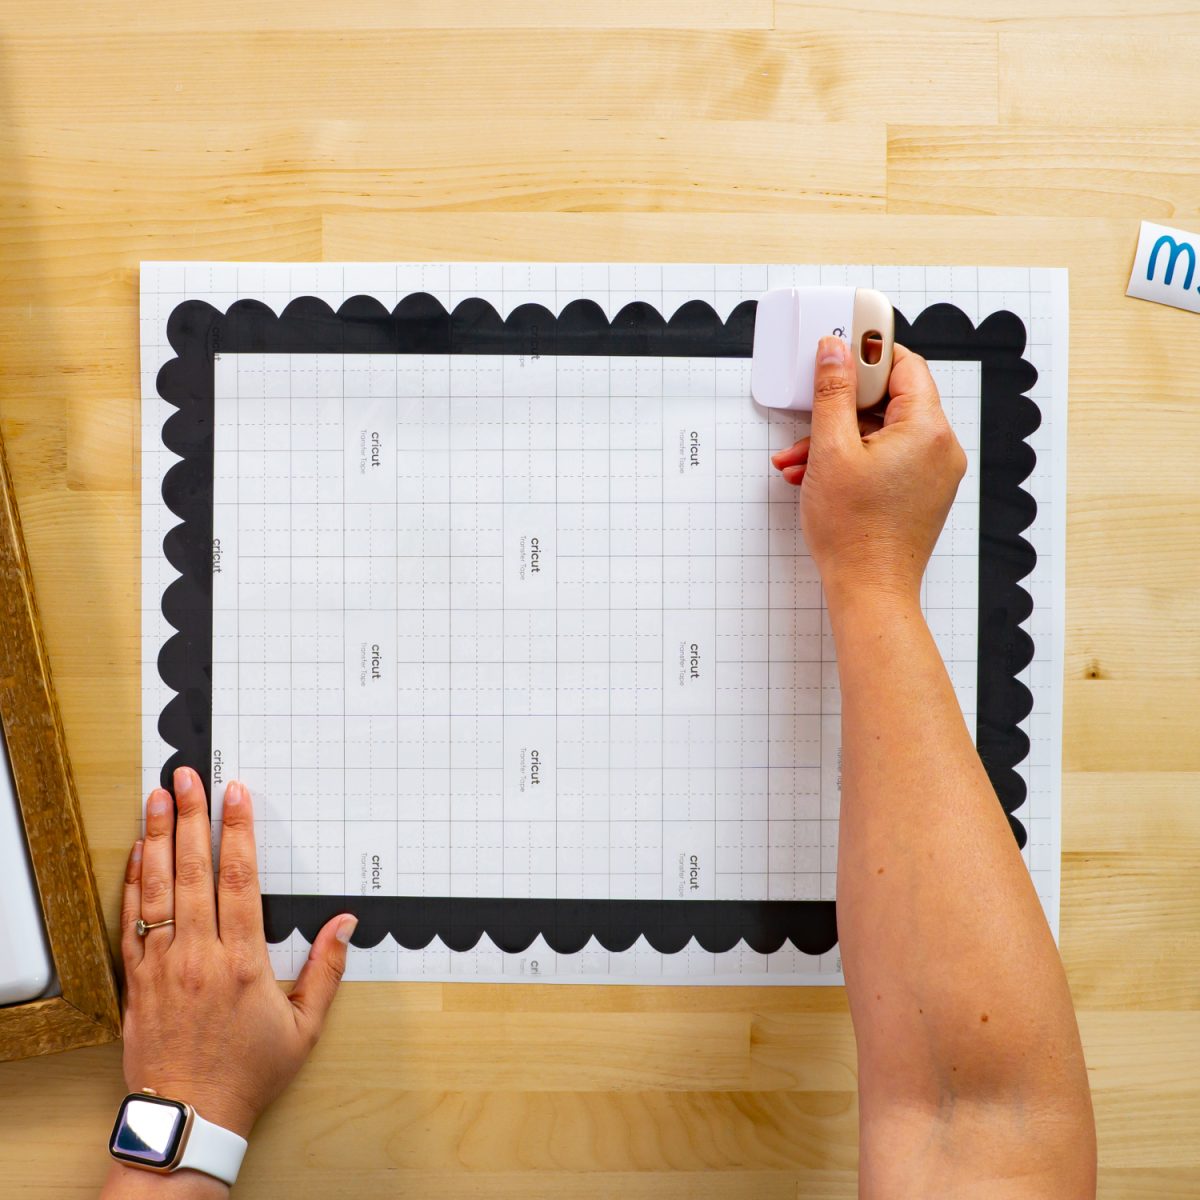
How to Cut Using a Mat in Cricut Venture
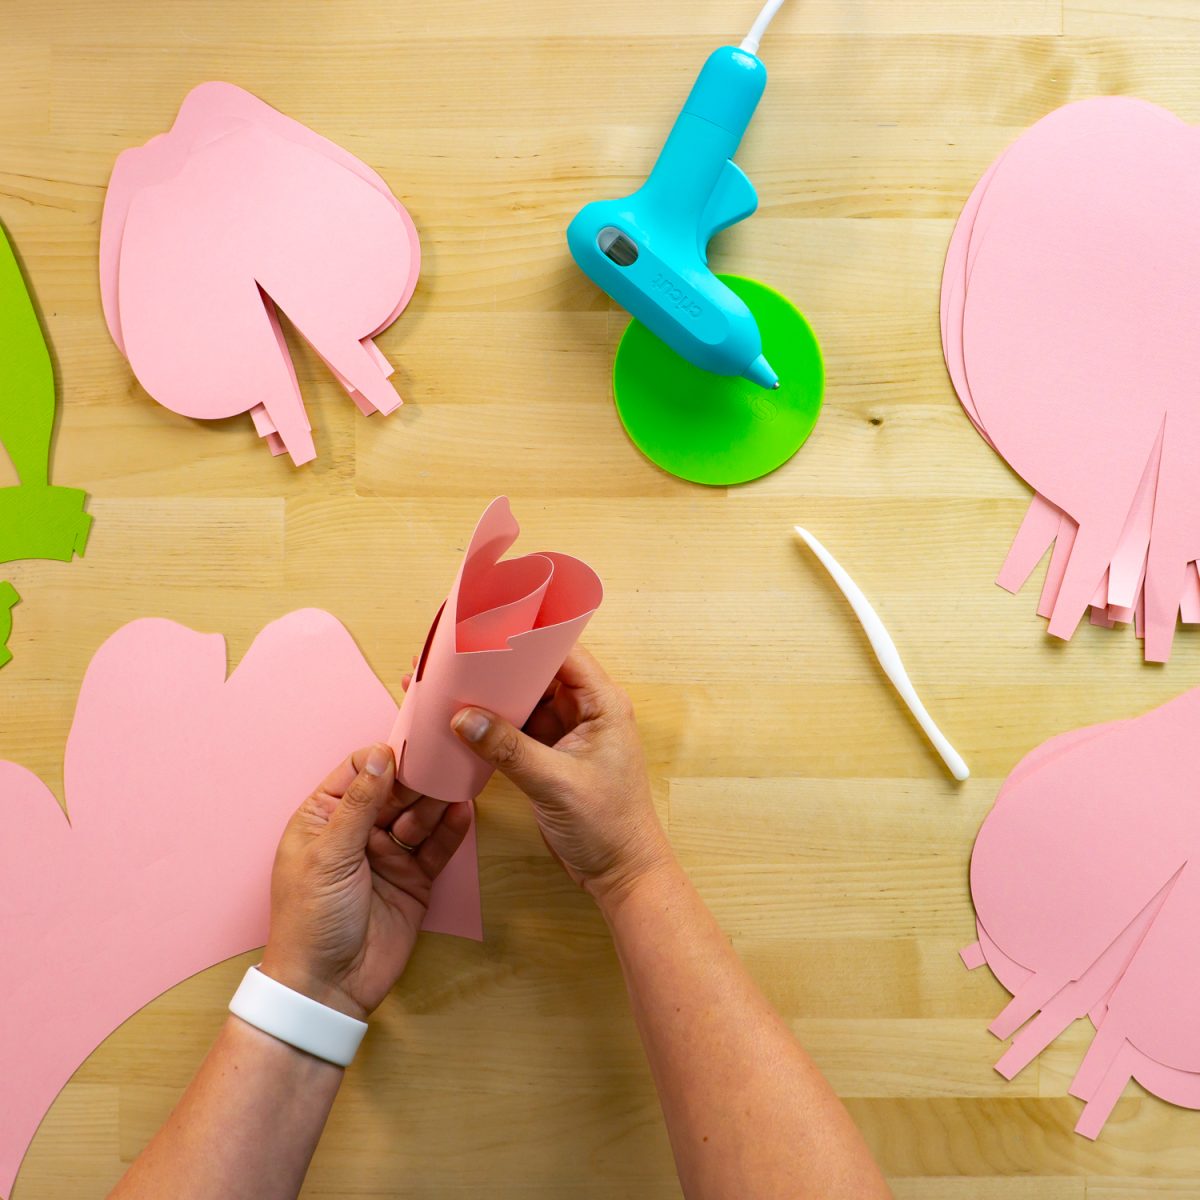
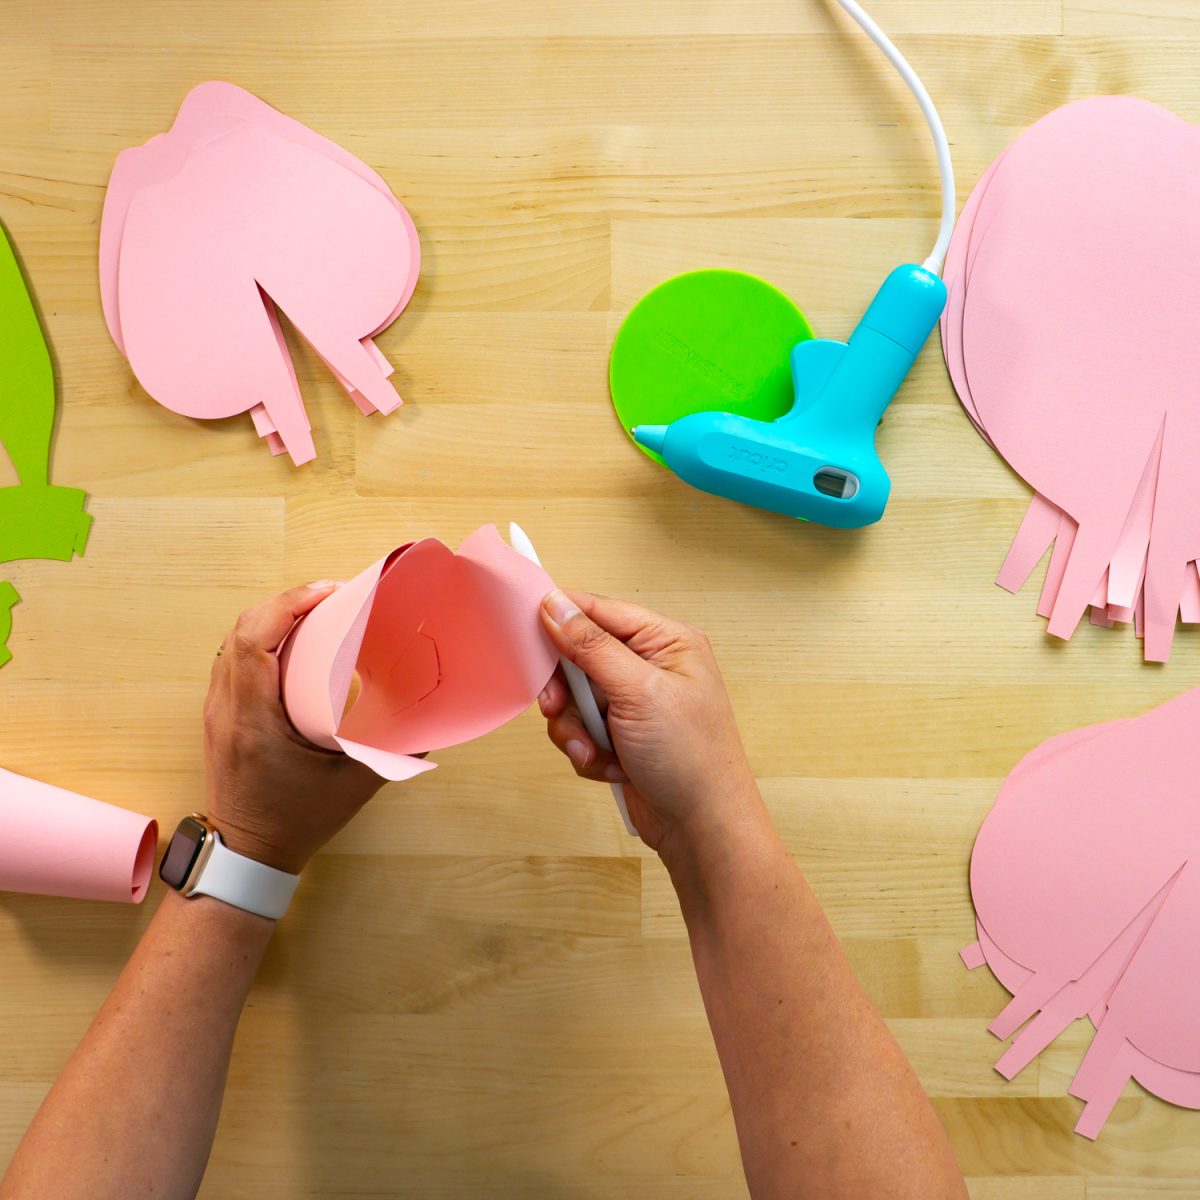
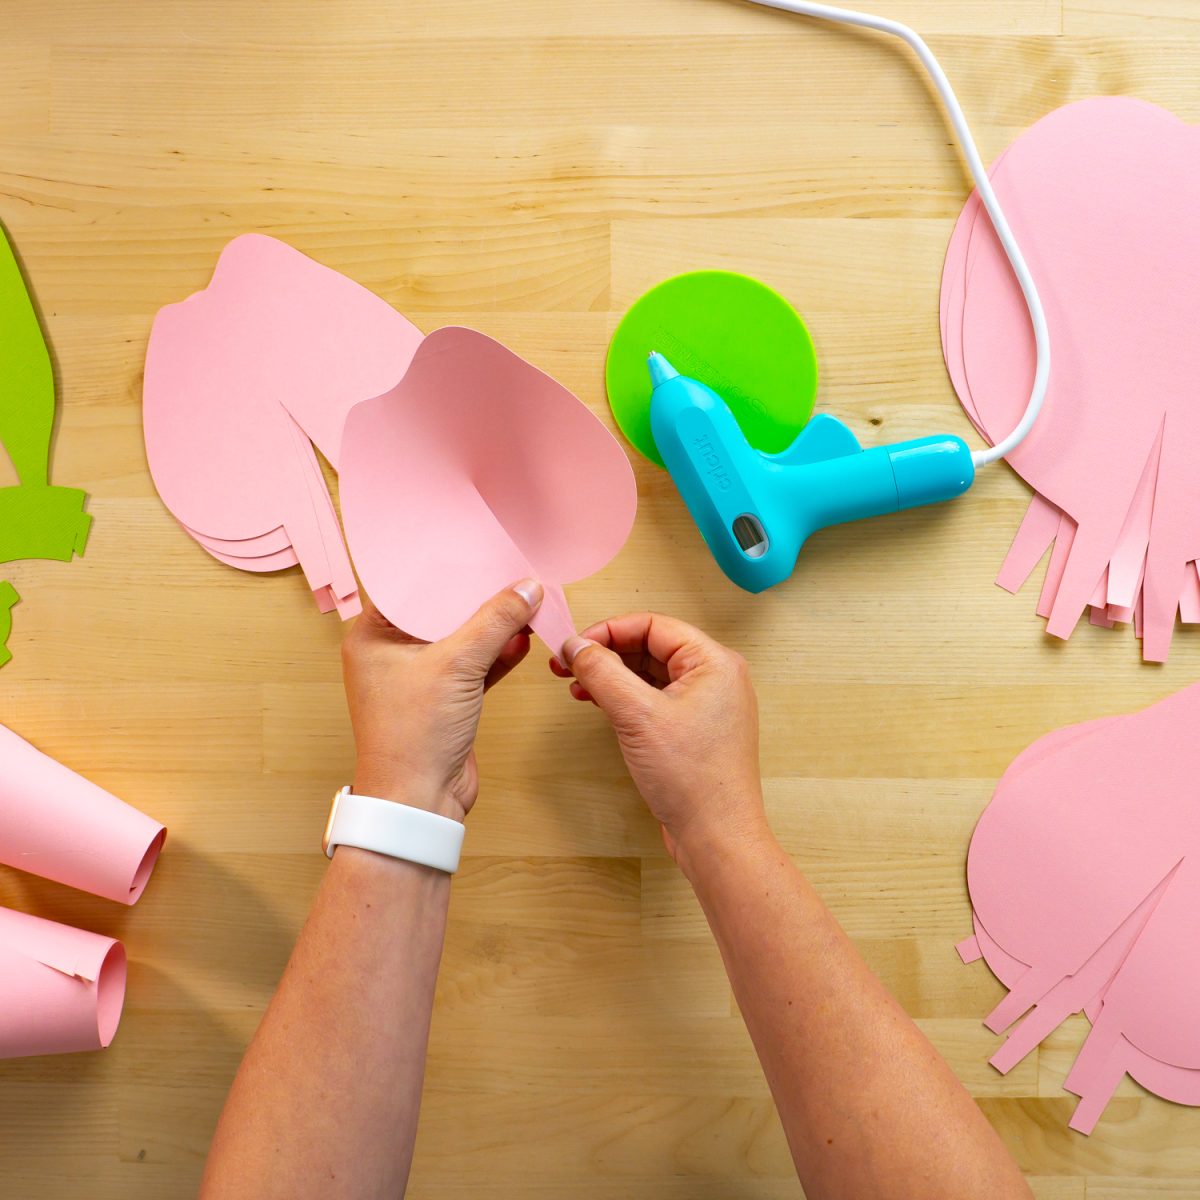
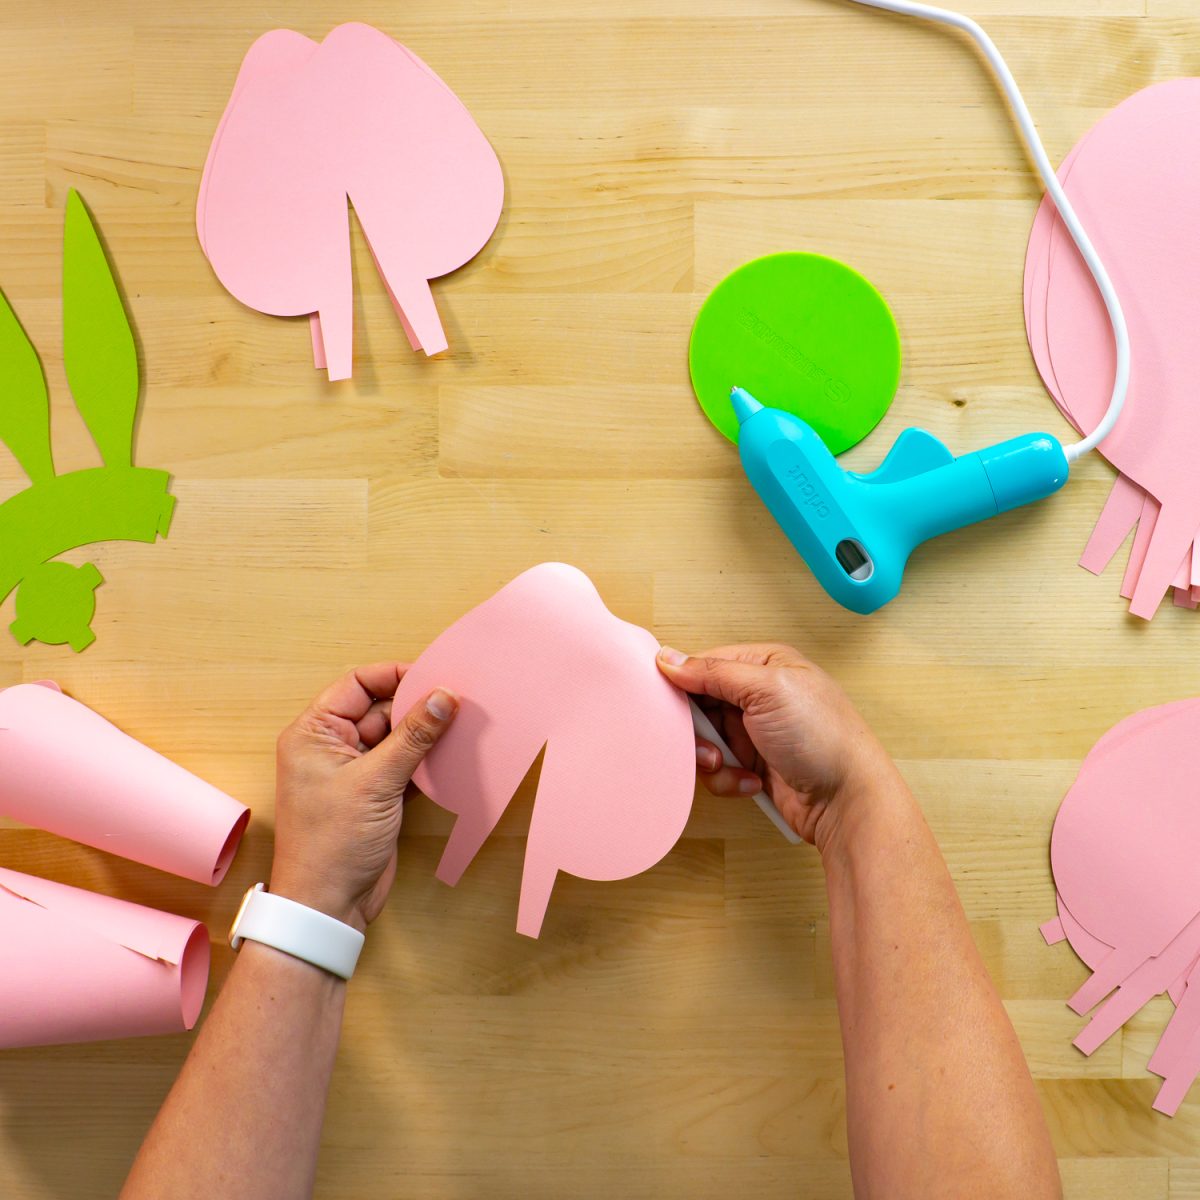
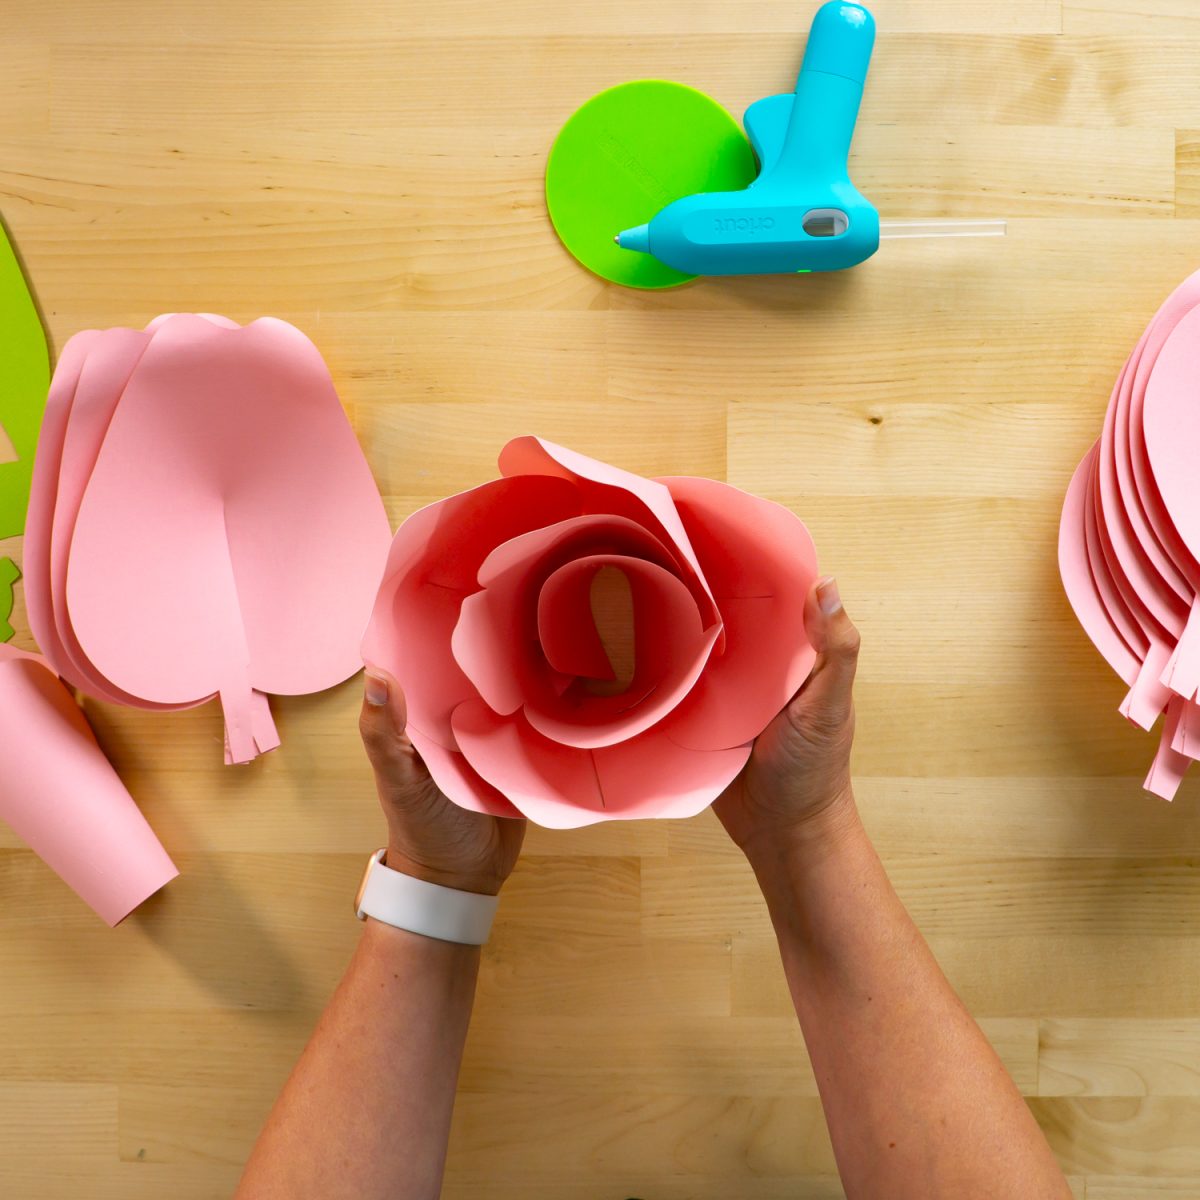
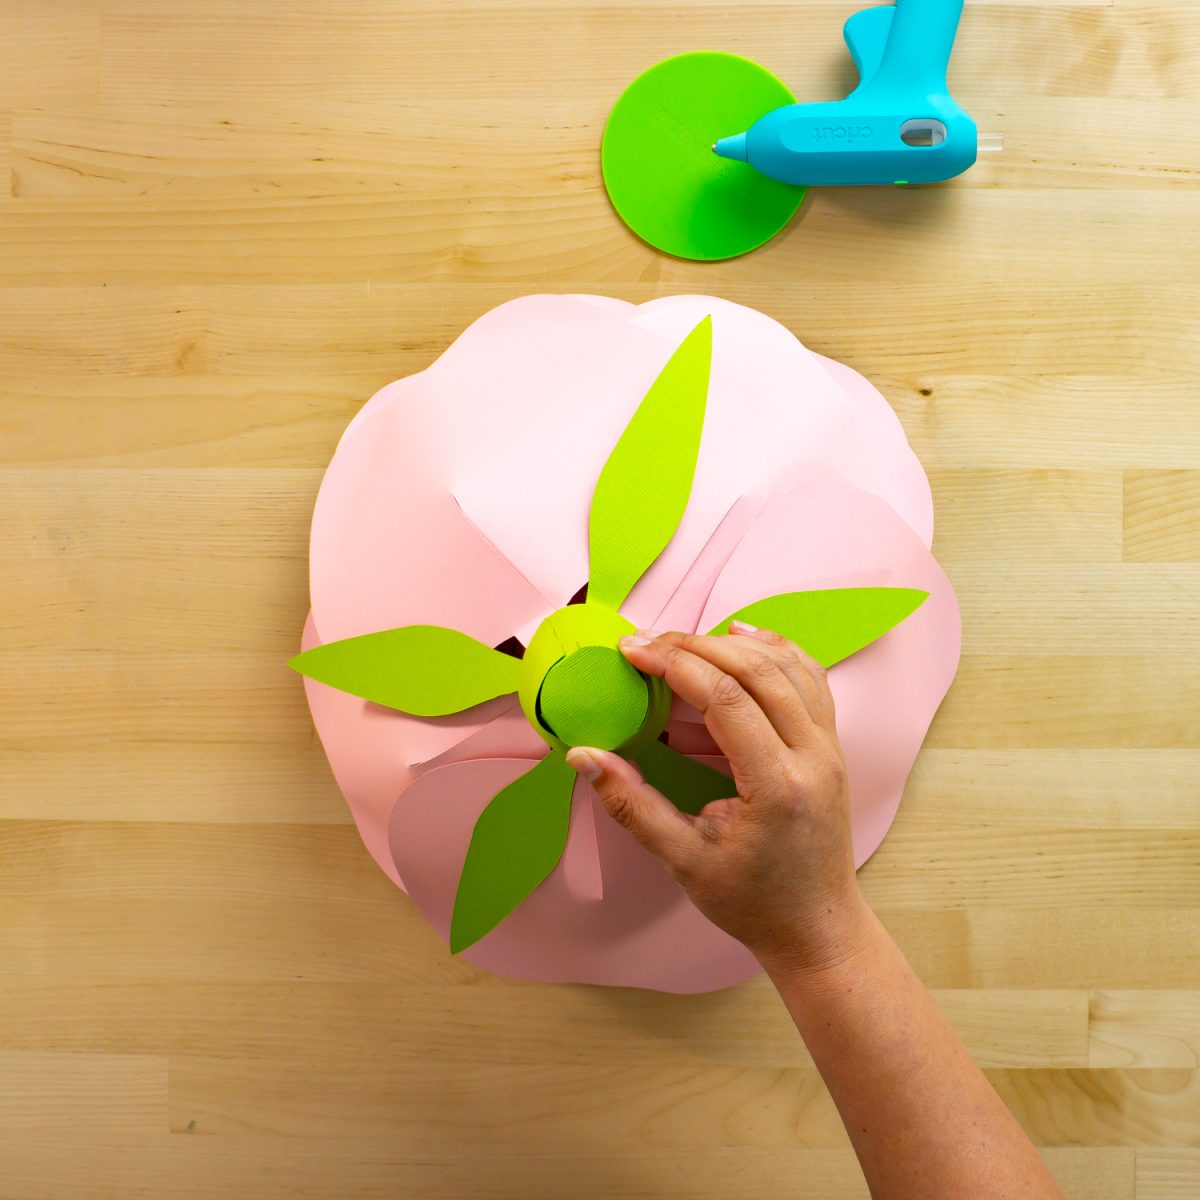
Let’s cut a cardstock project using Cricut Venture. Let’s make a giant paper flower (#M46FF0) using the new 24″ x 28″ Cricut cardstock. I sized this flower to fit on two pieces of this large cardstock (just using trial and error until it was the size I needed it to be), but you could cut it even larger if you had enough cardstock sheets!
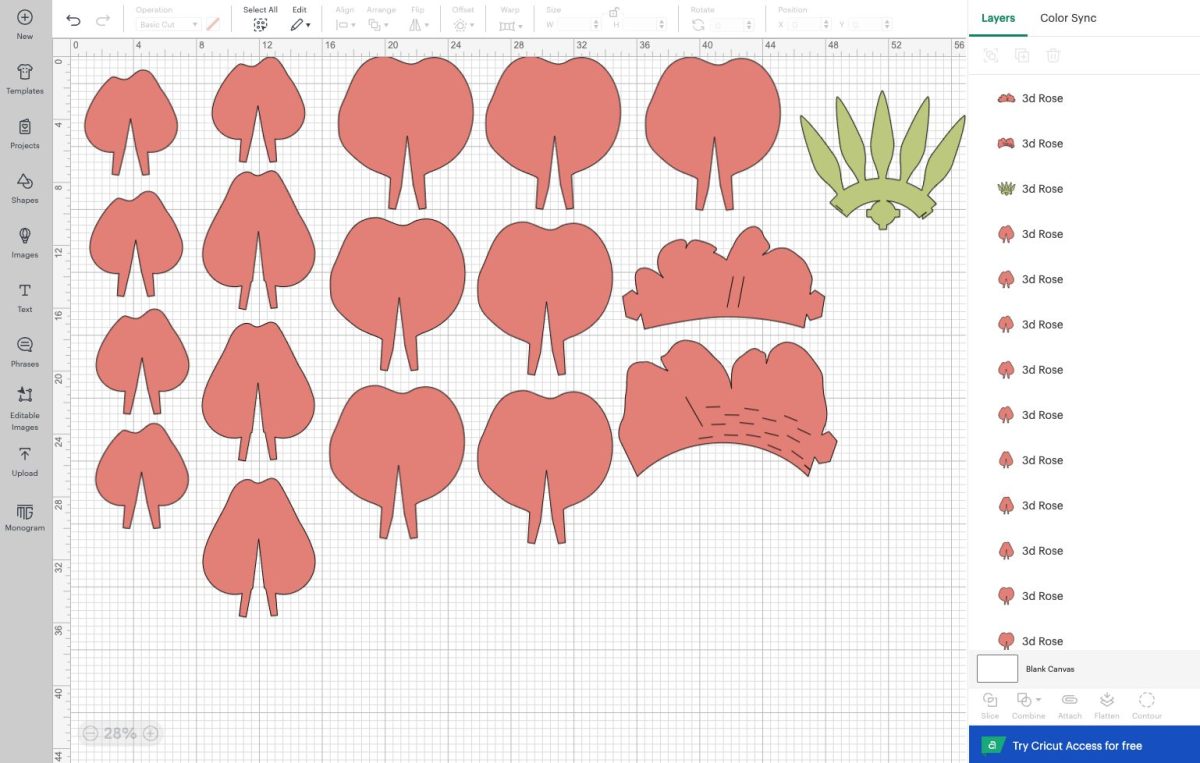
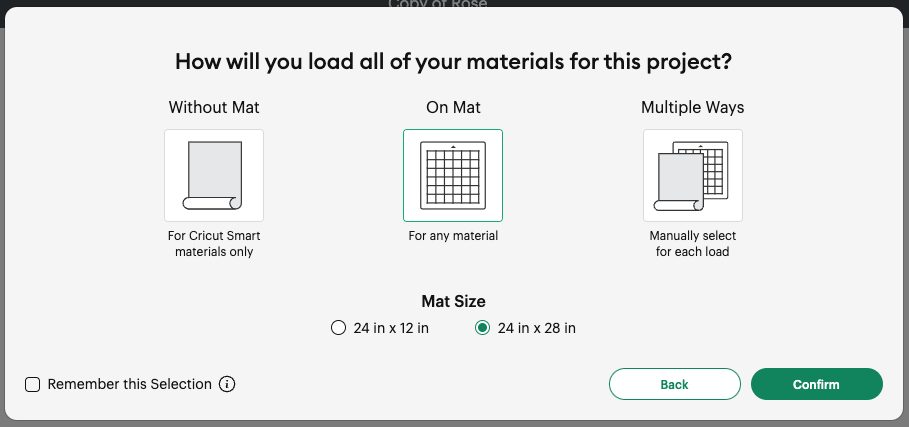
Once you have your flower sized correctly, hit Make It in the upper right. I chose On Mat as my load type, and selected the 24″ x 28″ mat.
In the Prepare Screen, I did a little rearranging to fit all of my flower petals on two mats.
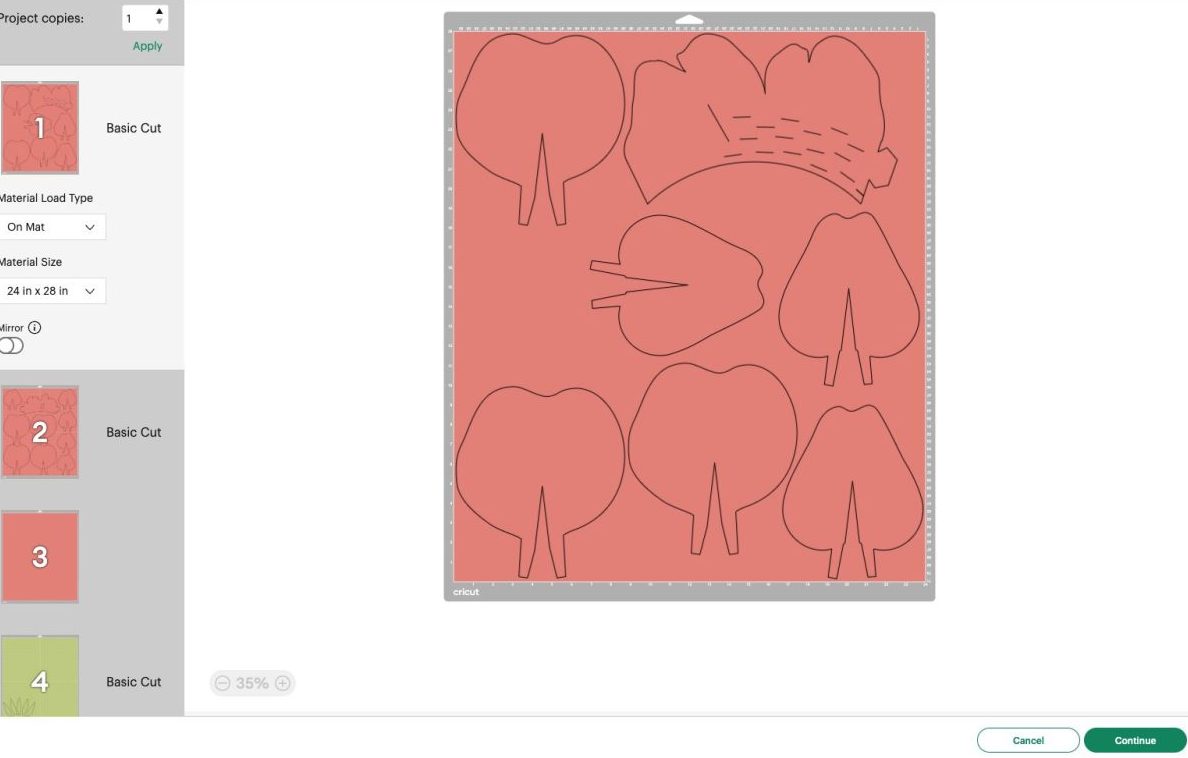
Then it’s time to cut! Place the first sheet of cardstock on the mat. I prefer the blue LightGrip mat for cardstock, but you can use the green StandardGrip mat as well.
Select your material. Cricut Design Space will prompt you for everything you need to do. Note that these images may change as Design Space is updated in the future.
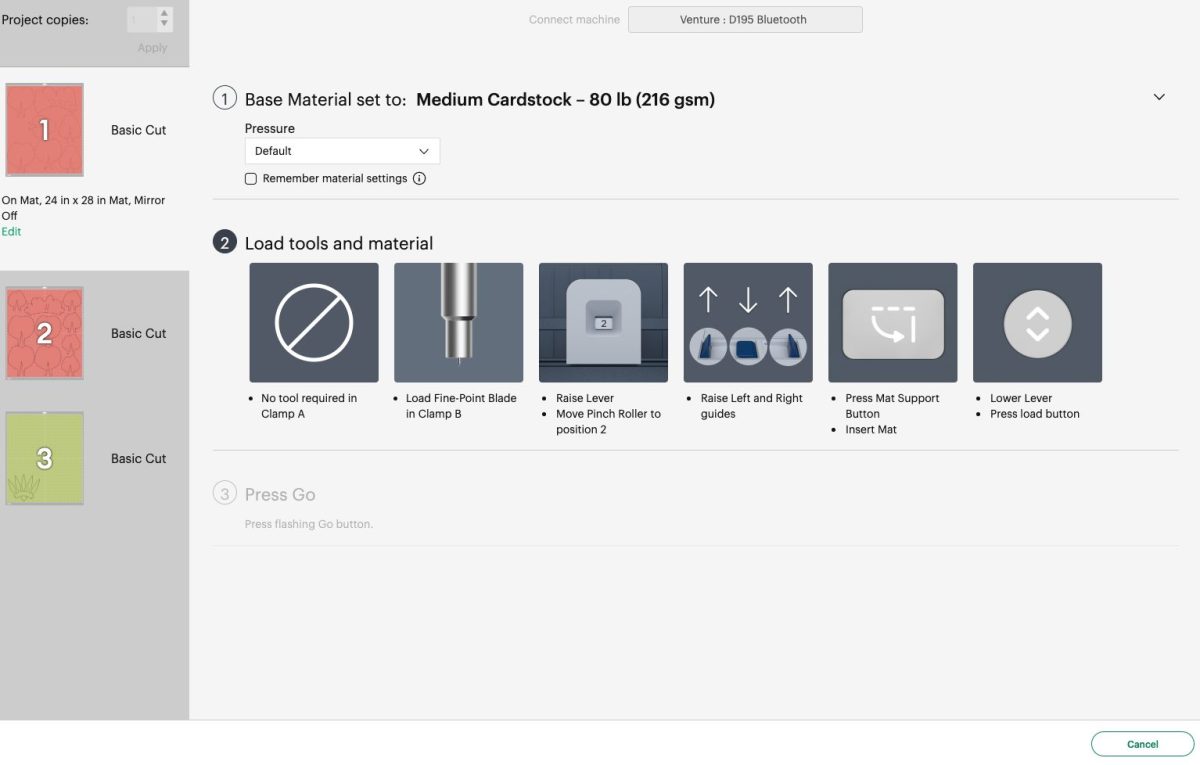
First, make sure you have the correct blade inserted into the B-Clamp of your machine.
Raise the lever on the left. Slide the right pinch roller to the right so it is on position number 2, as we did above for the vinyl. Also make sure that dark blue guides on the right and left are open, and the center guide is closed.
Then look at the dark blue guides on the floor of the machine. You will want the two on the right and left to be open, and the center to be closed.
You’ll also need to use the Mat Supports. Push the Mat Support Button on the lower left of the machine. This will extend the two mat support arms as well as raise the mat stops. Add the extra mat support extension pieces by clicking them into place.

Now you’re ready to slide your mat into the machine. There are small mat guides at the top of the floor of the machine—slide your mat underneath those guides until it comes to rest on the mat stops. Lower the lever.
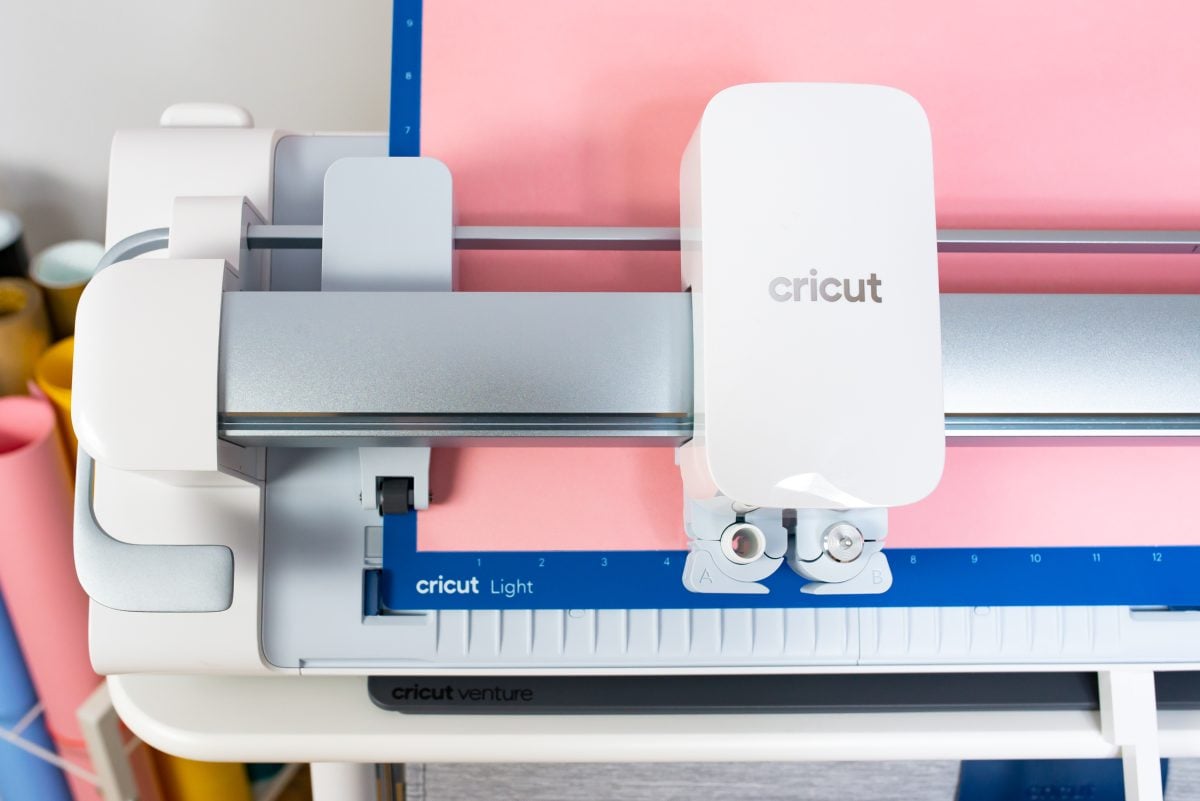
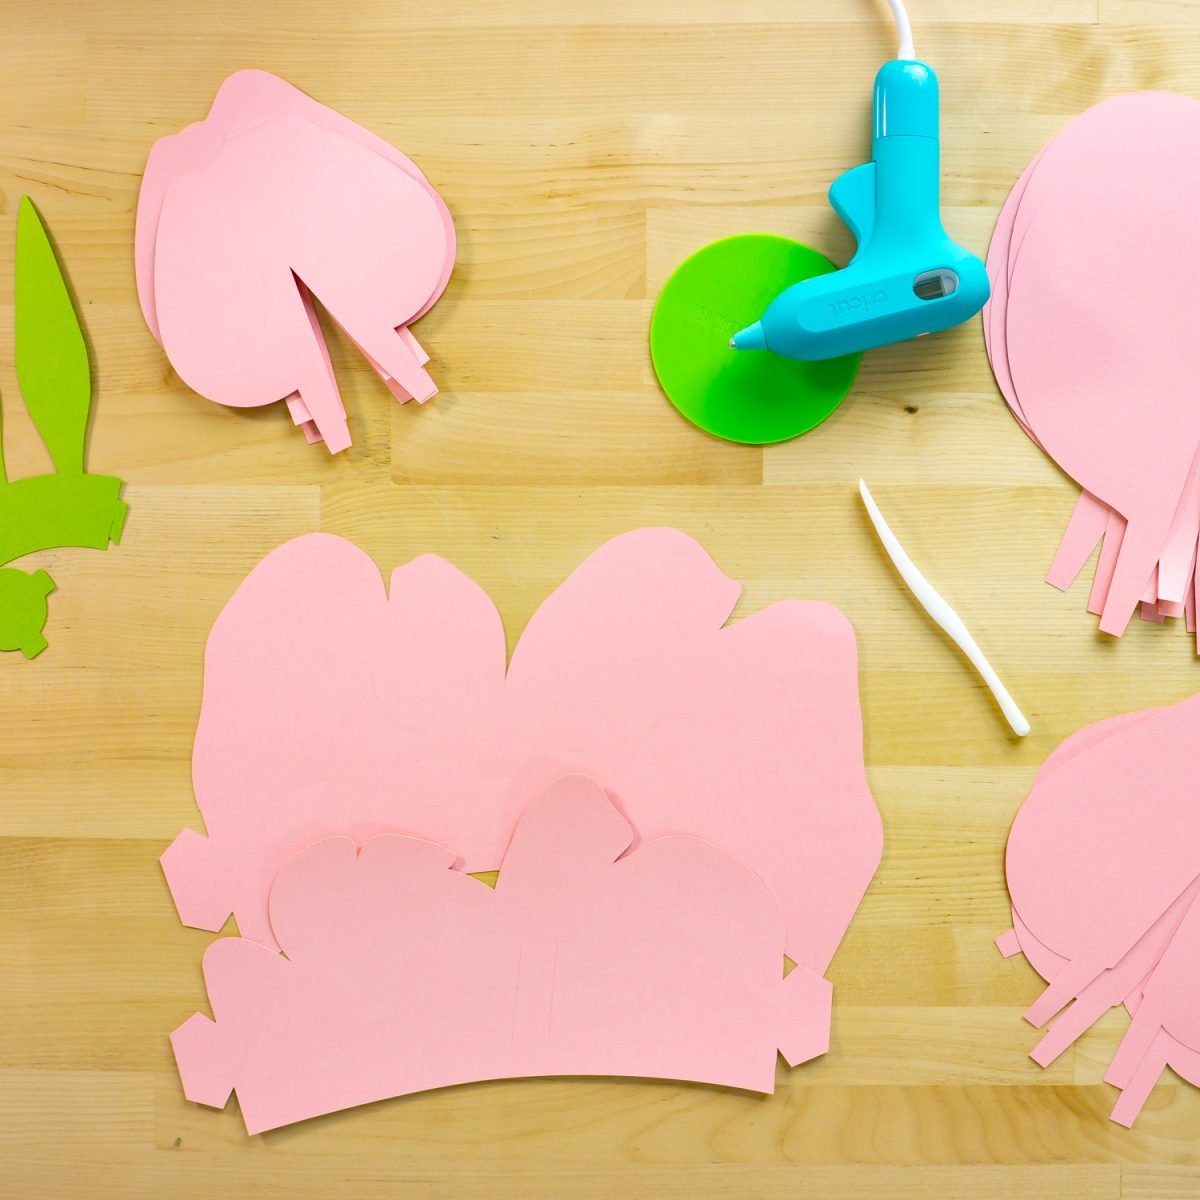
Now you’re ready to cut! Hit the Load button on the machine and your Cricut will confirm you have the right mat in your machine. Then hit the blinking play button to cut your project! Cut all of your mats. I used the 24″ x 28″ Cricut Cardstock for the petals and a smaller 12″ x 12″ light green cardstock for the leaves.
To remove cardstock from the mat, bend the mat away from the cardstock instead of peeling the cardstock up from the mat. The big mats can be a little tricky to work with because of their size, but after making quite a few cardstock projects, I got the hang of it.
Again, this post is already so long—refer to these instructions for assembly!


Can I make money with Cricut Venture?
I do think it’s possible to make money with Cricut Venture. There’s a lot that goes into running a small craft business—way more than I can cover in this post. Cricut Venture can both speed up your productivity and allow you to make large projects that very few people are making right now.
Check out my posts How to Make Money with your Cricut and How to Set Up Your Craft Space for Your Cricut Business, and join the waitlist for our next Crafting for Profit Camp!
How much is Cricut Venture?
Cricut Venture retails for $999. I know this is outside the budget for many crafters and that’s totally fine! That’s why Cricut has a range of cutters starting with Cricut Joy at $169 all the way up to Cricut Venture at $999.
Cricut Venture Overall Review
So now that I’ve been using Cricut Venture for a few weeks, let me share my overall pros and cons of this machine.
Cricut Venture Benefits
The first is that Cricut Venture is GREAT for small Cricut businesses. The informal work economy has been taking off in recent years and lots of crafters want to find freedom from their nine-to-five jobs or create a little extra money on the side as they raise their kids or move into retirement.
I know this first-hand. In January 2023, I hosted an online event called Crafting for Profit Camp with Angie Holden and we had 35,000 crafters sign up! There are so many people interested in making a little extra money.
Because of Cricut Venture’s size and speed, you can make projects much faster, making it perfect for small Cricut craft businesses. If you’re running more than one Cricut at a time to make your products, this machine can make you so much more productive.
Another huge benefit is the amount of space you need to run it. Yes, there are several other 24″ cutting machines on the market, but Cricut Venture’s unique 45° cutting angle allow it to take up so much less space while cutting.
It’s also FAST. I’m still at the point where I just stare at it while it’s cutting because it’s so impressively fast.
And of course it’s good for making really, really enormous projects, even if you don’t want to sell them. From giant paper flowers to full wall murals to car decals to huge Print then Cut images. If you want to make something big, Cricut Venture is the machine to do it. You can also make a lot of things very quickly—t-shirts for a family reunion, cutouts for bulletin boards, or hats for a local sports team. Maybe your niece wants a huge floor decal for her wedding or you need to cut 300 wedding invitations. You can totally make these types of projects!
All of this, and it will still cut small designs as well, if you just want to make a single t-shirt or card. It does pretty much everything a Cricut Explore machine will do, plus more.

Cricut Venture Drawbacks
Of course, not everyone needs or would even want a Cricut Venture! Maybe you don’t want to make larger projects or you don’t make a lot of projects that require batching. And that’s totally fine.
One of Cricut Venture’s biggest strengths also provided one of the biggest difficulties for me. The materials and mats are HUGE! I had to come up with some new solutions for storing all of the items in my craft room. You will also need a decent sized table for weeding projects, removing things from mats, and assembling huge projects. While the machine itself takes up a much smaller space to operate, you still need some space to store materials and work on larger projects.
Another is the price. I actually think the price is reasonable for the machine itself and everything it can do. But at $999, it’s going to be outside the budget of some crafters and I know some folks will find that disappointing. You can however, use their financing option Affirm on Cricut.com if you want to pay monthly, which is a great option if payments are more accessible.
And then finally, I think there are a few kinks that Cricut still needs to work out. I mentioned struggling with my Scoring Stylus earlier in this post, and there were a few issues in Cricut Design Space as well. I imagine these will be worked out in the coming weeks, but it’s just something to be aware of as they launch this new machine.
Where can I buy Cricut Venture?
Cricut Venture goes on sale on July 24 at 12am EDT / 11pm CDT / 10pm MDT / 9pm PDT! Sign up here to get notified when it is up and for sale.
Because of its size, Cricut Venture will only be sold online. You can’t walk into your local craft store with one. You will be able to purchase here:
- Cricut.com
- HSN (HSN will be the only place to have the Docking Stand at launch—so if you want it, that’s where you can get it until it hits more stores in August)
- Michaels
Have any questions? I’m happy to answer them!
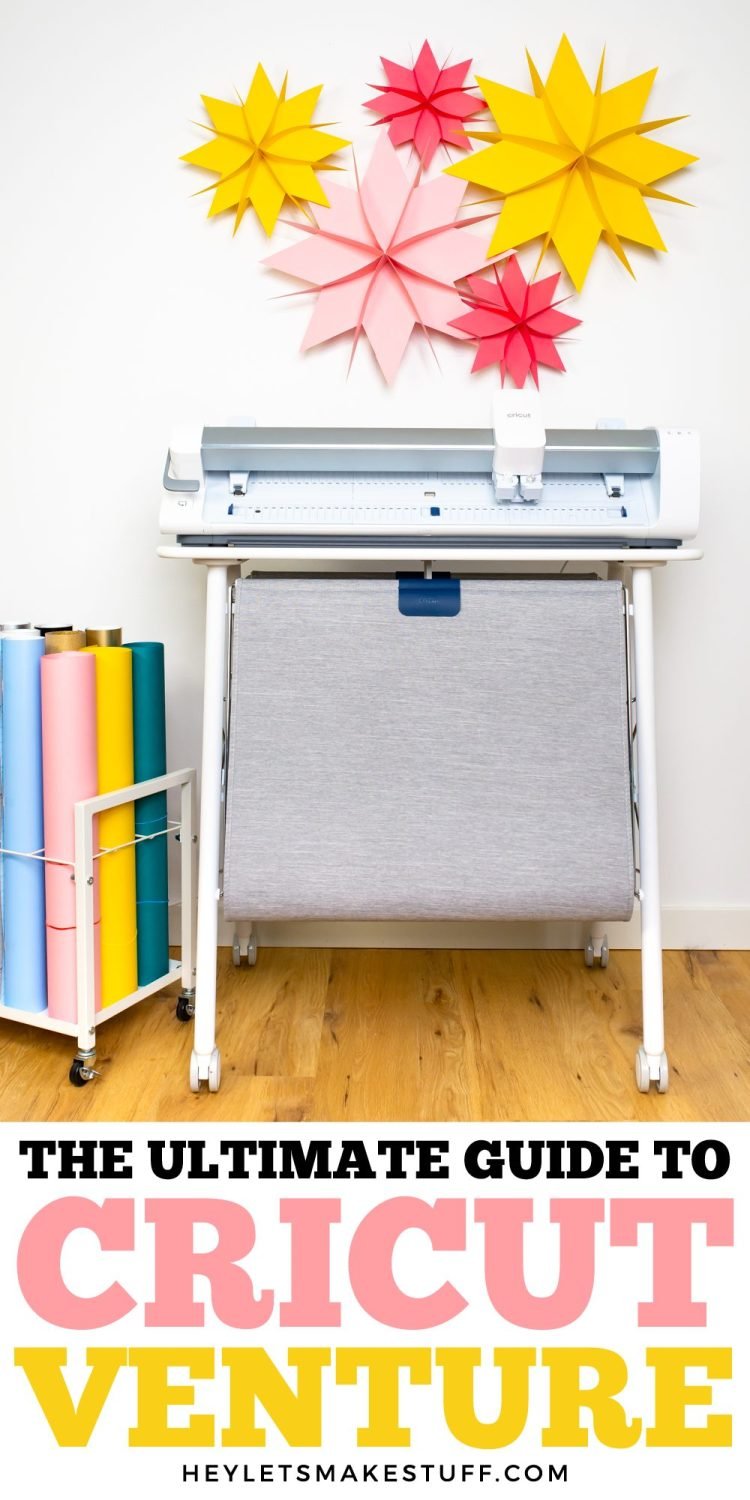
Want to use the Venture to cut cardstock? Check out my blog for The Ultimate Guide to Cutting Cardstock on Cricut Venture!



Comments & Reviews
Terri says
My son bought me the Cricut Venture Bundle, so it came with everything. I already have a Maker and an Explore 4. I feel bad, but my husband and I put it all together, and I have not made anything with it. It is daunting and impressive at the same time. Do you have books or articles that I can print, as I do better with something I can read, rather an a video. That’s what happens when you get old like me! Thank you
Lisa says
I am looking into going from the maker to the venture, thank you for this wonderful article about it. MY biggest concern is that none of the tools I have will work on the venture, Correct? Besides the blade it comes with what else would I need?
Thanks for your time!
Cori George says
You’ll need the bigger mats (unless you are only doing matless vinyl or HTV), and then all the other normal Cricut tools like a weeding hook and scraper. They do also have pens specifically for the Venture :)
Luis says
hello! Can this machine cut spandex? how cricut maker does it…
Cori George says
No, Spandex would need a rotary blade and this one doesn’t support that blade like the Maker does.
Kristin says
Where did you get the white rolling cart for your paper/vinyl rolls that’s displayed next to the Venture stand?
Cori George says
Amazon! https://amzn.to/4fuZt3y (affiliate link)
Lisa Cloward says
I would really love to hear your solution for storing cardstock for the venture! The vinyl was easy enough to find a storage cube but the paper! Oh my! I just received my venture and the dock is available again so that will be here Thursday so that will hold my mats but I have No idea what to use for the cardstock
Cori George says
Right now I just have it between two cabinets—it’s definitely not easy to find a space!