Confused by the different mats for your Cricut Maker, Explore, or Joy? This guide shows which Cricut mats to use with which materials, how to remove materials from mats, and how to care for and clean your mats!
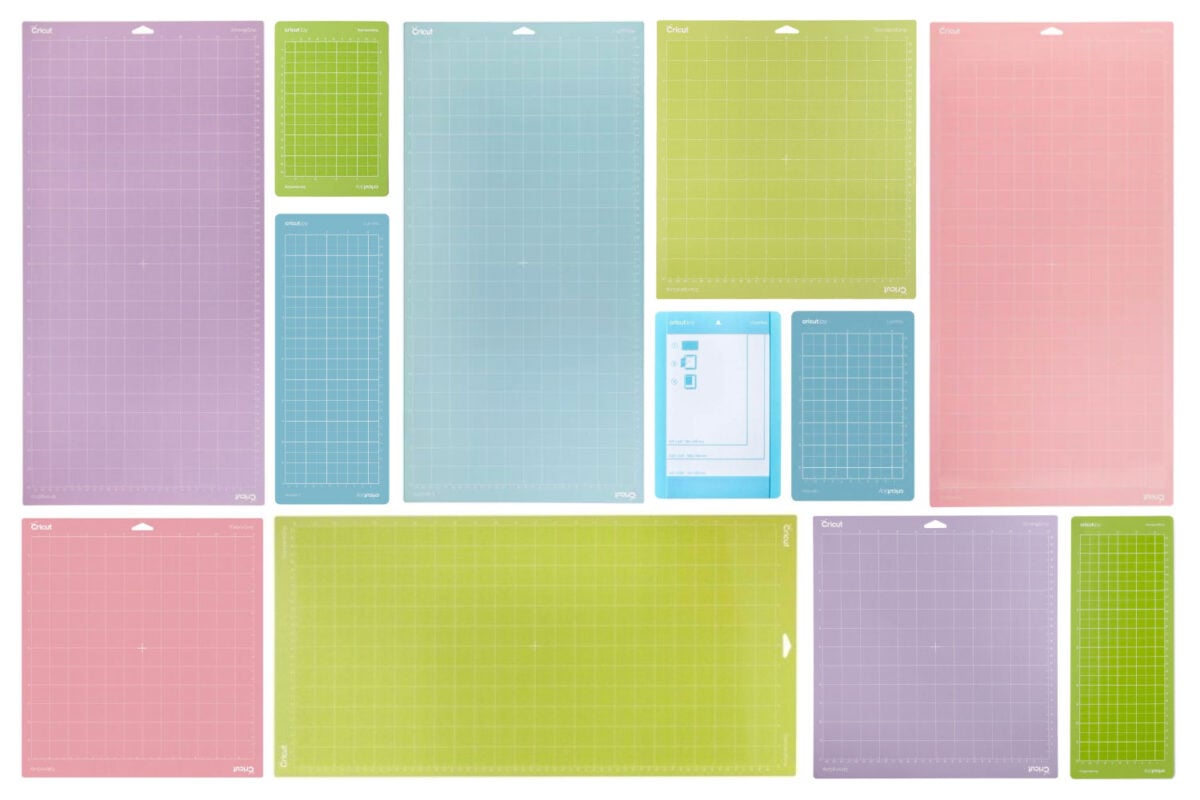
A Cricut mat is the surface on which you make all of your Cricut projects (with the exception of Matless Cutting with Cricut Joy). You’ll place your material on your mat and insert your mat into the machine and your Cricut will cut/write/score/etc. your project.
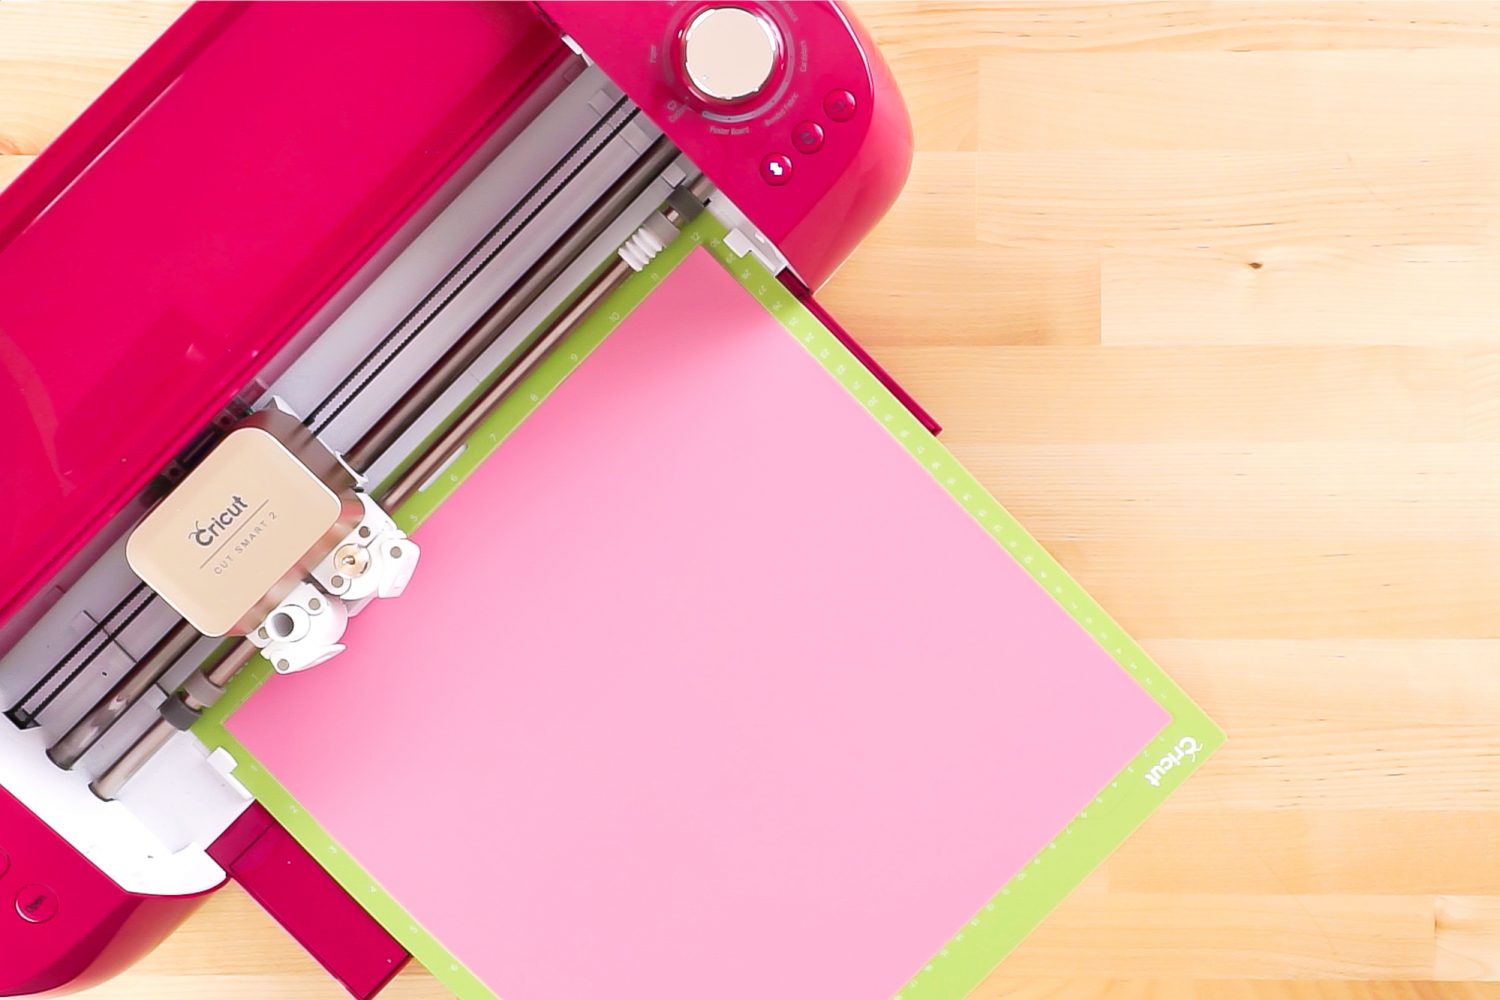
Sounds simple, right?
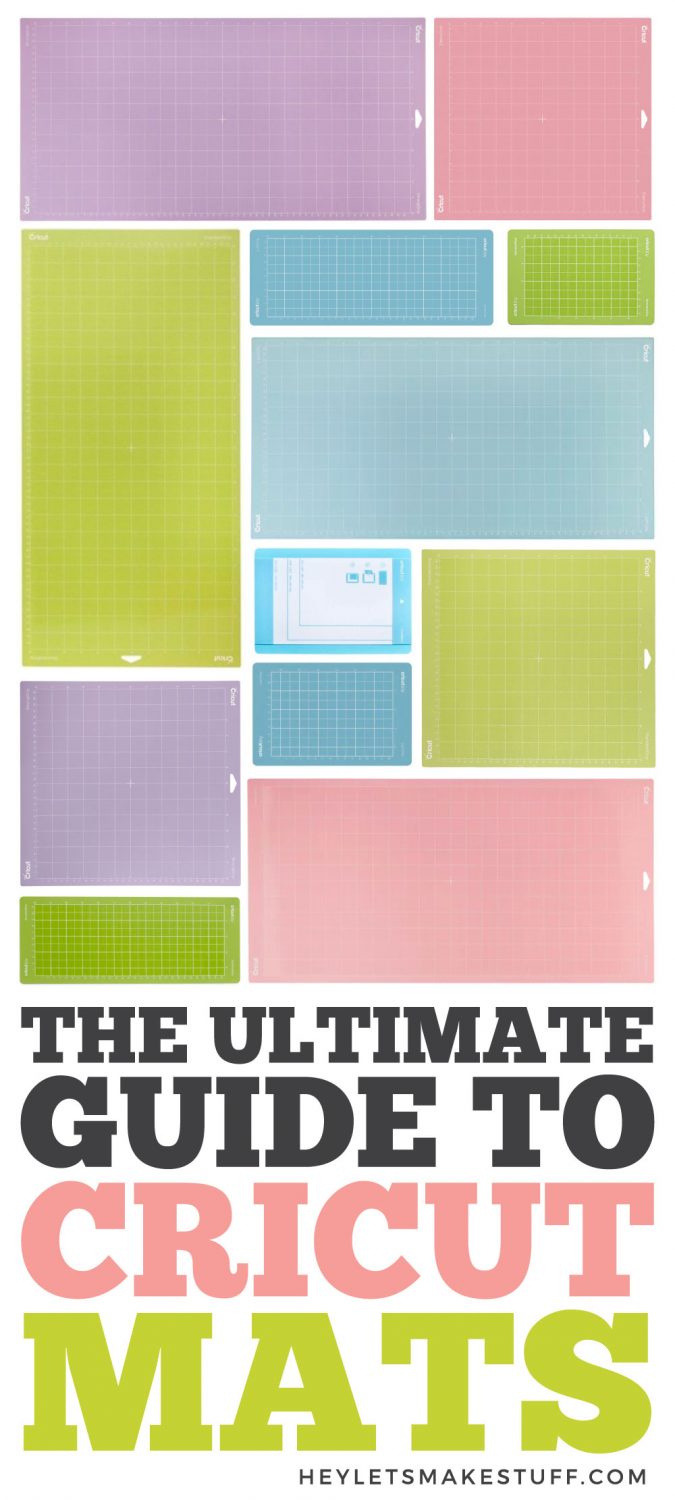
Well, with four colors and five sizes to choose from, it can be overwhelming to know which mat is right for your specific machine and material—especially when you’re staring at a wall of machine mats in the craft store.
In this post, I’ll talk about the anatomy of a cutting mat, the differences between the five different Cricut cutting mats, which mat goes with which machine, which mat you’ll want to use with common materials, how to remove materials from your mat, and how to take care of your mats.
By the end of this post, you’ll feel confident in choosing the right mat for your project, and your mats will last longer with proper care.
Stop pulling your hair out and start creating confidently with your Cricut! Finally understand how to use your Cricut with my Learn Your Cricut eBooks!
What’s In This Post:
- The Anatomy of a Cricut Mat
- Cricut Mat Sizes
- The Blue LightGrip Mat
- The Green StandardGrip Mat
- The Purple StrongGrip Mat
- The Pink FabricGrip Mat
- The Cricut Joy Card Mat
- New Mats vs. Old Mats
- Non-Cricut / Off-Brand Mats
- Priming Your Cricut Mats for Use
- Removing Materials from Your Mat
- Cleaning and Caring for Your Regular Mats
- Cleaning and Caring for Your FabricGrip Mat
The Anatomy of a Cricut Mat
Every Cricut mat (with the exception of the Cricut Joy Card Mat, which will be covered later in this post) has the same basic anatomy.
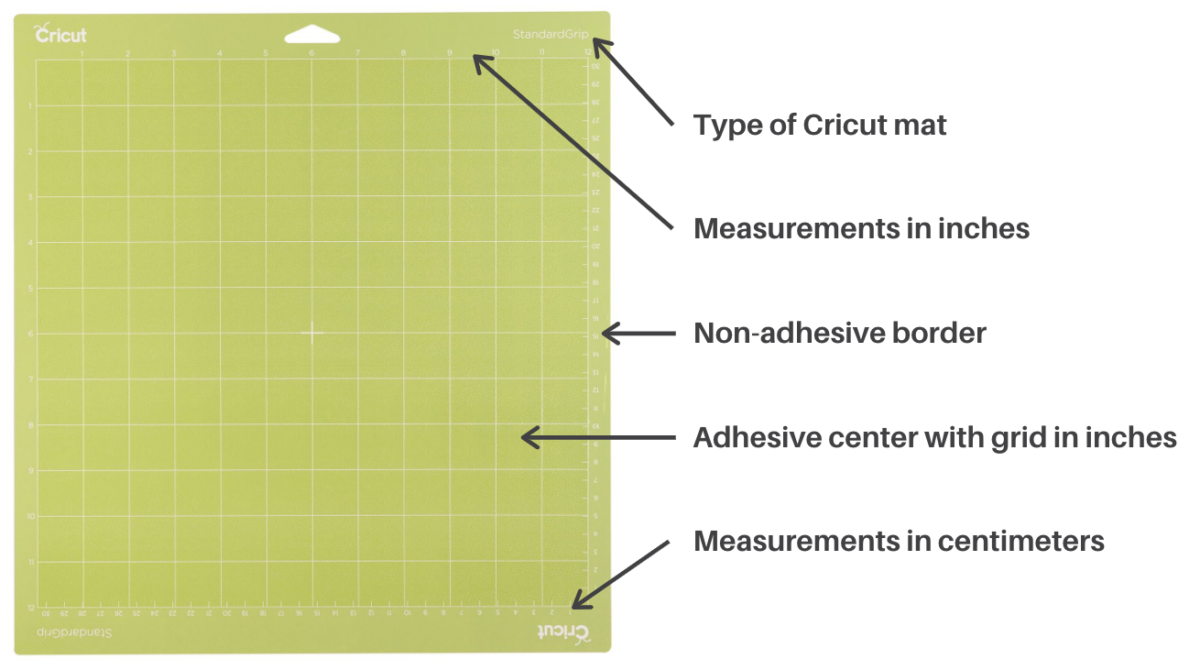
Each mat has the type of mat labeled in the corner, and measurements in inches and centimeters along the edges. The border of the mat has no adhesive, and the center of the mat does.
Every mat comes with a plastic cover, which you should keep and use to help protect your mat from dust and debris.
Cricut Mat Sizes
Let’s look at the sizes that the different mats come in, along with their “tack” (AKA: stickiness level). I’ll go into more detail on these different tacks in the next section.
Outside of the mats below, you may find other mat sizes from older machines (in particular, there’s a 6″ x 12″ mat that still shows up in craft stores), but you’ll want to avoid those—they won’t work with Maker, Explore, or Joy.
Cricut Explore and Maker Mat Sizes
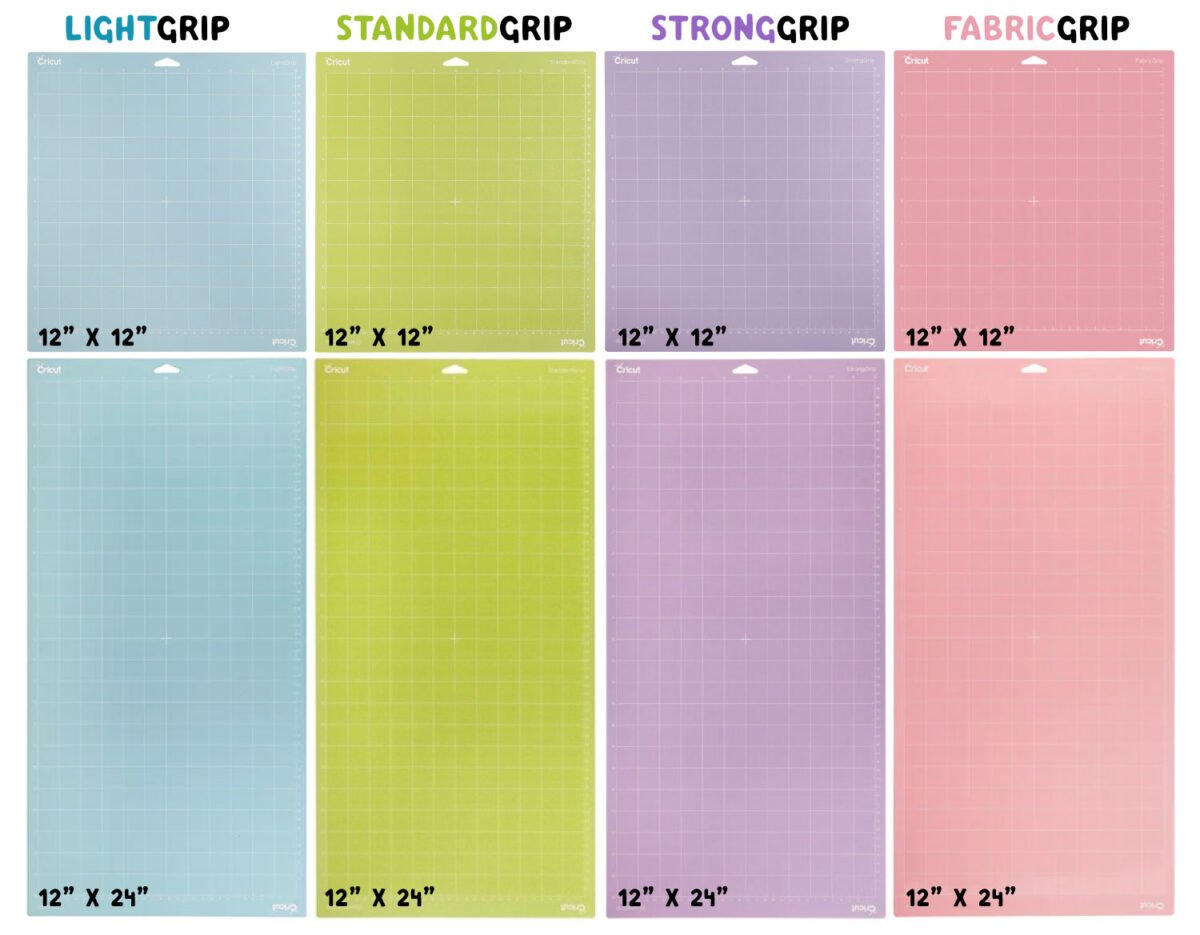
Cricut Explore and Cricut Maker use LightGroup, StandardGrip, StrongGrip, and FabricGrip mats. Here are the sizes and cut dimensions:
- 12″ x 12″ mat, with a maximum cut size of 11.5″ x 11.5″
- 12″ x 24″ mat, with a maximum cut size of 11.5″ x 23.5″
To cut projects larger than 11.5″ x 23.5″, see my post Cutting Large Projects on a Cricut.
Cricut Joy Mat Sizes
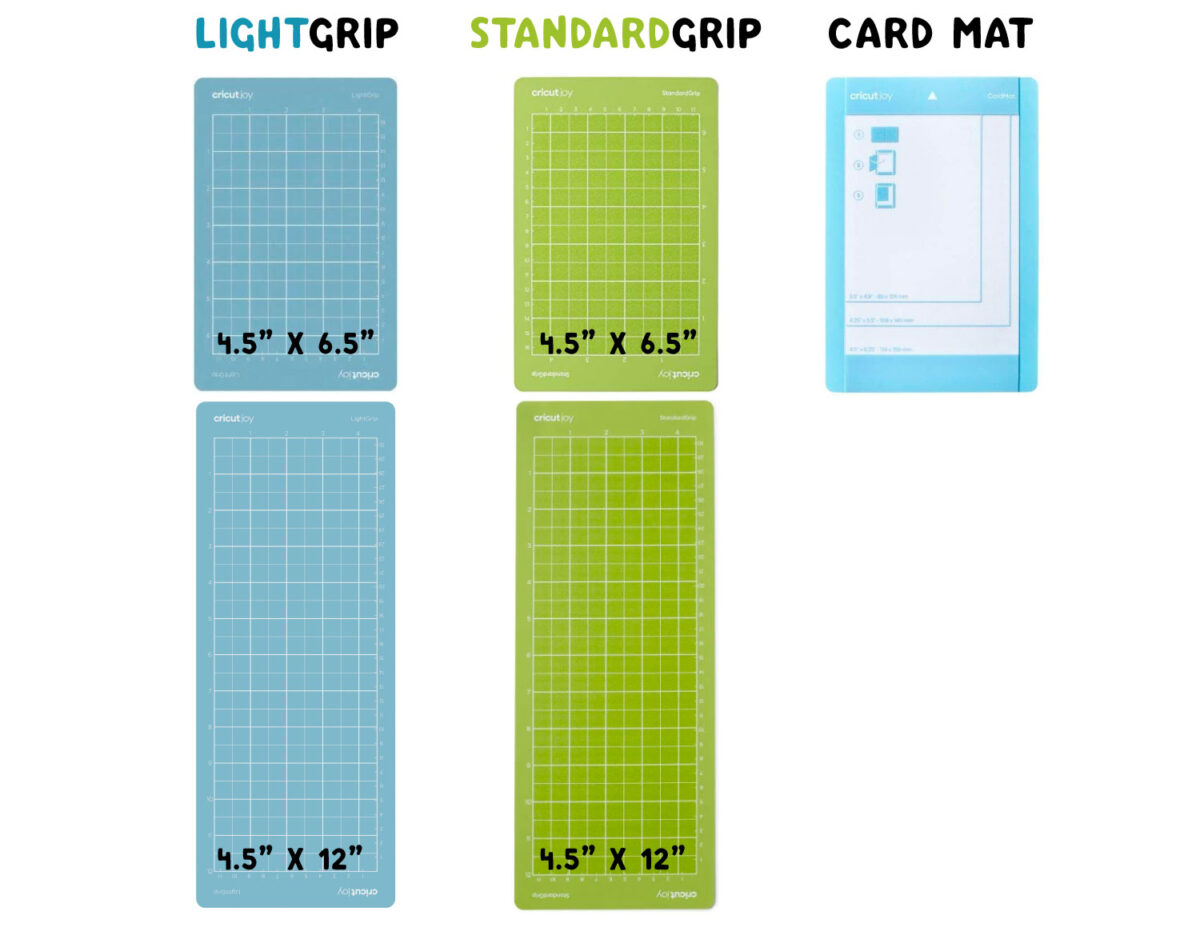
Cricut Joy uses LightGrip and StandardGrip mats. Here are the sizes and cut dimensions:
- 4.5″ x 6.5″ mat, with a maximum cut size of 4″ x 6″
- 4.5″ x 12″ mat, with a maximum cut size of 4″ x 11.5″
Cricut Joy also supports a special Card Mat, which I’ll go into below, as well as matless cutting.
The Four Cricut Mat “Tacks”
Let’s talk about the four different mat “tacks” or levels of stickiness, as well as some of the different materials that are best for each mat. All of this applies to both to the Cricut Explore/Maker mats, as well as the smaller mats for Cricut Joy.
The Blue LightGrip Mat
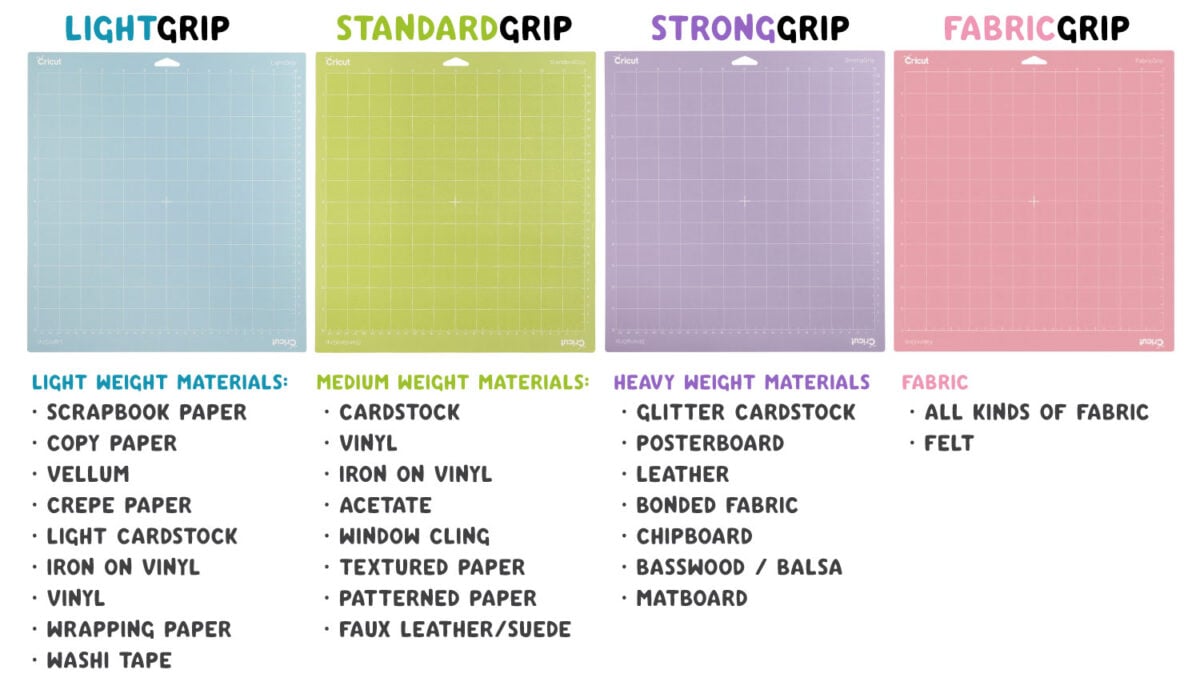
The LightGrip mat is meant for lighter and more delicate materials, including printer paper, light cardstock, vellum, wrapping paper, crepe paper, and washi sheets. It also works well for iron-on vinyl.
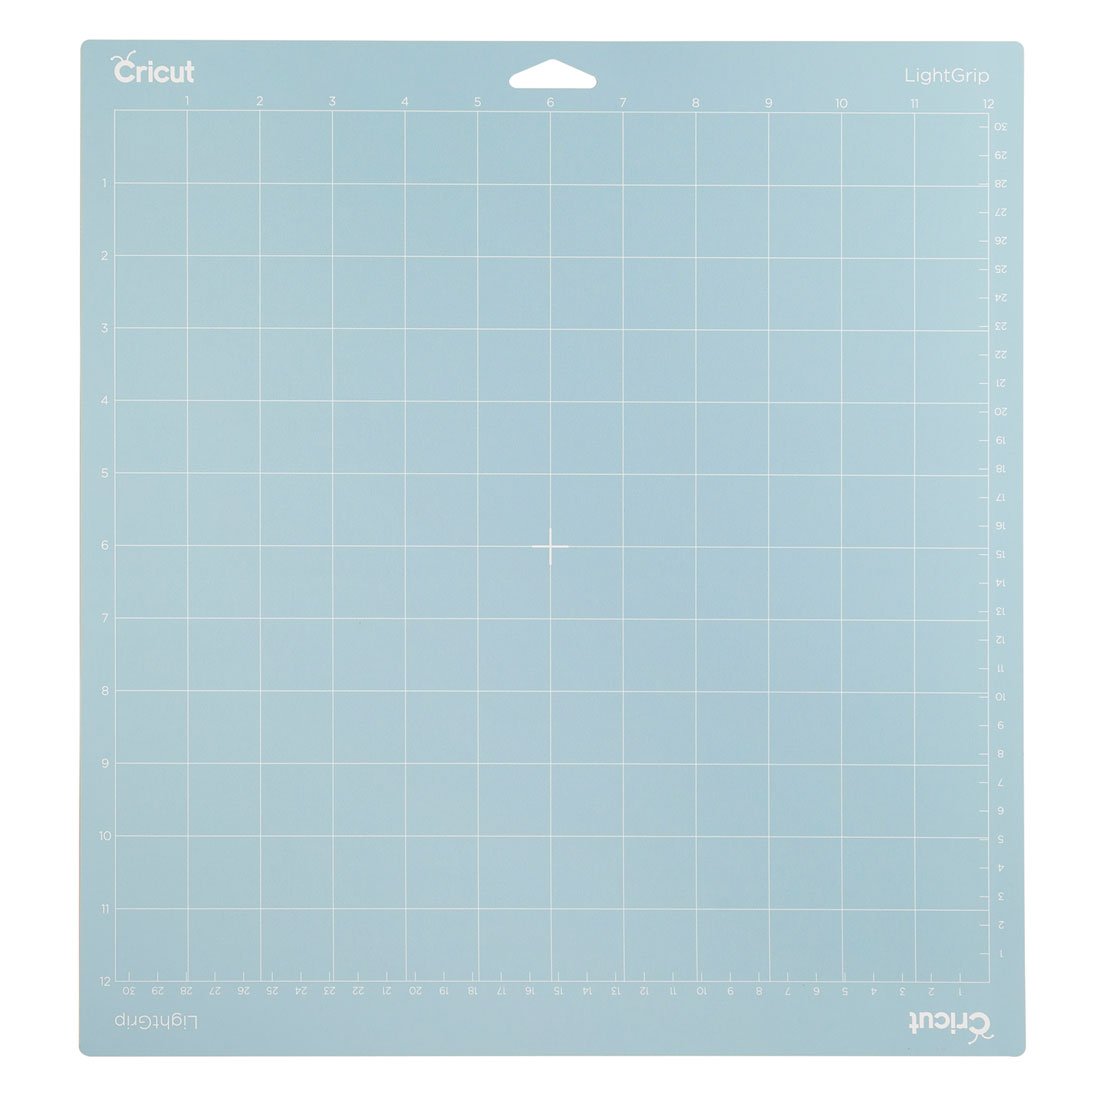
While it’s designed for the lightest materials, I find myself using it for medium-weight materials as well, like standard cardstock. I like how the mat releases so cleanly with very little effort. I think Cricut is thinking the same thing—they are now shipping a blue mat with some newer machines instead of the StandardGrip green mat.
But if you find your material shifting with the blue mat, you probably want to step up to the green mat.
The Green StandardGrip Mat
The StandardGrip mat will probably be your go-to mat for most of your projects. It grips well and still releases pretty easily. Use it for cardstock, all sorts of adhesive vinyl, and iron-on vinyl. If you’re unsure which mat to use, this is a good one to try first.
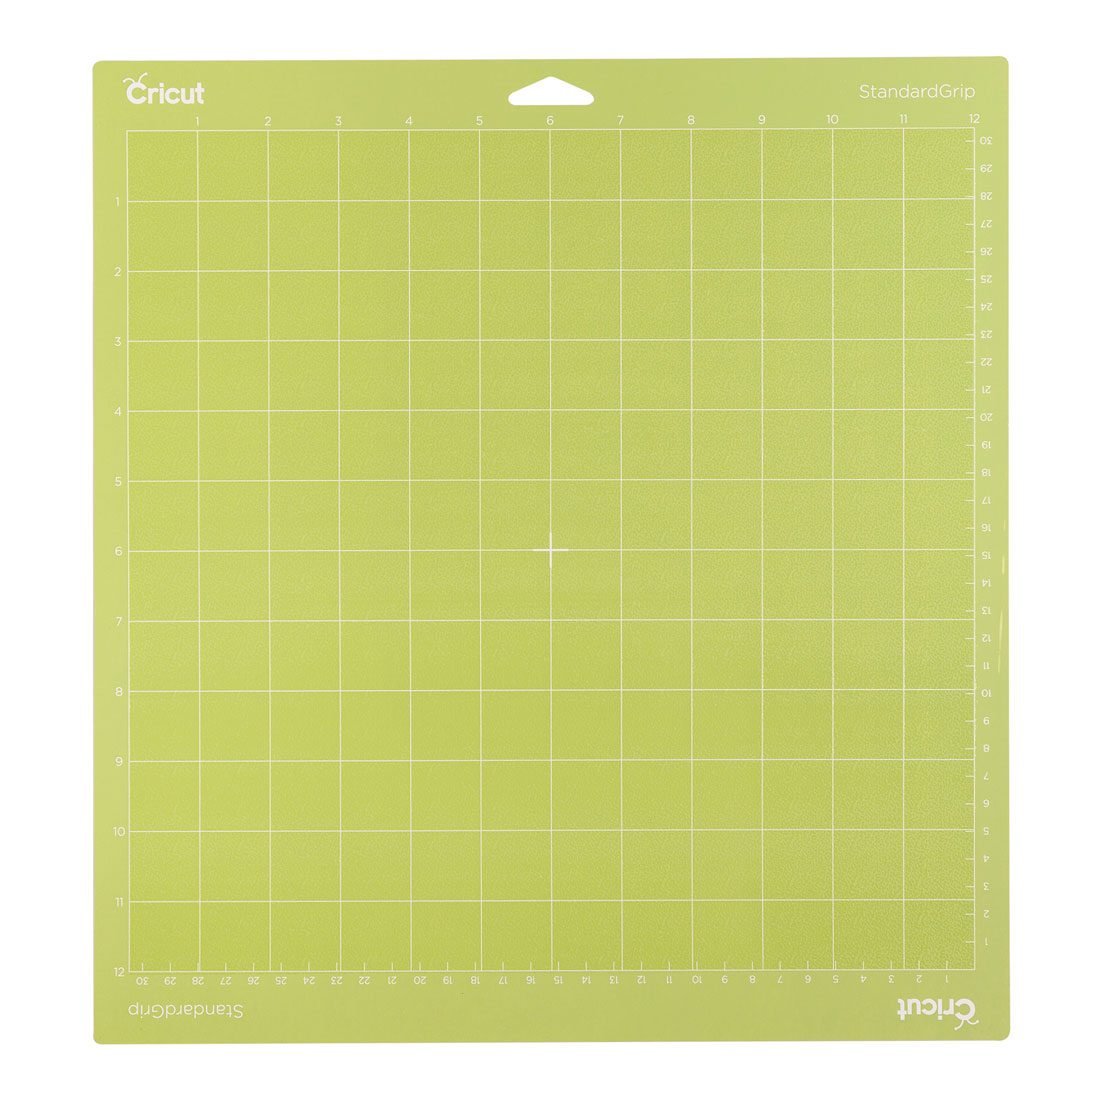
Sometimes instructions for a “linty” material, like felt or even light leather, might say to use a StrongGrip purple mat, but try using an older green mat that still has a good stick. It’s sticky enough to hold your material but felt and other linty materials can destroy a mat pretty quickly and I’d rather an old junky green mat take the brunt of the felt lint than a fabric mat!
The Purple StrongGrip Mat
The StrongGrip mat is great for heavy materials that tend to shift, like leather, glitter cardstock, and chipboard. Also, use it for stabilized fabric when using the Bonded Fabric Blade on the Cricut Explore.
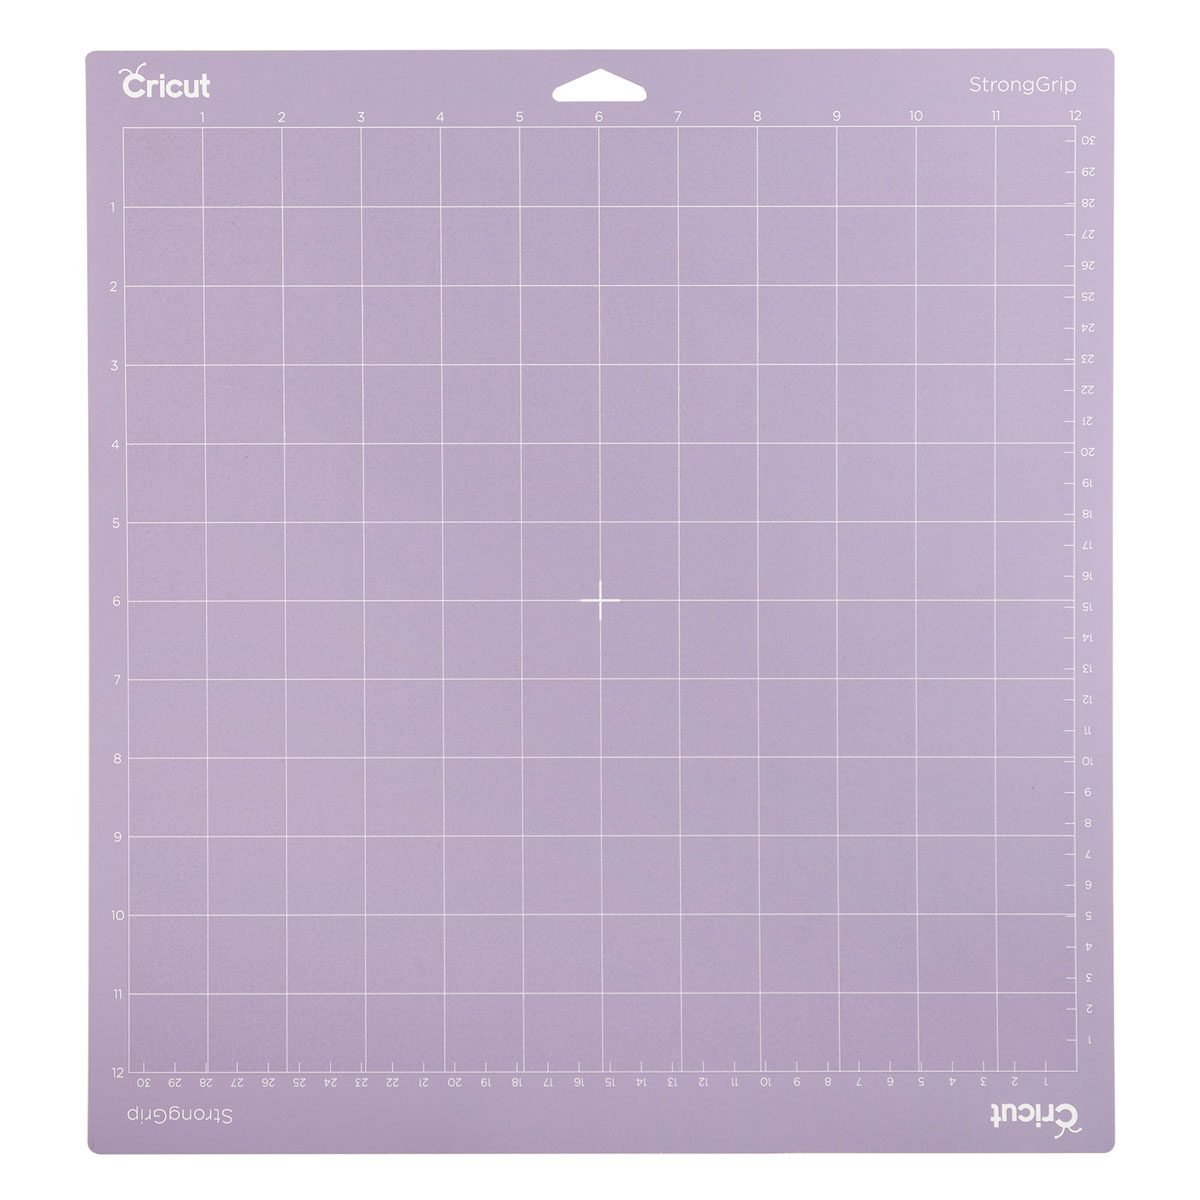
Know that the StrongGrip mat lives up to its name—it is REALLY sticky. You’ll want to prime your mat, which you’ll learn more about in the next section.
If you’re cutting thick materials on your Cricut Maker using the Knife Blade, you want to use the Purple StrongGrip mat every time. The Knife Blade uses a ton of force and it’s easy for your materials to shift around, which can ruin your materials or your blade. For all Knife Blade materials, you want to tape down your material using masking tape on all four sides. I go into more detail about this in my Using the Cricut Knife Blade post.
The Pink FabricGrip Mat
The FabricGrip mat is relatively new, released with the Cricut Maker. It is designed to easily hold and release fabric specifically. If you are cutting un-stabilized fabric using the Maker’s Rotary Blade, the pink mat is magic.
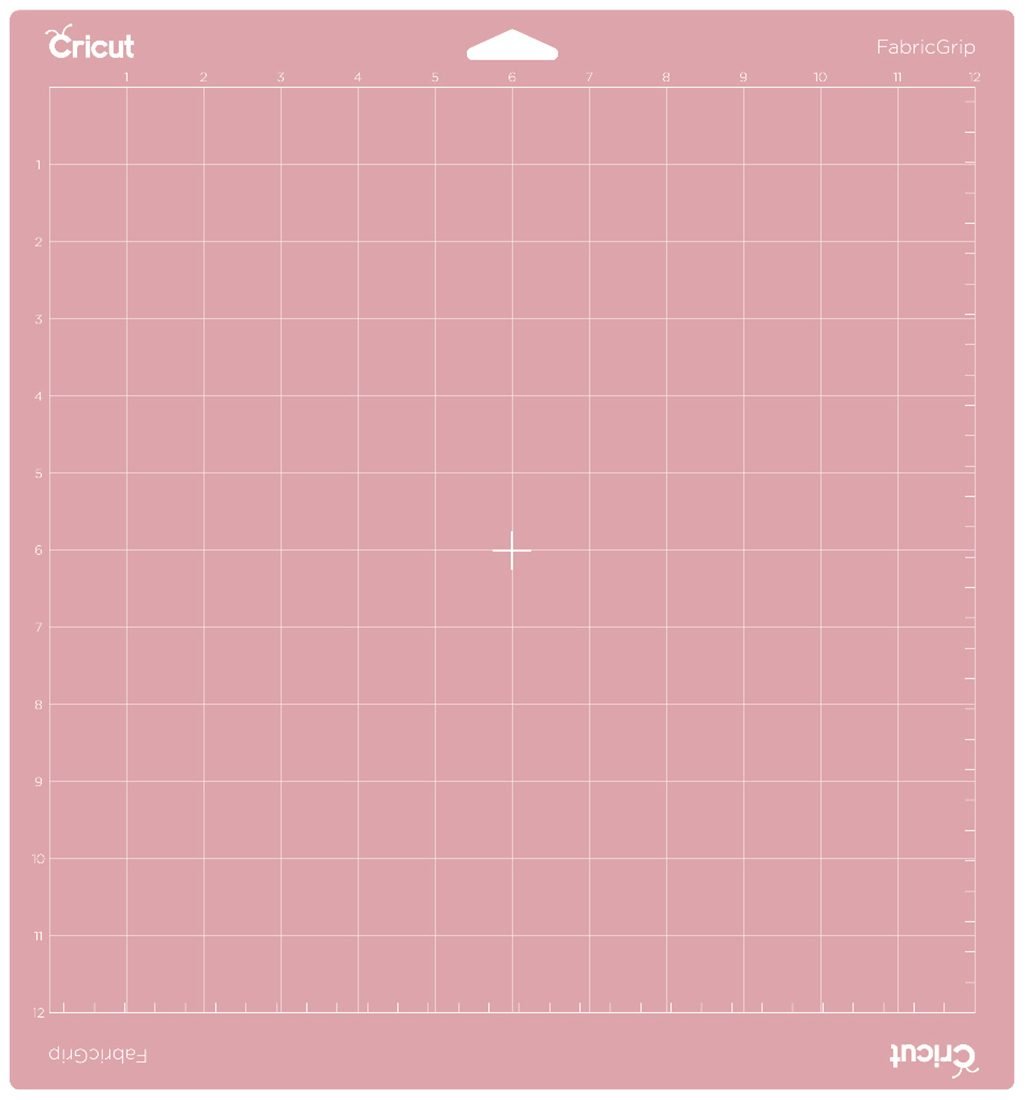
If you are cutting stabilized/bonded fabric, however, go with the purple StrongGrip mat as mentioned above.
Cleaning your pink mat is different than cleaning your other mats, so make sure to check out Cleaning and Caring for Your FabricGrip Mat section below. Do NOT use the scraper on this mat—it will pull up the adhesive.
The Cricut Joy Card Mat
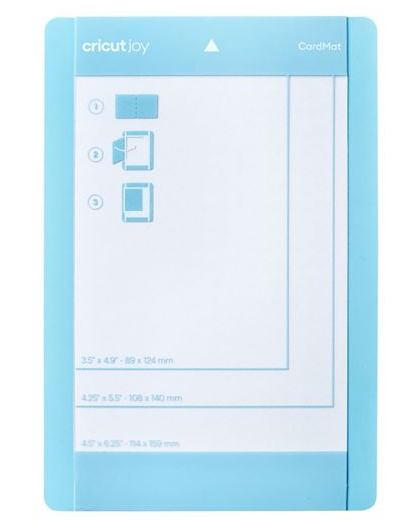
There’s also a new mat on the block—the Cricut Joy Card Mat. This mat is designed to cut the front of a pre-made card. It’s a super quick way to make greeting cards and I use this little mat with my Cricut Joy all the time. Check out my whole post on Cutting Cards with the Cricut Joy Card Mat!
This mat is designed to work in just the Cricut Joy machine, but my friend Angie actually hacked it to work in Explore/Maker, so if you have one of those machines you can give it a go too!
New Mats vs. Old Mats
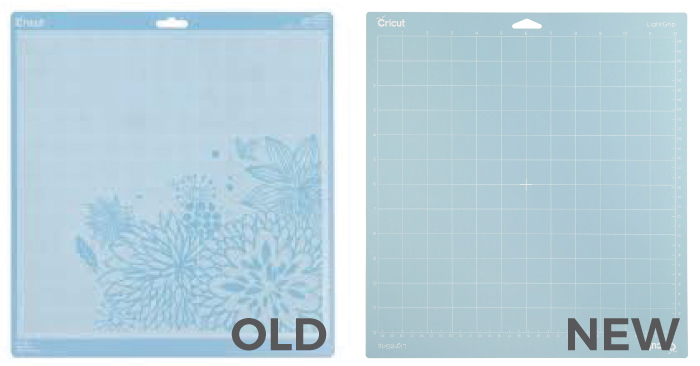
If you’ve purchased mats in the past, and then again more recently, you may have noticed a change in the mats. They no longer STINK! Hooray! The older mats (which can be distinguished by the flower pattern—the newer mats do not have the flowers) smelled terrible and would often give me a headache. If you’re anything like me, the new odorless adhesive is such a relief. Keep this in mind if you’re buying mats off older listings online.
Non-Cricut / Off Brand Mats
I have gotten several questions about using off-brand mats. I haven’t had a chance to test them myself yet, but I got them ordered and will do a comparison in an upcoming blog post!
Priming Your Cricut Mats for Use
Everyone wants to know how to keep their Cricut mats sticky! But one thing that you might find is that a brand new mat is TOO sticky. You’re not able to release your projects and end up with a hot, sticky mess on your brand new mat. This is particularly true with paper and other delicate materials.
One trick of the trade is to prepare your Cricut mat before using it the first time. To do this, we’ll use the very technical process of patting a brand new mat directly against the shirt you’re wearing (or ball up a clean t-shirt). Just a few times, picking up a bit of lint (if you have pets that shed, try and find a piece of fabric that isn’t covered with hair—you don’t want it to be overly primed!).
You can also press your hands lightly all over the mat. The oils in your hands will decrease the stickiness ever so slightly and allow your projects to release more easily.
Of course, this sounds counterintuitive—aren’t you supposed to keep your mat clean? Yes, it sounds a bit crazy. But trust me—by adding just a little bit of lint to your mat your projects will release from your mat a million times easier than from a perfectly fresh mat.
Removing Materials from Your Mats
There are lots of tips and tricks to help you remove materials from your mat without headaches. I wrote a whole post, Removing Materials from Your Cricut Mat, that you’ll want to check out! You’ll learn how to bend the mat and use Cricut’s tools to help get your projects off the mat without them tearing or curling.
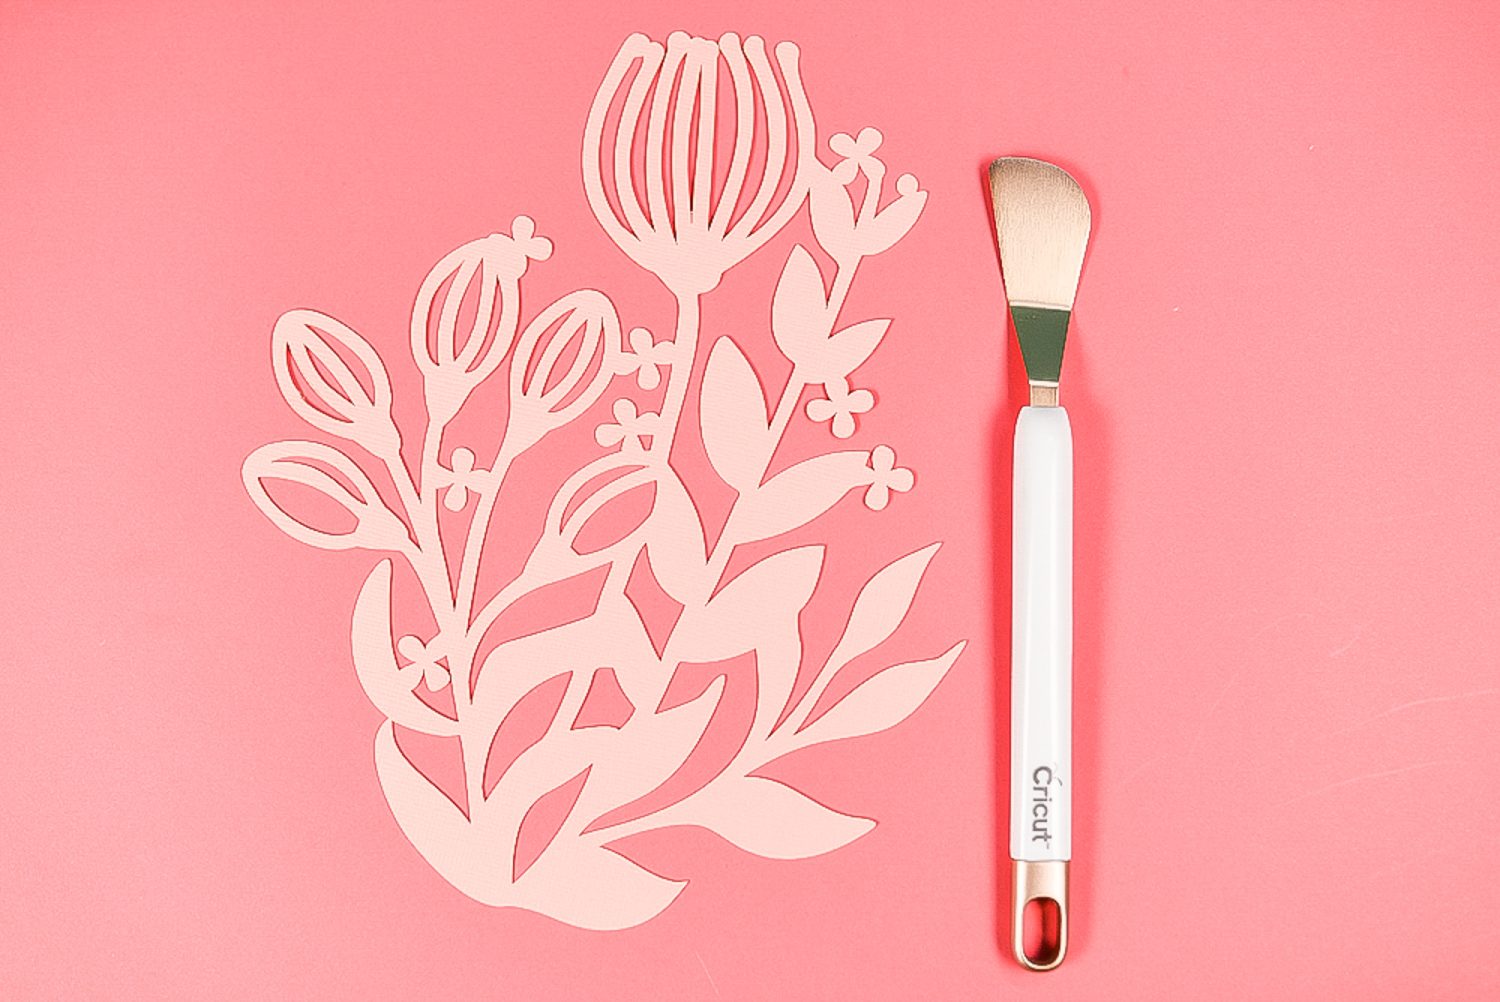
Weeding Tips
If you’re looking for tutorials on removing the negative space from your iron on or adhesive vinyl projects, check out these posts:
Cleaning and Caring for your Regular Mats
Caring for your mats is one of the hottest topics for many Cricut users! It’s hard to keep spending money on mats, even though they are considered a “disposable” product by Cricut.
Thankfully there are ways to extend the life of your mats and keep them from getting destroyed quickly—let’s see how to get the most out of your mats!
If you’re looking for ways to clean and care for your pink FabricGrip mat, see the next section.
Remove Materials Right Away
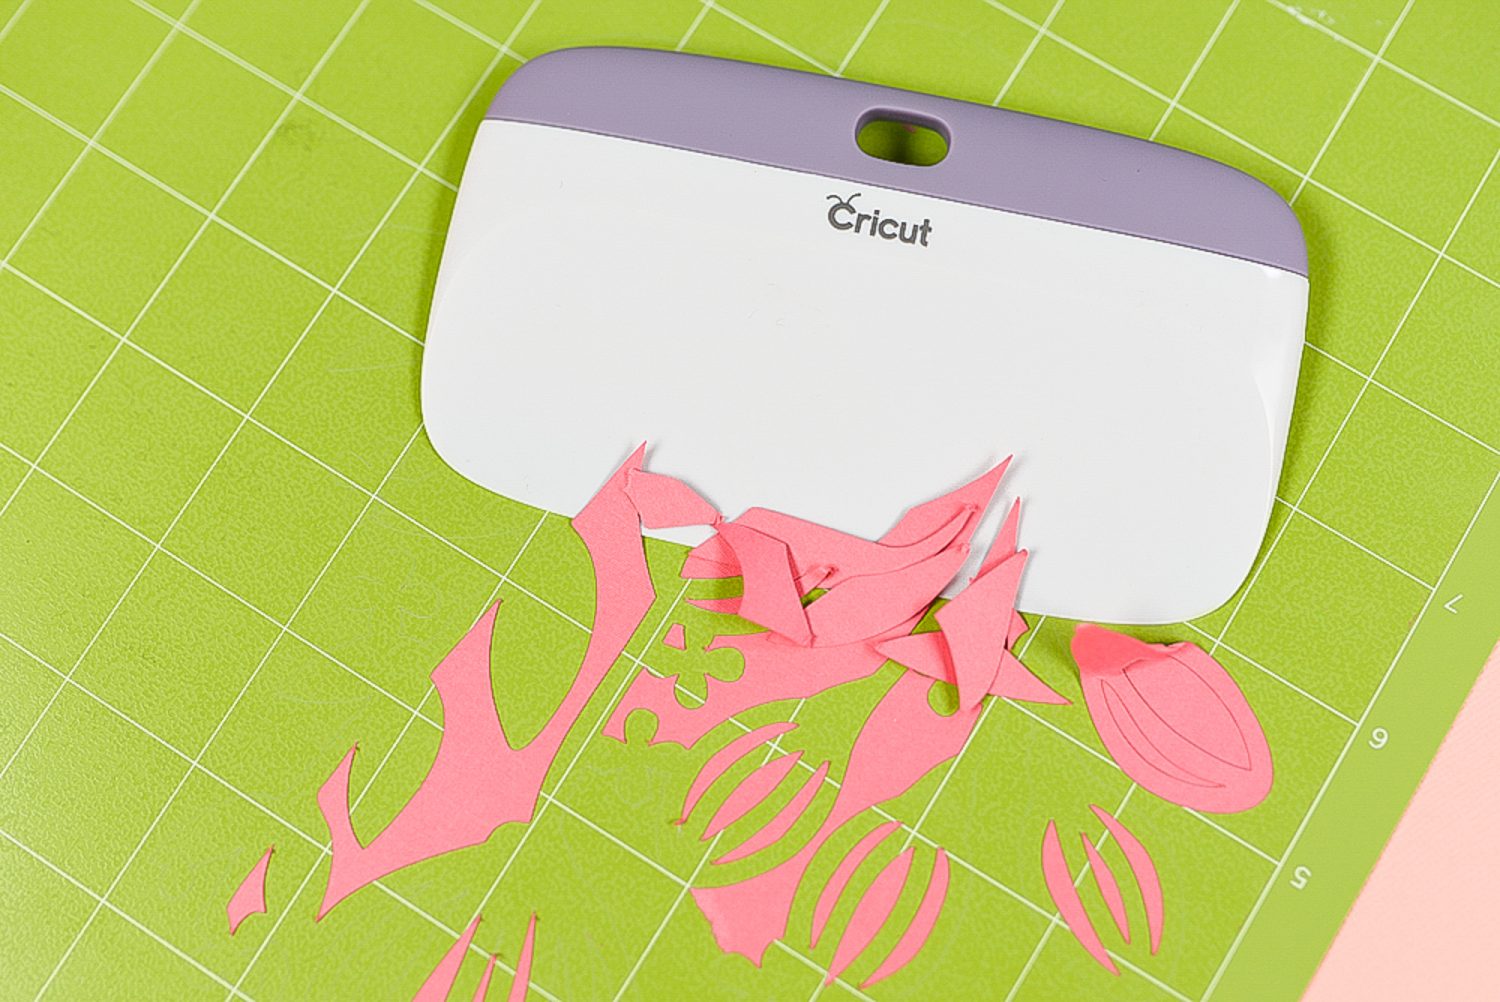
If you leave materials on your mat, they can stick even worse. Use the scraper to scrape any unwanted material straight into the trash can. Really make sure you’re getting your mats clean—little bits of paper in particular make it hard for a mat to keep its stick.
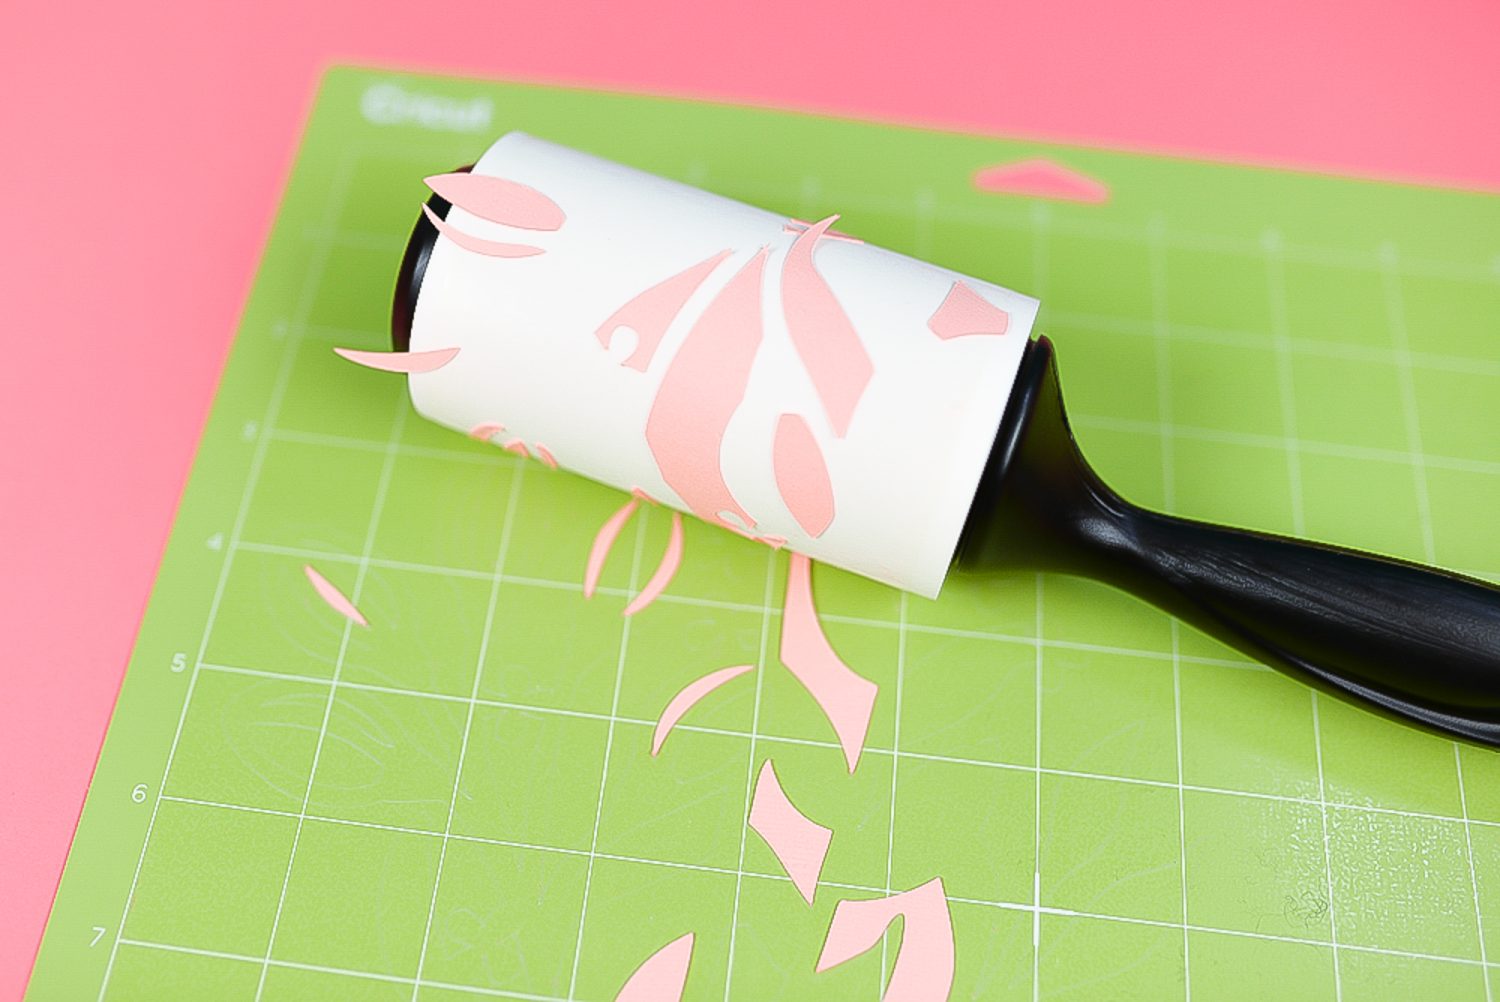
Use a Lint Roller
If you have a lot of tiny pieces left over from an intricate cut, you can use a lint roller to pick them up. Generally, I just prefer to use the scraper, but this method works for a lot of people.
Store with the Protective Sheet
When you store your mats (I hang mine on a pegboard in my craft room), make sure to use the protective covers each and every time. This will help keep them from collecting dust, lint, and pet dander that’s present in the air.
Keep Fingers Away
Try not to touch the adhesive on your mat with your fingers. The oils on your fingers can break down the adhesive. Use the tools to remove your projects, and do your best to keep your hands away from the adhesive.
Know Your Materials
Some materials are just messier than others. Felt, for example, can destroy a mat faster than anything. I try and use older mats for messier materials, though make sure your mat still has enough stick to hold down your material properly.
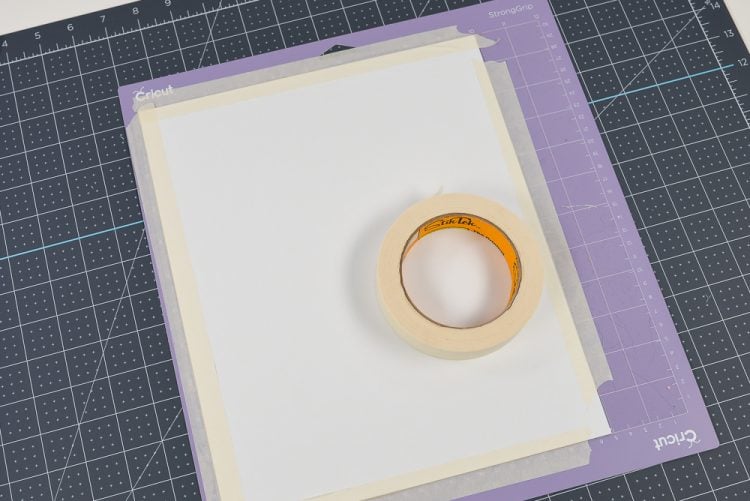
Tape Your Edges
You can also tape down the edges if you want a bit more security—masking tape works really well for this purpose. It holds well but releases easily and isn’t very expensive.
Washing and Re-sticking Options
At some point, your mat will just not work anymore. Your material will shift or won’t even stick in the first place. Tape can only do so much. Here are some ways to bring life back into a dead mat.
Washing
Cricut doesn’t have an official policy for cleaning mats, but people have different methods they use.
I recommend trying a bristled dish brush and warm water, letting your mats air-dry. I find this is the least expensive option (yay free!) and it does give new life into my mat without having to use harsh chemicals.
You can try some non-alcohol based cleaning wipes or baby wipes.
Or wash them gently in warm water with detergent or all-purpose cleaner.
Re-Sticking
There are a lot of users who re-stick their mats using spray adhesive. If you do decide to go this method, note that Cricut says it will void your warranty. Proceed at your own risk—I am not responsible for whatever happens to your mat or machine if you try to re-stick your mats.
To start, make sure to use masking tape to cover the non-stick edge of your mat. You don’t want adhesive on this part because it will gunk up your rollers.
Then use a spray adhesive like Aleene’s Tacky Adhesive Spray or 3M Super 77 Spray Adhesive to create a new layer of adhesive.
Personally, I have found the fumes kill my head (re-stick your mats outside so you’re not inhaling all those chemicals!) and that alone isn’t worth it for me.
Yes, re-sticking your mat will extend the life of your mat for a bit, but after a while, you’ll probably just have to bite the bullet and get a new mat. You’ll have to spend some money. But think of it this way—an old, non-sticky mat causes all sorts of problems when it comes to cutting. You’ll either spend that money replacing your mat or on extra materials to replace the ones that are bound to be ruined as your mat loses its grip. Frankly, I’d rather just get a new mat and then take care of it using the tips above!
Cleaning and Caring for your FabricGrip Mat
To start, I want you to throw out everything you just learned about cleaning Cricut mats in the previous lesson. This mat is different. The Pink FabricGrip mat is more finicky than the other mats and has to be cared for differently.
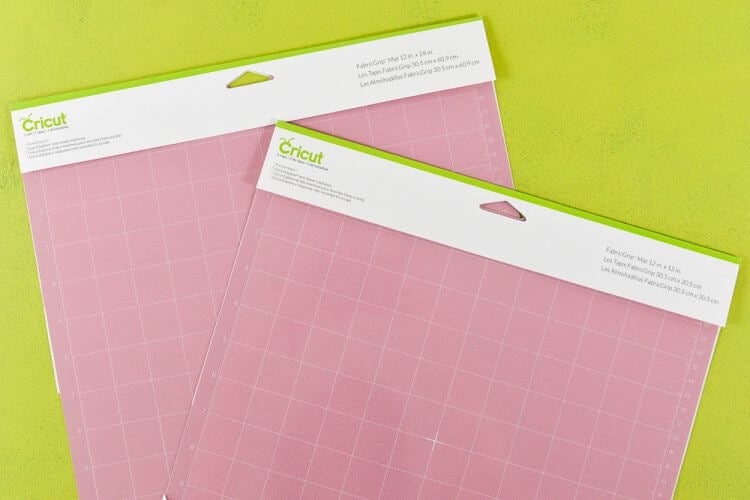
I actually have a whole post on Cleaning and Caring for your FabricGrip Mat. It’s somewhat different than caring for your other mats, so you’ll want to read through it!
Cricut Mats Conclusion
I hope you found this guide to Cricut mats helpful! I know there are a lot of different mats and even more types of materials, so it can be confusing. If all else fails, my best advice is to do a test cut before making your final project. That way you’ll be able to know that your project is going to work, before you cut the whole thing!
Now that you know all there is to know about the mats, it’s time to set up your new Cricut machine. Check out my blog on How to Set Up Your New Cricut Maker, Explore, or Joy and this one on How to Use Cricut SnapMat!


Comments & Reviews
Linda Hicks says
I just got a Cricut for Christmas and have no idea even where to start. I was planning on viewing some you tubes but was wondering where the least expensive place to purchase the mat, cutting tools, vinyl of good quality would be? Do you have a place on your website that I could find this information or if you could email me the info, I would greatly appreciate it, I would greatly appreciate it.
Crystal Summers says
Hi Linda,
Here’s a link to a post I think will help you get started with supplies:
https://heyletsmakestuff.com/buy-cricut-supplies/
Hope this helps.
Happy crafting!
Crystal, HLMS Community Manager