Make your Foil Quill projects quicker and easier with the Foil Quill Magnetic Mat! Instead of messing with tape on your project, use the metal mat and magnet strips to hold your foil to your project. Here’s our review and a tutorial for how to use it!

Back in January, I went to Creativation. It’s basically the craft industry’s giant trade show. It’s where I first learned about the Foil Quill, which is a tool for your cutting machine that allows you to foil your projects. During the demonstration, the We R Memory Keepers rep used a magnetic mat to keep the foil in place while the Foil Quill did its foiling. It looked amazing!
[adthrive-in-post-video-player video-id=”KlCx74TB” upload-date=”2019-04-13T18:12:31.000Z” name=”How to Use The Foil Quill from We R Memory Keepers” description=”The Foil Quill is a revolutionary heating tool that works in all major cutting machines to beautifully foil projects on a variety of materials! Here’s how to use the Foil Quill, tips and tricks for getting the best results, and a few ways to troubleshoot if you’re having problems.” player-type=”default” override-embed=”default”]
It took more than six months for them to finish quality testing and production, and finally I have my hands on one! I thought I’d test it out and review it and see if it’s something Foil Quill fans might want to own.
Before we get started learning about the Magnetic Mat, here are some Foil Quill posts you’ll probably want to start with:
- What is the Foil Quill? <–everything you need to know!
- How to Use the Foil Quill
- What Foil Works with the Foil Quill?
What is the Foil Quill Magnetic Mat?
The Foil Quill Magnetic Mat is a new product from We R Memory Keepers (WRMK) and is designed to make using the Foil Quill foiling pen easier to use, as you’ll see below.
How is the Magnetic Mat Better than Tape?
If you’ve used the Foil Quill, you’ve most likely used the taping method for the foil. You basically tape your foil to your base material (like cardstock) using special removable tape. It’s a bit of a time-consuming process, and although I haven’t experienced it myself, I know a few users who have run into trouble trying to remove the tape from more delicate base materials.
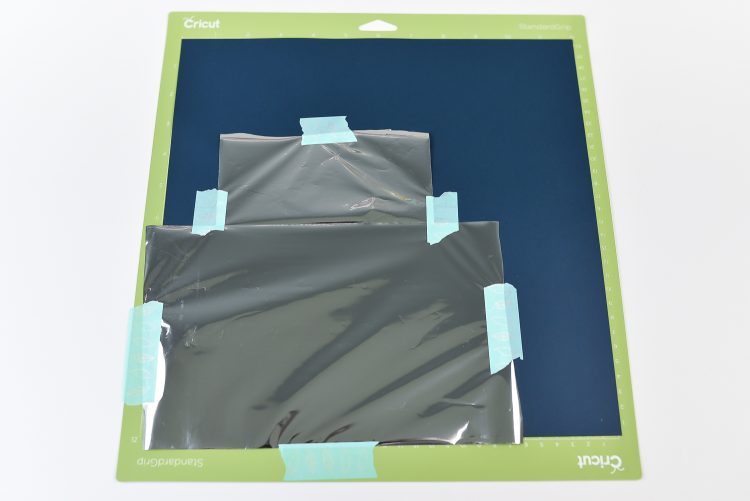
The Magnetic Mat, instead, does away with the tape. Put your base material down on the mat, then the foil, then the magnets—it’s quick and painless and all-around a lot easier than the tape.
And because you don’t end up with a bunch of tape stuck to your foil, it’s easier to reuse extra foil that didn’t get foiled in your image.
How Do You Use the Magnetic Mat?
Let’s do a quick project using the mat. Note that Cricut has said using the Foil Quill may void your warranty, so use at your own risk. I’m using my Cricut Explore which is already out of warranty.
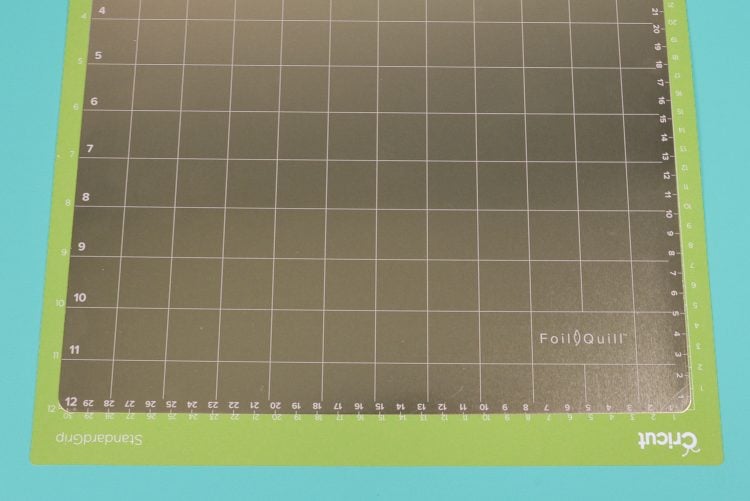
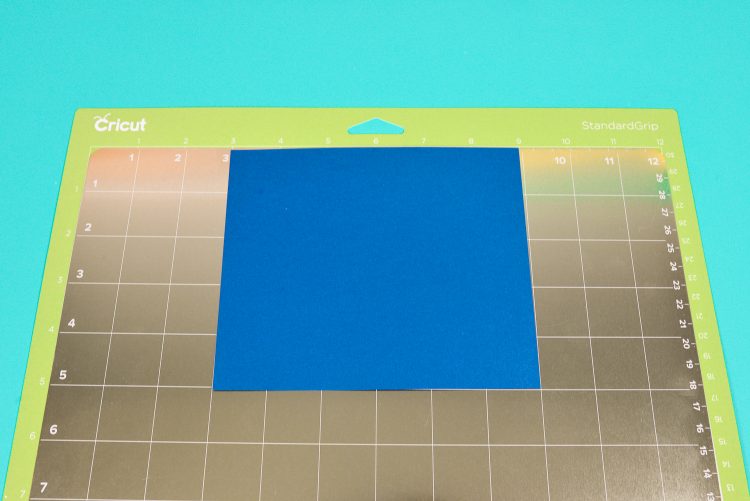
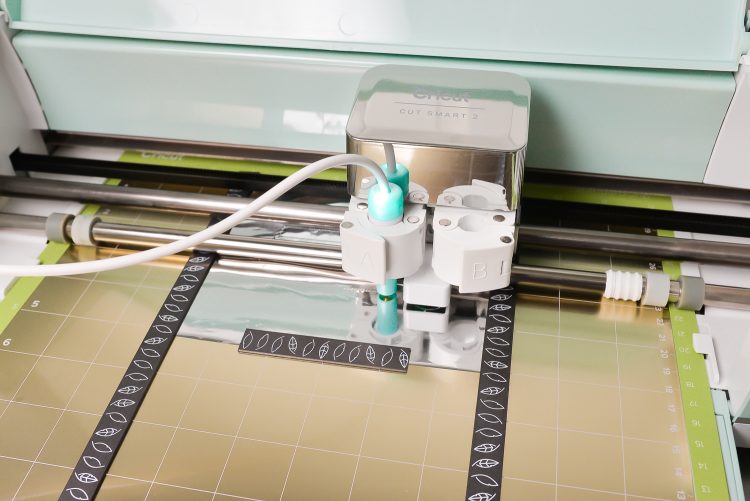
Start by placing the metal mat on one of your machine cutting mats, aligning it with the edges of the grid on your mat.

Then place your base material, like cardstock, on the mat, using the grid on the metal mat to align it. WRMK suggest using the middle of the mat—my guess is that it has the most consistent pressure there so that your foiling is the most even.

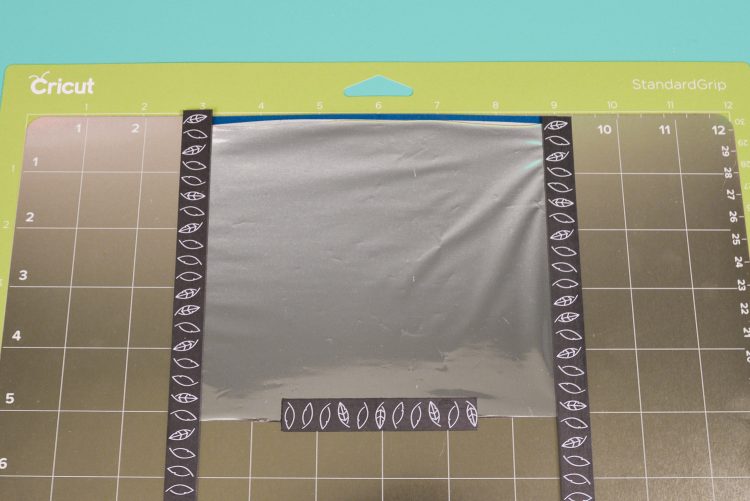
Then place your foil on top of the material, using the magnets to secure it. Do NOT use a magnet on the top.

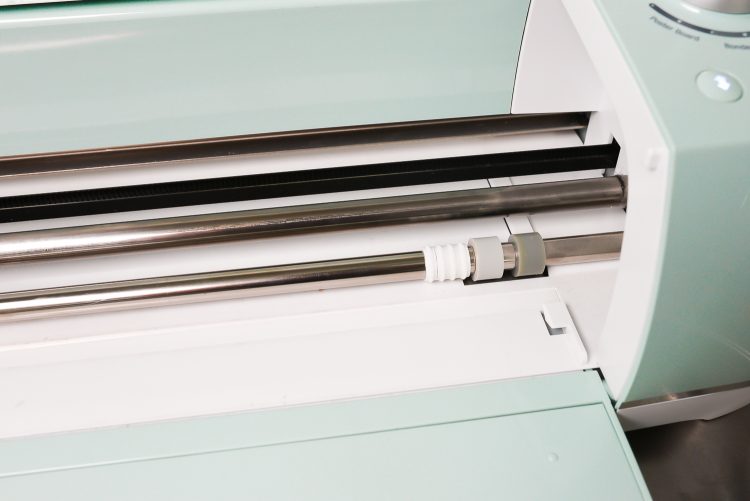
Some machines have little star wheels on the roller—move those to the right. They can be really stiff—I had to use a piece of scrap fabric as a gripper to get them to slide. Also remove any blades you have installed.

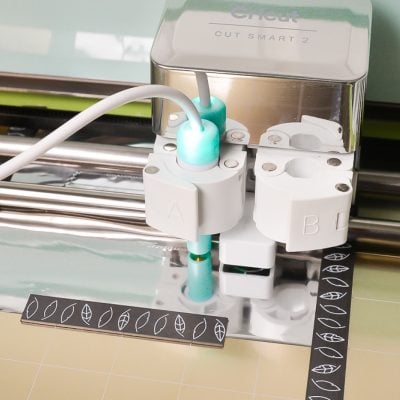
Insert the Foil Quill into your machine and power it to heat it up (learn all about using the Foil Quill in this extensive how-to post). Insert your mat into the machine like you would any other project.
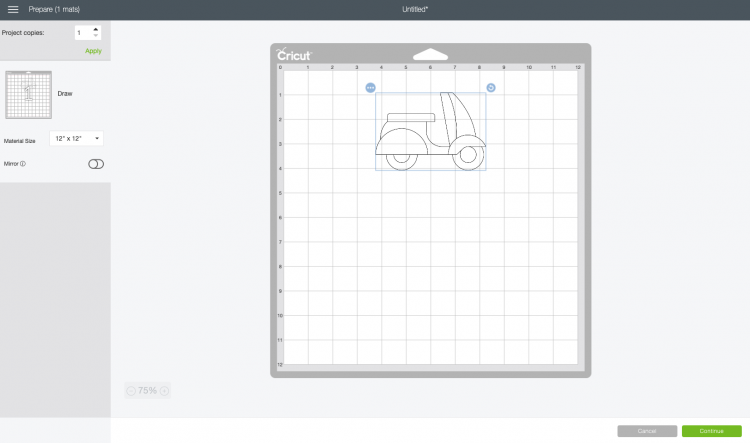
In your design program, choose an image to draw. I picked this cute scooter from one of Cricut’s new “Fell” cartridges—they are cute images from around the world. All of the images come in both cut and write linetypes, so I chose the write image.
In the cut screen, move your design to the location of your material on the mat. For instance, I moved my little scooter image to the center of the mat and scooted it down a bit to be centered on my material. There is some guesswork here! If you can’t see the grid because your base material is large and your foiling design is small, use a gridded ruler to know exactly where to move your image.

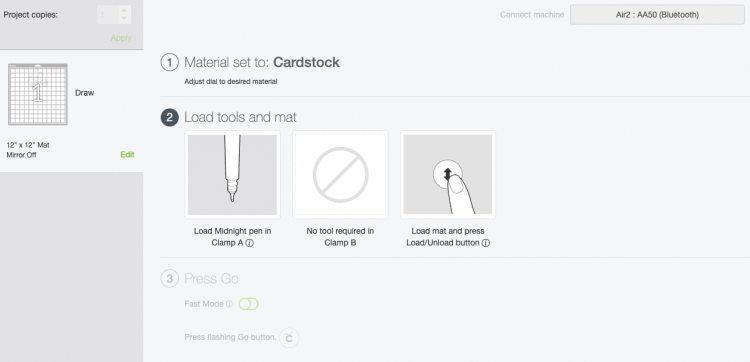
Select your material to be the same material you are foiling (in my case cardstock). Note that the Cricut will think you need to install a pen—install the Foil Quill instead.

Then hit the go button and your cutting machine will foil your project! I found that the magnets did a great job of holding the foil to my cardstock.

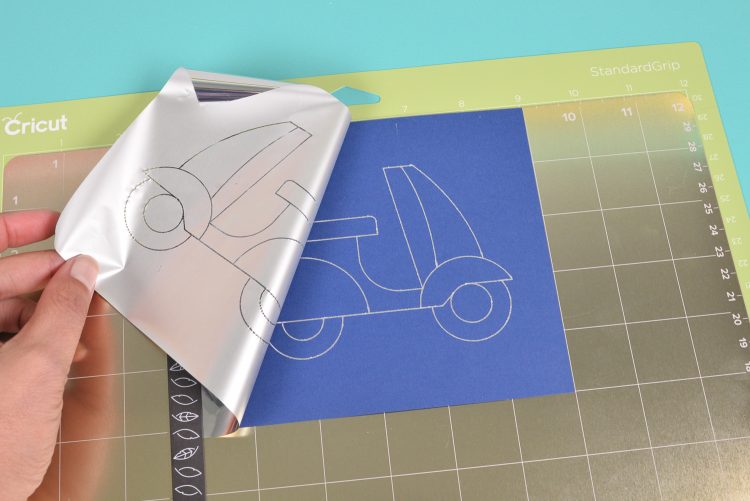
Once your project is done foiling, peel back the foil and see the magic!

So is it worth it? If you’re foiling a lot, heck yes. $19.99 is sort of that mid price point that can be pricey for some and worth it for others. I say if you’re doing a lot of projects with your Foil Quill, though, it’s definitely worth it.
Can I Cut Using the Magnetic Mat?
The short answer is no—WRMK does not recommend that you cut projects using the magnetic mat. They say to stick to foiling. This is the biggest downside to the mat for me—you can’t foil and cut in the same pass. Instead you can cut your shape, align it on the mat, change your image location in your design program, and hope for the best!
That being said, my friend Melissa over at Silhouette School did cut on hers and said it worked! So if you want to be brave like her, give it a shot.
What Machines Can Use the Magnetic Mat?
The magnetic mat works with the following machines:
- Cricut Maker
- Cricut Explore
- Silhouette Cameo
- Brother ScanNCut SDX
- Sizzix Eclips
Personally, I’ve only used it with my Cricut Explore. I’ve had a lot of success with all my Foil Quill projects using my Explore.
How Much Does the Foil Quill Magnetic Mat Cost and Where Can I Buy?
The Foil Quill Magnetic Mat retails for $19.99. I ordered mine retail from Swing Design and have already received it. Other outlets are saying late June / early July.
You can find it at the following retail sites:
- Swing Design (comes with a $100 credit to SoFontsy)
- Craft Direct
- Amazon
If you don’t have a Foil Quill yet, you can buy a giant Foil Quill bundle, which includes the three Foil Quill tips, the magnetic mat, a bunch of foil, and a $100 credit to SoFontsy for $99 from Swing Design.

Get the Foil Quill From Amazon
USING THE FOIL QUILL MAGNETIC MAT
Equipment
Supplies
Instructions
- Note: Cricut has said using the Foil Quill may void your warranty, so use at your own risk. I'm using my Cricut Explore which is already out of warranty.Start by placing the metal mat on one of your machine cutting mats, aligning it with the edges of the grid on your mat.

- Then place your base material, like cardstock, on the mat, using the grid on the metal mat to align it. WRMK suggest using the middle of the mat—my guess is that it has the most consistent pressure there so that your foiling is the most even.

- Then place your foil on top of the material, using the magnets to secure it. Do NOT use a magnet on the top.

- Some machines have little star wheels on the roller—move those to the right. They can be really stiff—I had to use a piece of scrap fabric as a gripper to get them to slide. Also remove any blades you have installed.

- Insert the Foil Quill into your machine and power it to heat it up (learn all about using the Foil Quill in this extensive how-to post). Insert your mat into the machine like you would any other project.In your design program, choose an image to draw. For this project this cute scooter was picked from one of Cricut's new "Fell" cartridges—they are cute images from around the world. All of the images come in both cut and write linetypes, so chose the write image.In the cut screen, move your design to the location of your material on the mat. For instance, the little scooter image was moved to the center of the mat and scooted down a bit to be centered on the material. There is some guesswork here! If you can't see the grid because your base material is large and your foiling design is small, use a gridded ruler to know exactly where to move your image.

- Select your material to be the same material you are foiling (in my case cardstock). Note that the Cricut will think you need to install a pen—install the Foil Quill instead.

- Then hit the go button and your cutting machine will foil your project! I found that the magnets did a great job of holding the foil to my cardstock.

- Once your project is done foiling, peel back the foil and see the magic!



Comments & Reviews
Megan Pawlak says
I’ve heard before that people have trouble with aligning drawing and cutting. I find letting the Cricut keep the design in the upper left is the most accurate. I’ve done projects where I wanted to do both card stock and vinyl without having to tape and apply each item separately – for example, make 5 stars with names on them and apply the vinyl ONCE before the card stock is cut. I do this by having the cutter cut the outline of the star into the vinyl as well. There is more waste than perhaps some would like, but the time savings to make multiples of the same project is well worth it. I imagine you could do the same with the foil quill but just remove the quill when it’s making the outer contour. As long as you’re working the corner of the mat, you should t have a problem aligning the cut with the foiled area.
Lacey says
“Hope for the best” is probably a no for me. I wish Cricut would come up with a way to cut exactly where it shows each and every time. Cool idea if you are only foiling though. I may buy and use it to cut too like your brave friend 😱