USING THE FOIL QUILL MAGNETIC MAT
Make your Foil Quill projects quicker and easier with the Foil Quill Magnetic Mat! Instead of messing with tape on your project, use the metal mat and magnet strips to hold your foil to your project.
Equipment
Ingredients
Instructions
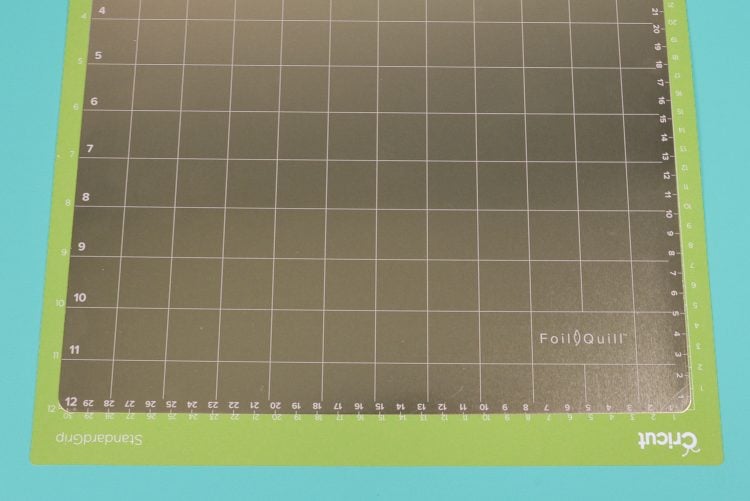
- Note: Cricut has said using the Foil Quill may void your warranty, so use at your own risk. I'm using my Cricut Explore which is already out of warranty.Start by placing the metal mat on one of your machine cutting mats, aligning it with the edges of the grid on your mat.
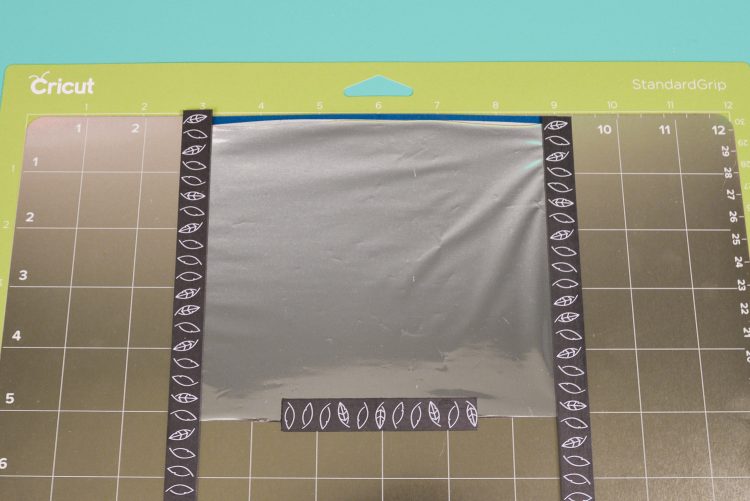
- Then place your base material, like cardstock, on the mat, using the grid on the metal mat to align it. WRMK suggest using the middle of the mat—my guess is that it has the most consistent pressure there so that your foiling is the most even.

- Then place your foil on top of the material, using the magnets to secure it. Do NOT use a magnet on the top.
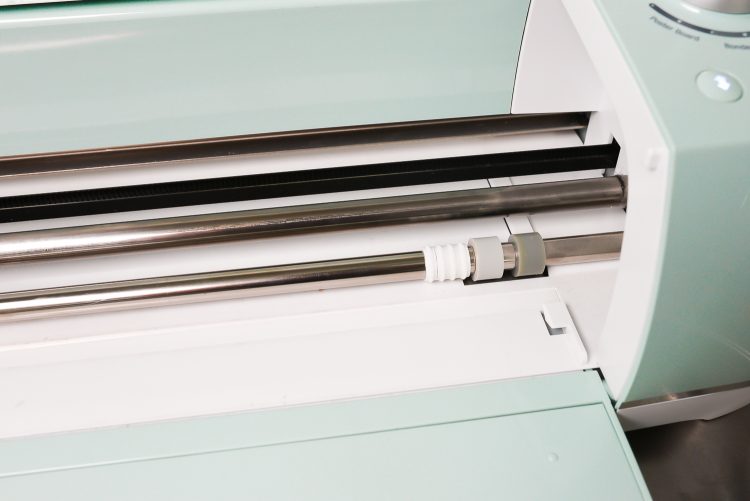
- Some machines have little star wheels on the roller—move those to the right. They can be really stiff—I had to use a piece of scrap fabric as a gripper to get them to slide. Also remove any blades you have installed.
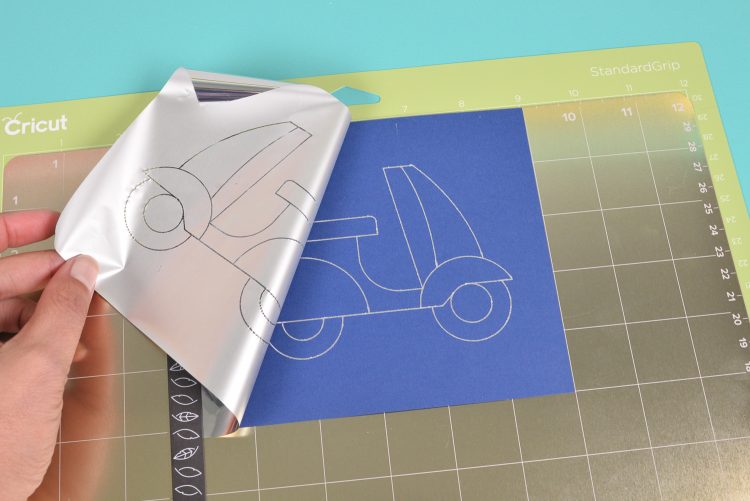
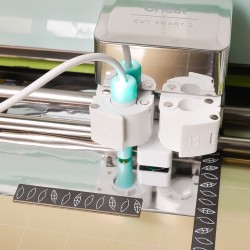
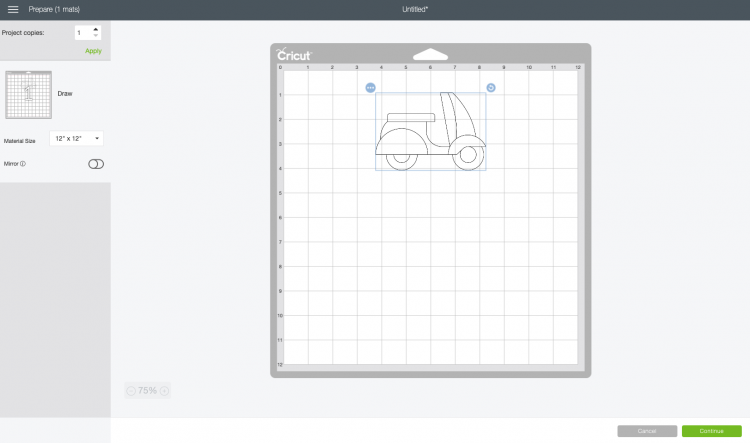
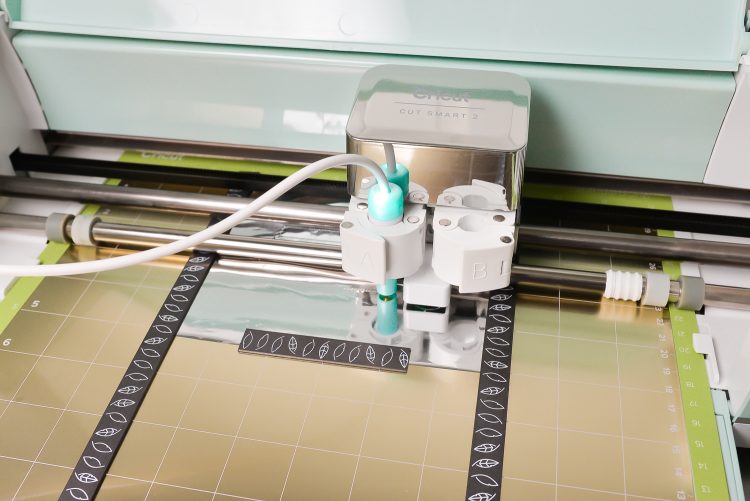
- Insert the Foil Quill into your machine and power it to heat it up (learn all about using the Foil Quill in this extensive how-to post). Insert your mat into the machine like you would any other project.In your design program, choose an image to draw. For this project this cute scooter was picked from one of Cricut's new "Fell" cartridges—they are cute images from around the world. All of the images come in both cut and write linetypes, so chose the write image.In the cut screen, move your design to the location of your material on the mat. For instance, the little scooter image was moved to the center of the mat and scooted down a bit to be centered on the material. There is some guesswork here! If you can't see the grid because your base material is large and your foiling design is small, use a gridded ruler to know exactly where to move your image.
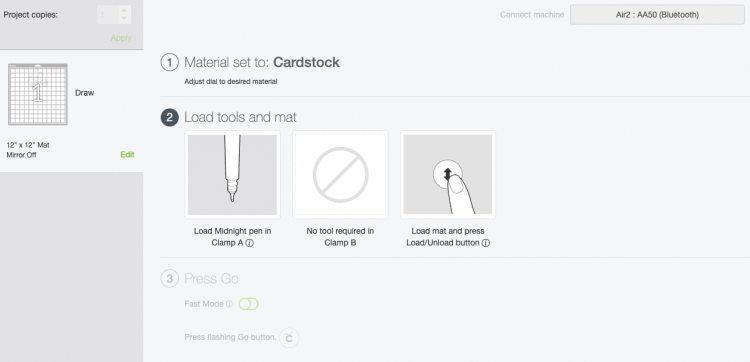
- Select your material to be the same material you are foiling (in my case cardstock). Note that the Cricut will think you need to install a pen—install the Foil Quill instead.
- Then hit the go button and your cutting machine will foil your project! I found that the magnets did a great job of holding the foil to my cardstock.
- Once your project is done foiling, peel back the foil and see the magic!