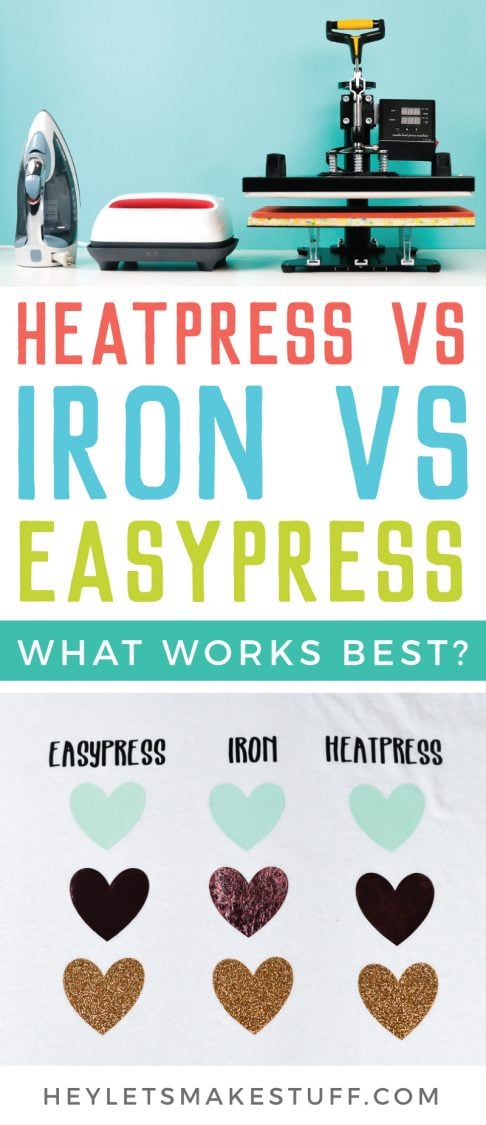
What is the best heat source for using iron on vinyl (HTV)? We put a heat press, a household iron, and the Cricut EasyPress to the test to determine the pros and cons of each to help you make the right decision for your needs!
This post was sponsored by Cricut.
Are you ready for a showdown? Let’s get ready for an iron on rumble!
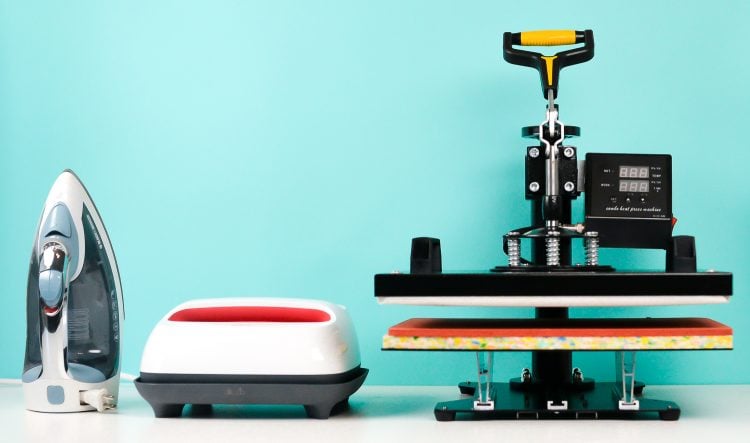
Today we’re talking iron on vinyl (also called heat-transfer vinyl or HTV) and how to adhere it to a base material, for instance, a t-shirt. To activate the adhesive in iron-on vinyl, you need heat—and lots of it!
I’m putting three different heating methods to the test: a household iron, a professional heat press, and the Cricut EasyPress!
Not sure which heat press is for you? Check out our e-course Heat Press Roadmap! This extensive course is designed to guide you on your journey to deciding on the best heat press for your needs, space, and budget. Check out all the details about Heat Press Roadmap here!
I’ve been wanting to write a comparison post about these three heating methods for a long time since I get a lot of questions about using iron on vinyl and the different ways to adhere it.
With so many options on the market these days, it can be overwhelming trying to decide which heating method is right you!
I finally got a heat press so now we can get down to brass tacks and find out which heat source comes out on top and the pros and cons of each, so you can make an informed choice before you buy.
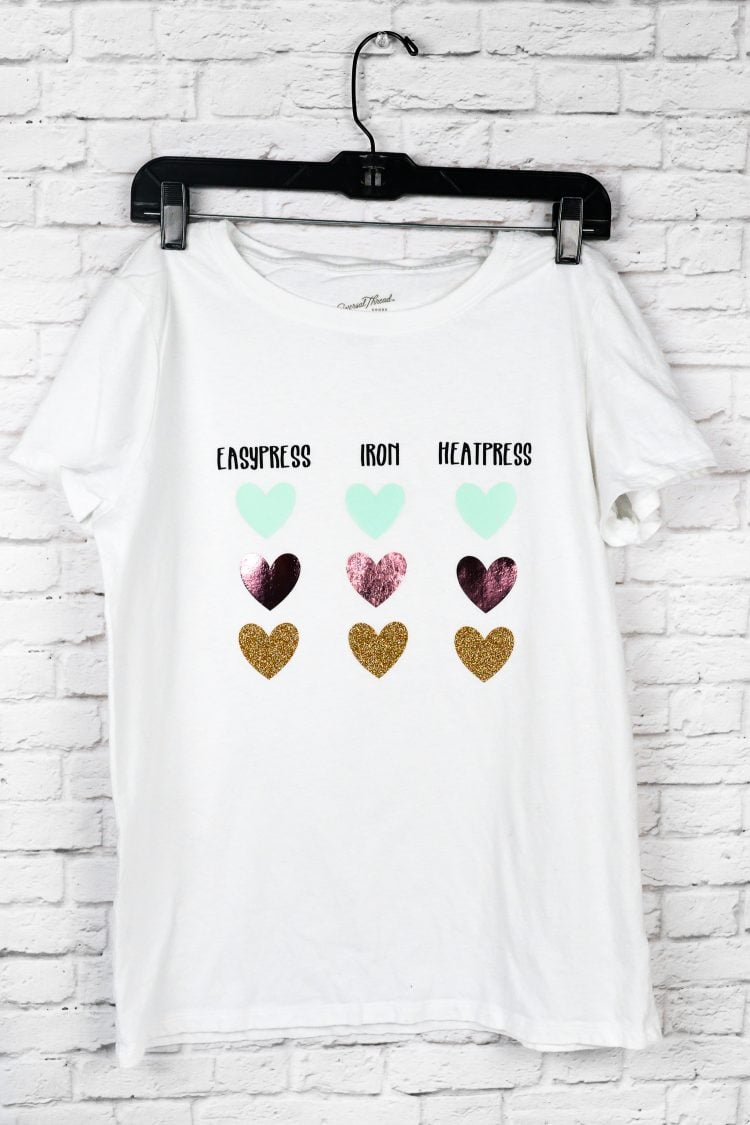
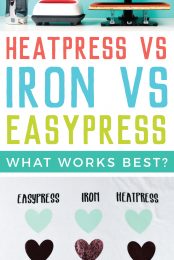
For this test, I made a shirt (which I pre-washed) using three types of iron on vinyl with the three different heat sources: regular mint iron on, pink foil iron on, and gold glitter iron on.
Remember that the foil iron on is cool peel. Then I washed the shirt. Many, many times. Every time I did a load of laundry, this shirt got thrown in.
We’ll see how well each heat source and iron on type held up at the end of this post!
But first, let’s take a look at today’s competitors and how they fared in our competition! *cue boxing match bell*
The Household Iron
I’m using my Black & Decker, which I’ve had for quite a few years.
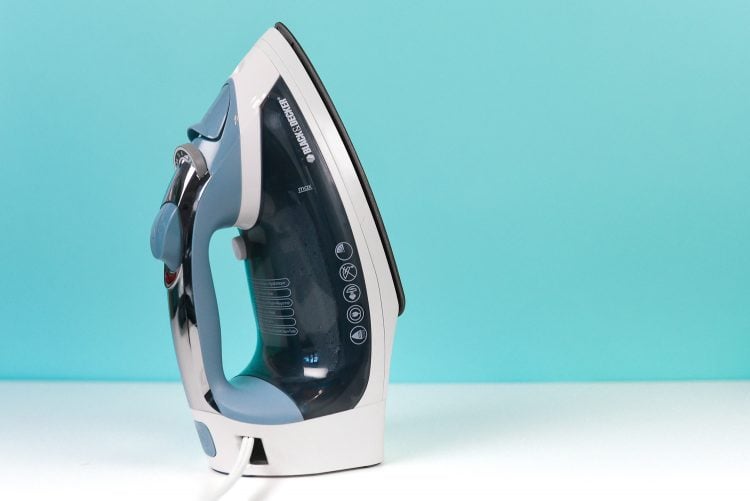
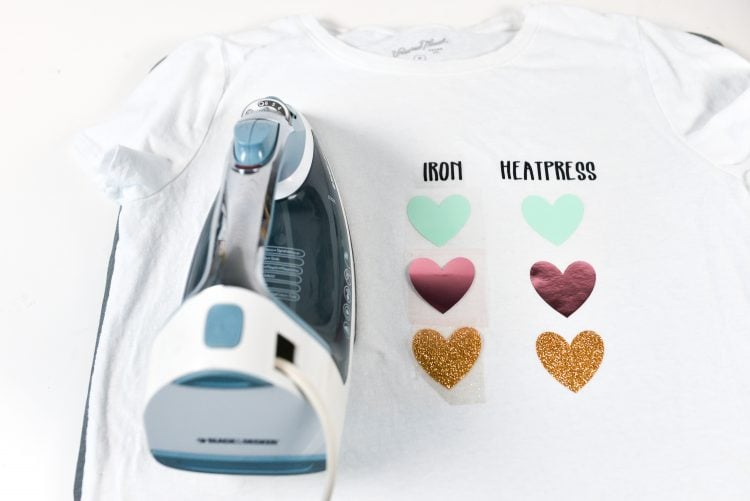
It’s a mid-range iron, nothing special but also not super cheap. I set it to the “cotton” setting and made sure the water well was empty so there was no steam.
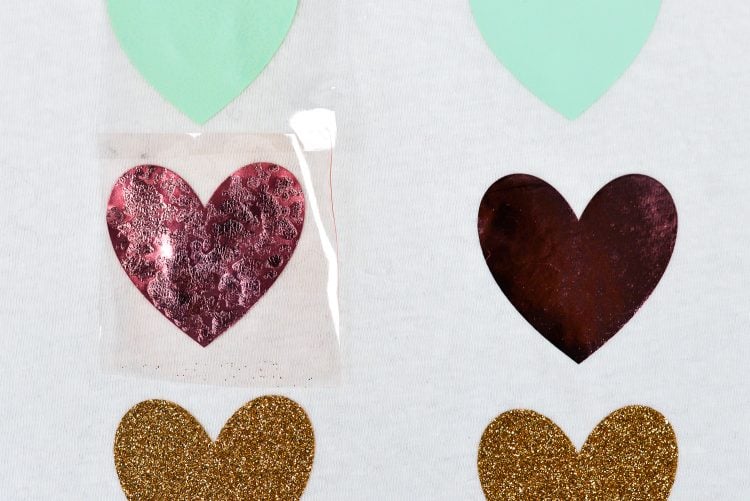
The regular iron on vinyl adhered okay, the glitter did great. The foil…well, that was terrible. My iron must have been too hot, though it’s hard to know how hot it was since there are no actual temperature settings.
The foil, unfortunately, melted and bubbled. You can see the smoother result from the heat press to the right.
Household Iron Pros:
- It’s multi-purpose—you can make iron on shirts and also iron a wrinkled pair of pants.
- It’s lightweight.
- It’s easy to store.
- You can maneuver it over surfaces that aren’t perfectly flat, like hats.
- It’s an economical purchase.
Household Iron Cons:
- There’s no way to set an exact temperature, so it’s often a guessing game to get the right setting.
- It can have hot and cold spots and can cause your iron on to bubble in some places and not adhere in others.
- It often takes more press time than other methods.
- It often requires additional presses because the first press wasn’t good enough.
- The “staying power” of iron on adhered with an iron is often shorter than other methods.
The Heat Press
For this comparison, I’m using the CO-Z 5-in-1 swing-arm heat press.
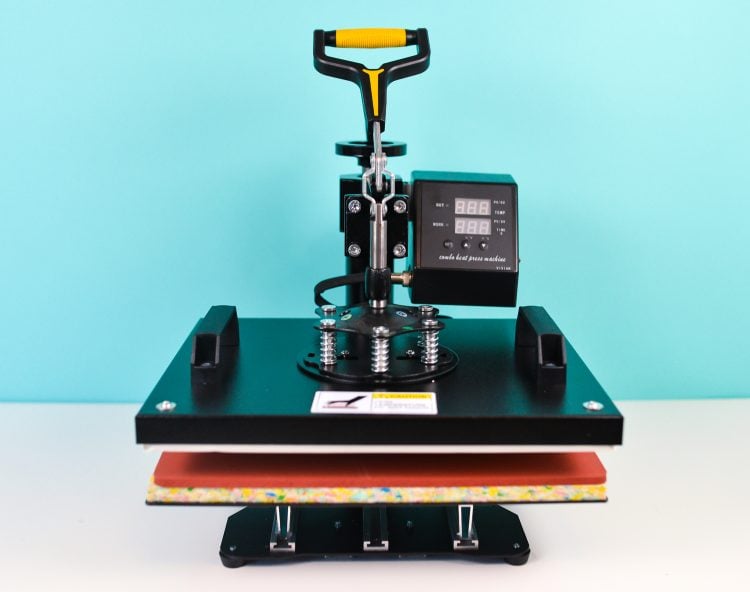
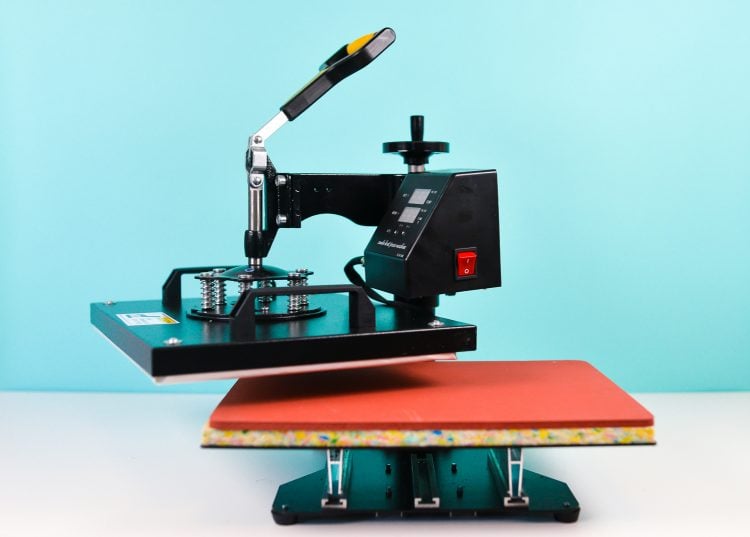
It was sent to me by Cricut for the purpose of this comparison. I’ve wanted to test one for a while, though, so I was super excited to try it out.
When it arrived at my house (all 40lbs of it), I found it quite intimidating—the press itself, plus myriad add-ons.
It took me a while to figure out how to use it (the instructions were comically non-instructional), including a lot of time on YouTube and trial and error (why does SP = temperature? I have no idea.)
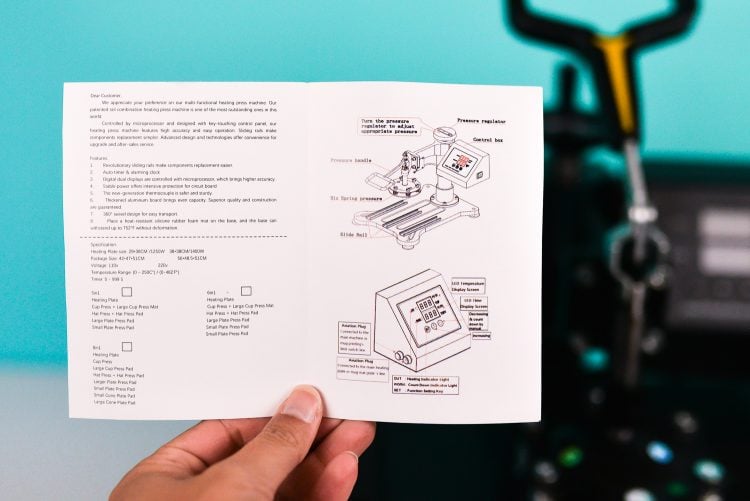
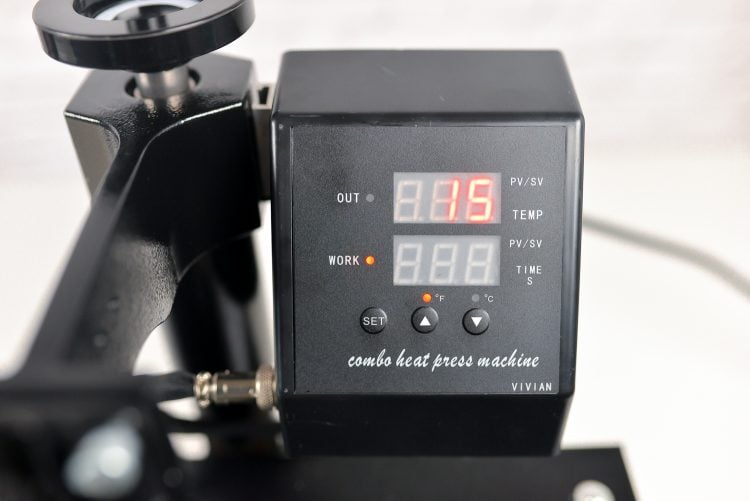
All three types of iron on adhered well with a single 20-second press at 295°. I used the heat-resistant tape that came with the press to hold everything in place—loved it!
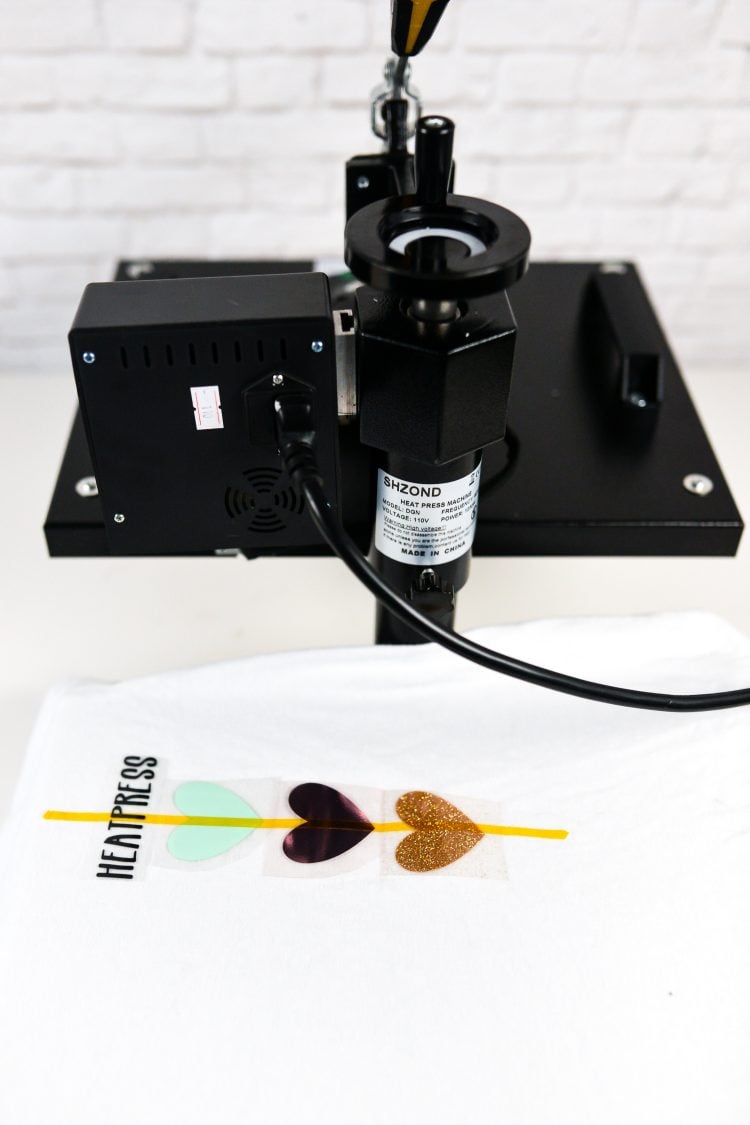
Pros:
- It adheres vinyl beautifully and fairly easily (once I got the hang of it).
- It has even heat distribution across the plates.
- You can set the temperature and time to get the perfect press.
- It remembers your last-used temperature.
- You can walk away during the pressing time. Yes, it’s usually less than 30 seconds, but that’s enough time to tidy up a bit or check Facebook.
- It comes with several add-ons for doing non-flat items, like mugs, hats, and plates.
Cons:
- Though it wasn’t terribly complicated to use, I found it intimidating right out of the box.
- The lack of instructions was frustrating.
- It’s large and awkward. It takes up significant space in my craft room and doesn’t store easily at all (I can’t easy tuck it away under my work table, for instance).
- I know this shouldn’t matter, but it’s not the most attractive piece of machinery.
- The time to heat up is much longer than the iron or the EasyPress—almost 7 minutes to get to 315°.
- The heating plates are a little scary since I tend to be clumsy. I do like that this one swings away vs. the ones that clamp from the top—I think it’s a bit safer.
- It’s awkward to do projects larger than the pressing plates.
- It’s cost-prohibitive for some users.
The Cricut EasyPress
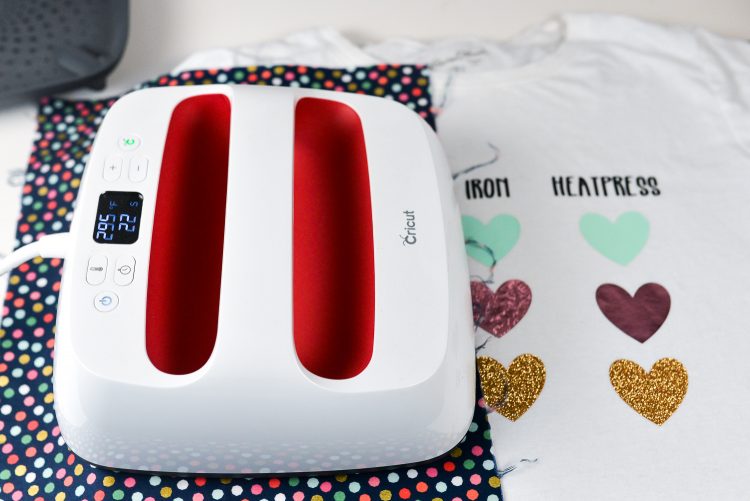
I’m using my new Cricut EasyPress 2 for this test, though you’ll get the same results with the original EasyPress as well. I also used my EasyPress mat.
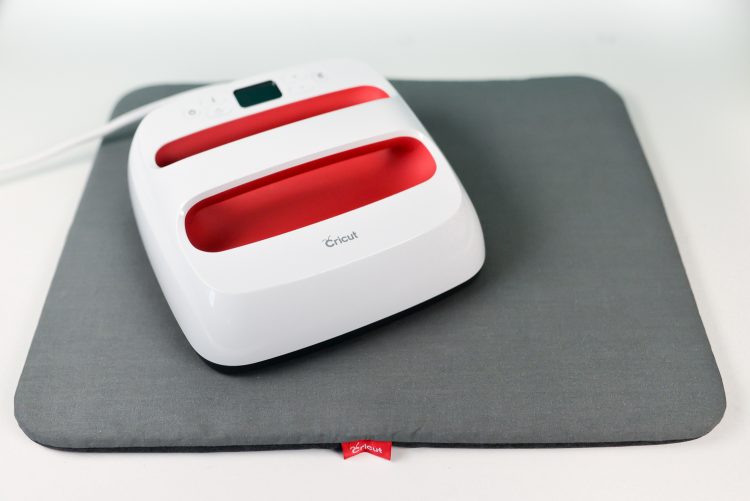
You can check out my post about the differences between the EasyPress and EasyPress 2, as well as get a printable heat settings chart.
The foil and glitter iron on vinyl adhered well with a single 30-second press at 295°, and the regular adhered with an additional press at 315°.
Pros:
- It adheres vinyl beautifully and easily.
- It has even heat distribution across the plate.
- It’s easy to use, right out of the box.
- It comes in several sizes so you can do small and large projects more easily.
- You can set the temperature and time to get the perfect press.
- The EasyPress 2 remembers your last-used temperature.
- It heats up super fast—a minute for the EasyPress 2 and two minutes for the original EasyPress.
- It’s lightweight (compared to a heat press) and easy to store.
- It is easier to do projects larger than the pressing plate because you can just move it around.
- It’s cute! (Again, this shouldn’t matter, but my site all about making pretty things so I appreciate beautiful design!)
- You can maneuver the small EasyPress 2 on items that aren’t flat, though I think it works better on flat items.
- The safety base makes me feel a little better about using it in a house with two toddlers.
Cons:
- Starting at $139, it’s cost-prohibitive for some users.
- You have to apply pressure so you can’t walk away.
- I find the cord to be in a somewhat awkward place for the location I use my press.
The Results of The Wash Test
I washed this shirt fifteen times. I washed it inside out on warm and tried to let it air dry for the most part (though, because I am the mom of two three year olds, it went in the dryer several times when I wasn’t paying enough attention).
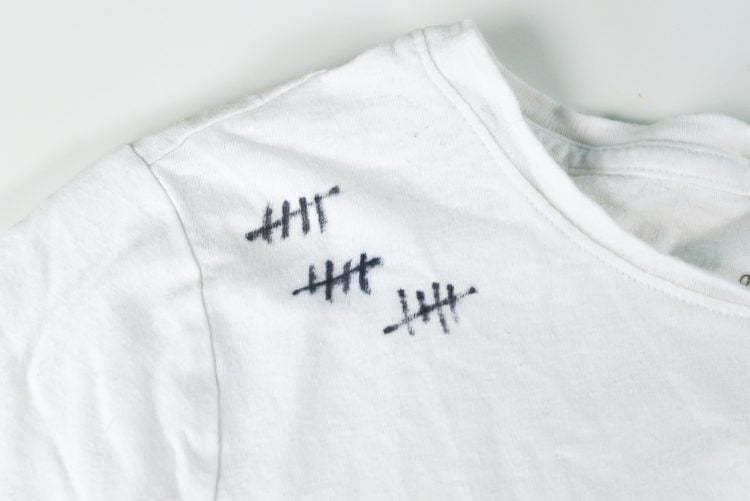
To be honest, I am impressed with ALL the results. I’ve had much worse luck with my iron in the past, so I was surprised to see how well the iron on vinyl held up, particularly with the household iron.
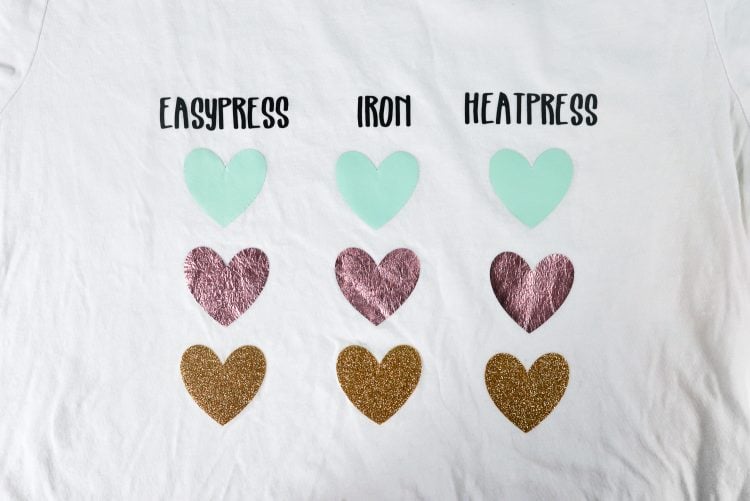
You can’t tell in my photo, but the bottom of the gold heart is starting to pull up a bit on the iron on, but other than that it’s all holding up really well. The EasyPress and the heat press are identical.


Comments & Reviews
BigZig Soboleski says
this was fantastically helpful. I have been using my heat press for a few years for a few projects and love it. i have been teetering on the edge of getting a cricut so i can make my own designs without paying an arm and a leg from places like transferexpress, but didn’t want to have to get a whole other pressing system.
i am going to make the leap and get a cricut and have some fun!
thanks again for this great comparison.
happy crafting!!
BigZig
Wladson Marques says
Hello, thanks for the comparative article. Just to add something, I would like to say that PV stands for measured Process Value and SV is Set Value.
For example, you set the machine to heat at 315°C, that would be your SV. At this point the machine starts to heat up, it goes from room temperature and will heat up to 315°C. This variable temperature between room temperature and 315°C is the PV process value.
Jane says
Wonderng if you used the EasyPress Mat when you used the Iron and if not do you think you would get better results if you did.
Cori George says
I don’t think it matters too much, honestly. The differing temperatures on the iron plate make the biggest difference.