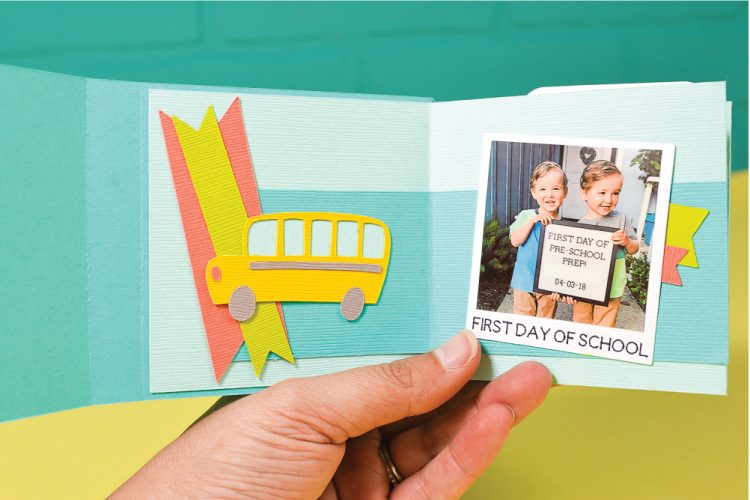
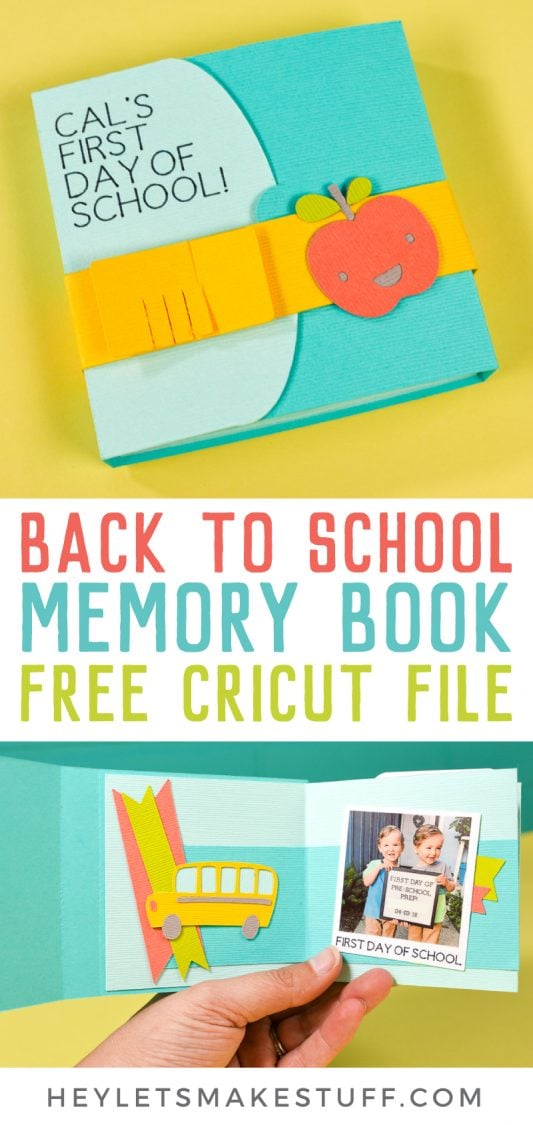
Remember your child’s first day of school with this back to school memory book, made with your Cricut! Get the free files to make this adorable memory book, then capture this moment and time and remember it forever!

Can you believe we’re already almost the new school season? This is a big year for us—our twin boys start preschool! They’ve been attending daycare at the preschool since April, but soon they’ll officially be in school. I can hardly believe it. If someone has the secret for slowing down time, please let me know in the comments!
[adthrive-in-post-video-player video-id=”JzIbYONS” upload-date=”2022-07-13T15:40:50.000Z” name=”School Projects with a Cricut” description=”Get your kid ready for school with these awesome back to school crafts with the Cricut! many of these fun school crafts are also great for teachers and classrooms!” player-type=”static”]
This year I’m making my boys commemorative mini scrapbooks for the new school year. One of my favorite things to do in Cricut Design Space is taking one of the Make It Now projects and customizing it for something else. This time, I’ve used the Love Mini Album and reworked it for Back to School! Grab the Design Space project here.

Back to School Memory Book Supplies
- White cardstock
- Gray cardstock
- Pink cardstock
- Yellow cardstock
- Green cardstock
- Teal cardstock
- Light blue cardstock
- Cricut pen
- Cricut scoring stylus or scoring wheel
- Spray glue, glue tape, or Xyron Creative Station
- Photos from the first day of school
Back to School Memory Book Instructions
1: Cut Out Your Pieces
Open the Cricut Design Space file and customize the text layers (for the front, I left the name blank —feel free to add your kiddo’s name like I did!), change the colors, or add or remove elements from the book.
Then you can cut! I used my Cricut Maker, which uses the Scoring Wheel (I love that thing!). You can also use the Scoring Stylus. Make sure to follow the instructions for each color of paper—there are layers that also need the pen and the scoring wheel or stylus. Cricut Design Space will prompt you to insert the tools when needed.

2: Create Your Mini Album Base
To create your mini scrapbook, fold the teal cardstock so that it forms a little square book. Then fold the light blue pieces as shown, and glue together using the tabs.


Then glue the interior pages to the exterior book as shown.

3. Decorate Your Mini Album
Like any scrapbooking page, you’re going to end up with a lot of cut pieces. How you attach them to your mini book is up to you. I really like using my Xyron sticker machine—it basically turns any flat piece of paper into a sticker! Perfect for projects like this. You can also use spray glue or glue tape (the kind that comes in a little dispense. Glue dots will probably work too!

Following the design in Cricut Design Space, adhere all of your different pieces together to your book, making sure the scored pieces line up with the folds of the book.


I wish you and your family the happiest back to school! Make sure to check out a few other Cricut back to school projects: Periodic Table Clipboard, Teacher Apple Candy Pouch Cards, Back to School Frames, and this adorable Apple Tote Bag!

Love this project? Check out more Back to School Crafts with a Cricut!


Comments & Reviews
Michelle says
This is really cute, and the directions are easy to follow. Thanks!!!
Cheryl says
No kids in school, but I’m thinking of making one with another theme, one of my dogs!
Brinda Coble says
This is awesome! I might make some for my great-grandkids.
Amanda says
This is so cute. I wished I would have done things like this when my kids were in school. Hopefully one day I can do it for the grandkids. LOL. Thank for the inspiration.
Pam VanDerheyden says
Very cute projects.
Dawn says
I love the back to school memory book ❤️
Marissa says
I just made my daughter the back to school memory book. Oh My Cuteness!!!!!!!! It looks so good. I can’t wait to pick her up from school today to give it to her. Thank you so much for sharing!!!!!