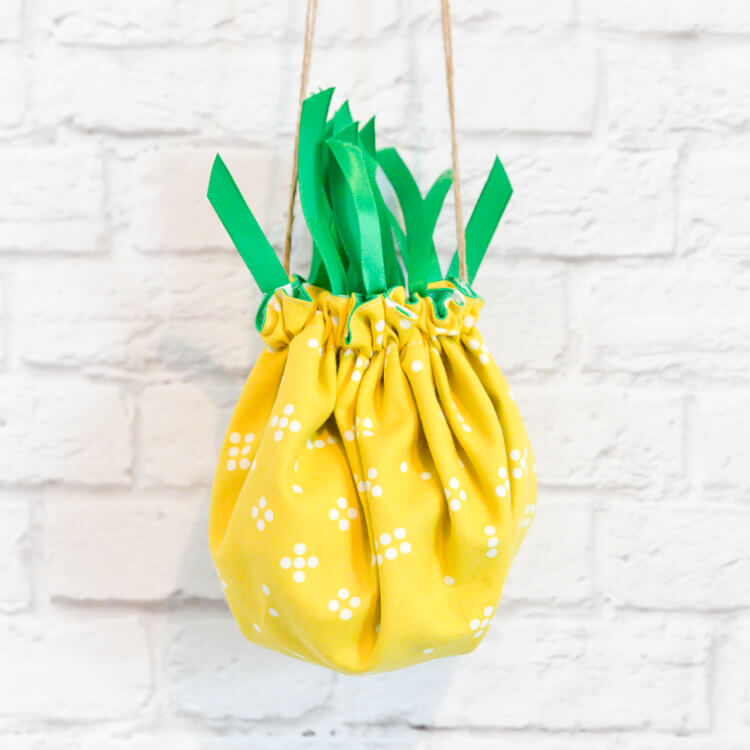
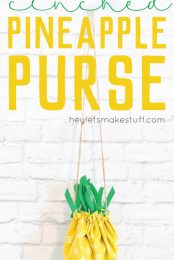
Make this adorable little pineapple purse for your kid who wants to carry around their little treasures! Sewn from a flat circle, cinched together with twine.
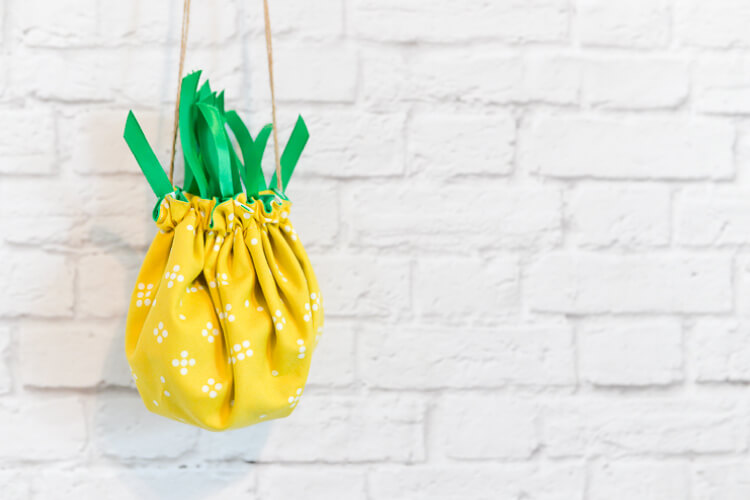
You know when you’re drifting in and out of sleep and you have an idea? That’s where this little pineapple purse came from. I had no idea if it would actually work, but I made a muslin version and lo and behold, it was adorable.
It is basically a flat circle with a drawstring, which cinches together to create a pineapple shape.
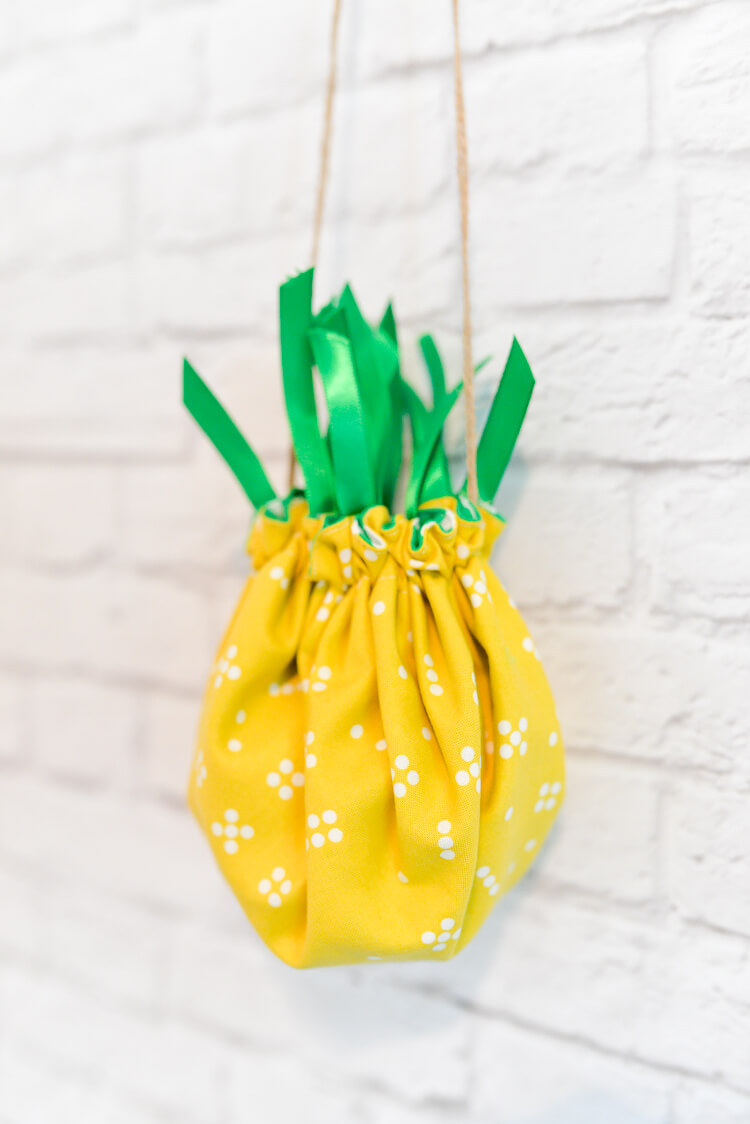
This version is quite small, perfect kids carrying around their crayons or other little treasures. You could also up-scale it and make a full-size bag, using a bigger circle.
Pineapple Purse Supplies
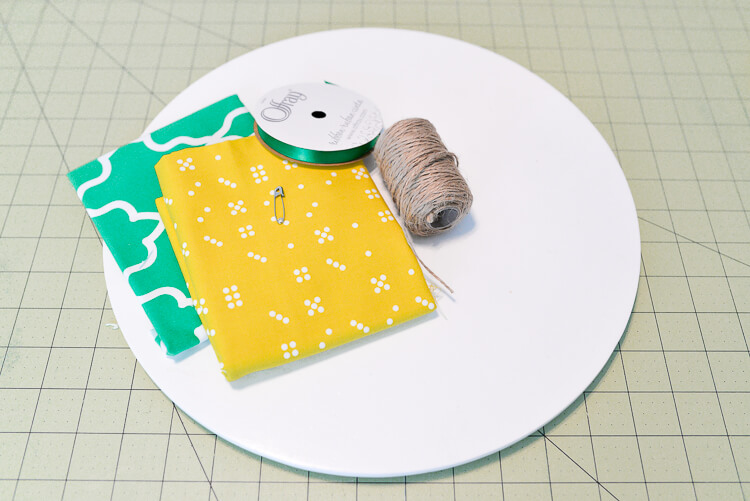
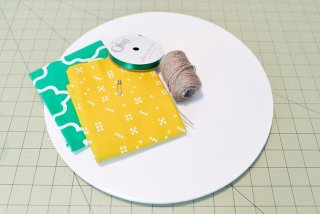
- Fat quarter, yellow fabric
- Fat quarter, green fabric
- Coordinating thread
- At least 48″ green satin ribbon
- Twine
- Safety pin
- A “round something” that’s at least 12″ wide (mine was 13″)
Pineapple Purse Instructions
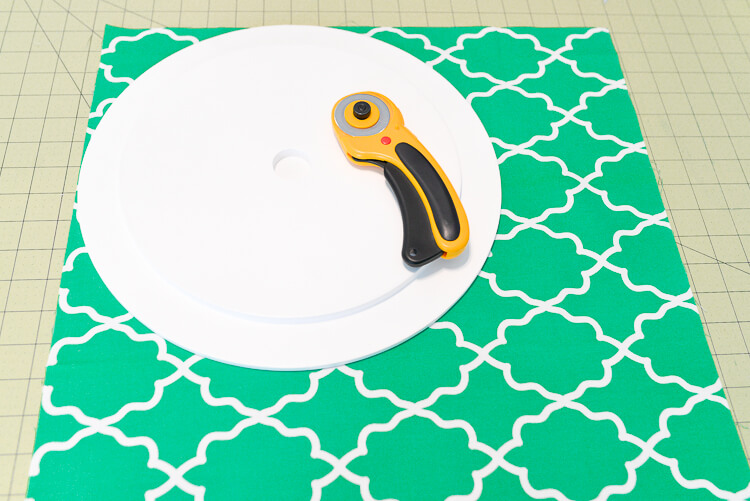
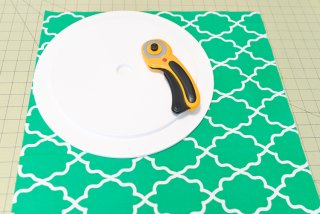
Using your “round something,” cut two circles, yellow and green. I used the insert that goes in our babies’ play table, but you could use a frying pan, a large platter, or even make yourself a compass.
I used my rotary cutter to just cut around the edge of my circle, but you could trace it and cut with scissors as well.
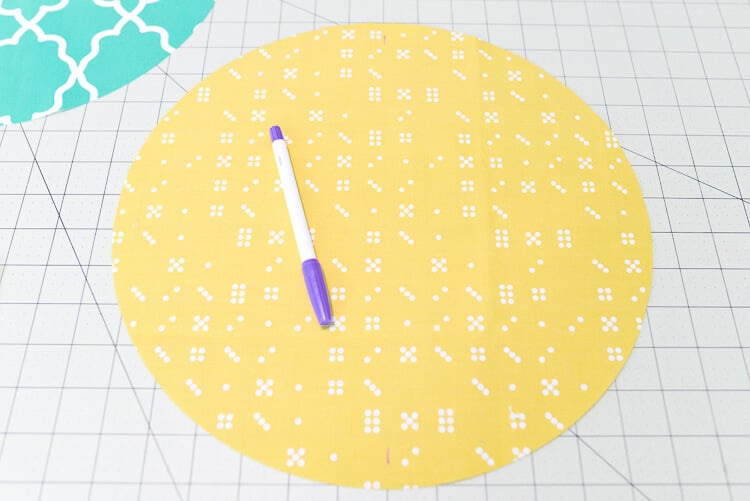
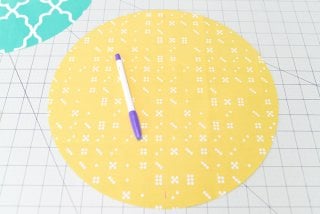
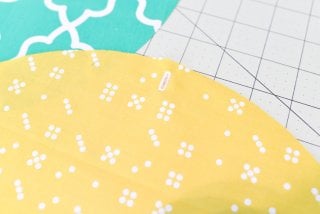
Mark your button hole placement on the yellow fabric. I did it about 1/4″ from the edge using a 5/16″ button. You’ll need two button holes, so mark them directly across from each other.
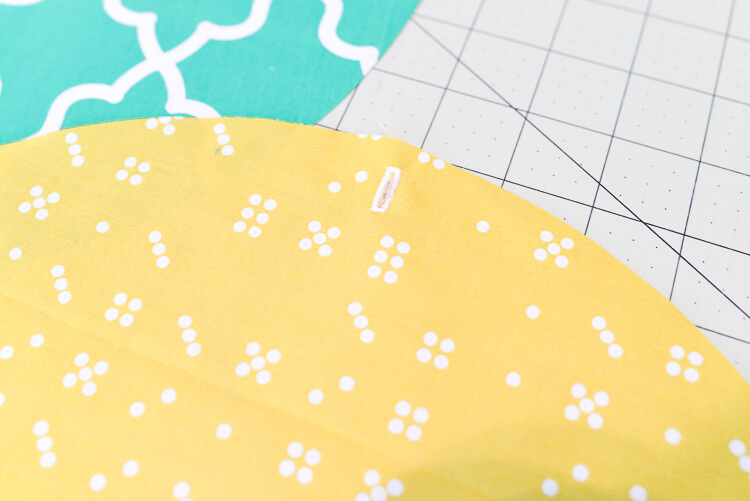
Make your two button holes. If you haven’t made button holes in a while, you might want to practice on a scrap piece of fabric first!
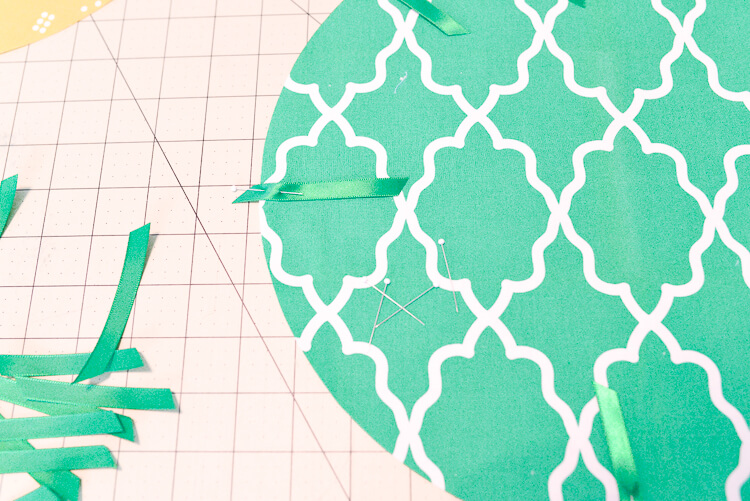
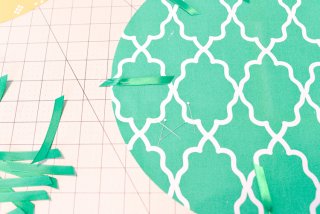
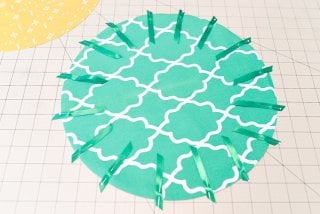
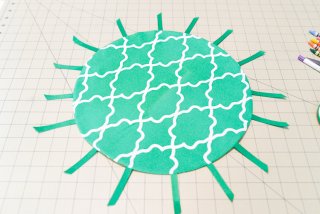
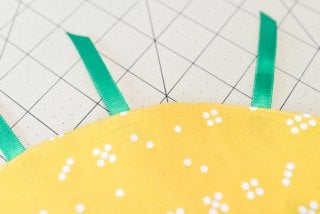
Pin your ribbon pieces to the green circle, with the majority of the ribbon over the green circle. When you turn your circle inside out, these will end up on the outside.
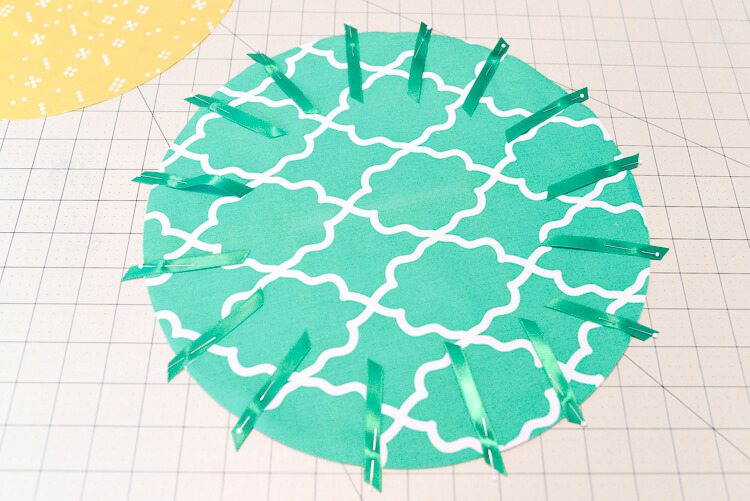
Continue to pin all of the ribbons all the way around the circle at even intervals. I used 16 pieces of ribbon. You’ll have to scale up or down depending on the size of your circle.
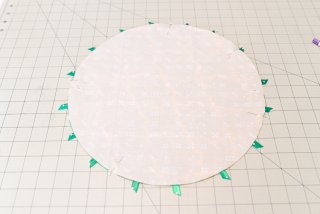
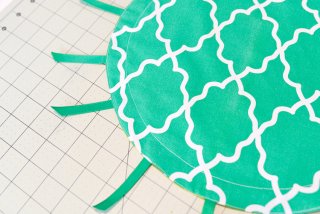
Make a sandwich by placing the yellow fabric right-side down over the green circle, and secure with pins. Sew all the way around the circle with a 1/4″ seam, leaving a hole between two of the ribbons for turning. Make sure to backstitch at the start and stop of your stitching.
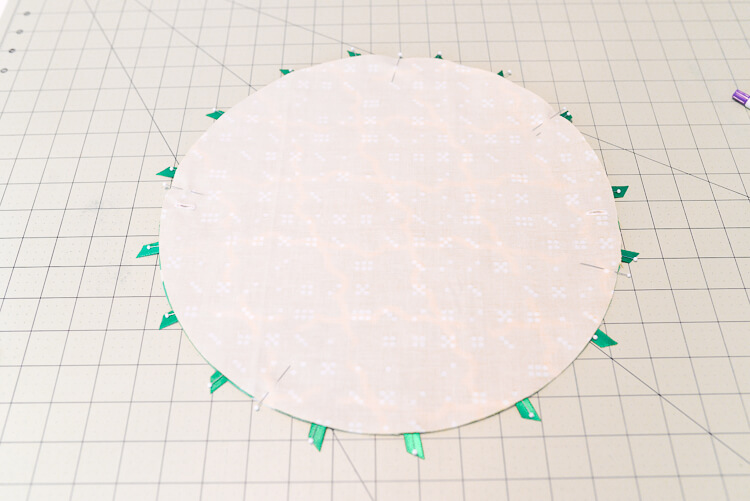
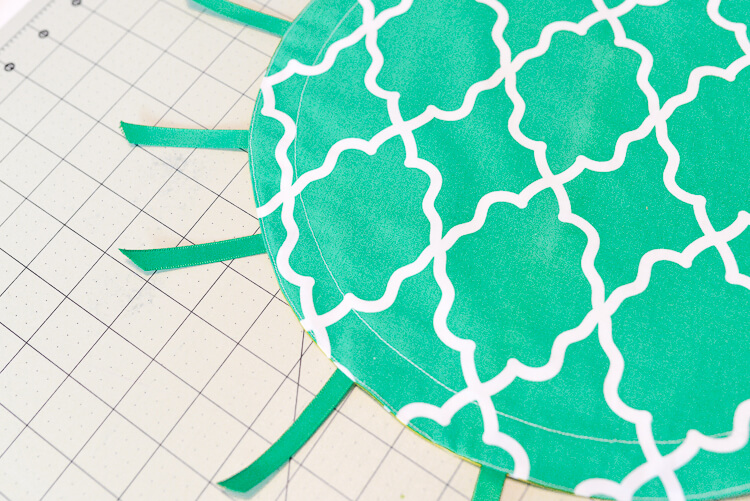
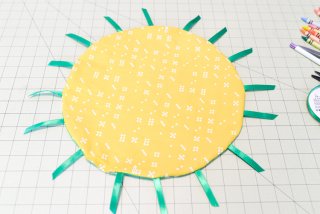
Turn right-side out through the hole you left open (you can see my hole in the bottom left of the circle below).
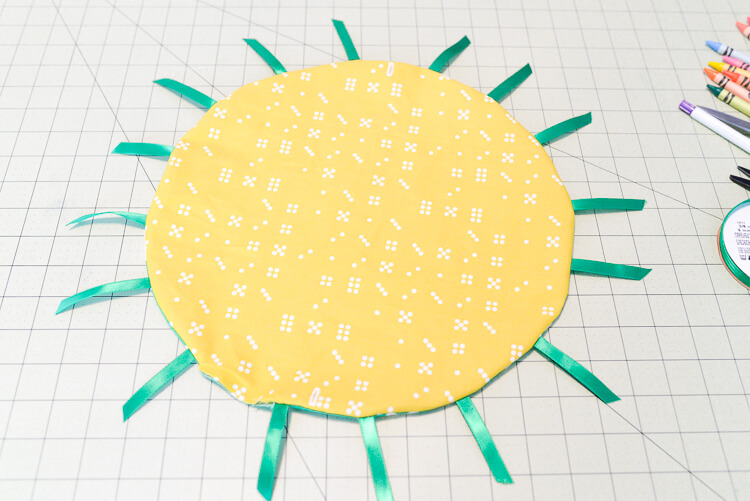
Press the circle, making sure to get the outside of the circle as flat as possible. Turn in the edges of your hole and press as well.
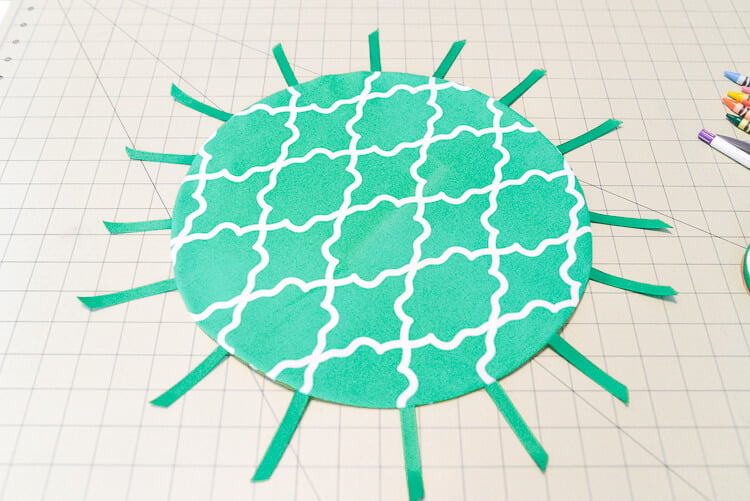
Topstitch very close to the edge, closing your turning hole and securing all of the ribbons.
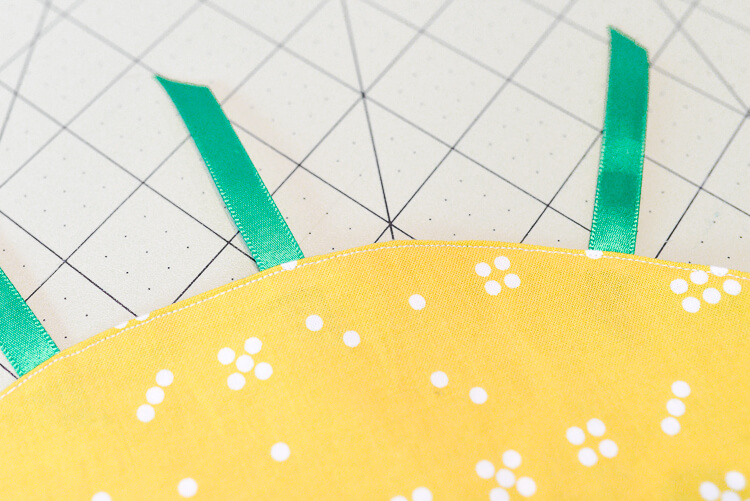
Sew another line of stitching about 6″ in from your outside line (far enough in that you’re not running over your button holes. This creates the “pocket” for your twine.
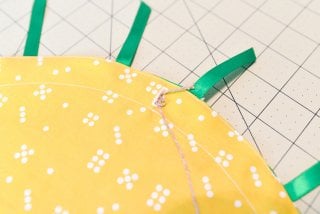
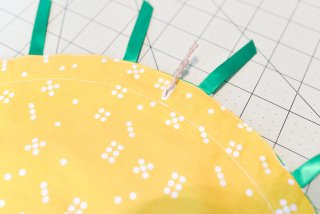
To measure your length of twine, lay it out around the circle so it covers the circumference. Add a few inches. Then tie one end to a safety pin and insert through one of the button holes. Thread it all the way around (the safety pin will make it much easier) until you end up where you started.
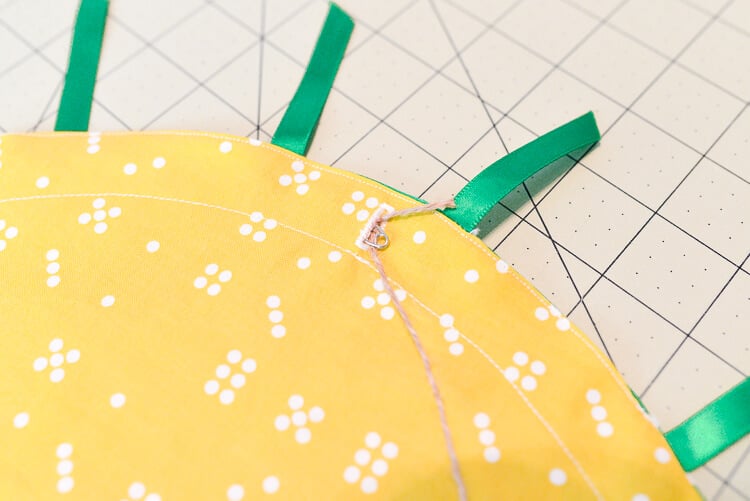
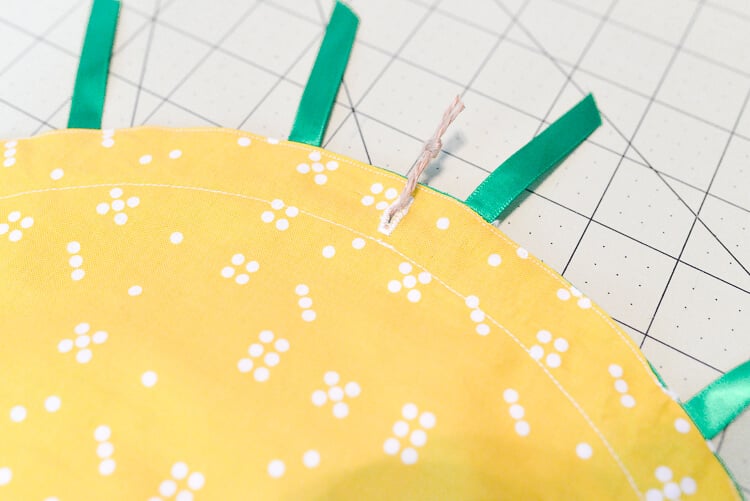
Then tie the two ends together. Do the same through the other button hole.
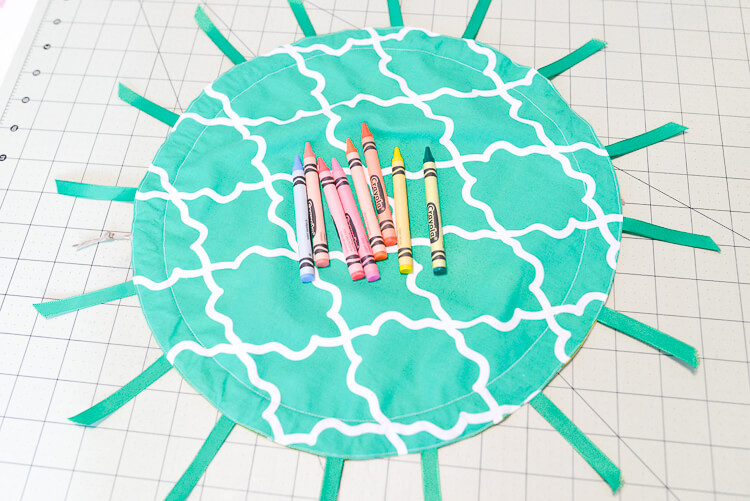
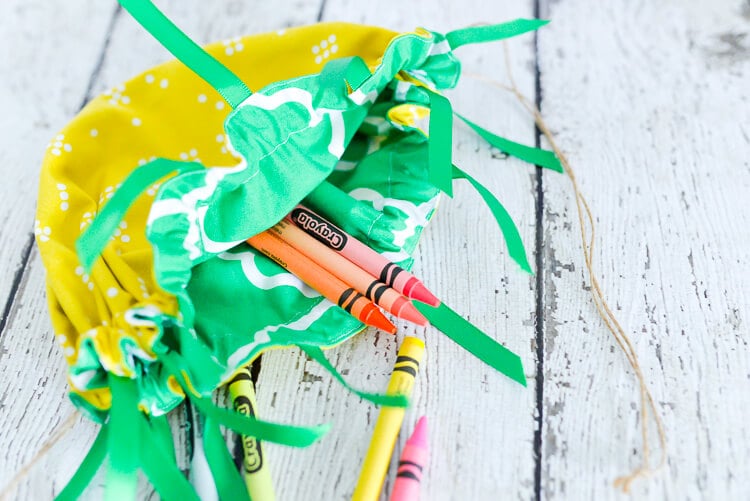
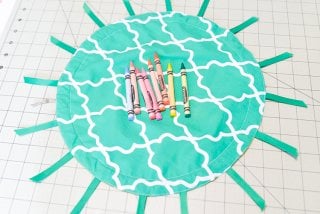
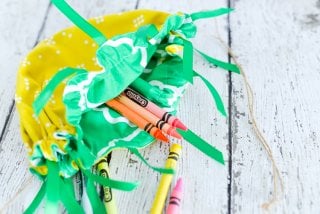
Flip it over and fill with your favorite things, cinch tight, and carry!
4 Tips for Teaching Kids to Crochet – Underground Crafter on Nap-Time Creations
Underwater Limbo – 365 Days of Crafts
Red White and Blue Bark – The Chunky Chef
Head over to Nap-Time Creations/Summer Fun to see all the posts in the series!
And if you need an adult version of a pineapple design, check this one out – Piña Colada Pineapple SVG!
TINY CINCHED PINEAPPLE PURSE
Equipment
Supplies
- Fat quarter, yellow fabric
- Fat quarter, green fabric
- Coordinating thread
- green satin ribbon at least 48"
- Twine
- Safety pin
- A "round something" that's at least 12" wide
Instructions
- NOTE: This version is quite small, perfect kids carrying around their crayons or other little treasures. You could also up-scale it and make a full-size bag, using a bigger circle.
- Using your "round something," cut two circles, yellow and green.
- Mark your button hole placement on the yellow fabric. For this project it is about 1/4" from the edge using a 5/16" button. You'll need two button holes, so mark them directly across from each other.
- Make your two button holes. If you haven't made button holes in a while, you might want to practice on a scrap piece of fabric first!
- Pin your ribbon pieces to the green circle, with the majority of the ribbon over the green circle. When you turn your circle inside out, these will end up on the outside.
- Continue to pin all of the ribbons all the way around the circle at even intervals. For this project, 16 pieces of ribbon were used. You'll have to scale up or down depending on the size of your circle.
- Make a sandwich by placing the yellow fabric right-side down over the green circle, and secure with pins. Sew all the way around the circle with a 1/4" seam, leaving a hole between two of the ribbons for turning. Make sure to backstitch at the start and stop of your stitching.
- Turn right-side out through the hole you left open (you can see the hole in the bottom left of the circle below).
- Press the circle, making sure to get the outside of the circle as flat as possible. Turn in the edges of your hole and press as well.
- Topstitch very close to the edge, closing your turning hole and securing all of the ribbons.
- Sew another line of stitching about 6" in from your outside line (far enough in that you're not running over your button holes. This creates the "pocket" for your twine.
- To measure your length of twine, lay it out around the circle so it covers the circumference. Add a few inches. Then tie one end to a safety pin and insert through one of the button holes. Thread it all the way around (the safety pin will make it much easier) until you end up where you started.
- Then tie the two ends together. Do the same through the other button hole.
- Flip it over and fill with your favorite things, cinch tight, and carry!


Comments & Reviews
Dotty J Boucher says
I love this, this is so darling, I really love how easy this is to do, I don’t have a sewing machine but easy enough for me to do by hand,, thanks for the share, will share this post :)
@tisonlyme143
Emily says
so cute! I want to make this!! Thanks for joining my series!