Make some simple floating artwork using your Cricut Explore! Get free SVG cut files, too!
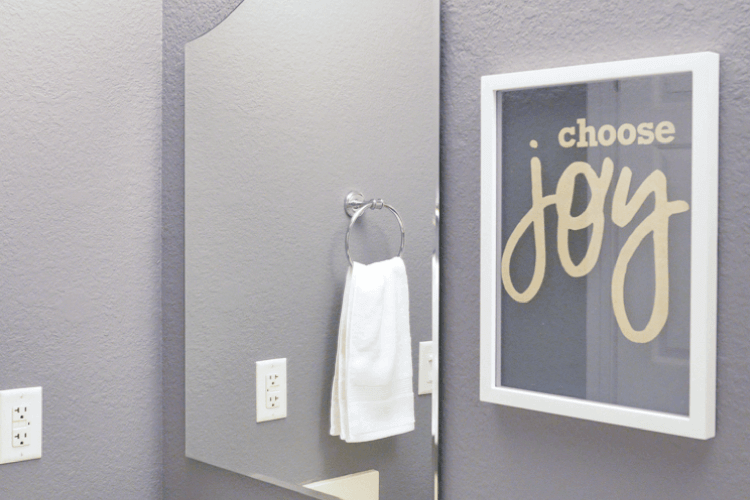
I wanted to add a few more personalized elements to our recent bathroom makeover, so I decided to make my own art. I hemmed and hawed and started several projects, but nothing seemed right.
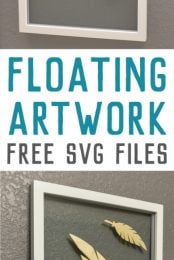
That is, until I was walking through my local craft store and found some floating white frames on sale. That sparked the inspiration for doing some simple floating artwork. The best part about this is that you can do the same, but with whatever shapes you want!
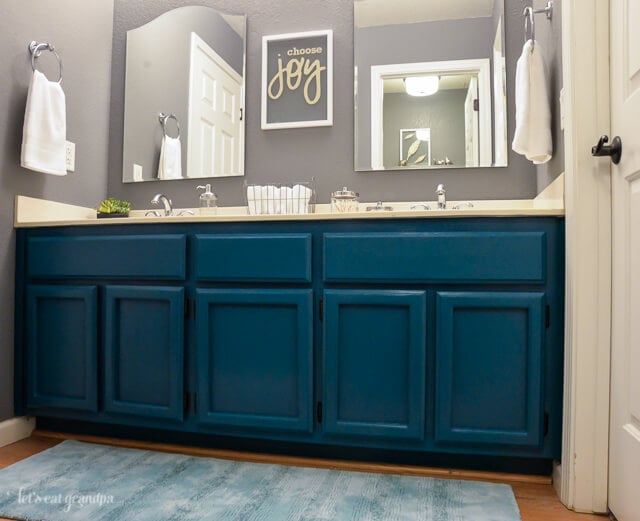
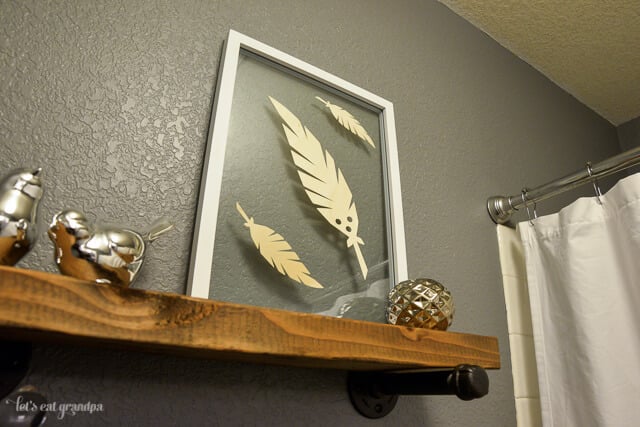
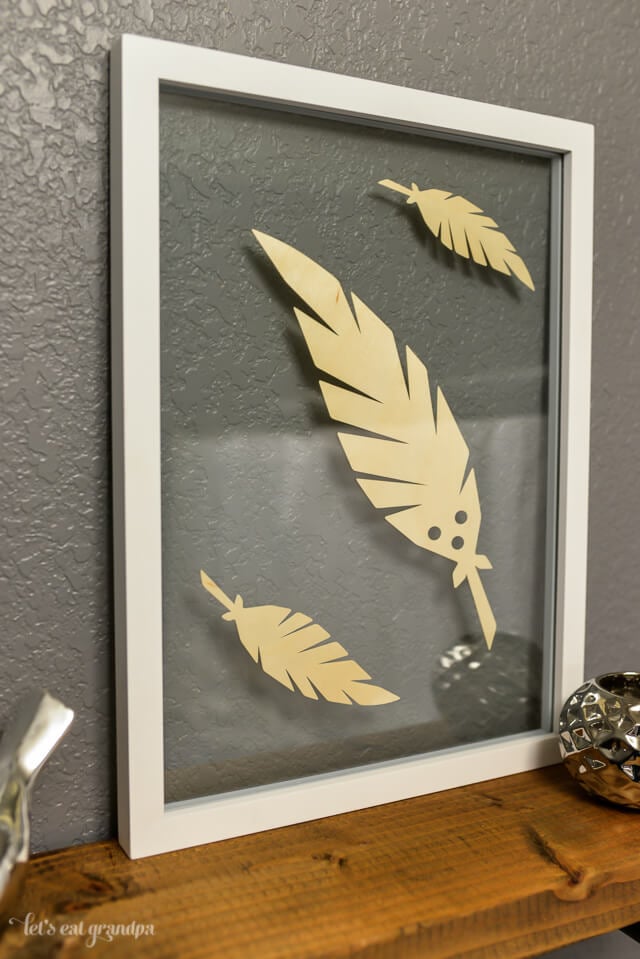
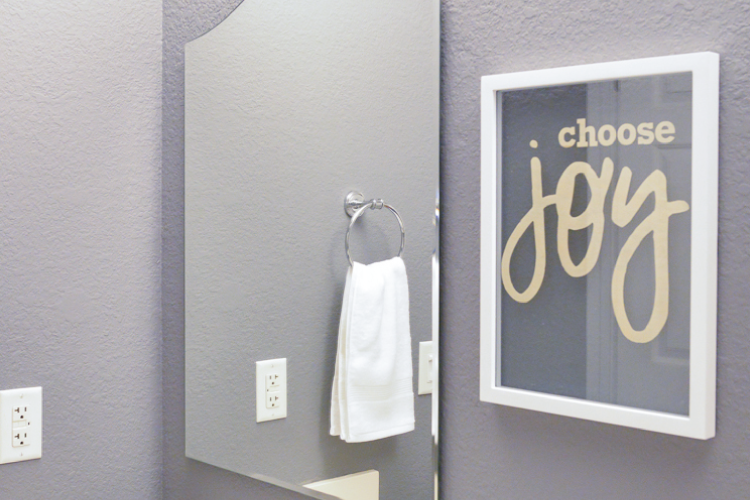
I made two different pieces, one for the main portion of the bathroom, and one for in the water closet. I like that they help tie the two spaces together without being too matchy-matchy. I love how it brings out the white in the towels and the trim, and helps lighten and brighten the dark gray and teal.
Supplies
- Floating frame
- BARC wood veneer, paper, or other material of your choice
- Cricut Explore or Maker
Get the Free File:
Want access to this free file? Join my FREE craft library! All you need is the password to get in, which you can get by filling out the form below. The file number is: C2.
Instructions
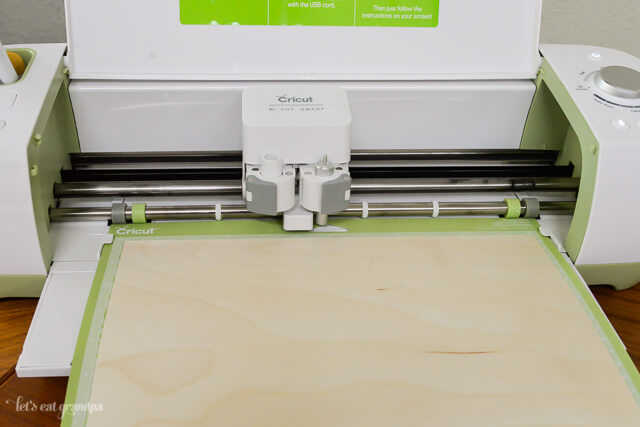
To make the cutouts, I used my Cricut Explore. You could also cut some designs by hand, if you’re so inclined.
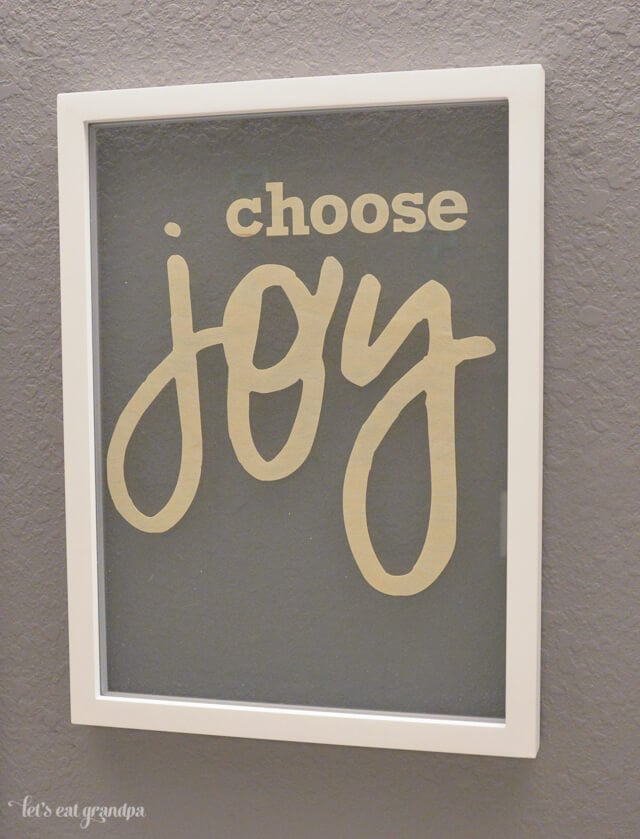
For the first one, I created the simple saying “choose joy.” This will someday be our future children’s bathroom, and I like the idea of them starting the day seeing that their attitudes are a choice.
For the second piece, I reworked some of the feathers from my woodland paper pennants.
I cut my images on BARC, which is a super-thin wood veneer. I liked the idea of doing something a little more interesting than paper. A fun card stock would also be great — maybe glitter or a pattern. Play around!
The BARC has a sticky backing, so it was so easy to place these on the glass. I just peeled off the backing paper and placed the cut out on the back piece of glass, facing out. EASY.
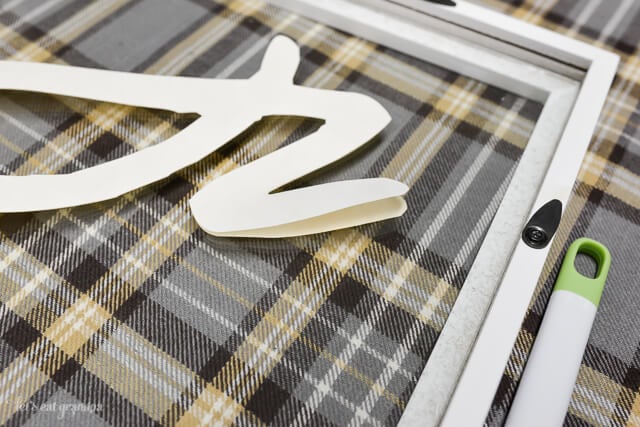
Frame it all up (be careful — the glass is SHARP. Not that I cut a nice chunk out of my pinky finger. I did not do that and bleed all over the place. Nope.) and hang! Or stand it up on a shelf. Whatevs.



Comments & Reviews
Joanne Sorensen says
Thank you so much for the free files. I especially like the Hot Air balloon banner (best gift I ever had with my 2 girls, flying high) and the Christmas luminary.
Cori George says
You’re so very welcome!
amber says
teal is my favorite color & i luv what you did with it on the cabinets.
Lou Lou Girls says
Oh my…so cool! I’m always get so excited to see what you have brought to the party! Pinned and tweeted. Thank you for being part of our party. I hope to see you on tonight at 7. Lou Lou Girls
jenny says
Thanks for linking up at Oh My Heartsie Girl! Love this and I pinned it :)
April G says
I love this idea even though I don’t have a Cricut machine (birthday gift, fingers-crossed). You did a great job.
Julie says
I’m in the middle of trying to work out how to make a floating frame type thing from a regular frame – it’s getting there but I will be super mindful of your “glass is sharp” advice – sounds painful and buts on the finger seem to bleed forever don’t they?
I love how yours turned out so I’m re-inspired to make mine work!
Cori says
I’d love to see when you figure it out!!
Audrey says
So much fun and so many possibilities.
Found you on Lou Lou Girls Fabulous Linkup.
Karen says
Love these! So nice and light for the summer time :) I would love for you to stop by my blog and join our Something to Talk About link party each week, Monday-Thursday!
Have a great day!
Karen
Blissmade Designs says
Your frames turned out great and I love those display shelves! And thanks for the svg files, I may have to try it out!