Looking for a crafting machine that can do it all? Check out my xTool M1 Ultra review and get all the details about what this machine can do beyond just laser crafting!
Machine provided by xTool but all opinions are my own.
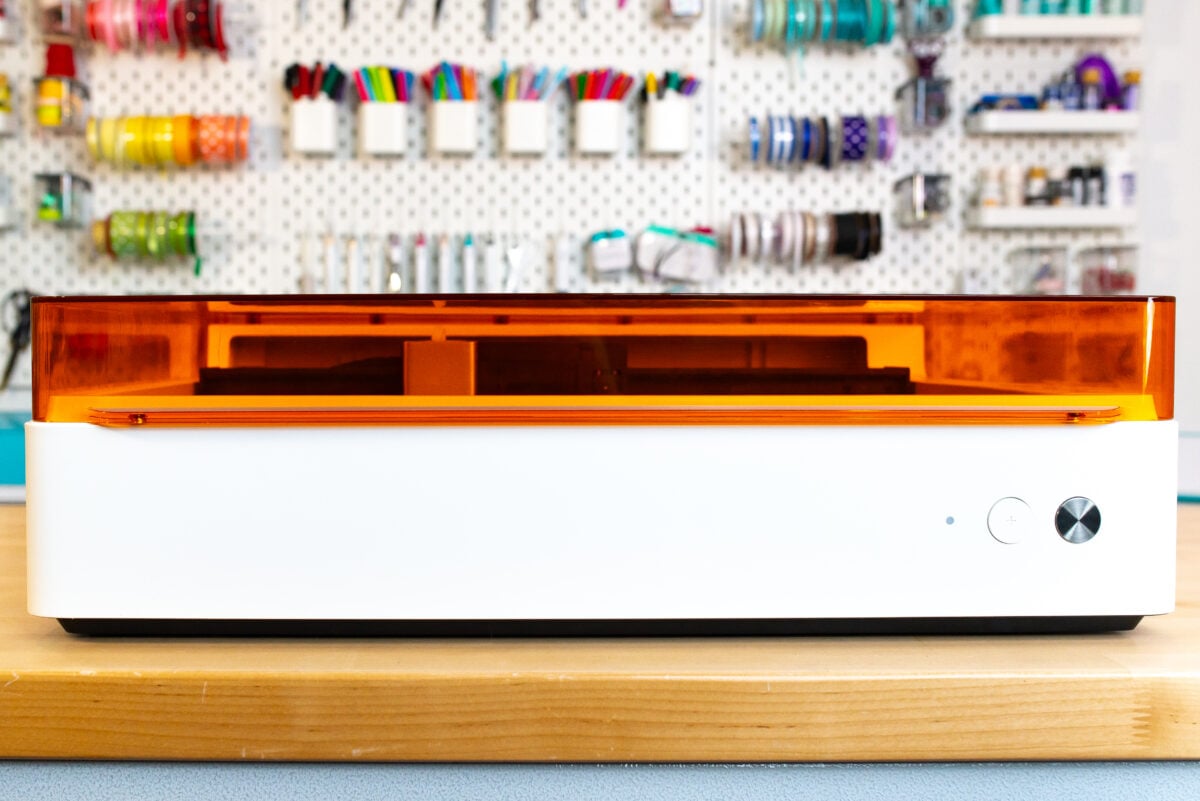
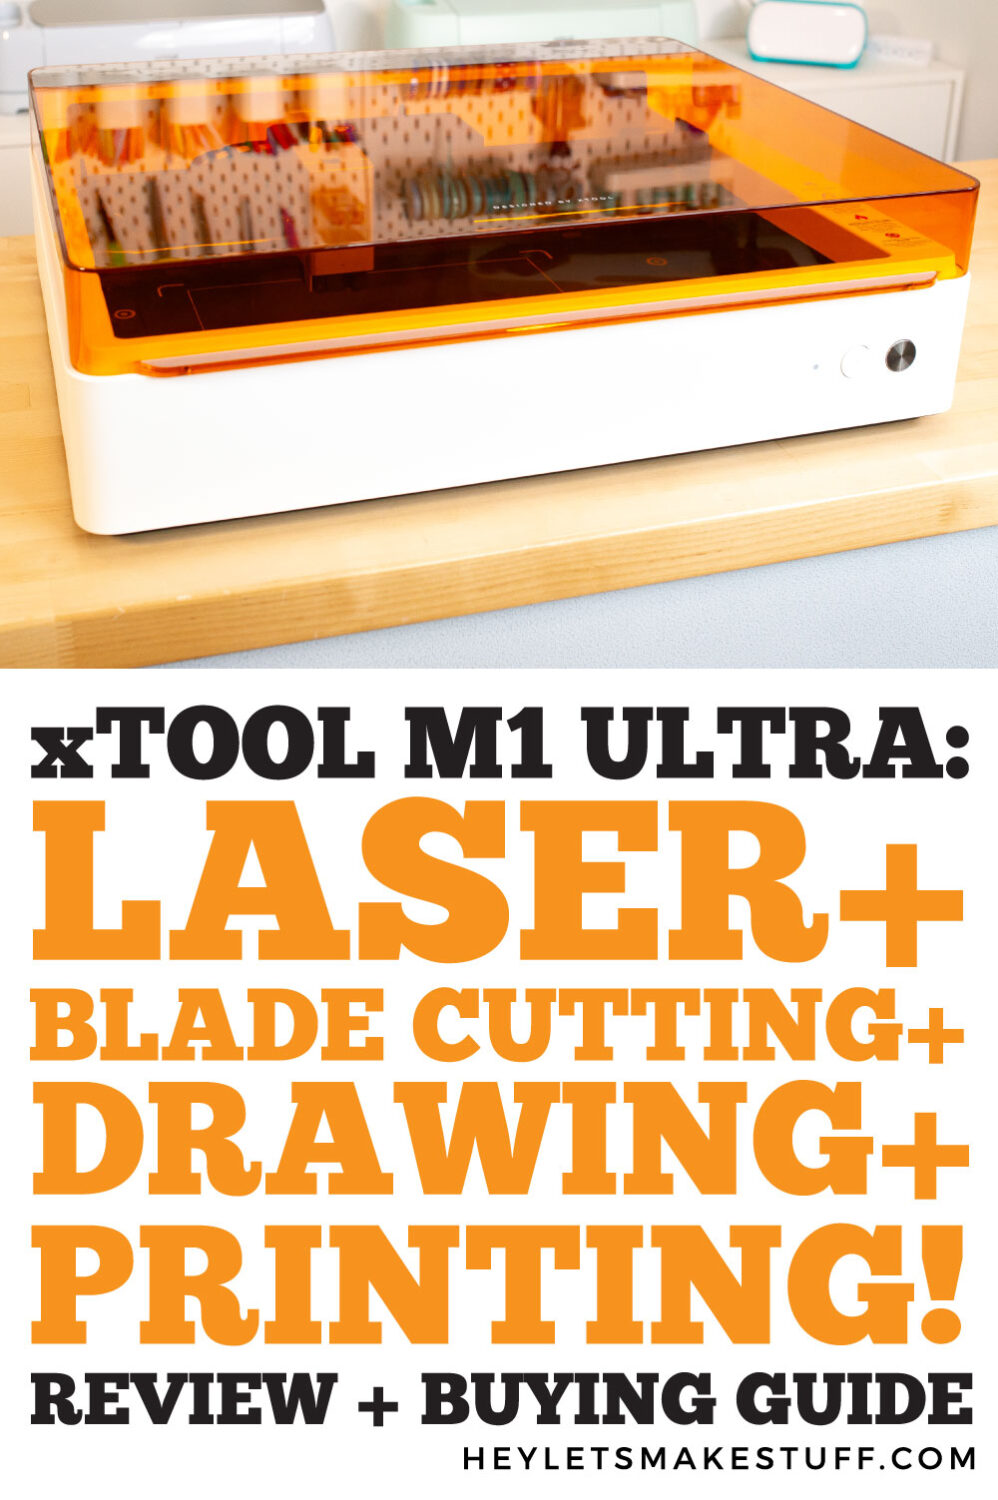
Looking for a crafting machine that can do it all? Today I’m excited to share the new xTool M1 Ultra with you! This versatile machine can not only laser cut and engrave, but it can also blade cut (using three different blades), foil, deboss, draw with a pen, and even print! If you’re short on space or if you’re tired of juggling multiple crafting machines, the xTool M1 Ultra might be the perfect fit for your craft space.
I feel like xTool really is innovating in the laser space. With every xTool laser I get, there are new things that I think work so well, and this machine is no different. Of course there are pros and cons to every machine, and I’ll touch on those at the end of this post, but overall, I’m truly impressed with the ideas coming out of the folks at xTool.
In this post, I’m going to give you an overview of this machine, including the specs and all of the different types of crafting you can do with it. Then in a future post, we’ll make a project using several of the tools so you can see how versatile this machine really is. If you have any questions about this machine, please make sure to leave those down in the comments.
This machine is an updated version of the original xTool M1. And when I say updated, I really mean updated. It’s basically a whole new machine with a similar name. If you want to read about the original xTool M1, check out my post The Beginner’s Guide to the xTool M1 Hybrid Laser / Blade Cutter.

Watch the Video
Want to get a video overview of DTF vs. UV DTF? Just hit play below! Or keep reading for a written tutorial.
Setting Up the xTool M1 Ultra
One thing that I appreciate about xTool’s newer machines it that they are incredibly easy to set up. I think it took me about 15 minutes to get it set up once I had unboxed everything. You may be overwhelmed by everything the machine can do and all of the different tools and modules, but definitely don’t be afraid to set it up—I promise, it’s not difficult!
Size and Specifications
Like many diode lasers, the xTool M1 laser is a great size for hobbyists. It weighs about 26.5lbs, so it’s pretty easy to move around.
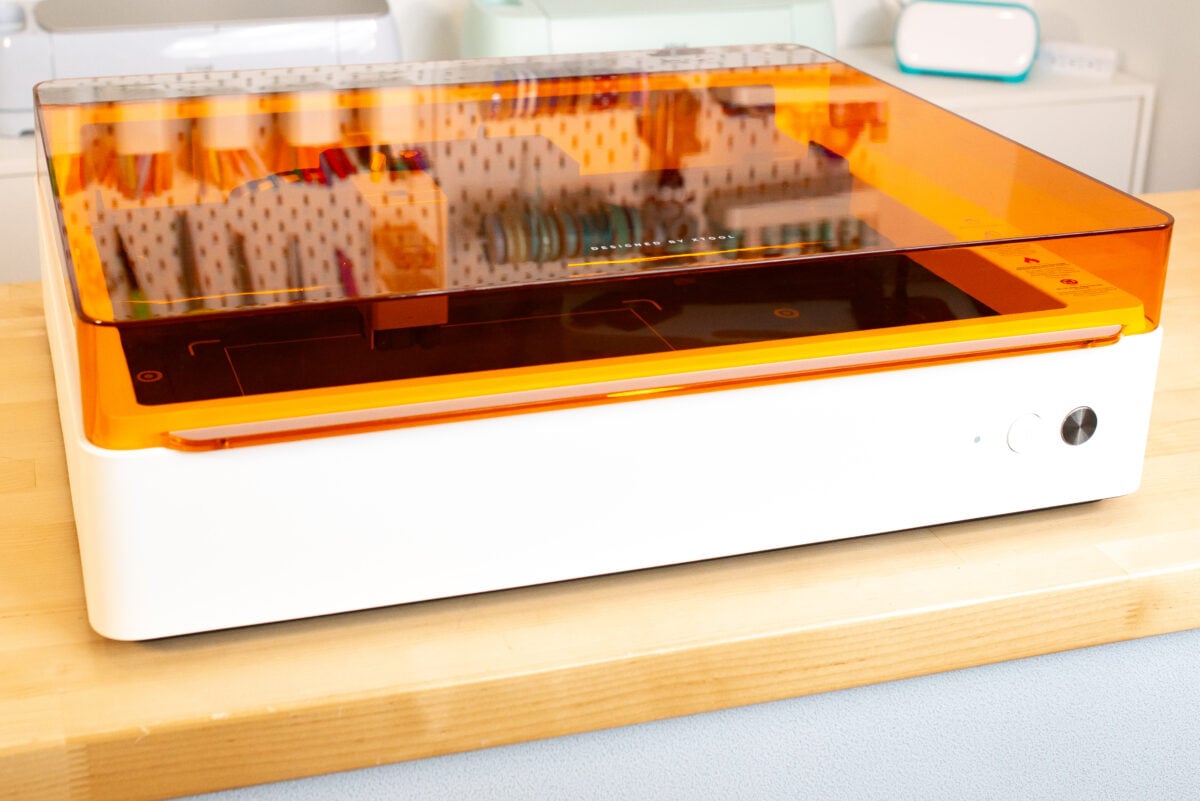
It’s 24″ wide and 19″ deep, though you’ll need another 3″ in the back to account for the vent pipe and cords. Then it’s only 6.5″ tall when the lid is closed, and about 25″ tall when the lid is open.
I also have the riser base for my machine (a separate add-on) and that adds another 5.5″ to the height. The riser tool allows you to process taller objects, as well as use the RA2 Rotary Attachment, which allows you to engrave tumblers, mugs, and other circular objects. You can read my post How to Use the xTool RA2 Rotary Attachment, which I used in my xTool S1. The process for using it in the xTool M1 Ultra is similar.
I like that the riser base is a single piece instead of several pieces like the original M1 riser base. Much easier to add to the machine, though it’s larger to store when you’re not using it.
The working size in the machine is 11.81″ x 11.81″. The print area using the print head is just slightly smaller. I wish this was a full 12″ x 12″—you can fit that size material in the machine, but you can’t use quite the entire thing.
Venting
Like with any laser machine, the xTool M1 Ultra needs to be vented because laser processing creates dust and fumes. I really like the way the venting works on the machine. There’s a clip-on exhaust fan that pulls air/dust/debris through a filter and out of the machine and through the vent pipe. I love that the vent pipe comes off the back filter toward the side—instead of needing 6″ to 8″ behind the machine to account for the vent pipe, you just need about 3″. This is one of those innovative ideas I mentioned at the start of this post.
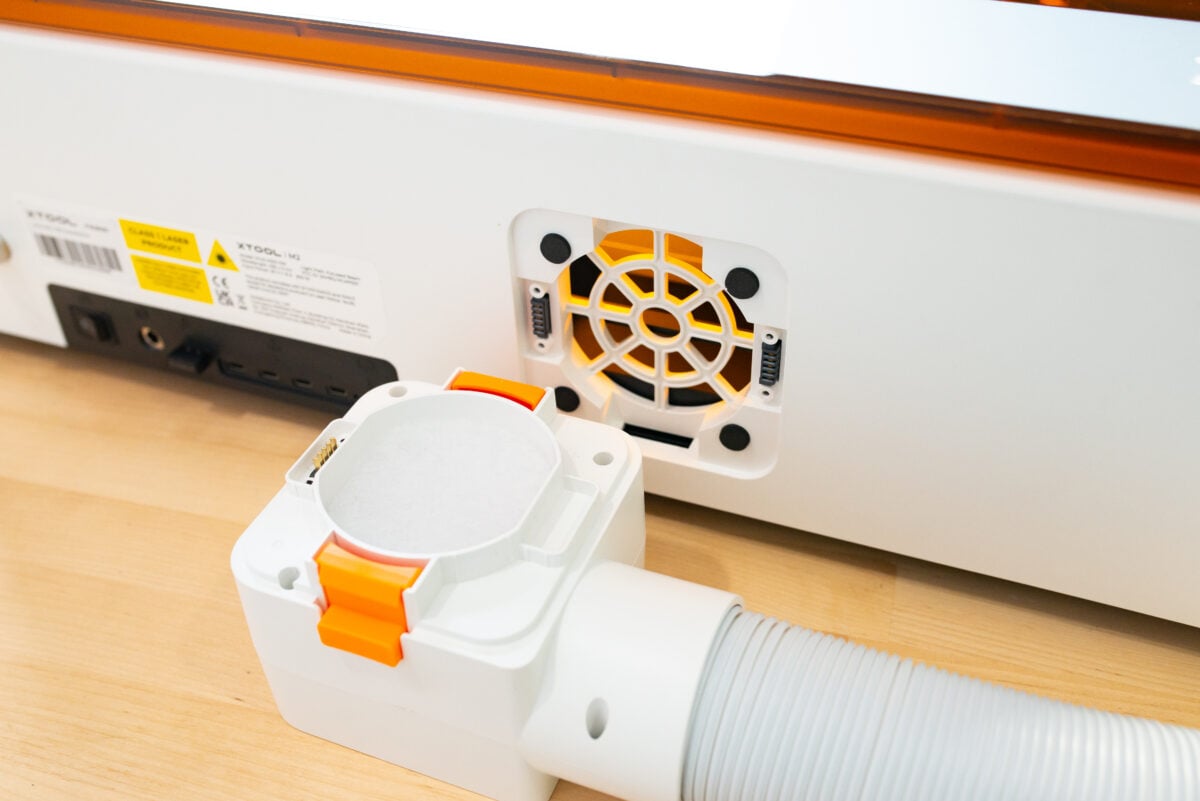
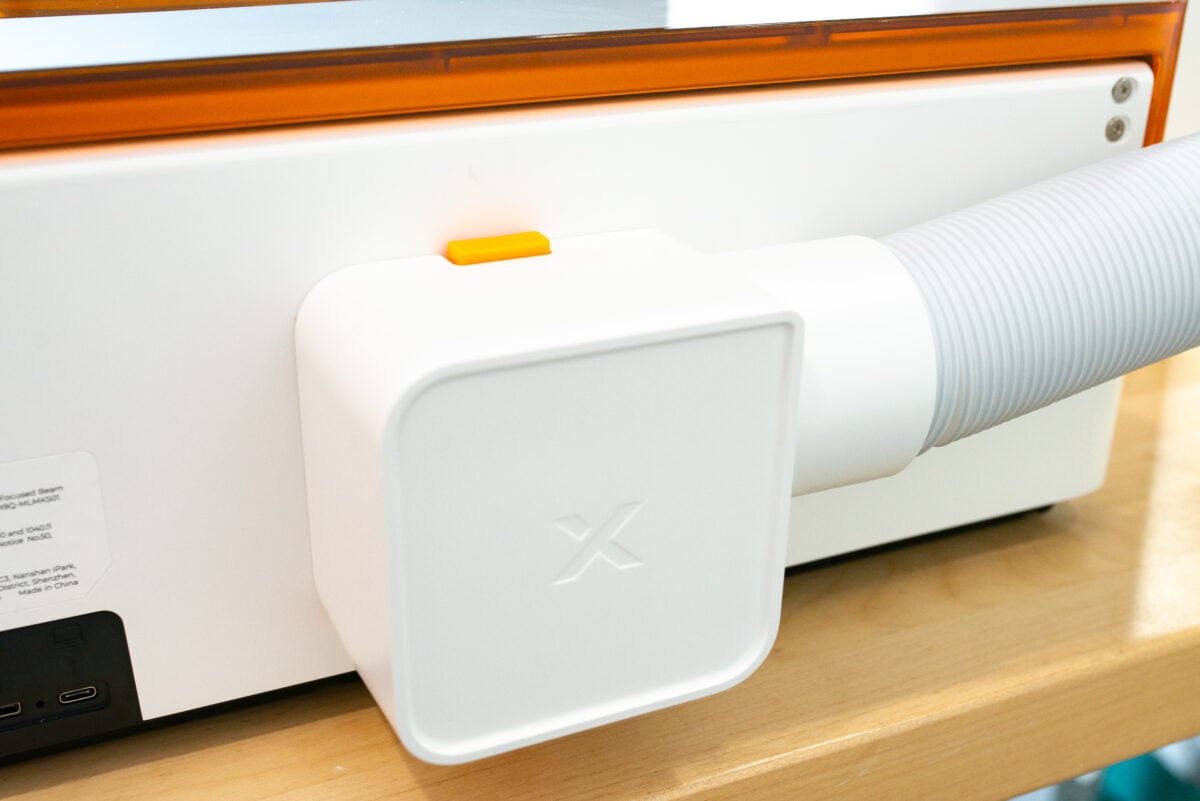
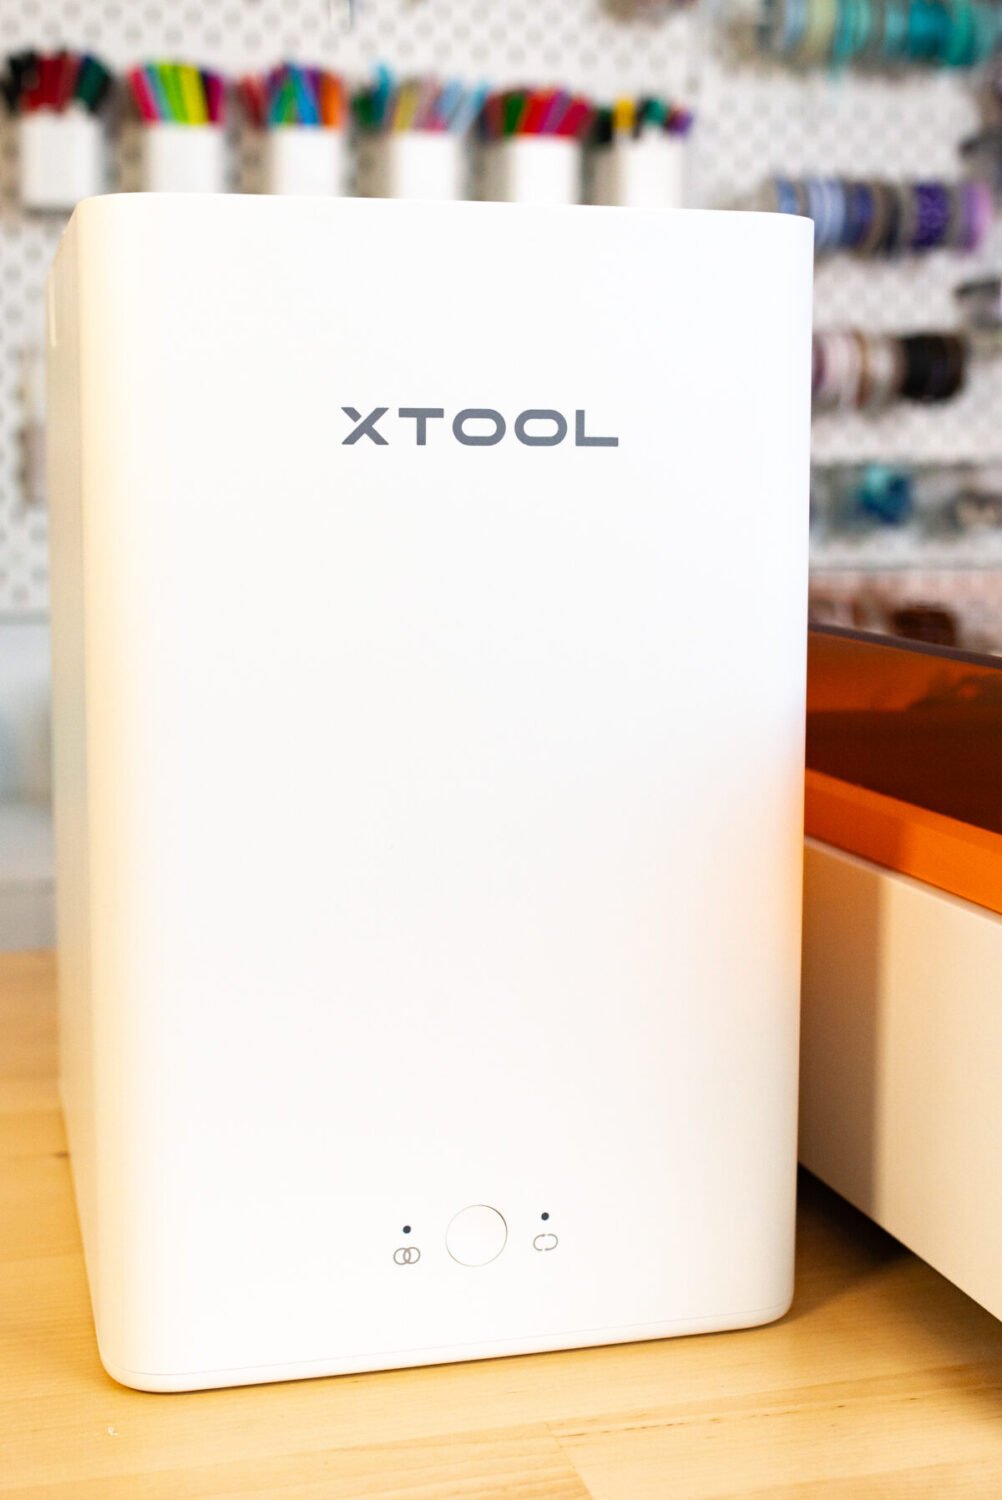
You can then either vent the pipe out of a window, or you can use the xTool Desktop Air Filter, which is what I am using. This is a great option if you don’t have a window for venting (for example, if you’re in the basement), though it is an added cost. The size of the desktop air filter is great, though, and very easy to move around your craft space.
Anatomy of the Machine
Now let’s look at the actual machine itself. The enclosure houses a large empty bed where you’ll place your materials.
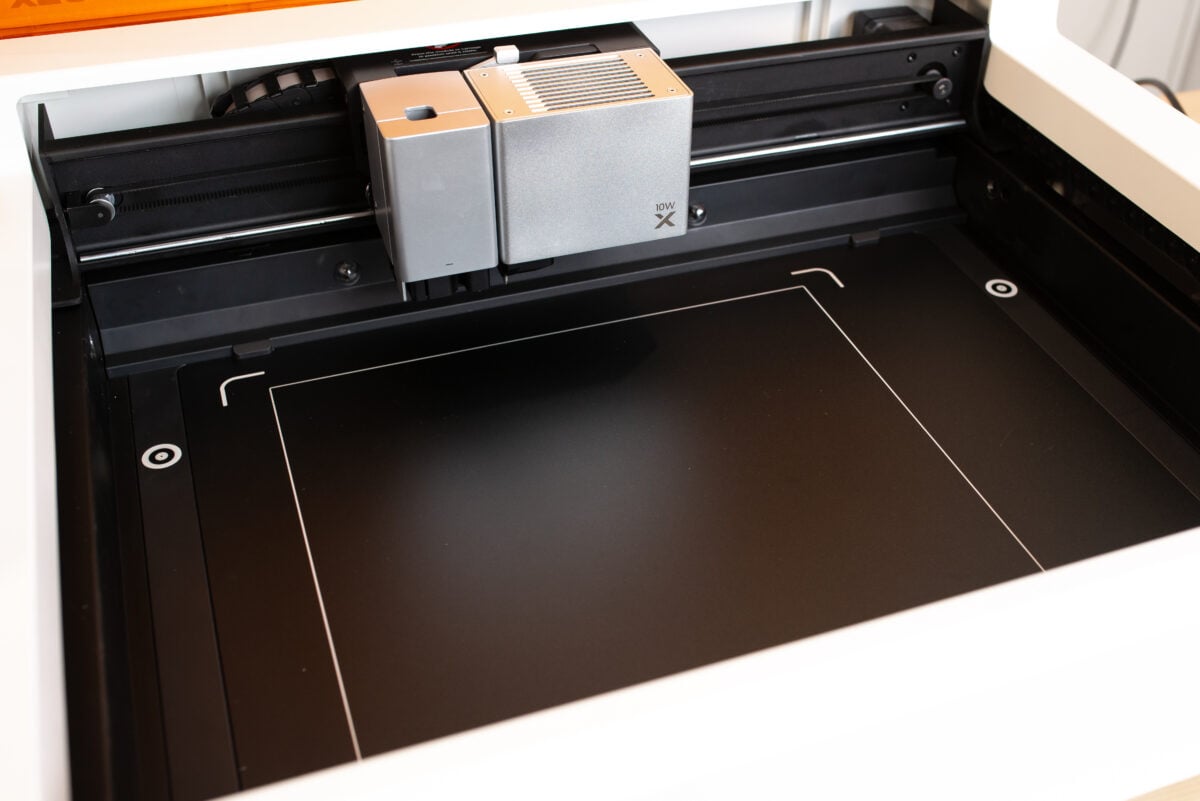
In the bed of the machine, you have two options to raise your material off the bed of the machine to create air flow (necessary when cutting with the laser). A set of triangle prisms come with the machine. I’ve been pretty clear that I don’t like triangle prisms with my other xTool laser cutters, but they’ve innovated once again, creating a frame to hold them. Hooray! This is definitely better than having loose prisms skittering around the bottom of the machine.
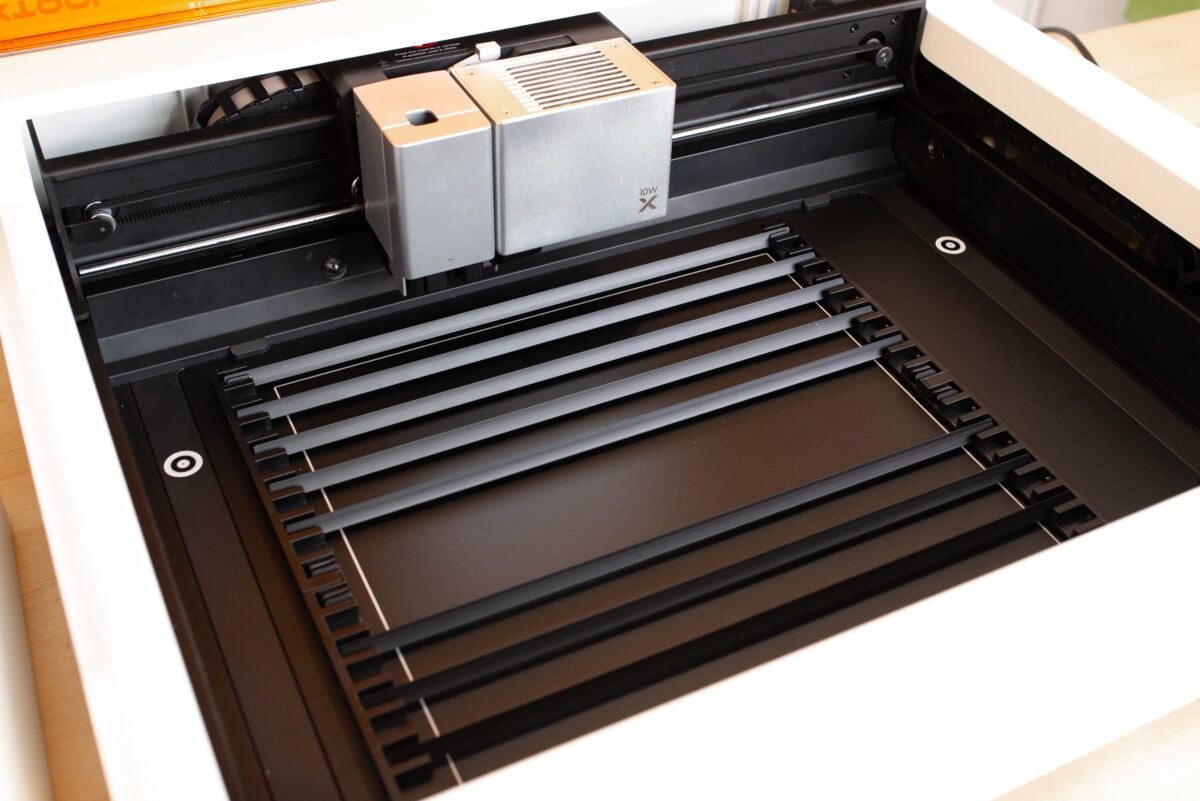
The other option is an add-on honeycomb tray. This is just easier to use than the triangle prisms, even with the frame, but it’s also an extra cost.
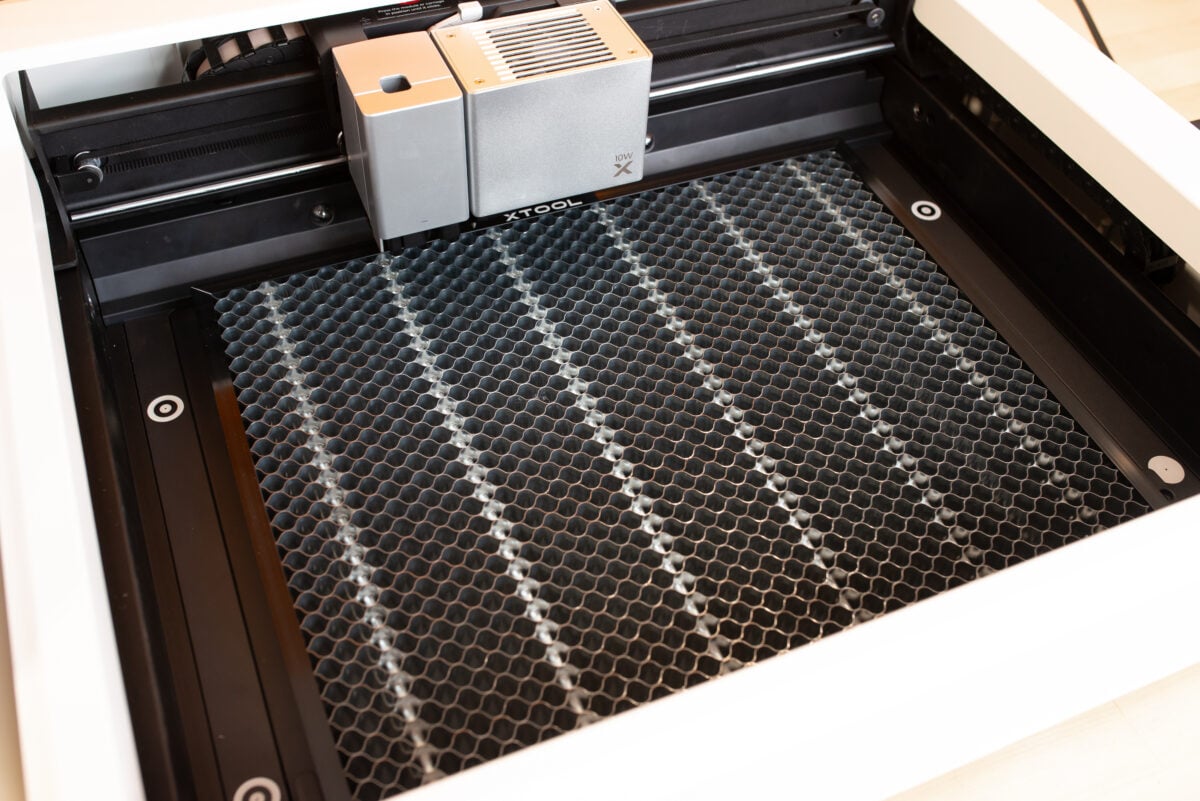
The lid is orange like a welder’s helmet. It’s tinted so you won’t damage your eyes when looking at the laser. This is a great safety feature—I’ll talk more about other safety features later in this post.

Then there is the swappable module. This can be swapped out to use different tools (see below) and also has pinpoint positioning, which I love and I will talk more about later.
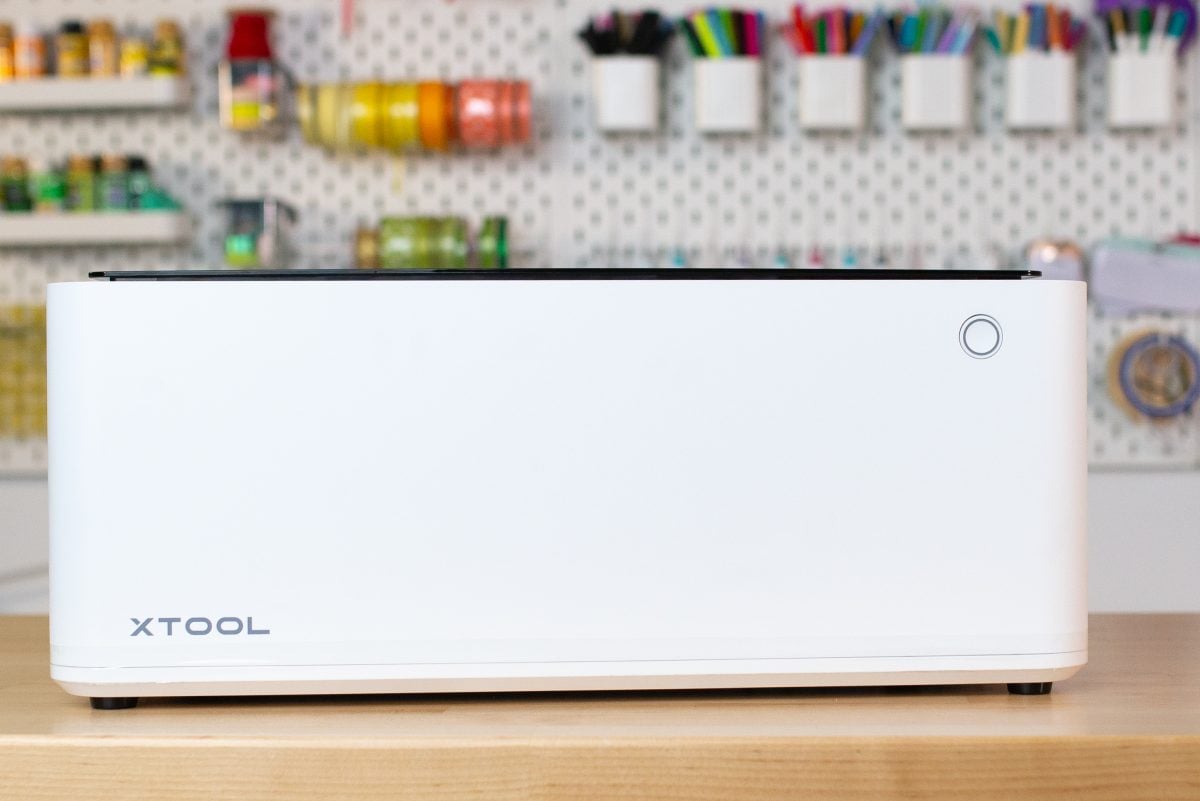
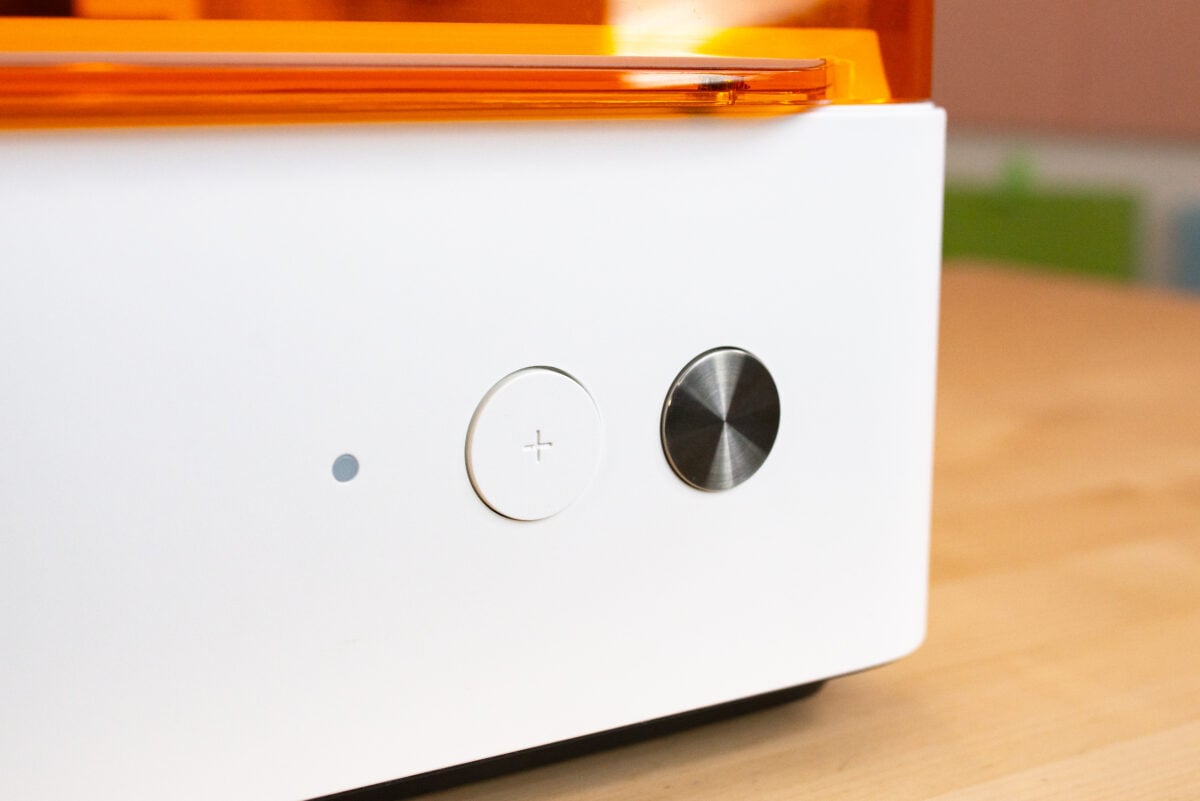
On the outside, there are two buttons on the front. The white button stars framing (we’ll also talk about that later in this post) and the silver button is for starting the machine itself. There’s also an indicator light.
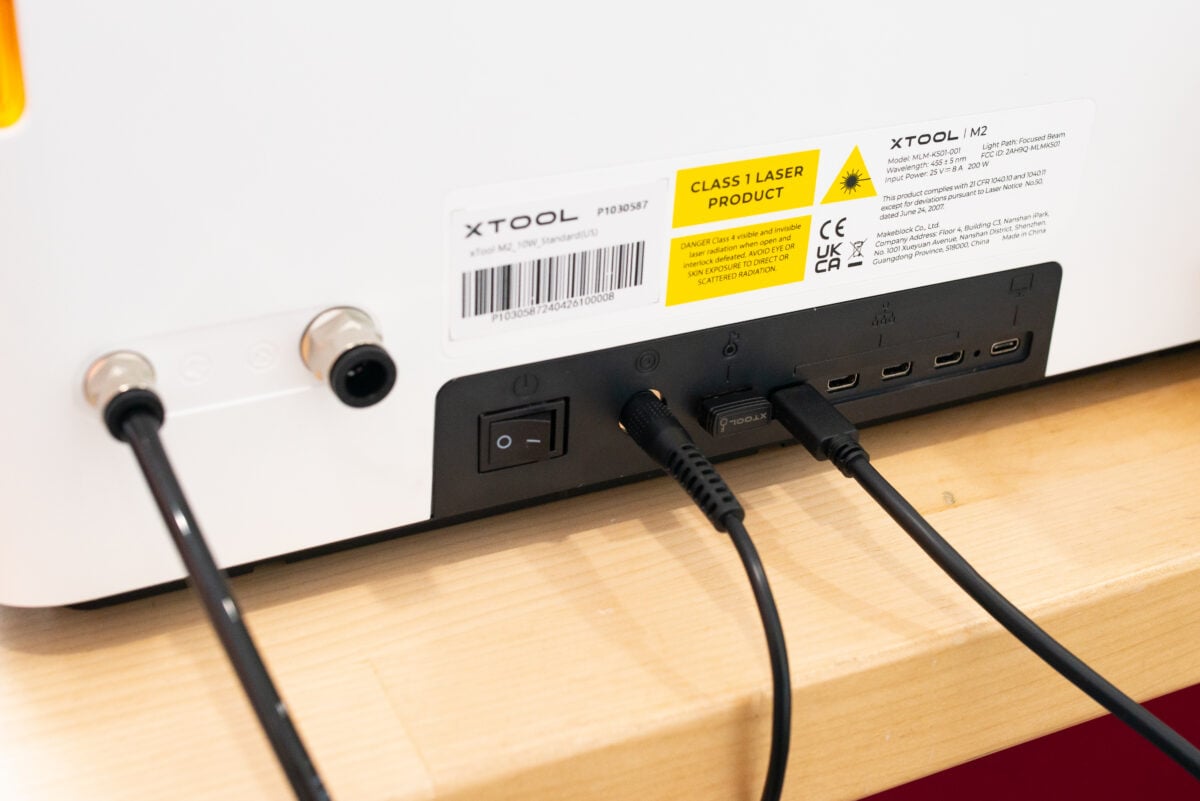
Then on the back is the vent, and connectors for the power cord, air filter, air assist, and more, as well as the power button.
xTool M1 Ultra Laser Modules
Let’s take a look at all of the different modules and tools you can use with this machine. Some are included and some are add-ons, which I mention below. These are specific to the xTool M1 Ultra, so tools for other lasers or blade cutters will not work in this machine.
Laser Module
The included laser module for the xTool M1 Ultra is a 10W or 20W diode laser. I have the 10W. This is on the lower-power side of laser modules (my xTool S1, for example, is a 40W laser), but it’s still more than capable for many materials, though it’s slower than a higher-powered laser. If you can swing the price, I recommend the 20W.
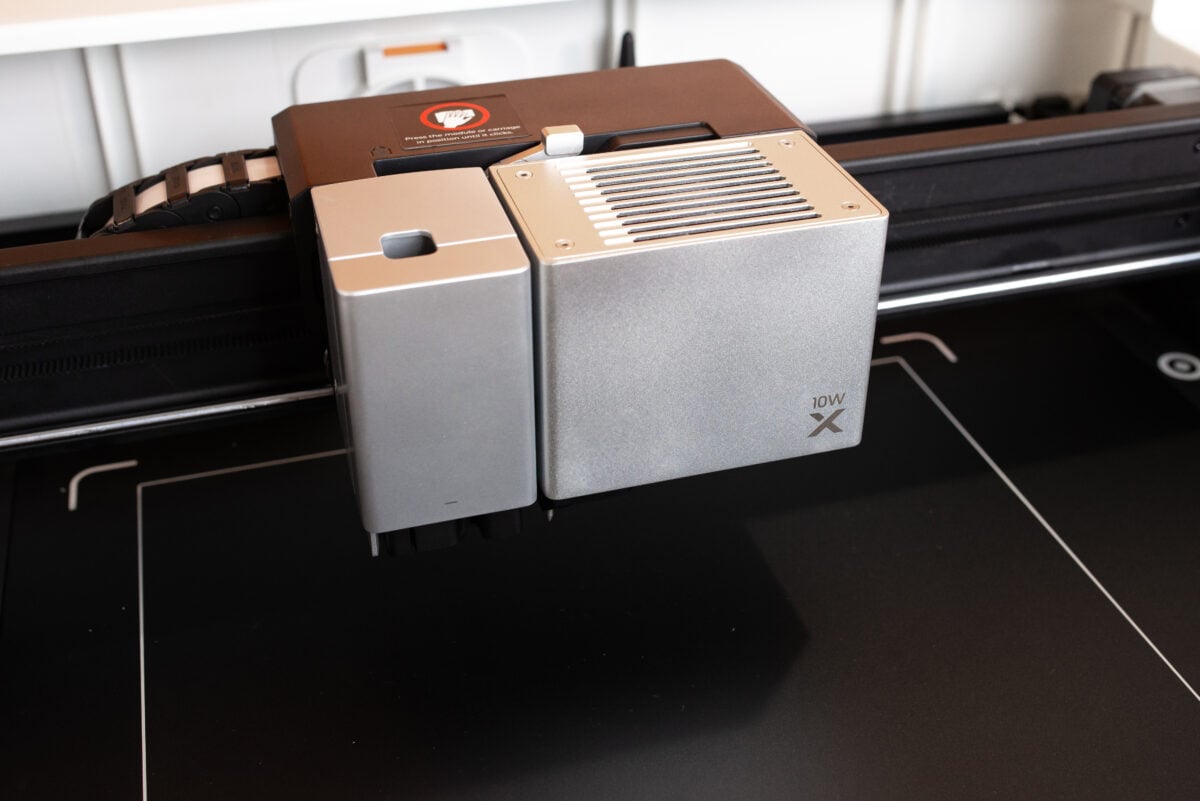
Using the laser module, you can engrave and score materials like wood, leather, glass, slate, ceramic, paper, and most acrylic. And you can cut up to 8mm wood and most 5mm acrylic, along with other materials like leather and felt.
See my post How to Cut Acrylic with a Diode Laser for more information on cutting acrylic specifically—there are certain things you should know about cutting and engraving acrylic with a diode laser (no matter the wattage) before you purchase.
Multi-Function Carriage Modules
There are two carriage modules for the additional tools that you can get with the xTool M1 Ultra. The first is on the left. The second is an add-on piece on the right.
These two modules can house a bunch of tools—some of them are included and others are add-ons. Let’s look at each of them.
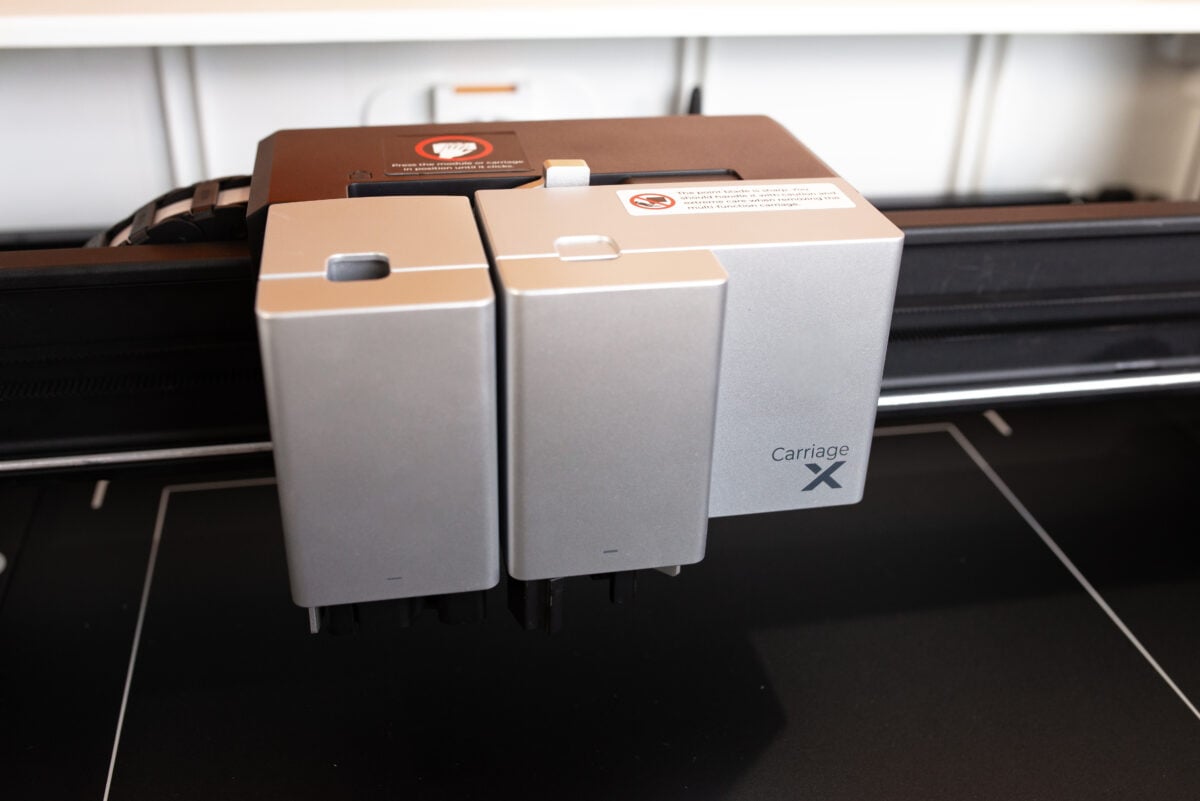
Fine-Point Blade – Left Carriage
The included fine-point blade is designed to cut light and thin materials. Think about the things you can cut on a Cricut or Silhouette—paper, cardstock, adhesive vinyl, and HTV. You’ll use the blue light-grip cutting mat with this tool.
When using this tool, make sure any circular patterns are .79″ or larger—the tool cannot do smaller circumferences very easily.
Cutting Blade – Right Carriage
The add-on cutting blade (also called a knife blade because the blade is much larger, like an Xacto knife) can cut materials like thick leather or balsa wood up to 2.4mm thick. For this one, you’ll use the pink fabric-grip mat.
Honestly, I can’t think of many uses for this particular tool. For most thicker materials, I’m heading right to the laser instead of a blade. But there might be a handful of materials that are thicker but not laser safe—in that case, this blade might be the right choice.
Rotary Blade – Right Carriage
One of my favorite features of my Cricut Maker is the rotary blade for cutting fabric, so it’s nice to see that this is an add-on option in the xTool M1 Ultra as well. It acts like a tiny pizza cutter and slices through fabric easily without dragging. It’s great for not only fabric, but felt as well.
Like with the fine point blade, circular patterns should be at least .79″ or larger. You’ll use the pink fabric-grip mat for this one.
Foil Transfer Tool / Debossing – Right Carriage
Finally, there is an add-on tool that has a dual purpose. It can be used with transfer foil to give your projects a foiled effect.
And then without foil, you can use it to deboss cardstock, leather, and other pliable but stiff materials.
Pen Drawing – Left Carriage
Finally, you can draw with pens that are included with your machine. xTool includes a set of eight colorful pens that work with the left module, and they say there is support for third-party pens as well, but I haven’t had a chance to test that yet. There are also 10 single-line fonts in xTool Creative Space for you to use when writing.
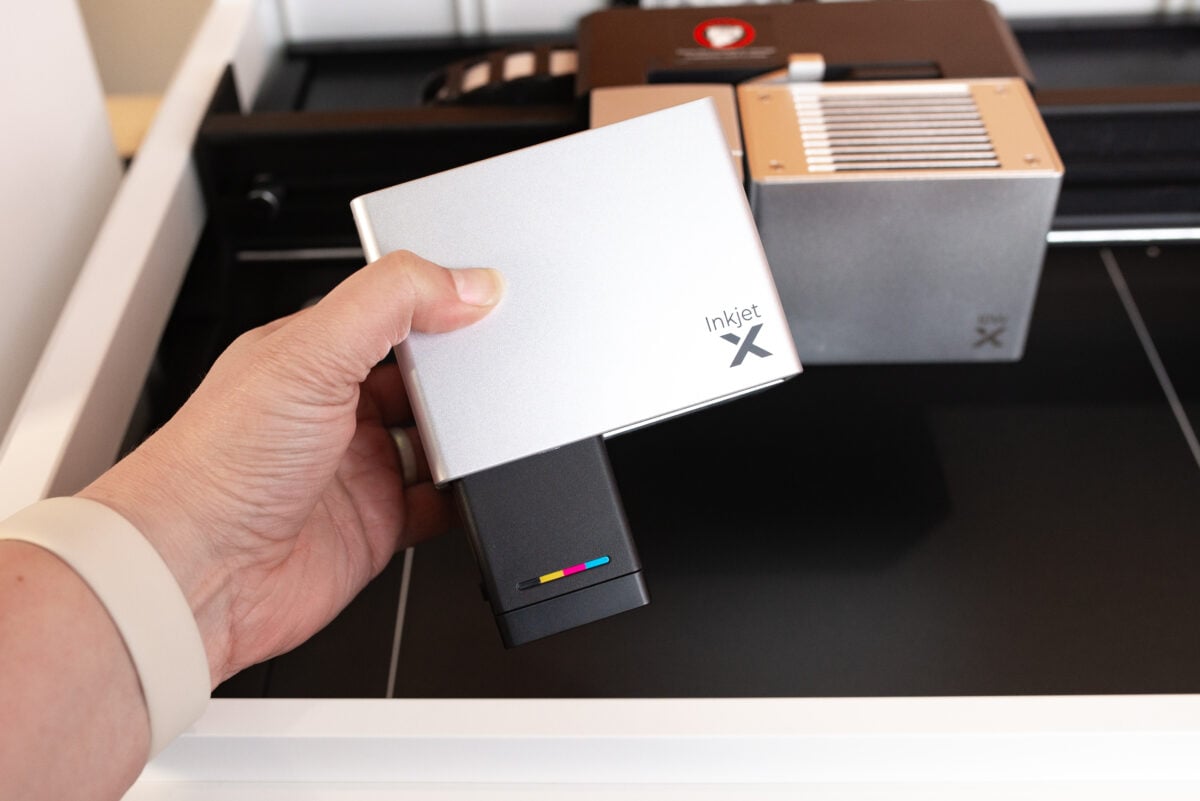
Inkjet Module
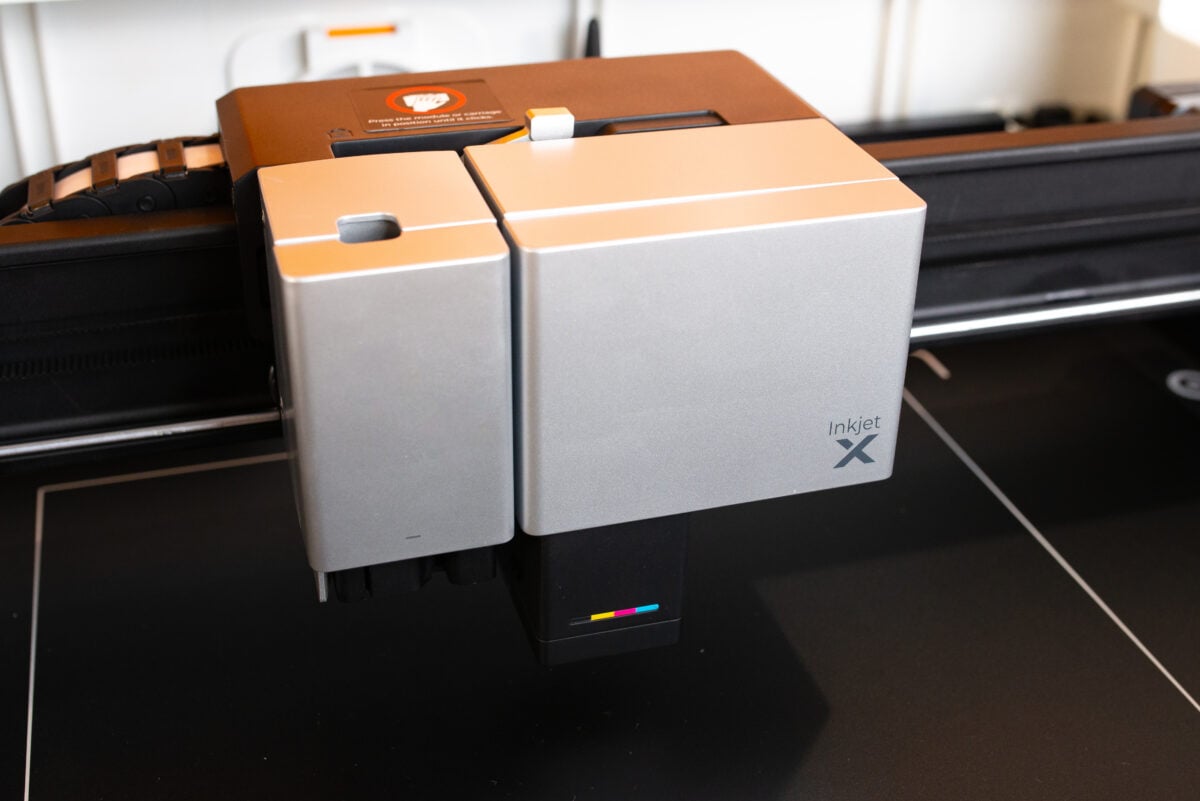
The add-on inkjet module gives you three-color printing: cyan, magenta, and yellow. Black is achieved through a combination of all three colors. You can print on paper, but you can also print on things like wood, leather, and more!
Safety
One of the number one things I look for in lasers right now is safety, and the xTool M1 Ultra has a lot of really great safety features, many of which the original M1 did not have.
To start, it’s classified as a Class 1 Laser Product, meaning it is considered a safe laser under normal conditions. Here are a few ways that xTool has added safety to the M1 Ultra:
- It’s fully enclosed with an eye-friendly cover. You do not need to wear special glasses to watch your project being created. Because of the way the cover is designed, you also get a nice side view of your project, not just top-down.
- You need a USB “key” to operate it. This is a small USB dongle that plugs into the back of the laser. If the key is not plugged in, the laser won’t work. Great if you have curious kids! Just put the key in a safe place and they won’t have access to the laser.
- There is a fire detection system that will shut the machine down if a fire is detected.
- If you open the lid, the laser automatically stops.
All of these features make me comfortable using the M1 Ultra in my studio.
Creative Space Software
When I first got my original xTool M1 a few years ago, the software was pretty basic and had a lot of room to grow. xTool has really worked on the software and it’s much easier to use and more robust now. You still probably won’t be doing heavy design work in Creative Space, but there is a lot you can do.
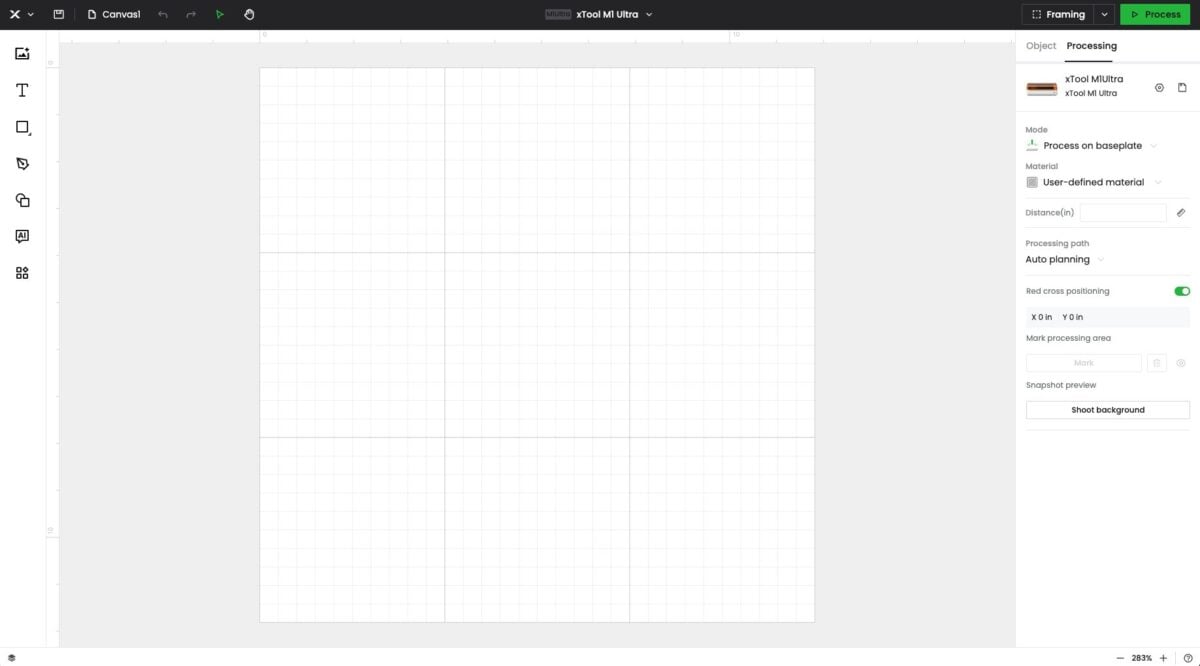
At this time, I am not sure if the xTool M1 Ultra is compatible with Light Burn.
Special Features
In addition to all of the different swappable modules and tools, there are some other great features I want to mention here.
Pinpoint Laser Positioning
In xTool Creative Space, there is a red crosshairs marking where the laser is at all times. This small addition helps you keep track of the laser when process marking and checking the height of your material.
No Camera + Process Marking
Every other laser I have has a camera in the lid so you can see your material in the bed of the machine. Then you can place your design on top of the material within the software.
Instead of a camera, the xTool M1 has a “marking” system in xTool Creative Space that gives you twin point positioning. I’ve been using this feature in the xTool S1 and have come to prefer it over an internal camera. It’s much more accurate than a camera because a camera in the lid must be a fisheye lens to capture the entire bed of the machine. And because of the nature of a fisheye lens, you’re going to get some warping of your view, especially at the outer edges. This means your processing might not be accurate.
But with the marking system, you physically move the laser head to the corners of your material (or the corners of where you want to cut/score/engrave) and the laser will show you crosshairs on your material. Push the white button on the front of the machine to mark that first point. Then go to a second corner and do the same. With this method, the laser knows exactly where the material is and can cut accurately. You can mark rectangles, circles, polygons, and lines using the xTool Creative Space software.
You can read more about how this works in my post xTool S1 Review & Guide for Beginners.
Framing
Finally, there is a framing feature which I also really like. Before you make your project, you can choose “framing” and the machine will outline where your image is going to process with a red laser light. It allows you to physically see where your image is going to go which is a great way to double-check that your project is going to turn out correctly.
Let’s make a project using some of the features in this machine!
Phone Processing
You can also use a mobile app to run the xTool M1 Ultra! If you don’t have a computer, this is a great option.
xTool M1 Ultra Price
When I saw the pricing for the xTool M1 Ultra, I was pleasantly surprised. For the base model, which comes with the 10W laser module, along with the fine point blade, cutting blade, and a pen, the cost is around $1300. This is in line with many other diode lasers on the market.
If you want to get it with all the bells and whistles, including the 20W laser, all of the modules and tools, the honeycomb tray, air filter, air assist, RA2 Pro, and more, then you can get the all-inclusive bundle for $2700. This seems like a great price to me considering everything you get and how all of the accessories can expand the number of things you can make with your laser!

Is the xTool M1 Ultra Worth It?
I think so! I now have six diode lasers, and while I don’t think there’s a bad laser in the bunch, the additional tools and processes you can use with the xTool M1 Ultra make it one of my top picks. I would recommend getting that 20W module if your budget can swing it.
Overall this is a great laser for beginners with lots of really wonderful features. I don’t think you’ll be disappointed if you add it to your craft room!
I hope you found this review of the xTool M1 Ultra helpful! If you have any questions, as always, leave those down in the comments.


Comments & Reviews
Ellie. says
Hi.
I’m having real trouble getting my M1 ultra to align anything in a circle. What are your tips for thiis?
I’ve been using a glowforge aura and I have to say I’m glad I switched to an xtool but I think I’m going insane trying to align on a circle.