xTool recently released a pair of smart heat presses, which are different from other heat presses on the market. Here’s my xTool Heat Press review—both what I liked and what I didn’t!
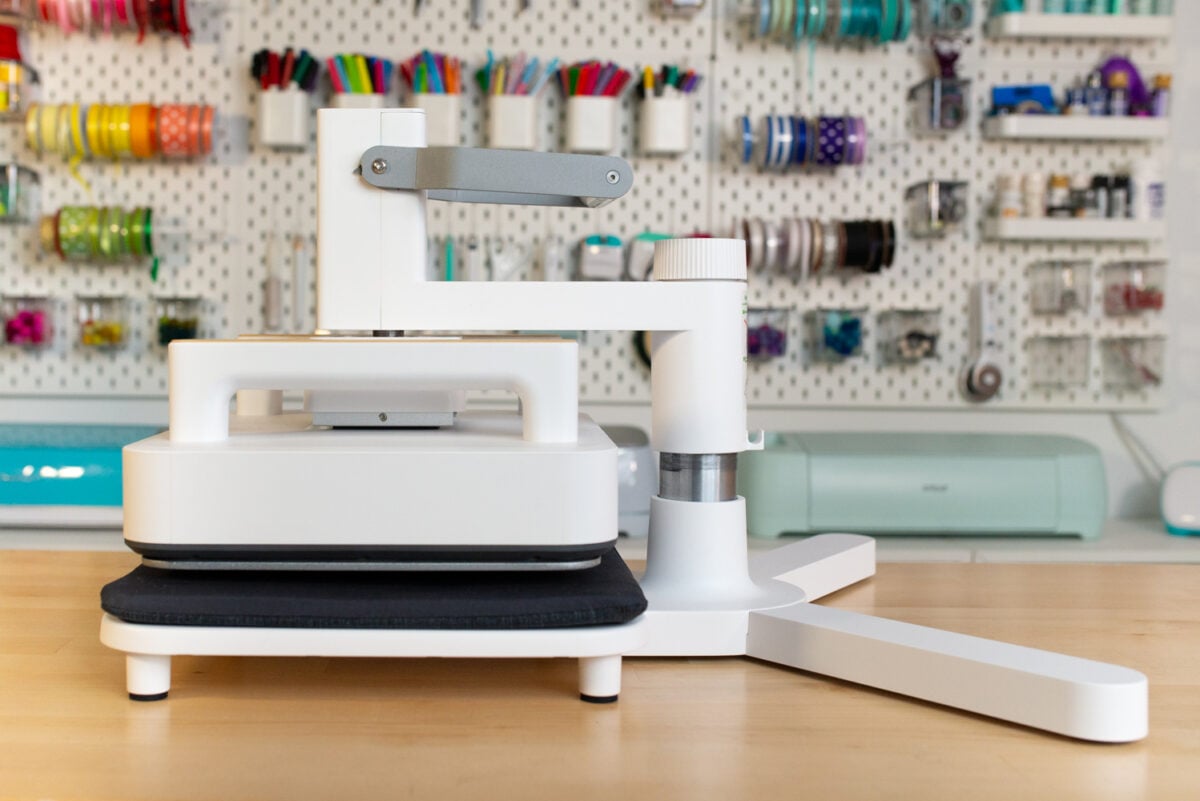
Along with the release of the xTool M1 Ultra, xTool has also released a set of new smart heat presses. This includes a handheld heat press, a mini heat press, a control box, and a platform stand. Together, this set is different than anything else I’ve seen on the market. You can buy everything in an all-in-one kit, or you can buy different pieces of the kit separately depending on your needs.
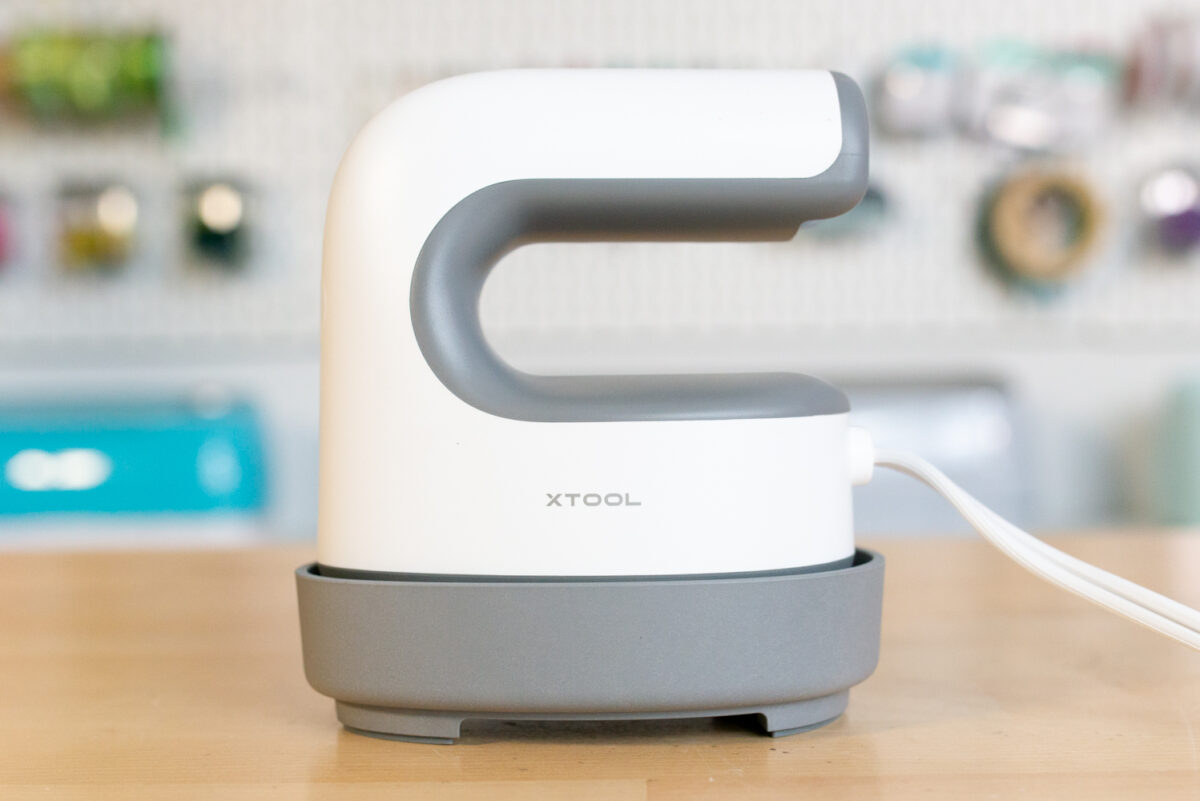
When I unboxed my xTool heat presses, my husband said they looked like they came from IKEA and I totally agree. There’s definitely a squared-off minimalist feel, plus the white and wood tones make it feel like it should have some sort of Swedish name with some umlauts or something. Overall, I think it looks really nice…but how well does it work?
Watch the Video
Want to get a video review of the xTool Heat Press? Just hit play below! Or keep reading for a written overview.
The Parts of the xTool Heat Press
There are four main parts to the xTool heat press all-in-one kit.
- Smart Press
- Mini Press
- Platform
- Control Box
The kit also comes with a pressing mat. The mat is nice and firm (firmer than the Cricut EasyPress mat), which is good for projects like sublimation and DTF prints.
Let’s take a look at each of the pieces individually.
The xTool Smart Press
The xTool Smart Press is a handheld heat press machine similar to a Cricut EasyPress. It has two handles and zero controls except for a power button on the back. The controls are actually in the control box instead of on the machine itself. You can’t use the Smart Press without the control box. There is also a safety base.
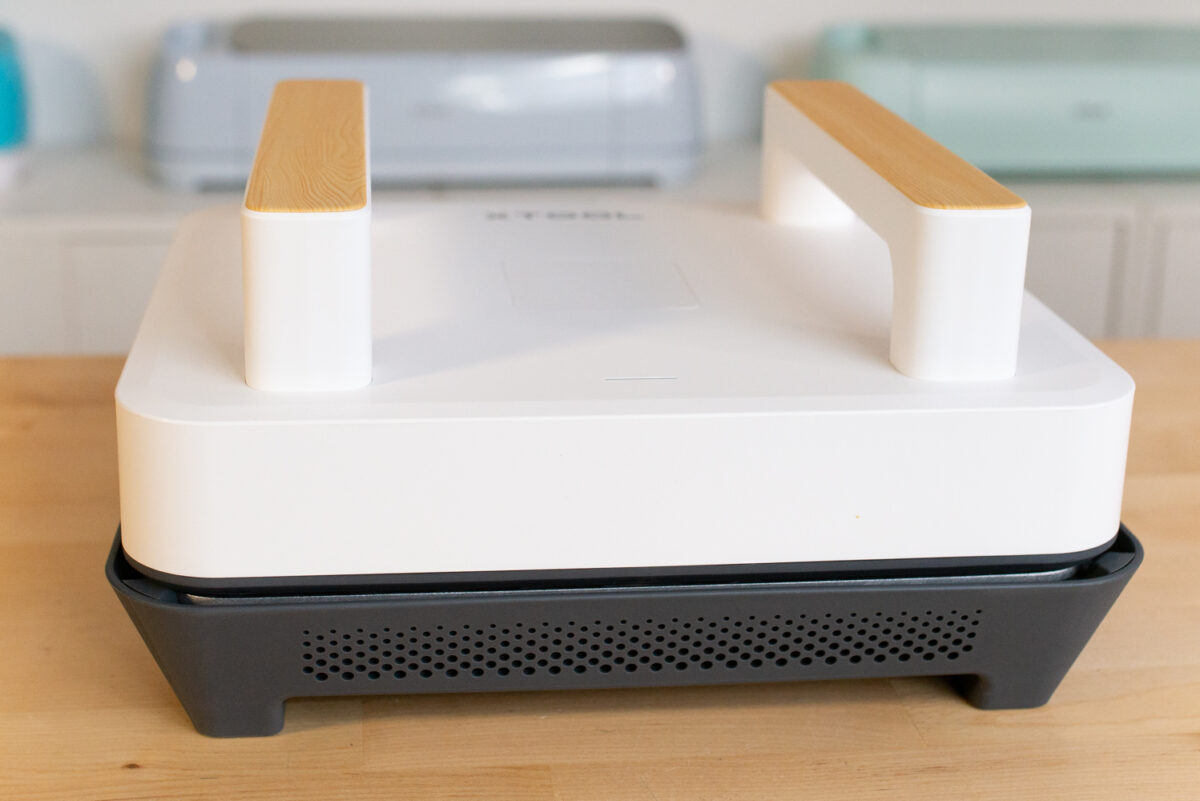
There is an indicator light on the top of the press that goes from yellow to green once your heat press is to temperature.
The Smart Press is 12″ x 10″ which is a great size for most projects. The mat that comes with it is slightly larger than the press itself.
To use the press, you’ll attach the plug to the back and plug in one of the little gray receivers. This receiver allows the control panel to “talk” to the Smart Press so you can set your time and temperature settings. See below for pairing and using the control panel.
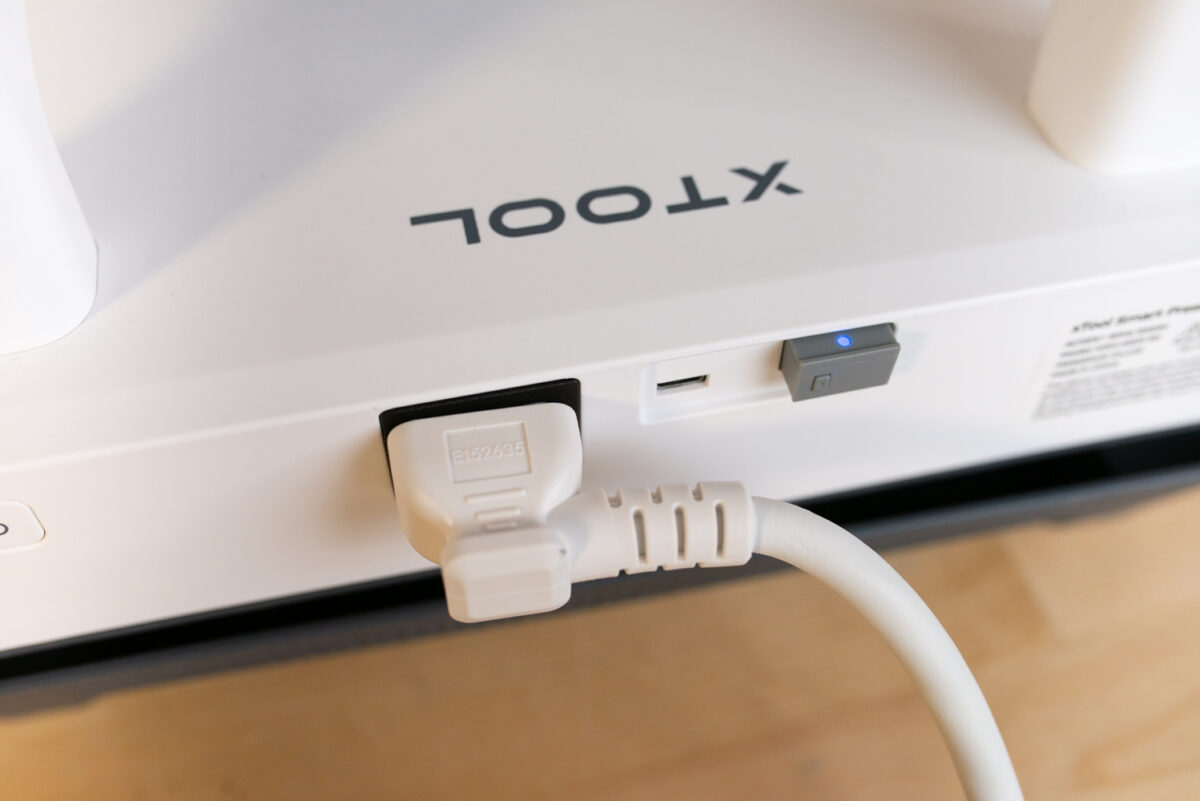
Once your heat press is to temperature, you can press your project using the press and the mat! Every project will have a different time, temperature, and pressure setting depending on the type of project. For this press, you will need to apply your own pressure.
The xTool Smart Press Platform
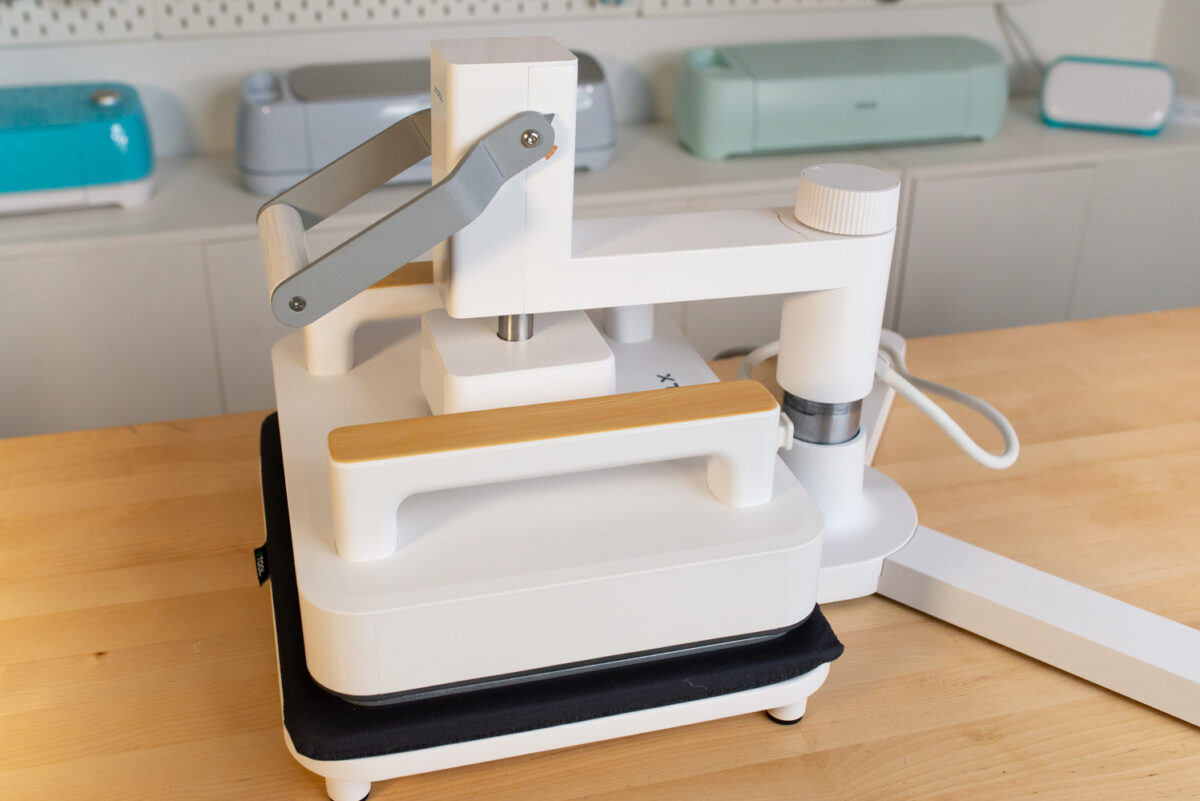
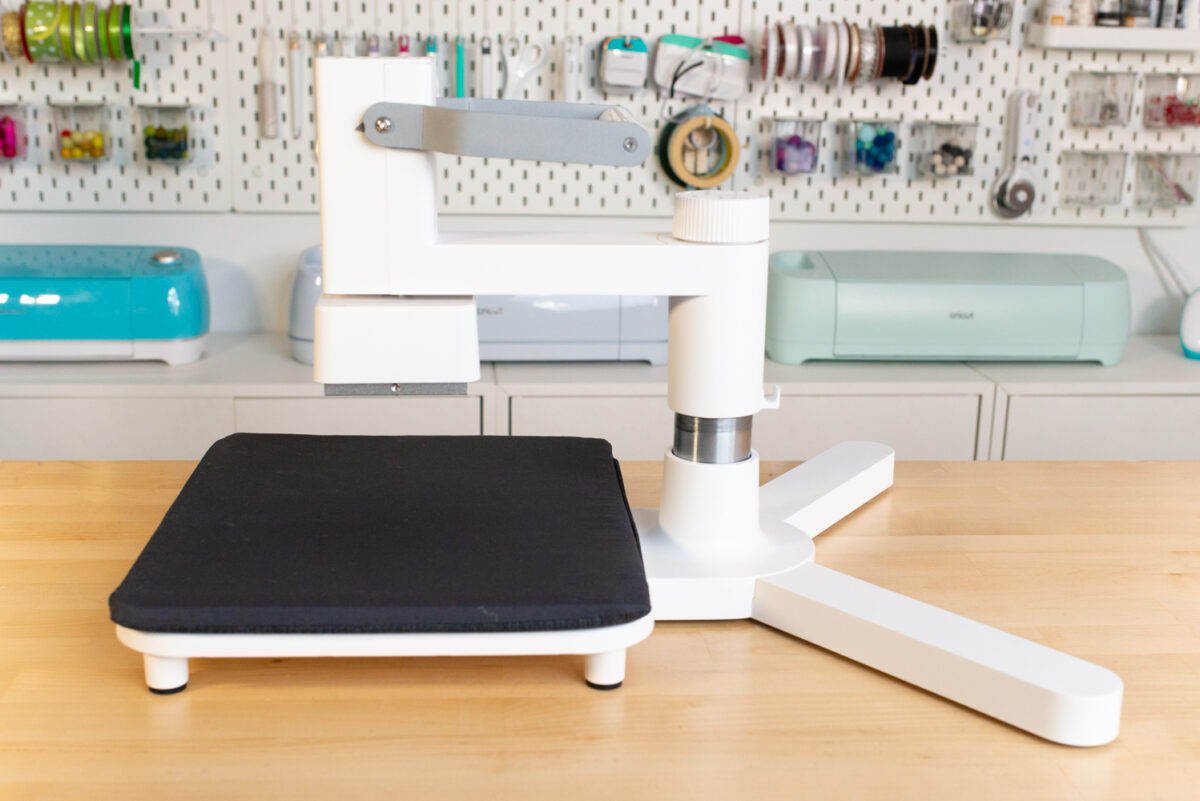
The Smart Press Platform turns your handheld press into a traditional heat press. There was a small amount of assembly at the beginning (four screws) but it took less than five minutes.
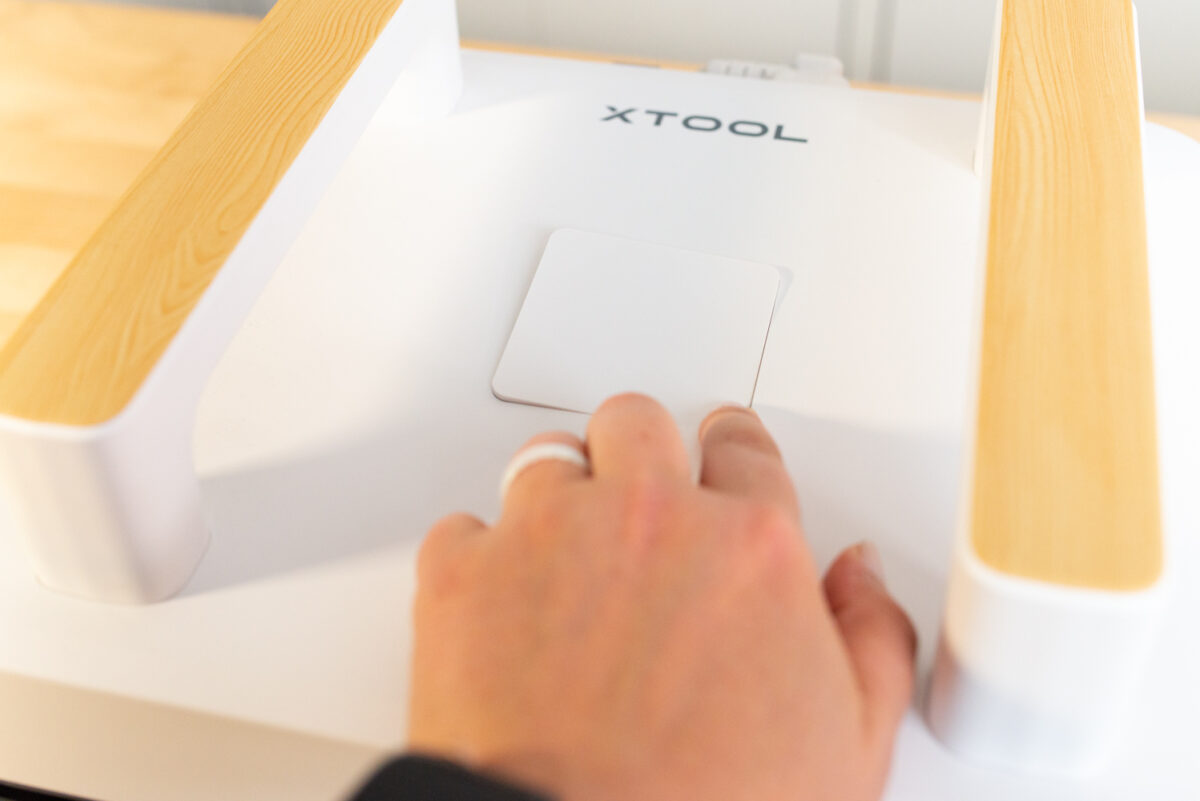
On the Smart Press, there is a plastic cover on the top of the press. In one of the corners, there is an arrow. Press the arrow to remove the plastic cover.
Then add the plastic bracket using the four provided screws.
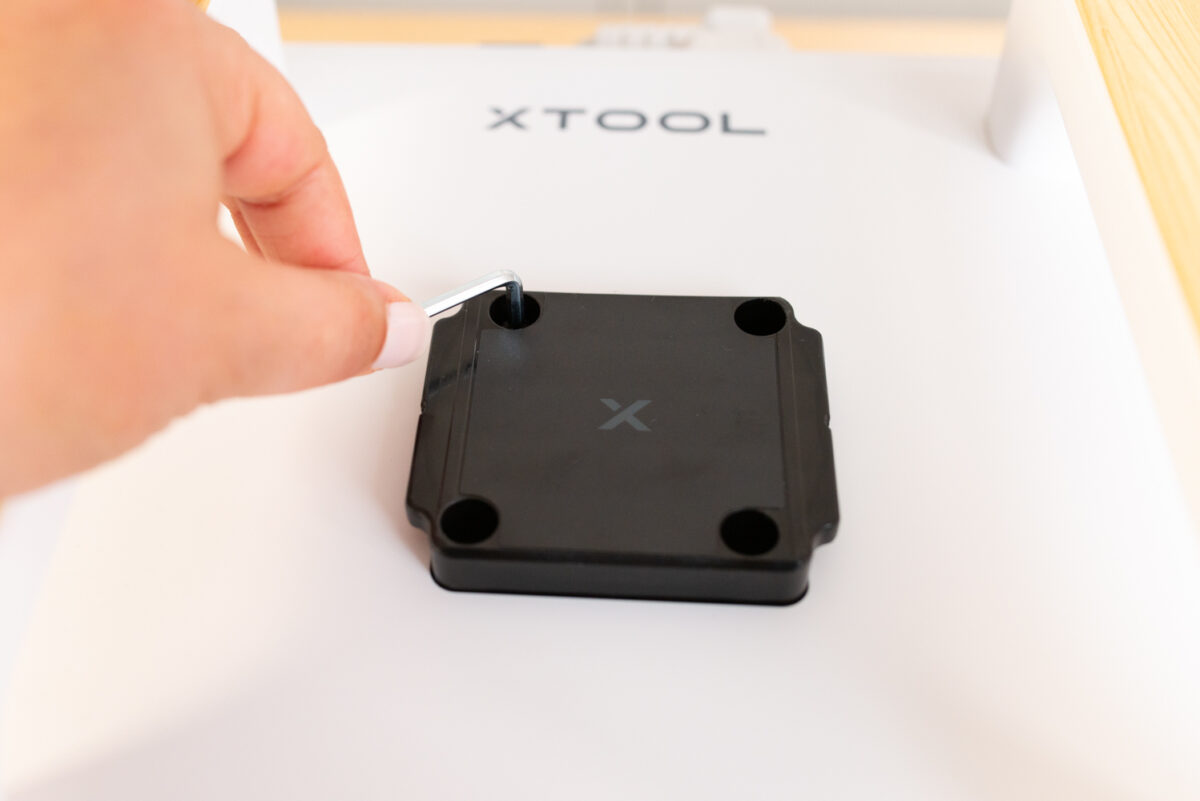
The bracket then slides into the slots on the platform.
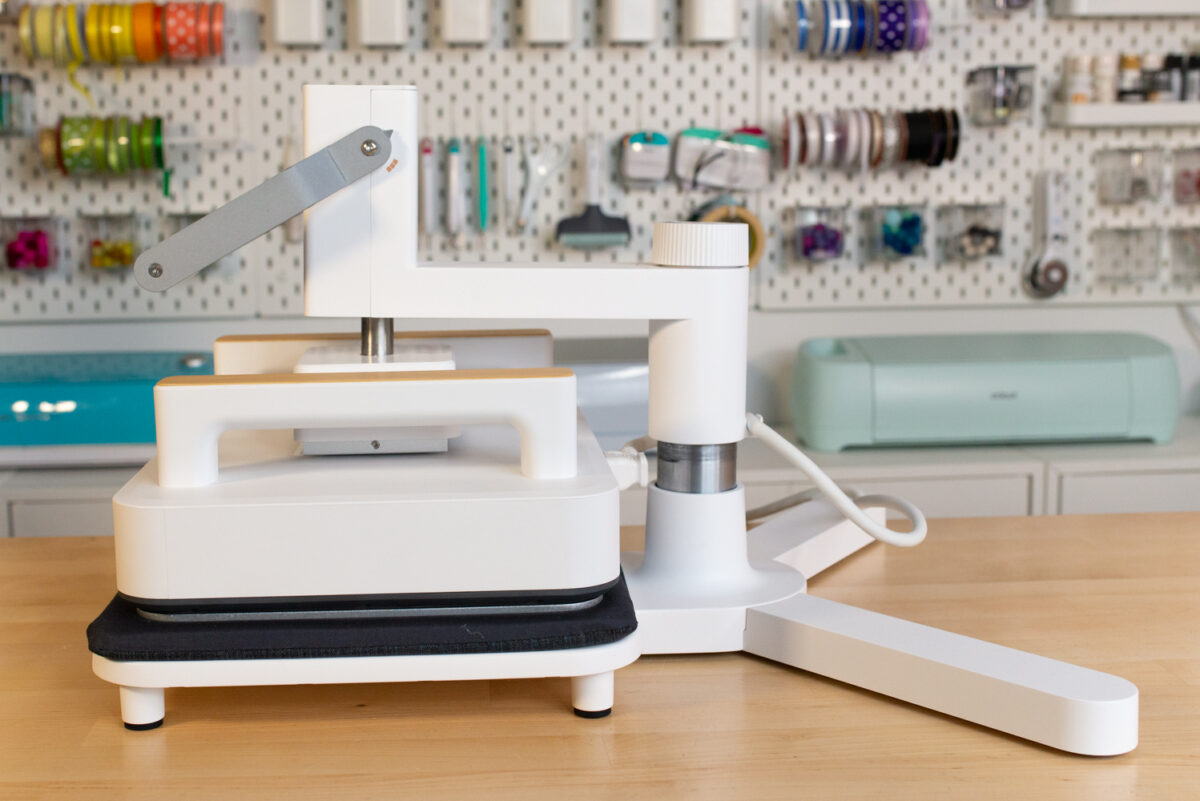
There is a cord loop on the back of the column. Press the cord into the cord loop to keep it out of the way while you are pressing.
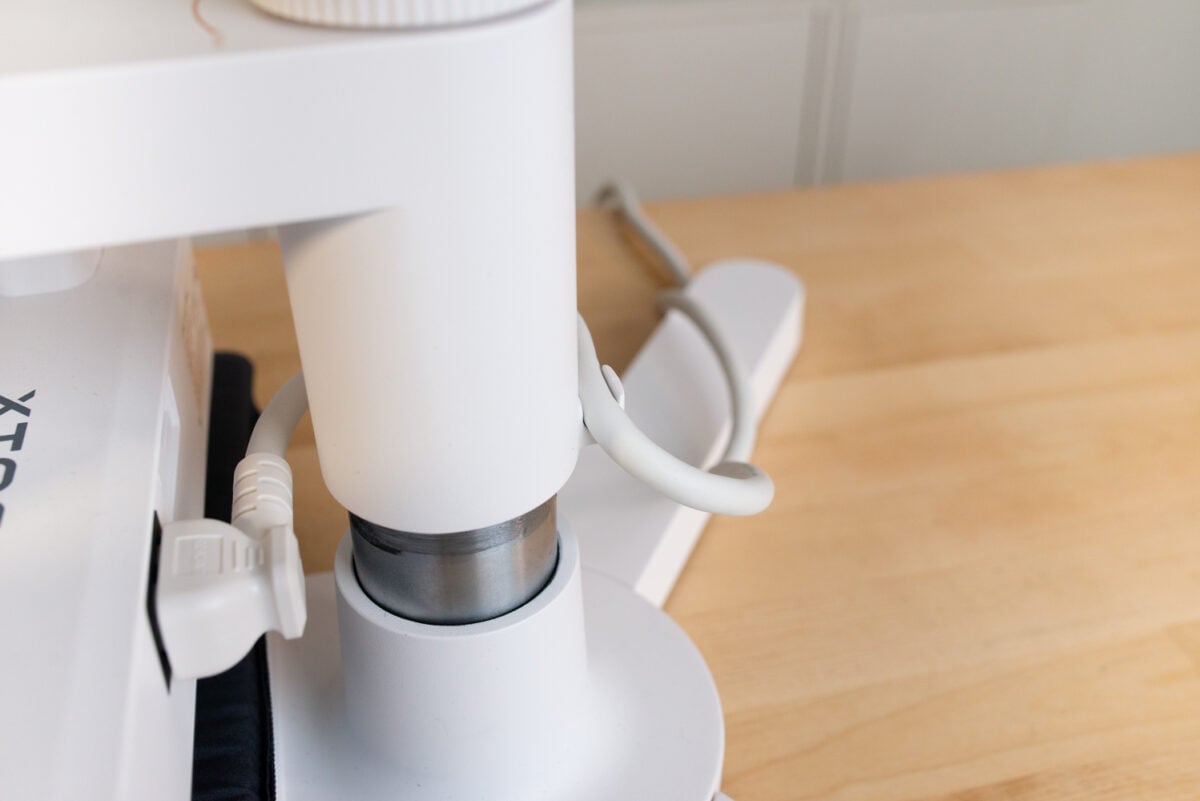
This is a swing away press. That means that the top heat plate swings away from the bottom plate. This is different than a clamshell press, which opens at an angle above the bottom plate. You will need space on at least one side of your heat press to allow for the swinging motion.
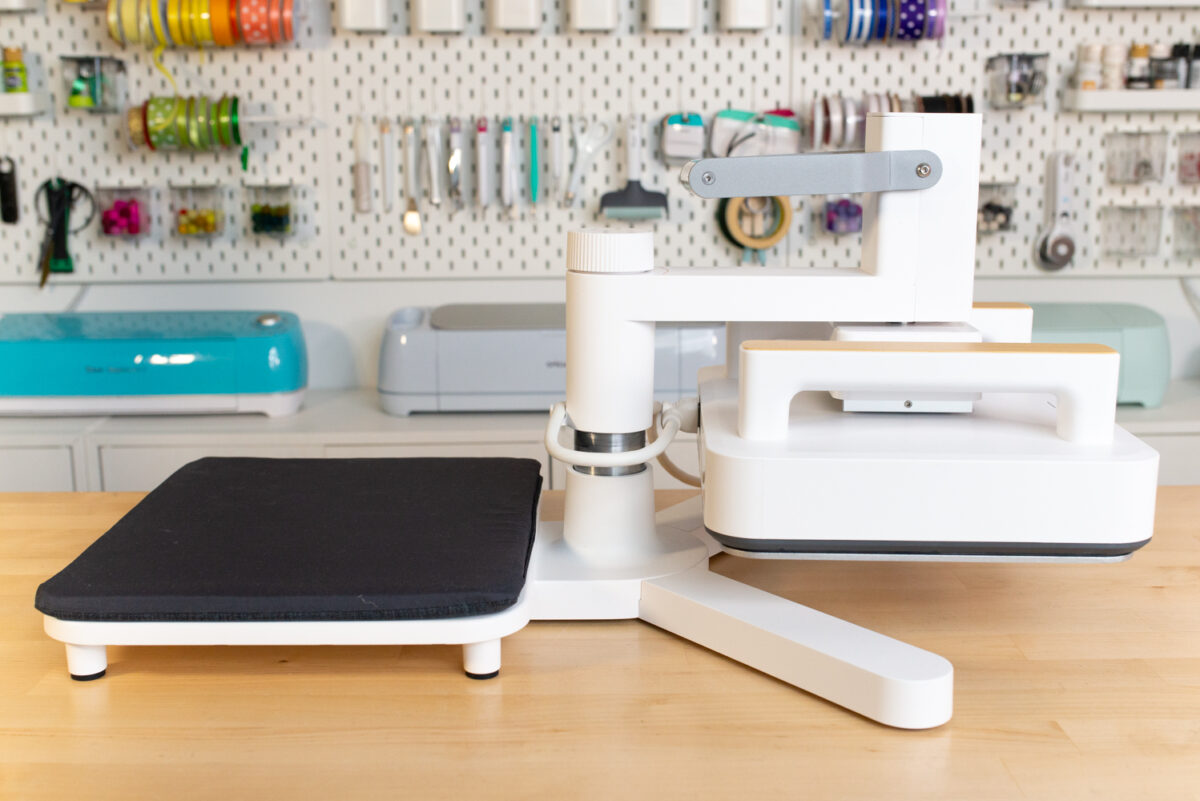
Then add the mat to the bottom of the platform. You may need to swing the press away from the platform or lessen the pressure. I do wish there was something to hold the mat still—I may add some sort of tacky adhesive strips to keep it in place.
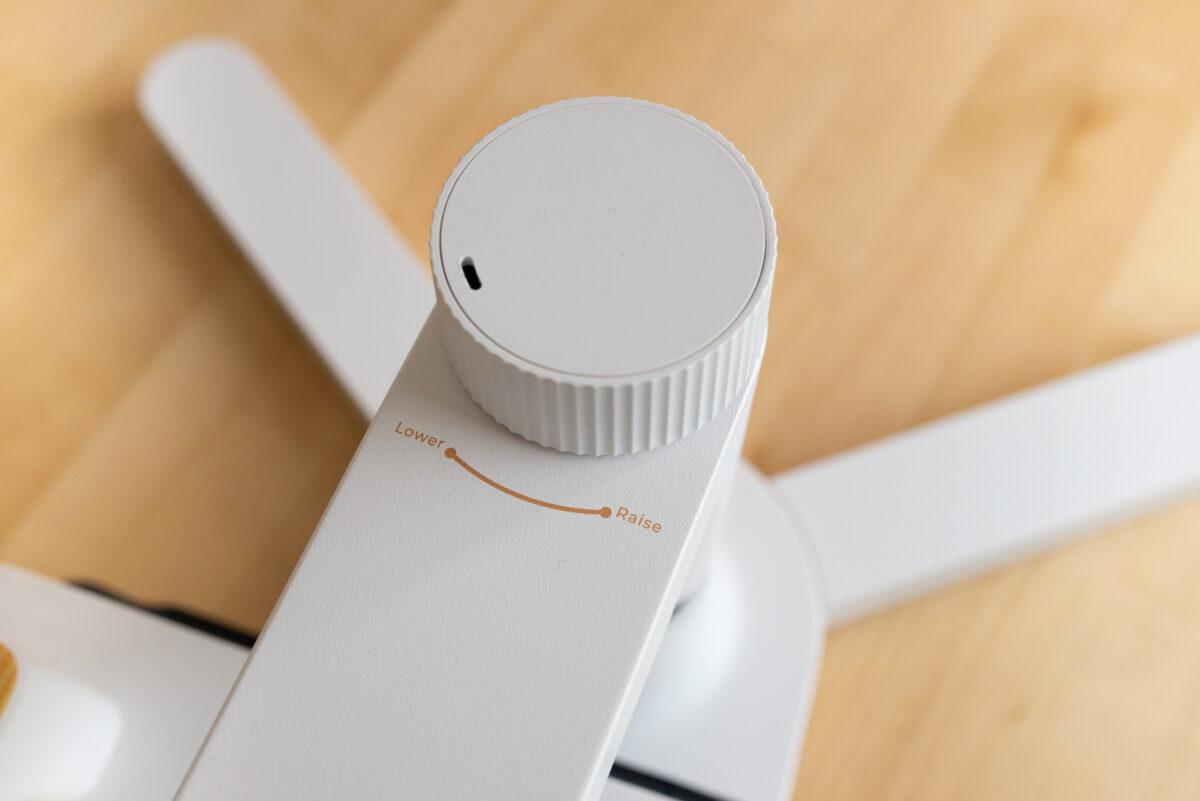
To change the pressure on the heat press, turn the pressure control knob at the top of the column. To add more pressure, turn the knob clockwise. To decrease the pressure, turn the knob counterclockwise.
And then again, to set the heat press’s time and temperature you’ll use the control panel, which I talk about below. Note that the control panel doesn’t automatically start when you close the press like you would find with other heat presses. You need to push the button to start the countdown.
The xTool Mini Press
The xTool Mini Press functions a lot like the Cricut EasyPress Mini with one big difference. While you can use the button on the front to set your temperature as low, medium, and high, you can also use the mini press with the control panel to set a particular time and temperature.
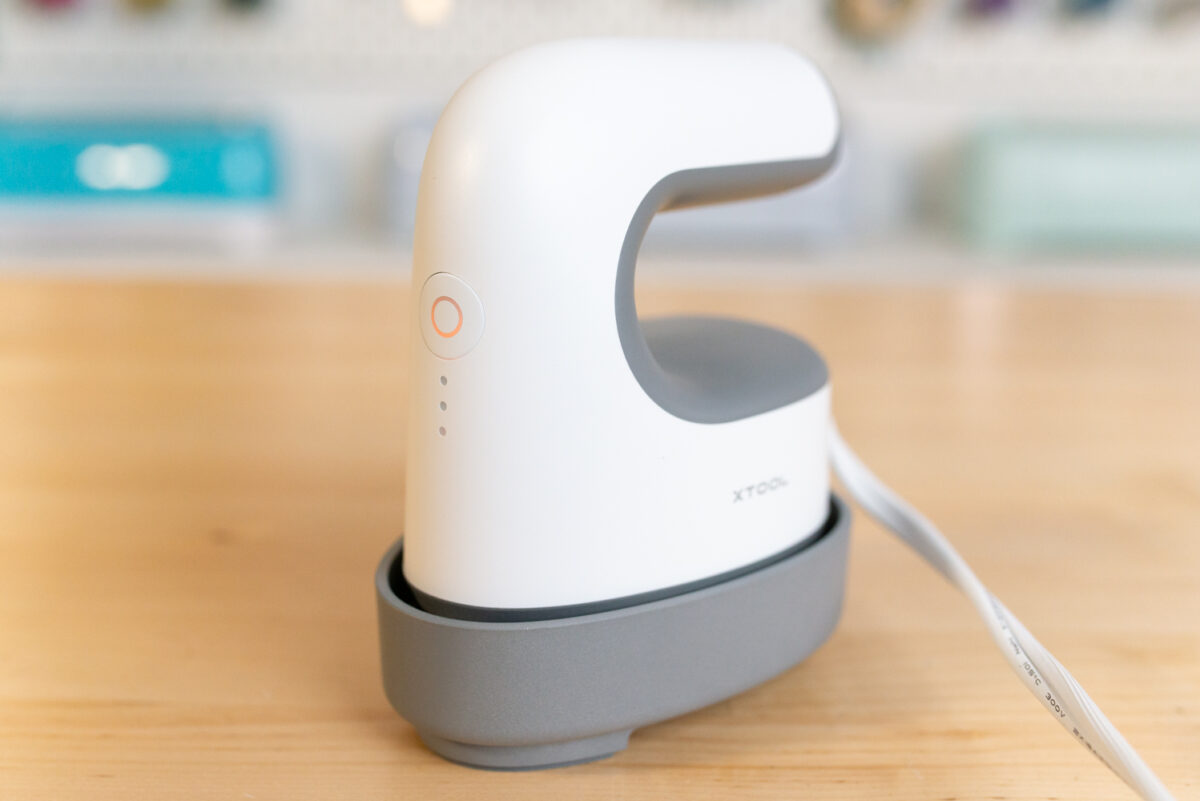
Plug the receiver into the handle of the mini press. Then see below for pairing instructions and control panel use.
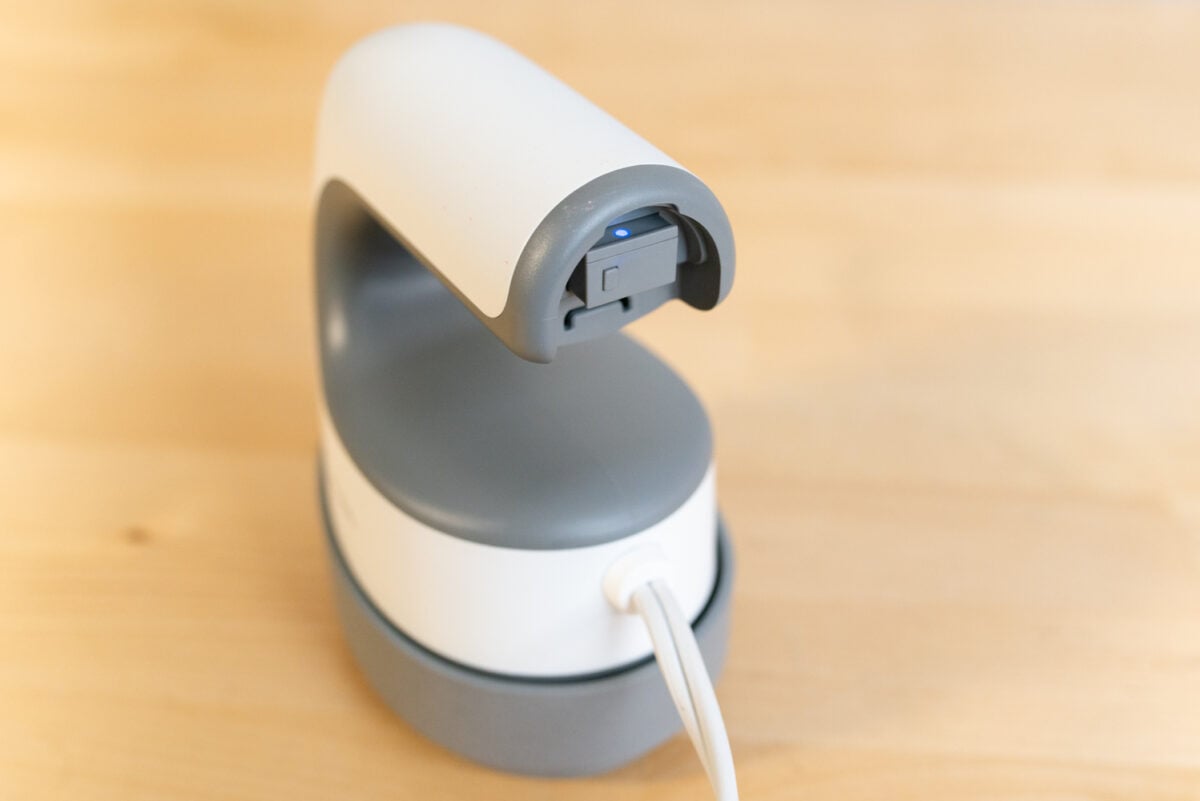
Once your mini press is to temperature, you can press your project! Every project will have a different time, temperature, and pressure setting depending on the type of project. For this press, you will need to apply your own pressure.
It’s nice to be able to have more control over the temperature of the press. For example, I love using my Cricut EasyPress Mini to fuse my perler beads, but the optimal temperature would be somewhere between the medium and high settings. With the xTool Mini Press, I can actually set that particular temperature (about 360°) and it works really well for that specific application.
The Smart Control Panel
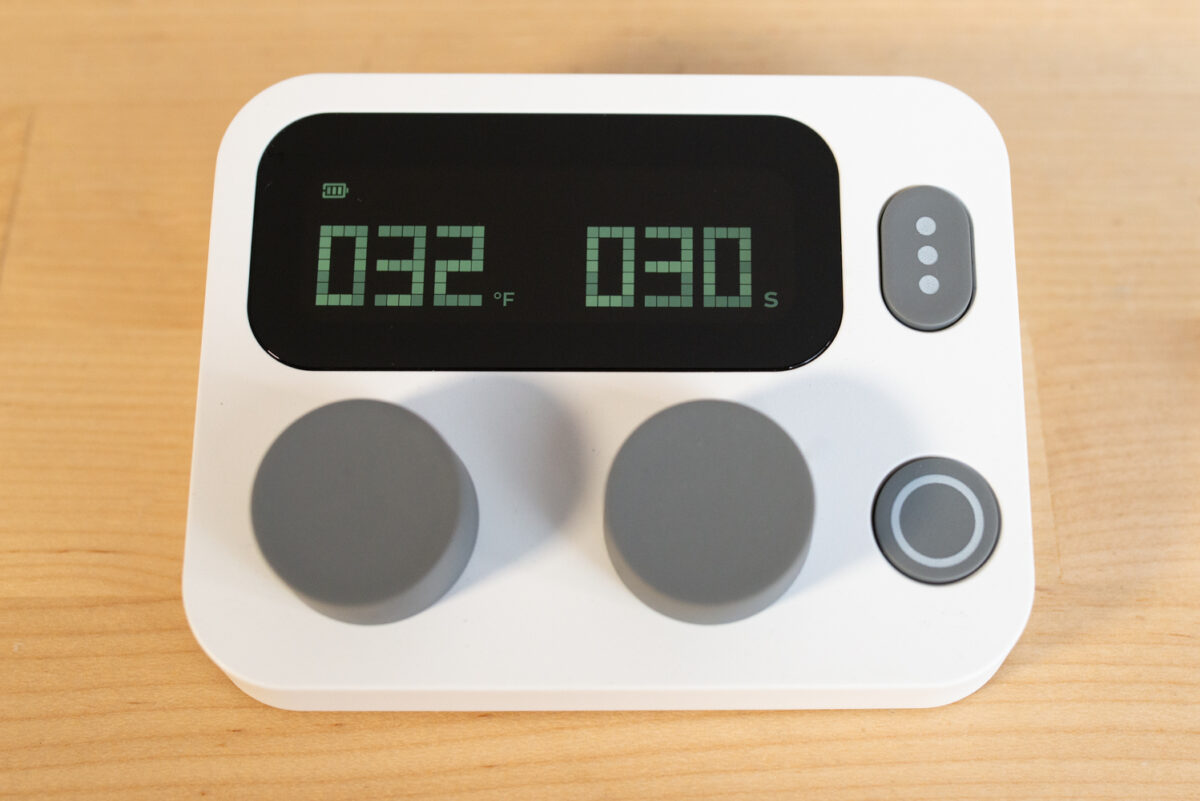
Like I said above, you can use the Smart Control Panel with both the larger press (required) and the mini press (optional). The control panel is wireless, meaning it is both wireless to the machines and it has a battery. The battery does need to be charged via a USB cable, but once it’s charged you do not need to be plugged in, allowing you to use the control panel wherever works best for you. There is a battery indicator in the corner of the display so you can see when you might need to charge it next.
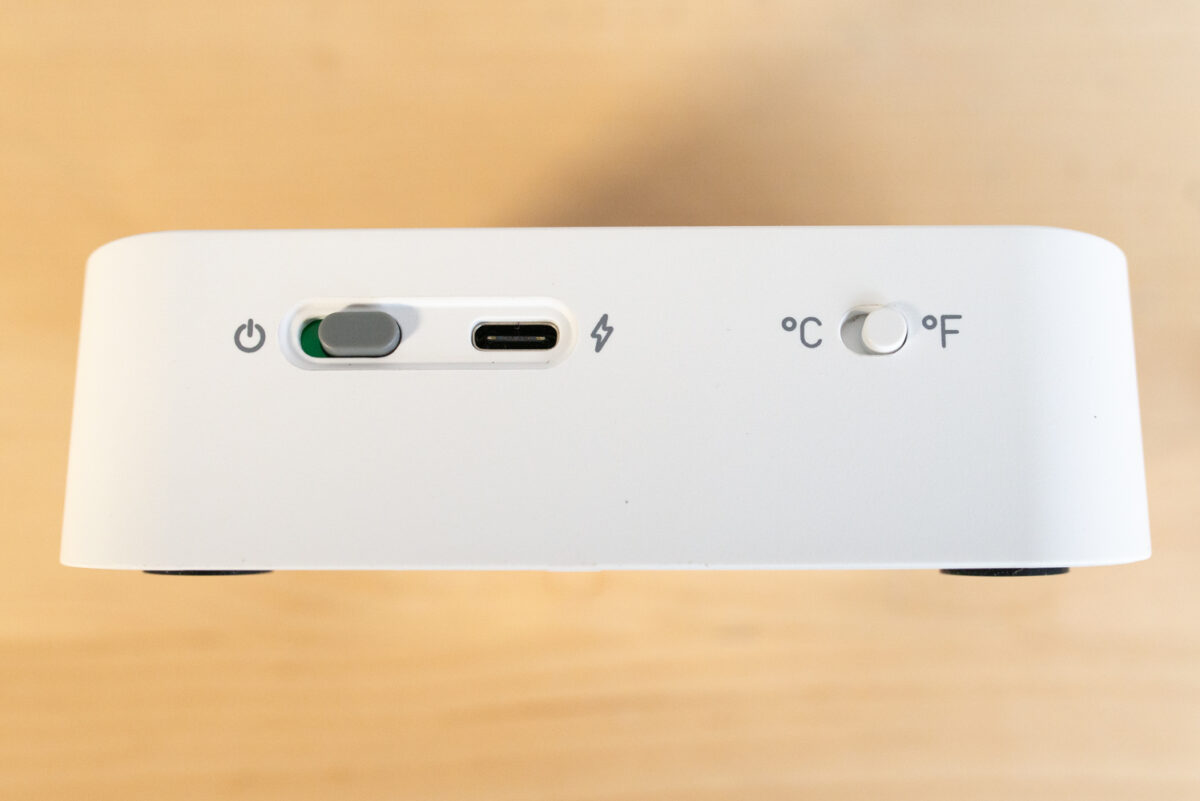
On the back of the control panel are two sliders. One turns the control panel on and off and the other swaps between Fahrenheit and celsius.
To Pair the Control Panel to Your Press
On the receiver in the machine, you’ll see that it has a solid blue light when it’s plugged in. Hold down the button on the receiver for about three seconds and the light should start to blink.


Turn on the control panel using the slider on the back and hold down the round button on the front of the control panel for three seconds. This should pair your machine. The light on the receiver should blink slowly to show that it is paired.
Setting the Control Panel
To set your time and temperature, simply turn the knobs on the control panel.
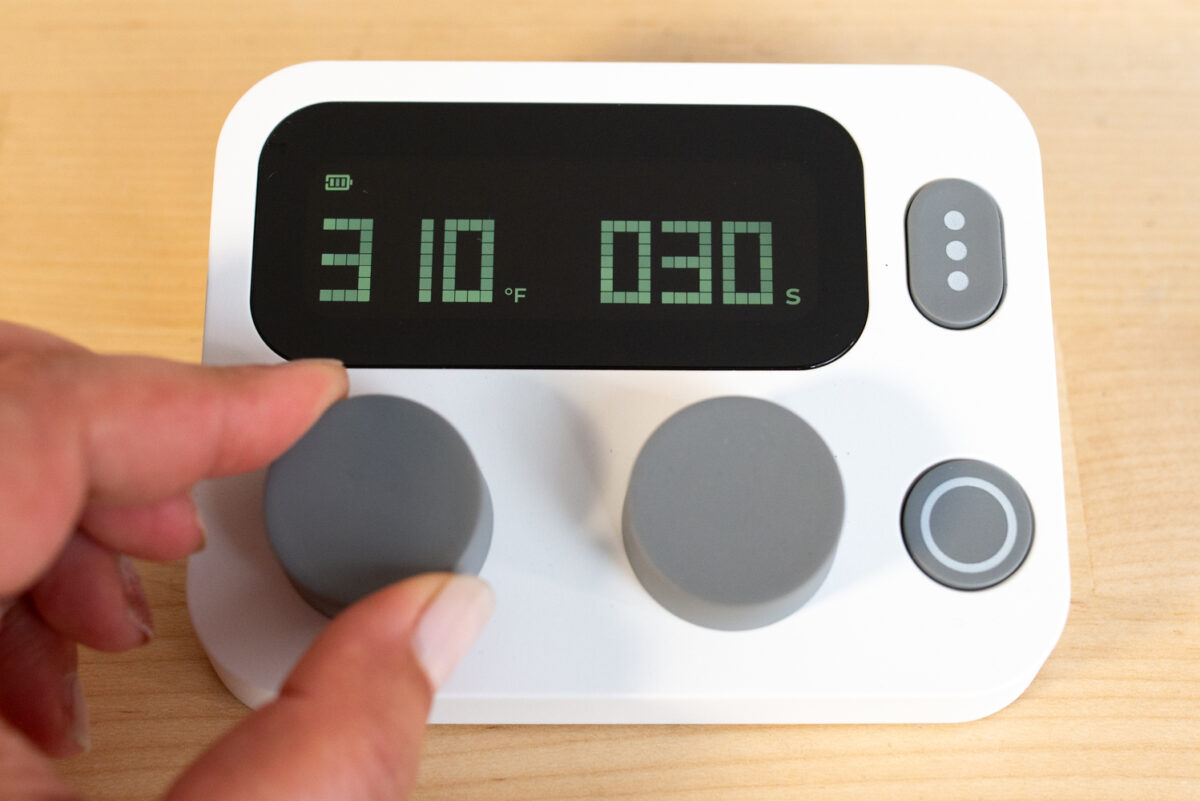
There are four presets you can set as well. xTool has set four common options, but you can set your own. To set a preset, set your time and temperature using the knobs. Then hold down the button with the three dots until it sets.
To start the timer, just push the round button and it will start to count down.
Pros of the xTool Heat Press
The whole all-in-one kit is really versatile, allowing you to use each piece in various ways depending on your needs. You can choose what’s best for your particular project without having to have quite as many machines around your craft space.
Without the stand, I like the the press has two handles. I feel like it’s easier to get firm, even pressure when using it as a handled press.
I really like that the mat is firmer than other pressing mats. This also makes it easier to get that firm, even pressure—which is particularly important with things like sublimation and DTF printing.
With the stand, there’s no need to apply pressure to your projects, freeing you up to be doing other things while your project is pressing. This is particularly good if you are making something with a long pressing time (like ceramic coasters) or if you have issues maintaining the pressure of an handheld press.
It’s very easy to set the time and temperature using the external control piece. While I really like my clamshell heat press, the controls are behind the arm of the heat press and it can be a bit difficult to set the controls.
I love that the mini press can be used with the control panel, allowing you both to control the temperature of your press and give you a time countdown. I haven’t seen this in any other mini press.
The plug is separate from the Smart Press (unlike many other handheld presses), making it easier to store the press and the cord.
It’s also very affordable compared to other heat presses. You can get the all-in-one kit for just $299, which is a great price for three heat presses in one.
Cons of the xTool Heat Press
I wish the receiver for the control panel was built into the machine. While there’s really no reason to unplug it, it does feel like a part that could easily get lost.
When using the platform, the heat press feels a bit loosey goosey. Not terribly, but it doesn’t lock into place quite like I wish it would.
When on the stand, the timer doesn’t automatically start when you close the heat press like with other heat presses.
Because the base of the heat press sits on four feet, there is no way to thread your blank onto the heat press.
There is not a lot of room at the throat of the heat press for things like hoodies or other bulky items.
The press may not work well for heavy pressure projects.
Is the xTool Heat Press Worth It?
Overall, I think the xTool Heat Press is a good beginner press, especially at the price. You get a lot of functionality in one product and it’s very easy to use. I really like the external control panel and how it can be used with the mini press. Overall, I think it’s a great addition to your xTool M1 Ultra, because it allows you to adhere the HTV you might cut using the blade in your machine.

If you are looking to do heavy-pressure projects or if you want a more professional heat press for a business, however, I might upgrade to something like a clamshell press.
I hope you found this review of the xTool Heat Press helpful in your buying decisions! If you have any questions about this heat press, as always, I’d be happy to answer them down in the comments.


Leave A Reply!