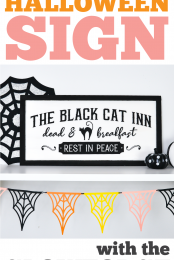
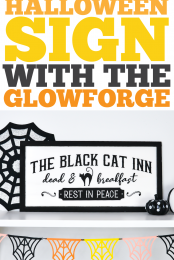
Take your Halloween decor to the next level with this vintage Halloween sign made using your Glowforge! Four spooky vintage Halloween SVGs to choose from. Plus learn my method for getting every piece to line up perfectly on your sign!
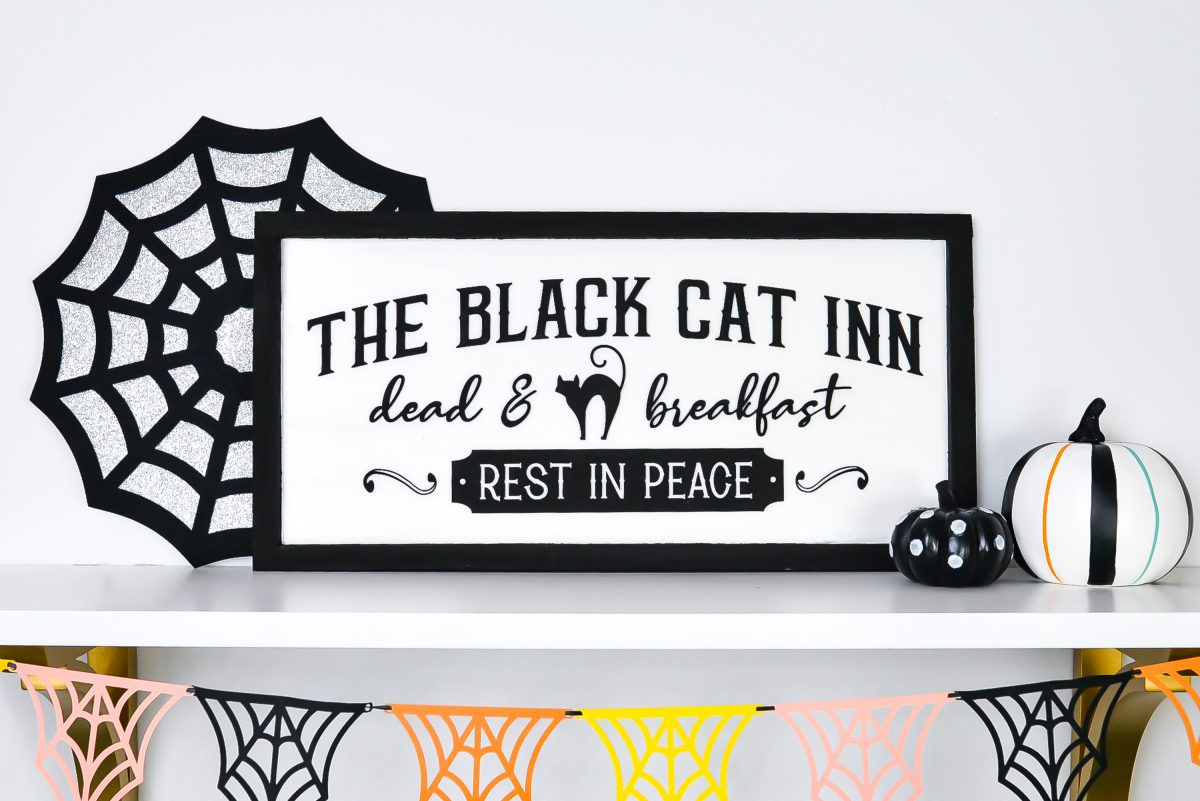
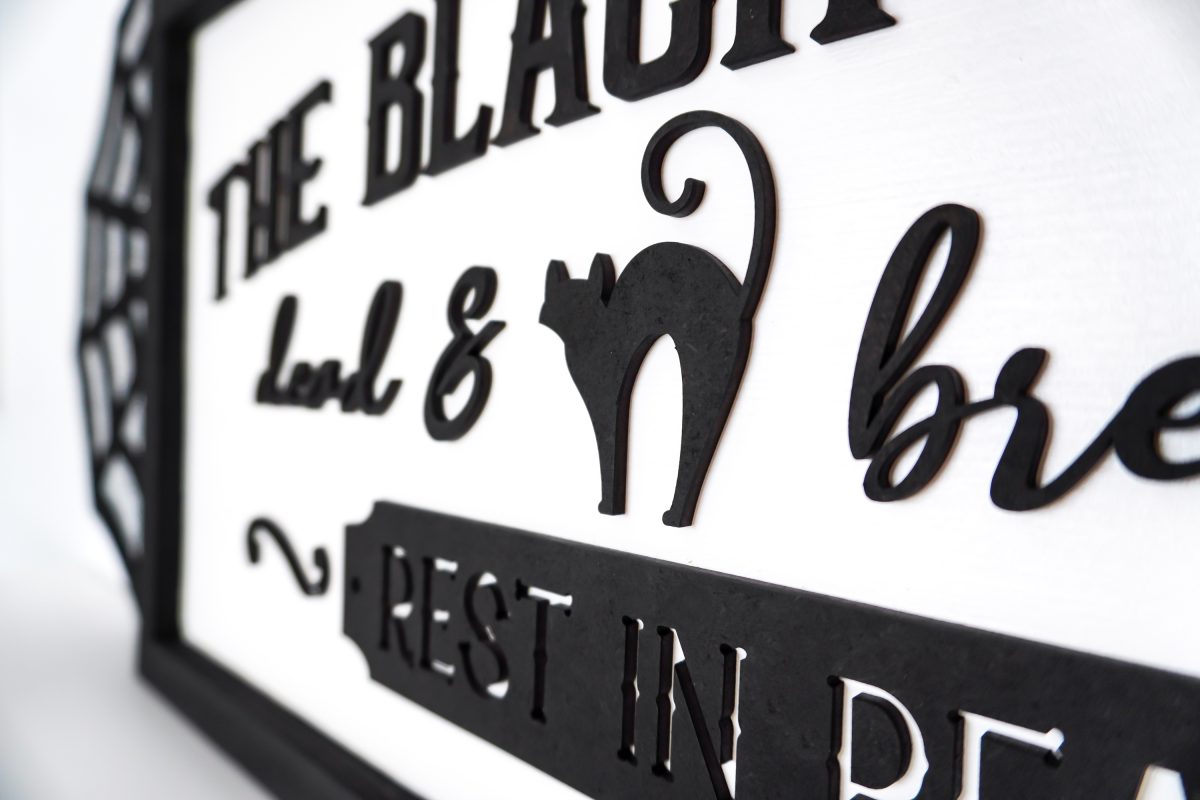
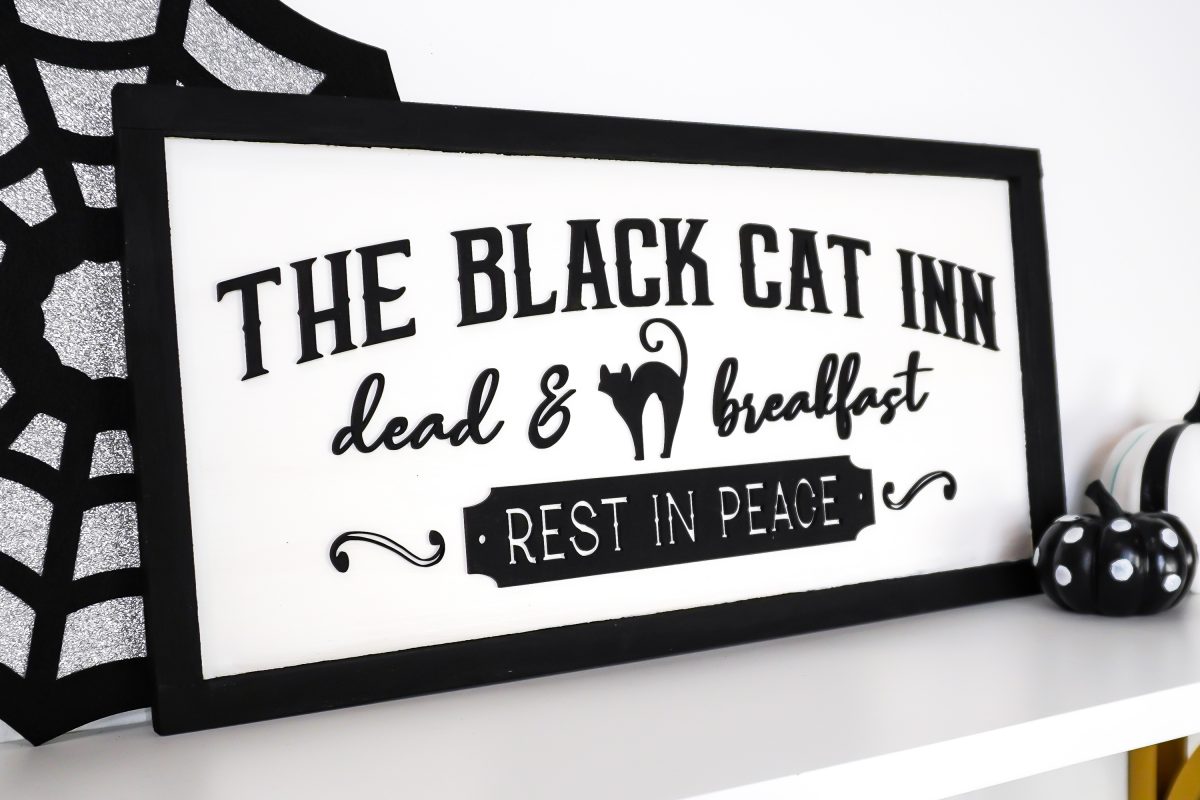
I’m well into crafting my Halloween decor this year, and I’m excited to add some vintage-style Halloween signs to my decoration collection! These vintage Halloween SVGs are perfect for taking your Halloween style to the next level. These fun cut files are designed to be put on a sign, though you could also put them on a tote bag or pillow using your Cricut!
I used a pre-made framed sign, and then cut the image using my Glowforge and draftboard. You can use acrylic or wood if you’d like. There are lots of ways to make signs with your Glowforge. I hope you find the tips and tricks in this post helpful, and if you have another method you’d like to share, I’d love to hear about it in the comments!
Not sure what a Glowforge is? I wrote all about it in my Glowforge Overview: What to Know Before You Buy! You can also save up to $500 on a machine in that post!
Don’t have a Glowforge? I created file versions to cut on your Cricut or other cutting machine! Grab them here in my shop.
Supplies to Make a Vintage Halloween Sign with the Glowforge
- Glowforge or other laser cutter
- 1 sheet of proof-grade medium draftboard
- 3M double-sided adhesive (see note)
- Brayer (optional but helpful)
- Framed blank sign
- Craft paint and paint brush
- Makeup sponge
- Black Cat Inn SVG (see below)
Note: if you don’t have the 3M double-sided adhesive, you can use a very small amount of glue. I really do prefer the 3M adhesive, though, and it’s something I come back to again and again for my Glowforge projects!!
Get the Vintage Halloween Sign SVG Bundle
You can grab the bundle of four Halloween signs here (save $2.50 over buying individually!) or grab the individual sign files in my shop.
Vintage Halloween Sign Directions
Switching My Original Plan
When I originally planned this project, I wanted to score the backing board on my sign with an outline of my image so that I could use it to correctly place my pieces (see this Wood Sign Tutorial at Happiness is Homemade for more information on this method!). This method would allow me to use less draftboard because I could “nest” my pieces before cutting and not waste all the negative space between the images.
Problem is, the blank frame I was using was too tall in my Glowforge, so the laser arm would hit it! I thought about removing the crumb tray so it would fit, but then my score line wouldn’t be entirely in focus and I’d risk a blurry line behind my image. So instead of scoring, I decided to cut the image as designed with a box around it so it would fit perfectly within my frame. Then I could use the negative space of the sign as a stencil to get perfect placement, as you’ll see below.
Mostly I just share this so you can see the thought process behind this Glowforge project. There are so many ways to craft with this machine, and it’s always good to see different ways to approach a project! Here’s how I ended up crafting this fun vintage Halloween sign.
Paint and Measure Your Sign
Paint your blank wood sign. I went with white (the backing board) and black (the frame).
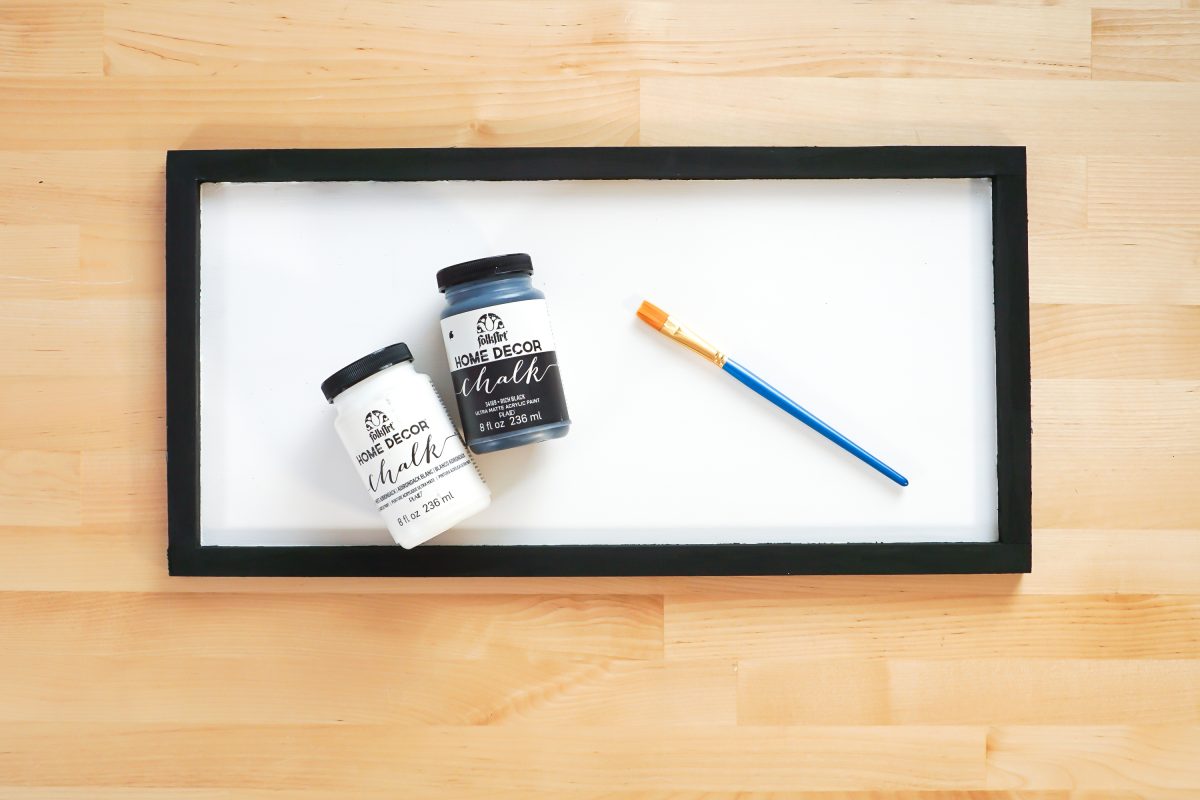
Then measure the inside dimensions of your frame so we can create the outline for our image. Since this will be different for every sign, I didn’t design this box in the file—we’ll add it in the Glowforge app.
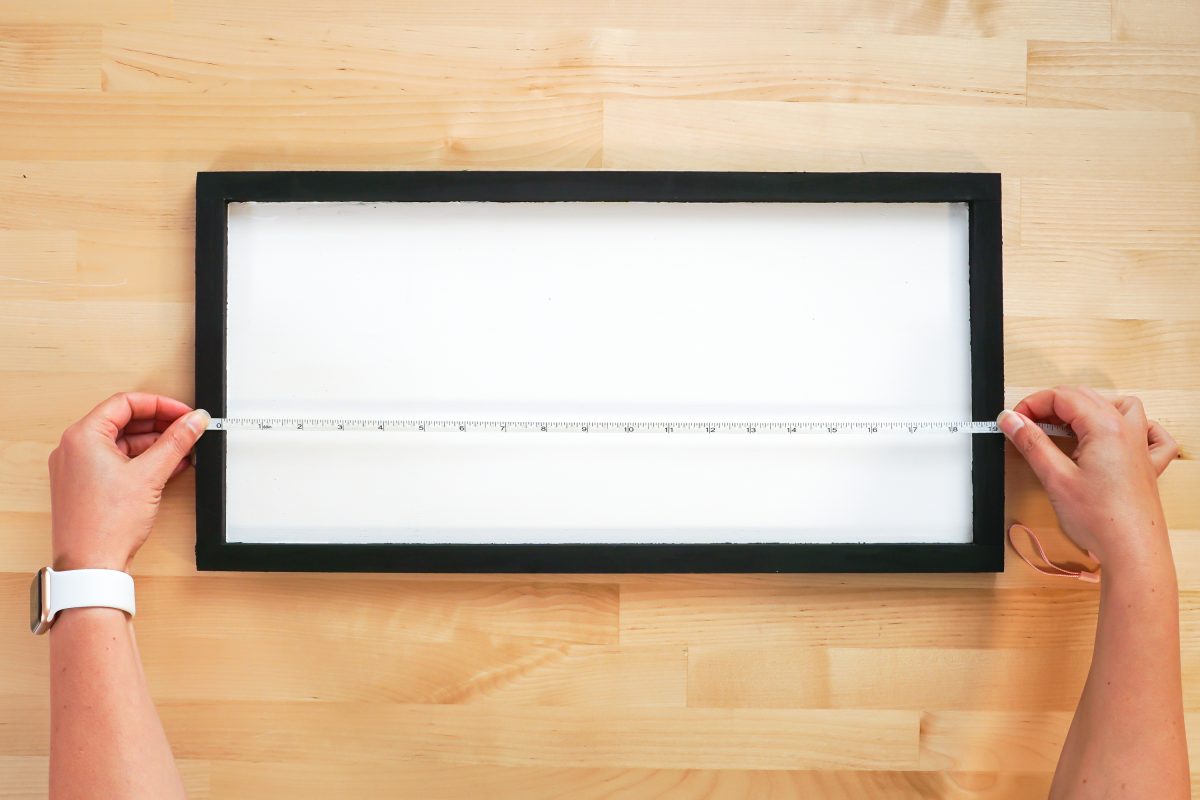
The interior dimensions of my sign are 18.5″ x 8.4″.
Prepare Your Draftboard
Before you cut your draftboard, remove the masking from one side (if your draftboard comes pre-masked). Then adhere the 3M double-sided adhesive to the non-masked side.
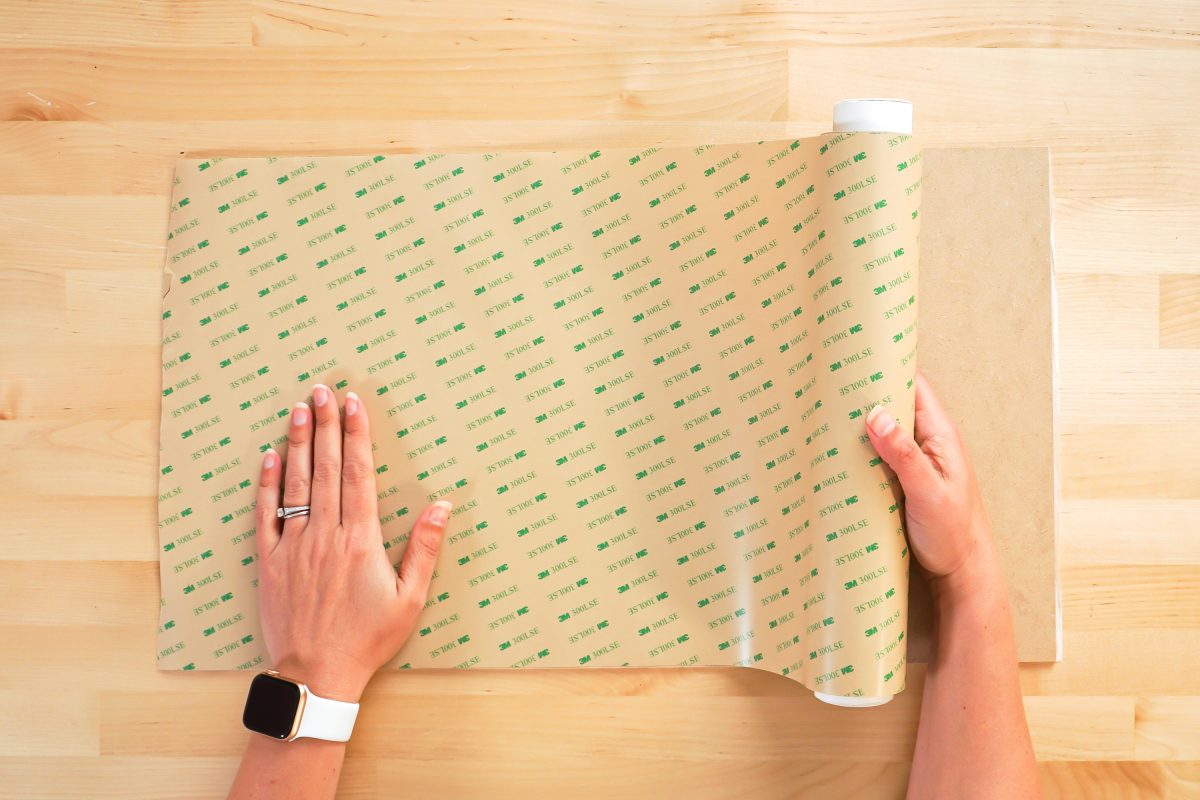
I find a brayer is really helpful for getting it to adhere smoothly.
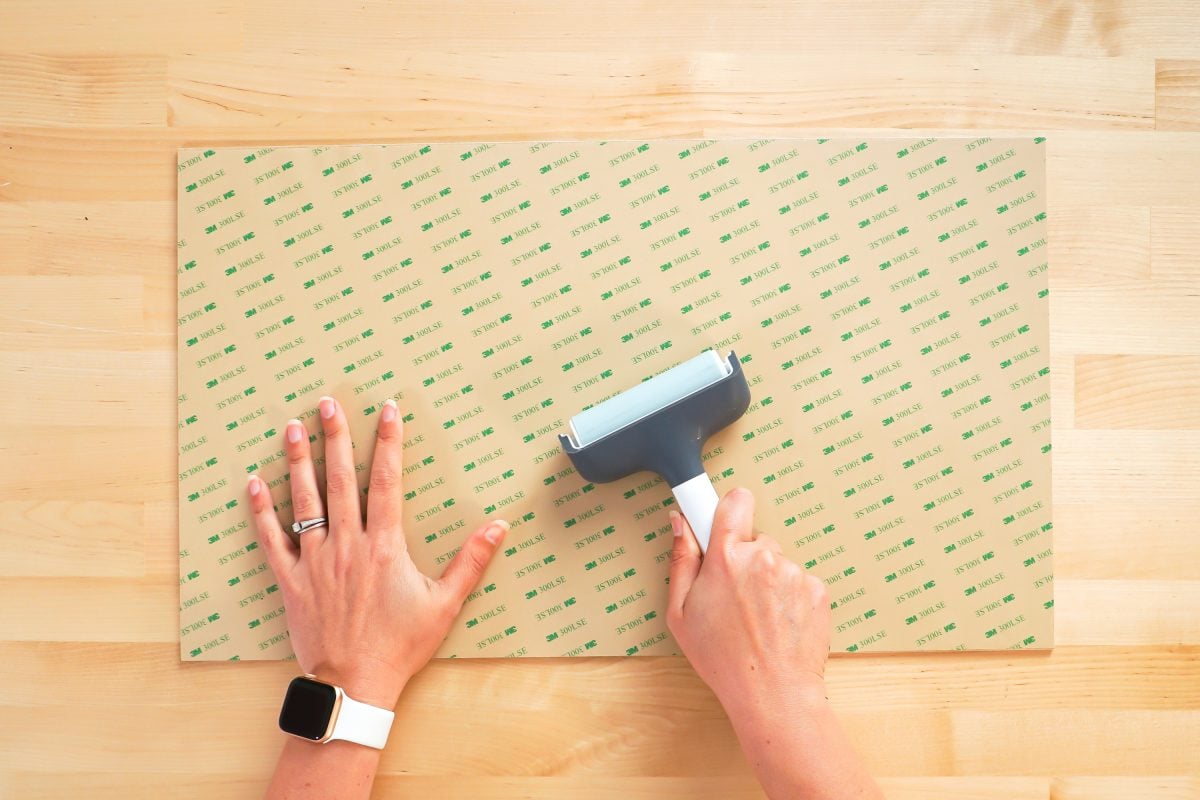
Finally, place the draftboard in your Glowforge with the 3M side DOWN and the masked side UP.
Set up the File in the Glowforge App
Note that you can also do this step in another design app, like Silhouette Studio or Adobe Illustrator. I’ll be using the Shapes Tool in the Glowforge App, which is a premium feature, so you may want to use one of these other software programs if you don’t have a Premium Glowforge account.
Head to the Glowforge app and upload the vintage halloween file you want to make.
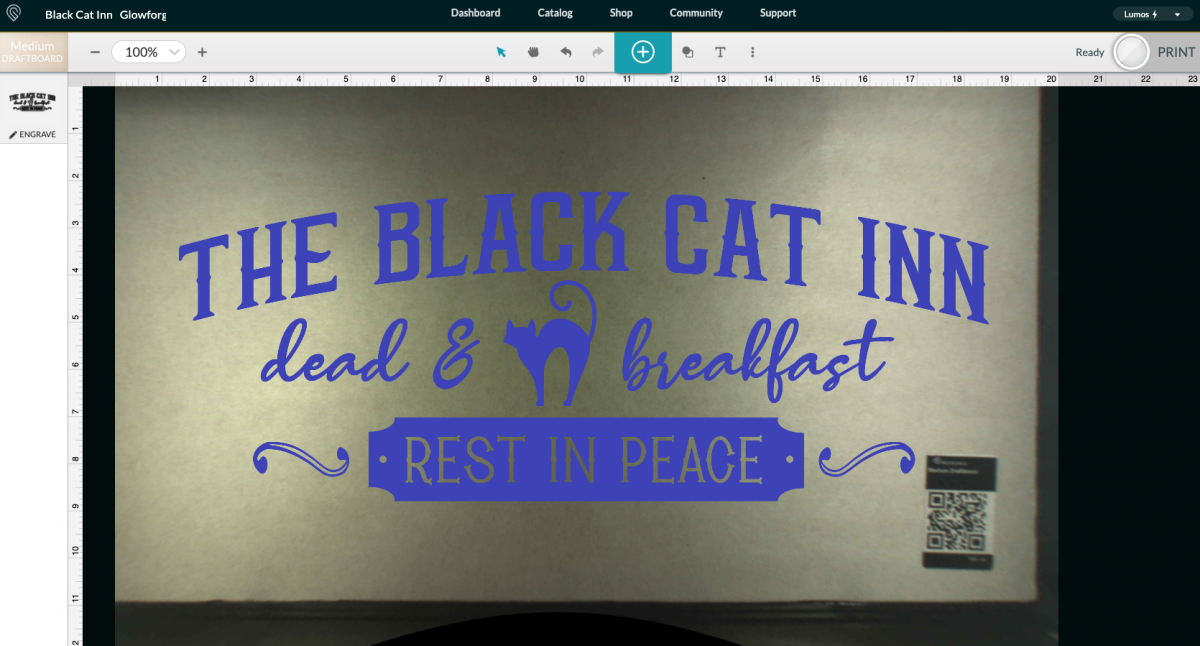
On the left, click the image and change the file to “cut.”
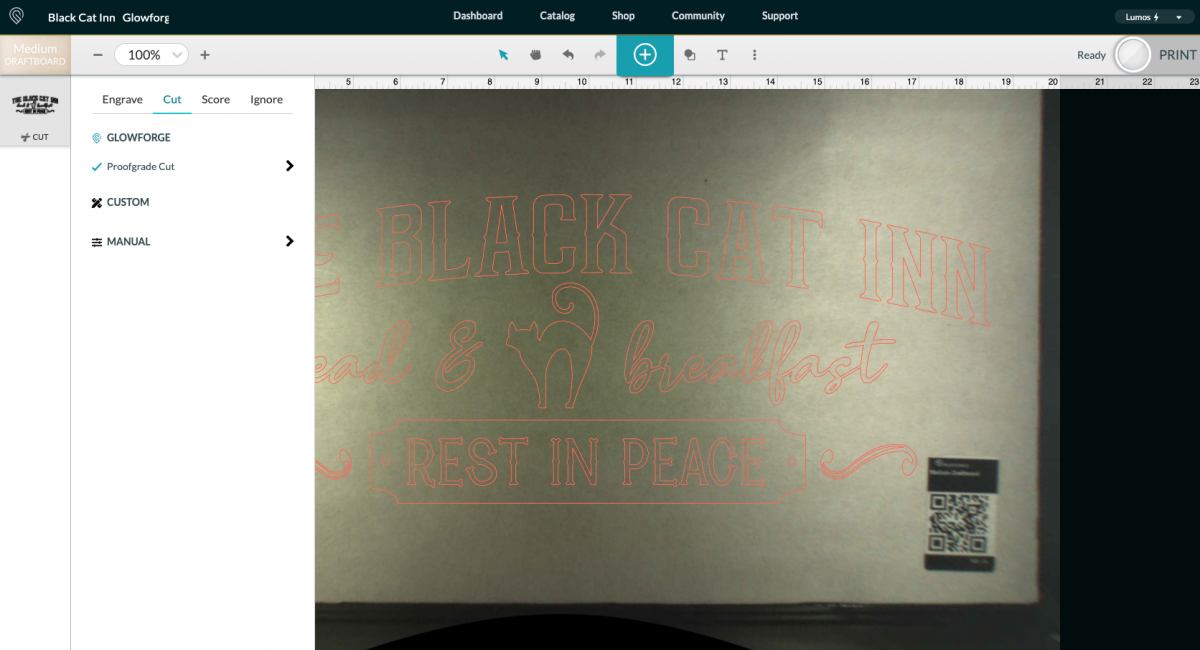
Using the Shape Tool at the top, insert a square. Then, down at the bottom, click on the ruler so you can resize it.
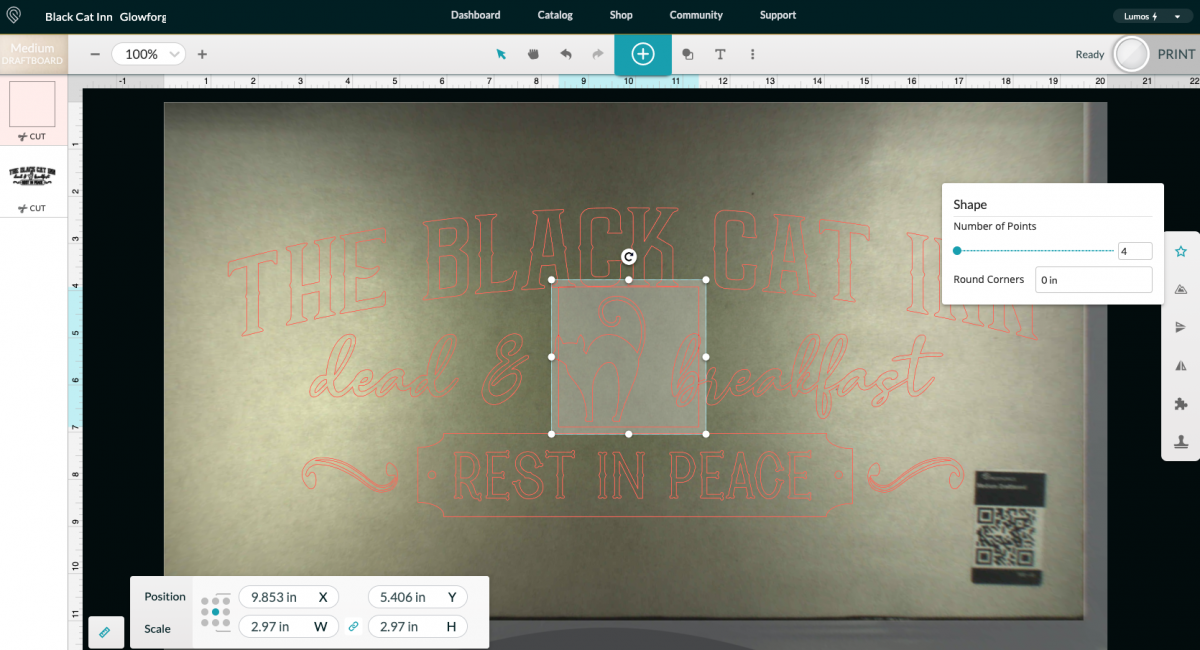
Resize your image to fit within your frame, using the interior dimensions you measured earlier. Click the little lock between the width and the height so you can resize the dimensions independently of one another.
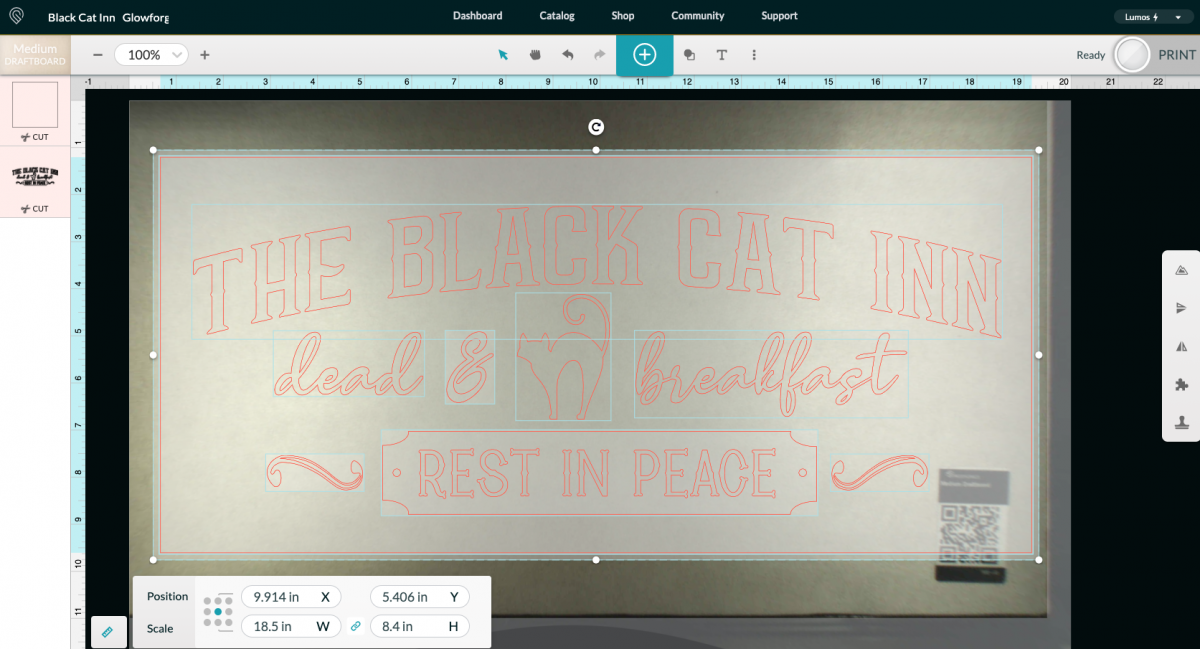
Frustratingly, there are no align tools in the Glowforge app, so do your best to center the rectangle over your sign. If you are using an outside app, you can use the align tool to make sure it’s perfectly centered.
Cut Your Halloween Sign on the Glowforge
Double check both layers are set to cut and that your material setting is correct. Press Print in the upper right corner and your Glowforge will cut your project!
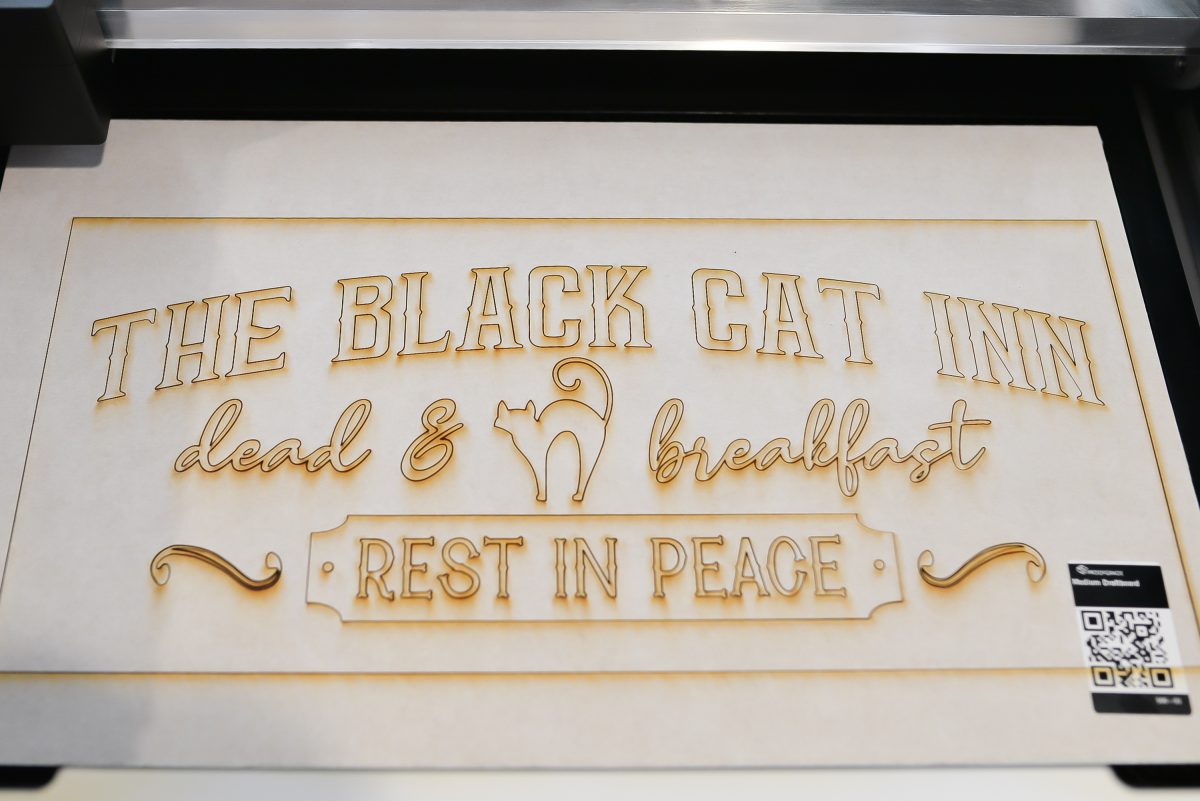
To remove the project from your Glowforge without losing all the small pieces, you can use masking tape! Just place strips across your images and lift it out as one piece.
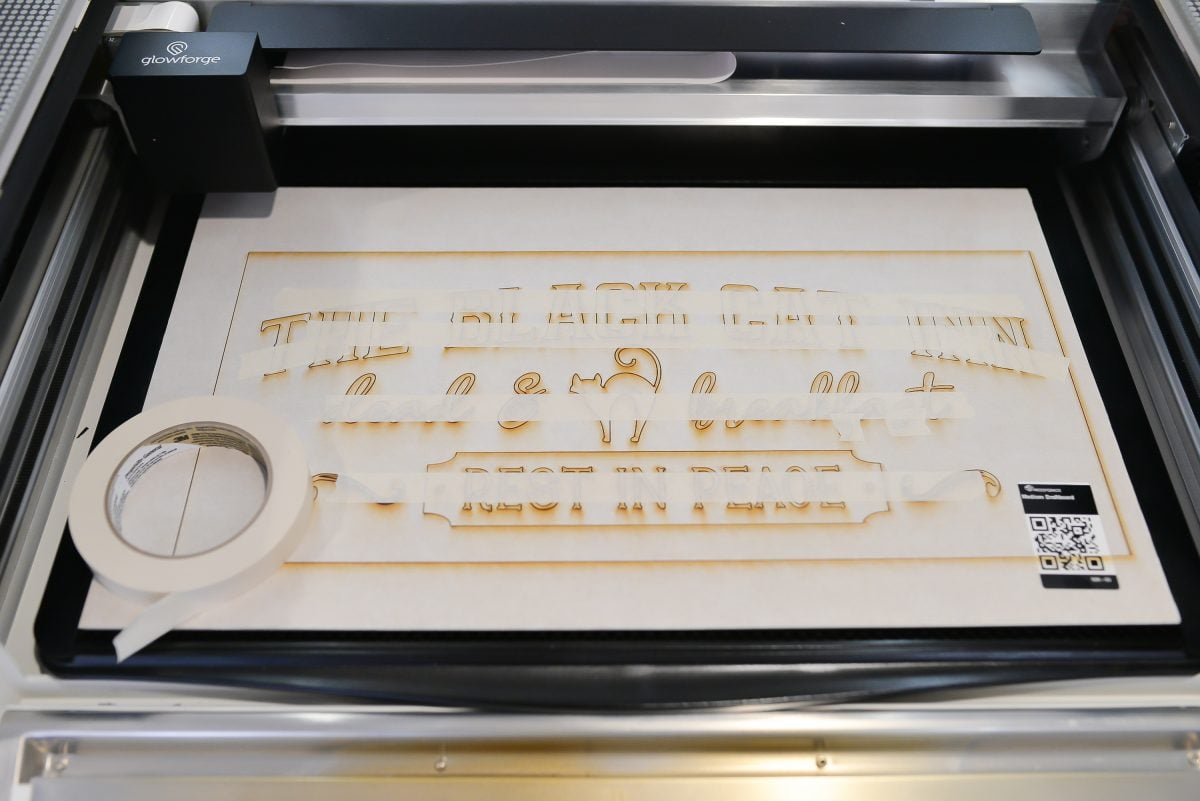
Then carry it to your workspace and remove the tape.
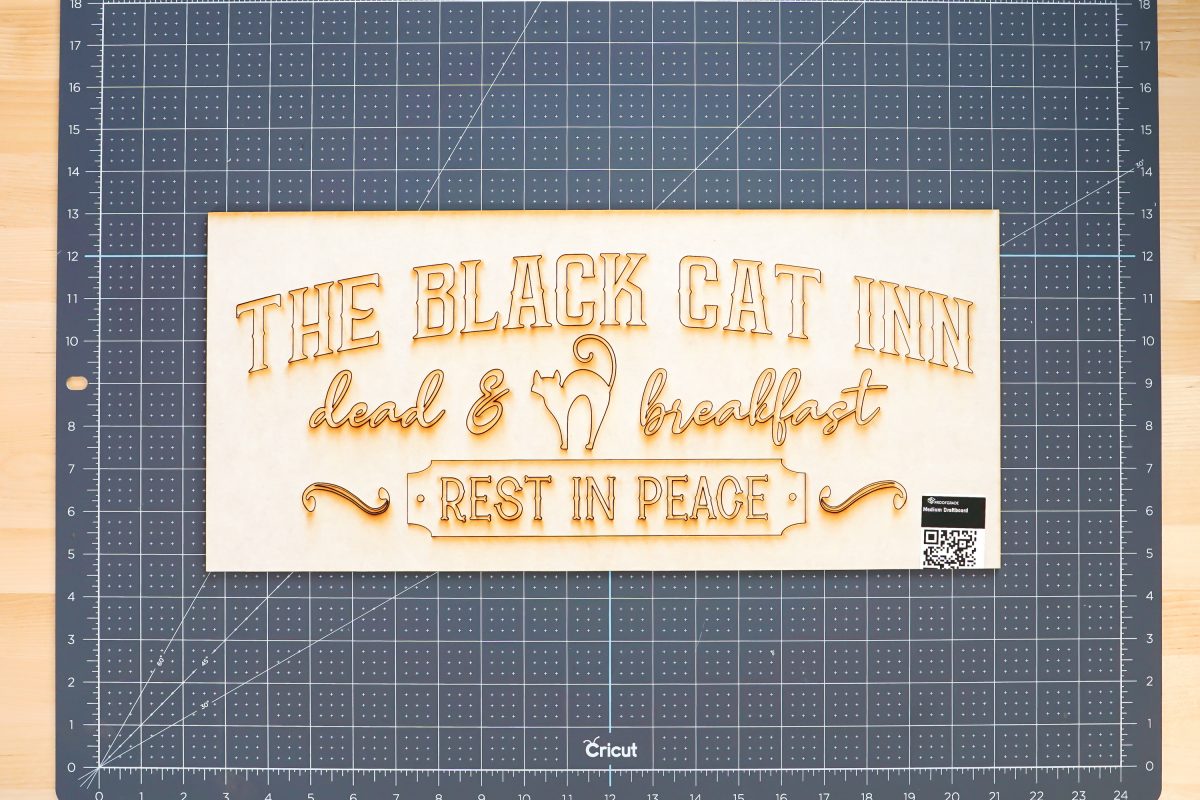
Assemble Your Halloween Sign
Now it’s time to put everything together! Start by removing all of the letters and images from the larger piece (which I’ll call the “stencil” from now on). You won’t need to keep the tiny interior pieces of the letters, but for this particular Black Cat Inn sign you WILL want to keep the R, P, and A from the “Rest In Peace” at the bottom—this will help you align the interiors of the letters on your final sign as you’ll see.
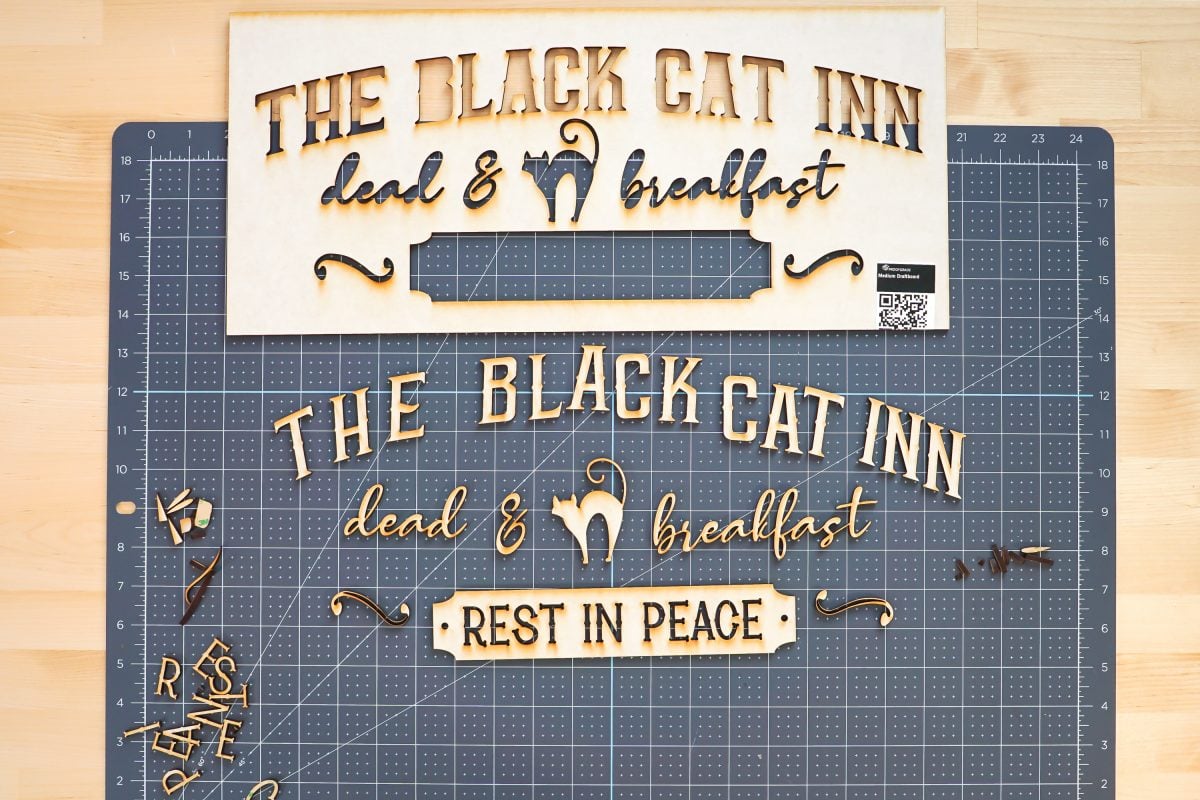
Remove the masking from the front of all of your pieces. No need to remove it from the stencil piece.
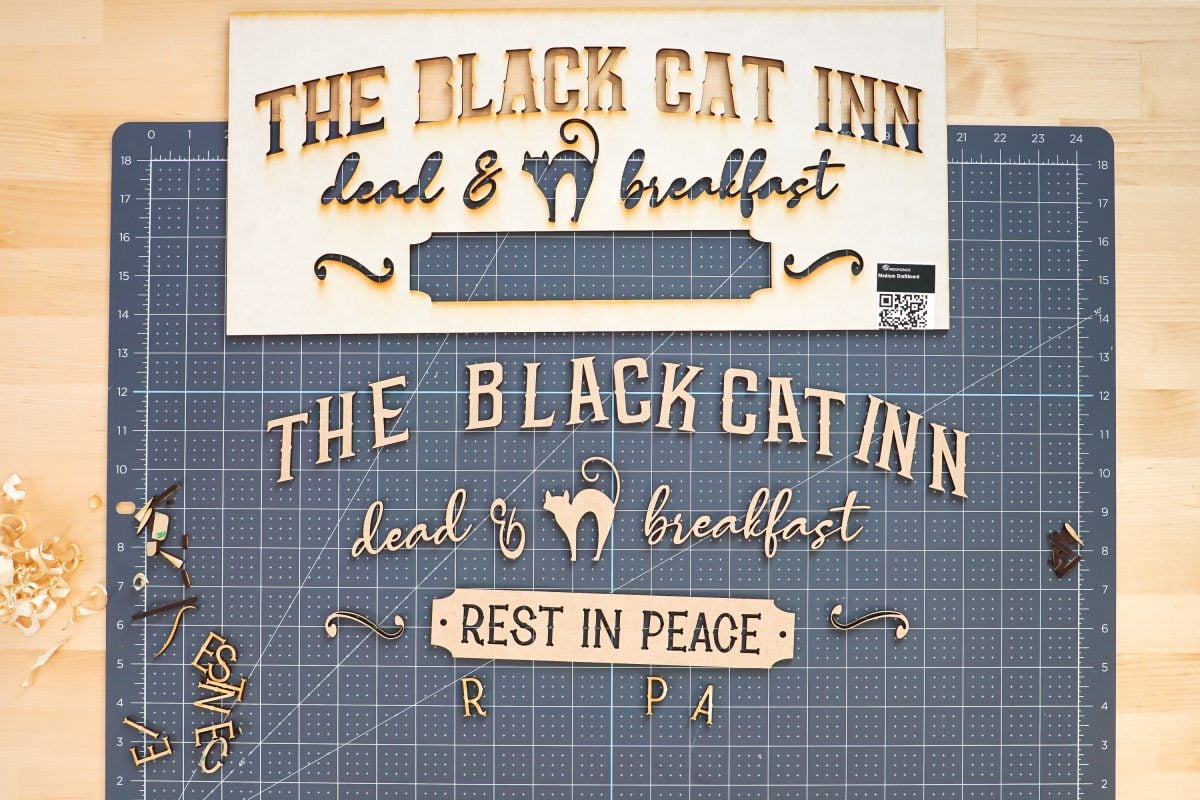
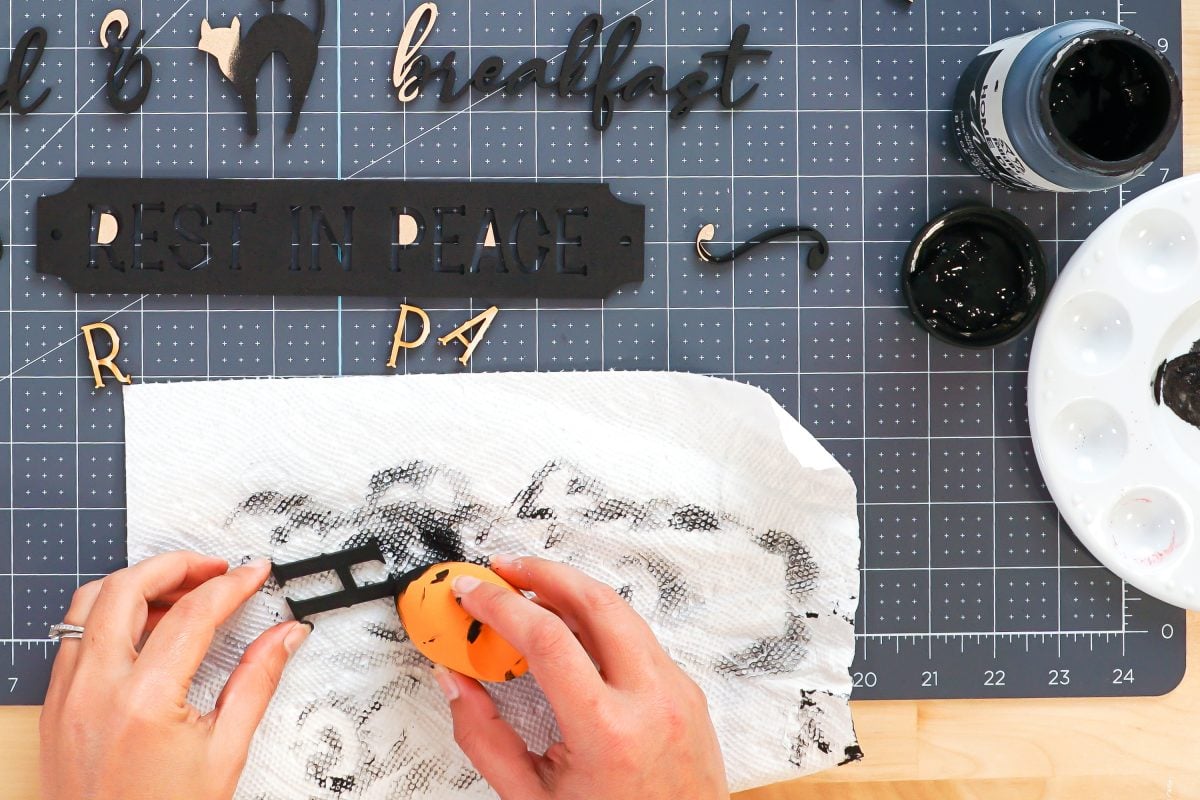
Then paint all of your images black. I prefer using a makeup sponge which doesn’t create streaks like a paint brush.
Then place your big “stencil” piece inside the frame. Do NOT remove the 3M adhesive backing—you don’t want this big piece to stick in your frame.
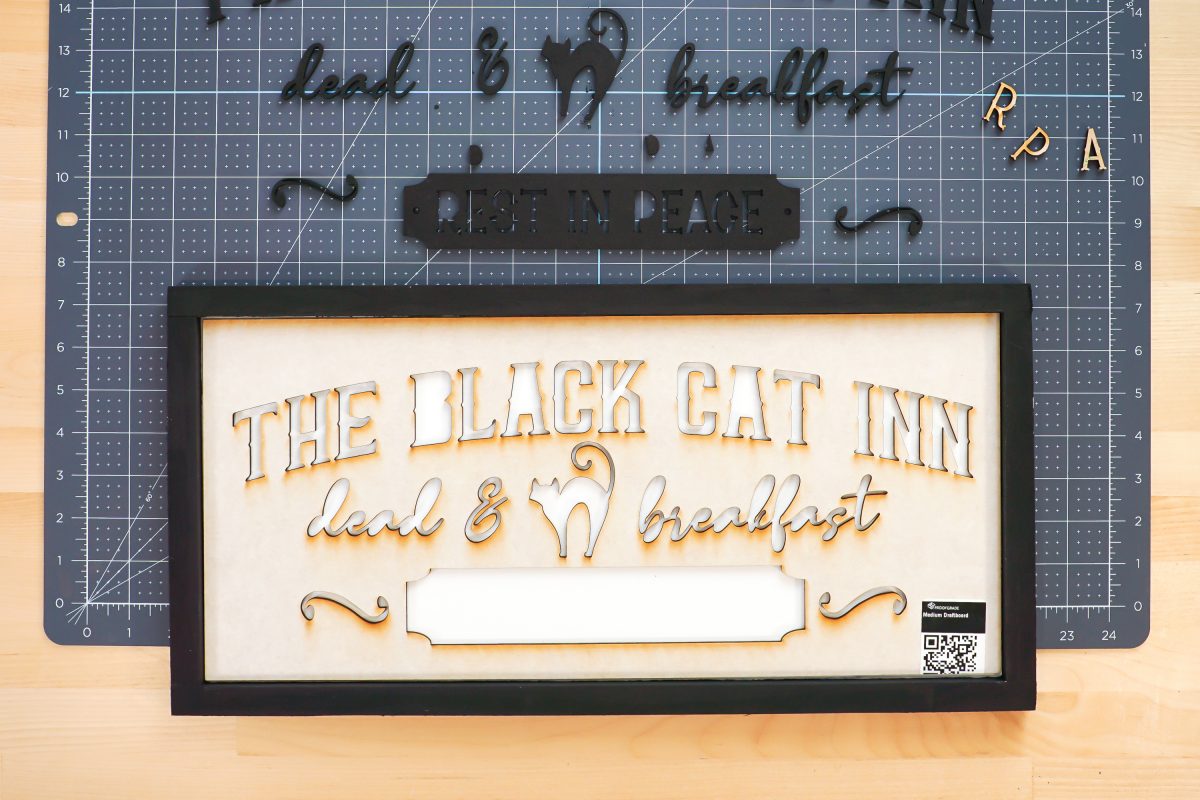
Now you can easily place your painted pieces inside the frame! Peel off the 3M back from each piece:
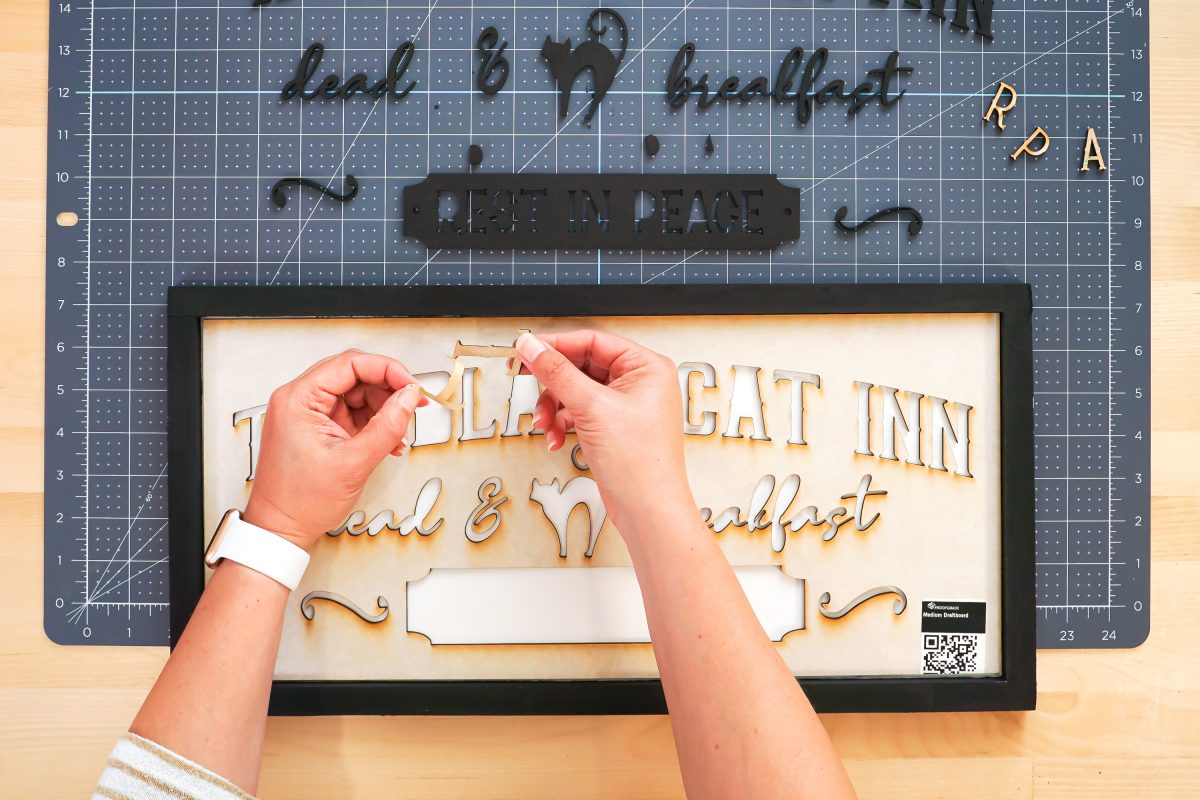
Then flip it over and press it into the stencil. The adhesive on the back will stick to the backing board of your frame.
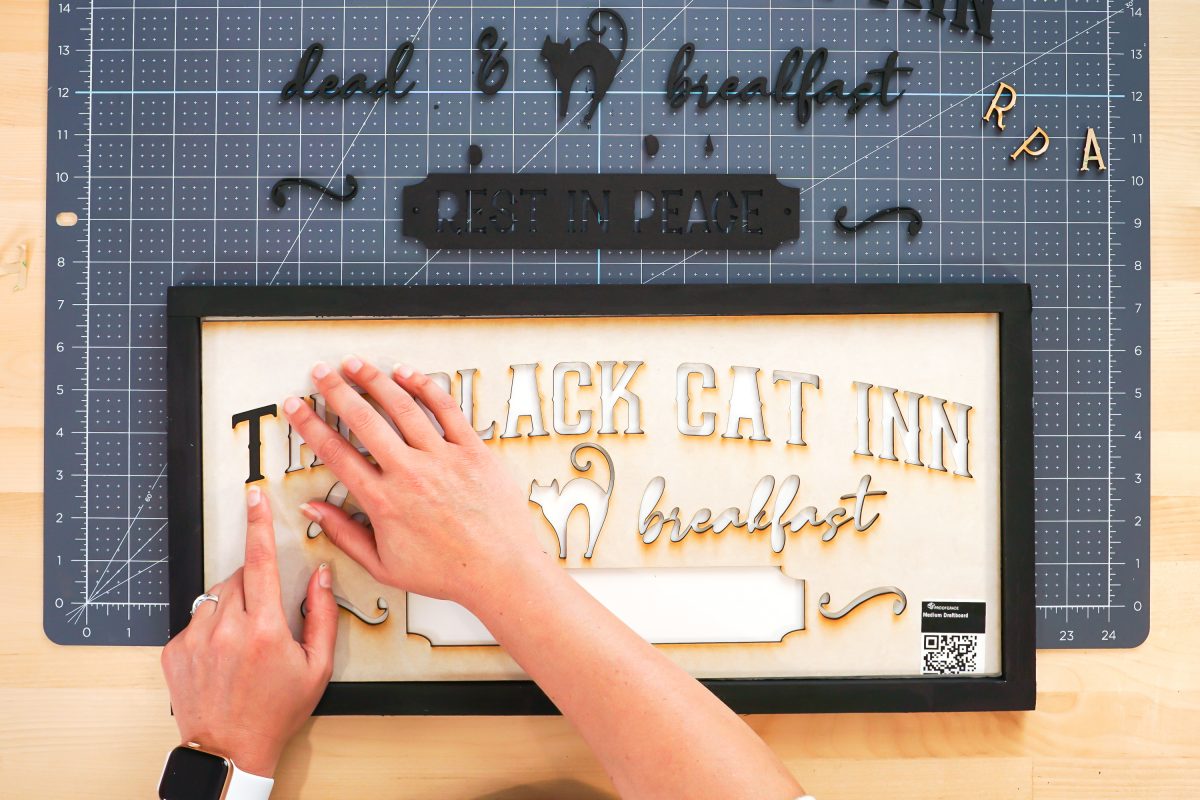
When you need to press in the centers of the letters in the Rest In Peace piece, use the R, P, and A as an additional stencil pieces for perfect placement.
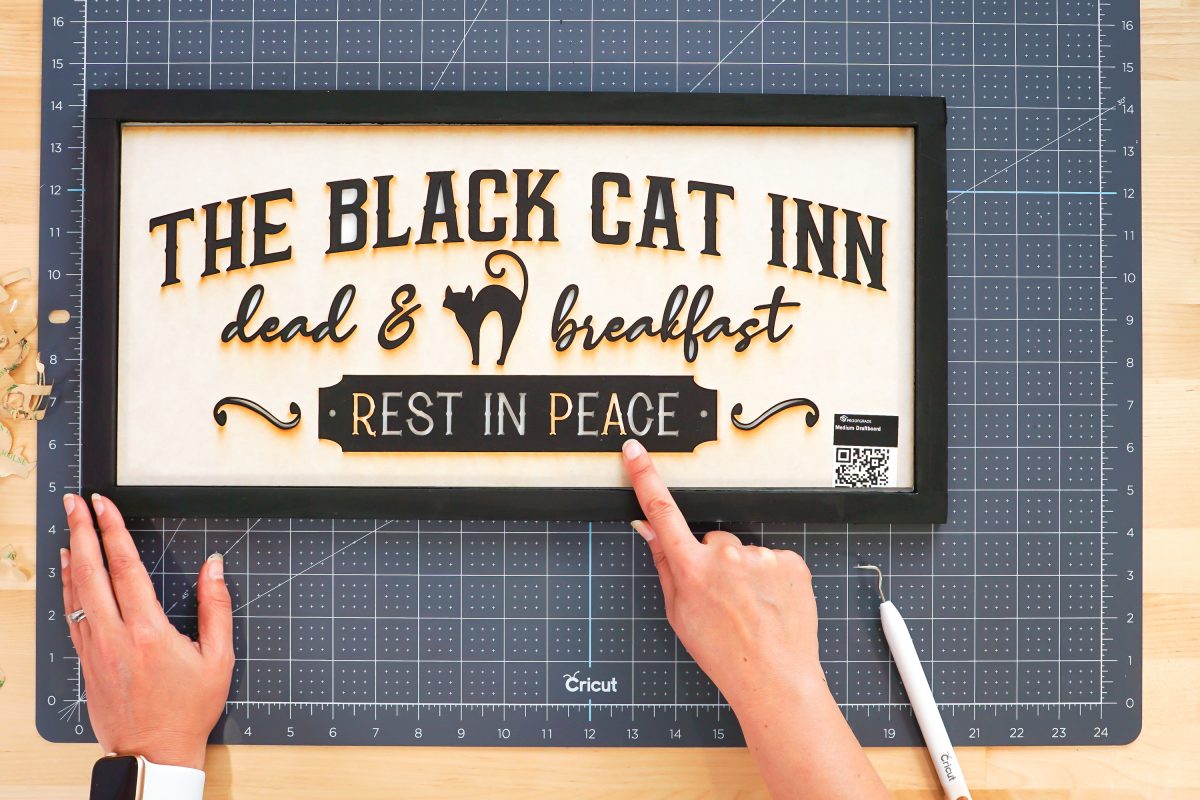
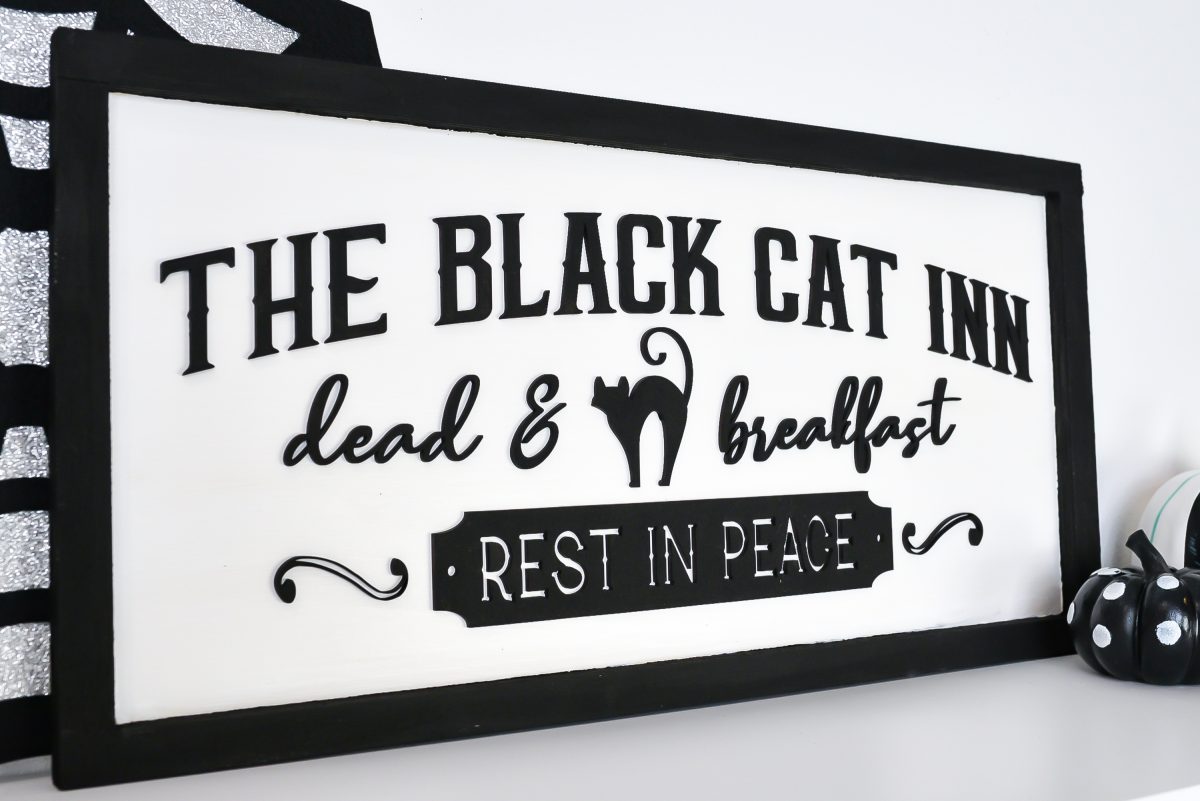
Finally, carefully flip the whole thing over. The big stencil piece and the R, P, and A should fall off (since they didn’t have adhesive on the back) and your spooky vintage Halloween sign is done!


Comments & Reviews
Michele Koczenasz says
Please send me the Cat stencil I couldn’t locate the email link request for it.
I truly enjoy all your fun crafts like this one. There are a lot of ads to close out before I can print instructions me me to read step by step. Lol
Thank you for all your amazing help.
Crystal Summers says
Hi Michele,
The set of four vintage stencils is available in the shop. Here’s the link: https://store.heyletsmakestuff.com/products/vintage-halloween-sign-bundle-glowforge-laser
Hope this helps!
Happy crafting!
Crystal. HLMS Community Manager