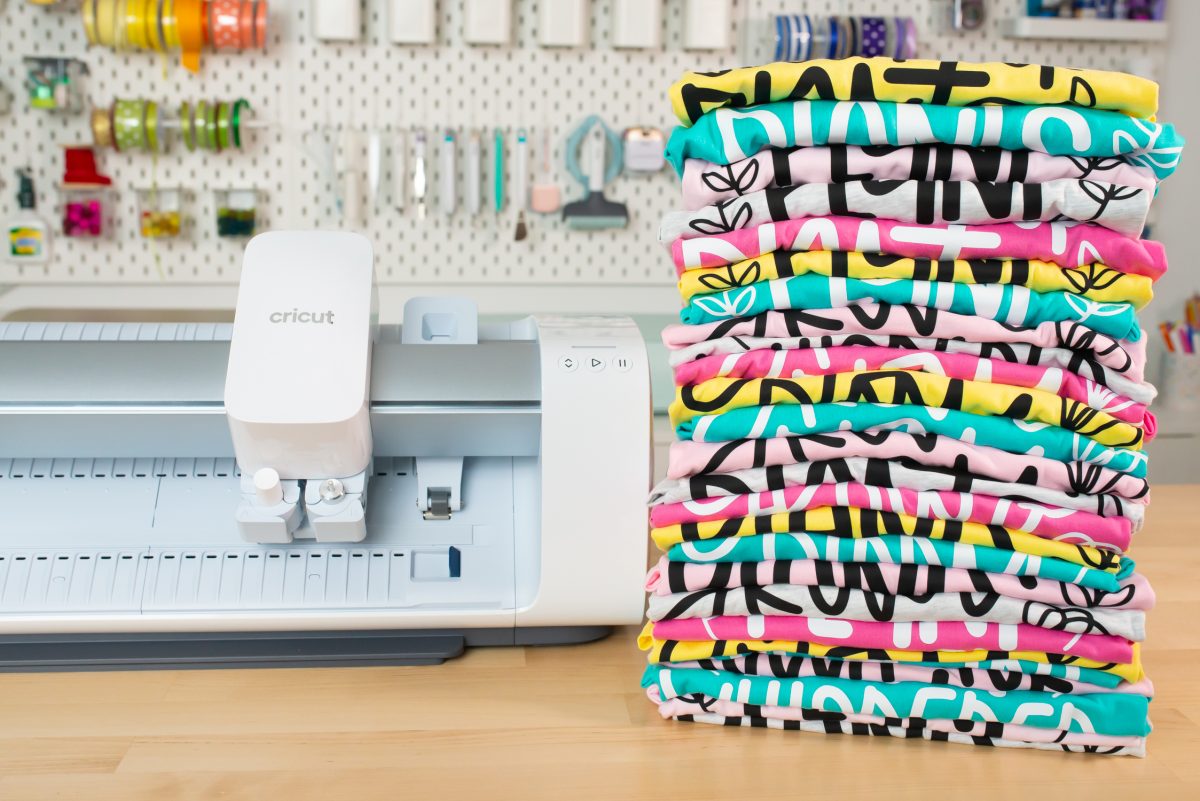
If you need to make a lot of one type of project, whether for your small business or just personal use, you’ll want to batch your crafting. Here’s my method for batching crafts using Cricut Venture, but these tips apply to any type of small craft business!
This post is sponsored by Cricut, but all opinions are my own.
As a crafter, sometimes you may need to make a lot of one thing over and over. Whether that’s products for your small business or a bunch of t-shirts for a family reunion, there are times when you may be overwhelmed by all that goes into making a bunch of the same craft. I don’t exactly have all the time in the world over here, so in the past few years I’ve learned batching crafts is the way to go—I can get things done more quickly, more easily, and with fewer mistakes.
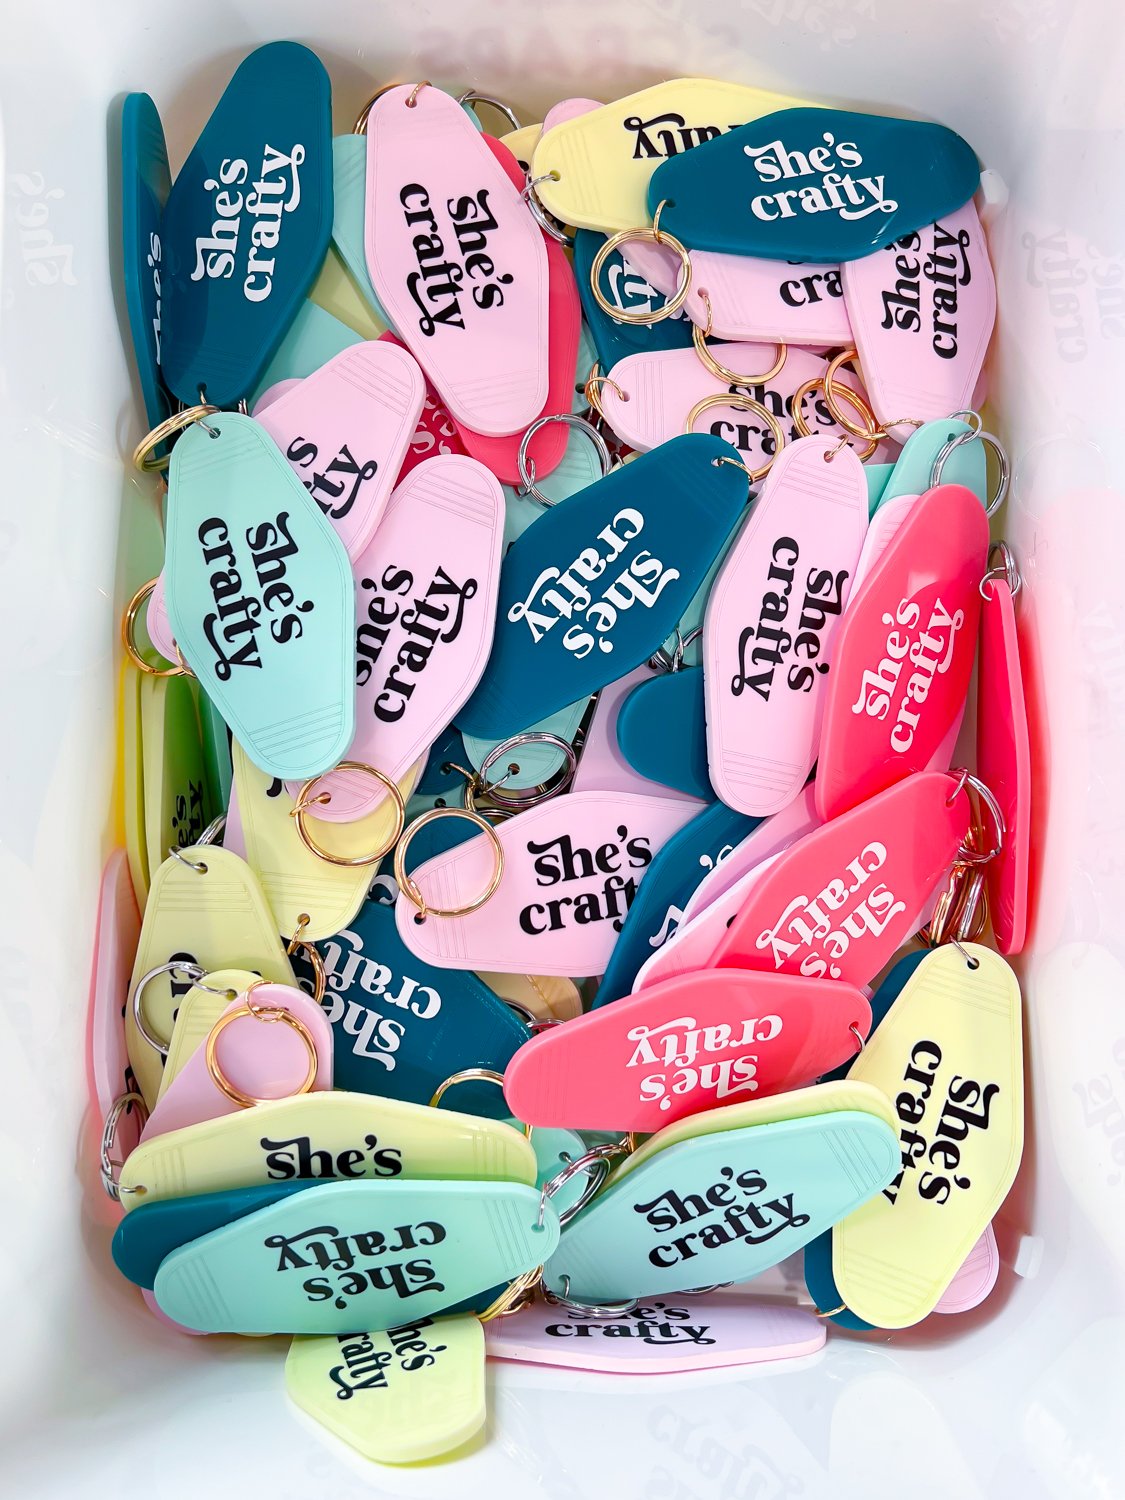
Today I’m talking Cricut crafts with certain equipment that I love, but these tips and tricks can apply to just about any crafting project that needs to be made in bulk, whether you’re making tumblers, hoodies, jewelry, hats, keychains, or something else!
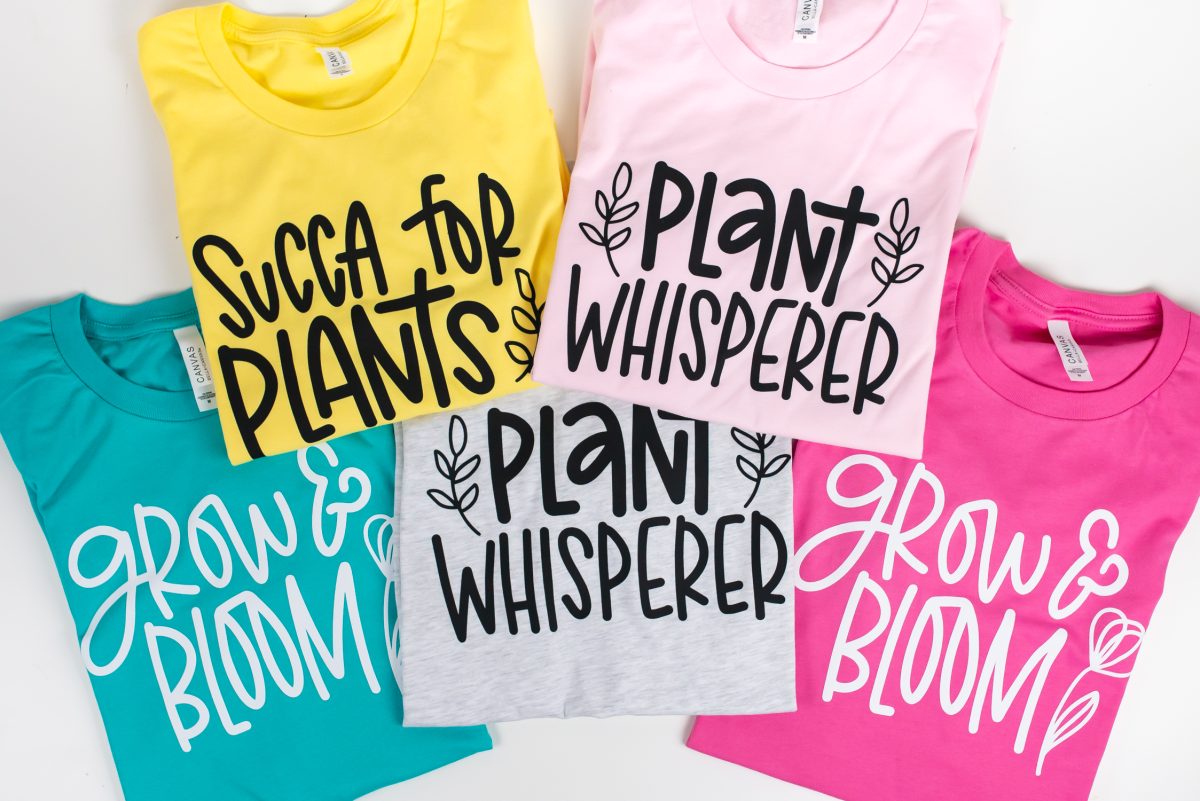
Next month, our neighborhood is having a big party to celebrate the 50th anniversary of the founding of our little lake community. There’s going to be food and bounce houses for the kids and a craft fair! My mom makes and sells purses (yes I have crafty genes!) and so I thought I’d join her at her table with some Cricut crafts, including some fun plant-themed shirts. I swear everyone around here has a green thumb, so I think these shirts will sell well.
In this post, I’m going to share all of my best tips for batching crafts, but I’ll also share time management and organizational tips that should help you work more efficiently and easily. I’d also love to hear your best time and project batching tips in the comments!
Visit my Amazon shopping list for some of my favorite tools for batching crafts!
What is Batching?
Before we get into all my tips and tricks, let’s talk about batching. Batching is basically grouping tasks together and doing each task all at once, instead of individually. So in the case of my t-shirts, I could cut a decal for a shirt, weed it, and adhere it to a shirt. Then repeat 25 times, making each shirt individually.
Or I could cut all of my decals, weed them all at once, and adhere each of them one after the other. Or even better, I can be pressing some of my shirts while weeding the decals for others to take advantage of the time the shirts are in the press. Batching my project in this way means I am saving a ton of time, energy, and even materials.
How to Batch Crafts
1. Have the Right Equipment
To start, it’s easiest to create projects in bulk if you have the right equipment. The correct equipment can make or break your batching—it can slow you down considerably or it can make your life a whole lot easier.
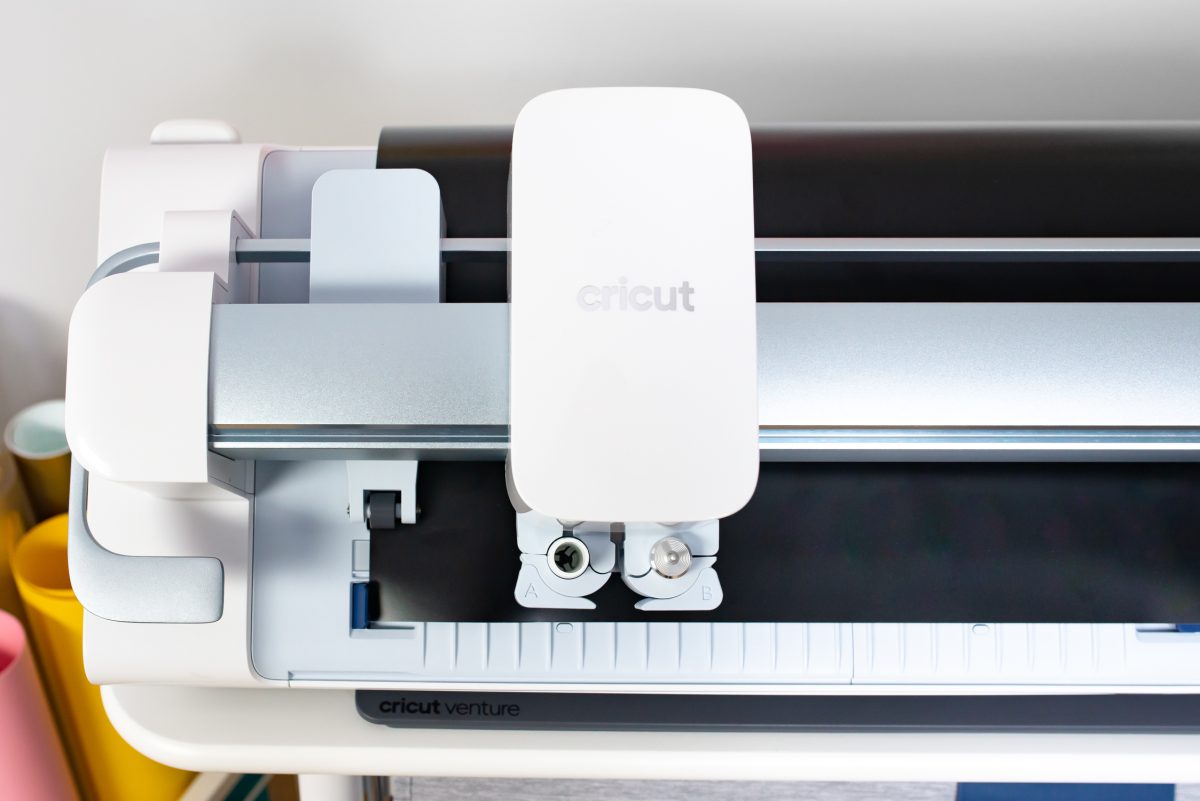
For this project, I used my new Cricut Venture and my Cricut AutoPress. I wrote a long post called The Ultimate Guide to Cricut Venture, which talks all about this new machine.
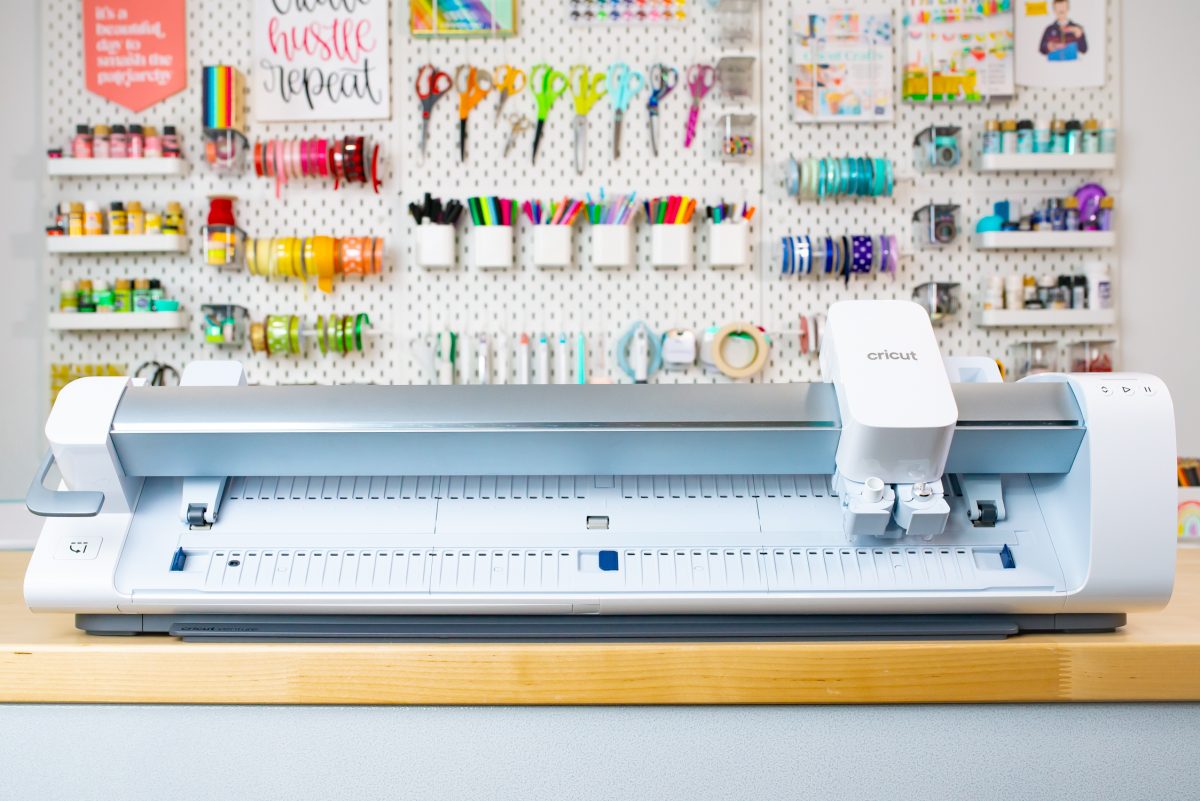
While there were many things that impressed me with Cricut Venture, the speed was absolutely number one. It’s almost frantically fast. It took me 20.5 minutes to cut my plant-themed 25 decals. I did a few speed tests comparing my machines and if I extrapolate my numbers, I get the following times:
- 49 seconds per decal using Cricut Venture and matless Cricut Smart Iron On
- 78 seconds per decal using Cricut Maker 3 and matless Cricut Smart Iron On
- 126 seconds per decal using Cricut Maker and Cricut Smart Iron On on a mat (this time does not account for preparing and swapping out mats with materials, so it’s actually considerably longer)
If I add up those times for 25 shirts, I get these cutting times:
- Cricut Venture: 20.5 minutes
- Cricut Maker 3: 32.5 minutes
- Cricut Maker: 52.5 minutes (again, considerably longer with mats)
So overall, I am really happy with the speed and efficiency of Cricut Venture compared to my other Cricut machines, especially for bulk projects! If you’re currently running multiple Cricut machines, you can basically cut all in one go using Venture. If you’re looking to speed up your Cricut crafting, I definitely recommend it.
Additionally, I used my Cricut AutoPress. You can see my full post The Ultimate Guide to Cricut AutoPress to learn more about it.
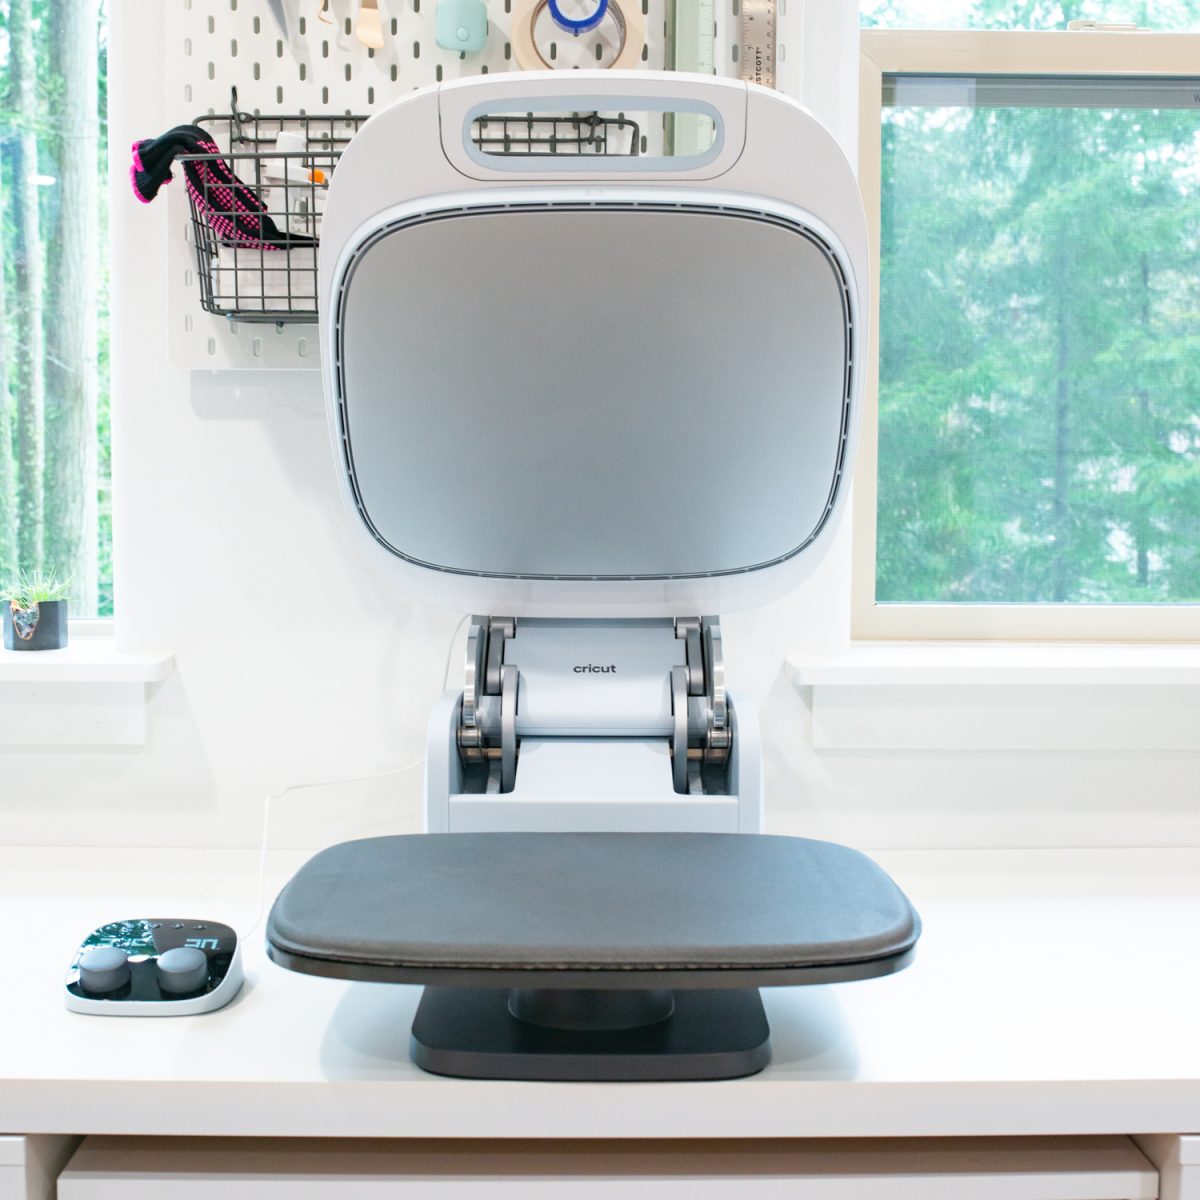
My favorite feature of the AutoPress while batching crafts is the fact it auto-opens after it’s done pressing. Which means I could press my garment and spend the 30 seconds while it was in the press weeding more decals or removing the carrier sheet from shirts I already pressed. I didn’t have to worry about opening the press manually when the countdown ended.
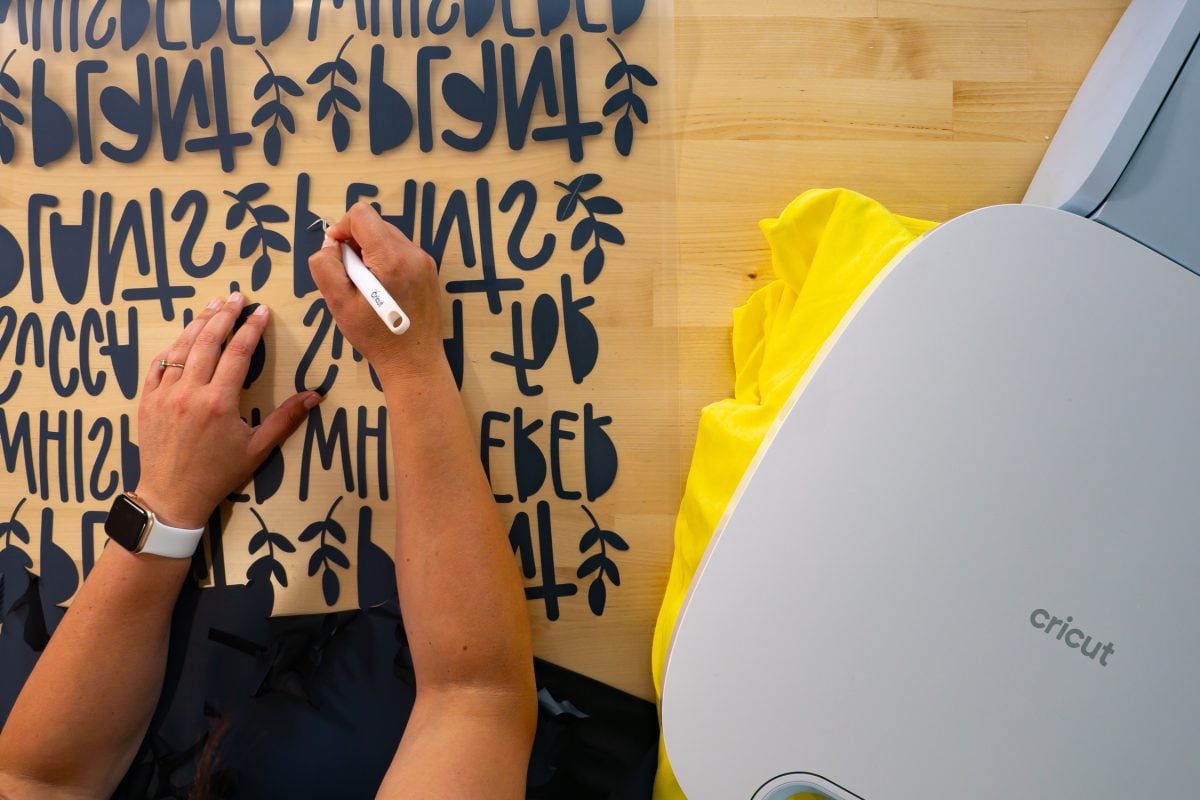
I also like how the AutoPress doesn’t take any effort to close, meaning I didn’t have to exert a lot of energy closing the press 25 times. The press made it really easy to get into a rhythm, which is vital when it comes to batching.
These are just my preferences! You can, of course, use what equipment you have depending on your craft and your needs, space, and budget. I could do this same set of t-shirts using my Cricut Explore and my EasyPress, it would just take a lot longer!
2. Choose the Right Materials and Supplies
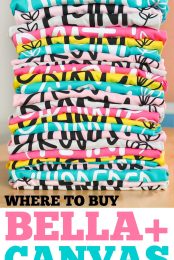
Of course the right materials and supplies will depend on your specific project. For this project, I’m using Cricut Smart Iron-On and a bunch of colorful BELLA+CANVAS tees.
The Smart Iron-On works well with my Cricut Venture, so that was an easy choice. All of the decals were cut in two large cuts—one black and one white. This made cutting and weeding so much easier, and I didn’t have to prepare a bunch of mats, saving me time and money.
And the tees were also an easy choice. BELLA+CANVAS is my go-to garment supplier because they have an absolutely enormous selection of colors (up to 300 in certain silhouettes!), styles, and sizes (up to 5XL). Their garments are ethically made, both when it comes to their eco-friendly dyes and recycling program, as well as the way they treat their employees. I am always confident I’ll get soft garments that fit well and are ethically made when I shop BELLA+CANVAS!

Did you know you can buy BELLA+CANVAS garments at wholesale pricing without a reseller license? Get a BELLA+CANVAS Maker’s Account! This account allows you access to the wholesale side of their business without the need for any permits or licenses. Even better? It’s free! Learn more in my post Buying Wholesale Blanks without a Resale License!
3. Organize Your Work Area
Once you have the right equipment and all of your materials and supplies, you want to organize your work area. You’ll want a good amount of space to work—I find that being crammed into a small space makes me less efficient. Of course, your space is what it is, but make sure to clear off all your surfaces, and make sure you have a clear footpath to move around your space. I always have light stands and tripods everywhere for filming and photography, but I put it all away while working on this projects so I wouldn’t trip and fall. Also move cords or tape them to the floor so there are no tripping hazards.
If you find that you have issues being on your feet, you may want to set up your workspace with an ergonomic chair or stool so that you can take some of the pressure off your feet. I will often put on comfortable running shoes when I know I’m going to be on my feet for a while.
In my case, I found that I needed:
- My Cricut Venture on the Cricut Venture Docking Stand (read about the Docking Stand here)
- A table for preparing the shirts for pressing and cooling shirts that had already been pressed
- A table for weeding and pressing
Because of the size the shirts, I would’ve found it it difficult to finish my project on a single table. I could’ve done it, but I probably would’ve had to split up my batching into two sessions: weeding, and then prepping the shirts, pressing, and cooling.
4. Remove Distractions
I’m a big proponent of removing distractions whenever you’re working, no matter what you’re working. I have a little affirmation/mantra that I repeat to myself “I ignore distractions in order to focus.” This has been something I repeat over and over to myself and it reminds me to stop scrolling or turn off my messaging so I can focus on the task at hand. I find myself navigating over to Instagram and I think “NO! I ignore distractions in order to focus” and it makes it easier to close the app.
Here are a few more ways to remove distractions and focus better:
- Put your phone in another room or turn it on silent. I’ve turned off notifications on my phone entirely (except for a handful of emergency contacts), which has helped a lot.
- Set a specific time to check your social media and email and ignore your phone or other device until then.
- Turn on your focus music. For me, I like this focus music, but if you like Taylor Swift or Beyonce, have at it!
- Wear headphones with noise cancellation, especially if there are ambient noises that are distracting. Our neighbor has been doing a lot of home construction and the headphones help me ignore the sound of saws and hammers.
- If you have kids or other responsibilities, try to set aside a time when they are not home or when your partner or a babysitter can watch your kids.
- Tell your husband to stop using the impact drill in the garage while you’re working (ha! This one only applies to me but he was nice enough to stop working on his car while I was finishing this project!).
Once you remove as many distractions as possible, you’ll find your batching goes a lot more smoothly because you’re not constantly being interrupted and you can focus.
5. Keep it Simple
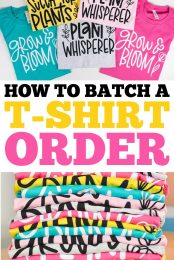
When you’re planning out your projects and products, think about complexity. To start, I had the more complex image on the bottom I wanted to use, but I decided it was way too intricate so I went with the Plant Whisperer image on top. Imagine cutting weeding all of those little pieces inside the plants and letters! I realized the amount of cut time and weeding would’ve been greatly increased if I’d used the more complex image.
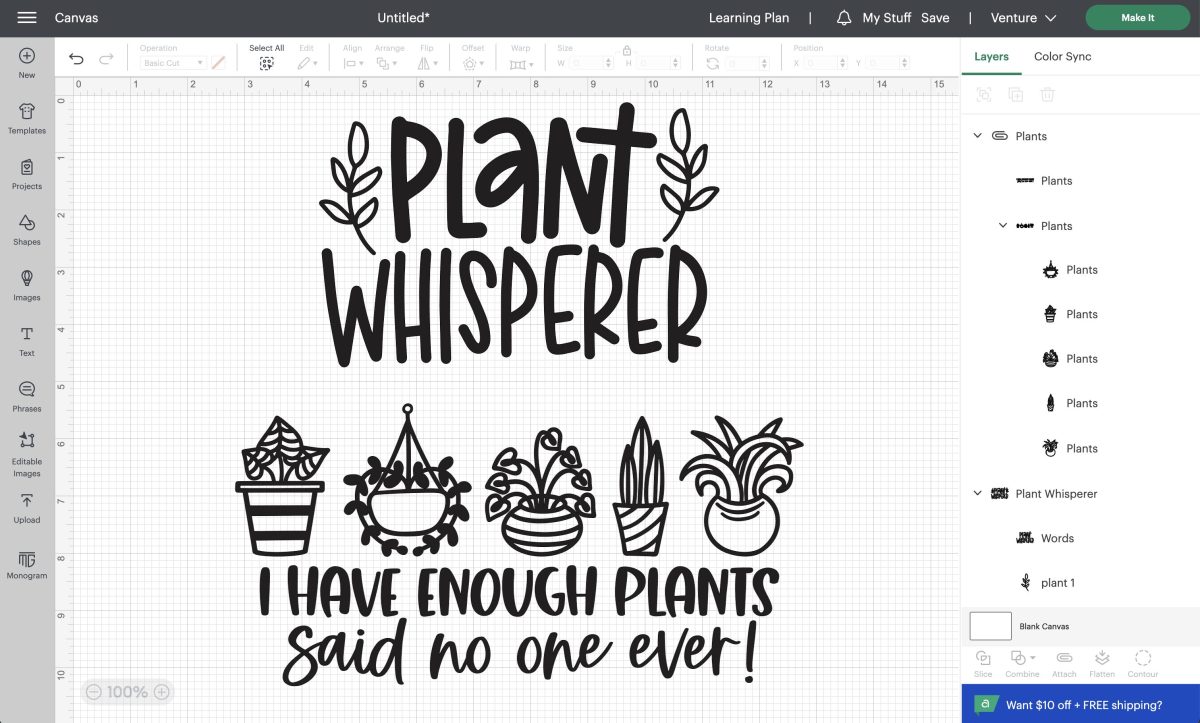
So if when you’re planning out your projects, think about the complexity. Don’t make things harder on yourself by choosing something that is going to take a lot more work when an easier project will do. Even if it’s not a Cricut project—think about the number of seams or beads or prints or whatever. When batching crafts, you want to make things as simple as you can to craft your project.
In the end, I used the following Cricut Design Space images:
- Plant Whisperer (#M497143D3)
- I’m a Succa for Plants (#M497166A0)
- Grow & Bloom (#M497132E6)
6. Make a Plan
Before you actually start crafting, it’s time to make a plan. This will vary depending on whatever you’re making, but I often go back to using a simple spreadsheet.
In this case I had 25 shirts in 5 colors and three sizes, and I had three different images and two colors of vinyl. So there were a lot of combinations! I used a spreadsheet to map out which decals went on which shirts so I would know how many of each size decal to cut in each color.
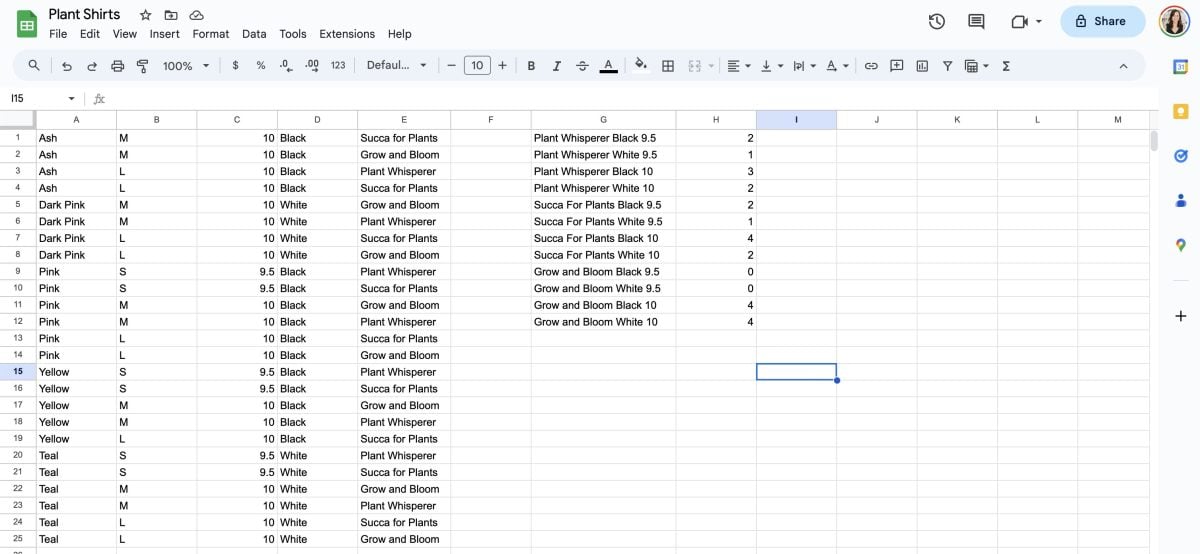
Then I headed to Cricut Design Space and resized my decals to match my spreadsheet. I was actually pretty impressed with how well Design Space handled all of these files. In the past I think it would’ve been glitchy and slow, but with the recent Cricut Venture updates, I created all these files without an issue.
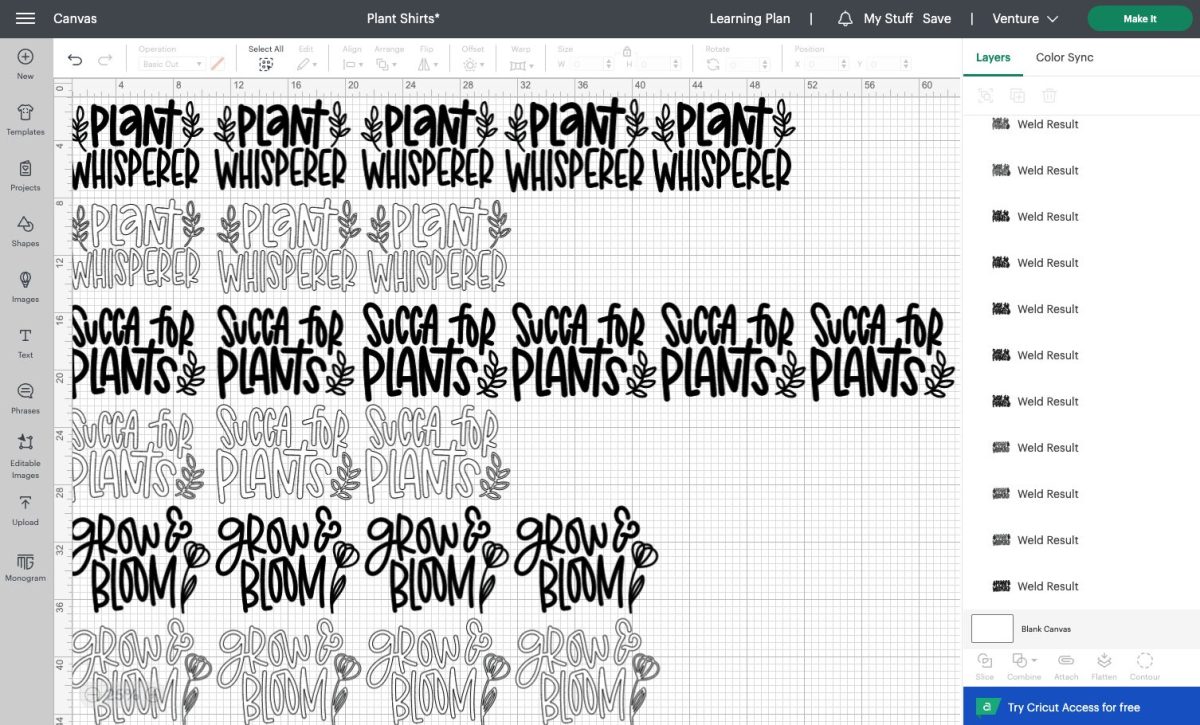
You can use this simple spreadsheet method for planning just about any craft—how many sheets of Infusible Ink you’ll need for your mugs or different types of hats and their coordinating decals, etc. Having the spreadsheet to refer to as I was crafting really helped!
7. Get Batching!
Okay, now you’re ready to go! I cut out all of my decals with my Cricut Venture in two cuts—black Smart Iron On and white Smart Iron On.
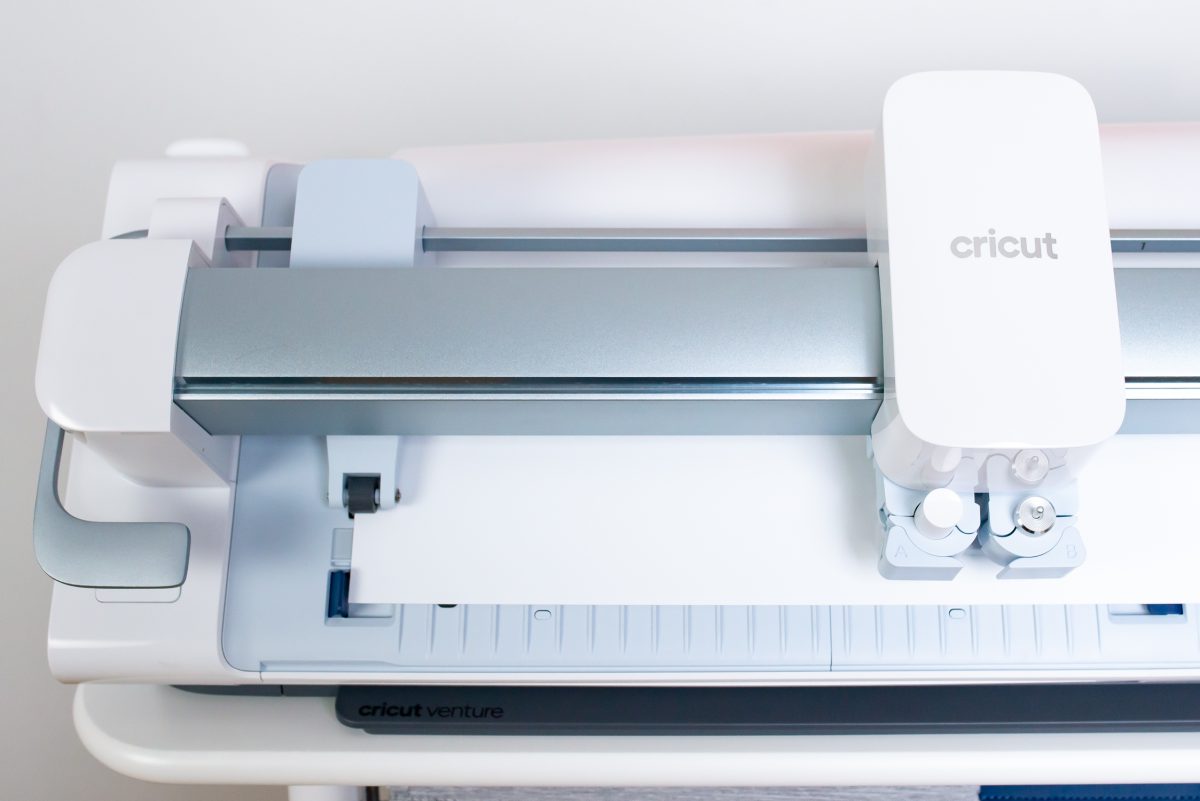
While it was cutting, I preheated my AutoPress, printed my spreadsheet to use as a reference, and organized my shirts by color and size.
If possible, I highly suggest batching crafts with a friend or employee. I know it’s not always possible, but I find projects go so much more quickly if you can divide up the tasks. So I invited my mom over for some “mother-daughter bonding time” and we worked on the shirts together. You could also enlist your partner, a friend, or a child old enough to help (my boys love weeding, for example!). Of course, if you’re running a business, you may want to hire someone to help, especially on big jobs. Having a partner makes batching faster and easier. Plus it’s often more fun!
Then it’s time to find your rhythm. Once the black Iron On had finished cutting, I started weeding while the white cut. I weeded the entire sheet at a single time and as I finished full decals, we cut them off so my mom could figure out on which shirt that decal in that size and color belonged, using the spreadsheet. She also doubled checked each decal was weeded properly so we didn’t miss the inside of any letters.
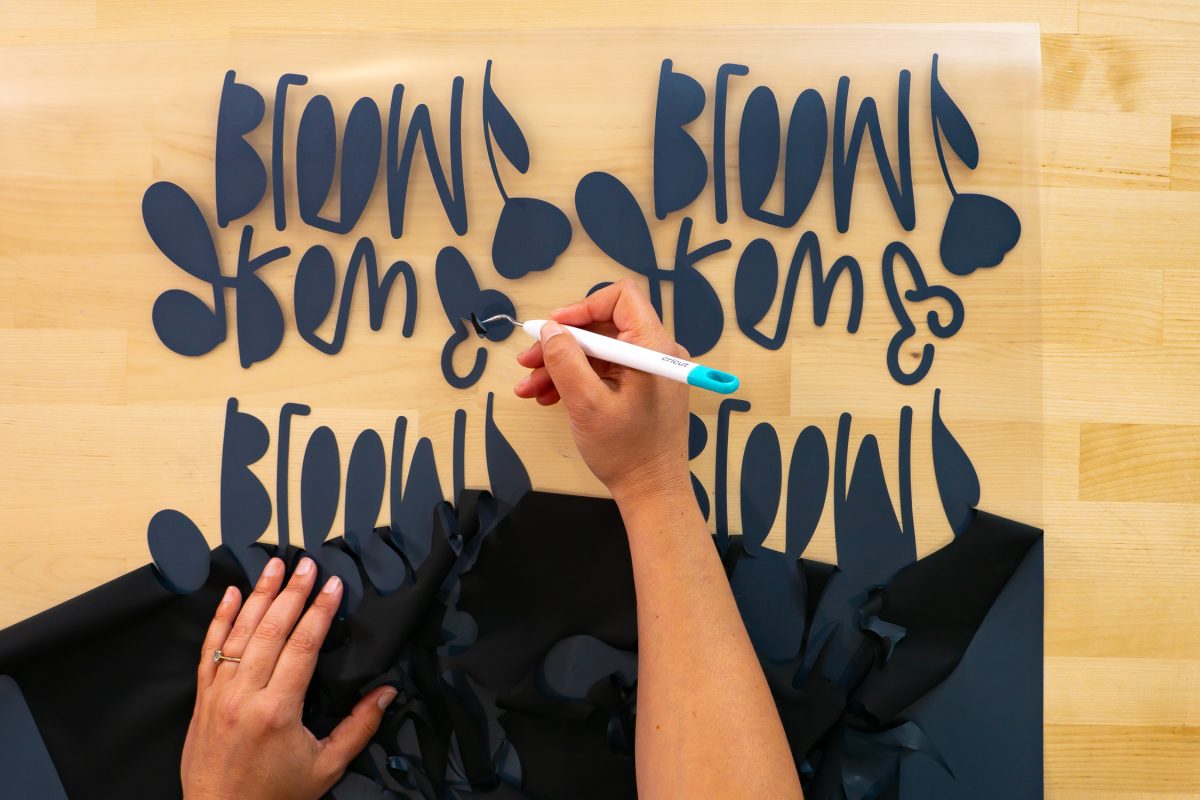
After she’d match up the shirt with the decal, she’d set them next to my AutoPress. I’d pre-heat each shirt for five seconds, and then add the decal and press.
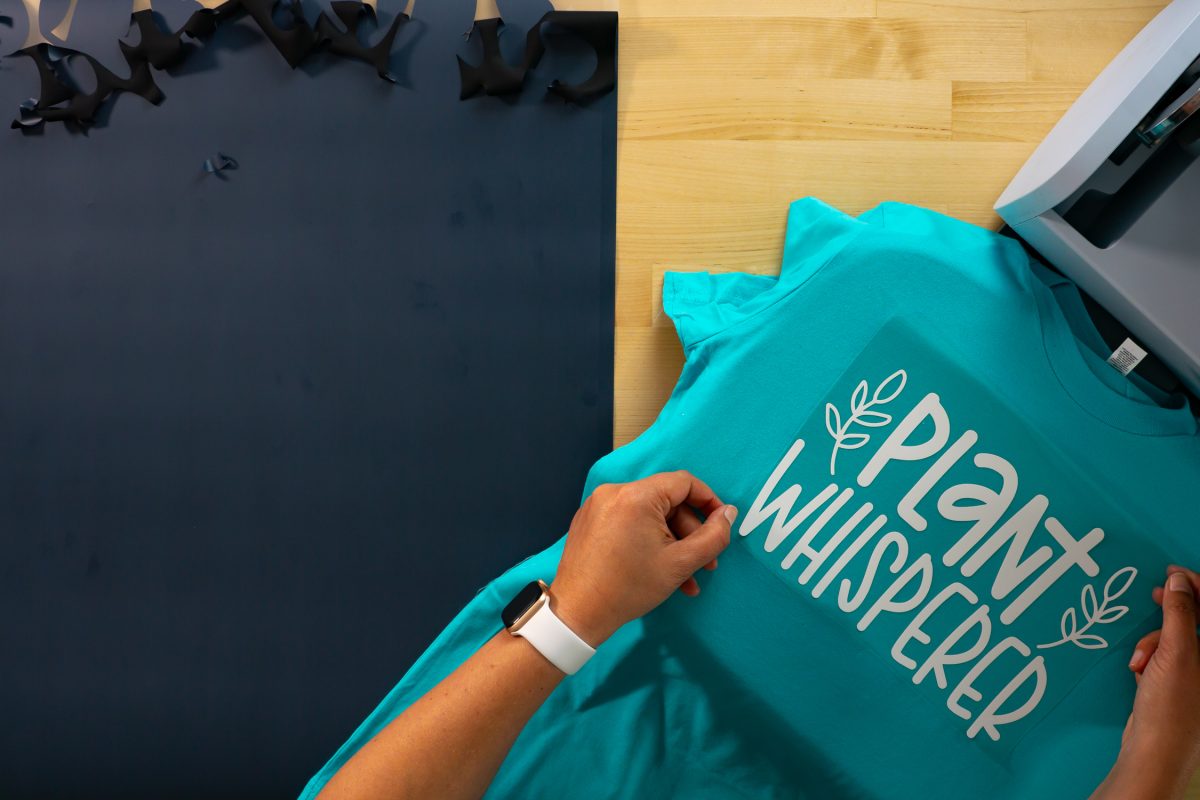
While it pressed, I kept weeding more of the decals.
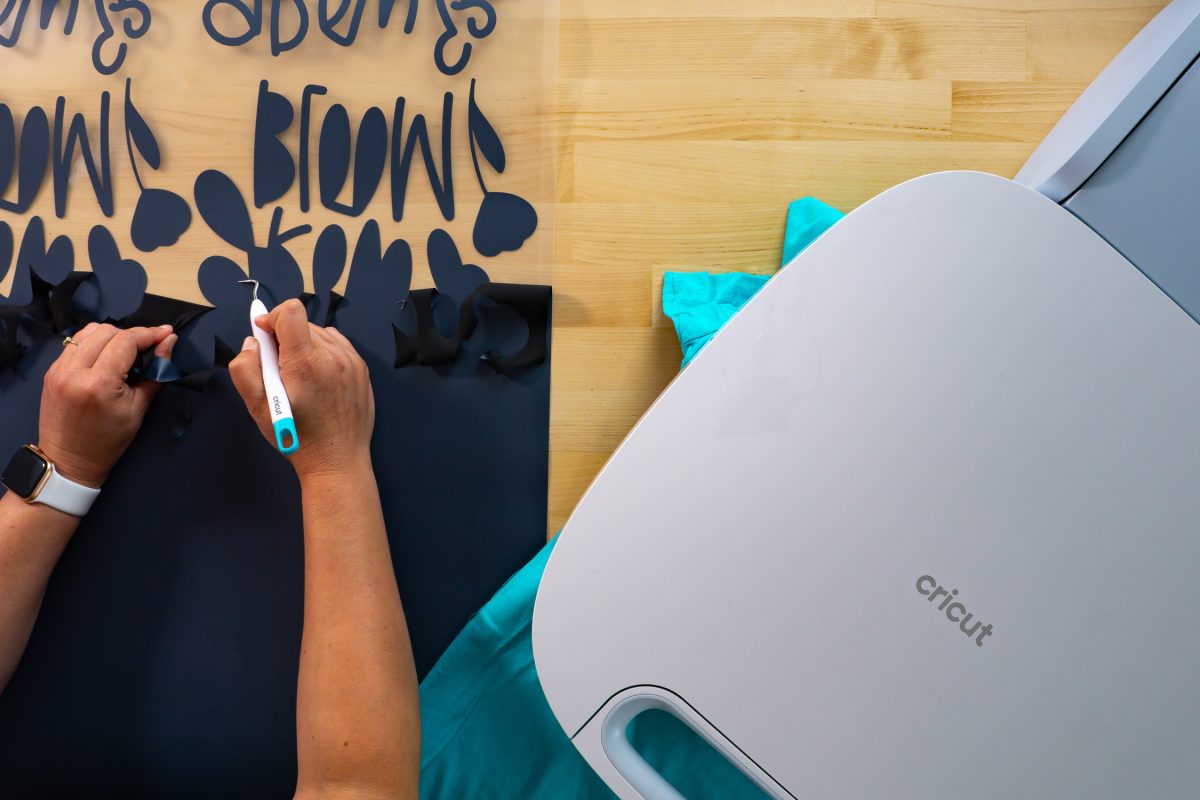
Then when the AutoPress popped open automatically, my mom would take the shirt out and place it on the other table to cool for a bit, before removing the carrier sheet and folding the shirt and setting it aside.
(Side note: We made 25 shirts and had absolutely zero issues with the iron on, which I thought was really amazing. Every decal adhered perfectly and the carrier sheet peeled back cleanly. I’ve struggled with some iron on recently and I am beginning to think it’s the age of my materials! Did you know that iron on can expire? It won’t stick as well after a certain amount of time. So if you’re struggling, you may want to look at the age of your iron on or check out my post Tips to Get Iron On to Stick Better and Last Longer.)
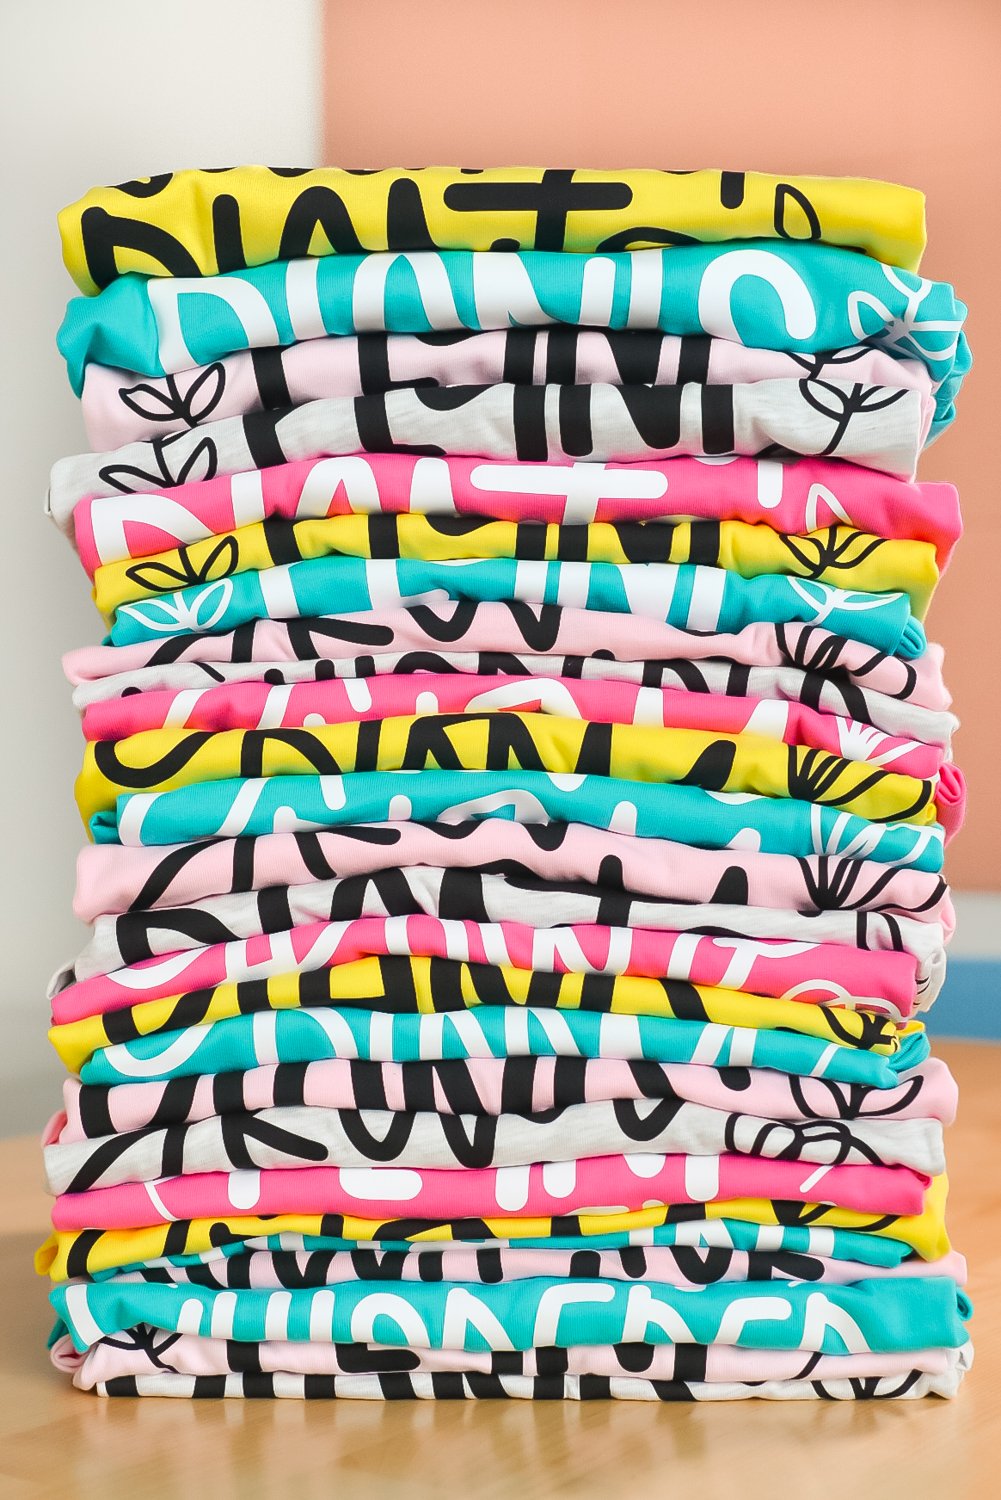
It didn’t take us long to get into a good rhythm for these shirts. The weeding was the slowest part, but we mostly kept up with the cycle of weed > match decal to shirt > pre-press > press > cool > peel > fold. By the end, we had every decal on the correct shirt! From start to finish, we were done in under 2.5 hours, which we thought was pretty fast since we don’t often make big batches like this.
8. Debrief and Tidy Up
As I tidy up my space after a big project like this, I like to think over some questions:
- What worked really well?
- What didn’t work well and how can I make it work better in the future?
- Did I learn anything new that will be helpful moving forward?
- Do I need to add any tools or equipment in the future to make things easier?
I don’t have a formal debriefing process, I just like to think about making it even easier next time. In this case, I thought things went really well but I would’ve probably just made the decals all 10 inches wide. I’m not sure the 1/2″ difference was worth the time it took to resize in Cricut Design Space and match against the spreadsheet. Taking away that one variable would’ve probably saved me at least 20 minutes of planning and execution time.
So those are my tips for batching crafts! Of course, every craft is different so your process will not look like mine. But if you’re a Cricut crafter and you’re looking to make your products or projects faster and easier, Cricut Venture and the Cricut AutoPress are definitely game changers!



Comments & Reviews
TWANA says
STARTING MY OWN BUSINESS SO THIS IS ALLA NEW TO ME
Ginger Nelson says
Loved reading this post. Sounds like you saved as much time as possible on this batch. What are the color names of the shirts that you used from Bella + Canvas?