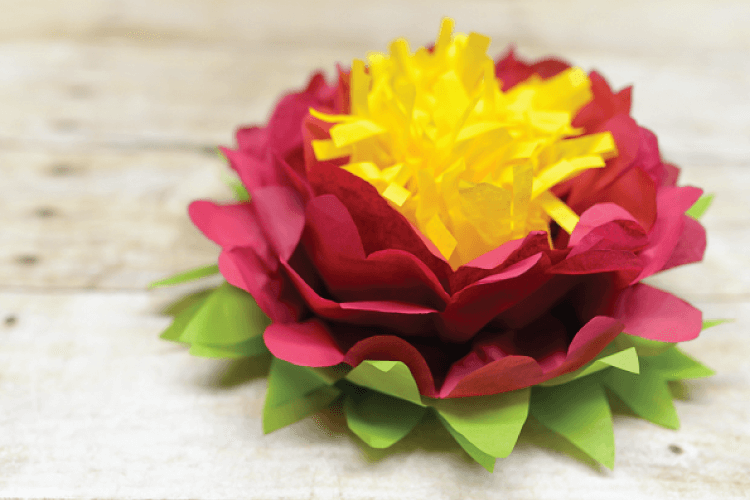
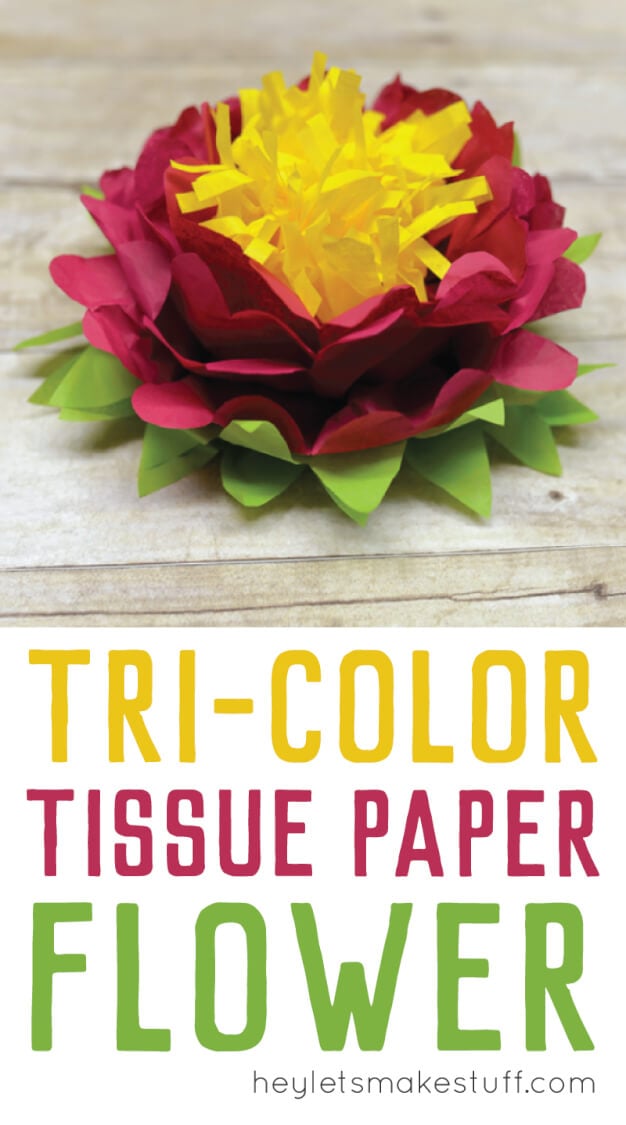
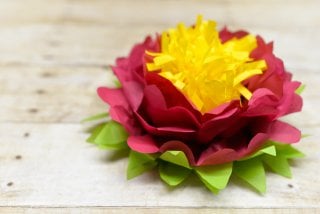
A three color tissue paper flower is easy to make and requires very few craft supplies! They are perfect for simple decorations for weddings, baby showers, bridal showers, and nurseries.
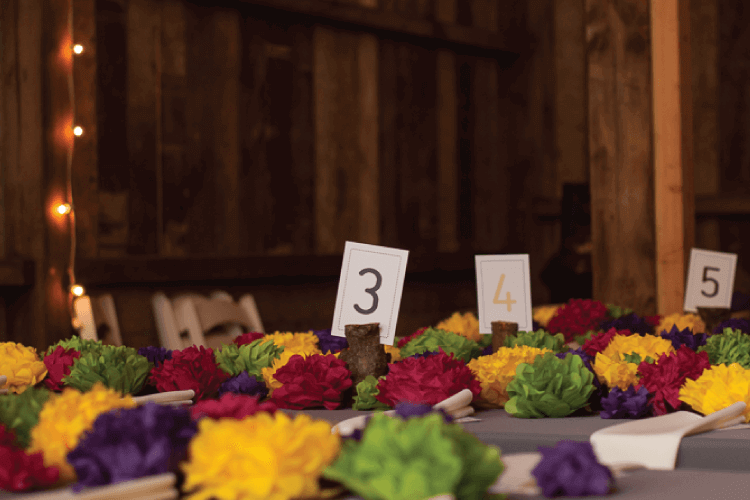
A while back, I wrote a post about making single-color tissue paper flowers. They are fun, easy, cheap, and really make a statement, like here at our wedding:
I have so much of that tissue paper left over, that I was mulling around the idea of making a flower that was a little fancier than the single-color flowers I’d made before. So here’s a tutorial on how to make tri-color tissue paper flowers!
Watch the Video
Here’s a quick video on how to make my original tissue paper flowers. The process is the same to make a three color tissue paper flower with a few modifications that you can read in the tutorial below!
Tissue Paper Flowers Supplies
Get everything you need to make tissue paper flowers in my Amazon Store!
Tissue Paper Flowers Instructions
The basic process for making these tissue paper flowers is the same as the single color. It just has a few more steps.
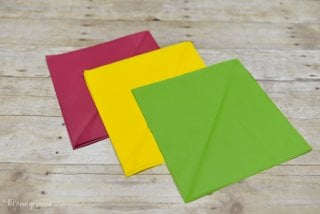
You’ll need three colors of paper, two sheets of each.
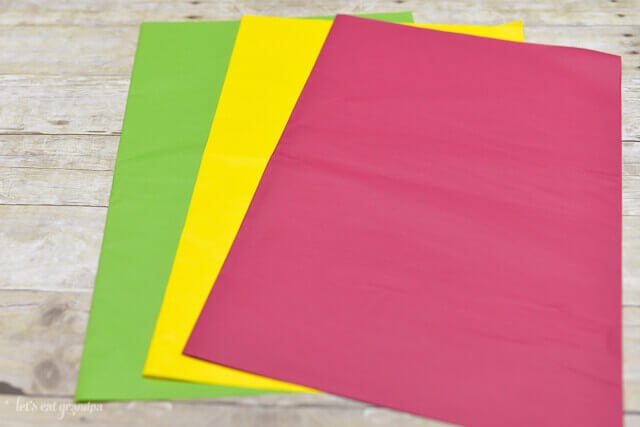
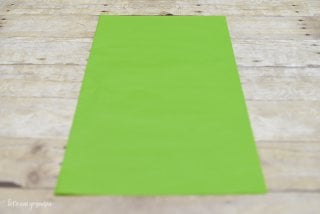
Start with your two sheets of tissue paper, folded in half. I bought mine in bulk so they don’t have creases, but if yours do it’s not a problem. You won’t be able to tell once the flower is fluffed.
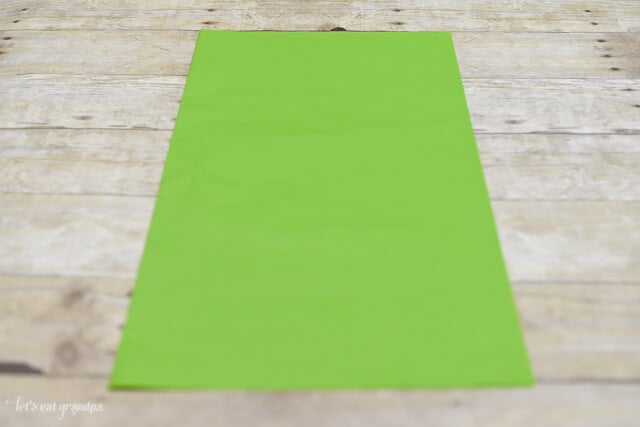
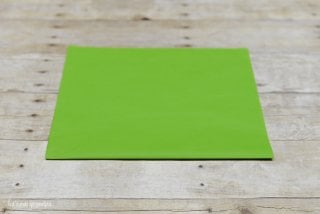
Fold the paper in half again.
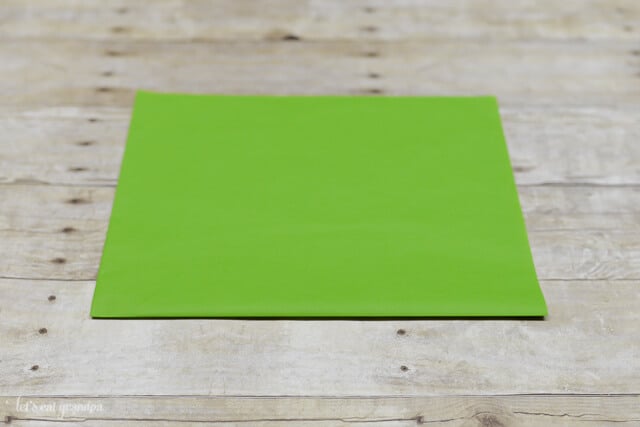
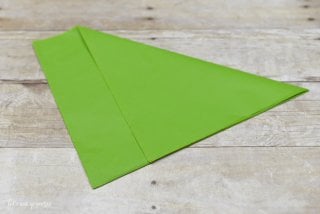
Find the corner of your rectangle that has all of the separate corners of paper (not one with a fold). Take that corner and bring it across to form a triangle.
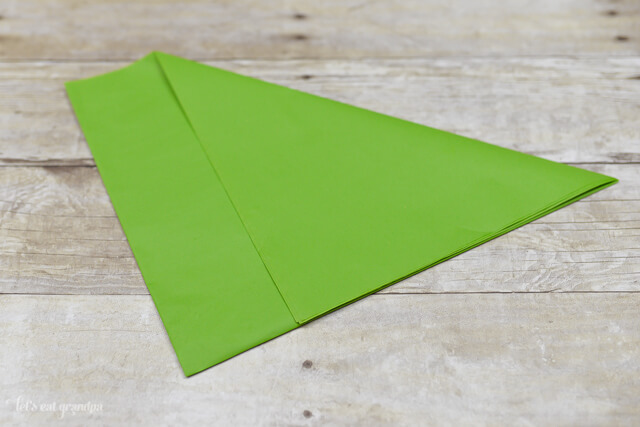
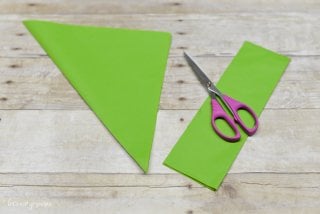
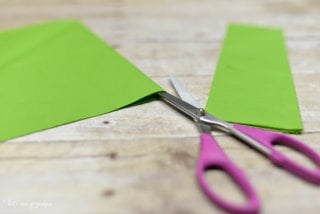
Trim off the excess paper to create a right triangle.
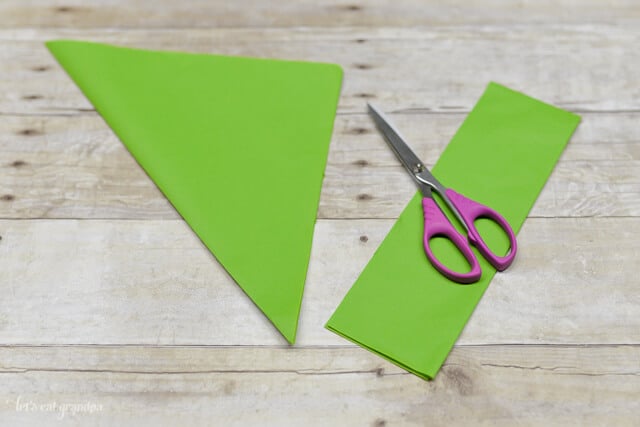
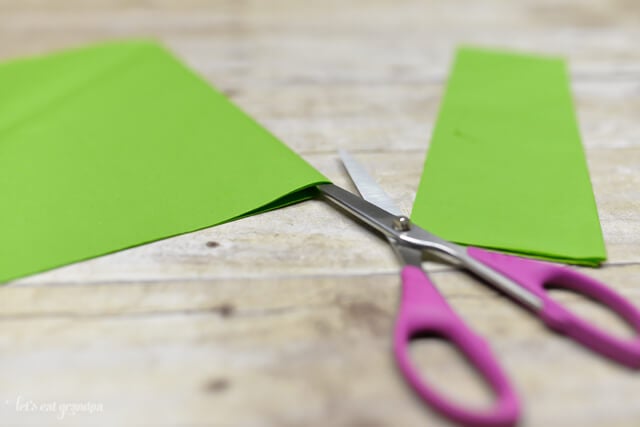
Find the edge with the fold and cut, so that all eight pieces of tissue paper are separate.
Do this to all three colors. You will have eight squares each of red, yellow, and green.
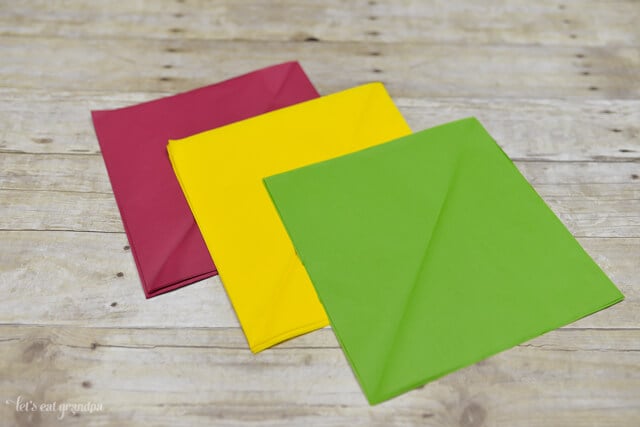
For my original tissue paper flower tutorial, I used all eight layers for each flower. For this flower, I used four sheets of red, two of yellow, and two of green. You can use the leftover sheets to make more flowers (you’ll need to cut another set of red to use up all of the yellow and green — it will make four flowers total).
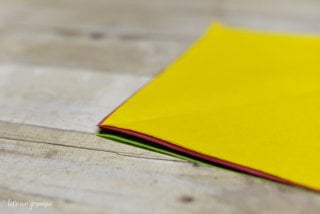
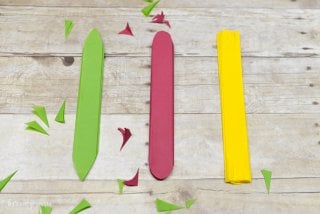
Stack the tissue paper in this order: two sheets of green on the bottom, four of red in the middle, and two of yellow on top.
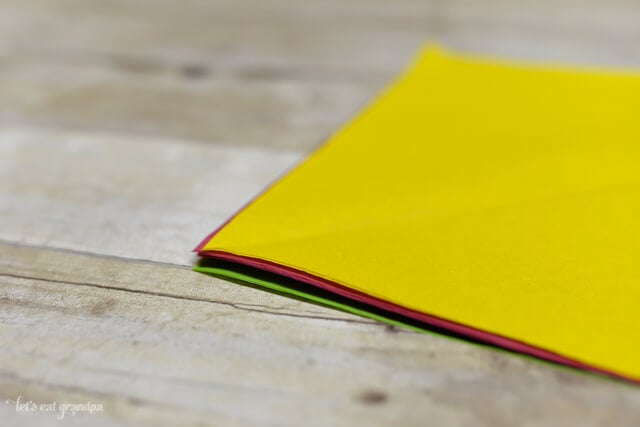
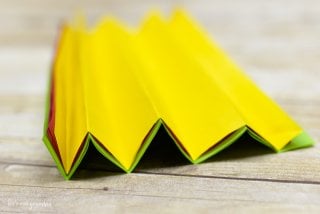
Fold the paper, accordion style. I usually get seven or so folds.
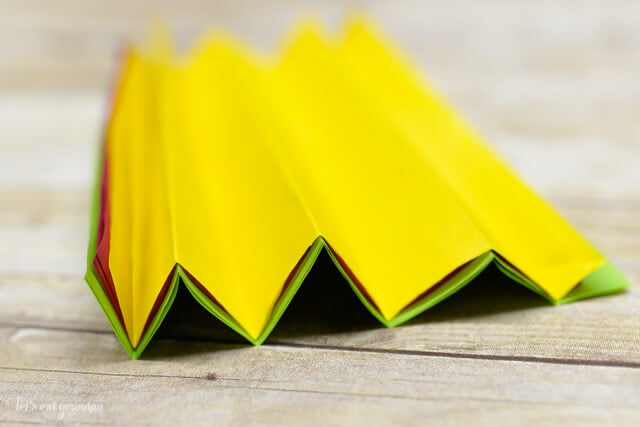
Separate the layers.
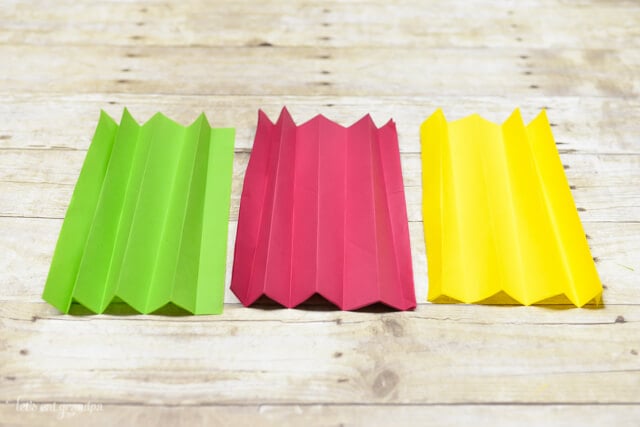
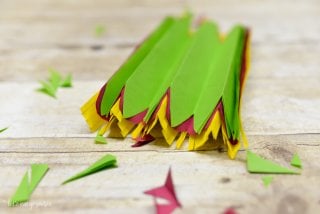
Re-accordion each layer, and cut the ends, creating different shapes. Cut triangles for the leaves, round for the petals, and fringe for the center.
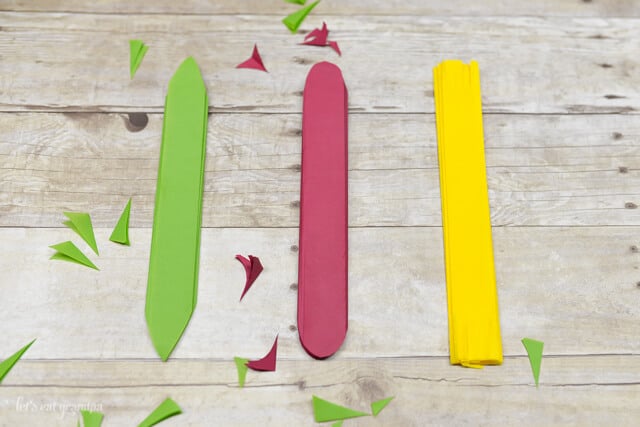
Open the layers back up and re-stack them in their original order.
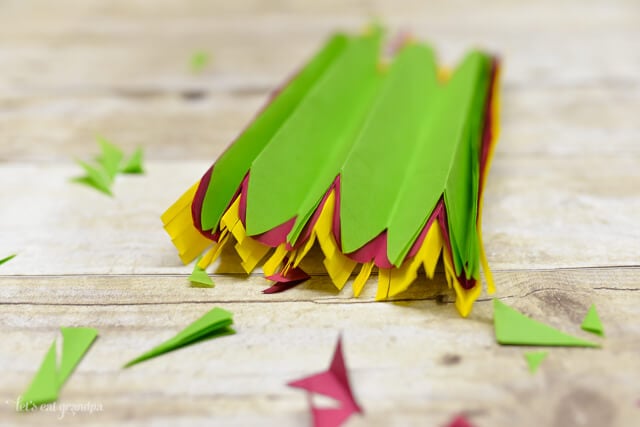
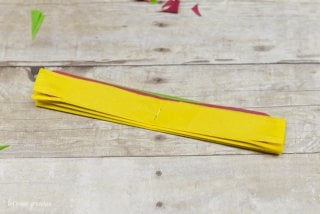
Pinch the accordion and staple in the middle.
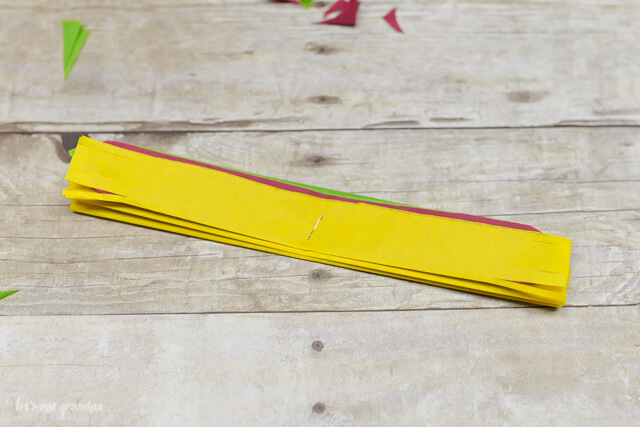
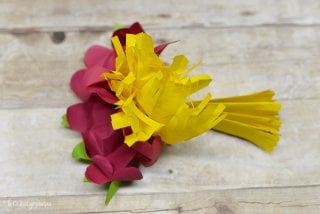
Fluff up the layers of the flower, starting with the yellow center. Be careful, because the tissue paper can rip easily. Grip the paper toward the inside of the flower, instead of the edges, to help minimize tearing.
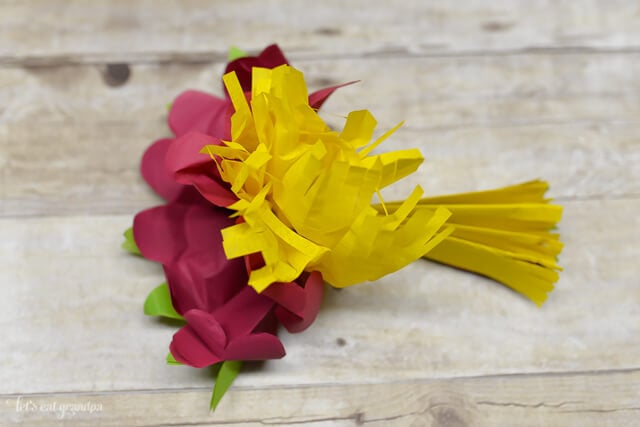
Repeat on the other side, and voila! You have a tri-color fancy-schmancy flower. I love how these look, but they do take a bit more time than my original single-color flowers.
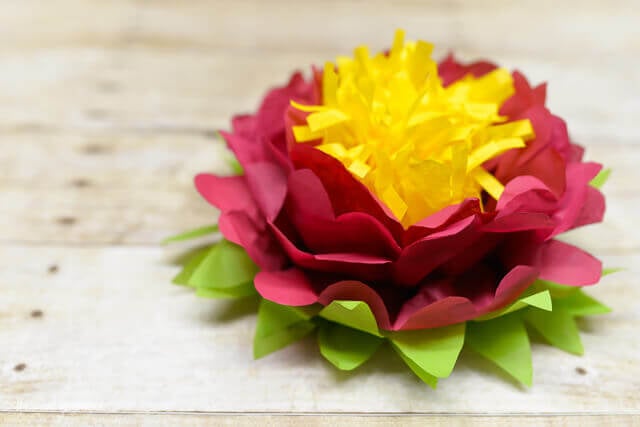
Not sure I would have made 500 of these for my wedding. Though it would have been gorgeous had I done it!
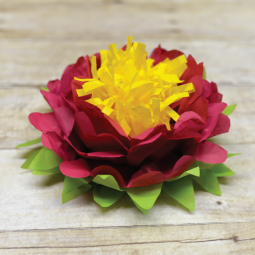
Three Color Tissue Paper Flower
Supplies
- 2 sheets tissue paper yellow
- 2 sheets tissue paper pink
- 2 sheets tissue paper green
Instructions
- Start with your two sheets of tissue paper in a single color, folded in half.

- Fold the paper in half again.

- Find the corner of your rectangle that has all of the separate corners of paper (not one with a fold). Take that corner and bring it across to form a triangle.

- Trim off the excess paper to create a right triangle.

- Find the edge with the fold and cut, so that all eight pieces of tissue paper are separate.

- Do this to all three colors. You will have eight squares each of red, yellow, and green.

- Stack the tissue paper in this order: two sheets of green on the bottom, four of red in the middle, and two of yellow on top.

- Fold the paper, accordion style. I usually get seven or so folds.

- Separate the layers.

- Re-accordion each layer, and cut the ends, creating different shapes. Cut triangles for the leaves, round for the petals, and fringe for the center.

- Open the layers back up and re-stack them in their original order.

- Pinch the accordion and staple in the middle.

- Fluff up the layers of the flower, starting with the yellow center.

- Repeat on the other side until your flower is completely fluffed.




Comments & Reviews
Jessica says
Any idea how i could make a stem for these?
Amy Motroni says
Hi Jessica,
You can try using pipe cleaner or chicken wire. Here’s a tutorial I found that made pretty stems for these!
https://www.mommalew.com/diy-tissue-paper-flowers/
Happy Crafting!
Amy, HLMS Reader Support