There are so many programs out there that you can use in your sublimation crafting. Here’s an overview of several sublimation software options, including pros and cons, so you can choose the best program for your needs, budget, and skill level.
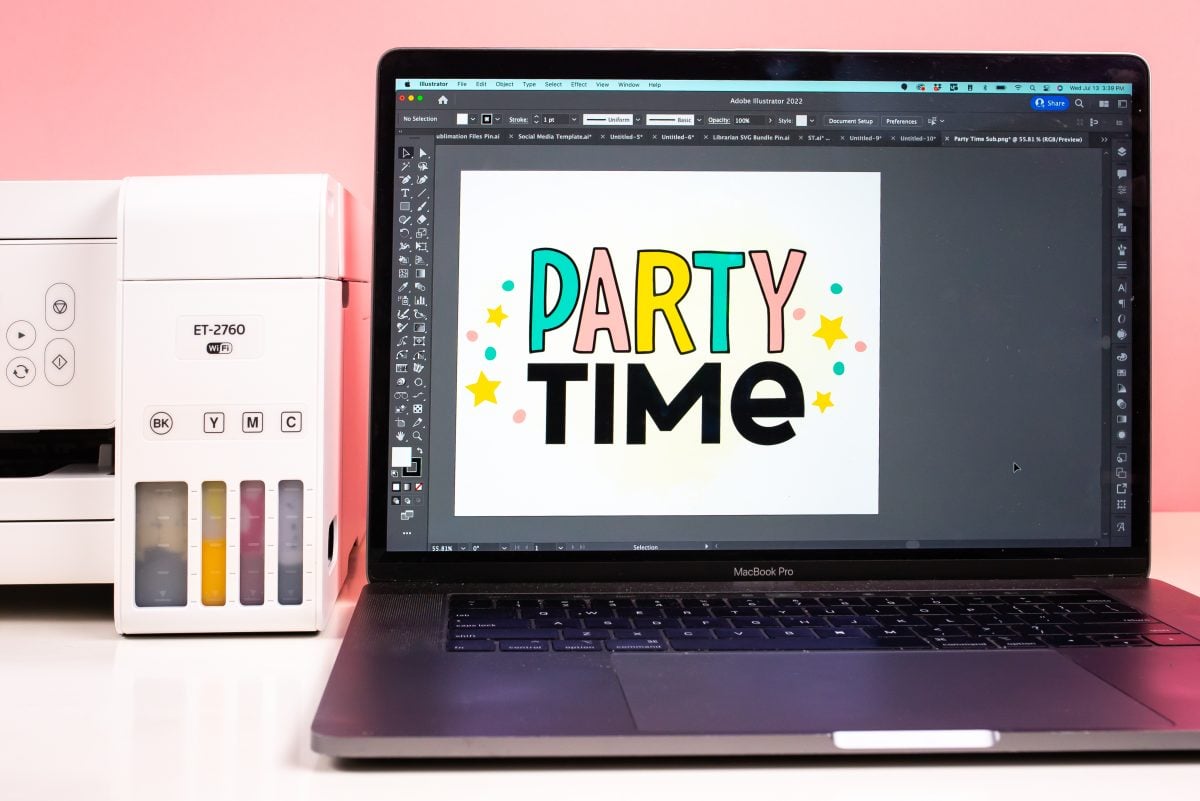
If you’re just starting out with sublimation crafting, choosing a software to use can be overwhelming. There’s no “best sublimation software” and there are pros and cons for all of the different options. Software is often one of the most intimidating parts of sublimation if you don’t have any sort of graphic design background.
Note: if you have a Sawgrass sublimation printer, you’ll most likely want to use the Sawgrass CreativeStudio that came with your printer.
In this post, I’m going to go over a dozen software options for sublimation printing so you can choose the best design software for YOUR personal needs, budget, and skill level. I’ll also talk about some tips for learning a new graphic design software, so you’re not wanting to launch your computer out the window.
I’m in the process of writing detailed tutorials for each of these programs (I have all of them). See the bottom of each software section for a link to the tutorials that are finished so far and be on the looking for new tutorials coming soon!
In This Post:
- A Note about Color Management
- Adobe Photoshop
- Silhouette Studio
- Corel Draw
- Adobe Illustrator
- Cricut Design Space
- Affinity Designer
- Canva
- Inkscape
- Gimp
- Microsoft Word
- Google Docs
- Procreate (iPad Only)
- Tips for Learning Graphic Design Software
A Note About Color Management
Most of these programs allow you more control over the color management of your file, which is important, particularly if you have converted a regular printer to be a sublimation printer. Because of the conversion, the printer doesn’t know how to create the image on the screen using the sublimation inks in your printer. A lot of times your colors and saturation will be off without color management.
Having color management means you can fine tune your images using either the print settings or by uploading an ICC color profile. I mention the color management available for each program below, but you may want to read my post Sublimation ICC Profiles & Color Management for Beginners for more information.
Software Programs for Sublimation
Now let’s talk about the most popular programs for sublimation. A lot of these are free, so play around with them. Some of the paid programs are a flat fee, and some are subscription models. You may need to go through a few programs to find a workflow that works for you. All of them are available for Mac or PC.
I have found that there are more online tutorials and classes for the paid programs, so keep that in mind. If you have a sublimation business, you may want to invest in one of the more powerful softwares.
Most of these programs require installation on your computer, so double check the system requirements of the software against your computer’s capabilities before purchasing.
Also be sure to look for student, teacher, military, senior, and other discounts before purchasing any program!
Adobe Photoshop

COST: $9.99+ / MONTH
Adobe Photoshop is the gold standard for graphic design programs. It is a raster-based program, which means that it works using pixels. This makes it perfect working with photos, intricate illustrations, and more. It is my own personal preferred program for sublimation crafting, and I think it’s the best graphic design software out there.
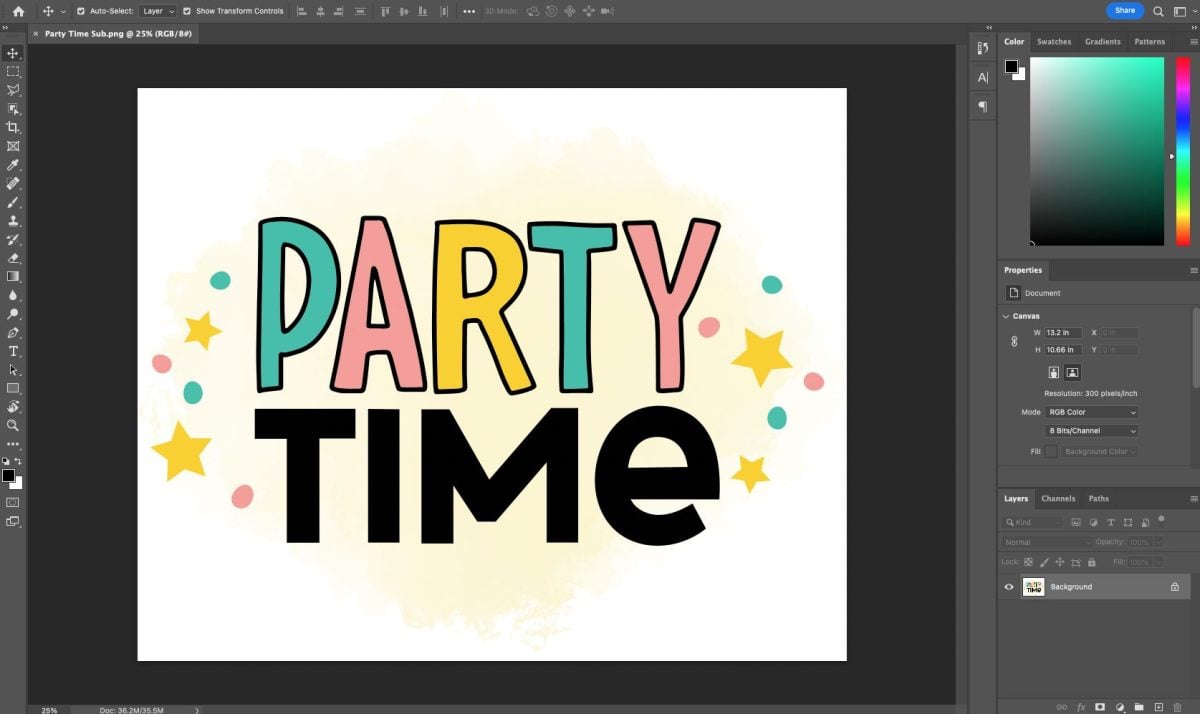
Photoshop can be intimidating for new users (there are a LOT of design features), but because it’s such a popular and powerful software, there are countless tutorials and resources online for using Photoshop.
This is a great program to choose if you want to start designing your own images using various backgrounds, designs, and fonts, vs. just uploading a design you purchased elsewhere. It has powerful tools for designing from scratch and it’s great for creating the sublimation ideas you have rolling around in your own head.
Color Management: When you print your image, you can set your ICC Profile in the Printer Setup screen by changing the Color Handling to Photoshop Manages Colors and selecting your ICC Profile from the dropdown list under Printer Profile.
Pros: Robust software for creating images from scratch or using several elements (backgrounds, images, and text) to create a new sublimation image. Lots of tutorials online for using Photoshop.
Cons: Intimidating to new users, particularly if you don’t have a lot of software experience. Pricey monthly subscription.
Read my in-depth post on How to Use Photoshop for Sublimation Crafts.
Silhouette Studio
COST: FREE OR $39.99 FOR DESIGNER EDITION
Silhouette Studio is my pick for best free program for sublimation. You can’t do as much designing “from scratch,” but they have lots of patterns and images you can use from the Silhouette Store to create your own designs for a small fee. It is a MUCH more robust software than Cricut Design Space, which is a competitor software.
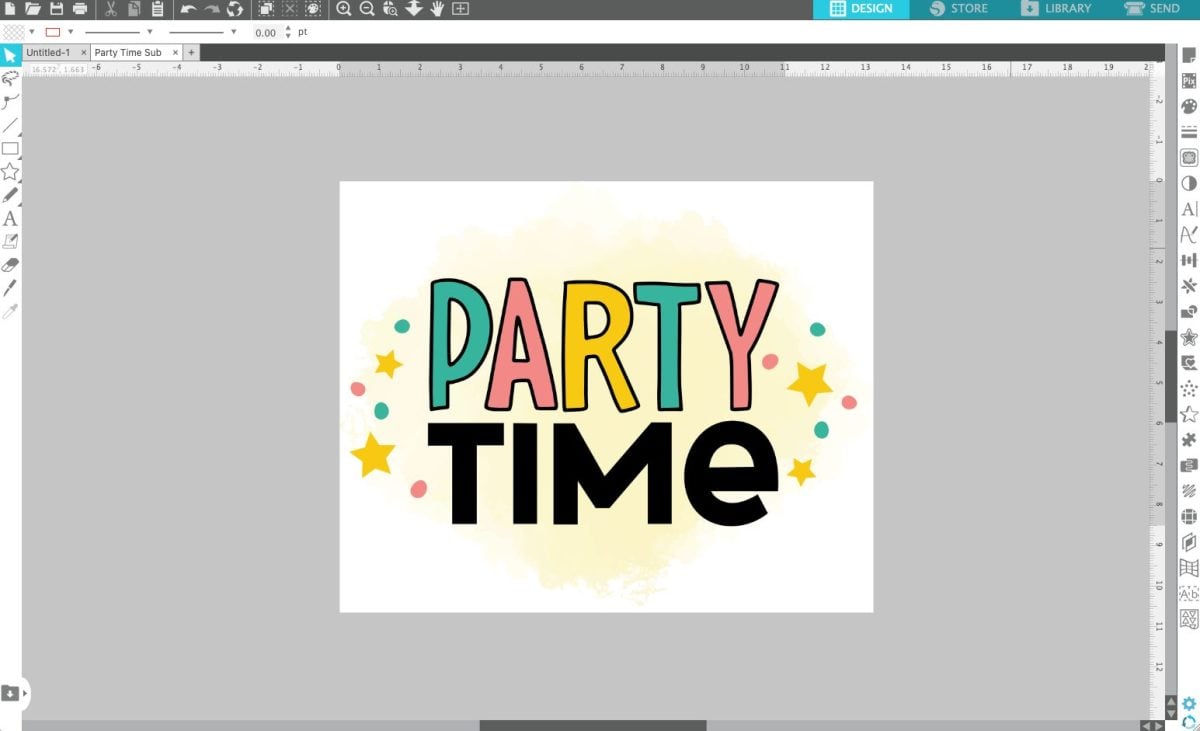
You can easily upload pre-made artwork to modify and print using this software. This is also a great software for doing Print and Cut, which allows you to use a Silhouette cutting machine to cut around the edge of your sublimation transfer.
You can upload JPG and PNG files using the free version, but if you want to upload SVG files, you’ll need Designer Edition.
Color Management: You need to use the Print Dialog Box method in my post Sublimation ICC Profiles & Color Management for Beginners.
Pros: Free if you just want to upload JPG and PNG files. No limits to print size, like there are in Cricut Design Space. Lots of online tutorials for using Silhouette Studio. If you do want to upgrade to Designer Edition, it’s a one-time fee instead of a subscription.
Cons: Can be a bit intimidating since it is pretty extensive. Not as good for designing from scratch, but it’s possible.
Silhouette Studio tutorial coming soon.
CorelDRAW
COST: $20.75 / MONTH OR $499 ONE-TIME
CorelDRAW can work with both vector and raster-based images, though I think it is better at vector images. It’s robust and capable and is a good option to buy outright if you’re frustrated at the monthly cost of the Adobe programs.
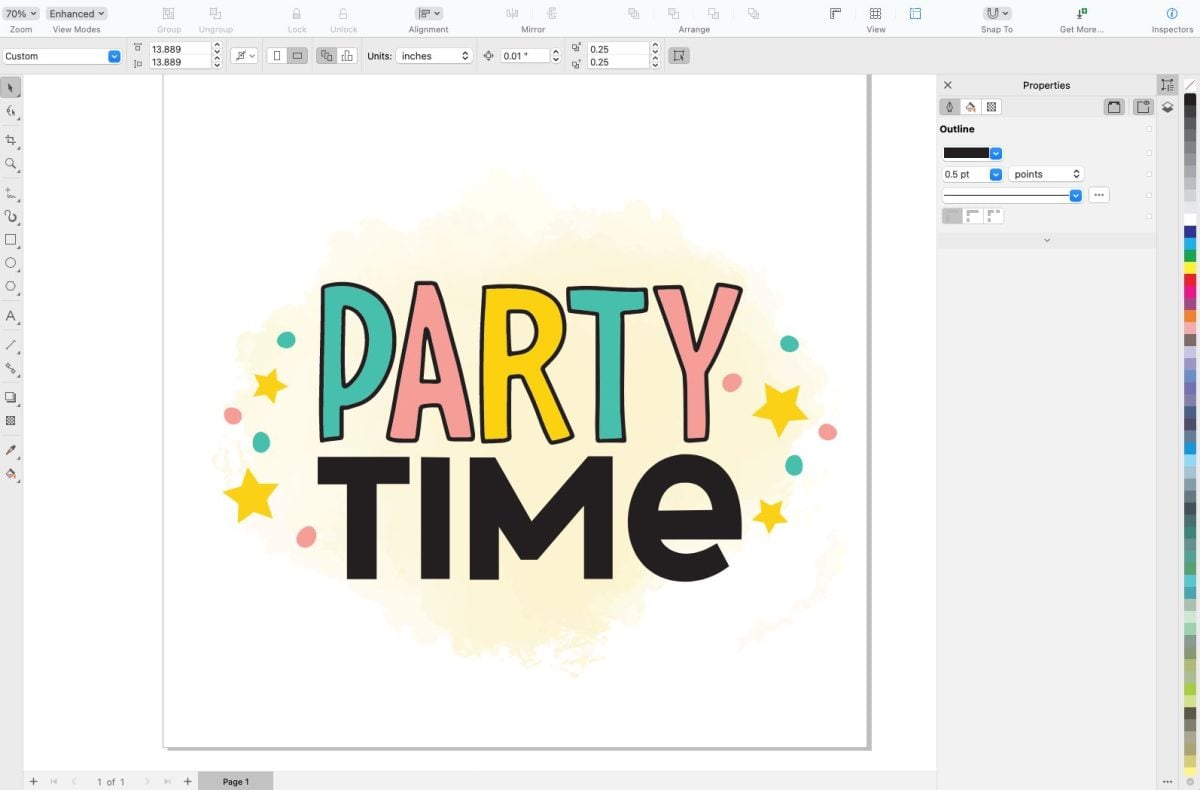
There aren’t as many CorelDRAW tutorials out there as there are for the Adobe programs, but you should be able to find what you need. I have found that CorelDRAW actually has some great tutorials within the program itself.
Color Management: You need to use the Print Dialog Box method in my post Sublimation ICC Profiles & Color Management for Beginners.
Pros: Good for designing from scratch, though like other powerful programs, there’s definitely a learning curve. One-time pricing, though expensive, is cheaper in the long run.
Cons: Intimidating for new users. I personally find parts of it aren’t intuitive, but I’m sure I could get over that if I used it more. Fewer tutorials online for learning the program.
CorelDRAW tutorial coming soon.
Adobe Illustrator

COST: $20.99+ / MONTH
Adobe Illustrator is Adobe’s vector-based software. It’s not as good at handling photos and other raster-based images, but if you’re familiar with cut files for Cricut or Silhouette, this is the program most often used to create SVG files for those machines.
(Illustrator is actually my FAVORITE software, though I do recognize it’s not quite as good for sublimation files as Adobe Photoshop!)
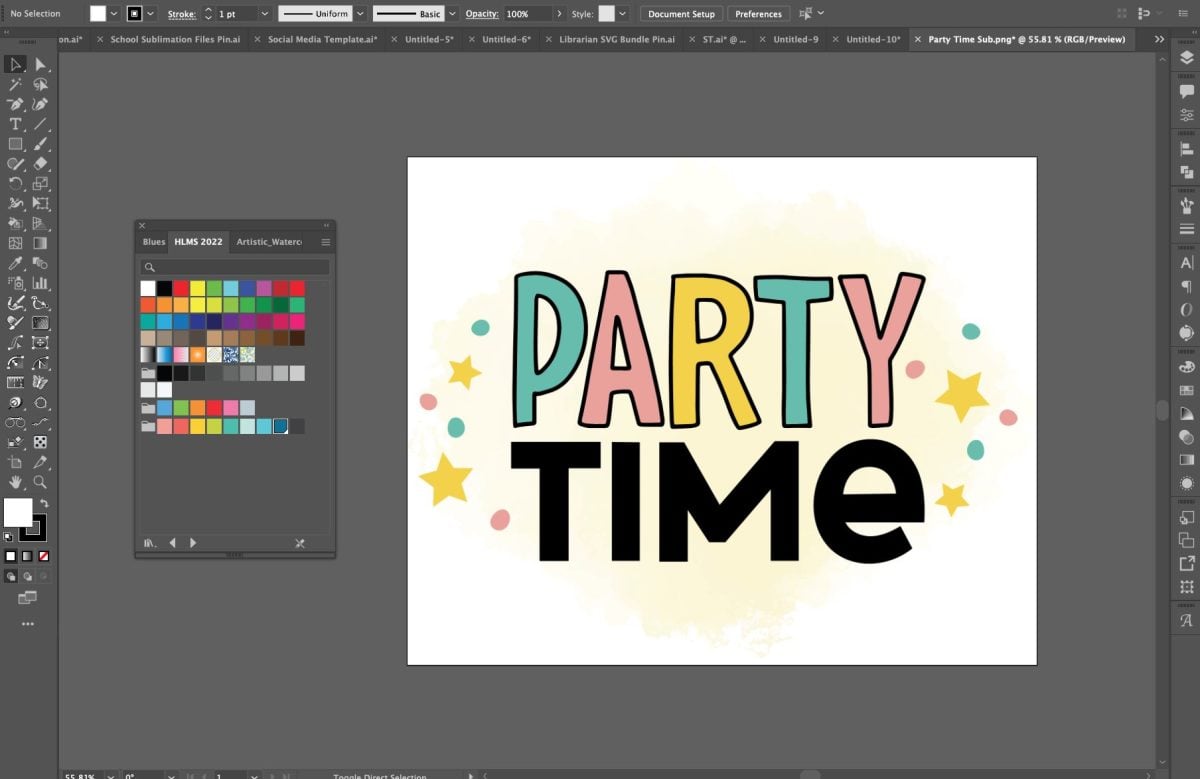
If you want to create more text-based or point-and-line graphics (instead of things like watercolor or hand-drawn sketches), Illustrator works well.
Again, this can be intimidating but there are tons of tutorials online to help you learn.
Color Management: When you print your image, you can set your ICC Profile in the Print window by scrolling to Color Management on the left and selecting Let Illustrator Determine Colors and selecting your ICC profile under Printer Profile.
Pros: Really robust program so you can create designs from scratch. Good program to have if you also want to design for your Cricut or Silhouette.
Cons: Built for vector files, not raster (pixel) files, so it’s not as good for a lot of intricate pixel-based graphics often used in sublimation. Can be intimidating to use. Expensive.
Silhouette Studio tutorial coming soon.
Cricut Design Space

COST: FREE
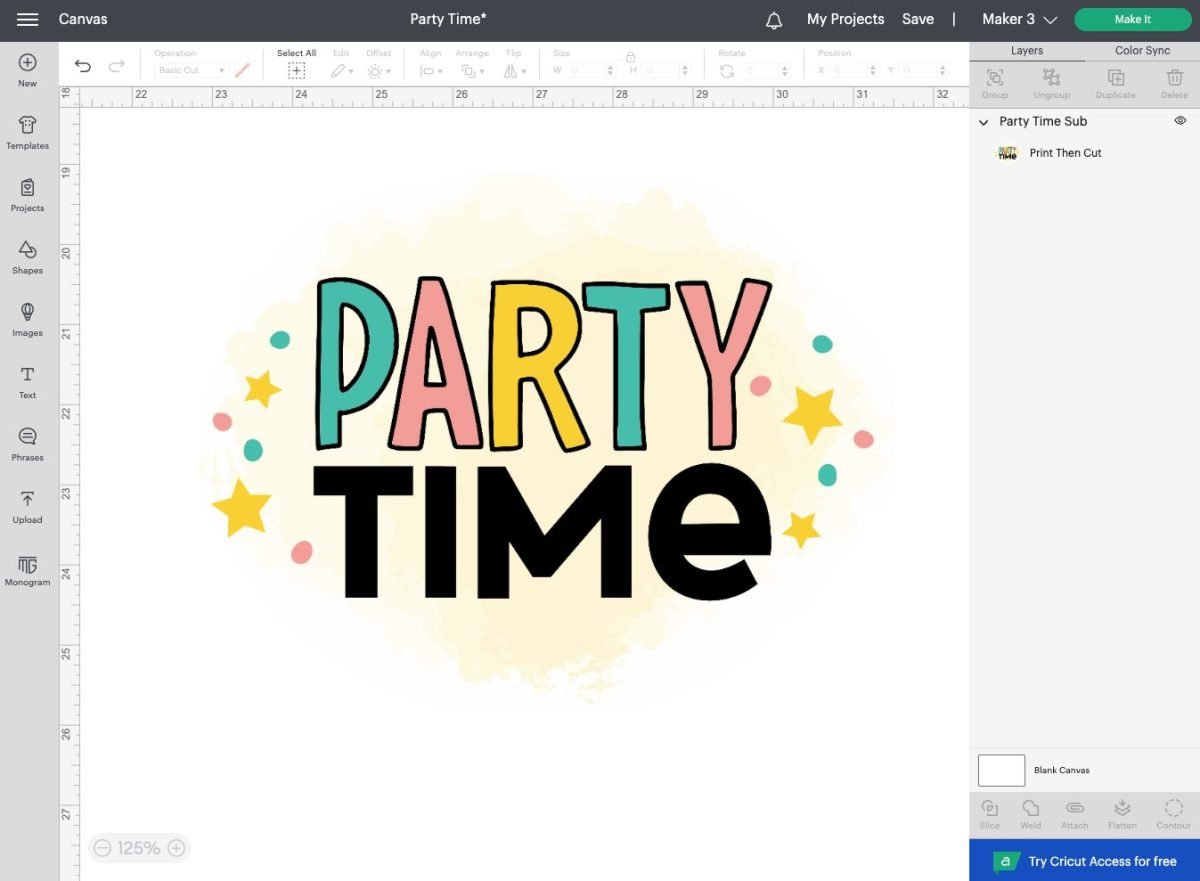
Cricut Design Space is similar to Silhouette Studio, though it’s not nearly as robust. Again, it’s hard to do a lot of designing “from scratch,” but the large Cricut Image Library is a great place to find images to sublimate for a small fee.
You can also easily upload pre-made designs to modify and print using this software. It also has a Print then Cut feature, though it’s a bit smaller—limited to 6.75” wide and 9.25” tall. This is too small to make projects like 20oz skinny tumblers, so keep that in mind.
Color Management: You need to use the Print Dialog Box method in my post Sublimation ICC Profiles & Color Management for Beginners.
Pros: Free! Very familiar to crafters who started with a Cricut and moved to sublimation crafting. Easy to use because the feature set is smaller and not as overwhelming.
Cons: Limited print size means you’re limited on the projects you make. Not as good for creating designs from scratch.
Read my in-depth post on How to Use Cricut Design Space for Sublimation Crafts.
Affinity Designer

COST: $54.99
Affinity Designer is a vector-based capable piece of software with a much lower price than Illustrator or CorelDRAW. That being said, it’s pared-down a lot from those softwares. Still, the capabilities you need for sublimation are all there and I see more and more sublimation crafters using this program in our Sublimation Made Simple Facebook group.
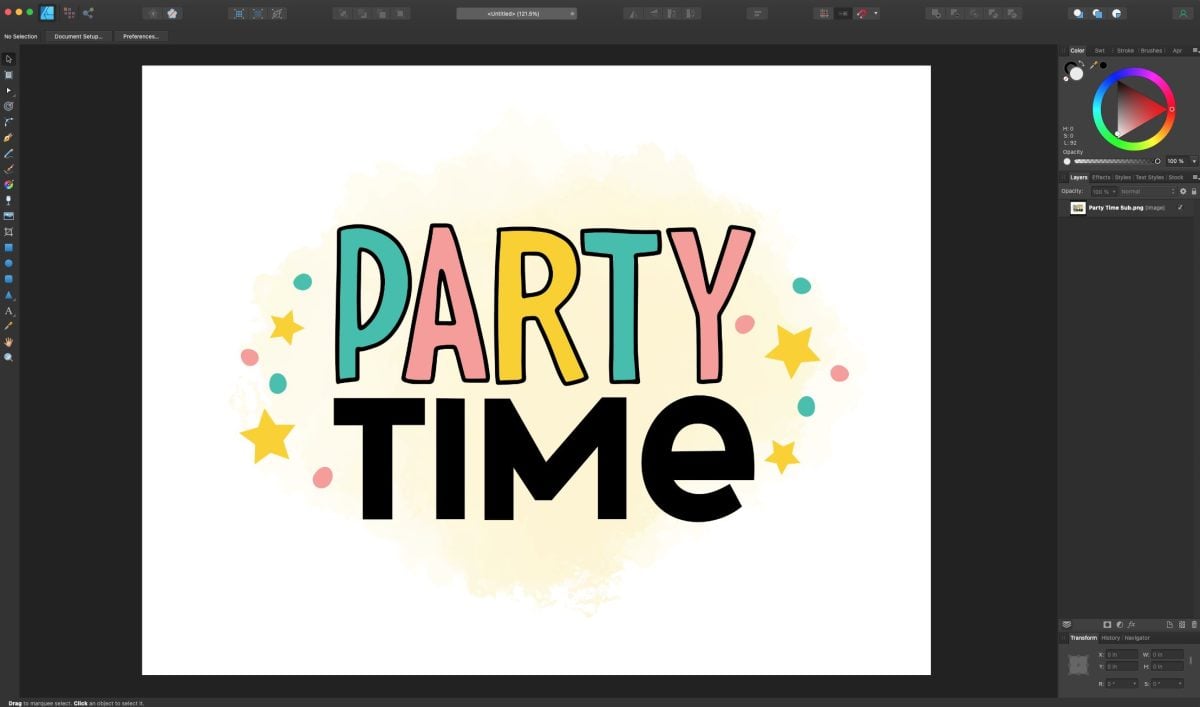
Because it’s a less popular program, you may struggle to find tutorials, though more and more are popping up every day.
Color Management: You need to use the Print Dialog Box method in my post Sublimation ICC Profiles & Color Management for Beginners.
Pros: Great price for a decent feature set. Because there aren’t as many features as other comparable programs, it’s a little less overwhelming for some users.
Cons: It’s vector-based, so designing intricate pixel-based designs (like photos or hand-drawn illustrations) doesn’t work quite as well.
Affinity Designer tutorial coming soon.
Canva
COST: FREE OR $9.99 / MONTH FOR CANVA PRO
Canva is a newer web-based program that has tons of built-in templates for things like social media graphics. You’ll access it through your browser, instead of downloading a program to your computer.
You can also build designs from scratch using their library of images and patterns, for a fee. It’s super easy to use—very intuitive for non-designers.
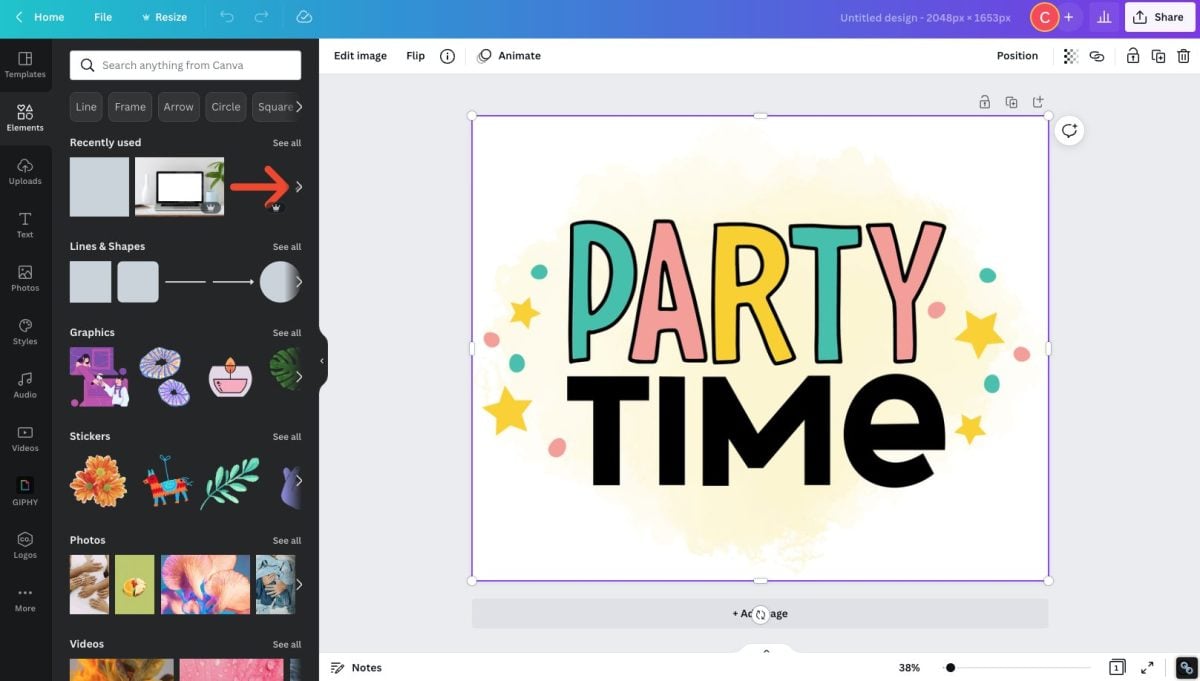
Because this program was originally designed for online graphics, you may struggle with print quality. You can’t print directly from Canva, but you can save files from Canva as PNG, PDF, or SVG. The conversion from screen color to print color may leave something to be desired.
Color Management: Because you can’t print from Canva, there’s no way to use an ICC profile with the images. You can, however, open the files in another program and select the ICC Profile you are using.
Pros: Most users, even newer users, find it pretty easy to use. It’s free, unless you want to want to purchase graphics that go along with it. Online, so it doesn’t take up storage space on your computer.
Cons: You can’t print from the program, so you will still need to find another program on this list for the actual printing. I’d suggest something simple and free like Silhouette Studio or Google Docs. Online, so you need an internet connection to use it.
Canva tutorial coming soon.
Inkscape

COST: FREE
Inkscape is free vector-based software that is basically a rougher version of Adobe Illustrator. It doesn’t have quite all of the capabilities and I don’t find InkScape nearly as intuitive or easy to use as Illustrator, but that might be because I am so familiar with Illustrator that it’s hard to learn a competitor program.
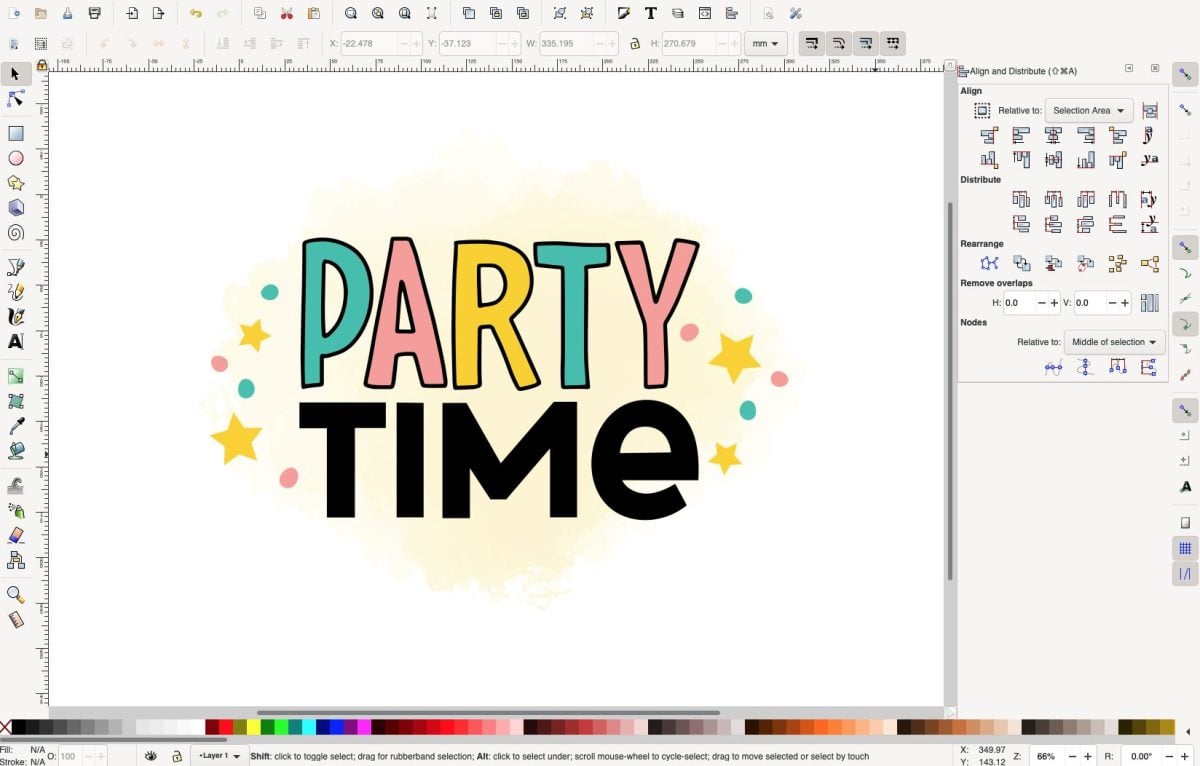
Like some of the other programs listed, there are fewer tutorials for using Inkscape vs. some of the paid programs, but with some digging you will probably be able to find what you need.
Color Management: It’s not possible to use an ICC Profile in Inkscape, unfortunately, though you can do some other smaller color adjustments. If you want to use an ICC profile, you’ll need another program to actually print your images with color management. My suggestion is Silhouette Studio or Google Docs.
Pros: Free! Lots of folks who have never used a design software say that this is actually fairly easy to learn.
Cons: No way to do color management within the program. It’s vector-based, so designing intricate pixel-based designs (like photos or hand-drawn illustrations) doesn’t work quite as well.
Inkscape tutorial coming soon.
GIMP

COST: FREE
GIMP is a free software that is basically a rougher version of Adobe Photoshop. It doesn’t have quite all of the capabilities and I don’t find GIMP nearly as intuitive or easy to use as Photoshop, though that is probably because I am familiar with the Adobe suite of products.
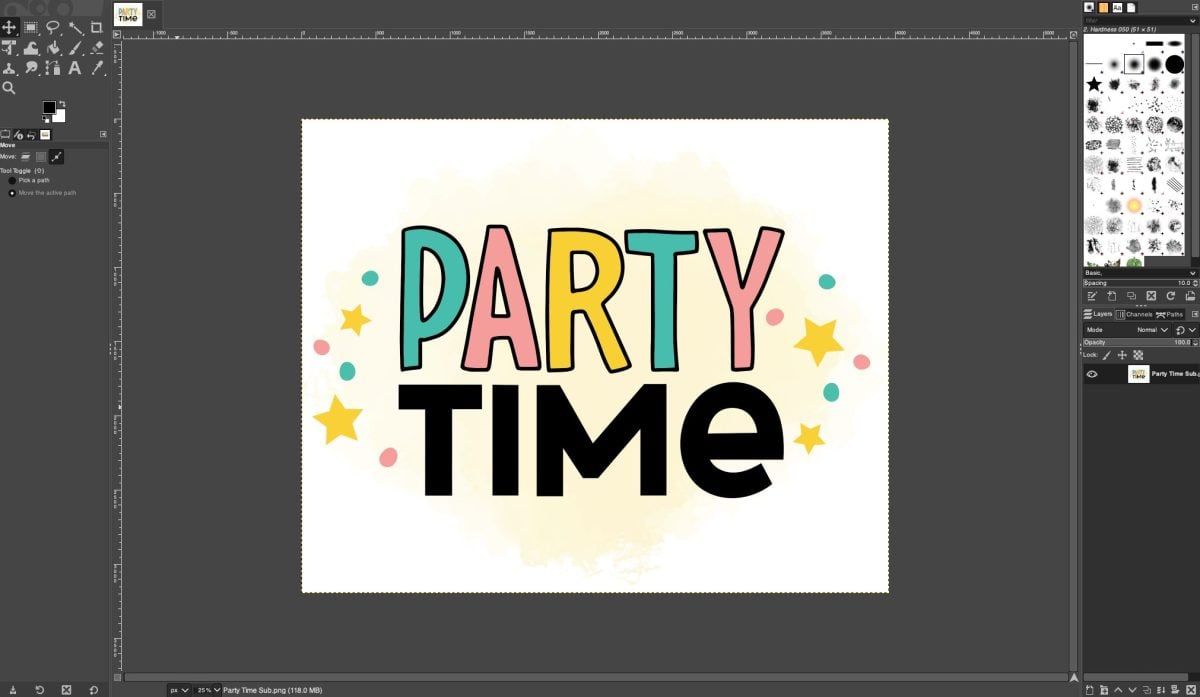
That being said, it’s free! And more sublimation crafters, particularly on YouTube, are using GIMP, which hopefully means more helpful tutorials.
Color Management: From everything I’ve read, it’s technically possible to use an ICC Profile with GIMP, but I’ll be honest—after hours of trying to make it work, I gave up. I’m not the only one. Many GIMP users actually print their designs using another free software like Silhouette Studio, which makes it easier to use an ICC Profile.
Pros: Free! Decent design capabilities and more and more tutorials are being made every day.
Cons: Not super intuitive to use, plus no easy way to use color management.
GIMP tutorial coming soon.
Microsoft Word

COST: $149.99
Microsoft Word should primarily be used only for printing. While it is possible to do some overlaying images to create designs, Word is a word processing program, not a graphic design software. That being said, it totally works for printing images you may purchase off Etsy or other online marketplaces.
Microsoft word is about $150, but many computers, particularly PCs, have it installed by the manufacturer, so you don’t need to pay extra.
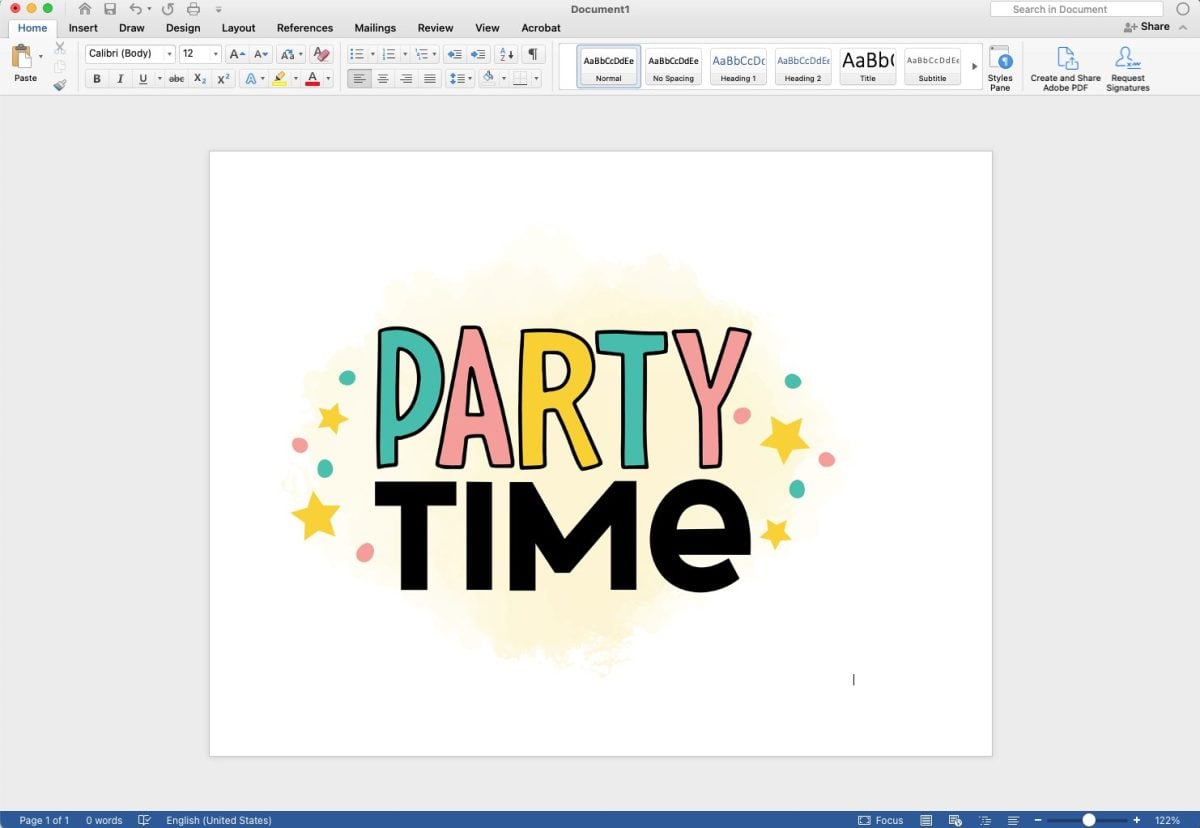
Color Management: You need to use the Print Dialog Box method in my post Sublimation ICC Profiles & Color Management for Beginners.
Pros: Easy to use if the only thing you want to do is print.
Cons: A little expensive if your computer doesn’t already have it installed. Not a design program so should be used for printing only.
Microsoft Word tutorial coming soon.
Google Docs

COST: FREE
Google Docs, which is web-based and accessed through your browser, should be used for printing only. While it is possible to do some overlaying images to create designs, Google Docs is primarily a word processing program, not a graphic design software. That being said, it totally works for printing images you may purchase off Etsy or other online marketplaces.
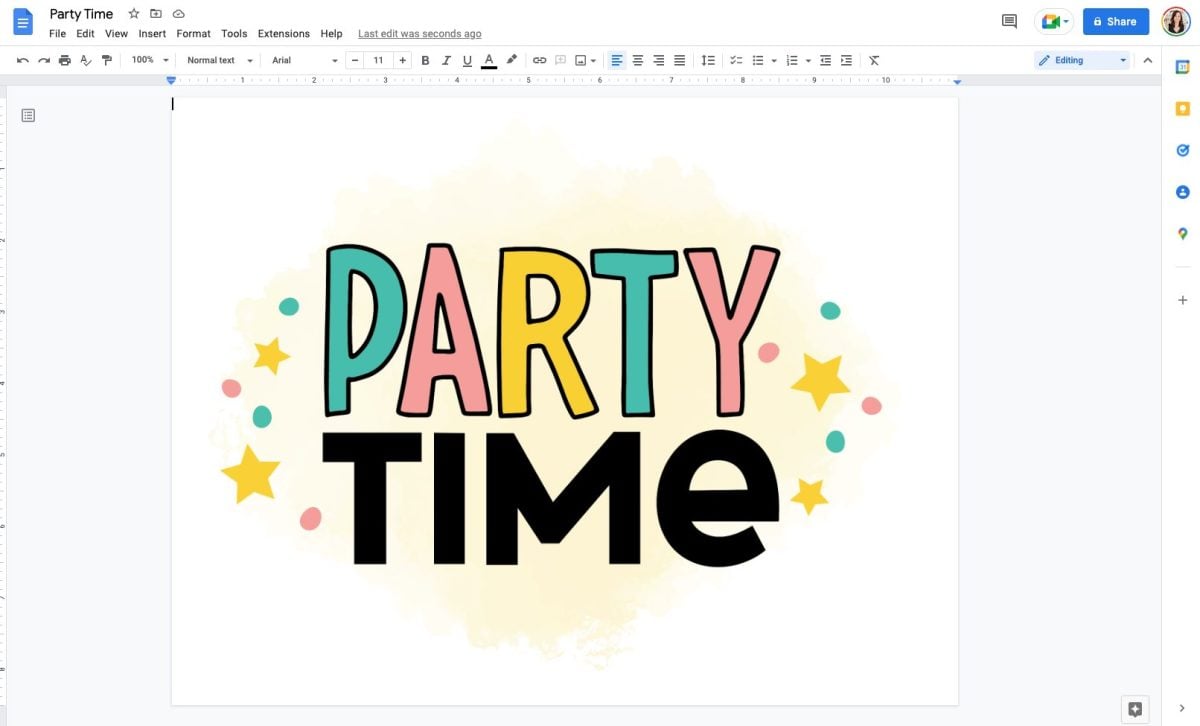
Color Management: You need to use the Print Dialog Box method in my post Sublimation ICC Profiles & Color Management for Beginners.
Pros: Easy to use if the only thing you want to do is print.
Cons: Not a design program so should be used for printing only.
Read my in-depth post on How to Use Google Docs for Sublimation Crafting.
Procreate
COST: $9.99
Procreate is an iPad only software that is designed for you to draw images from scratch. You can upload images, but the real power of Procreate is sketching, drawing, inking, and more using the Apple Pencil. It’s a VERY robust software and the designs people can create with it are often breathtaking.
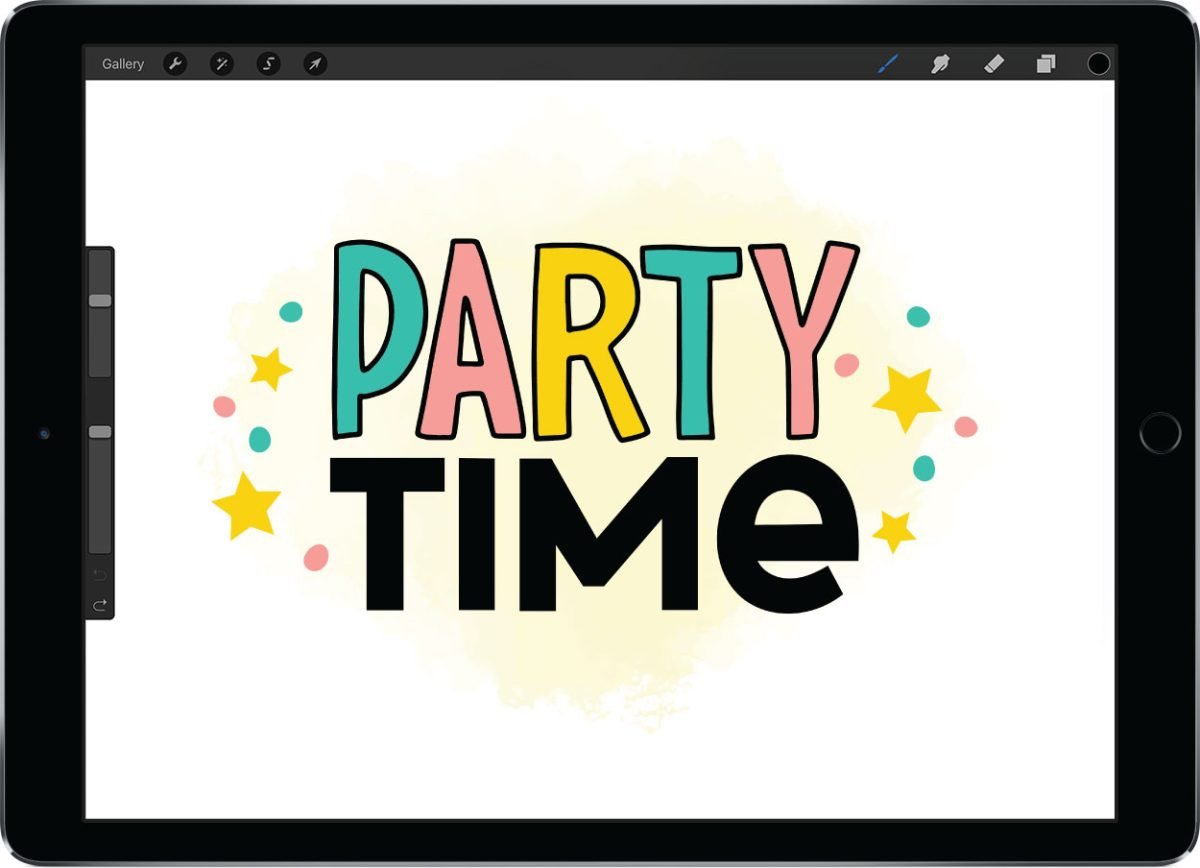
If you have an iPad, I suggest getting this program because it’s less than $10. Even if you just want to play around with sketching, patterns, and whatever. it’s a great way to unlock your creative juices. There are also a TON of procreate tutorials and classes.
Color Management: You can’t print from Procreate. You’ll need to save your design as a PNG and then print using one of the other simple software programs, like Silhouette Studio or Google docs.
Pros: You can create amazing hand-drawn designs if you possess the skills. It’s really robust and an amazing program if you take the time to learn it. Inexpensive.
Cons: Cannot print from the program. Requires an iPad and Apple Pencil, which are not an inexpensive investment.
Procreate tutorial coming soon.
Tips for Learning Sublimation Design Software
While you can always purchase sublimation designs, learning how to use a graphic design software can really open up the possibilities in your sublimation crafting.
If you want to learn more about any of the graphic design software covered in this post, I recommend doing a few things.
Create Time for Learning
Set aside a few specific hours a week to specifically learn more about your software. I recommend doing this during the time of the day you’re most alert—trying to learn a new software during the sluggish hour after lunch, for example, will just make it that much harder!
Check out the software developer’s website for tutorials, read blogs, or watch YouTube videos.
A lot of times we learn on the fly: “I want to do this specific task for this specific project.” While this is not a bad way to learn, it’s also helpful to get a stronger grasp of how the software works as a whole so the next time you need a specific task, you’ll be able to find what you want to do more easily.
Take a Class
If you want to dive in, take a class on your software! Going through a curriculum is often more effective than finding random tutorials online. There are often way more classes for the more popular programs vs. the simpler, newer ones. For example, you won’t learn much about sublimation in a Microsoft Word class.
Here are a few of my favorite online learning resources:
Classes often have a price tag, but I personally find that if I’ve paid for something, I’m more likely to actually finish it!
Join a Facebook Group or Forum
Many software programs have forums or groups where you can learn from other users. This is helpful if you want to do something specific and can’t find a tutorial online to help.
Do note that a handful people in some of these groups (not all!) can be a bit bad-tempered toward newbies, which is unfortunate. People like to think they know everything and hold it over people who don’t. But don’t let that deter you—that’s their problem, not yours. You’ll find the places you are welcome and you’ll get your questions answered!
You can also join our Sublimation Made Simple Facebook group and we will all try and help!
Don’t be Discouraged
Learning a new software is hard! Especially if you aren’t particularly tech savvy.
Remember that software programs have hundreds (probably thousands!) of capabilities and you don’t need to know all of them for designing files for sublimation. Don’t let it overwhelm you.
Take a class or read tutorials to get familiar with the different toolbars and functions. As you learn new things, you’ll add them to your design toolbox and you’ll find it more and more easy to create the types of designs you want!


Comments & Reviews
Debra says
Hi! I’m looking for a laptop to use for sublimation. What would you recommend for a budget friendly option? I currently have an iPad and can’t get to all the color settings I need when trying to print.
Cori says
Hi Debra,
Thank you for reaching out! The most important thing to look at is your computer RAM which is how large the hard drive is and how much it can handle operating at one time – this factor will improve your experience greatly if you have great RAM. A hard drive of at least 1 terabit will serve you best if you plan to do a lot of crafting :)
Mona says
Thanks for the information. Can I use Silhouette studio even without a silhouette product? Does it have a bigger design space than Cricut’s?
Cori says
Hi Mona,
Silhouette Studio is free for anyone to download; you do not need a Silhouette machine to download the free Silhouette software. The canvas size is comparable on both, but the software is more robust, and there are no limits to print size :)
Happy crafting,
Cori
Janice Morrow says
I looked at your post about using the Print Dialogue box in Silhouette Studio to select colour matching. I don’t have that option come up at all when I choose to print. All I get is a print preview box that pops up.
Mandy Hall says
Hi Cori. Thanks for this very detailed explanation. I recently bought Silhouette Studio and can’t seem to find out how to “flatten” like you do in Cricut Design Space. Is there such a function in Silhouette for print and cut. I am trying to design Tumbler Wraps. Thanks Cori x