If you’re thinking about getting into sublimation printing, read this post! In this Sublimation for Beginners post, learn five things you need to know before you get started sublimation printing to make sure it’s right for you!
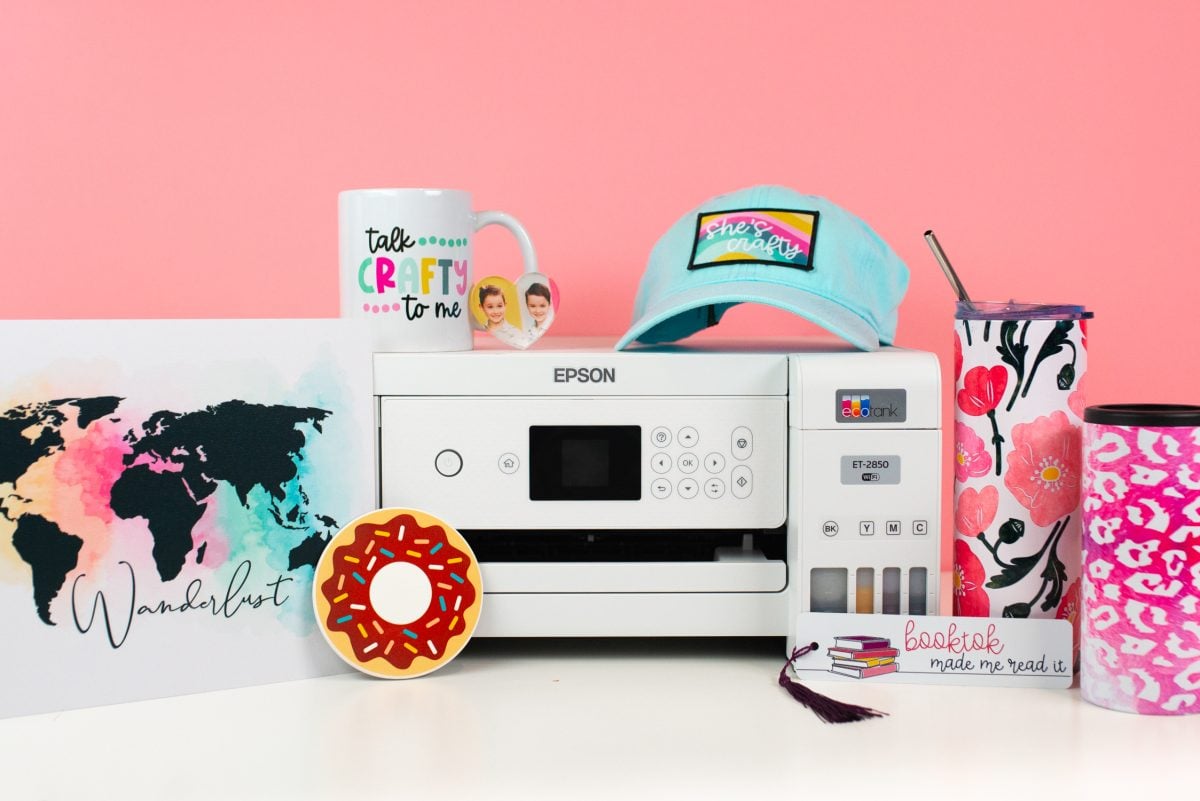
So many crafters are getting into sublimation printing, and for good reason! Sublimation printing allows you to transfer vivid, permanent images on a variety of blanks, including apparel, drinkware, home decor items, and more.
But before you go out and buy everything you need, there are some important things you need to know, including the limitations of this decorating process. Sometimes crafters get so excited about sublimation printing without realizing there are certain constraints that you have to work within to make your sublimation projects successful.
In this sublimation for beginners post, I’m going to go over five of the most important things that you need to know before you get into sublimation printing. I hope that this post will help you determine if sublimation printing is the right choice for you or if you want to explore other options, like HTV or DTF printing. The last thing I want is for you to spend a bunch of money on a craft that won’t work for what you want to do!
If you do decide that sublimation is for you, I have a ton of sublimation tutorials here on my blog and over on my YouTube channel! It really is a fun craft, despite the limitations, and it allows for a ton of creativity and different types of projects!
Watch the Video
Want to see a video walkthrough of everything I cover in this post? Just hit play below! Or keep reading for a written tutorial.
Sublimation Printers
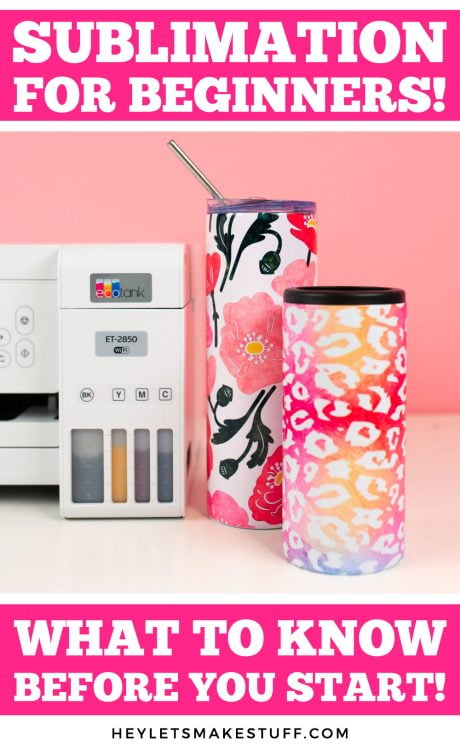
You have two options when it comes to choosing a sublimation printer. You can buy a sublimation-specific printer like a Sawgrass or Epson sublimation printer, or you can “convert” a printer by putting sublimation ink in a regular Epson EcoTank printer. Let’s look at the pros and cons of each option.
Sawgrass Sublimation Printer
Sawgrass makes sublimation-specific printers, including the Sawgrass SG500 and the Sawgrass SG1000. These printers are purpose-built for sublimation so they are the “easier” option, but they are also on the pricier end of the spectrum.
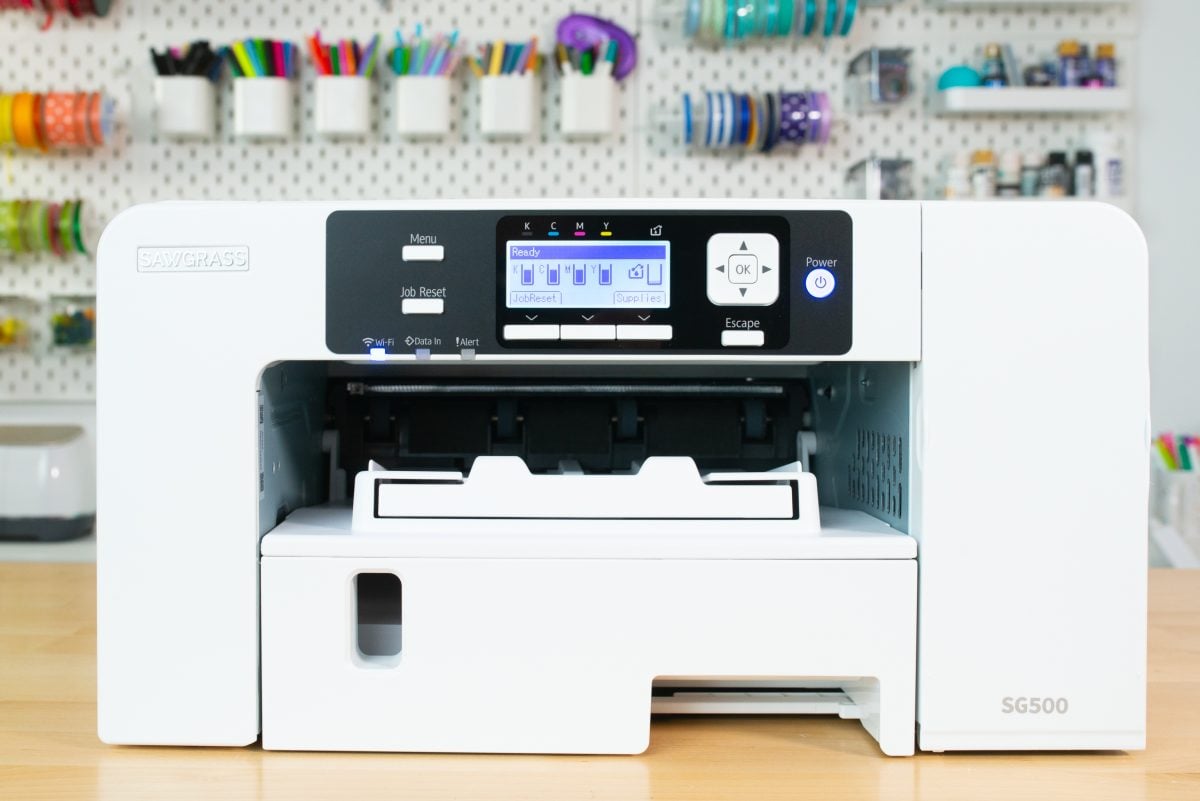
Pros
- Printer comes with color profiles installed. No additional color management or ICC profiles are needed—color should be great straight out of the box.
- Direct technical support through the manufacturer or distributor.
- Printer performs its own routine maintenance automatically.
- Includes DesignMate software with sublimation templates. No outside software needed.
- Ink colors are sold individually.
Cons
- Higher startup cost of equipment.
- Manufacturer ink is expensive. You can use third-party inks, but Sawgrass will void your warranty if you use them.
- If you do not print often, the printer can use lot of ink during the automatic printer head cleanings.
Epson Sublimation Printer
Epson also makes a sublimation-specific printer, including the Epson F170 and the Epson F570. I think these printers as the mid-level option, because they provide many of the benefits of a Sawgrass, but not all of them.
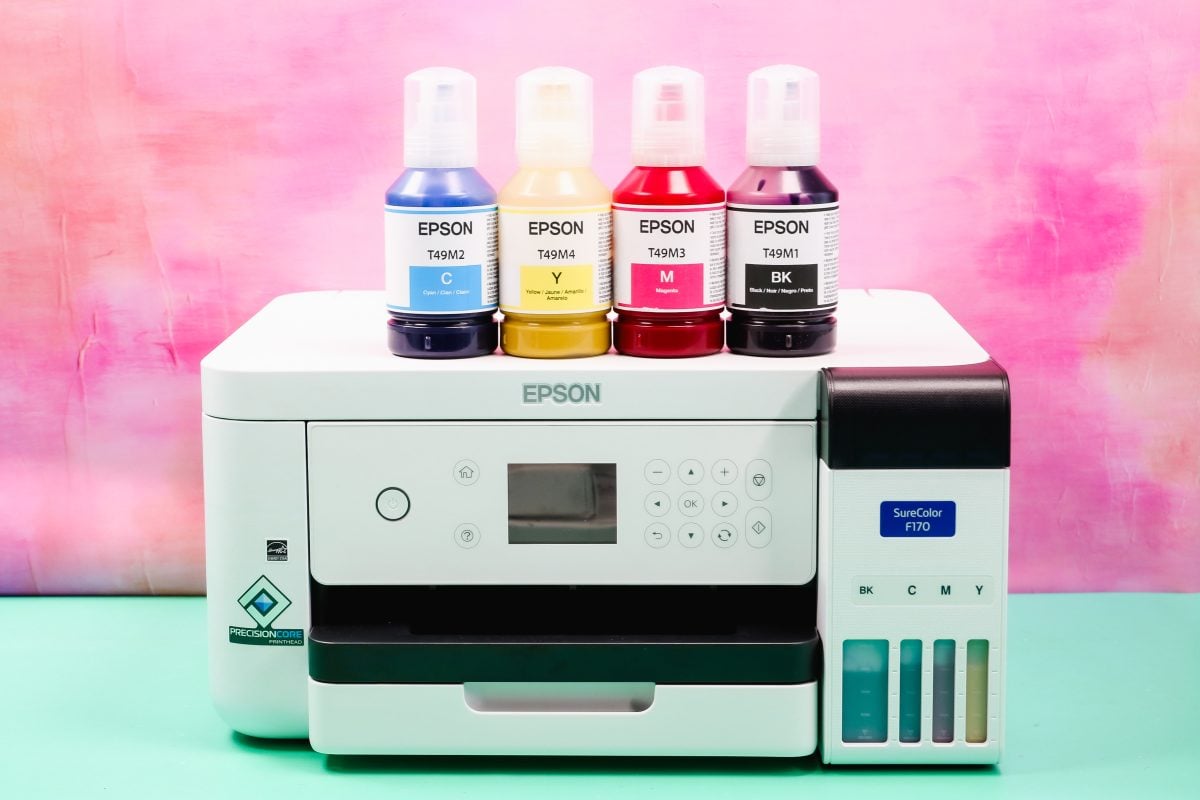
Pros
- Printer comes with color drivers installed. No additional color management or ICC profiles are needed—color should be great straight out of the box.
- Less expensive than Sawgrass and other sublimation-specific printers.
- Direct technical support through the manufacturer or distributor.
- Ink colors are sold individually.
Cons
- Printer does not perform routine maintenance. It must be run manually.
- No specific design software. You must run your prints through an outside design program like Photoshop or Google Docs.
- More expensive than an Epson EcoTank conversion.
Epson EcoTank Conversion Printer
Converting an Epson EcoTank printer is how many beginners get started. It’s a great budget option, but there are often more problems and less support than you’d get with a sublimation-specific printer.
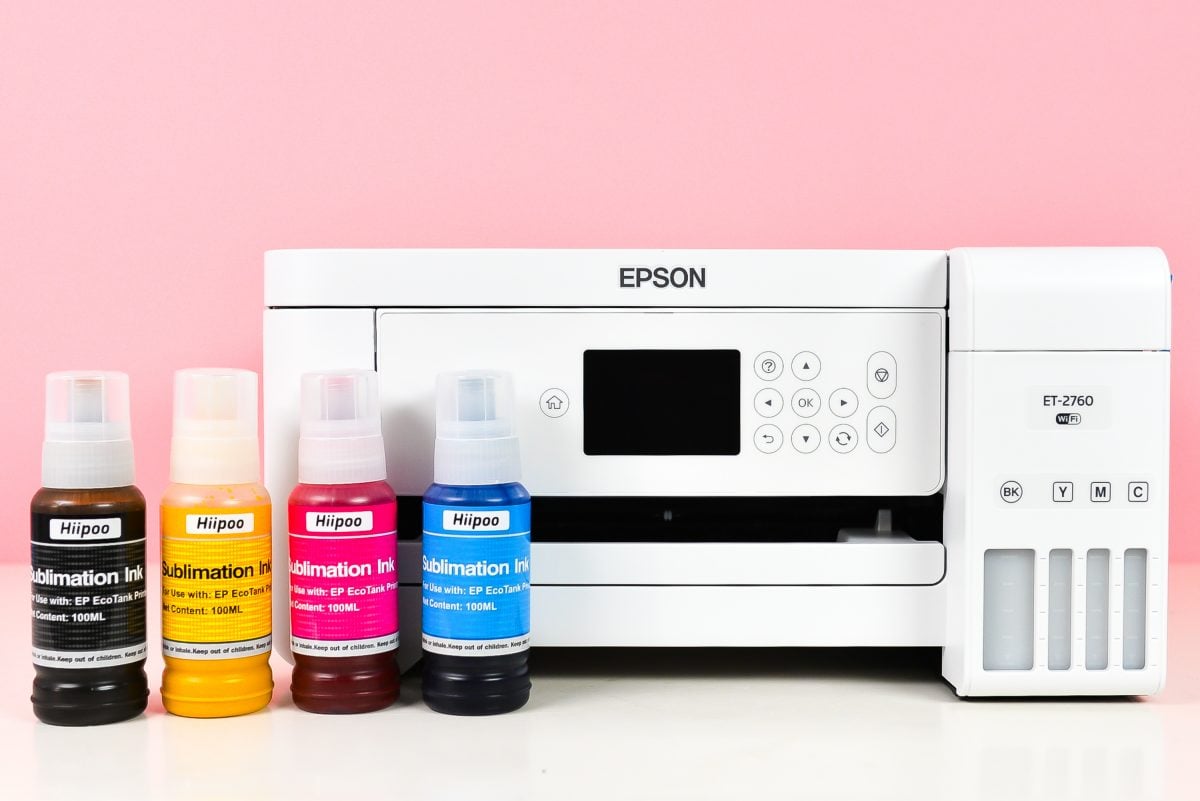
Pros
- Much lower initial startup cost than a sublimation-specific printer.
- Ink costs less and you have the option of choosing multiple third-party options.
- Can print just as effectively as a sublimation-specific printer if you are able to dial in the color correctly with an ICC profile.
Cons
- Less support. Your inkjet printer warranty is voided when you convert it to a sublimation printer.
- Color management can be overwhelming for new users.
- No specific design software. You must run your prints through an outside design program like Photoshop or Google Docs.
- Printer does not perform routine maintenance. It must be run manually.
- Most ink comes in a four-pack and not individually.
Choosing a printer can make or break your sublimation projects. If you can afford it, I always suggest going with a sublimation-specific printer, because they come with fewer headaches. But if you’re on a tight budget, you should be able to make a converted Epson EcoTank work for you, just know it will require more testing!
Sublimation Ink
No matter what type of printer you get, you will be using sublimation ink for your prints. You cannot sublimate using regular inks in an inkjet or laser printer.
Here are a few key things to know about sublimation ink:
- Sublimation ink is permanent: Once pressed, sublimation projects are permanent. This is because the ink turns into a gas when heated with a heat press and is infused within the surface of your substrate (see the substrates section below).
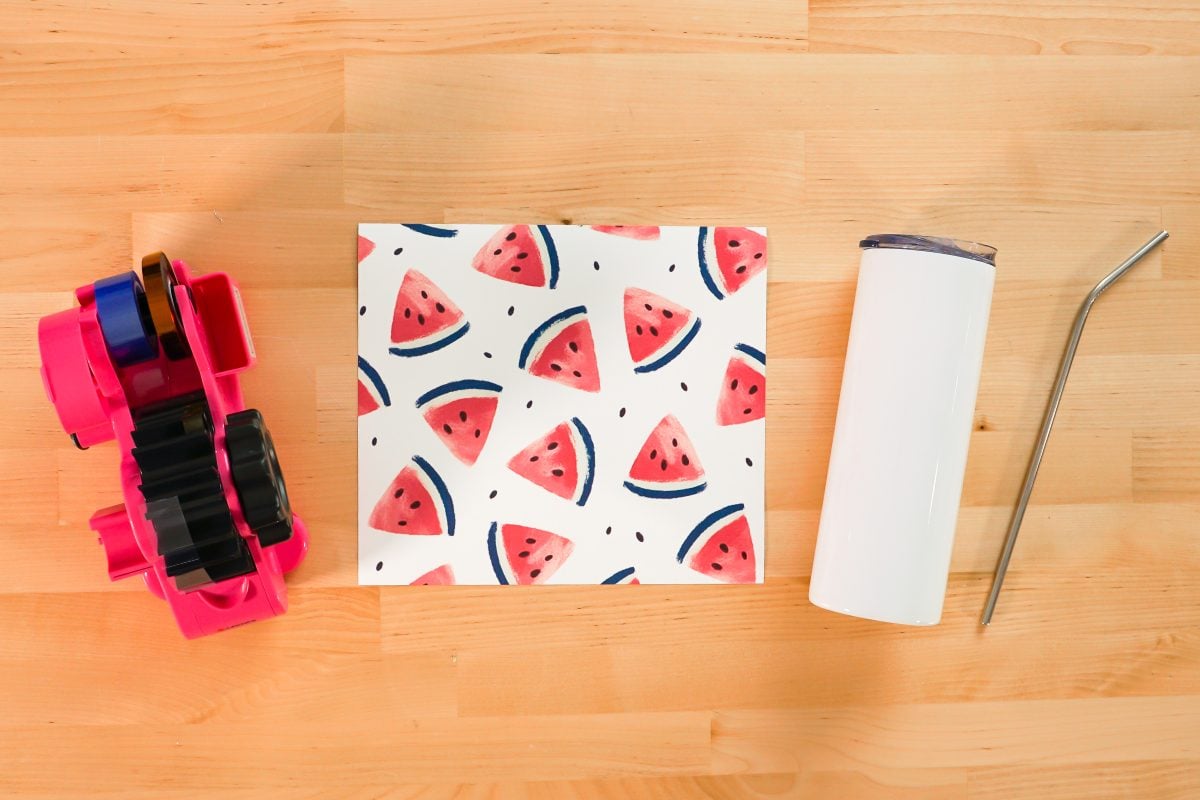
- Sublimation ink is transparent: This means that you need to have lighter colored substrates so the ink will show up . If you try and sublimate on a darker surface, your image will barely show up or won’t show up at all.
- There’s no white ink: Any white in your design will not print and will be the color of your substrate.
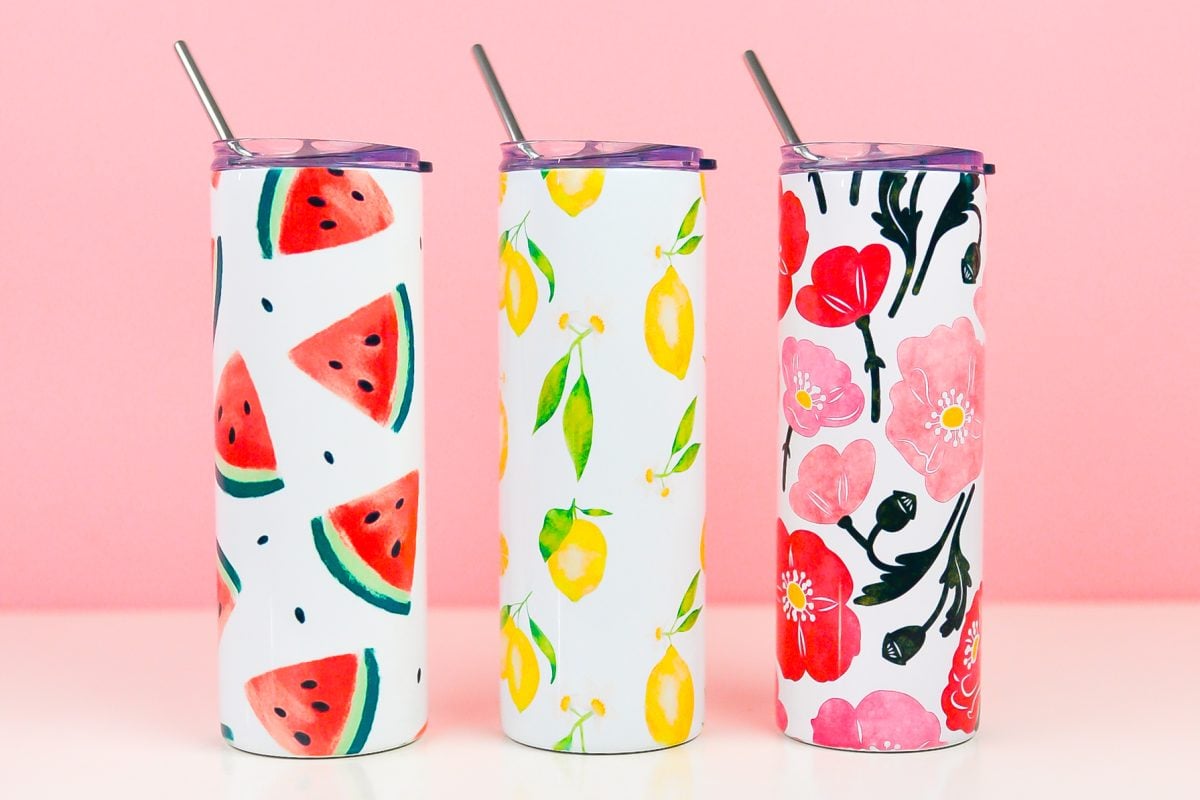
- Prints look dull: Sublimation prints will not look like your final project. Often the colors will look wrong and dull. You will only know if your prints look good once you press them onto your substrate (see below with the watermelon tumbler). I always suggest doing a test press of your print on a piece of 100% polyester fabric to ensure your colors look good before pressing them to your blank.
- Color management: If you have a converted printer, you may need to modify your colors to work properly with your ink. This is because your Epson EcoTank expects regular ink and instead has sublimation ink but doesn’t know it. I have a very in-depth video about color management for converted printers that you should check out if you go that route.
Substrates (Blanks)
Let’s talk more about substrates (which are often also called blanks).
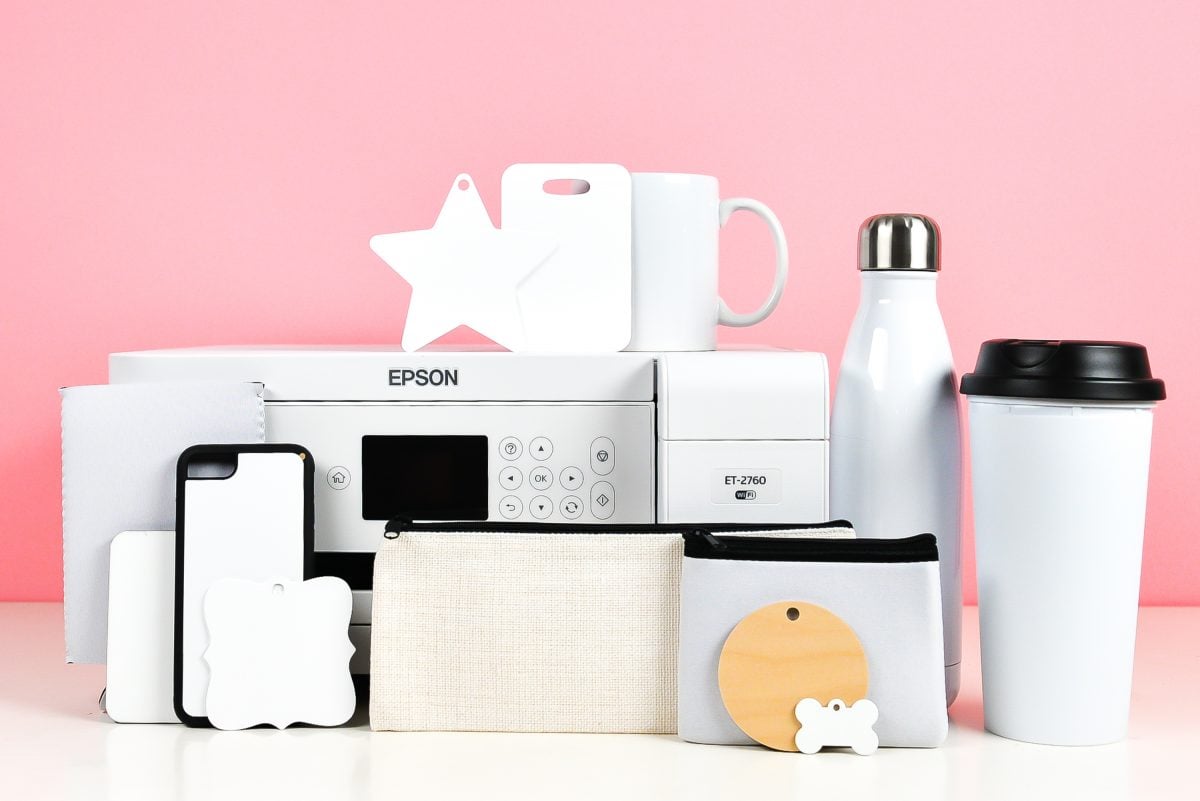
There are so many substrates for sublimation, but they all have two things in common: they are polyester or poly-coated and they need to be white or another lighter color.
This is because the poly content is a must for the sublimation process to work. It’s science! If you don’t have the poly content, your image will not bond with the substrate or it will bond a bit and then wash out.
And like I mentioned before, sublimation ink is transparent, so if you put it on a dark substrate, it won’t show up.
Soft Substrates
Soft substrates include apparel (t-shirts, hoodies, baby bodysuits, etc.), bandannas, tote bags, garden flags, pot holders, neoprene items, and more. Remember that sublimation transfers work best on 100% polyester fabric. The lowest you should go is 65% polyester content, but know that the lower the percentage, the more faded your transfer may be.
Here are some tips for sublimating soft substrates:
- Lint Roll Before Pressing: Use a lint roller to clean your fabric before pressing—this will help you avoid spots in your image and fabric.
- Pre-Press Your Blanks: Pre-pressing your blanks removes wrinkles and moisture and gives you a perfectly flat surface for your transfer.
- Use Heat-Resistant Tape: Use heat-resistant tape to secure your image before pressing so it won’t shift in the heat press and ghost. Heat-resistant spray adhesive is a great option too.
- Deckle the Edge of Your Transfer: If you notice a harsh paper line around your design after pressing, try ripping the transfer paper around your image so the edges are not straight. This can help decrease those pressing lines.
- Prevent Curling: Some items tend to curl, like neoprene. Once you’ve removed your item from your heat press, set it under a book or other heavy object to prevent curling.
Hard Substrates
Hard substrates include drinkware (ceramic mugs, metal tumblers, etc.), ornaments, tiles and slates, coasters, key chains, photo panels, and more. Hard substrates must have a poly coating—you can’t just sublimate a plain Dollar Store mug, for example. Look for blanks specifically labeled for sublimation.
Here are some tips for sublimating hard substrates:
- Clean with alcohol: Wipe down your blank with alcohol to clean it before pressing—this will help you avoid fingerprints and dust marks on your substrate after pressing.
- Remove any film: Peel back any clear protective film on top of your blank. This can be hard to see on some blanks, so check carefully.
- Sublimate the correct side: The right side is obvious when you’re doing some blanks (like mugs), but a ceramic tile or coaster will most likely have a very white side and an off-white side. You want to sublimate your image to the whitest side, which has the sublimation coating.
- Pay attention to your stacking order: Some blanks are pressed upside down. The blank will face away from the heating element of your heat press with the image below it so you are heating it from the back through to the front. Always follow the manufacturer’s instructions for pressing.
- Use a pressing pad: The manufacturer instructions may have you use a pressing pad (for example, a green rubber pad or a Nomex pad) with your blank to ensure an even press without breaking your substrate.
- Stays Hot Longer: While all blanks come out of the press very hot, be aware that hard blanks (particularly ceramic and metal) remain hot a lot longer.
Images
Next up, let’s talk images! The number one rule for sublimation images is to find high-quality, high-resolution files. No matter how good your printer is, if you’re giving it crummy files, you’re going to get a crummy print.
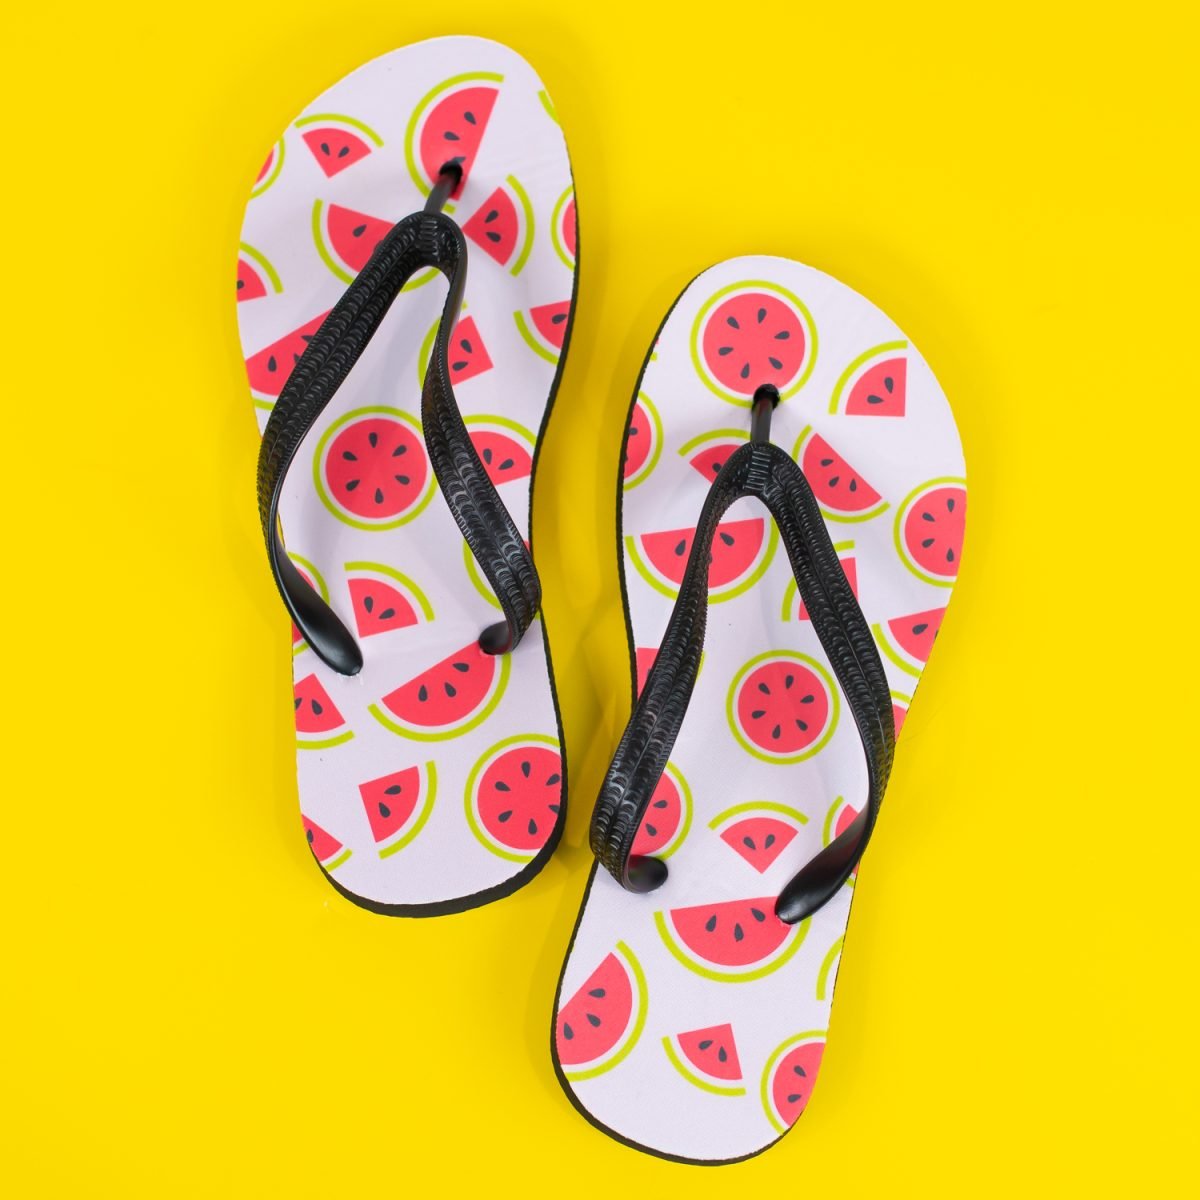
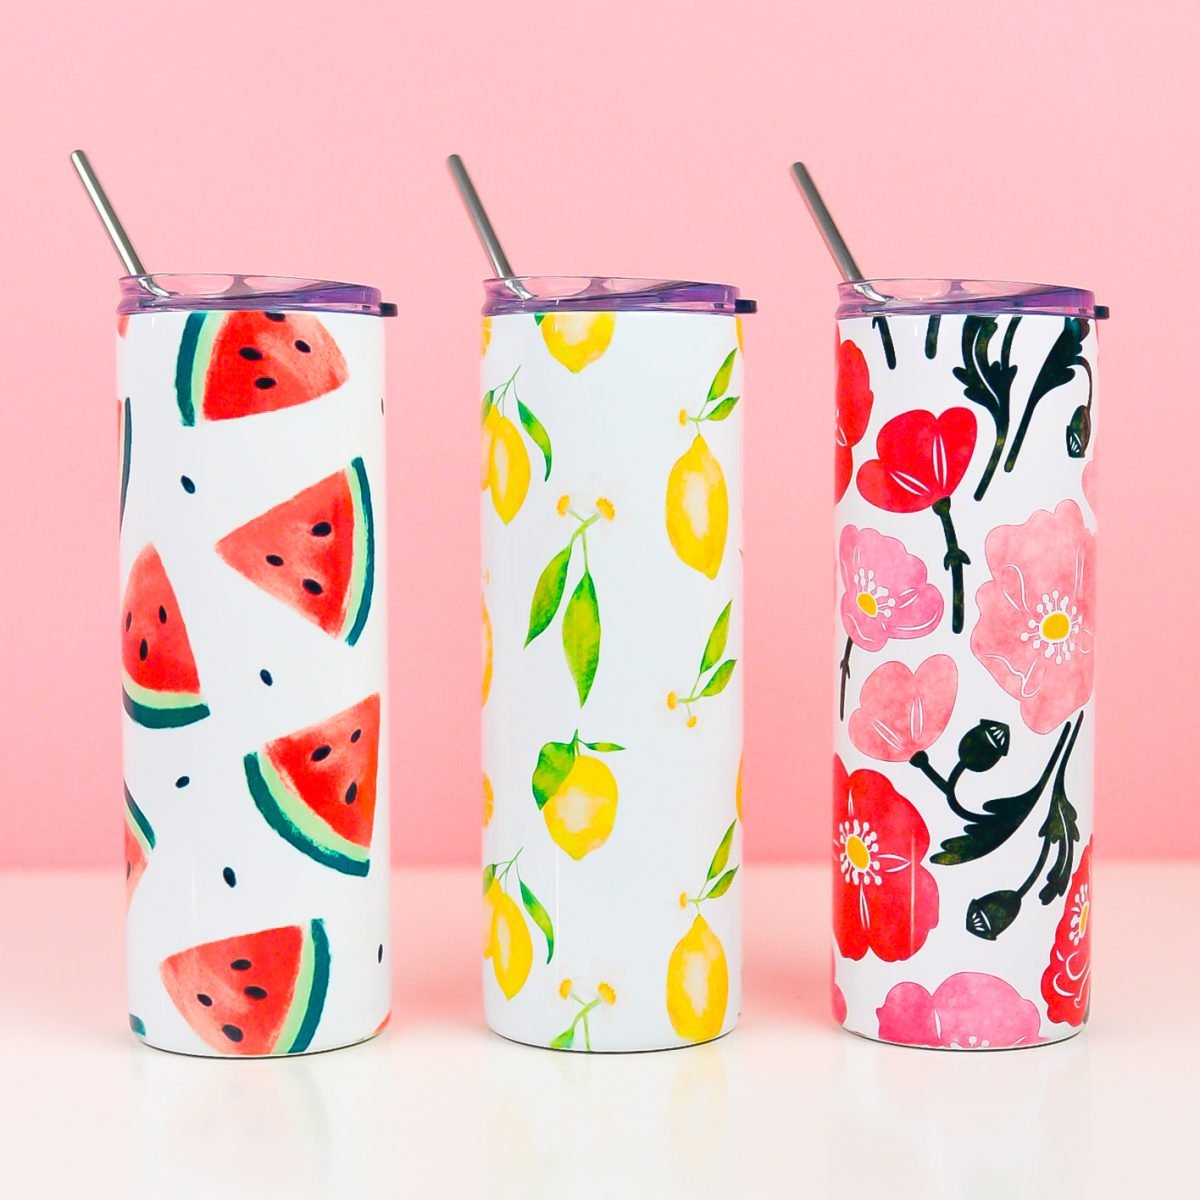
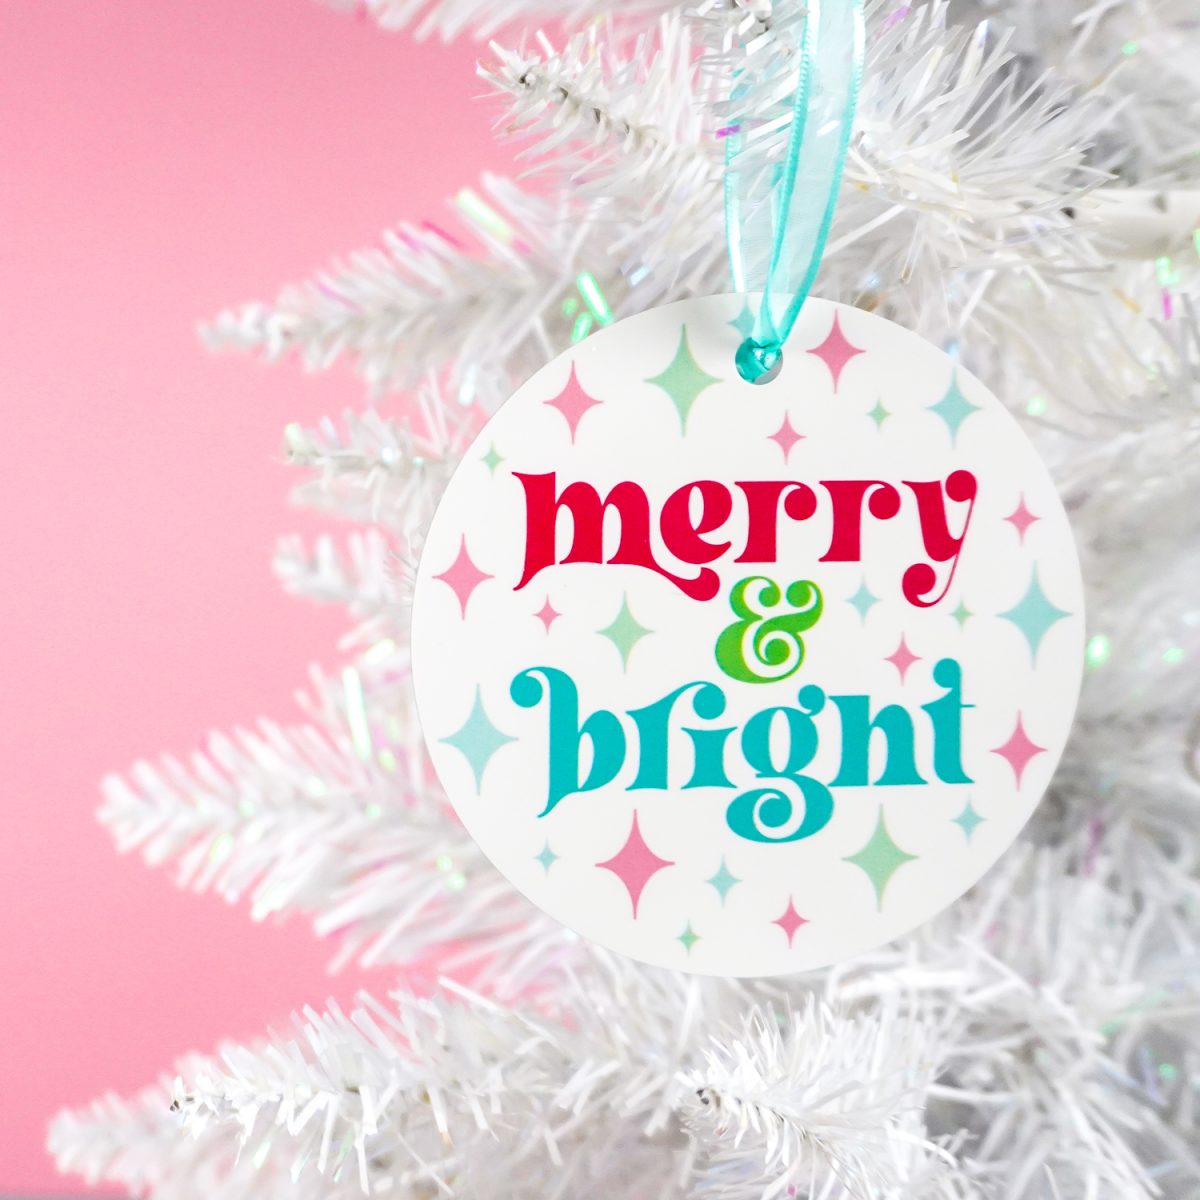
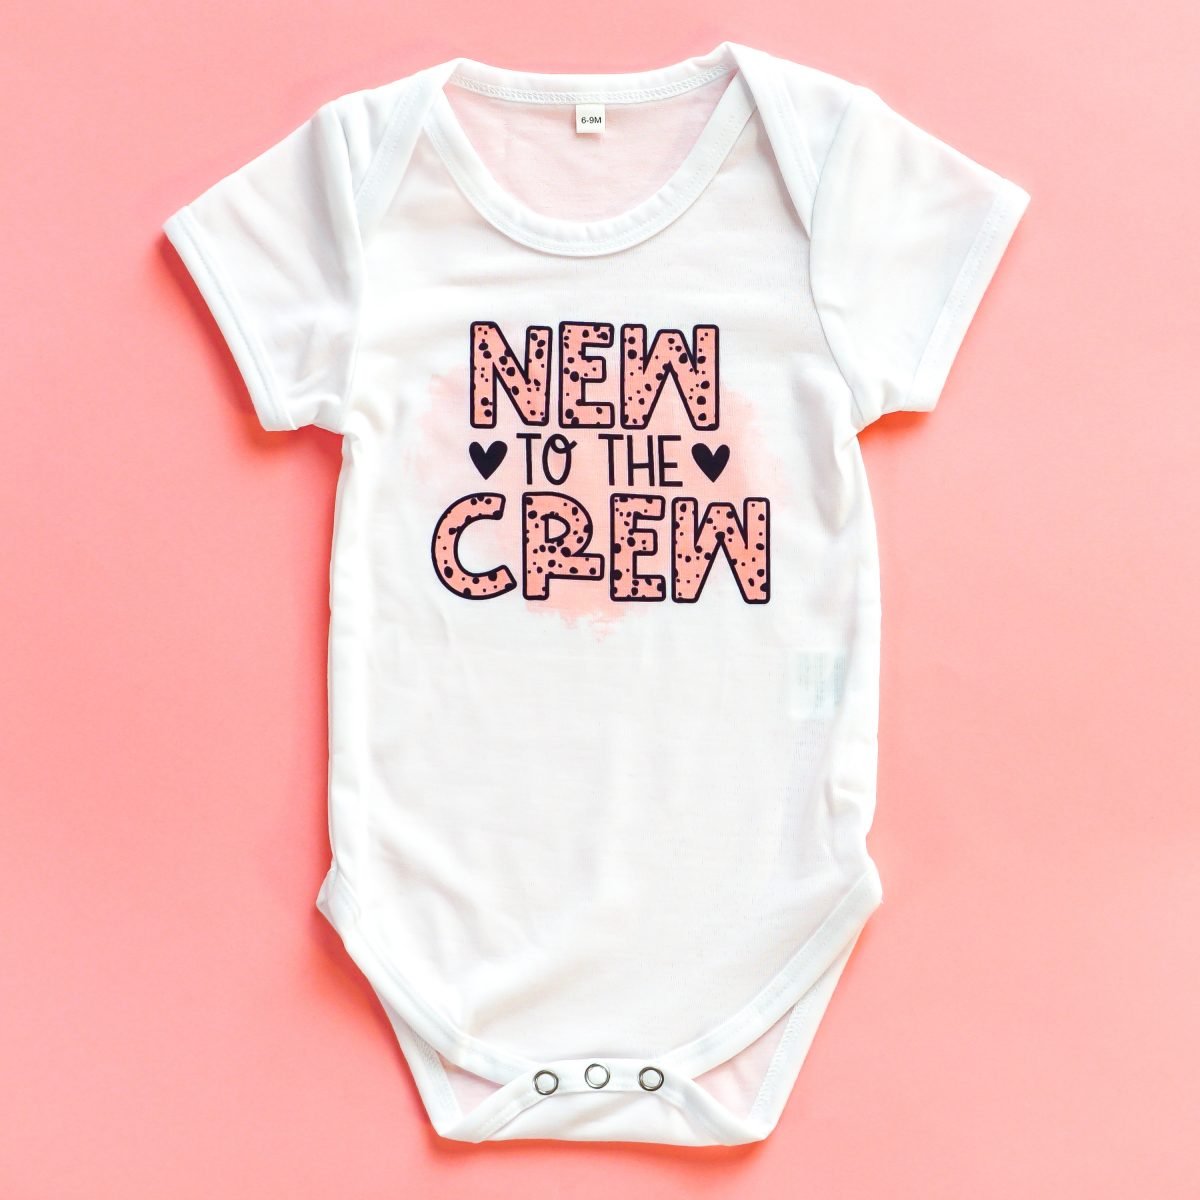
If you’re coming from a Cricut or Silhouette background, you’re probably familiar with SVG files. But you can sublimate so much more than just SVGs! Let’s talk about sublimation images and what you should look for when searching out images for your projects.
Bitmap vs. Vector Images
There are two main categories of images, and you may run across both while sublimation crafting.
Bitmap Images
Bitmap images (sometimes called raster or pixel images) are PNG, JPG, BMP, GIF, PSD, and TIFF files. These are created in programs that work in pixels, like Photoshop or GIMP. Photographs are the best example of raster images.
When a raster image is resized, it loses resolution as the image gets bigger (it becomes pixelated). This is true of any raster image, so be aware of resizing small images to larger sizes—you’ll end up with a pixelated image.
Most sublimation files are created as raster images, though not exclusively.
PNG files, which are bitmap-based, are one of the most popular file for sublimation. PNG files can have a transparent background, making them particularly good for Print then Cut / sublimation applications using a cutting machine.
PNG files are “lossless,” meaning that when you save your original image as a PNG in a design program, it retains its quality and color. This makes PNG files ideal for sublimation printing. If you are saving your own designs for printing, a high-resolution PNG is your best bet.
You may also see JPG files, like with photographs. As long as the resolution is high enough, your projects should turn out great.
Vector Images
Vector images are SVG, AI, and DXF files. These are created in programs that work in vectors, like Illustrator or InkScape. A vector image is based on lines and points, not pixels. This means it can be resized without losing dimension. Think about fonts, which are vector-based. You can make a font any size you want and you don’t lose resolution (it doesn’t get pixelated the bigger it gets).
A lot of cut files for Cricut and Silhouette are vector images. That being said, you can print these vector images and sublimate them as well! If you are going to use an SVG file for sublimation, I suggest saving the file as a high-resolution PNG. Because SVGs are often built in layers, some printers struggle to print them. Saving as a PNG (in which the layers are automatically flattened) allows you to print your image with ease.
The Difference
You may be wondering what the difference is between bitmap and vector images when it comes to the types of images you can make for sublimation.
Vector-based designs generally do not have the same level of detail as raster designs. They may be solid colors or not have watercolor, hand-drawn elements, grunge, or pattern effects since those are harder to cut on a cutting machine.
For example, I designed two versions of this file, a simple SVG for cutting and a more complex PNG for sublimation with a pattern and background:
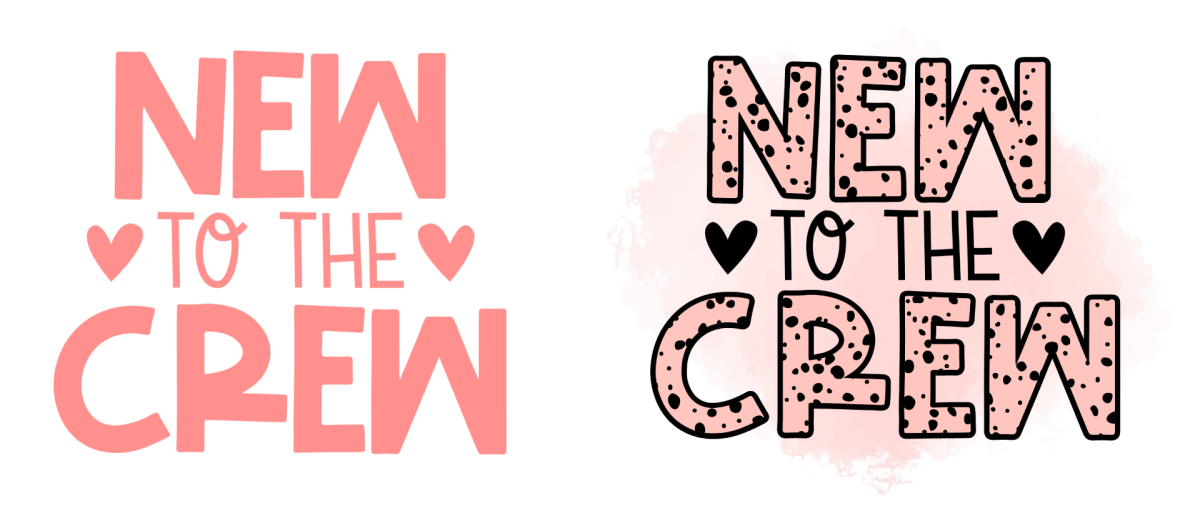
There’s no way that a cutting machine could cut that background watercolor or the spotted pattern on the right without chewing up the material. Sublimation can print full-color images, which is one of the many reasons some people prefer it over HTV.
Pressing Your Sublimation Projects
Finally, let’s talk about pressing your sublimation projects!
For the sublimation process to work, you’ll need a press that goes up to about 400° F. Most presses these days get that hot, but if you have the original Cricut EasyPress, it only goes up to 350° and won’t work for sublimation.
You can sublimate with a Cricut EasyPress, but be aware that you may struggle on some substrates. Sublimation requires firm, even pressure and sometimes it’s hard to get that with an EasyPress. Overall, I definitely recommend a traditional heat press if you can afford one.
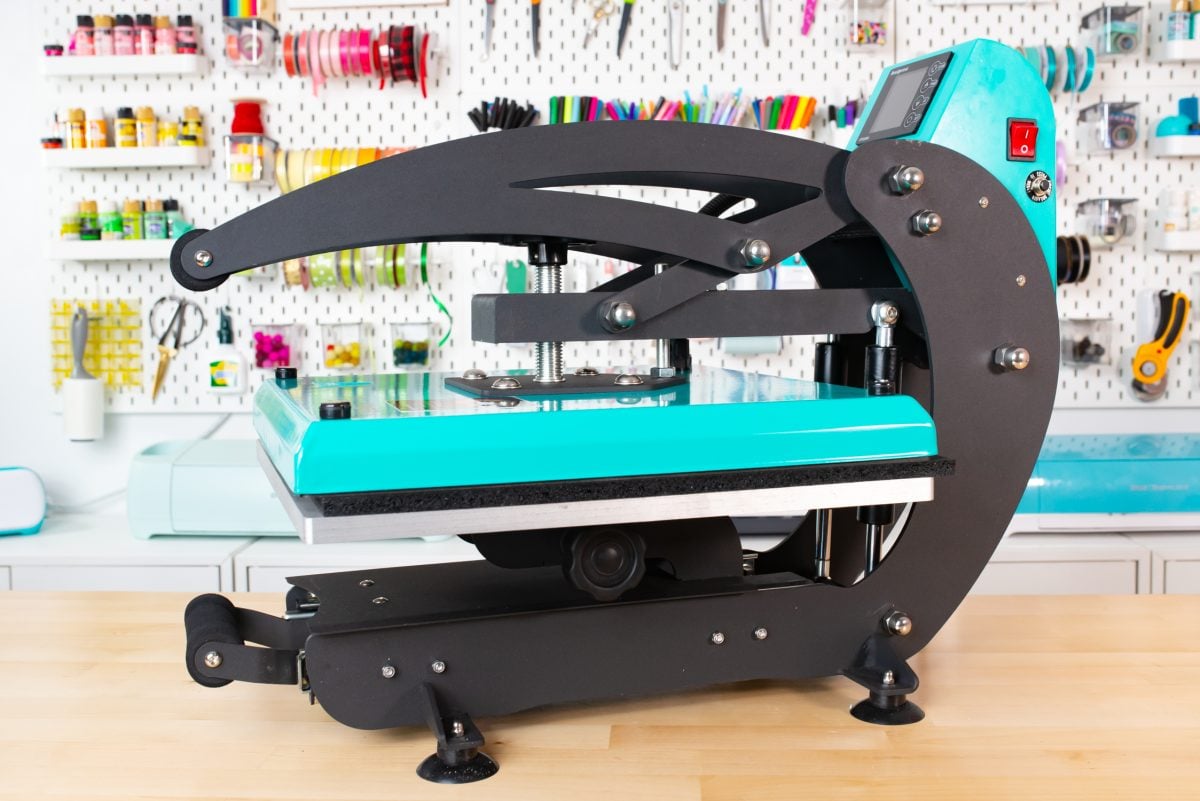
You may also want to look at other specialty presses, like a mug press or a tumbler press, as well as a sublimation oven.
There are three elements that go into the perfect sublimation press. Always check the substrate manufacturer’s instructions for their recommended settings!
Time
The press time, also called the dwell time, is the amount of time your heat press is actually pressing your substrate. This can range as quickly as 30 seconds to longer than 10 minutes, depending on the substrate.
Always use the countdown feature on your press—the last thing you want is to forget your item in the press!
Temperature
The baseline temperature for sublimation is 400°, but this will vary for each blank and can go as low as 360°.
Pressure
The pressure refers to the amount of pressure your press is putting on the blank. Most items use medium pressure but some may use heavy or light pressure. If you want to do projects with heavy pressure, like sublimation slates, I recommend a traditional heat press over an EasyPress—it’s just easier to get that firm pressure.
Sublimation isn’t necessarily a difficult craft, but it does have its eccentricities! I see so many people get started with sublimation without reading much about it and then they are disappointed that they can’t sublimate on dark or cotton fabrics, they can’t get the color right in their converted printer, or their press won’t provide enough pressure for the projects they want to make.
But as long as you know the limitations before going into sublimation, you’ll do great!
If you want additional help, join our Sublimation Made Simple Facebook group. We’re always around to offer advice and ooh and ahh over your projects!


Comments & Reviews
Shirl Lundstrom says
Will you be doing a sublimation camp in 2025? Thanks.
Crystal Summers says
Hi Shirl,
Yep! Cori and Angie will be back for another Sublimation Camp in 2025. If you want to be kept up on the latest Camp announcements, you can join their Camp newsletter here: https://crafting-camps.kit.com/e7ec6f1909
Happy crafting!
Crystal, HLMS Community Manager