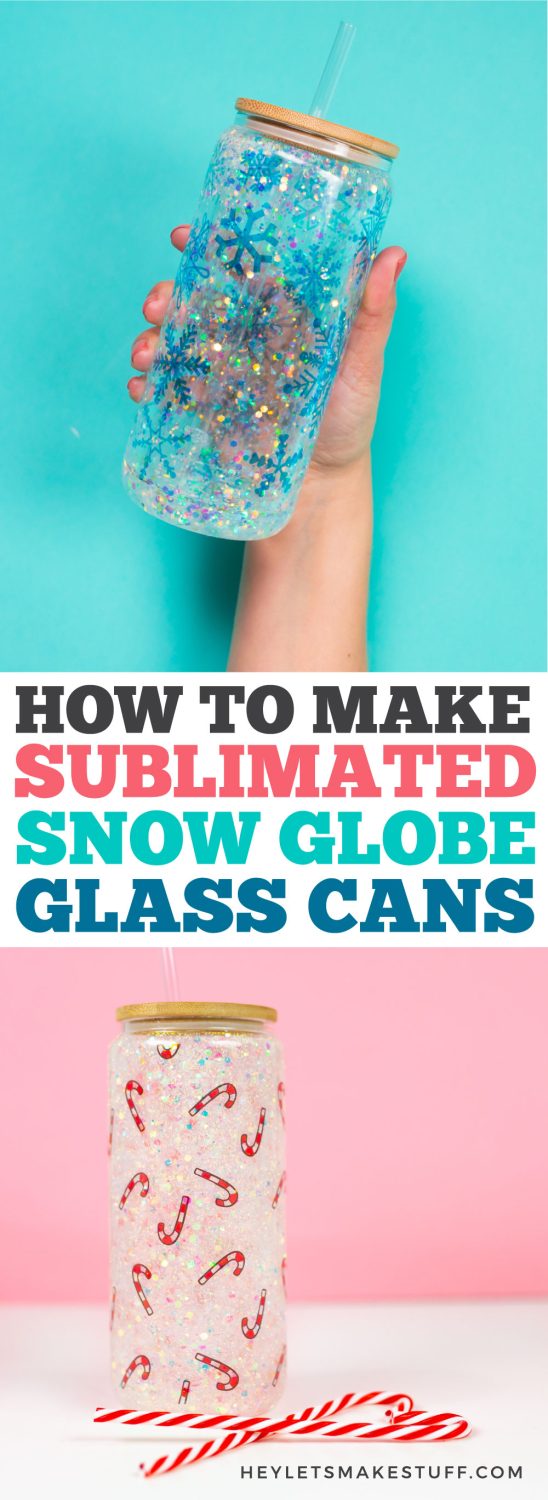
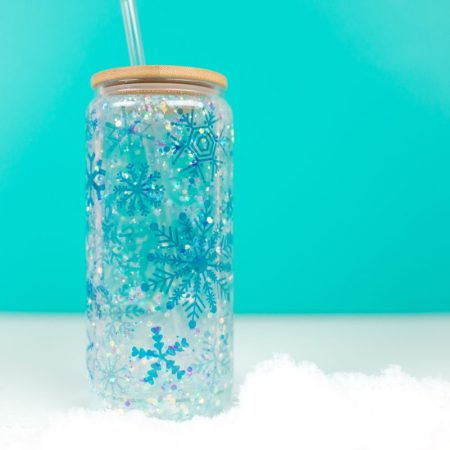
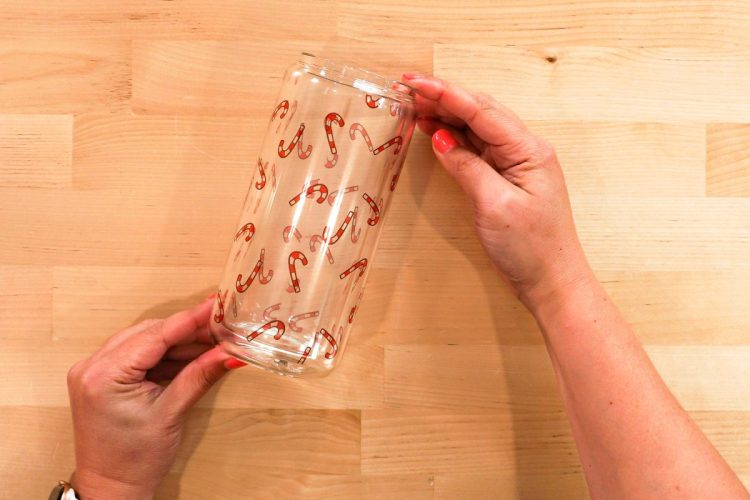
Take your beverages up a notch with this gorgeous sublimated snow globe tumbler! Sublimate an image on the glass and then fill with a sparkly glitter solution. Perfect for gifts and your crafty small business. Here’s how to do it!
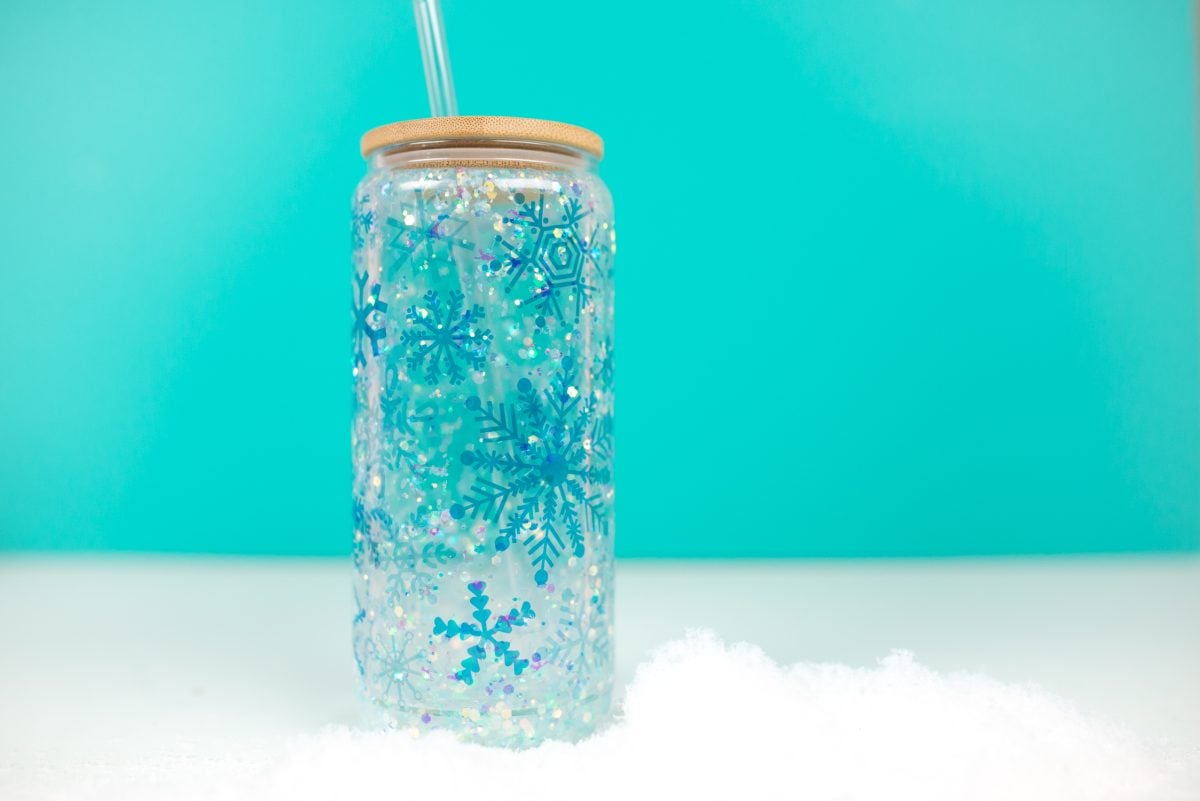
I’m not usually a huge glitter fan (hello mess!), but I am LOVING these gorgeous sublimated snow globe tumblers I made! When you shake them, the glitter slowly moves around, just like a snow globe.
These are actually called glass cans, but I see so many people calling them tumblers, so we’re going with that terminology here. The nice thing about these particular tumblers (linked below in the supply list), is that they have pre-drilled holes in the bottom for adding your glitter solution. You don’t need a drill bit like you do with plastic tumbler versions of this craft.
I’ve crafted my sublimated snow globe tumblers for the winter holidays since they’re coming up, but these can be made for any time of year! Think of one with cute lemons on the outside with a citrusy mix of glitter, or with spooky ghosts and black and pink glitter. So many fun ideas!
These DIY snow globe tumblers make great gifts and are perfect for selling if you have a small craft business selling in person or on Etsy or other online marketplace. The double-walled glass can tumblers aren’t inexpensive, but they are so beautiful and unique that you can charge a premium price!
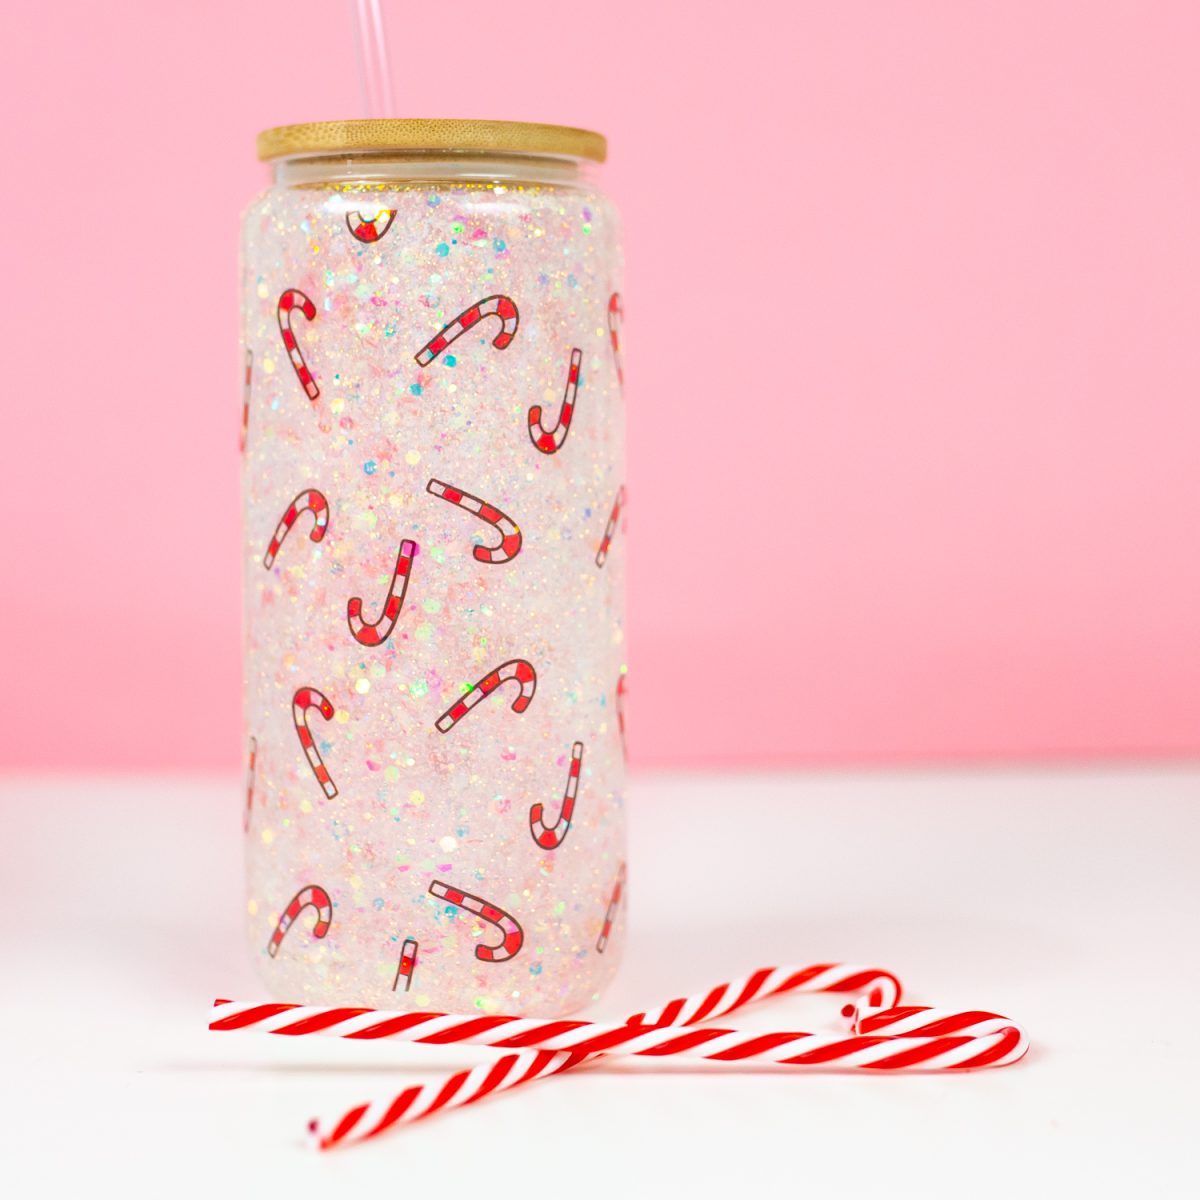
There are two parts to this craft. First is sublimating the outer wall of the tumbler, and then the second is filling it with the glitter solution. Ready to make your own glitter tumblers? Let’s dive in with this step-by-step tutorial!
Watch How to Make Sublimated Snow Globe Tumblers
Watch this video tutorial from my YouTube channel to see how I made these sublimated snow globe tumblers! If you’re prefer a written tutorial, read on!
Snow Globe Tumbler Supplies
Get everything you need to make these tumblers on my Amazon shopping list!
- Sublimation snow globe tumbler (use code HEYLETSMAKE10 to save 10%!)
- Sublimation printer
- Sublimation paper
- Tumbler press (you can also use a convection oven and shrink wrap)
- Heat-resistant tape
- Heat-resistant gloves
- Butcher paper
- Chunky glitter (you can also use some fine glitter, though I find the chunky is just prettier)
- Vegetable glycerin
- Water
- Cup
- Popsicle stick or other stirrer
- Plastic syringe
- UV resin kit with UV light
- Sublimation design
Get the Free File
Want access to this free file? Join my FREE craft library! All you need is the password to get in, which you can get by filling out the form below. The file number is: S11.
Note: You can also skip the sublimation step for these and use an adhesive vinyl decal cut on your Cricut or other cutting machine instead!
Sublimating the Glass Can Tumbler
You can use whatever design you’d like on the tumbler! For the candy canes, I used a candy cane image from Design Bundles which I repeated to create the larger image, and you can download my free snowflake wrap here.
Print your image using your sublimation printer. For this project, I used my new Sawgrass SG500, but you can use your converted Epson if that’s what you have. Measure your tumbler and create your design to fit using a sublimation software program. Print your design, remembering to reverse it.
This is a pretty basic tutorial for sublimating on glass, but you can also check out my posts How to Use a Tumbler Press for Sublimation and How to Make Glass Sublimation Tumblers and Mugs in a Tumbler Press if this is your first time sublimating!
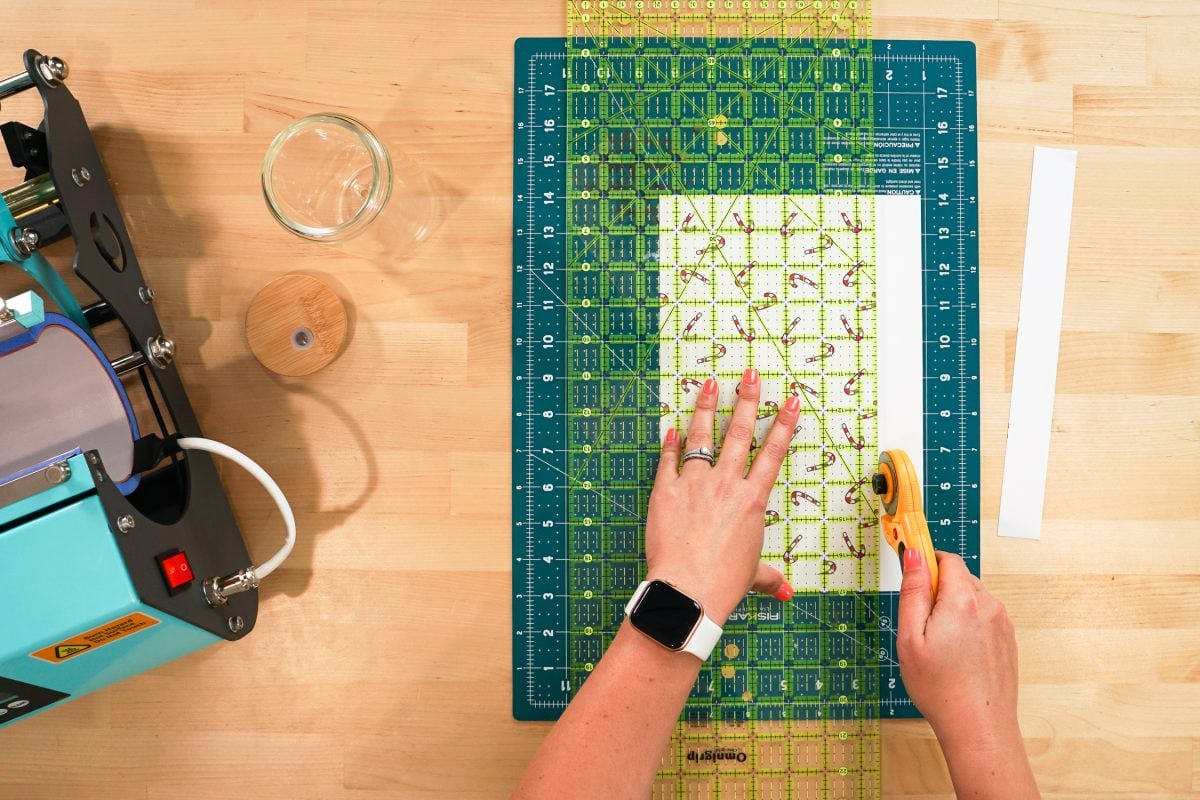
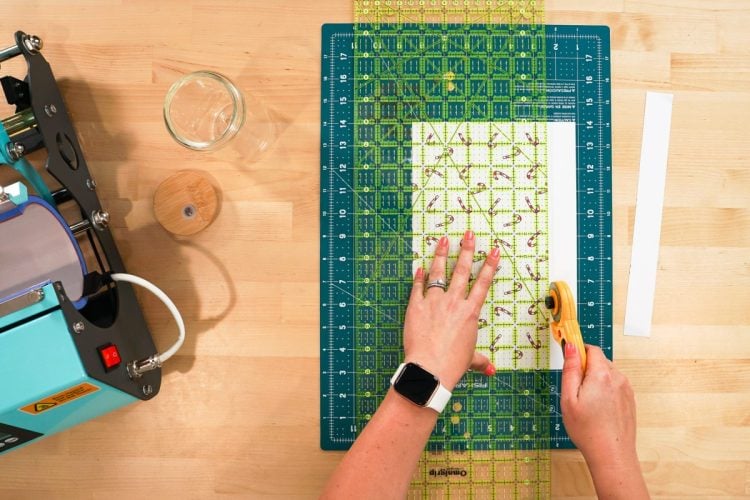
Remove your lid and straw from your the top of the cup. Then trim down your design to fit your tumbler. I like doing this using a rotary cutter, acrylic ruler, and self-healing cutting mat, but you can use a paper trimmer as well.
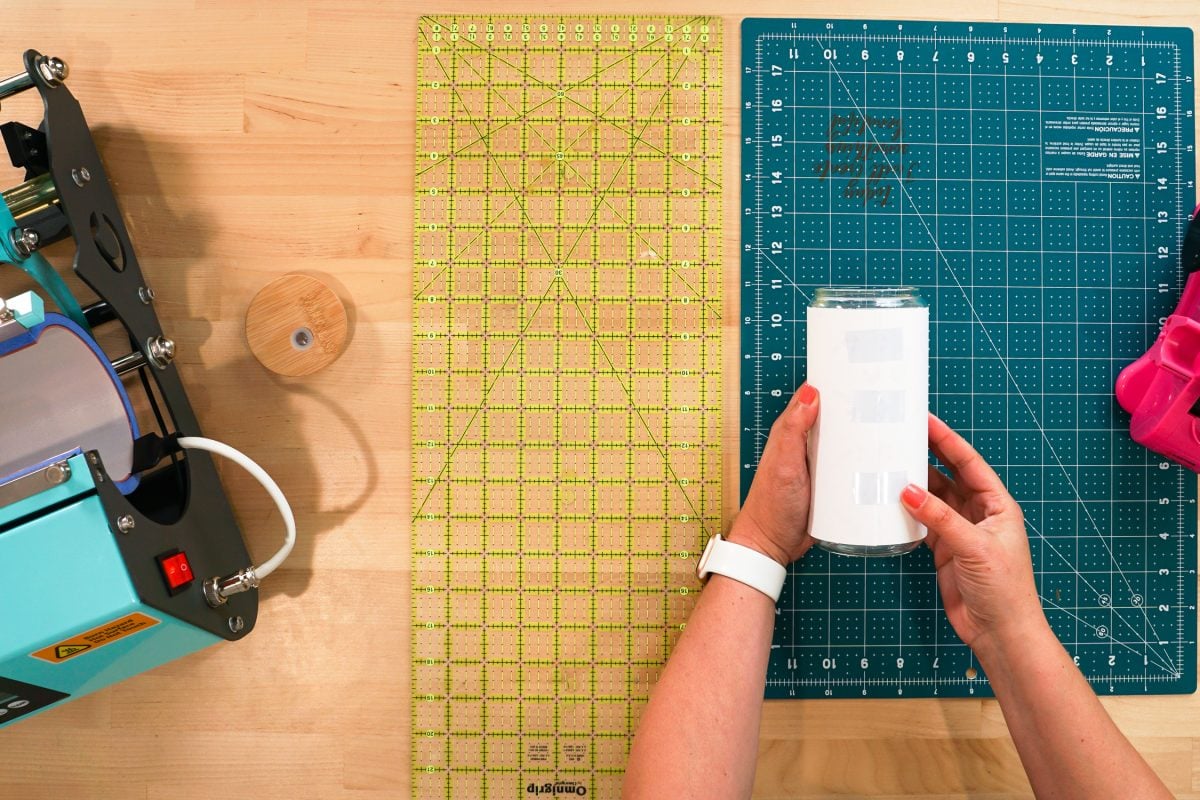
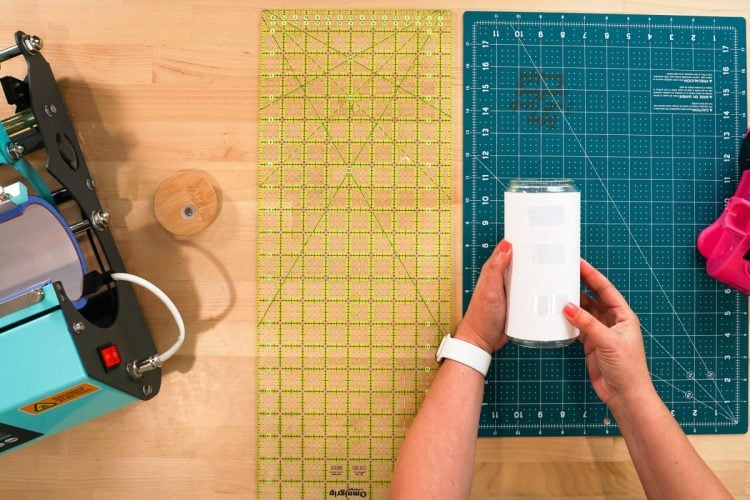
Use heat resistant tape to secure your image to your tumbler. Because my images don’t go onto the tapered part of the tumbler, I didn’t bother taping at the top and bottom.
Add your butcher paper and press in your tumbler press for 120 seconds at 360°. Then rotate the tumbler in the press 180° and press for another 120 seconds. Once it’s cooled, remove the butcher paper and transfer sheet to see your sublimated glass tumbler!
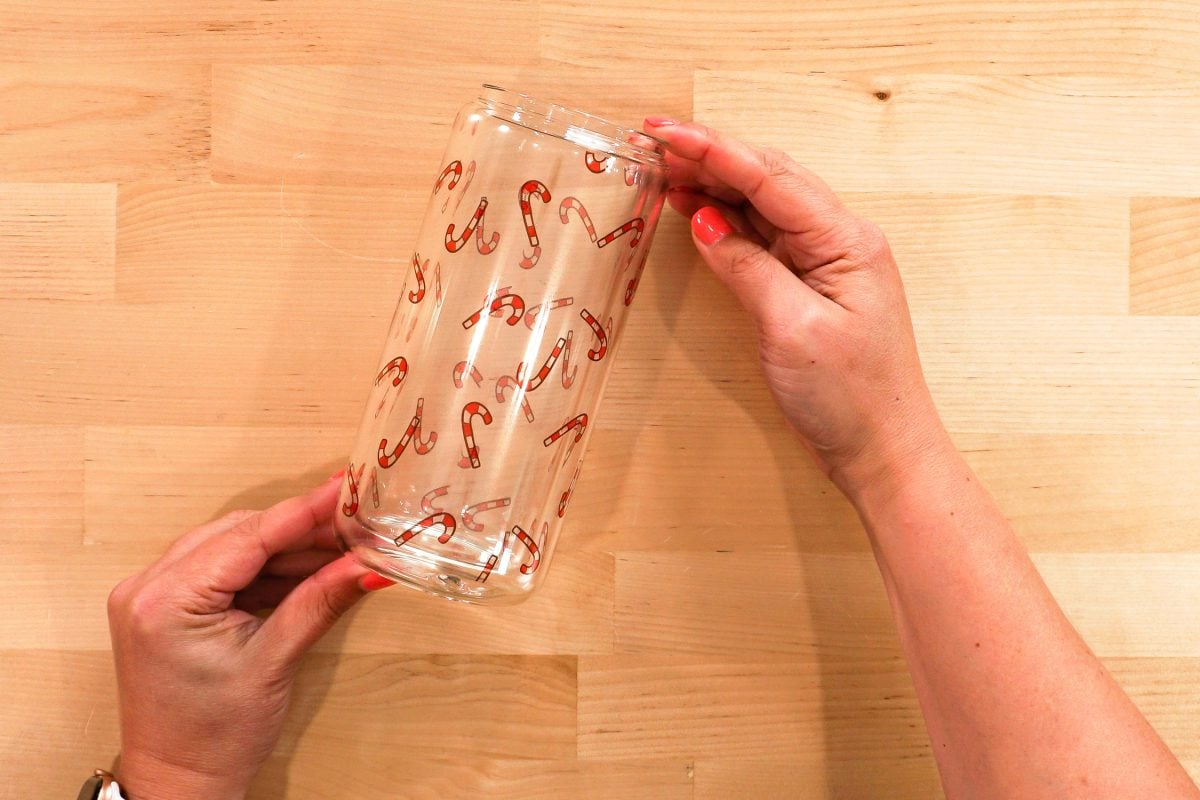
Add the Glitter Solution to the Tumbler
Now it’s time to add our liquids and glitter!
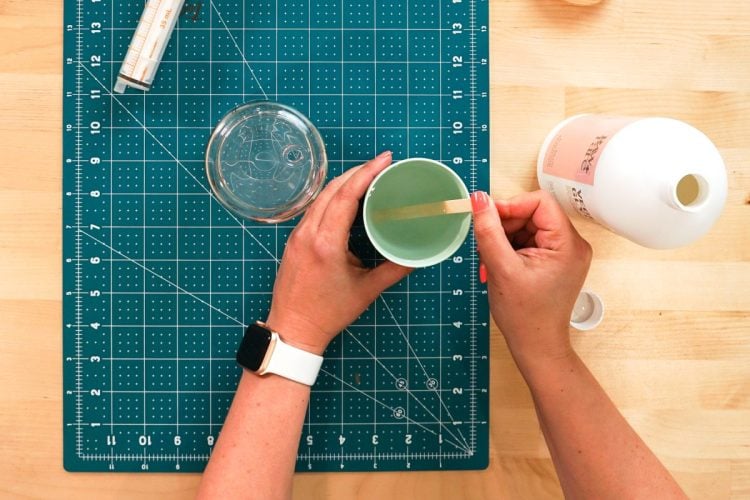
The mixture I’ve found that works best is 50% water and 50% vegetable glycerin. I also tried baby oil and didn’t like it at all, and I know people have tried clear glue, contact solution, and other solutions. But I found this combo of 50/50 water and glycerin worked great and isn’t particularly expensive.
Mix together about 4 oz of liquid—2 oz of water and 2 oz of vegetable glycerin. It’s easy to make more, so don’t worry if you run out partway through filling your tumbler. I like to use a small cup and a popsicle stick. You’ll see how uneven the water and glycerin feel when you first start mixing, and then it will come together.
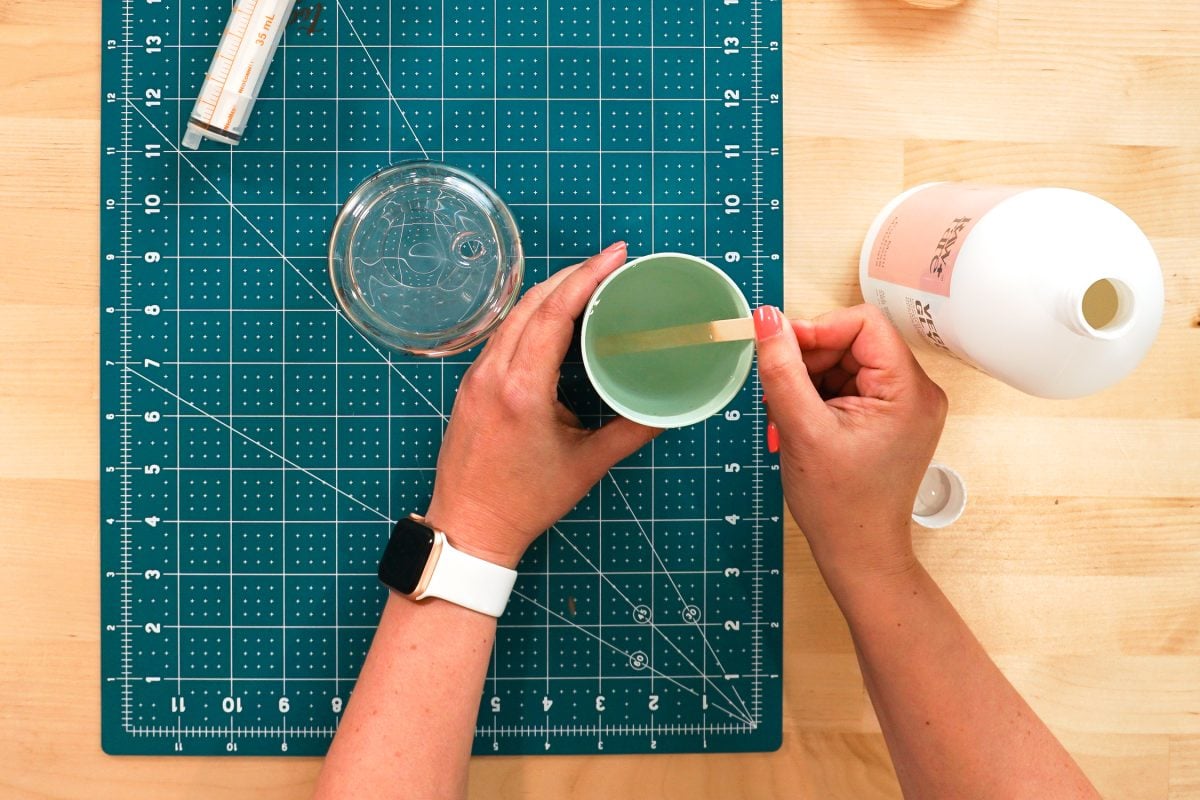
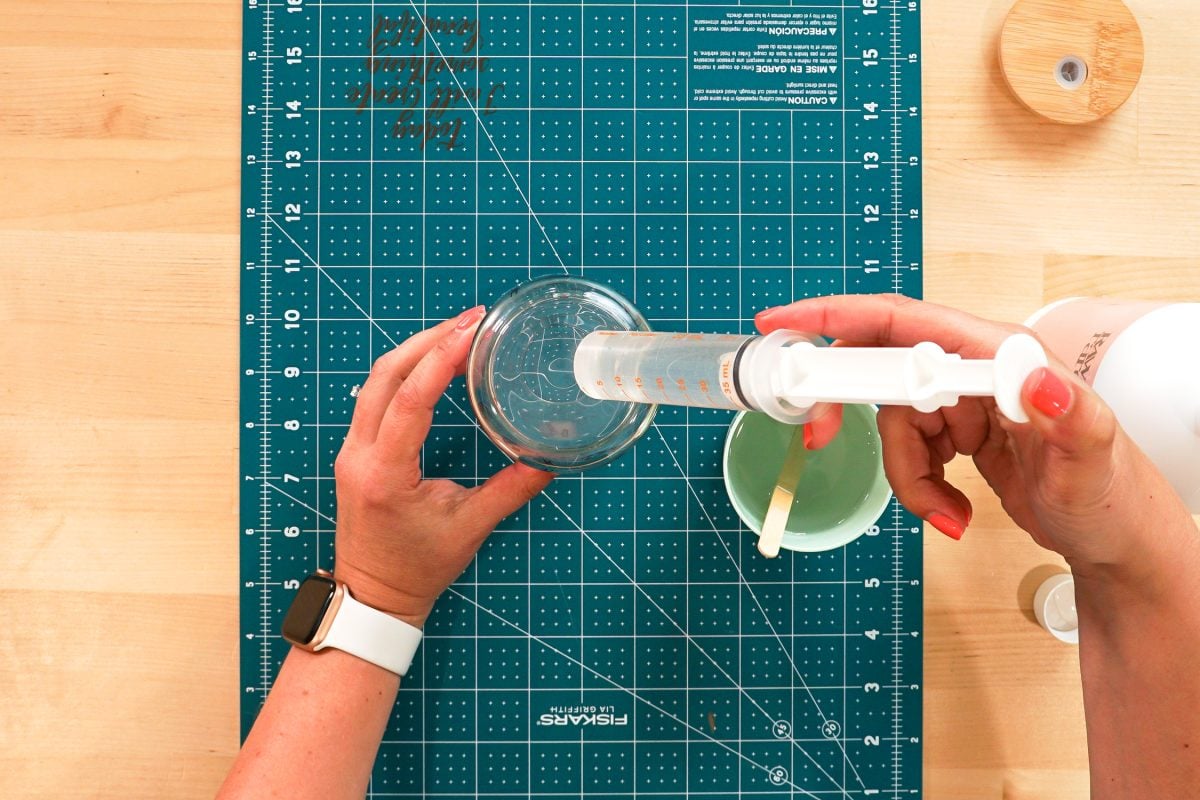
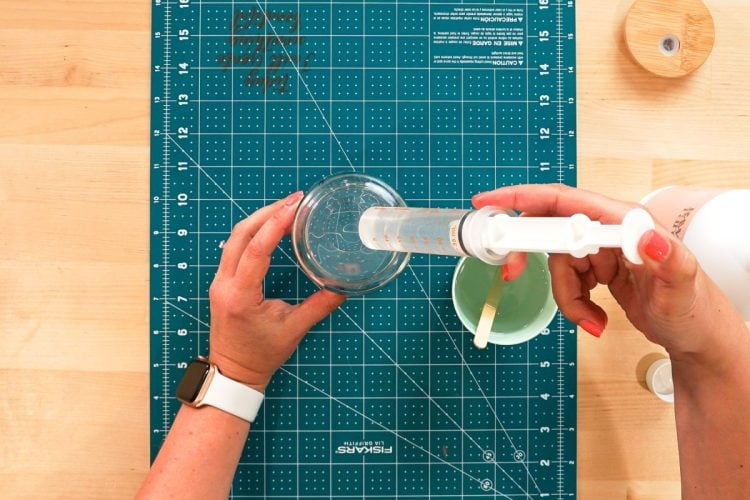
Then use your syringe to pick up about 20ML of your water mixture and carefully squeeze the mixture through the nozzle into the hole in the tumbler. If it’s easier, you can tilt the tumbler a bit so the solution runs down the inner wall of the cup. You can also use a pipette, but I found the syringe to be a lot faster.
You don’t want to fill the whole thing, just add a bit so your glitter doesn’t stick to the narrow rim of the glass when you start adding it.
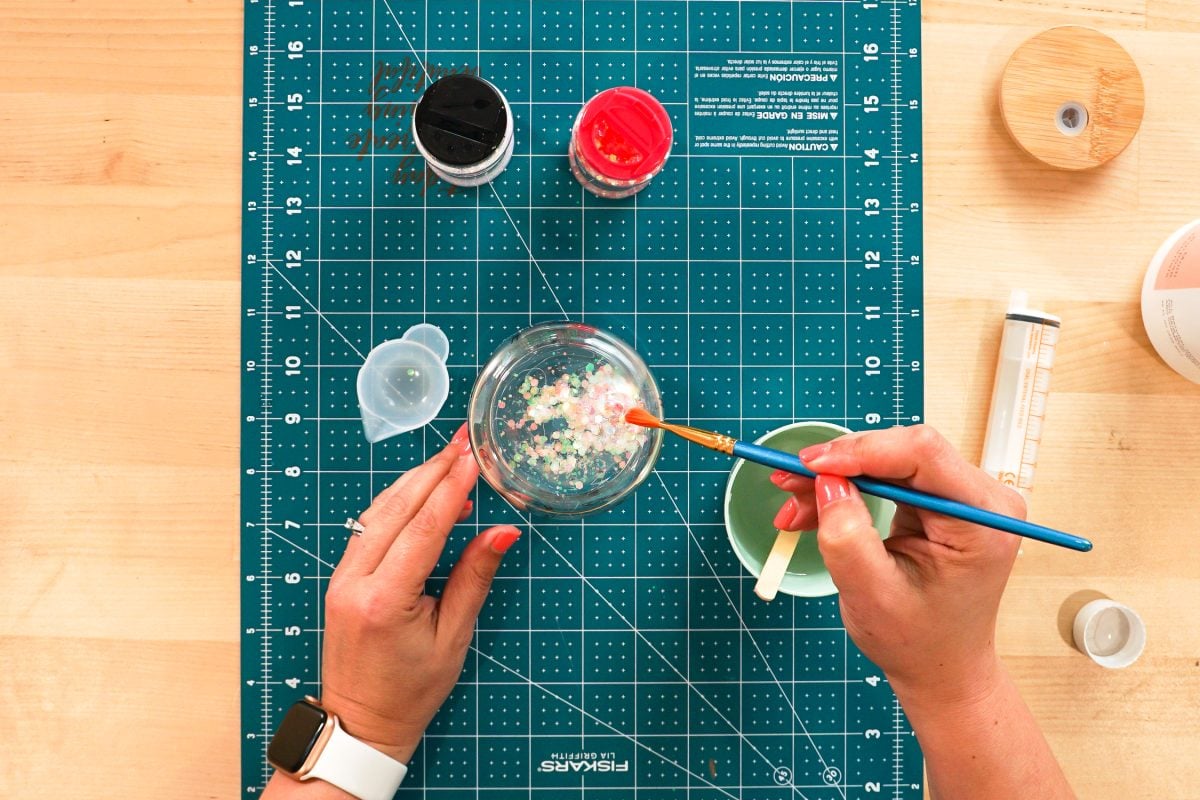
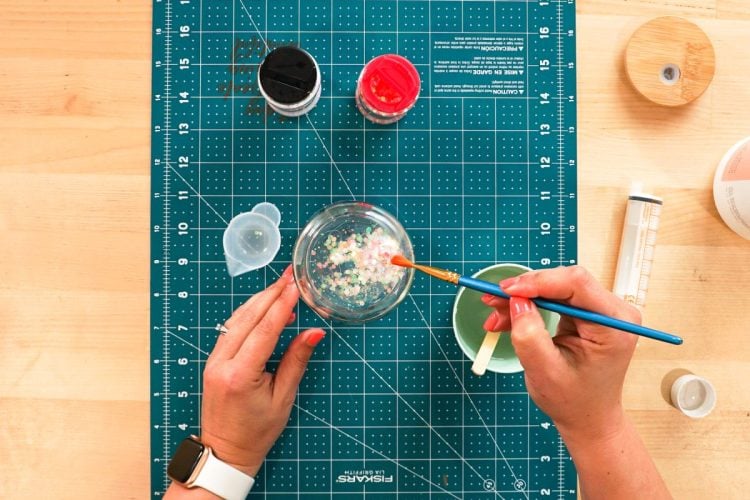
Next we’re going to add our glitter. I tried using a funnel, but found that the glitter got stuck. Instead, I found the easiest way was to just pour some glitter on the tumbler and use a paint brush to sweep the glitter into the hole. I probably used one tablespoon of glitter in all.
Once you have all of the glitter into the tumbler, use the syringe to fill the tumbler the rest of the way with the solution. You want to get the tumbler as full as possible, to avoid air bubbles.
I also found that for the last little bit of the solution, using straight water worked well. It has a lower viscosity and can fill up that last little bit of the tumbler more easily than the 50/50 solution. It mixes right in the first time you shake your tumbler.
Using Resin to Seal the Hole
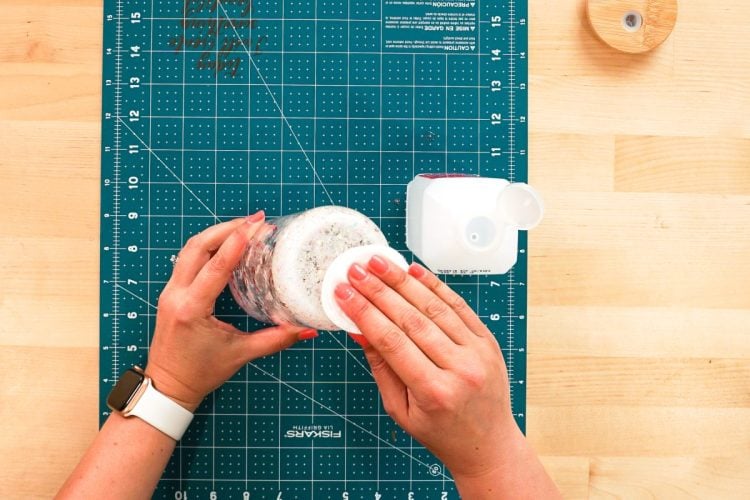
Once your tumbler is as full as you can get it, clean the bottom with an alcohol wipe to remove and solution and glitter. You want the cleanest surface possible for your UV resin to adhere to.
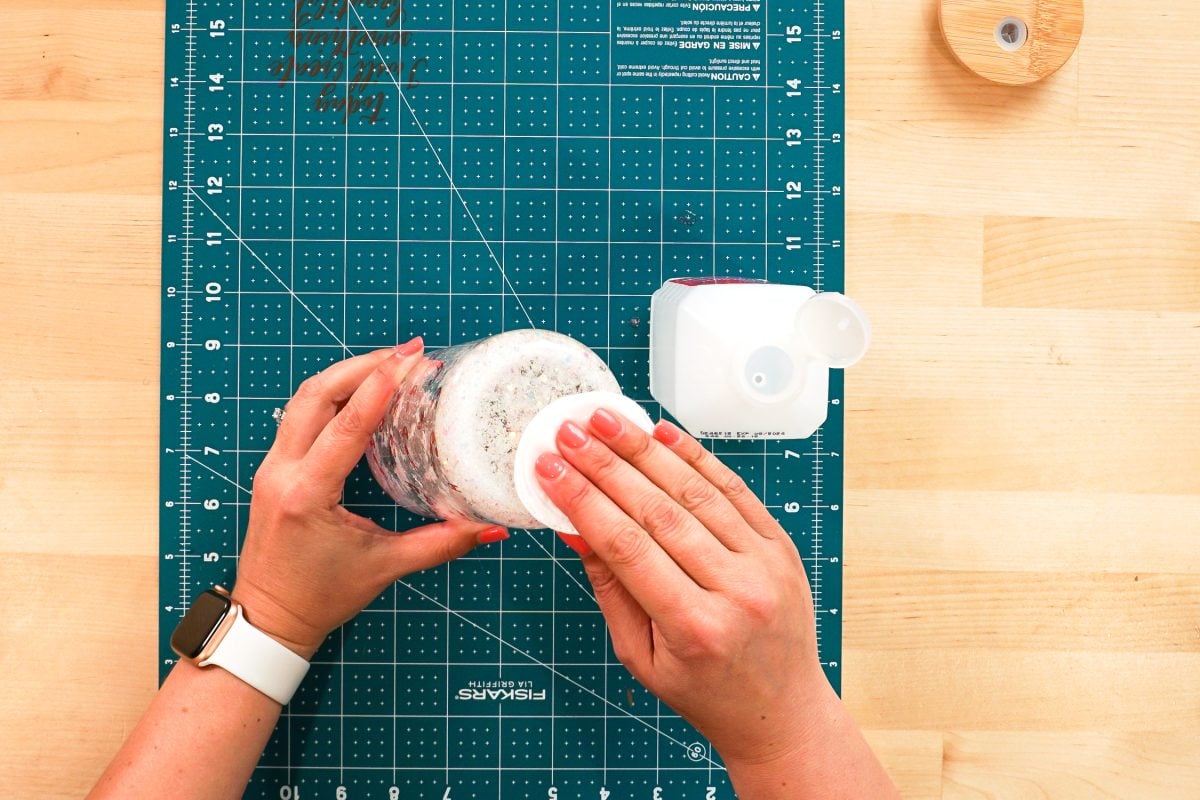
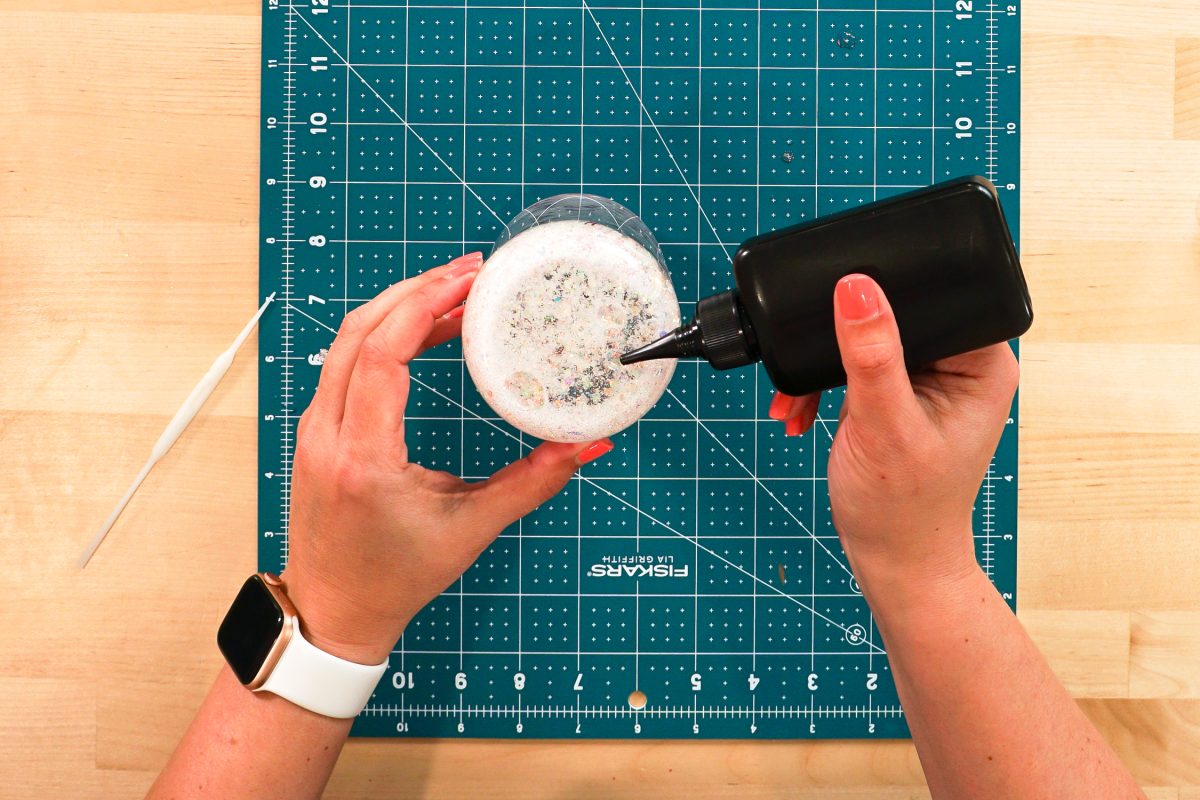
Finally, we’re going to use UV resin to seal the hole in the bottom of the tumbler. If you haven’t used this type of resin, it’s really easy. It’s a single bottle (no mixing two types of resin together, like with casting/epoxy resin) and is cured by UV light. That’s the reason it comes in an opaque bottle—direct sunlight will cure it.
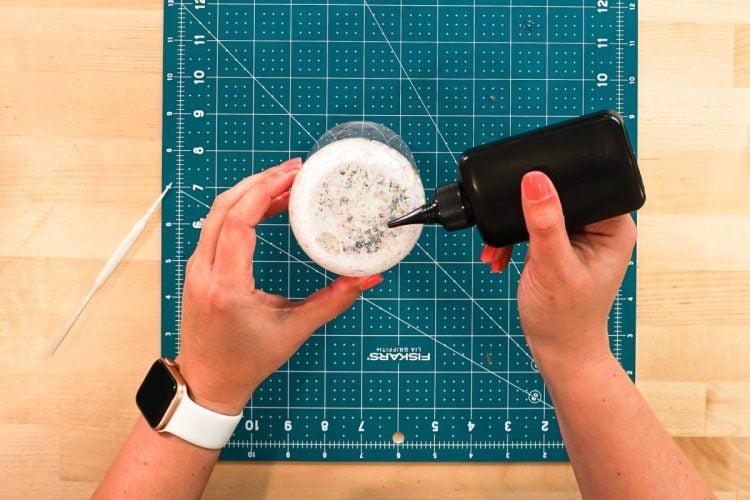
Remove the cap and squeeze a small amount of UV resin over the hole in your tumbler. Use the popsicle stick if needed to flatten it out a bit. You want to make sure the hole is fully sealed
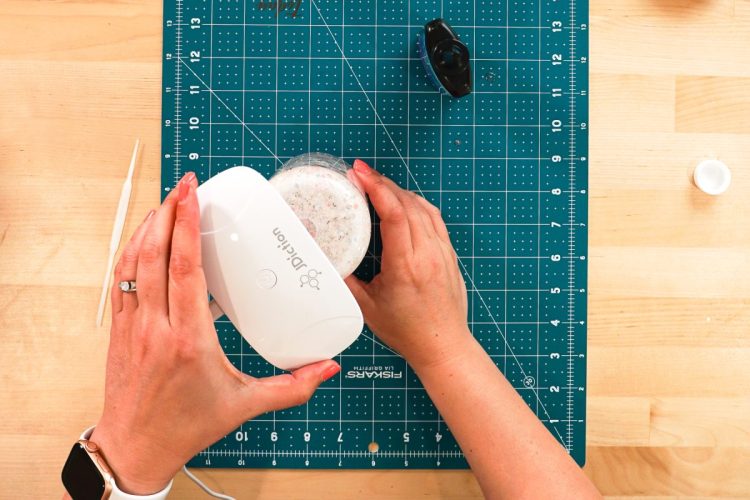
Then use the UV lamp that comes in the resin to cure it for two minutes (you may need to restart your UV light if it has a 60-second timer).
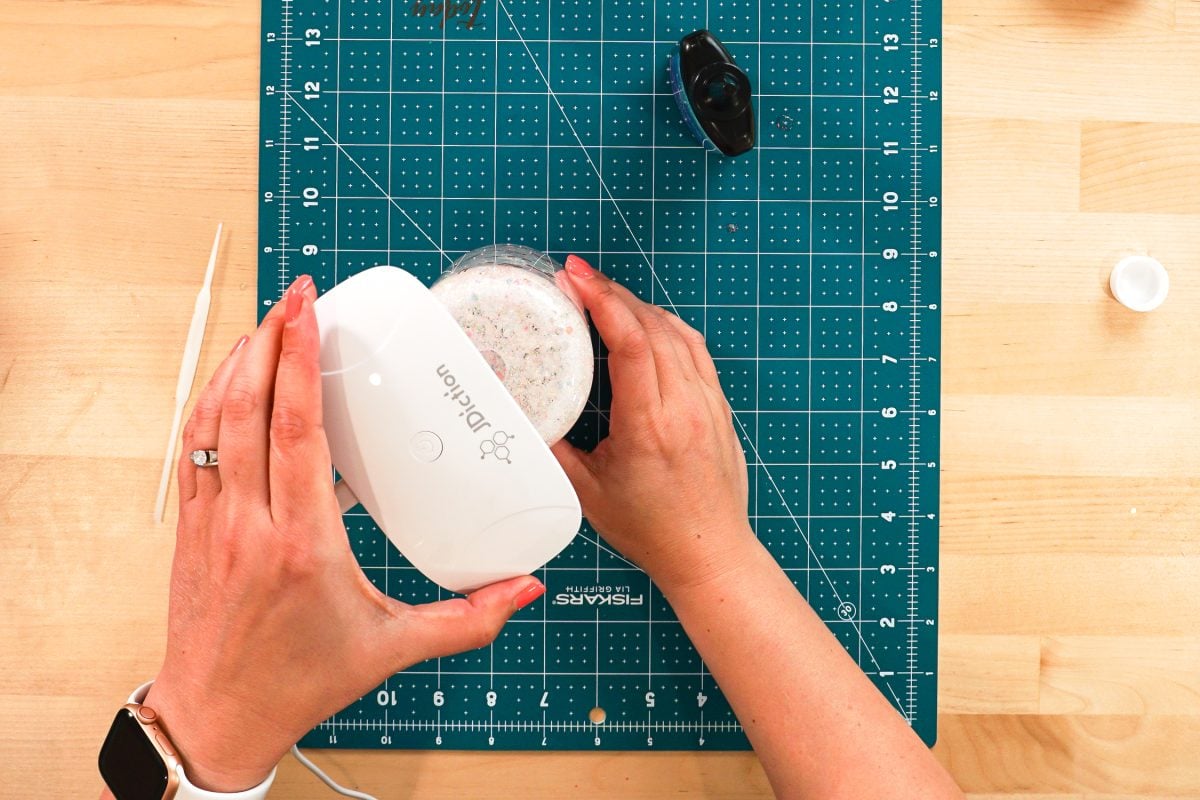
You then want to test to make sure your tumbler is not leaking. Carefully tilt the tumbler so the solution is over the hole. If you see solution bubbling through the resin, add another thin coat and cure again.
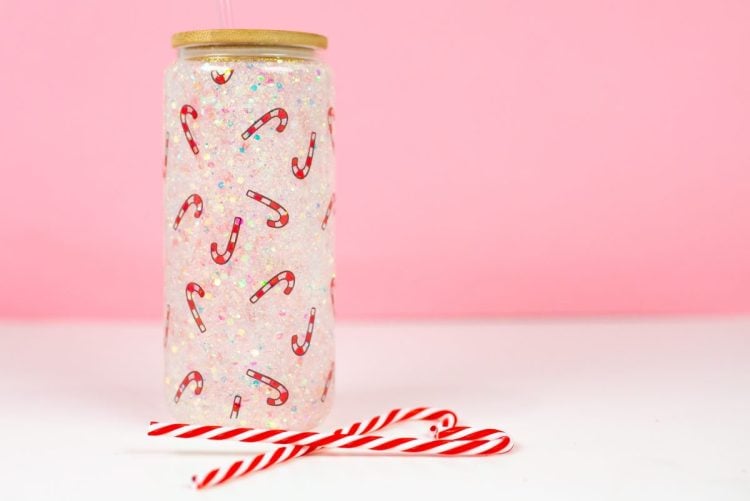
Add your lid and straw back onto the top and you have your amazing tumbler! So cute!!
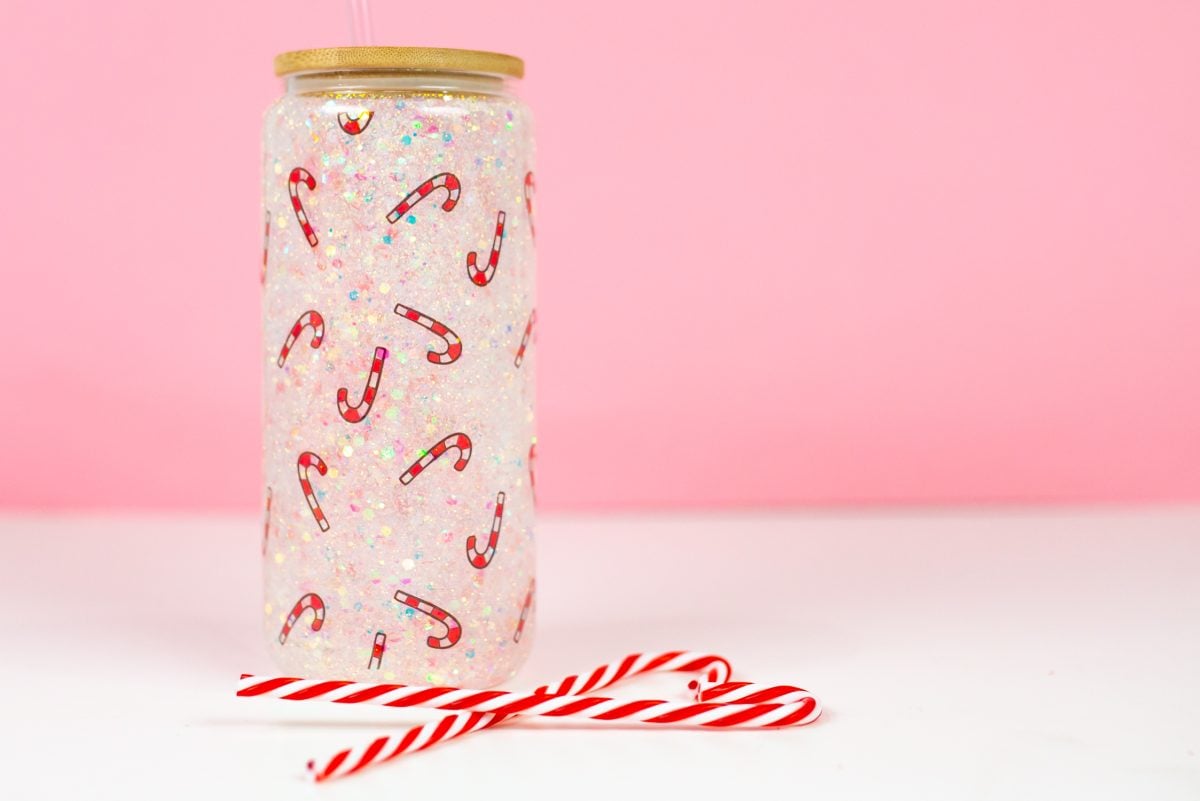
To keep these in tip-top shape, hand wash only.
You can also make Starbucks tumblers using this method and an acrylic tumbler!
Hope you found this tutorial for making sublimated snow globe tumblers helpful and inspiring! Have any questions? Drop them below and I’ll be happy to answer!
Is glitter your thing? If so, check out my blog on making a Glittery Mason Jar Snow Globe!
SUBLIMATING A SNOW GLOBE TUMBLER OR GLASS CAN
Equipment
- Tumbler press or you can also use a
- Chunky glitter or fine glitter
- Water
- Cup
- Popsicle stick or other stirrer
Supplies
- Sublimation snow globe tumbler (use code HEYLETSMAKE10 to save 10%!)
- Sublimation paper
- Free Snowflake Wrap File #S11
Instructions
- Note: You can also skip the sublimation step for these and use an adhesive vinyl decal cut on your Cricut or other cutting machine instead!Print your image using your sublimation printer.Measure your tumbler and create your design to fit using a sublimation software program. Print your design, remembering to reverse it.
- Remove your lid and straw from your the top of the cup. Then trim down your design to fit your tumbler. For this project a rotary cutter, acrylic ruler, and self-healing cutting mat were used, but you can use a paper trimmer as well.

- Use heat resistant tape to secure your image to your tumbler. Because the image being used doesn't go onto the tapered part of the tumbler, taping the top and bottom was not done.

- Add your butcher paper and press in your tumbler press for 120 seconds at 360°. Then rotate the tumbler in the press 180° and press for another 120 seconds. Once it's cooled, remove the butcher paper and transfer sheet to see your sublimated glass tumbler!

- Add the Glitter Solution to the TumblerNow it's time to add our liquids and glitter!The mixture that works best is 50% water and 50% vegetable glycerin. Also tried baby oil and didn't like it at all, and know that some people have tried clear glue, contact solution, and other solutions. But found that this combo of 50/50 water and glycerin worked great and isn't particularly expensive.Mix together about 4 oz of liquid—2 oz of water and 2 oz of vegetable glycerin. It's easy to make more, so don't worry if you run out partway through filling your tumbler. I like to use a small cup and a popsicle stick. You'll see how uneven the water and glycerin feel when you first start mixing, and then it will come together.

- Then use your syringe to pick up about 20ML of your water mixture and carefully squeeze the mixture through the nozzle into the hole in the tumbler. If it's easier, you can tilt the tumbler a bit so the solution runs down the inner wall of the cup. You can also use a pipette, but found the syringe to be a lot faster.You don't want to fill the whole thing, just add a bit so your glitter doesn't stick to the narrow rim of the glass when you start adding it.

- Next we're going to add our glitter. I tried using a funnel, but found that the glitter got stuck. Instead, I found the easiest way was to just pour some glitter on the tumbler and use a paint brush to sweep the glitter into the hole. I probably used one tablespoon of glitter in all.

- Once you have all of the glitter into the tumbler, use the syringe to fill the tumbler the rest of the way with the solution. You want to get the tumbler as full as possible, to avoid air bubbles.For the last little bit of the solution, using straight water worked well. It has a lower viscosity and can fill up that last little bit of the tumbler more easily than the 50/50 solution. It mixes right in the first time you shake your tumbler.
- Using Resin to Seal the HoleOnce your tumbler is as full as you can get it, clean the bottom with an alcohol wipe to remove and solution and glitter. You want the cleanest surface possible for your UV resin to adhere to.

- Finally, we're going to use UV resin to seal the hole in the bottom of the tumbler. If you haven't used this type of resin, it's really easy. It's a single bottle (no mixing two types of resin together, like with casting/epoxy resin) and is cured by UV light. That's the reason it comes in an opaque bottle—direct sunlight will cure it.Remove the cap and squeeze a small amount of UV resin over the hole in your tumbler. Use the popsicle stick if needed to flatten it out a bit. You want to make sure the hole is fully sealed

- Then use the UV lamp that comes in the resin to cure it for two minutes (you may need to restart your UV light if it has a 60-second timer).

- You then want to test to make sure your tumbler is not leaking. Carefully tilt the tumbler so the solution is over the hole. If you see solution bubbling through the resin, add another thin coat and cure again.Add your lid and straw back onto the top and you have your amazing tumbler! So cute!!

- To keep these in tip-top shape, hand wash only.You can also make Starbucks tumblers using this method and an acrylic tumbler!


Comments & Reviews
Elizabeth says
So cute!