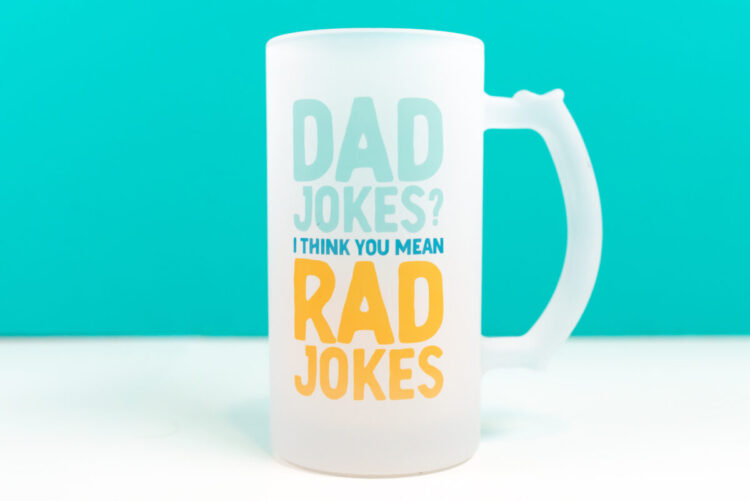
Sublimation beer mugs make a great Father’s Day or birthday gift for your favorite guy! Here’s how to sublimate beer mugs using a tumbler press and a sublimation oven. Plus get a free “dad jokes” sublimation file!
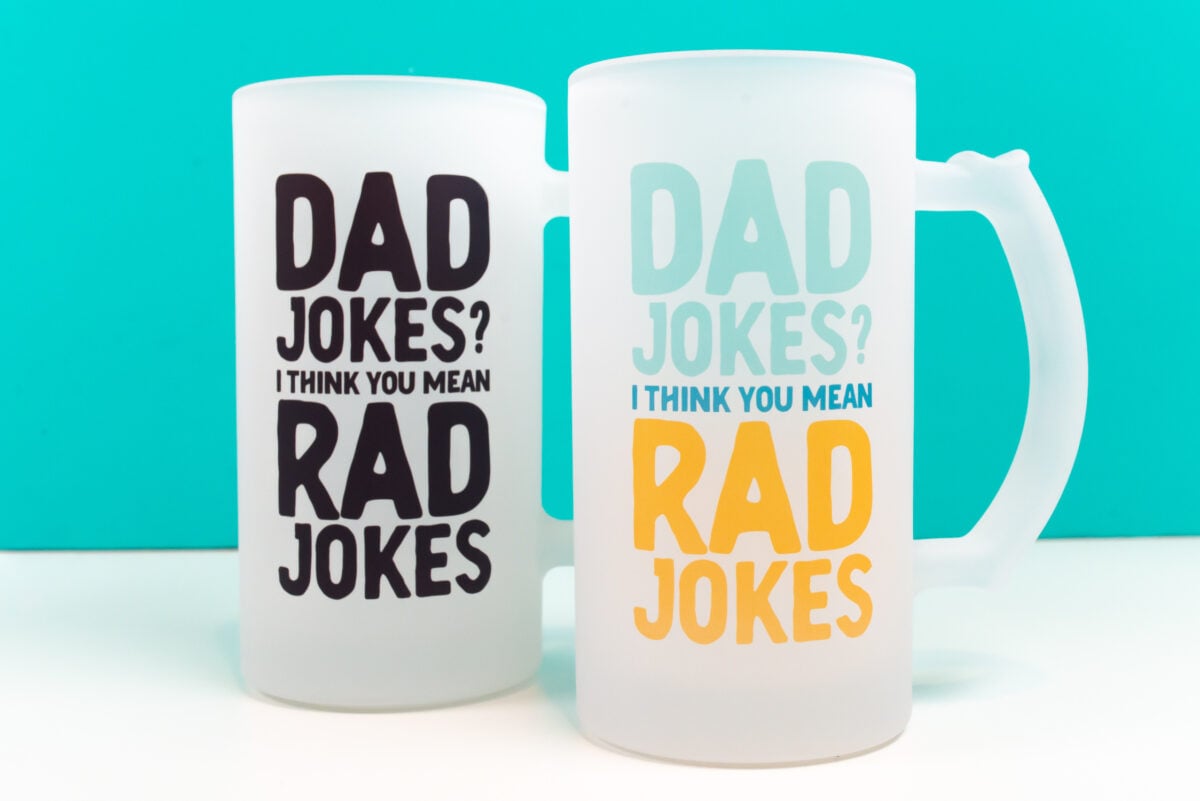
Father’s Day is coming up, so let’s make some custom beer mugs for dad! Of course, dad isn’t the only one who enjoys a cold beer, so you can also make these sublimation beer mugs for anyone who loves a frosty brew! Sublimation beer steins are the perfect way to customize something special for the beer-fan in your life.
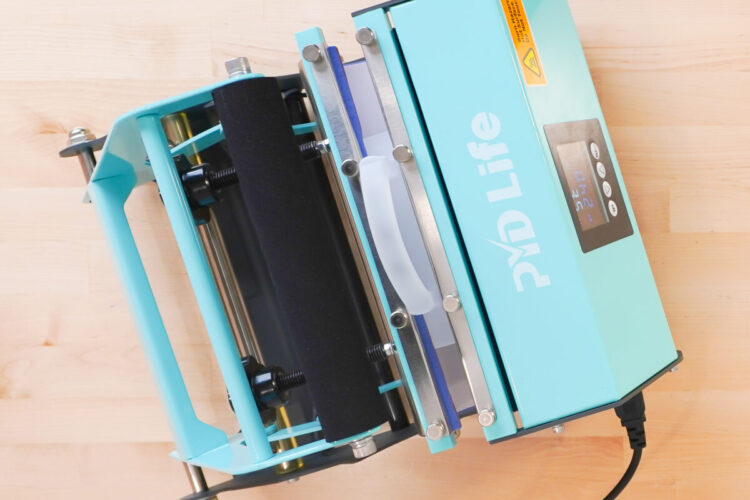
Today I’m going to show you how to sublimate beer mugs two ways—using a tumbler press and using a sublimation oven. That way, no matter which heat source you have, you’ll be able to make this fun and easy gift! This is one of the easiest sublimation projects and I was really impressed with the quality of the final image on these blanks!
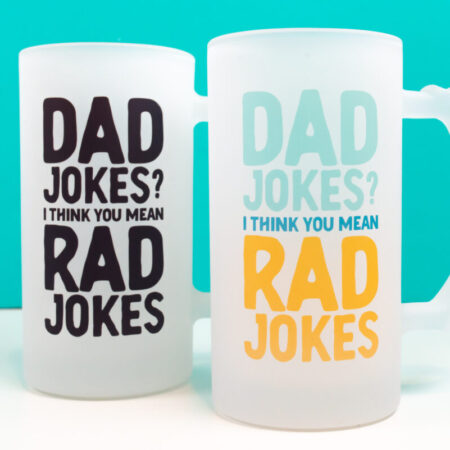
I have two images for you today—one in color and one in black. Normally I like a lot of color in my sublimation images, but I think some guys are pretty straightforward and black might work better for them. Of course, depending on who you are making these mugs for, you could use any image you’d like! I have a funny beer-themed SVG bundle that you might like, too.
Watch the Video
Want to watch my step-by-step process for sublimating beer mugs? Hit play below! Or keep reading for a written tutorial.
Supplies for Sublimation Beer Mugs
You can get everything you need to make these sublimated beer mugs in my Amazon store!
- Sublimation beer mugs
- Sublimation printer
- Sublimation paper
- Tumbler press OR
- Sublimation oven
- Alcohol + microfiber cloth
- Heat-resistant tape
- Heat-resistant gloves
- Butcher paper (if using tumbler press)
- Shrink wrap (if using oven)
- Heat-resistant mat
- Paper trimmer or scissors
Get the Free File
Want access to this free file? Join my FREE craft library! All you need is the password to get in, which you can get by filling out the form below. The file number is: S34.
How to Sublimate Beer Mugs in a Tumbler Press
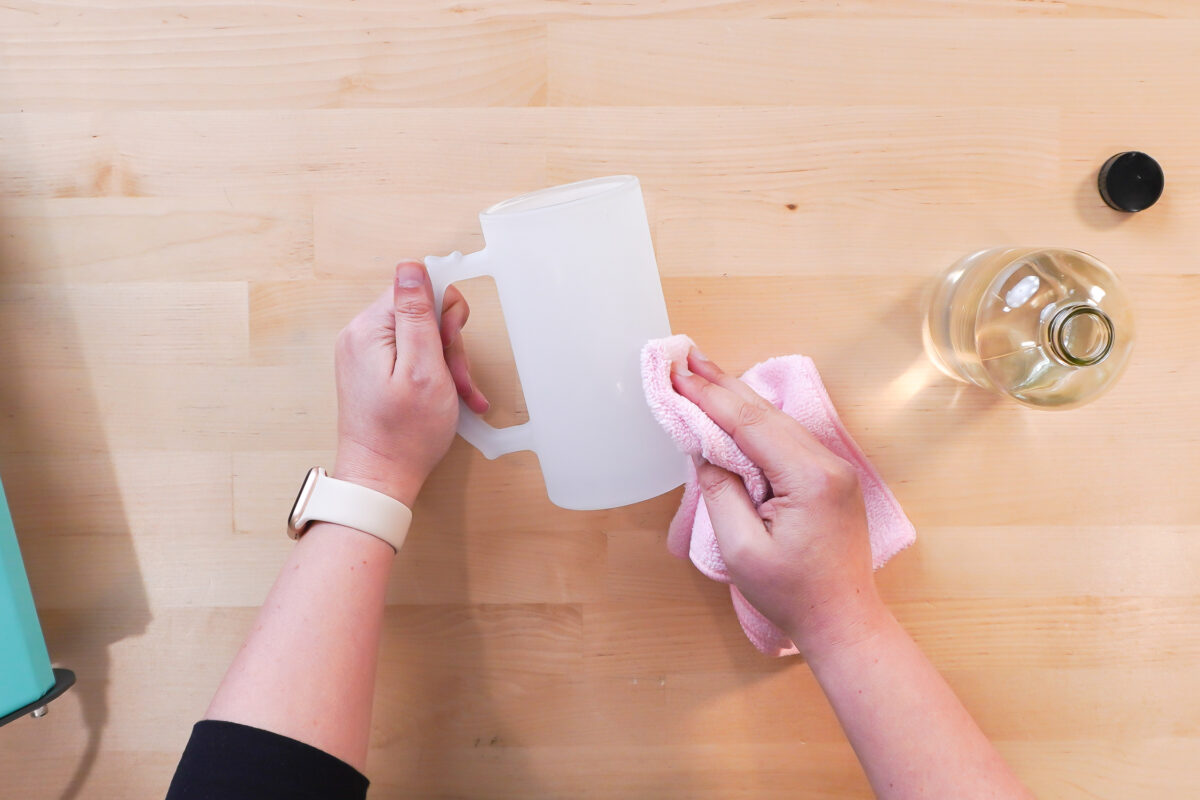
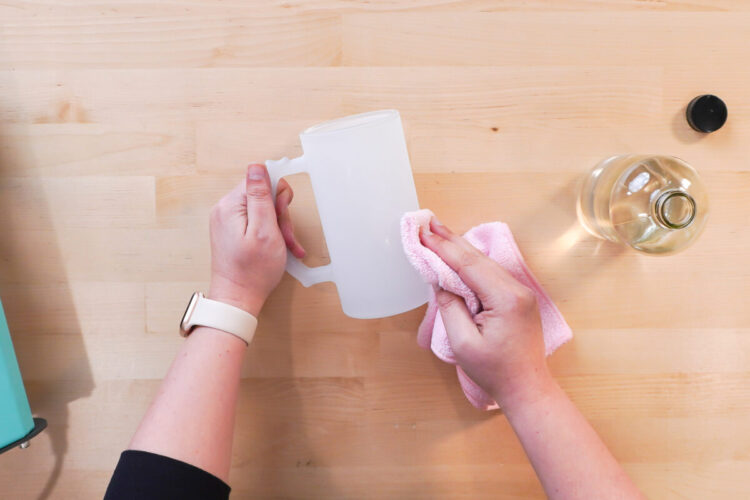
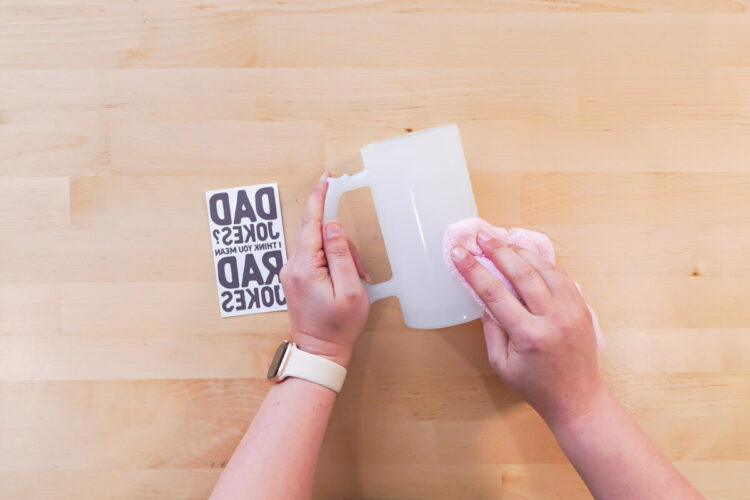
Start by cleaning your blank using alcohol and a microfiber cloth.
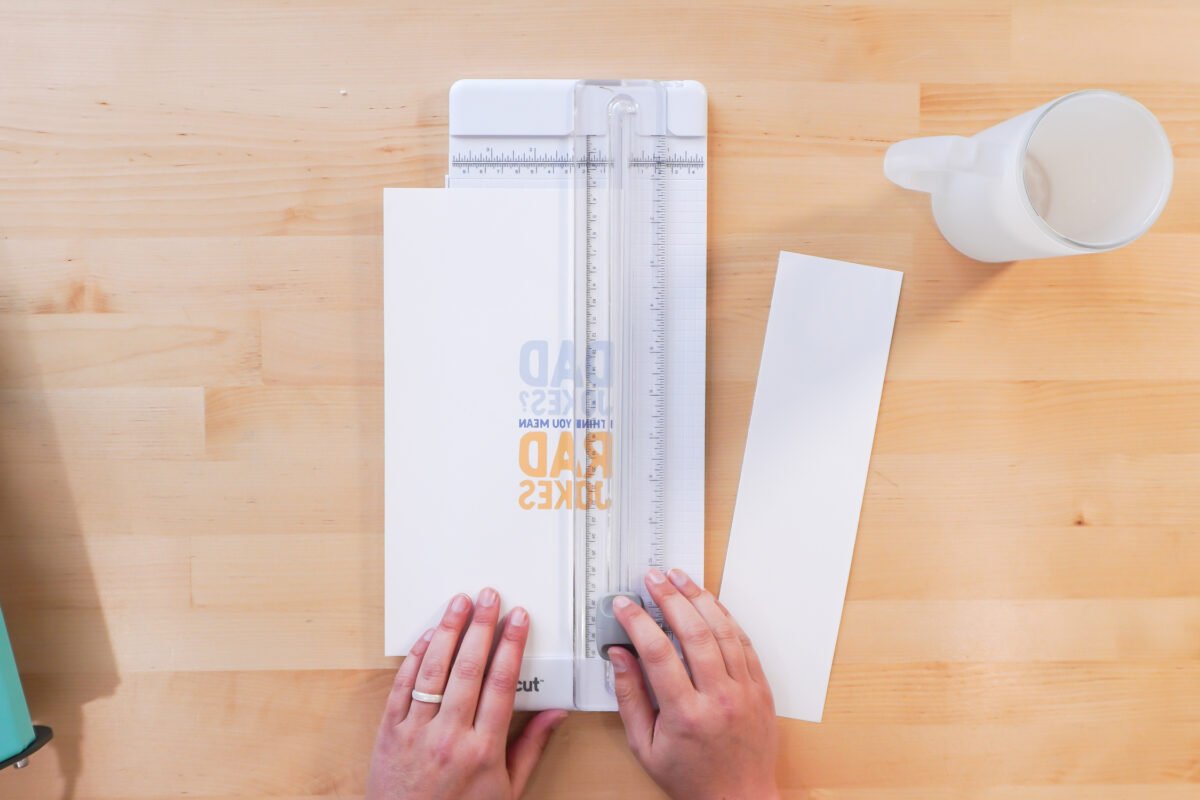
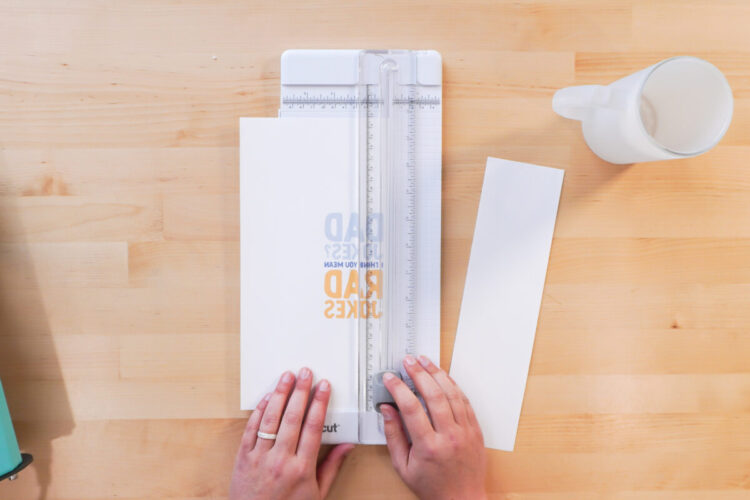
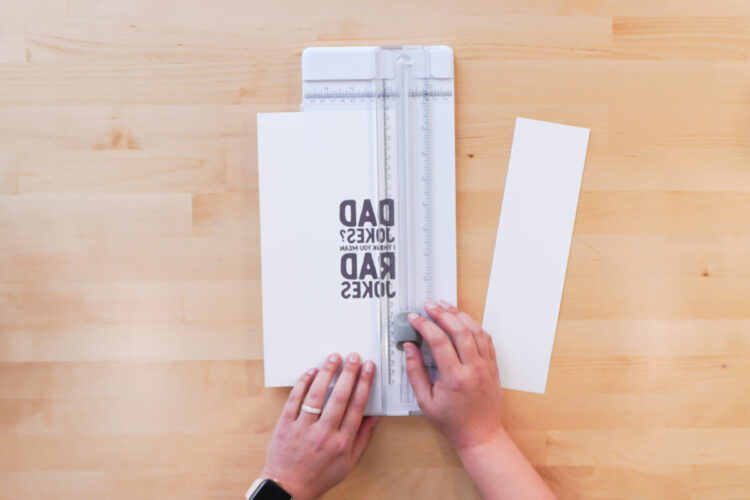
Use a paper trimmer or scissors to cut out your design.
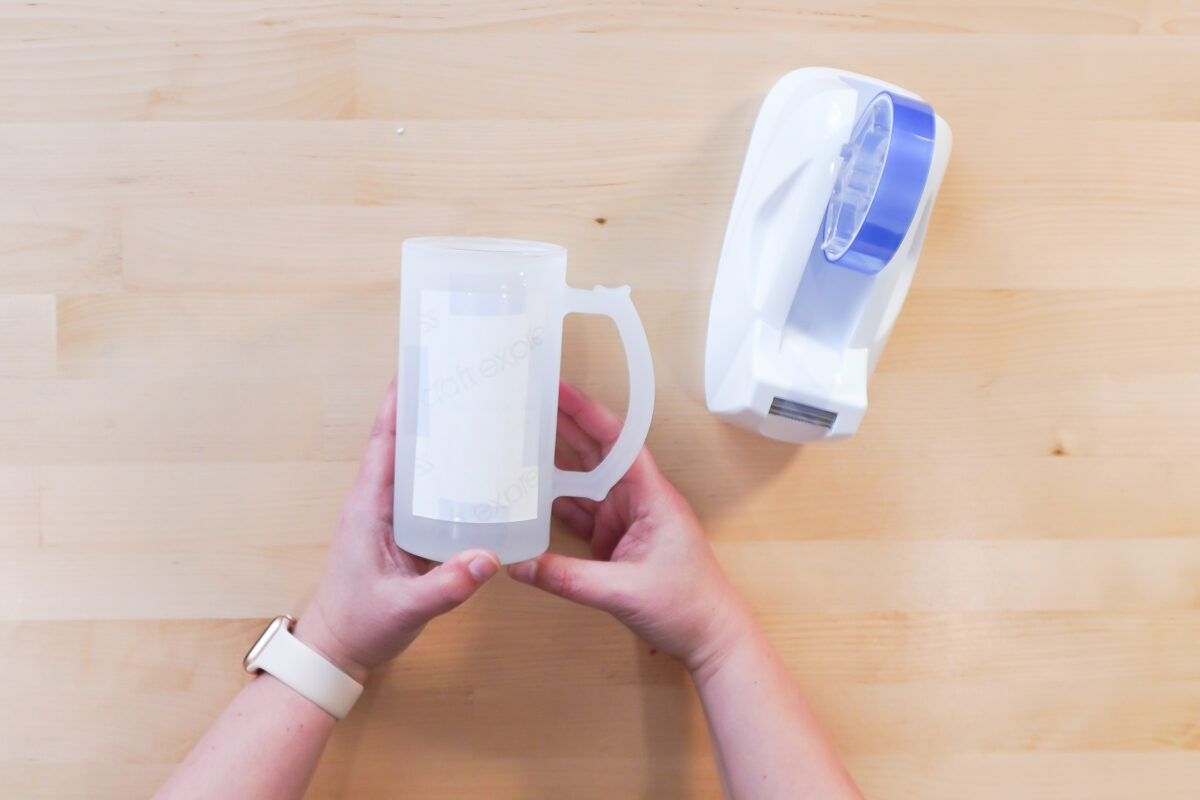
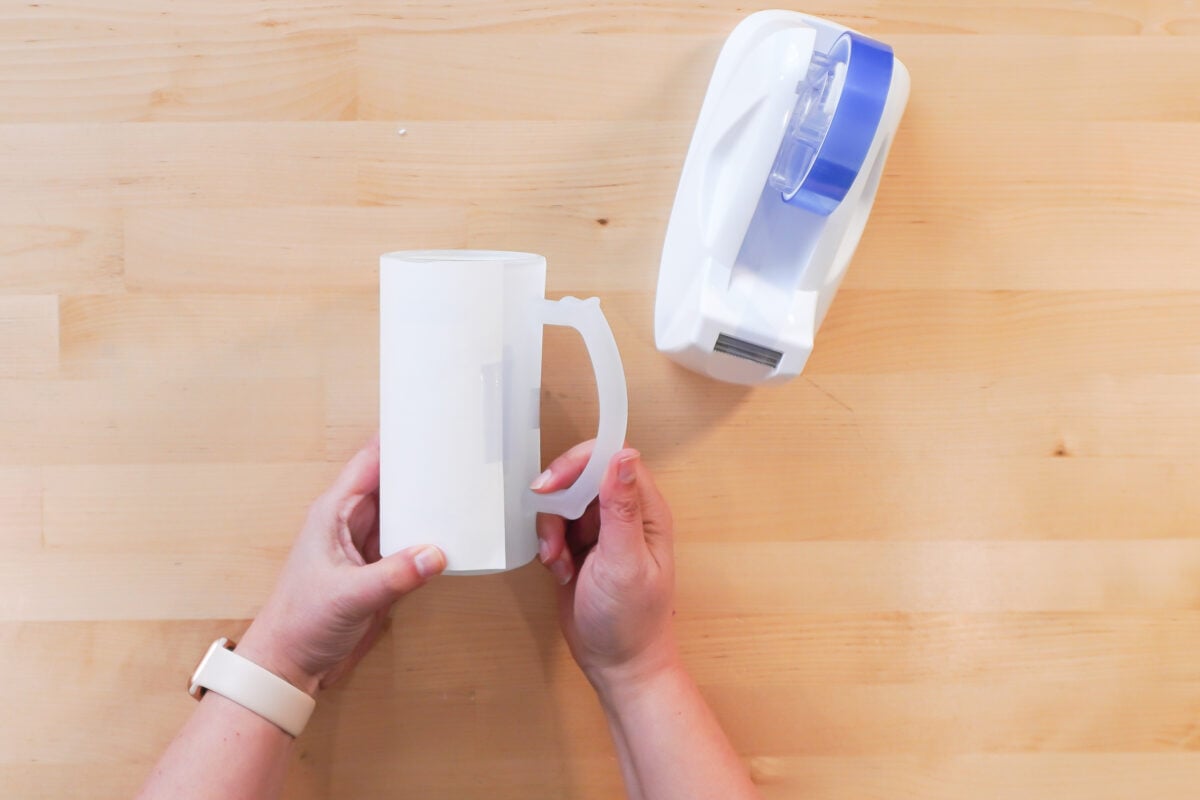
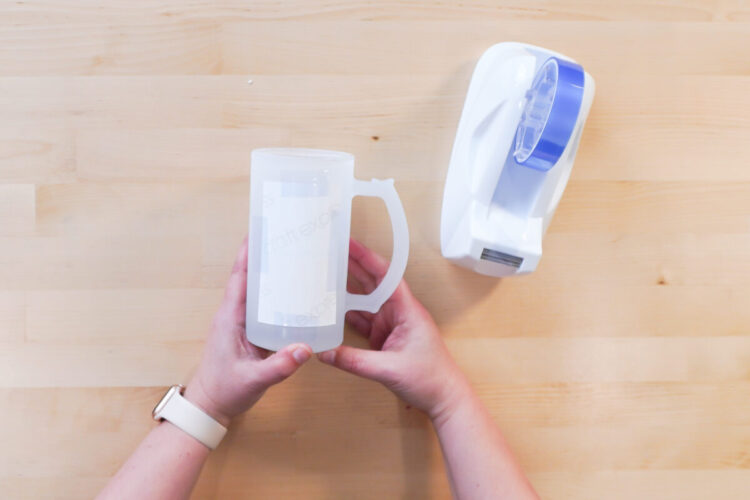
Tape your design to your clean blank (make sure the alcohol has evaporated) using heat-resistant tape.
Tape two pieces of butcher paper over your design. This will protect your tumbler press from any ink blowing through the transfer paper.
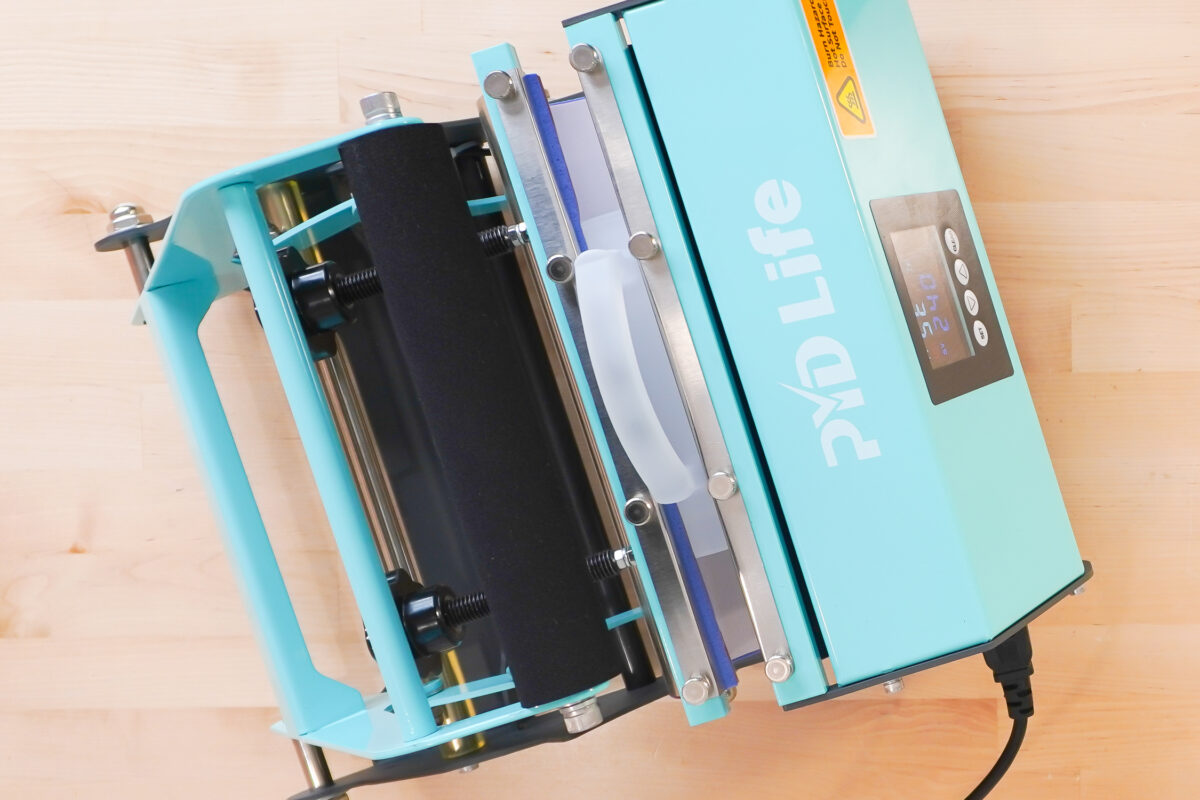
Press your mug for 240 seconds at 360° with medium pressure
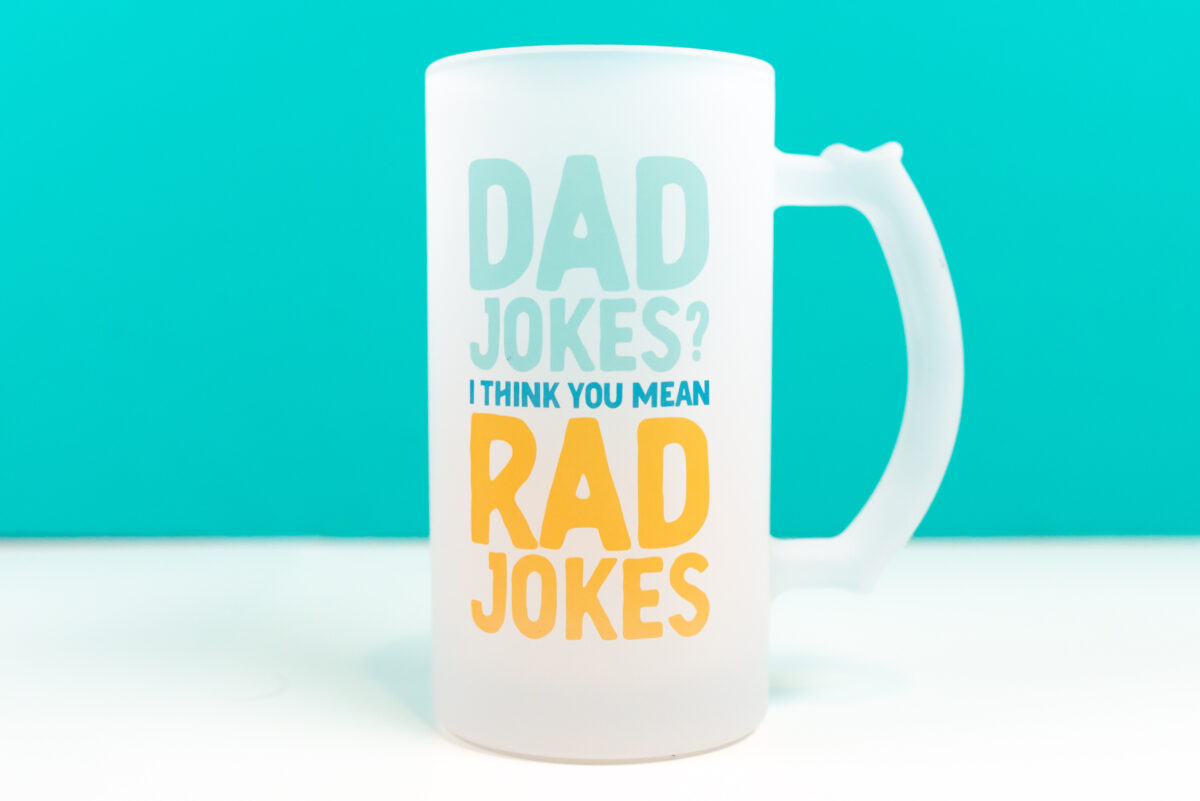
Remove the butcher paper and transfer to reveal your final image!
How to Sublimate Beer Mugs in a Sublimation Oven
We’re going to prepare this blank similarly. Start by cleaning off your blank using alcohol and a microfiber cloth.
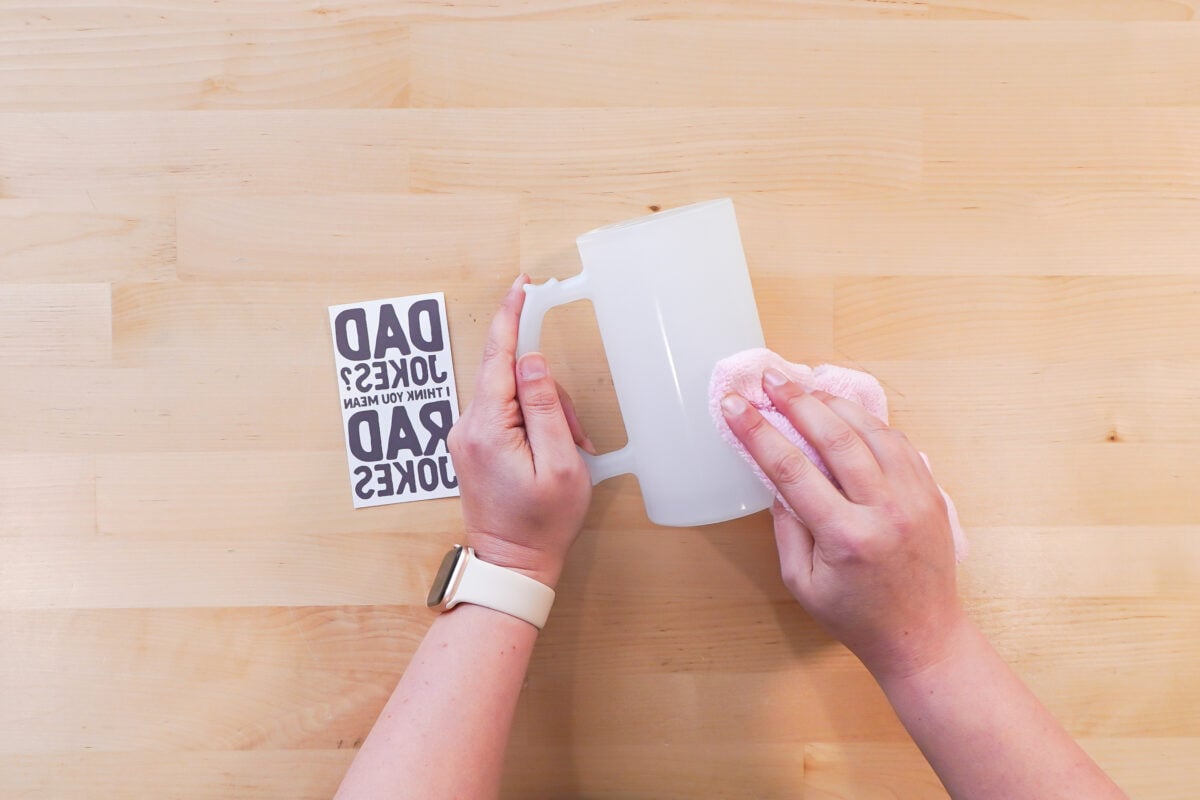
Use a paper trimmer or scissors to cut out your design.
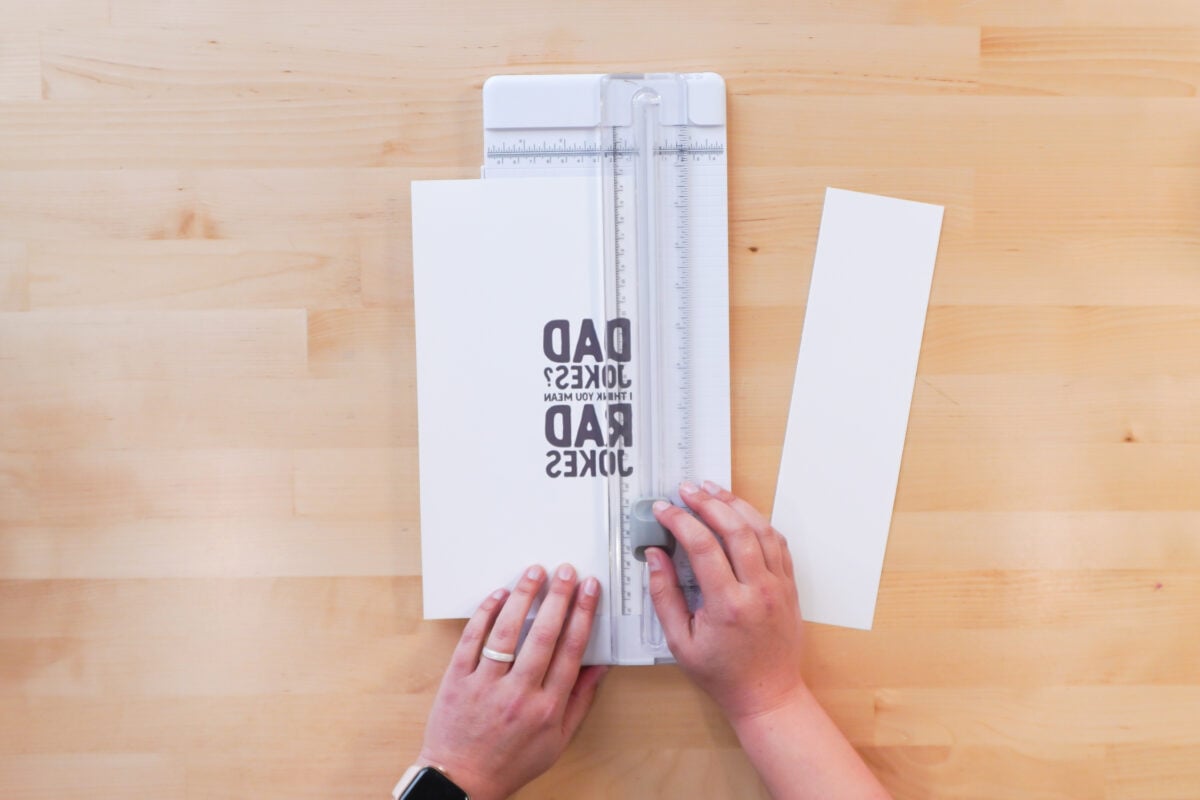
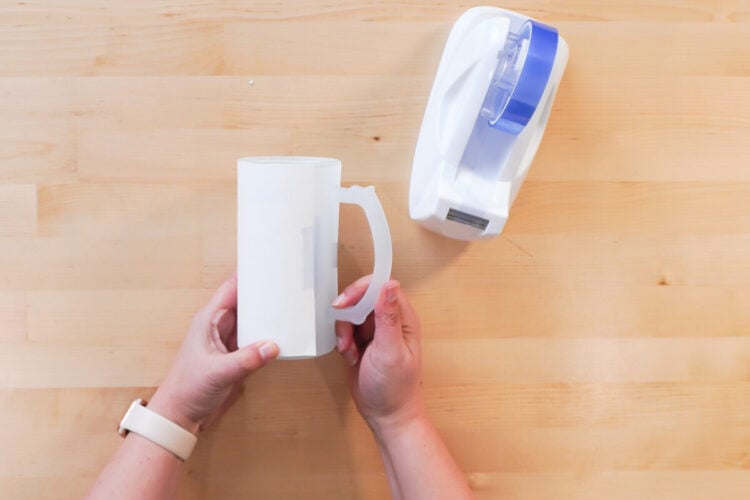
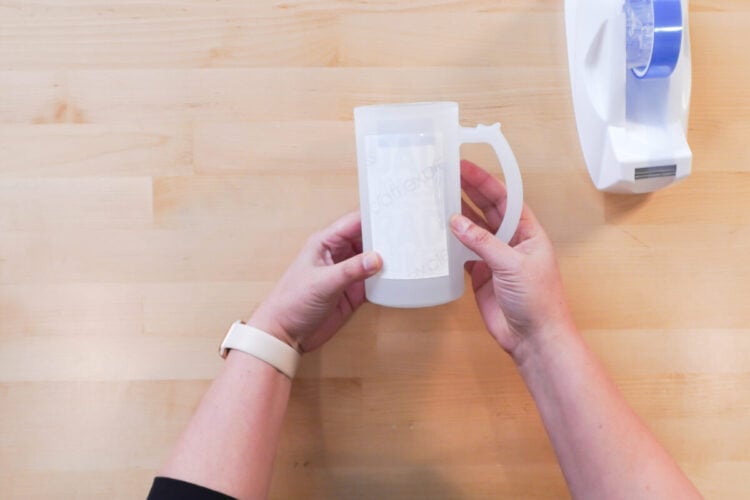
Tape your design to your mug using heat-resistant tape.
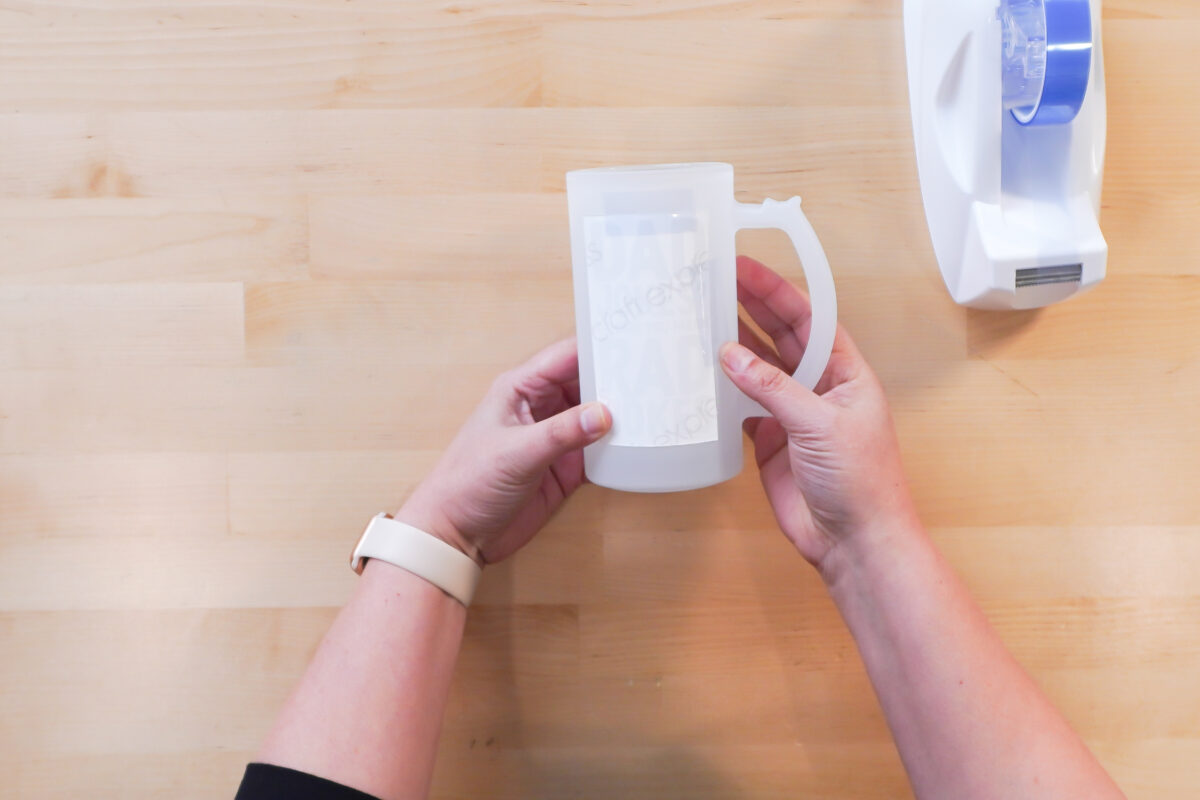
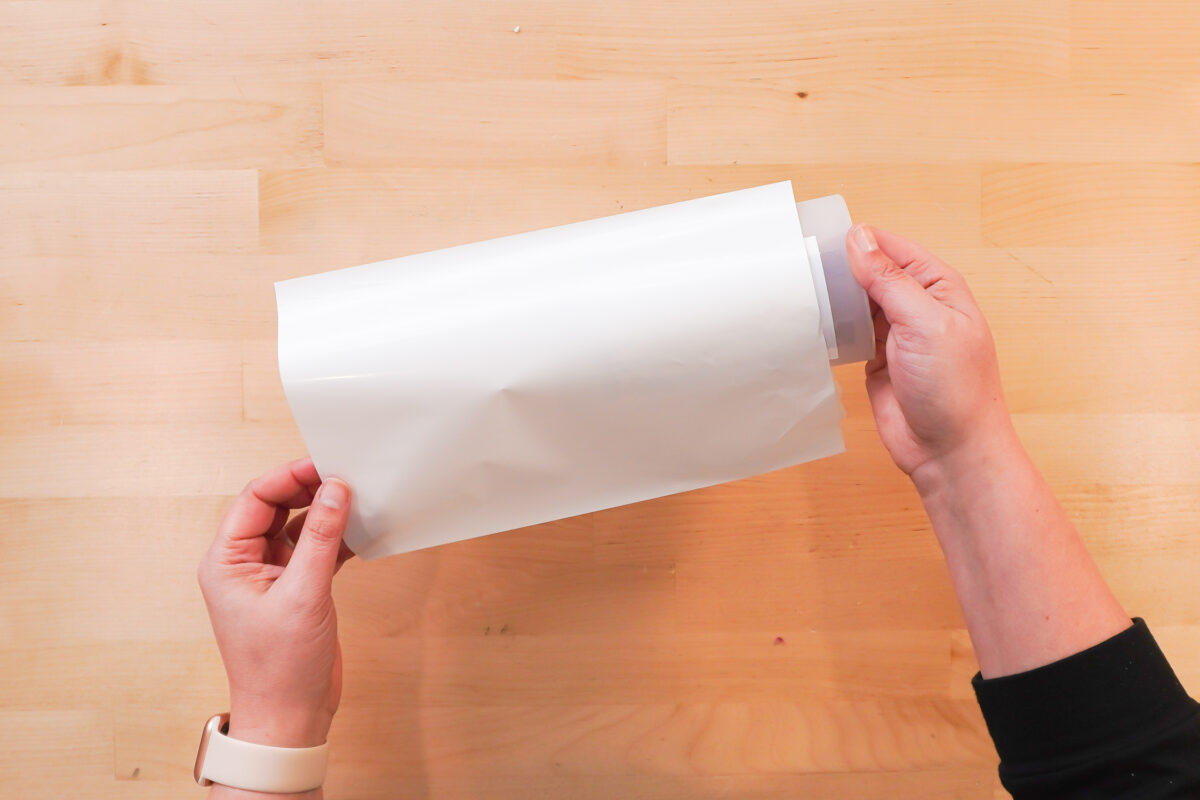
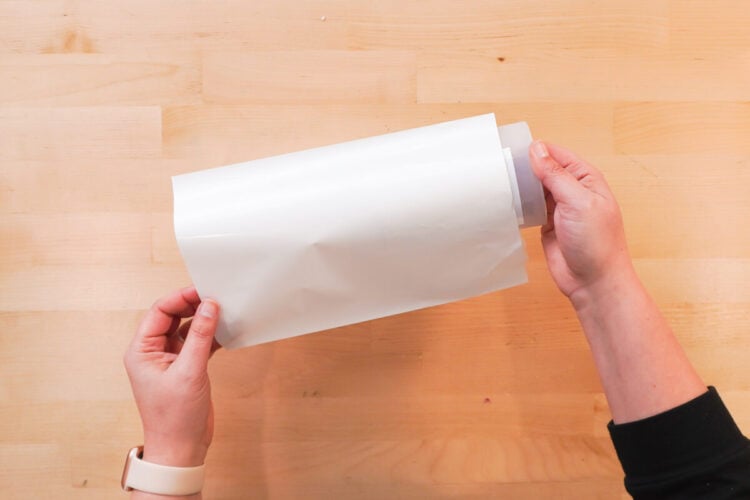
Instead of using butcher paper, we’re going to use shrink wrap. I found the 12″ x 8″ sublimation shrink wrapped worked well for this project.
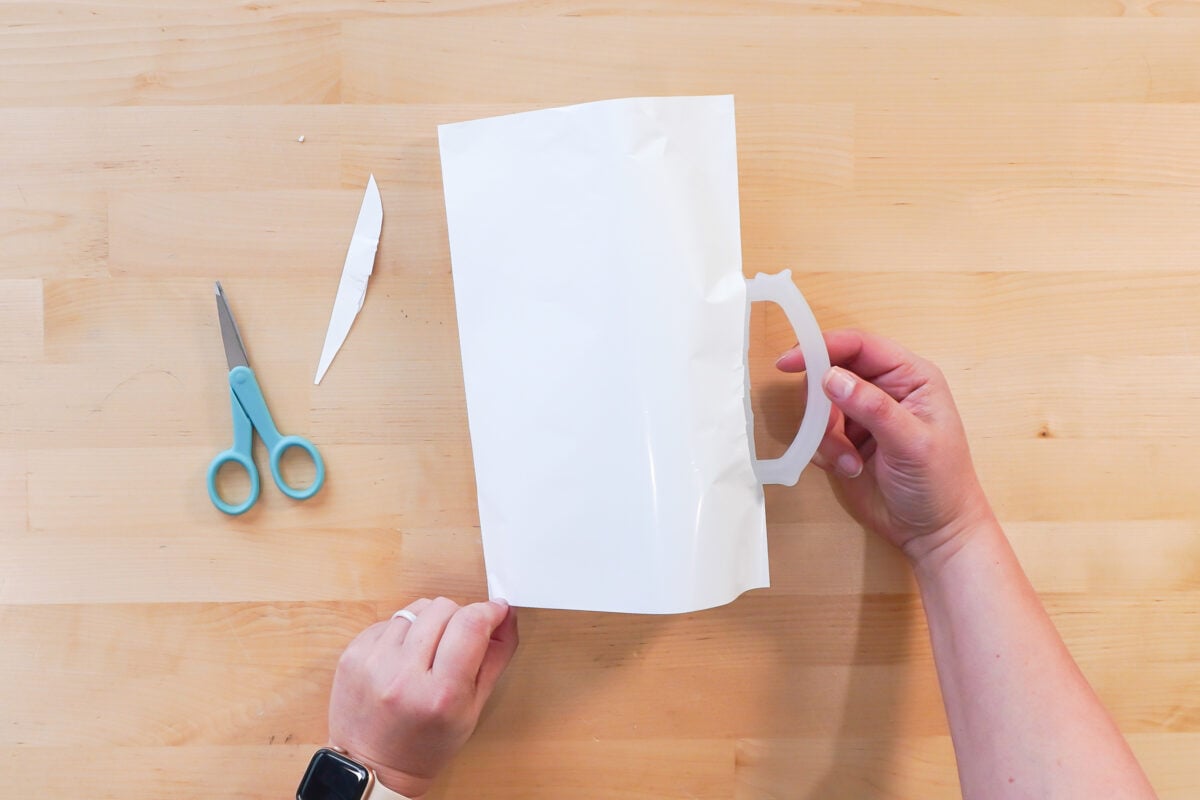
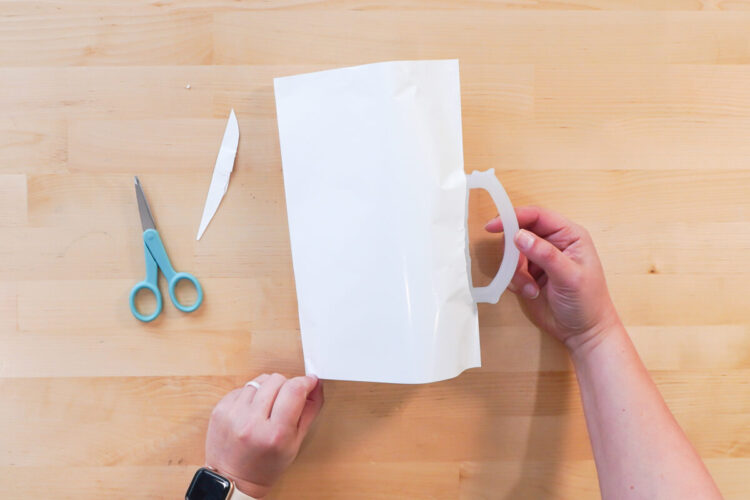
Cut out a hole for your handle. It doesn’t have to be neat—just enough to allow the shrink wrap to sit flat against the mug.
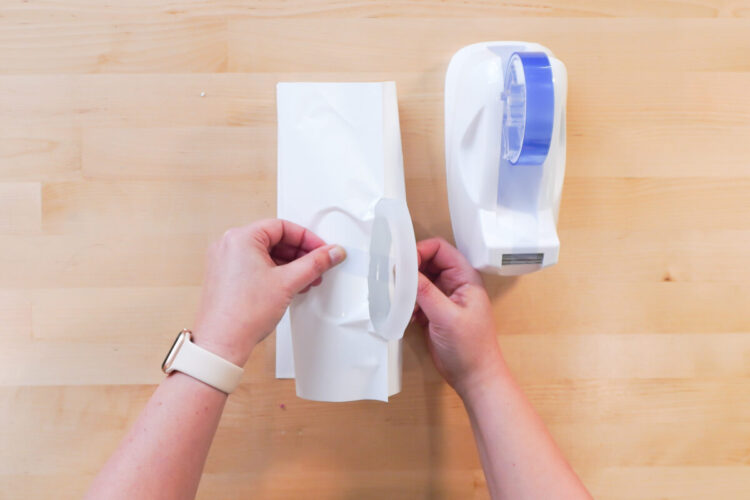
Add a piece of tape to connect the two sides of the butcher paper.
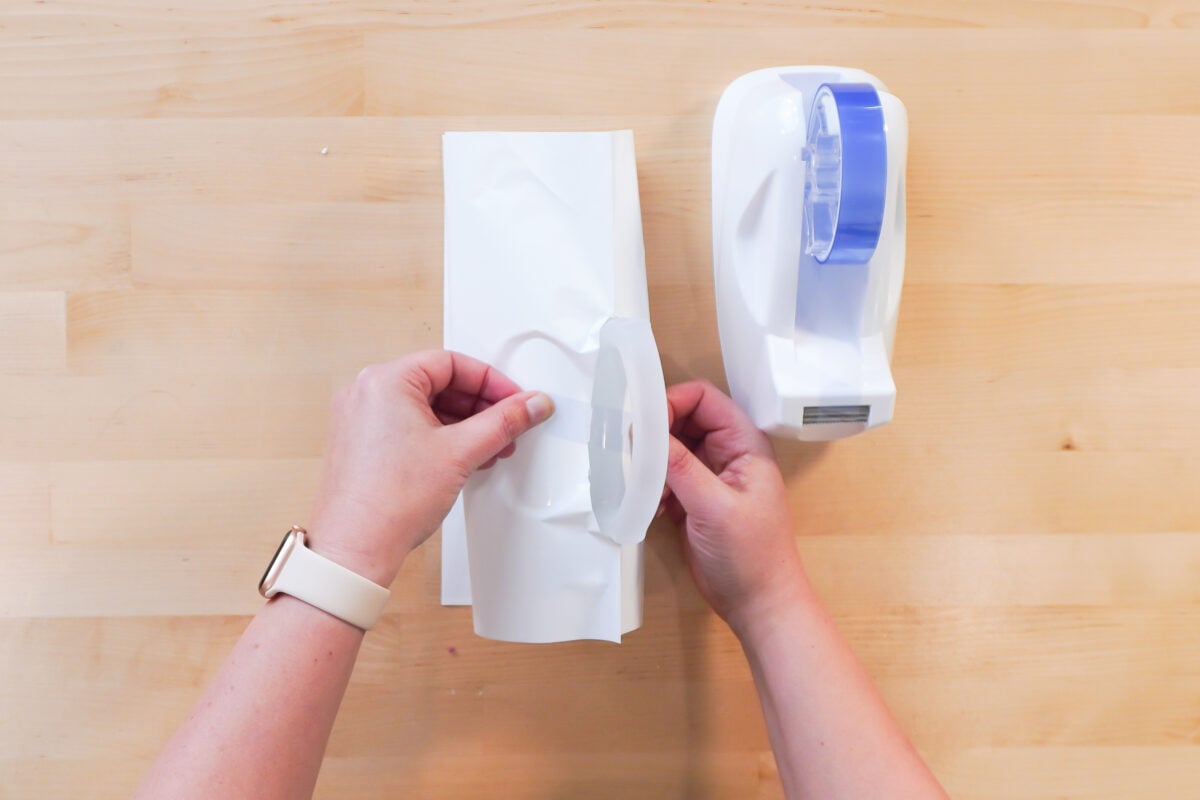
Now a lot of people would have you use your heat gun here to pre-shrink the shrink wrap, but I haven’t found it necessary. I put it right into my oven! I baked at 385° for 12 minutes.
Remove the shrink wrap right away (it’s so much easier to remove when it’s hot!) and then remove your transfer to see your final mug. It turned out great!
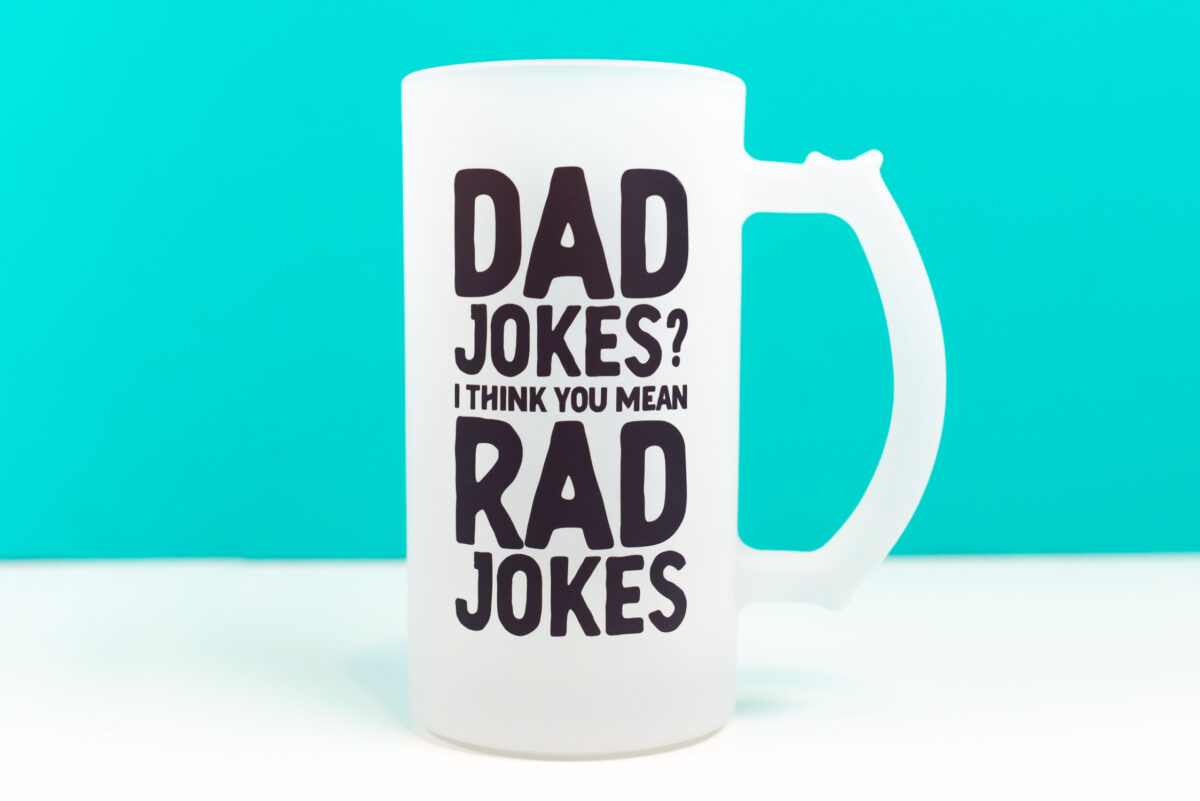
These sublimation beer mugs really are easy to make and are an easy gift for dad or any other beer lover in your life!
I hope you found this tutorial to sublimate beer mugs helpful! If you have any questions or need help troubleshooting your sublimation project, drop me a comment below!
SUBLIMATING BEER MUGS
Equipment
Supplies
Instructions
- How to Sublimate Beer Mugs in a Tumbler PressStart by cleaning your blank using alcohol and a microfiber cloth.

- Use a paper trimmer or scissors to cut out your design.

- Tape your design to your clean blank (make sure the alcohol has evaporated) using heat-resistant tape.

- Tape two pieces of butcher paper over your design. This will protect your tumbler press from any ink blowing through the transfer paper.

- Press your mug for 240 seconds at 360° with medium pressure

- Remove the butcher paper and transfer to reveal your final image!

- How to Sublimate Beer Mugs in a Sublimation OvenPrepare this blank similarly. Start by cleaning off your blank using alcohol and a microfiber cloth.

- Use a paper trimmer or scissors to cut out your design.

- Tape your design to your mug using heat-resistant tape.

- Instead of using butcher paper, use shrink wrap. The 12" x 8" sublimation shrink wrapped worked well for this project.

- Cut out a hole for your handle. It doesn't have to be neat—just enough to allow the shrink wrap to sit flat against the mug.

- Add a piece of tape to connect the two sides of the butcher paper.

- At this point a lot of people would have you use your heat gun here to pre-shrink the shrink wrap, but it isn't necessary. Just put it right into the oven and bake at 385° for 12 minutes.Remove the shrink wrap right away (it's so much easier to remove when it's hot!) and then remove your transfer to see your final mug. It turned out great!These sublimation beer mugs really are easy to make and are an easy gift for dad or any other beer lover in your life!




Leave A Reply!