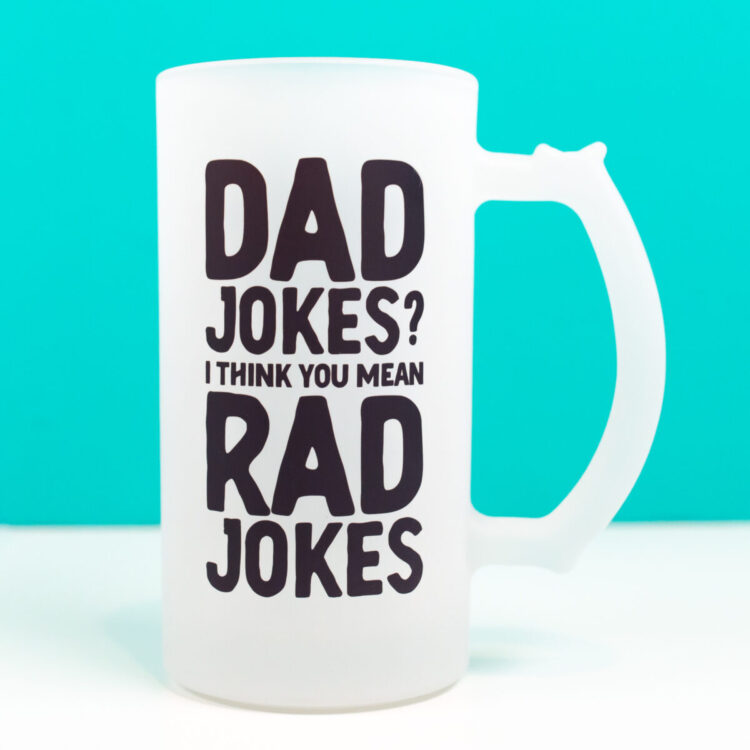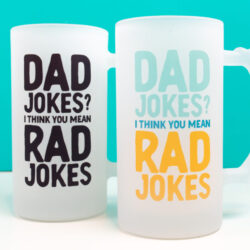
SUBLIMATING BEER MUGS
Sublimation beer steins are the perfect way to customize something special for the beer-fan in your life.
Equipment
Ingredients
Instructions
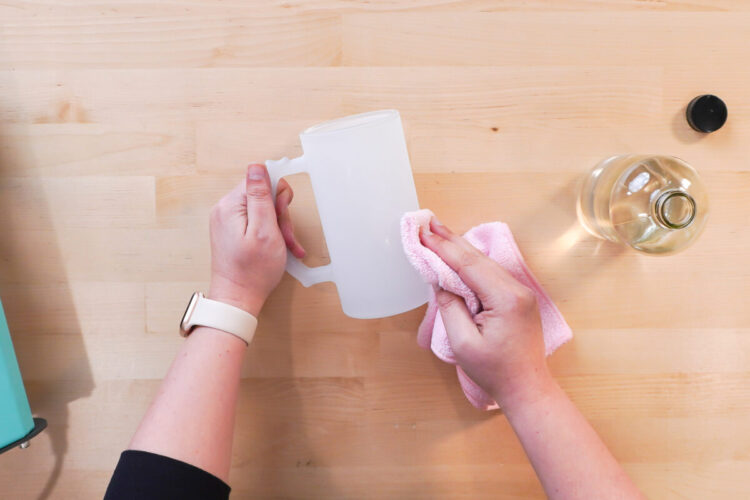
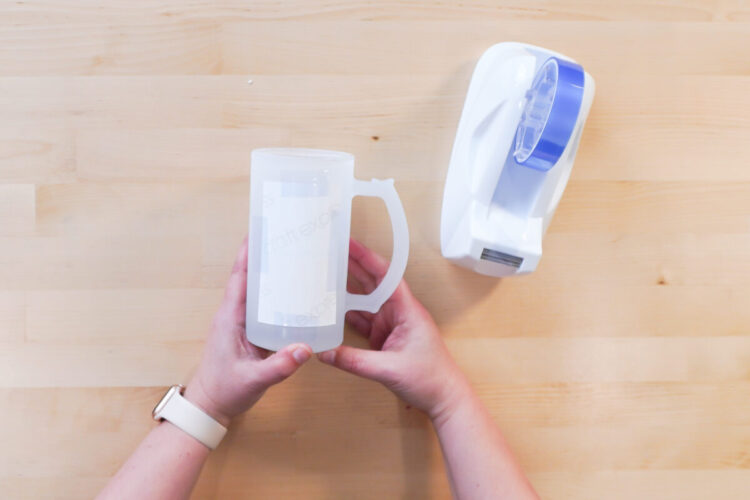
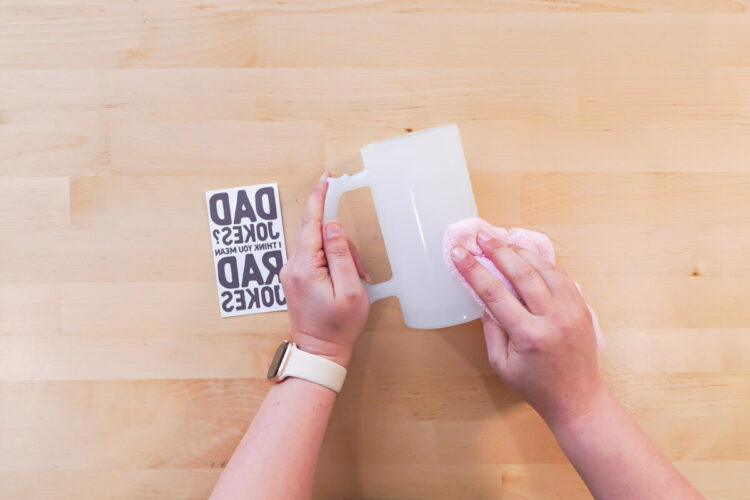
- How to Sublimate Beer Mugs in a Tumbler PressStart by cleaning your blank using alcohol and a microfiber cloth.
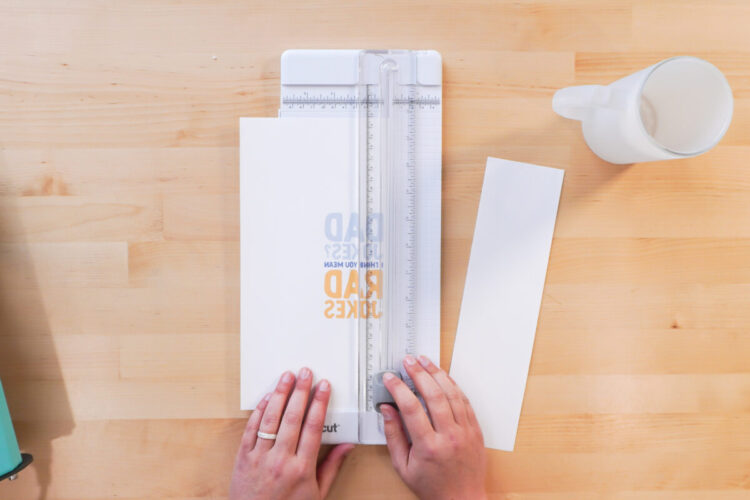
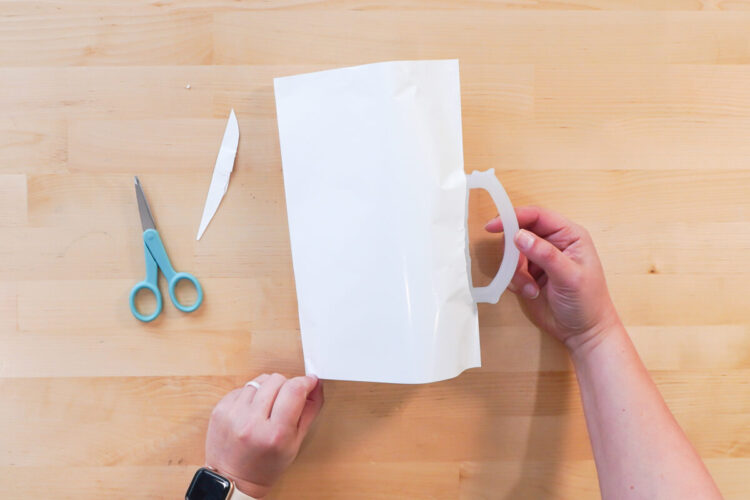
- Use a paper trimmer or scissors to cut out your design.
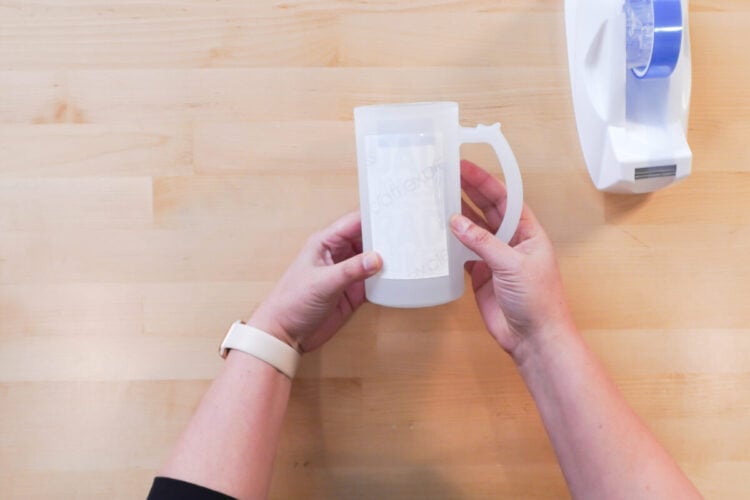
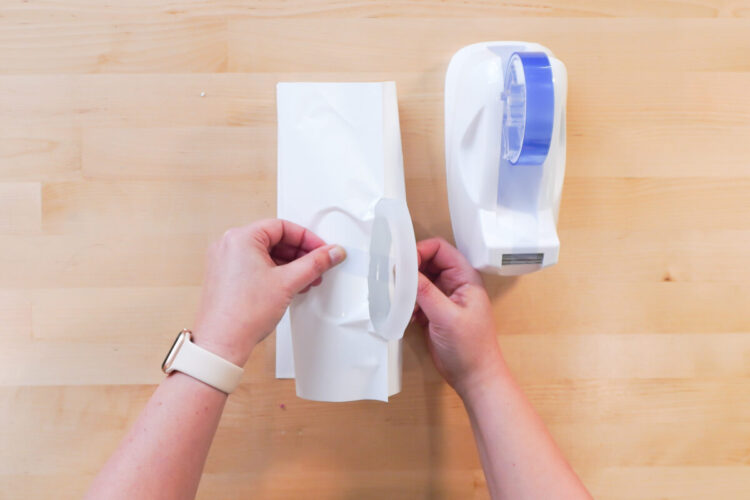
- Tape your design to your clean blank (make sure the alcohol has evaporated) using heat-resistant tape.
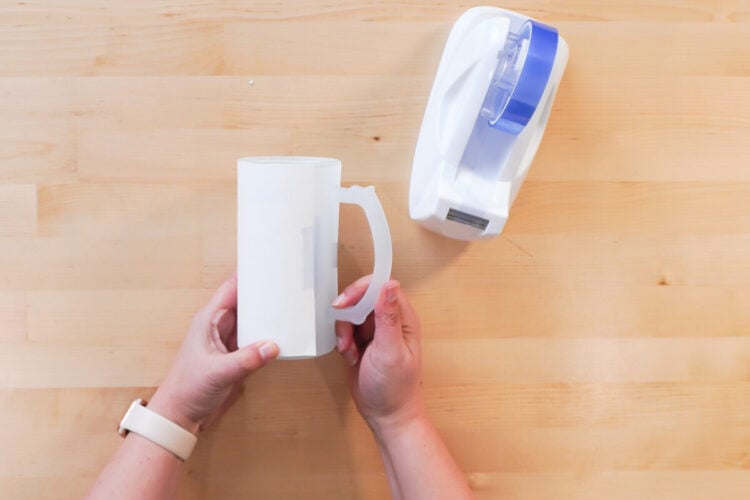
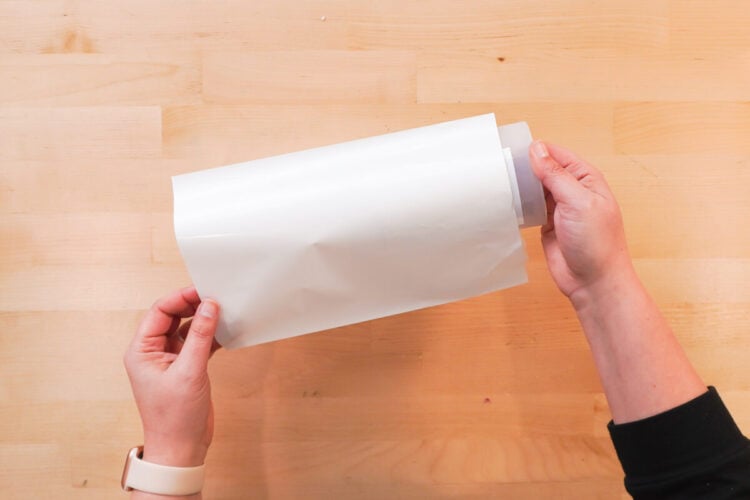
- Tape two pieces of butcher paper over your design. This will protect your tumbler press from any ink blowing through the transfer paper.
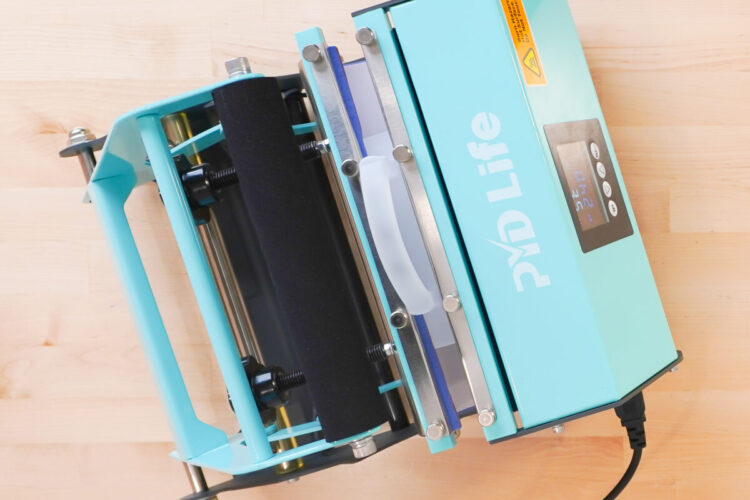
- Press your mug for 240 seconds at 360° with medium pressure
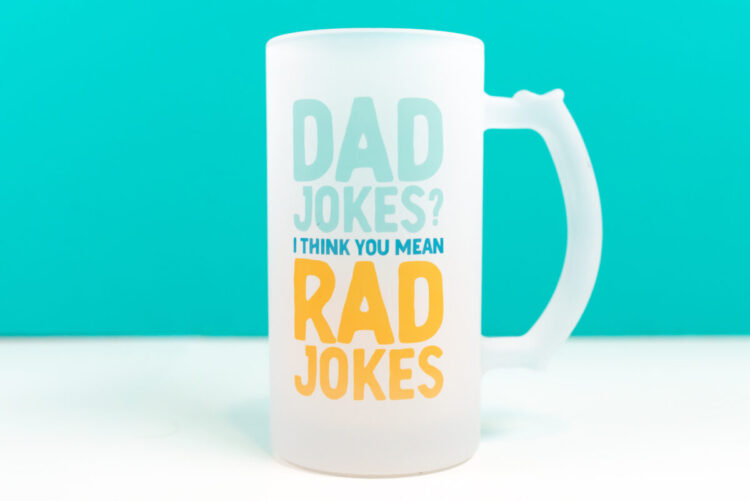
- Remove the butcher paper and transfer to reveal your final image!
- How to Sublimate Beer Mugs in a Sublimation OvenPrepare this blank similarly. Start by cleaning off your blank using alcohol and a microfiber cloth.
- Use a paper trimmer or scissors to cut out your design.

- Tape your design to your mug using heat-resistant tape.
- Instead of using butcher paper, use shrink wrap. The 12" x 8" sublimation shrink wrapped worked well for this project.
- Cut out a hole for your handle. It doesn't have to be neat—just enough to allow the shrink wrap to sit flat against the mug.
- Add a piece of tape to connect the two sides of the butcher paper.
- At this point a lot of people would have you use your heat gun here to pre-shrink the shrink wrap, but it isn't necessary. Just put it right into the oven and bake at 385° for 12 minutes.Remove the shrink wrap right away (it's so much easier to remove when it's hot!) and then remove your transfer to see your final mug. It turned out great!These sublimation beer mugs really are easy to make and are an easy gift for dad or any other beer lover in your life!