The process for preparing solid oak cabinets for painting is just as important as the process for actually painting them. Here’s how we prepared ours and tips for prepping your cabinets for paint
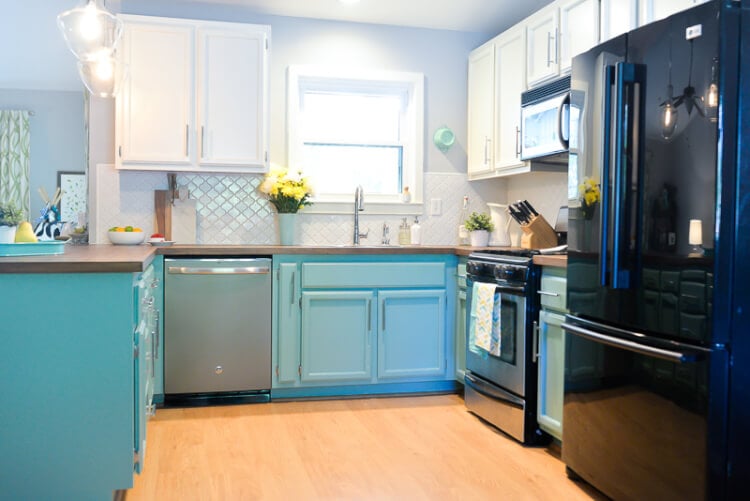
When we moved into our 1989 house, nothing dated it more than the oak cabinets in the kitchen and the bone tile countertops. As part of our kitchen renovation we decided to paint our cabinets — a pretty teal on the bottom, white on the top. We wanted to make sure we did it right the first time, so I spent a lot of time preparing the old cabinets for painting.
Today I’m going to share that process with you, and in two weeks I’ll have a tutorial for the actual painting. A big thank you to Sherwin Williams for providing the paint for our project, and HomeRight for providing me a Finish Max paint sprayer.
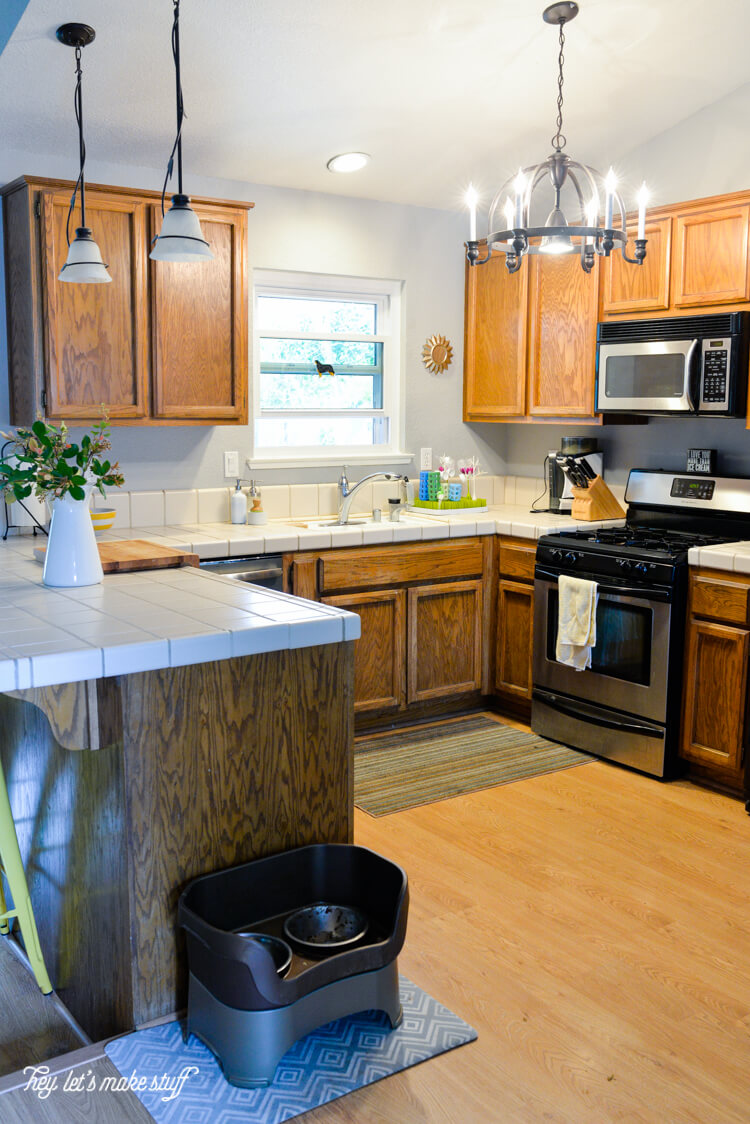
I read approximately eleventy million articles about prepping and painting cabinets. Our cabinets are solid oak, so I started there (if yours are veneer, stop reading and find a different tutorial!). There were a lot of people who had “no prep!” solutions, usually involving chalk paint.
After researching, I decided I didn’t want to use chalk paint — it has a tendency to chip a bit, which is great if you like the country chic look, but that’s not my jam. I was also a little worried about sticky little toddler fingers and cooking oils sticking to the surface. I knew if I used a traditional latex cabinet paint and a polycrylic finish, they would be easier to clean.
Plus our cabinets were filthy. Filthy. And since I had to clean them anyway, I figured I might as well prep them for traditional painting. Here’s what you’ll need:
- Krud Kutter
- Clean rags
- Pick (I used my Cricut weeding tool, but a dental pick would work as well)
- Wood filler
- Putty knife
- Electric sander (I love my Ryobi Corner Cat)
- Sanding blocks
- Tack cloth
Cabinet Cleaning
From a distance, I didn’t think our cabinets looked too dirty. But once I took off the doors and got up close and personal with them, oh-my-goodness-so-gross. Years of gunk had built up on them. The fact these cabinets had no handles didn’t help — for example, people had been opening up this cabinet on the upper right corner with their oily hands for…nearly thirty years.
Barf.
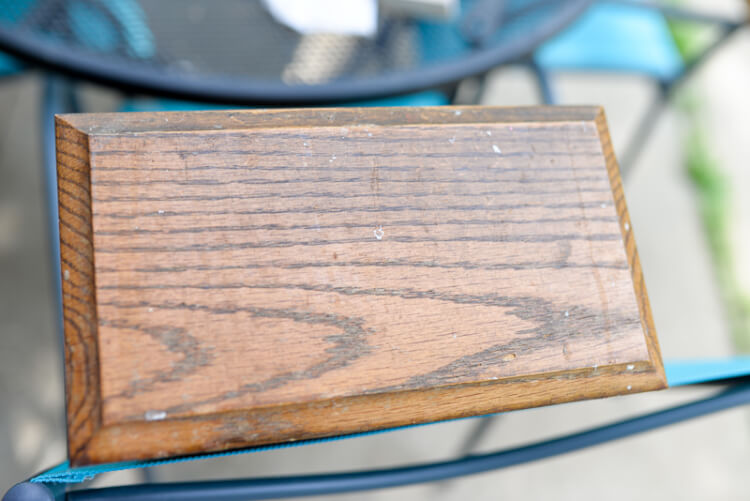
Cleaning them took elbow grease, patience, and more than one glass of wine.
For each cabinet door, I labeled the location with a Sharpie where the hinge was and put a piece of masking tape over it. That way, when we painted them, we could peel the masking tape off and the number would be hidden under the hinge. Don’t trust your memory, label your doors!
If you’re keeping your hinges, also label your hinges. We tossed our old hinges — they were beyond rescuing. We found the same style hinges in chrome, and at $45 for all the hinges in our small kitchen, it was a no brainer.
Onward to cleaning!
I filled a bowl with the Krud Kutter (it’s biodegradable and doesn’t smell) and started scrubbing the cabinets down with a clean rag. Though it took some effort, it was actually pretty amazing to see the gunk lift and leave me with clean oak underneath. I am definitely a Krud Kutter fan!
Getting in the corners of our paneled cabinets was difficult with the rag, so I let a little Krud Kutter soak and then used my Cricut weeding tool (you can use any kind of pick) to scrape away the nastiness that had accumulated over the years. Ew.
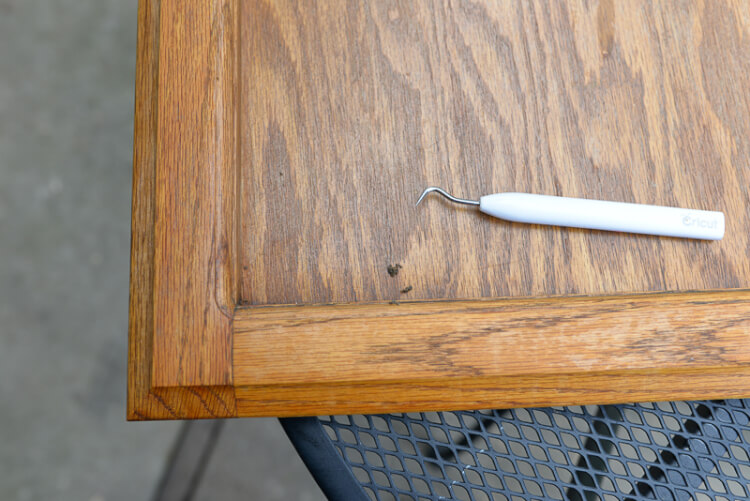
I tried my best to get the cabinets as clean as humanly possible. The contractor we used to install our butcher block countertops has a saying: start right, end right. Meaning that if you put the work in at the beginning to do it right, you won’t have to spend time fixing it in the end. Dirty cabinets won’t hold paint as well as clean cabinets, so scrub, scrub, scrub.
I also scrubbed the cabinet frames with the Krud Kutter. It took me several nap-times to finish cleaning the cabinets, but I’m glad I put in the effort.
Cabinet Prepping
One thing I’d read often was that porous oak cabinets soak up a LOT of paint. So much that sometimes cabinets might warp, not to mention use up a ton of paint. I also wanted to disguise the very apparent grain on the cabinets — I felt like it really dated the kitchen. So I decided to us a wood filler to fill in the grain on the cabinets.
This was quite the process, but it was more than worth it. I love how the cabinets turned out — the grain that was so apparent on the raw cabinets is now barely visible, creating a clean look for the whole kitchen.
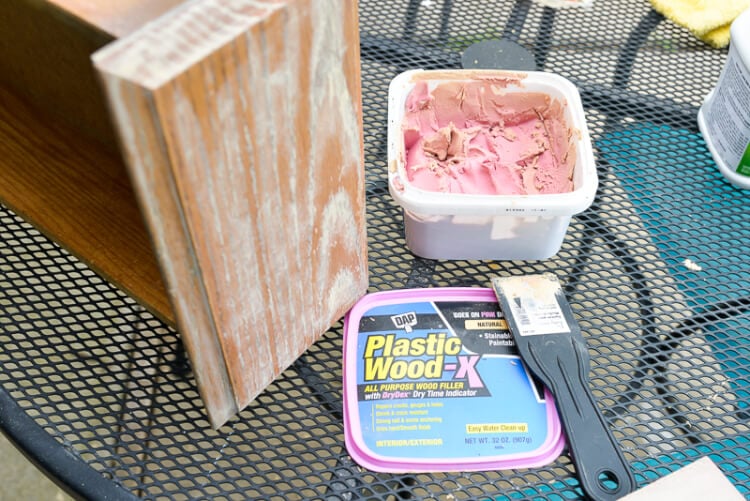
Using a putty knife (I started with plastic but quickly moved to a metal knife), I spread the wood filler on all of the cabinets and pressed it into the grain. To get the edges of the cabinet doors and drawers, I found my finger worked better than anything else.
I did the same on the cabinet frames. Once the first coat dried, I went through and made sure I had everything filled in.
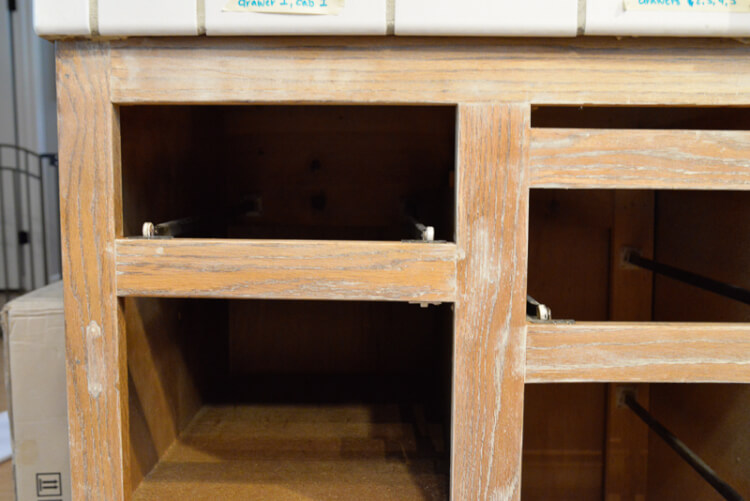
Due to time constraints, I decided not to do the interior sides of the doors. Which gave me a great comparison once I started to prime the cabinets. First, without the filler:
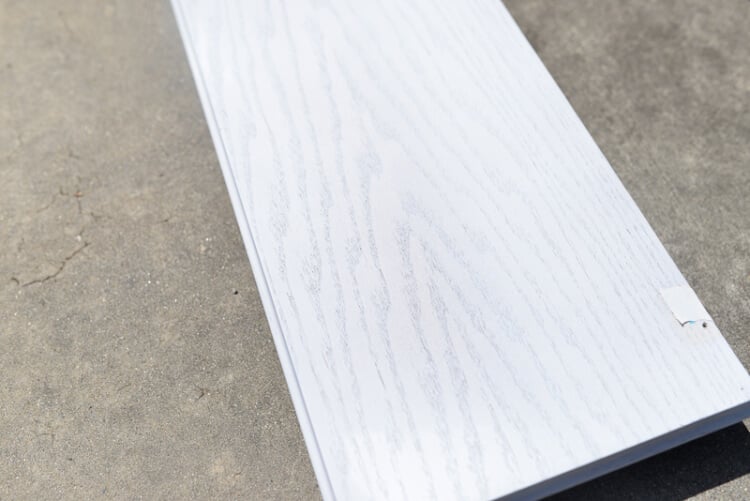
Then with!
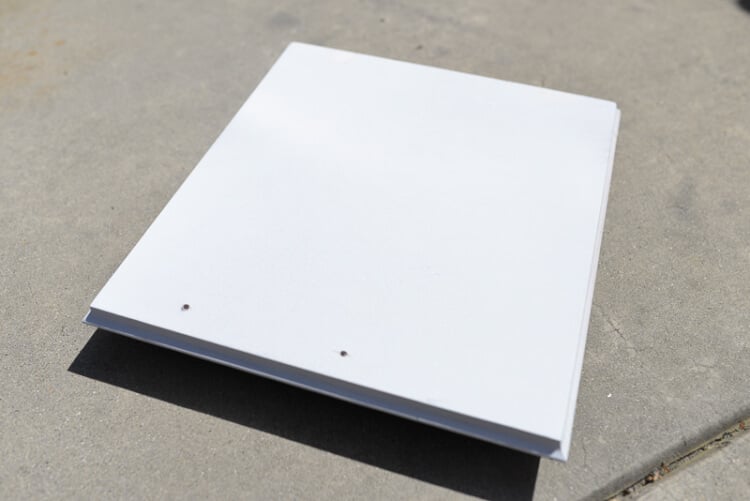
Amazing, yes?
Before we primed, however, we gave them a good sanding to smooth everything out. This had two purposes. First, to get rid of any wood filler that wasn’t filling in grain. The second was to rough up the surface so the paint would adhere properly. I started with an overall sanding using my corner cat. Then a light hand sanding wit 120-grit paper.
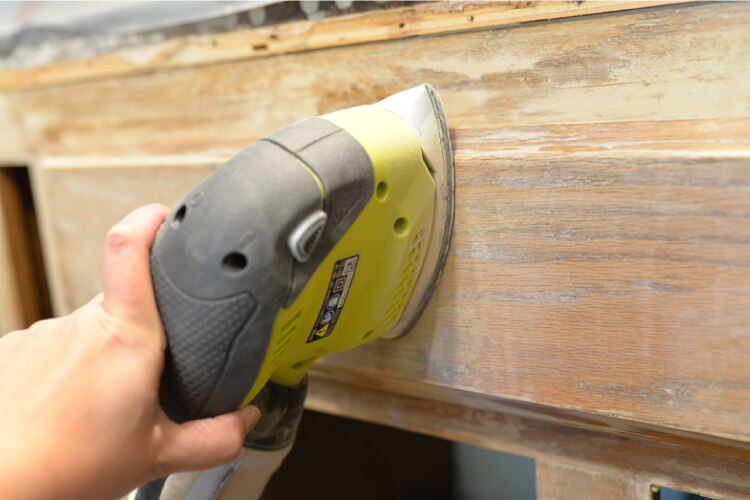
And right before we got ready to paint, I used a tack cloth to wipe the cabinets down, picking up all the dust and grit (and dog hair, thanks Gunnar).
Whew! Next up is painting our cabinets in two weeks, with a teal cabinet inspiration post next Thursday. I also highly recommend you read this post, which I wrote after we painted our bathroom cabinets, but these tips also apply to this project: Five Mistakes to Avoid When Painting Cabinets


Comments & Reviews
pauline says
Great info & easy to read. Not too much info, but enough to get it right. Thanks!
Whitney says
Did the wood filler seem too thick when filling in the wood grain? Also did you sand before using the wood filler or only after? Thanks!!
Vanessa says
You can always mix in a little bit of water to thin it out to really get down into the grooves.