If you want to make money with your Cricut, you’ll need to set up your physical space for success! Here’s how to make the most of your crafting space so you can run a more efficient Cricut business.
This post is sponsored by Cricut.
A while back, I wrote a post called The Ultimate Guide to Make Money with a Cricut. That’s become one of the most popular posts on my blog! I cover copyright, narrowing your craft niche, and other factors in your business’s success.
But one thing I didn’t address in that post is setting up your actual craft space in a way that is efficient and good to your body! Whether you have a little side-hustle or you’ve turned your Cricut hobby into a full-fledged business, it’s important to set up your workspace for success!
Today I’m partnering with Cricut to share some of my top tips for actually (physically!) running your Cricut business. If you have other ideas or things you find helpful, I’d love to hear them in the comments!
Step 1: Choose a Dedicated Workspace
If you’re going to take your Cricut crafting and turn it into a business, it’s best to have a dedicated workspace. It’s much harder to stay consistent in your business if you are constantly having to put everything away and take it back out again, especially with big equipment like Cricut machines and heat presses.
Not that it can’t be done, it’s just a road block in the path to creating your own business.
Your space doesn’t need to be a fancy studio or one of those giant dreamy craft storage boxes (although HELLO, how nice is that?!). Any space that can fit your equipment and allow you to move around comfortably will do. Think that little used breakfast nook, a guest bedroom, or carve out a space in your basement.
I am lucky to have a large studio that you’ll see in my photos, but trust me—your business can be run in a much smaller space. I worked successfully out of a tiny bedroom for many years. My space is also neat in the photos, but don’t let that fool you—it can be a HOT MESS in my real crafting life!
Step 2: Get Rid of Stuff
The longer you run a business (or even just a hobby), the more…stuff you end up with. Let’s be real. We all have tons of stuff that we never use in our craft spaces. I was going through a cabinet the other day and found three blank phone cases for the iPhone 6.
How long have those been sitting in my cabinet?!
The more stuff you have, the harder it is to work, since you’re constantly having to dig through things to find what you actually need.
So go through your workspace occasionally and purge things you don’t need. If they are usable items, donate them. If not, recycle or trash.
For example, I know what colors I like and what I don’t—I have started to just keep materials in the colors I really love and look good with my products and branding and donate the rest.
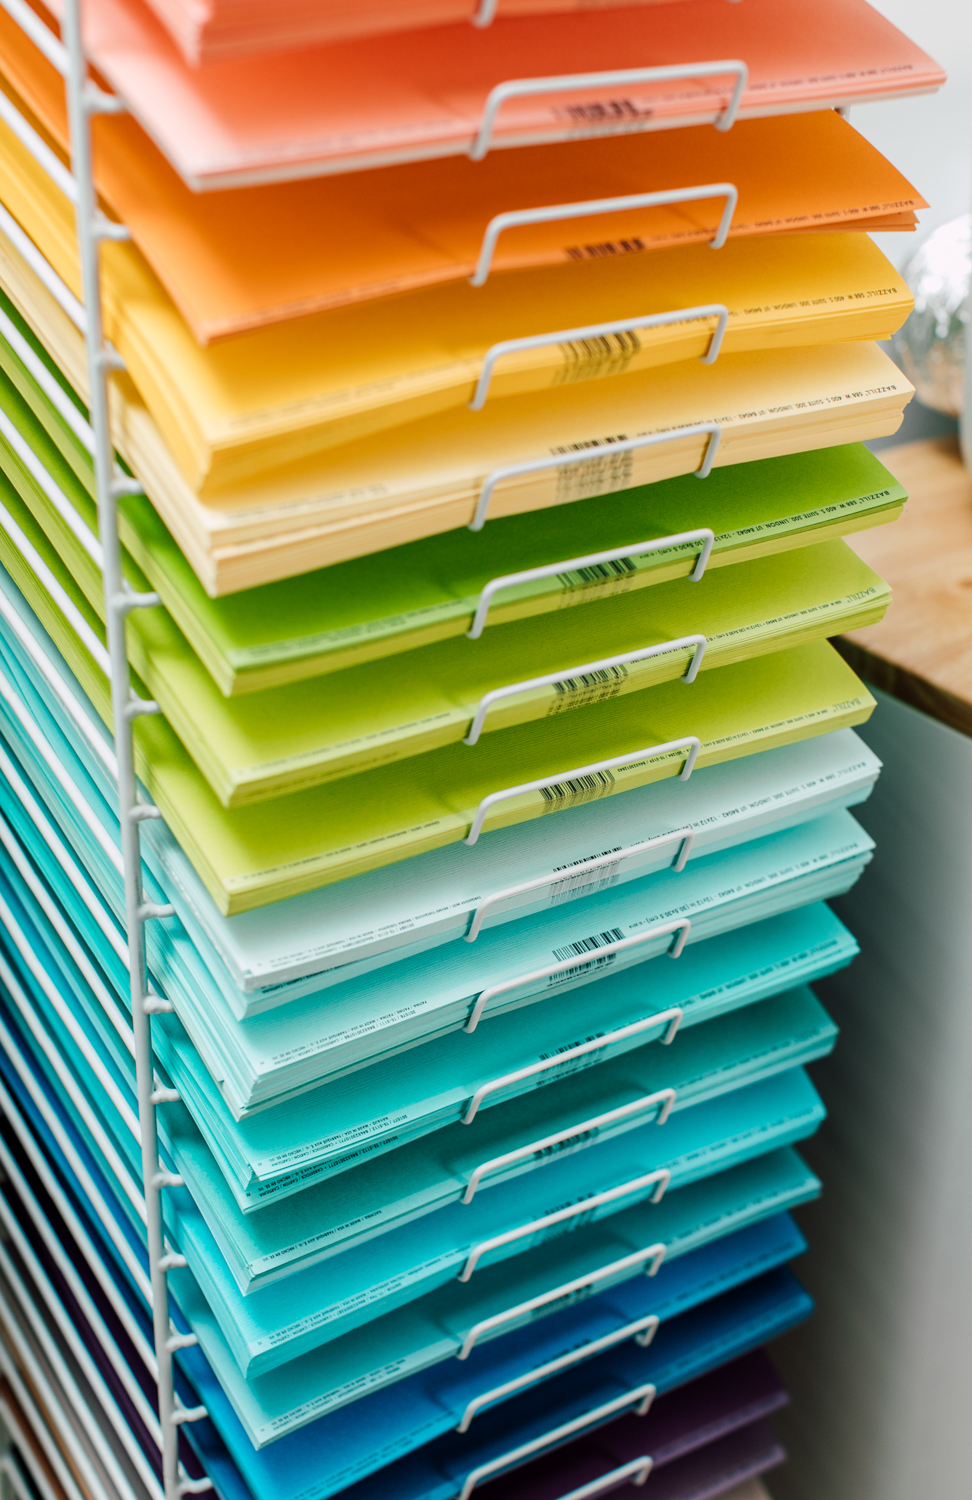
You KNOW what you’re going to need in the future. Keeping items that are old, outdated, expired, or that you’re never going to use only serves to make your craft space more cramped and less inspiring. Get rid of it. You’ll feel so much lighter.
Step 3: Set Up Zones
To run your business, you will need the following “zones” in your craft space. As you’re setting up your space, think about your workflow. What will make creating your Cricut projects easiest physically? The more seamlessly you can make your process, the faster you can work and the easier it will be on your body. Now that I’m, ahem, not so young anymore, I find that it’s more and more important to be kind to my body as I work!
Working in a space that doesn’t work for you can get downright frustrating. If you can’t find what you are looking for or are knocking things over while you work, that’s valuable time wasted! And time is money in business!
So here are four zones you’ll want to set up in your craft space, no matter its size:
- Computer Workspace
- Cricut Workspace
- Worktable
- Storage for Materials and Blanks
Let’s look at each one in more detail!
Computer Workspace
You’ll need a computer or device that can run Cricut Design Space. Most computers will run the software, though some of the smaller computers (like a Google Chromebook) will use the app instead of the desktop software.
You can also use a phone or tablet with the Cricut Design Space app. When running a business, I think having a computer is much easier on your body than staring at your smaller device screen, but it’s up to you!
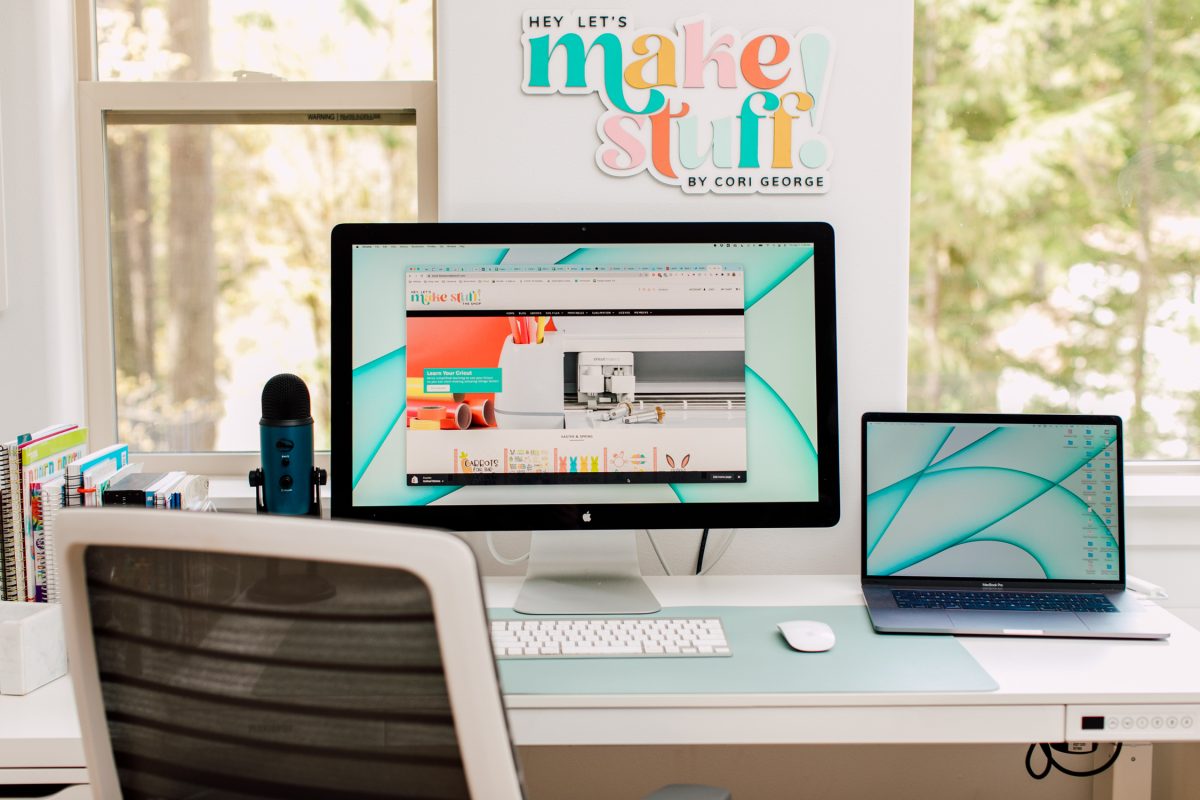
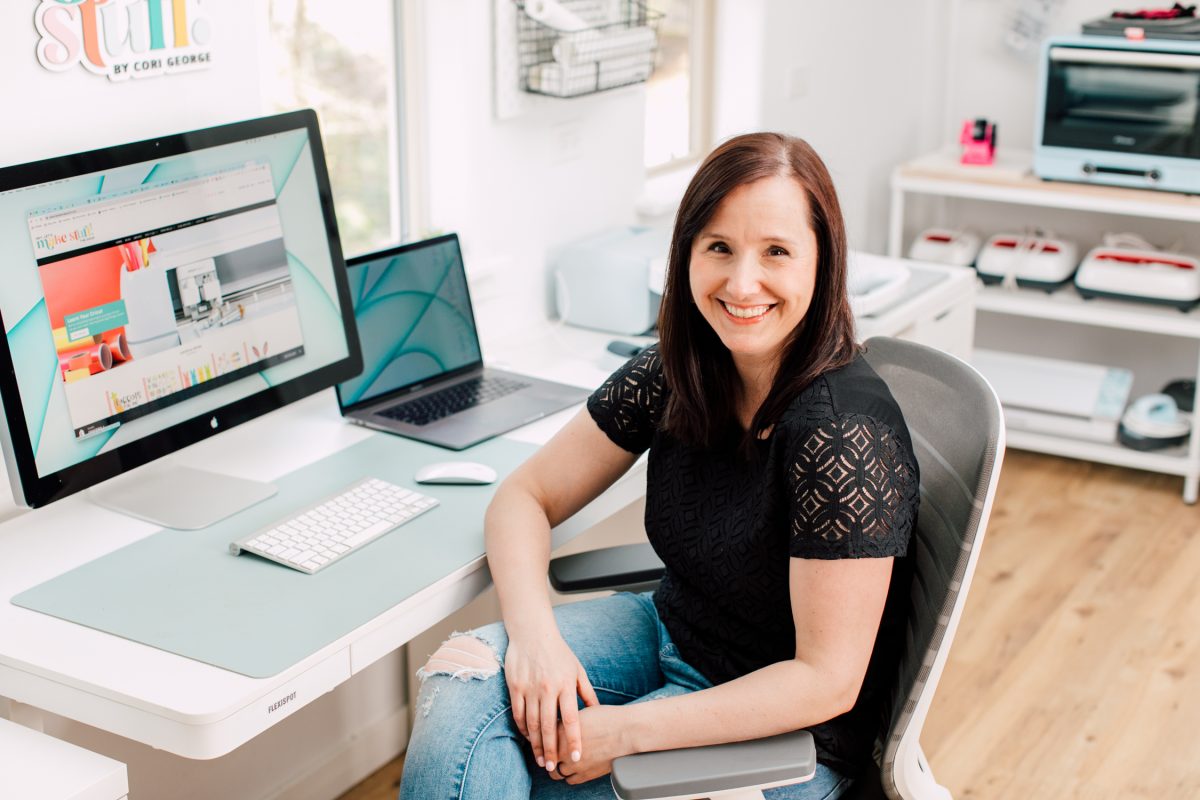
For the sake of your health, make this space as ergonomic as you can. Choose a chair that fits your body and make sure your keyboard and mouse (if you’re using a computer) are comfortable to use. If your eyes bother you, try a pair of blue-light blocking lenses. I have found this really helps my eye strain. I have also found a standing desk really improved my back and neck strain from sitting so long each day.
Cricut crafting often means a lot of time in front of a computer screen, so you might as well make it as comfortable as possible!
Cricut Workspace
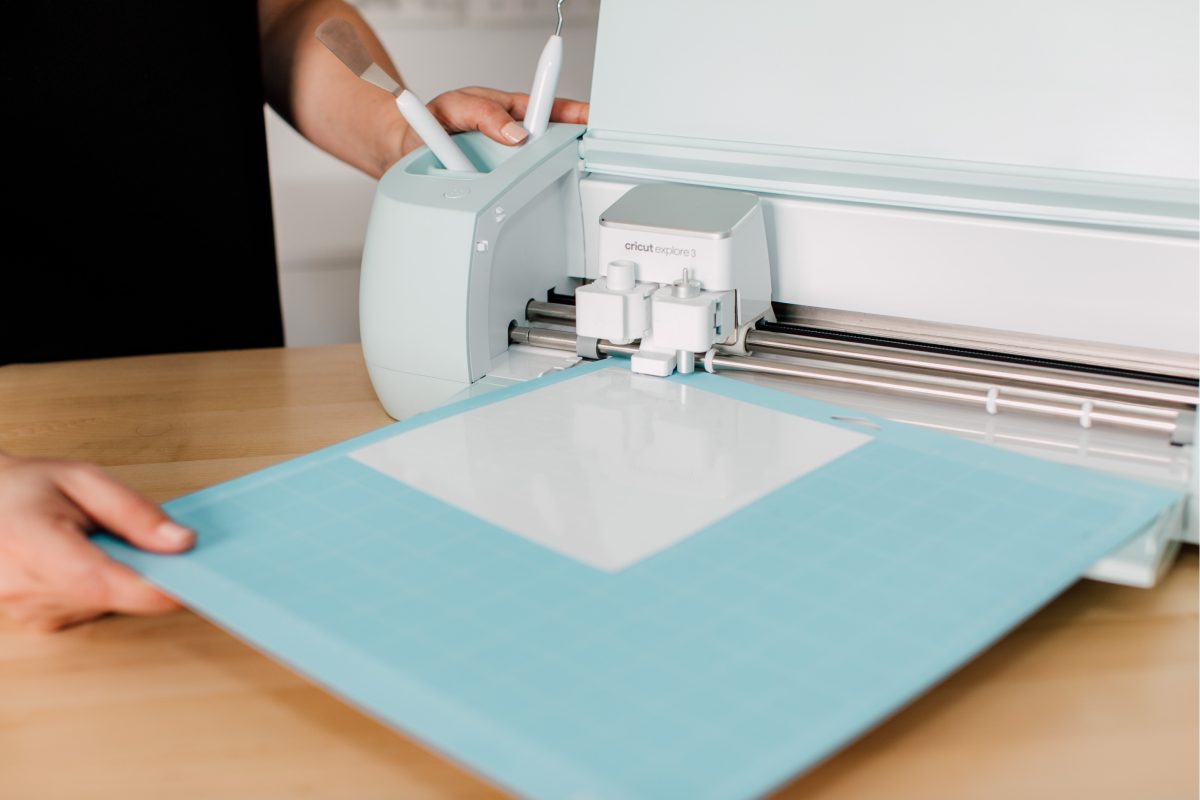
Of course you’ll need a Cricut cutting machine, whether it’s a Cricut Maker, Cricut Explore, or Cricut Joy!
Ideally, it’s good to keep your Cricut close to your computer, so you’re not walking across the room between cuts. This also allows you to keep an eye on your cuts to make sure everything is cutting properly.
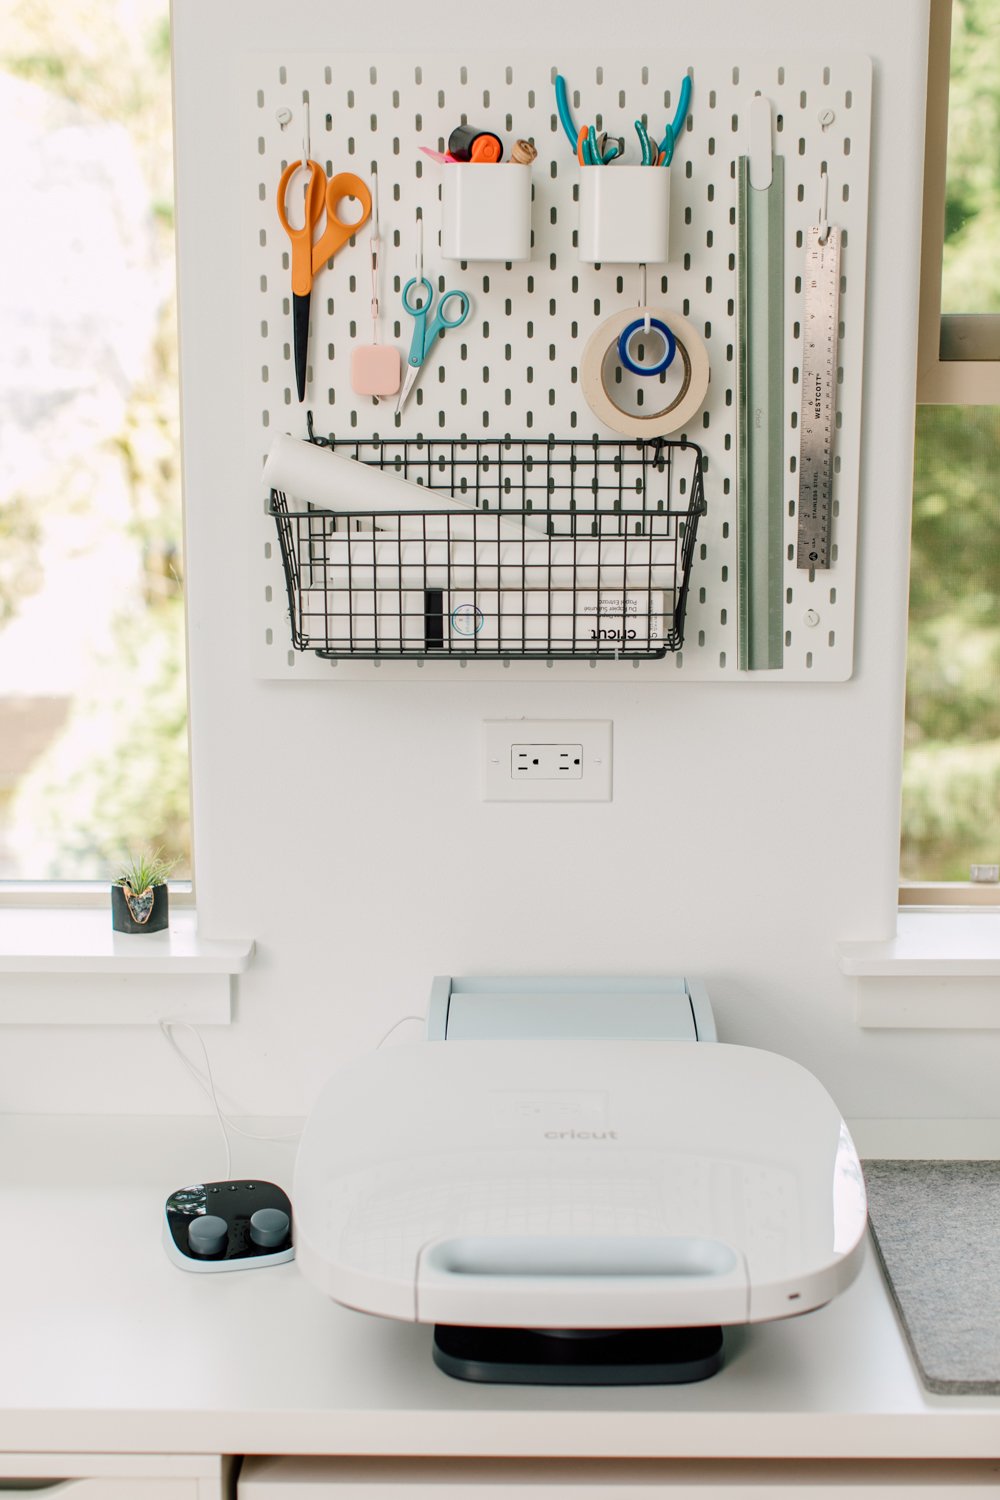
I have several Cricut machines, but this is the space I use most often for crafting (vs a larger work table on the other side of the room where I film my videos). It has the tools I need right above it, plus a space for working with my materials to the left. My computer is to the right of this, so its easy for me to access.
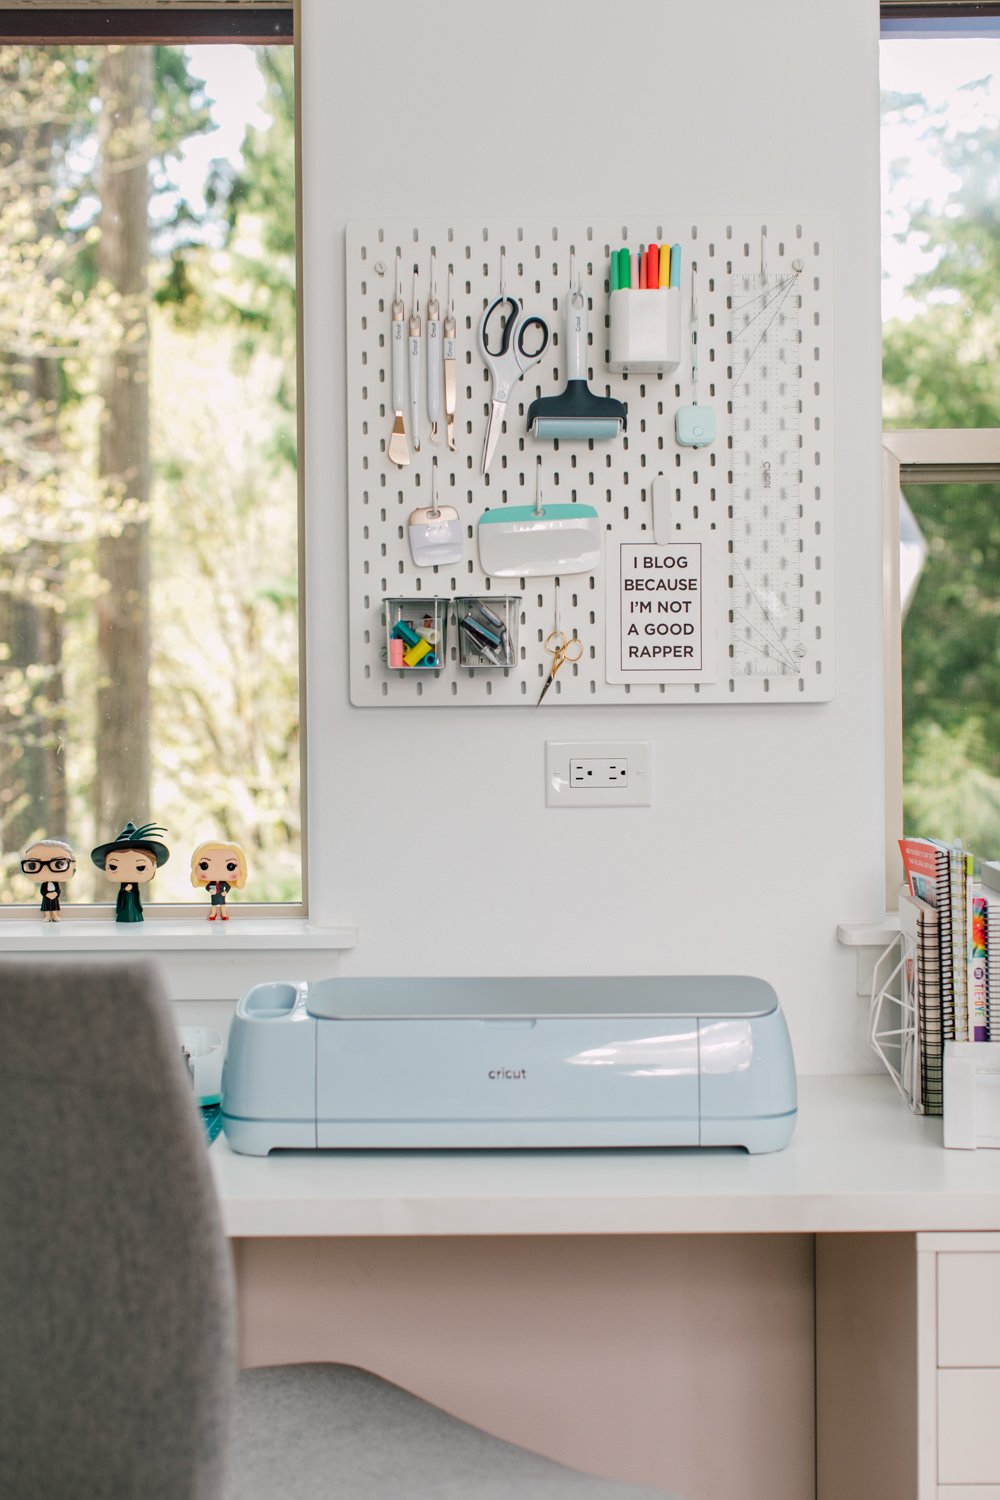
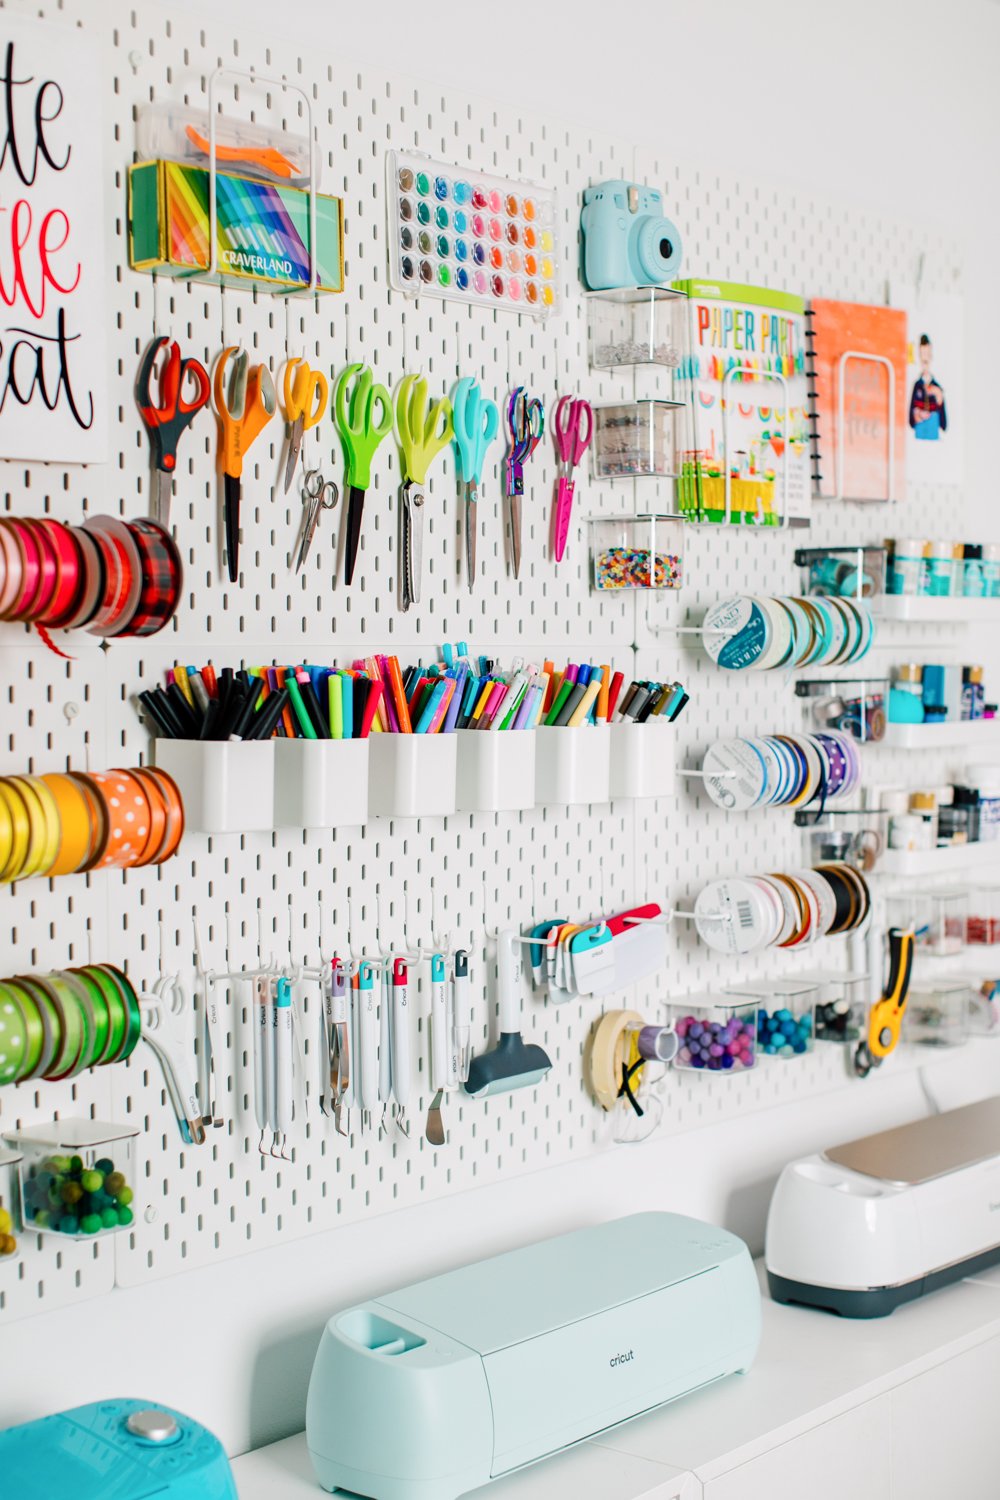
It’s helpful to store your Cricut mats and tools near your Cricut (my mats hang on the wall to the left), and I also find having a portable trimmer is helpful for cutting down materials to use.
If you are using more than one Cricut machine, check out my friend Jamela who has up to four Cricut machines going at one time! She uses shelves for her Cricut machines and uses yardsticks to keep her longer mats from bending. It’s a brilliant setup for those of you with more than one machine running at a time!
EasyPress / Heat Press Workstation
If you use iron-on vinyl or Cricut Infusible Ink, you’ll want to have a place to press your items. Heat presses can take up a lot of space in your craft room, especially if you have more than one. It may not be feasible to have every press out at one time. Keep out your most-used press and tuck the others away if you don’t have space for them on your workspace.
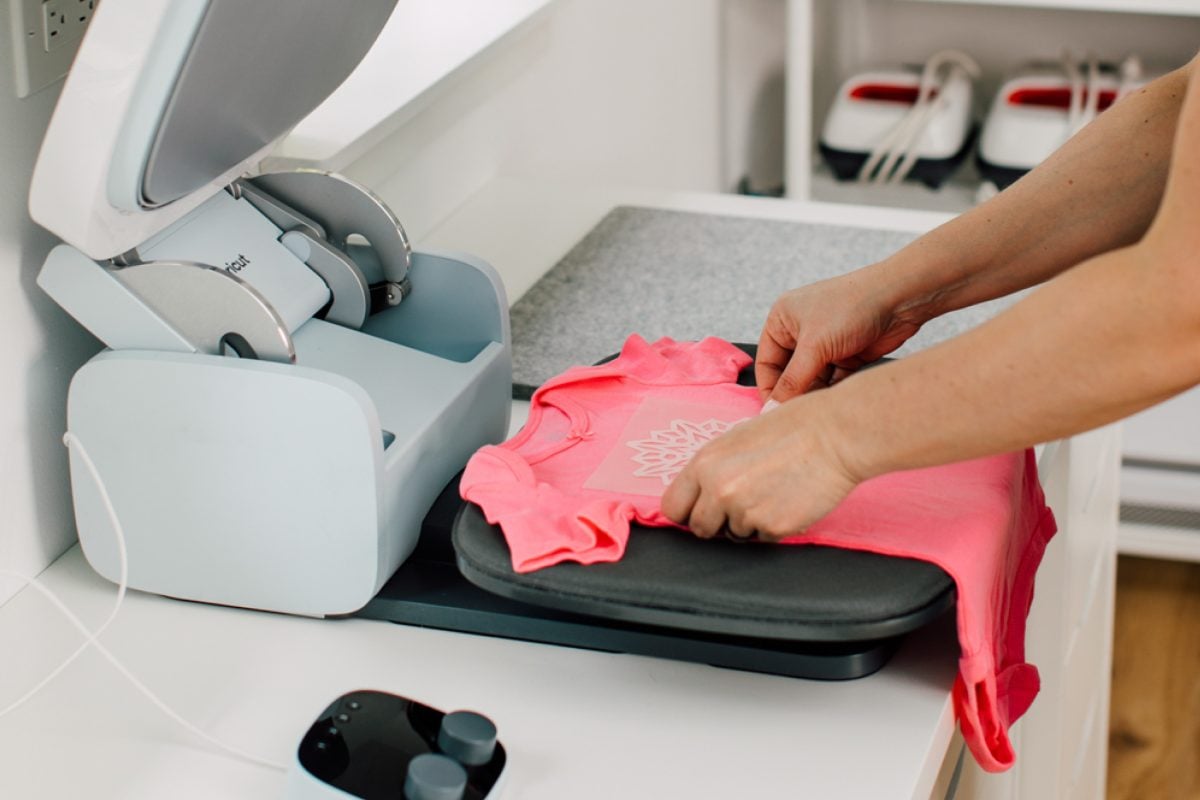
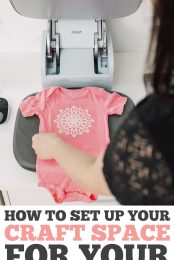
I most often use my Cricut AutoPress—it’s completely replaced my old 5-in-1 heat press. If you want to learn all about this innovative press, check out my Ultimate Guide to Cricut AutoPress. This press is perfect for small businesses, because it allows you to do more in less time. See the section on batching your projects below for more information!
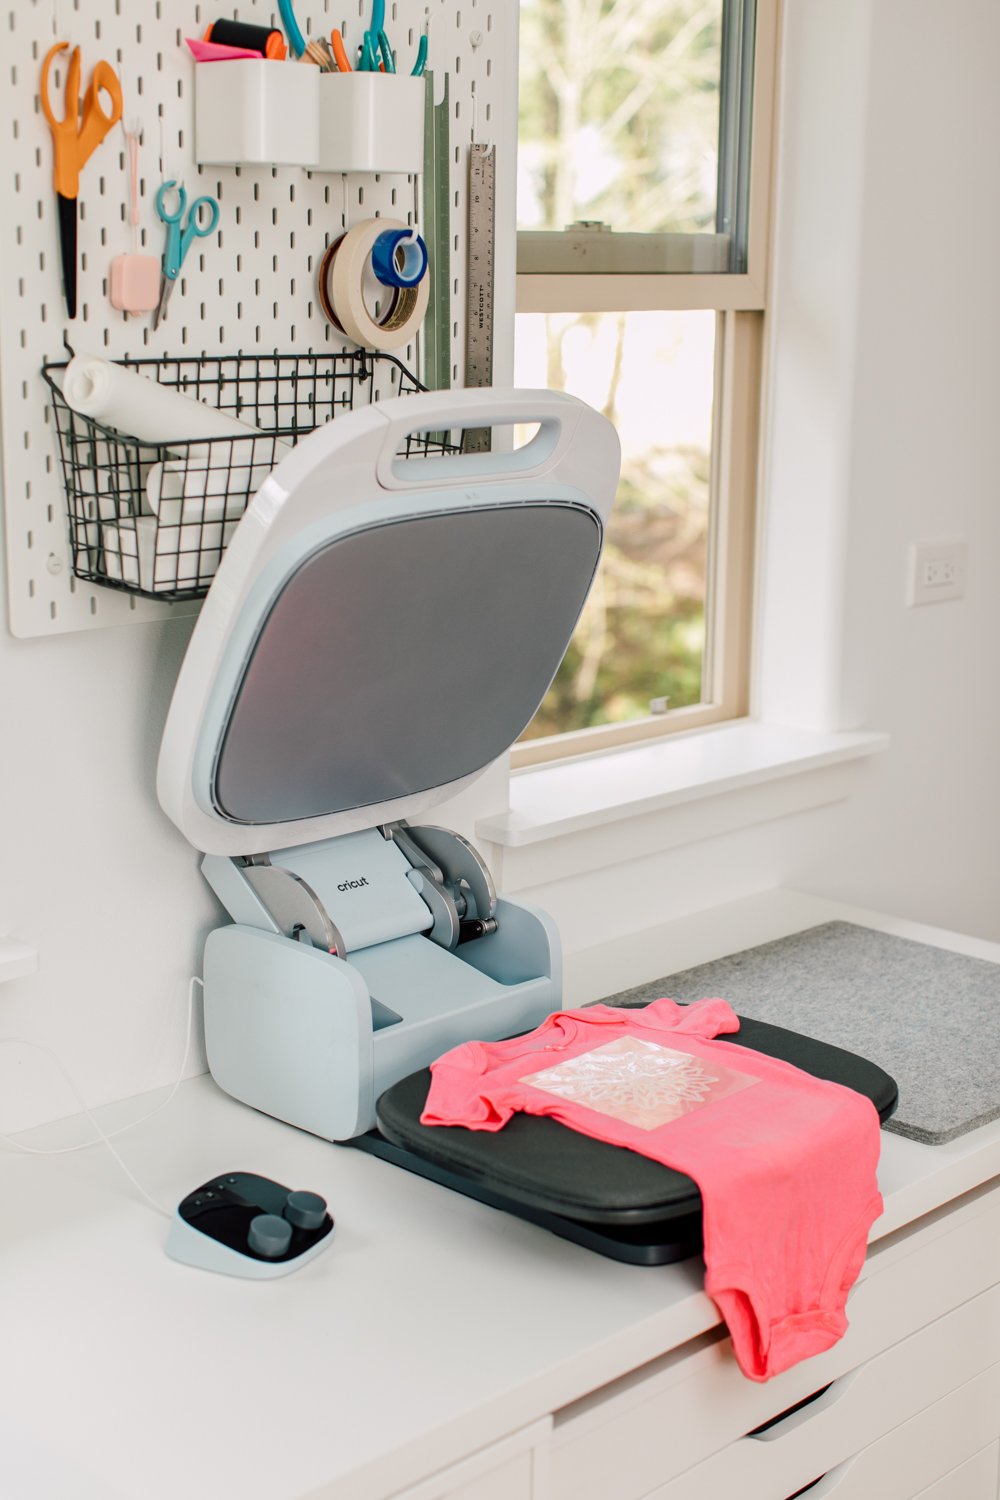
You want to use any heat press on a solid surface, so choose a sturdy desk, table, or workbench. I keep my Cricut AutoPress on desk with drawers of materials below. On one side I have space for preparing items to be pressed, and on the other side is a heat-resistant mat for cooling my projects once they come out of the press.
My other heat presses are next to my Cricut AutoPress workstation on a bakers rack, including my EasyPresses, Mug Press, and Hat Press. (I probably have more heating tools than the average crafter, since I partner with Cricut and do sublimation too!) Yes, I love the idea that all of my tools to “cook” my projects are on a *baking* rack! I also love that it stores so many different things on shelves, a worktop, and hooks. Very useful.
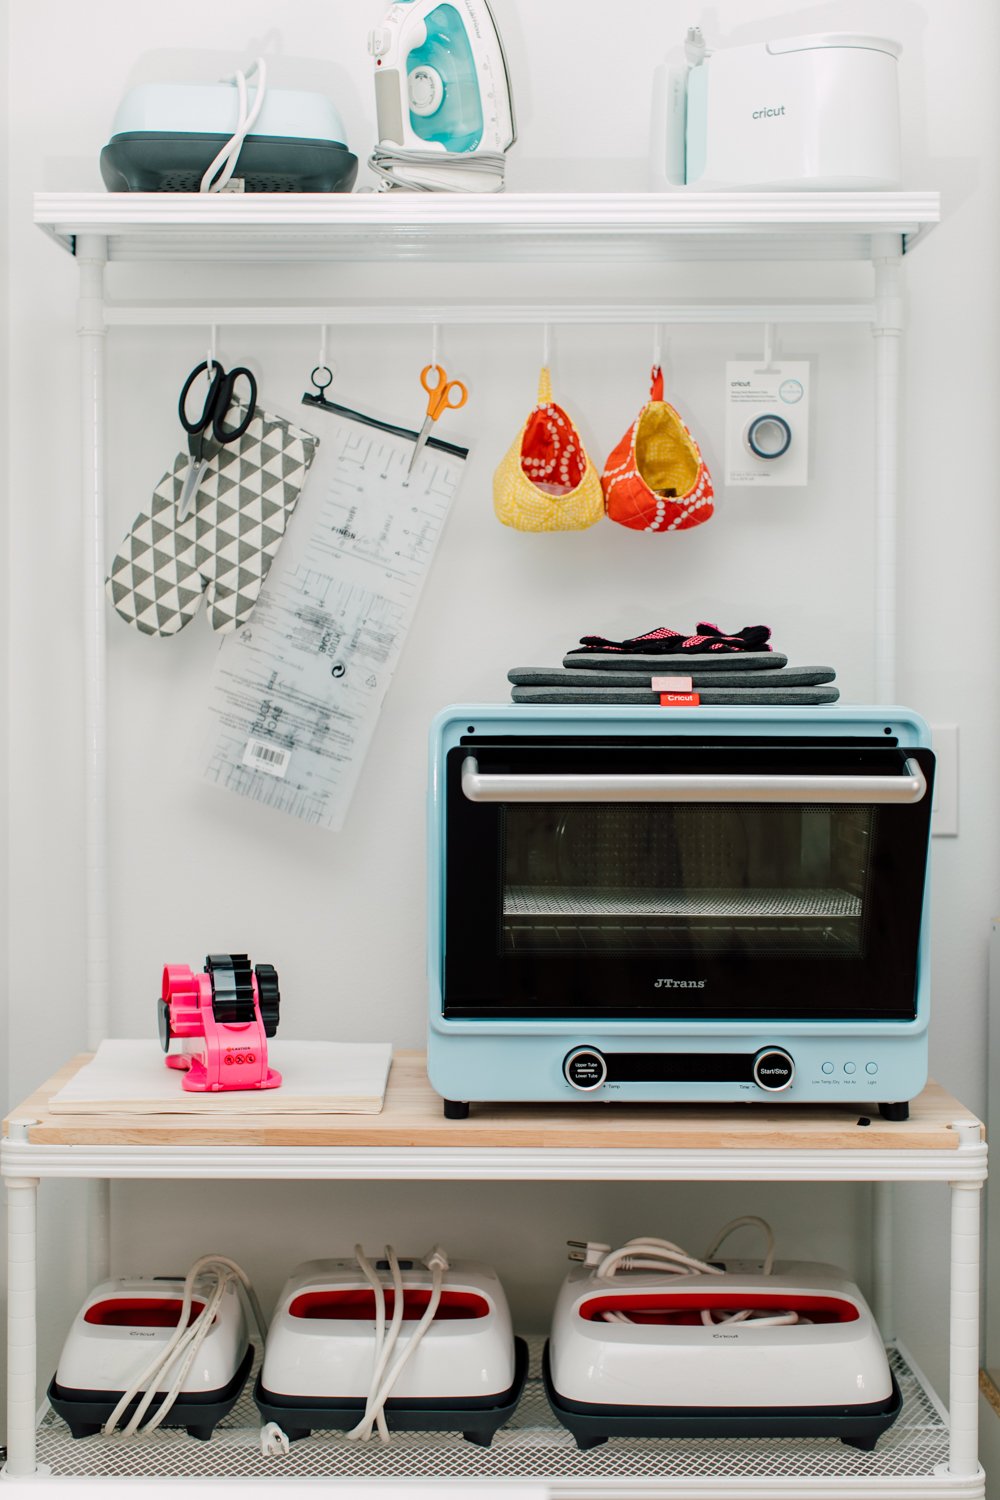
Additionally, it’s helpful to store butcher paper, heat-resistant tape, pressing pads, t-shirt rulers, and more close by.
Work Table
Additionally, it’s helpful to have a separate worktable for “everything else.” You can use this space for weeding vinyl, hot gluing, assembling items, packaging orders, and more. I’ve got a big workbench and I store more materials (lots of scraps) underneath. My Cricut Bright 360 lamp illuminates this space nicely. Read more about this Cricut task lamp in my post Getting to Know the Cricut Bright 360 Lamp.
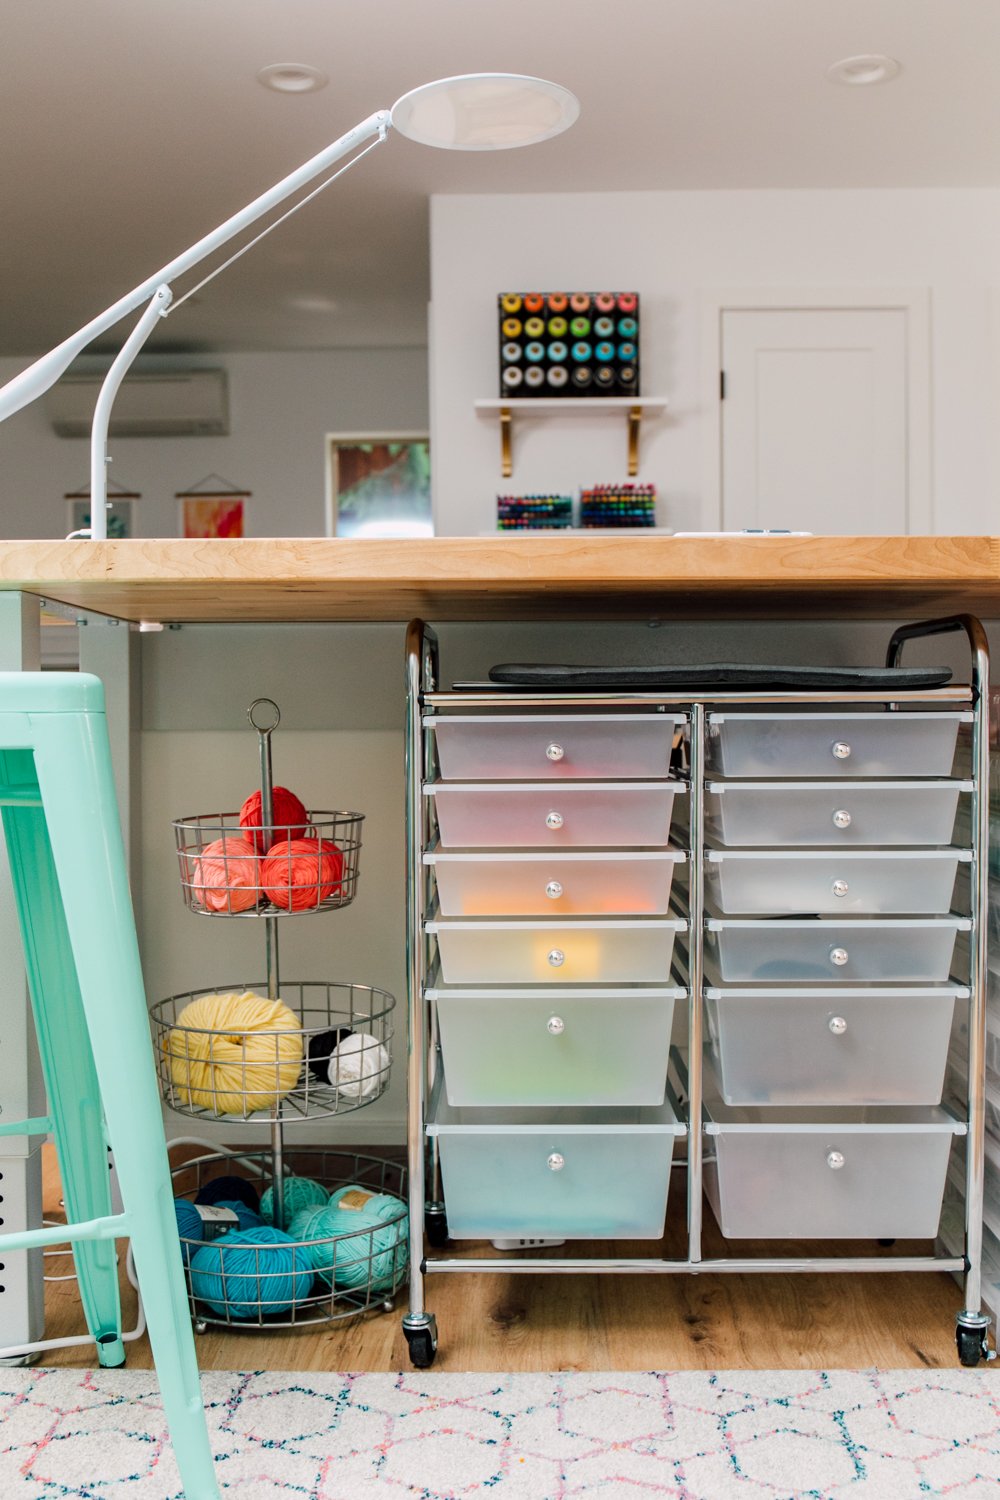
You can also use your work table for product photography!
Materials Storage
I don’t recommend keeping a ton of materials and blanks in storage until you KNOW you will use them. See my other Making Money post for more info on niching down and buying in bulk. If you’re packaging orders, you’ll also need a place to store boxes, tape, filler, etc.
Inventory can be stored in closets, under desks, in cabinets, in drawers, in plastic bins, and more.
Cabinets, in particular are awesome for storing big bins of items. Label the bins with your Cricut so you know what you have!
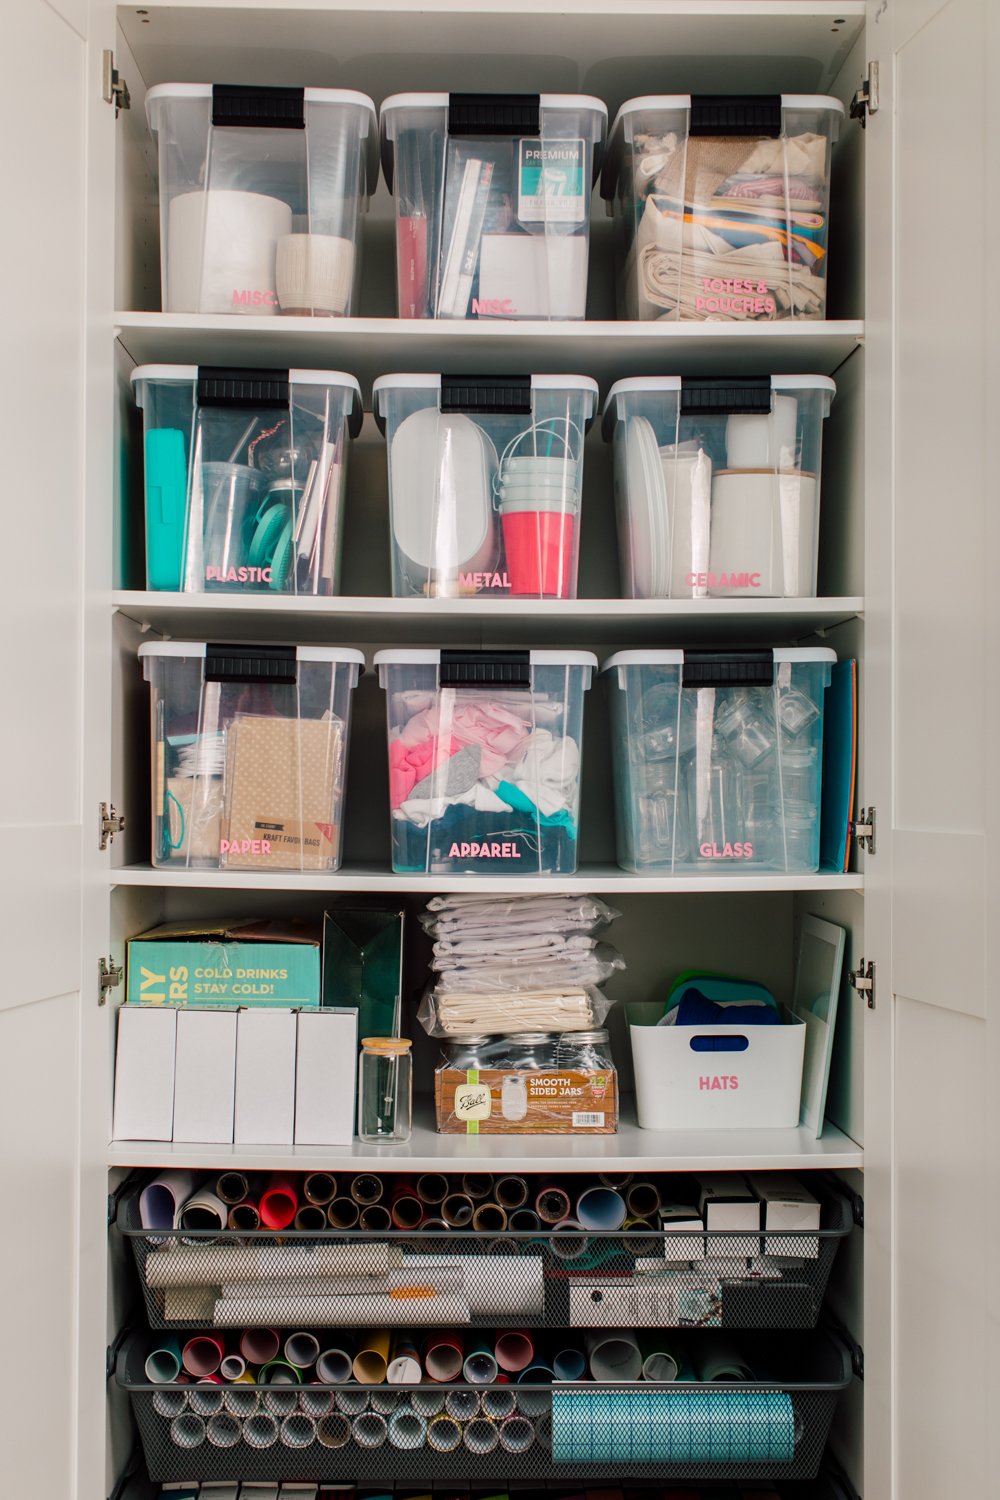
This cabinet has amazing mesh drawers that are perfect for storing all of my rolled and boxed materials.
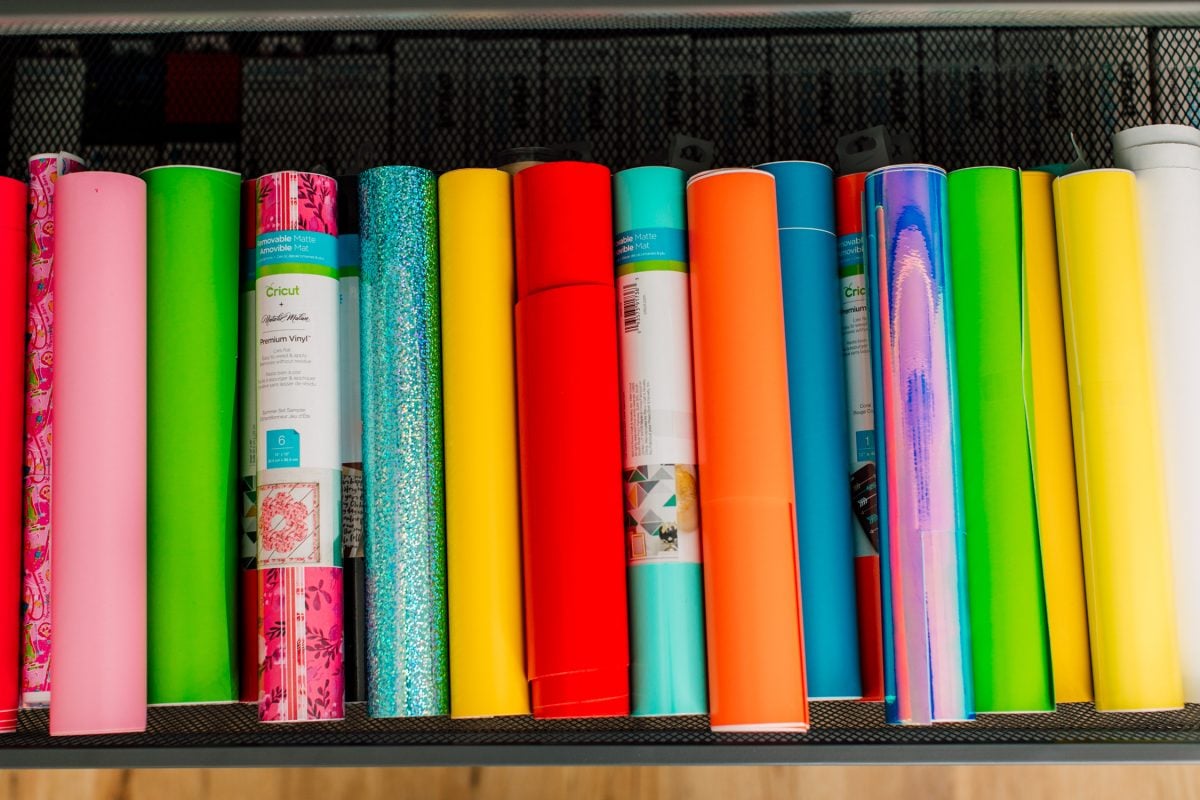
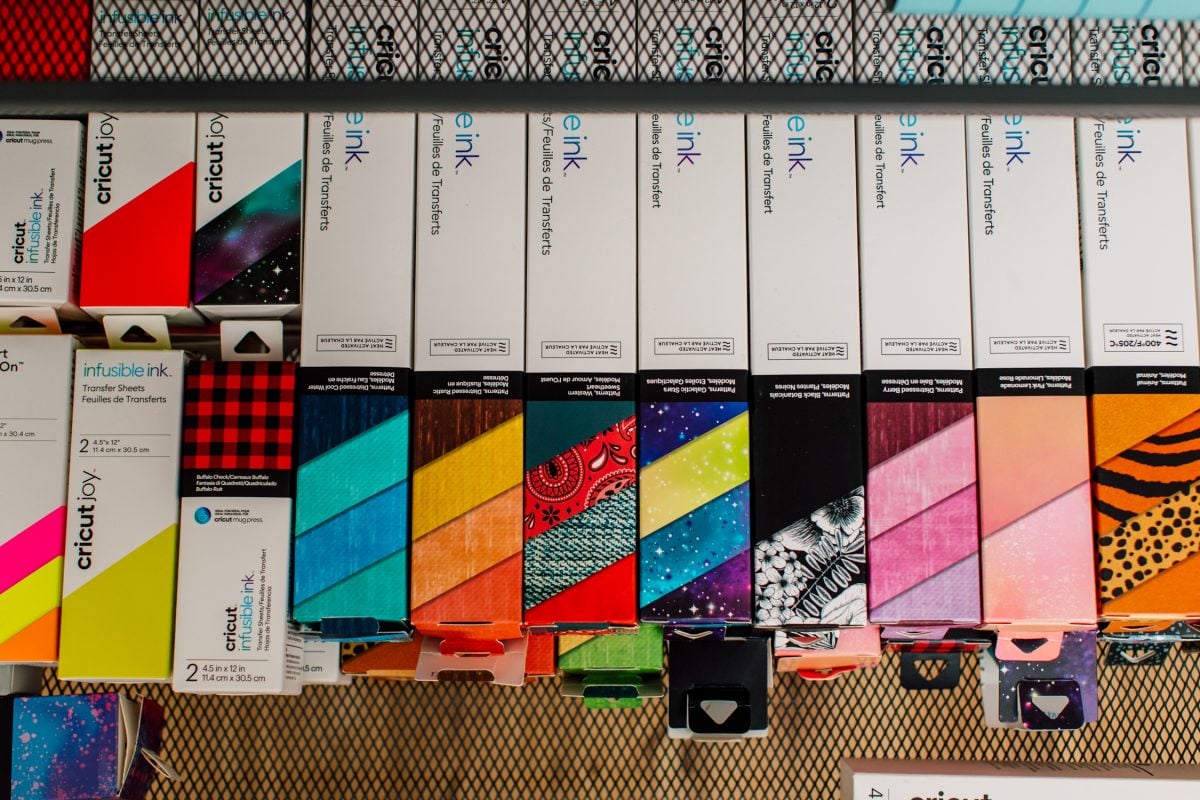
Finding furniture pieces that work well for you is key! If you set up your workspace and find things aren’t working for you, don’t be afraid to switch things around. Look on neighborhood sales pages for different tables and furniture. Don’t feel like you have to love your workspace from the first go. After a while you’ll find your groove!
If you set up your workspace and find things aren’t working for you, don’t be afraid to switch things around. Look on neighborhood sales pages for different tables and furniture. Don’t feel like you have to love your workspace from the first go. After a while you’ll find your groove!
Step 4: Batching Projects
One of the best ways to make your small business more efficient is to batch your work. It’s so easy to wake up in the morning and start panicking about everything you need to get done for your small business. You can become more productive by batching your crafts.
What is Batching?
Batching is basically doing all of your tasks in one area done at the same time. Instead of ping-ponging between tasks, you focus on a particular type of task for a longer period of time.
Think of how a physical store is laid out. In Target, you have all of the clothes in one section, shoes in another, toys near the back, and groceries over on the side. It wouldn’t make sense for Target to just haphazardly put an item in the store wherever the employee felt like shelving it. You’d be running all over the place trying to find what you’re looking for, wasting valuable time and energy trying to check everything off your list. Honestly, you’d probably give up pretty quickly if this was the case!
It’s the same in your business. By grouping your tasks together, it helps you save time and streamlines your business and keeps you from expending valuable mental and physical energy creating your products.
A Project, Not Batched
Let’s say you have a custom order of 12 vacation t-shirts for a client. Here’s how you might make them without any batching at all:
- Design the first shirt in Cricut Design Space
- Get approval from the client
- Find the right color Cricut Infusible Ink
- Pull out the right size t-shirt
- Heat up your Cricut AutoPress or EasyPress
- Cut your image from Infusible Ink
- Weed your Infusible Ink transfer
- Pull out a sheet of butcher paper
- Insert a piece of white cardstock between the two layers of your shirt
- Place your image on your t-shirt
- Press your t-shirt and set it aside to cool
- Design the second shirt in Cricut Design Space
- …and repeat the process.
This is a highly inefficient way of creating projects. Of course, you may be doing some batching without realizing it. You probably would send all 12 designs to the client at once, for example, or pull out all of your butcher paper that you’ll need. But you can batch so much more!
The Same Project, Batched
Instead of doing each of these steps individually, group them together. So now making 12 vacation t-shirts looks like this:
- Design all 12 shirts in Cricut Design Space
- Get client approval on all 12 designs at once
- Pull out all of the Infusible Ink you will need for the project (this helps you know if you’ll be short!)
- Get out all of the t-shirts you’ll need (again, helps to know if you have what you need!)
- Heat up your Cricut AutoPress or EasyPress
- Cut all 12 images from Infusible Ink, using the tools in Cricut Design Space to make the most of your material
- Count out the right amount of butcher paper for all the projects
- Insert a piece of white cardstock between the two layers of your shirt
- Place your image on your first t-shirt
- Press your t-shirt and set it aside to cool
- Press the second t-shirt
- …and repeat just the presses. You don’t need to repeat the whole process because all of the design, approval, cutting, and weeding is done!
The AutoPress Makes Batching Even Easier
Like I said earlier in this post, I got a Cricut AutoPress and one of the things I love about it is that it’s designed for batching. With an EasyPress, you have to hold the press on your t-shirt while it’s pressing. Which works, but it doesn’t leave your hands free to do other work while it’s pressing. You are 100% working while your EasyPress is doing its job.
The Cricut AutoPress, however, requires just a light press to close (also easy on body!), and then when it’s done pressing, it pops open automatically.
This means while one project is pressing, you can get the next one ready to go on the press (inserting the cardstock in the shirt, placing your image on your shirt, covering with butcher, etc). You can even buy extra mats for the base of the heat press so you can just swap them out with your next project to press.
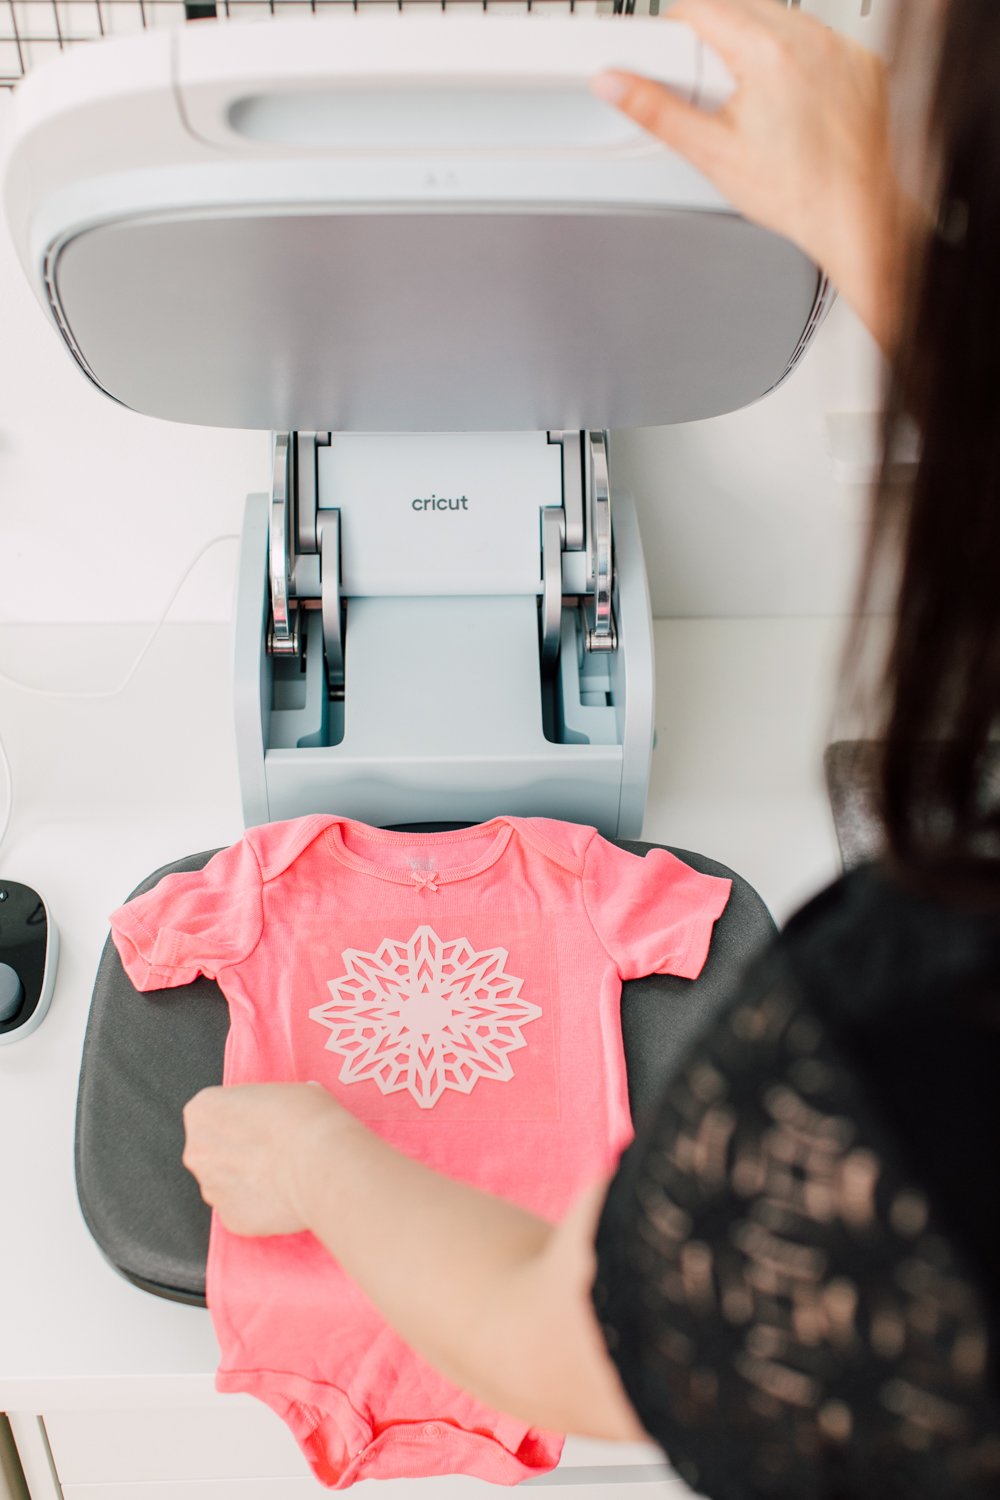
The Cricut AutoPress does have a higher price point than some of the other options on the market, but it really does offer so many great features that it’s perfect for small businesses or crafters who make projects in bulk.
Step 5: Batching Days
In addition to batching your projects, you can also batch your days! Batching your days helps take some of the “Oh goodness, what do I even do next?!” pressure off your time and stressed-out brain.
Take the time you have in the week and look at the types of tasks you do. Then you can batch them into days. Often I’ll also divide my days into mornings and afternoons and do specific tasks during those times. Here are some tasks to batch in your small Cricut business.
- Product planning (including market research)
- Product creation (the actual crafting of your products with your Cricut)
- Design work (creating files to use in your products)
- Creating content for social media
- Scheduling and posting on social media
- Product photography (take photos vertically, horizontally, and square to use in a variety of mediums)
- Photography editing
- Marketing (like running Facebook ads)
- Updating your online shop (writing copy for new products, uploading photos, etc.)
- Shipping and fulfillment
- Cleaning or tidying your craft space
- Accounting and taxes
Yes, things come up, and yes, you will get off track. But I have found the more and more I stick to my batching schedule, the easier my weeks go. For example, I schedule out all of my Instagram posts for the week on Monday morning. That means I don’t even have to go on Instagram for the rest of the week, except maybe once or twice to answer comments. Not being distracted by social media is a huge benefit of batching!
Another thing I do is I update and categorize all my banking transactions on Fridays. It takes me about 10 minutes each Friday. But this means that reconciling my accounting at the end of the month is easier, and putting everything together for my accountant at the end of the year is a breeze.
I hope you found these tips and tricks helpful for running your small Cricut business! If you have any questions or more ideas for making yourself more productive, I’d love to hear them in the comments!


Comments & Reviews
Nicki Jones says
I really founds your article really easy to read and write back, it was very easy to understand, thankyou very much indeed
Lily says
Oh ! Just discovered you with this article and this is so intersting !
Working on my small business project but not started for now.
Can’t wait to apply all your precious advices.
Many thanks
Lily
Margaret says
Do you know the character Morty in https://elastic-man.com/? I want to craft that character’s cute face to decorate my desk at work. Where can I see instructions?
Cori says
Unfortunately, I do not have a template for that character. You may be able to find one on Etsy or create one with a design program like Inkscape :)
RHONDA TROUT says
Thank you Cori, Your Camp Discussion on Creating Mockups was very informative. It inspired me to take a look at
Canva again. Your tips on Setting up craft space reminds me to work smarter not harder in mine.
Cori says
Hi Rhonda,
You are so welcome! I’m thrilled you found it helpful! :)
Melissa Pollard says
This is great info. I do mostly card making. If I’m making 10 of the same card then I start at step 1 and do all 10 and repeat for each step. I call it my assembly line process. It does save so much time! Now if I could just get more use out of my cabinets!! I no longer work so I depend on my daughter and son in law for my needs. Is there away I could send you pictures of my cabinets (as is 🥴) for some suggestions?