Plan ahead for the new school year with these printable back to school planner stickers! Print on sticker paper or use Cricut Print then Cut. Plus get my best beginner planner tips!
So I recently started delving into planner world. You planner people? You are all kinds of crazy. It’s a colorful, beautiful, creative crazy, but crazy nonetheless.
I LOVE IT.
I recently got a Happy Planner and I’ve started playing around with being a paper planner person. I love my electronic calendar on my computer for day to day scheduling, but it’s a lot of fun to play around with the different ways to use a paper planner—tracking workouts, meal planning, adding stickers on particularly fun days (like our anniversary on August 11!), and decorating everything with washi tape and other fun goodies!
School Planner Stickers
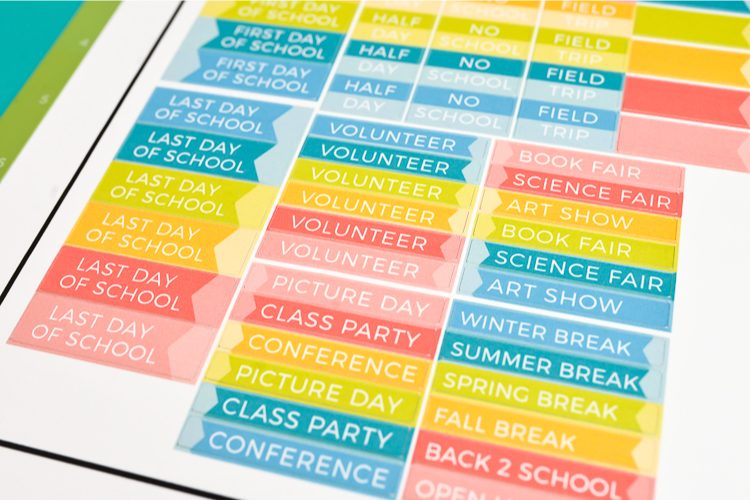
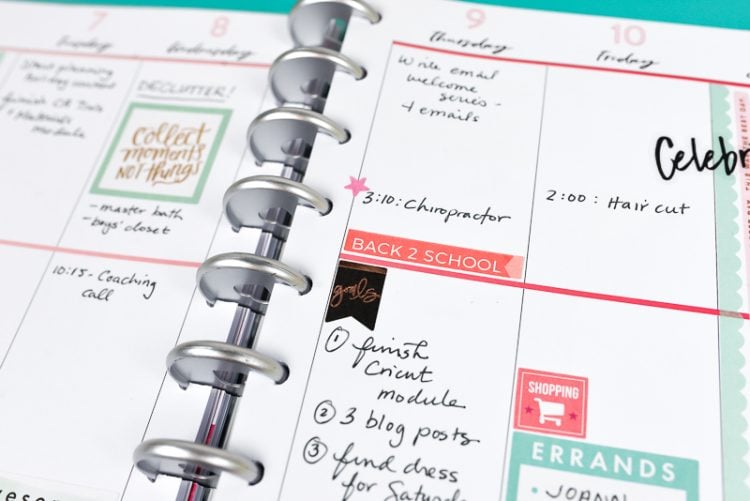
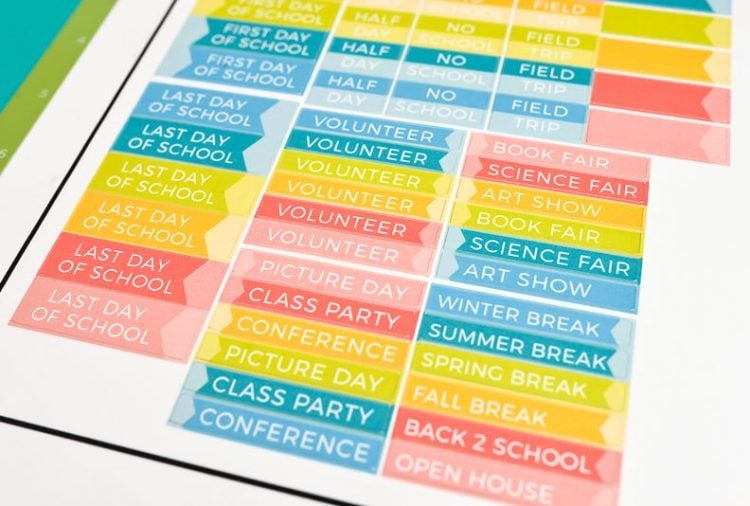
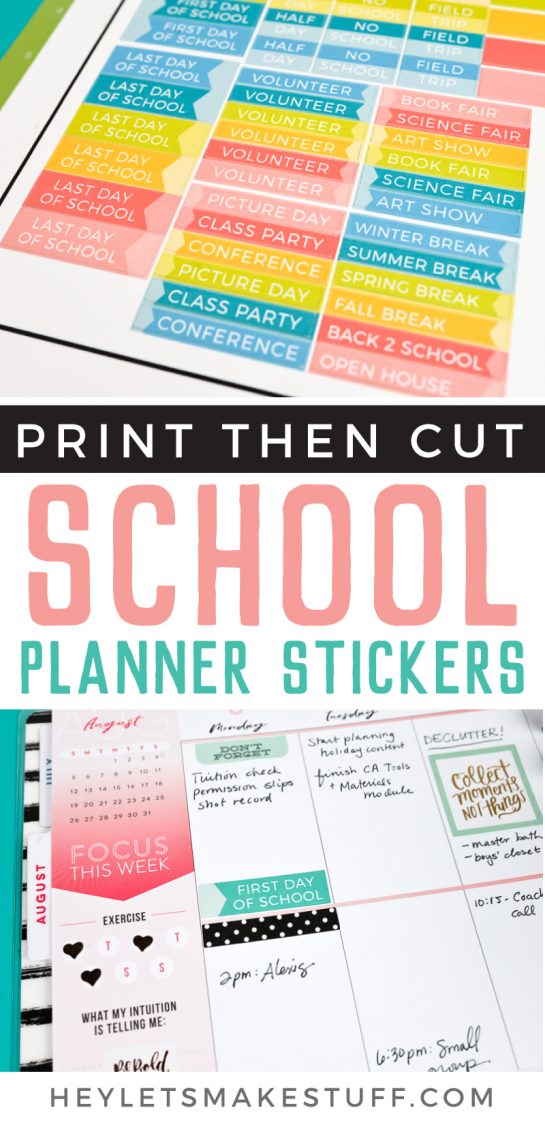
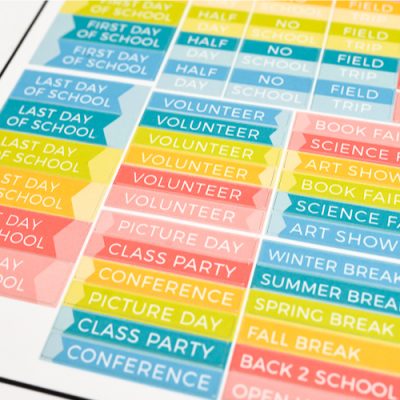
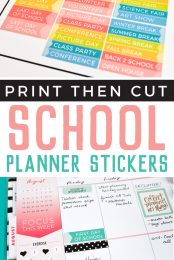
For back to school season, I have designed a set of simple Back to School planner stickers. These are for moms (and planner-happy dads) to help keep track of what’s going on at your kiddo’s school! They come in an array of colors, so they’ll match almost any spread you can think of.
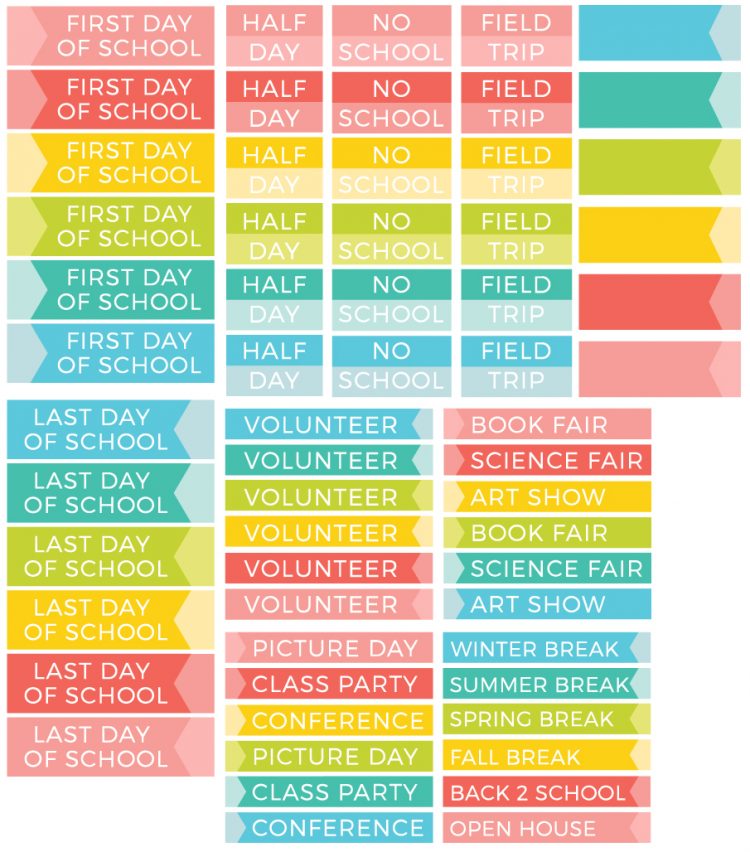
You can print these on regular sticker paper and cut by hand, or use Cricut’s Print then Cut feature to make them easily on your machine! I think it’s amazing that the Cricut is so precise that it can cut the top layer of sticker paper while leaving the backing intact. Let’s make these stickers!
Get the Free File
Want access to this free file? Join my FREE craft library! All you need is the password to get in, which you can get by filling out the form below. The file number is: C135.
Using Cricut Print Then Cut to Make Planner Stickers
Upload the SVG to Cricut Design Space. If desired, hide any labels you do not want to make, or change the colors.
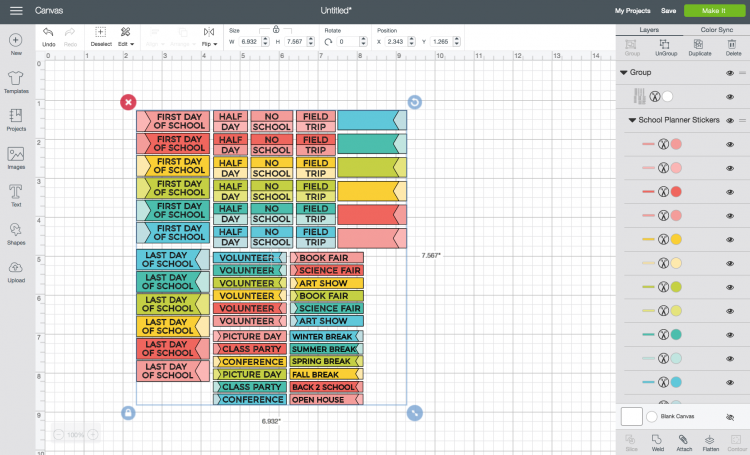
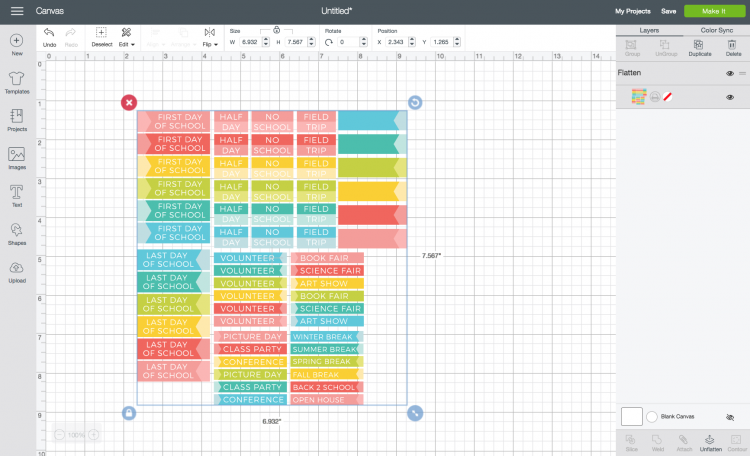
Select all and click Flatten in the Layers Panel. This will turn your file into a Print then Cut file (denoted by the printer icon in the Layers Panel). Learn more about Flatten here.
When you click Make It, Cricut Design Space will prompt you to print your project first. I kept the bleeds on. Design Space will also place a black registration line around your project—this indicates to the Cricut where to cut. I used Cricut’s Sticker Paper for this project, but I now recommend their printable vinyl over the sticker paper—it’s thinner and better to cut.
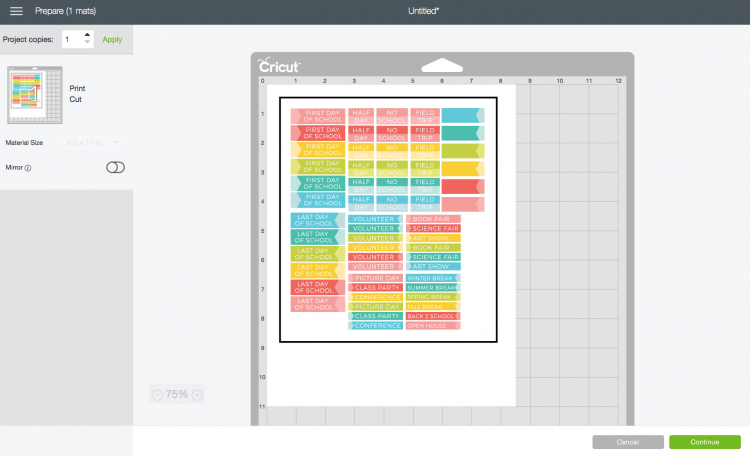
Once you’ve printed your stickers on your home printer, place your printed sticker sheet onto a Cricut mat, and select Sticker Paper as your material.
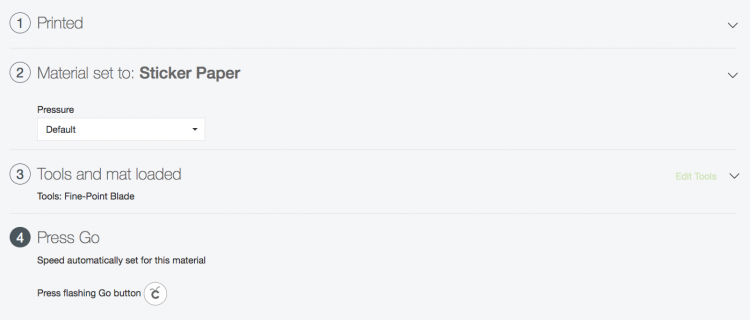
The Cricut will then cut around the edges of each individual sticker!
Beginner Planner Tips
Now that I’m getting into this paper planner world, I thought I’d share a few tips for getting started. There is an amazing amount of inspiration out there, particularly on Instagram (search for the hashtag #happyplanner to see!). You may find it overwhelming to see these amazing planner spreads and get discouraged. Here are a few simple tips if you’re brand new to planners!
Pick a Color Theme
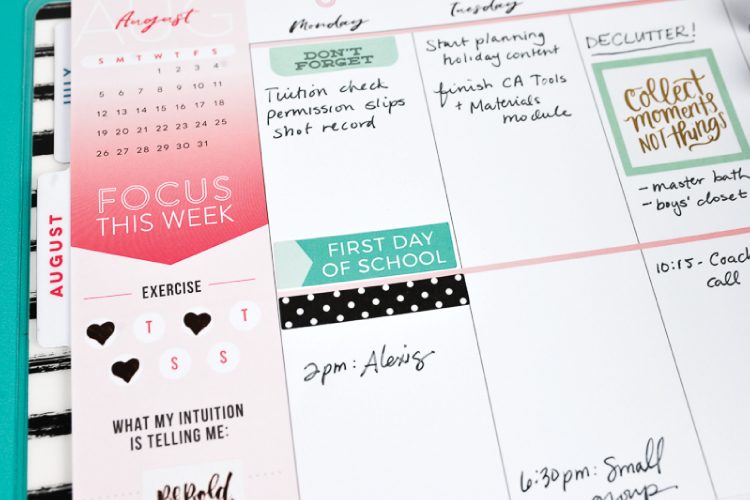
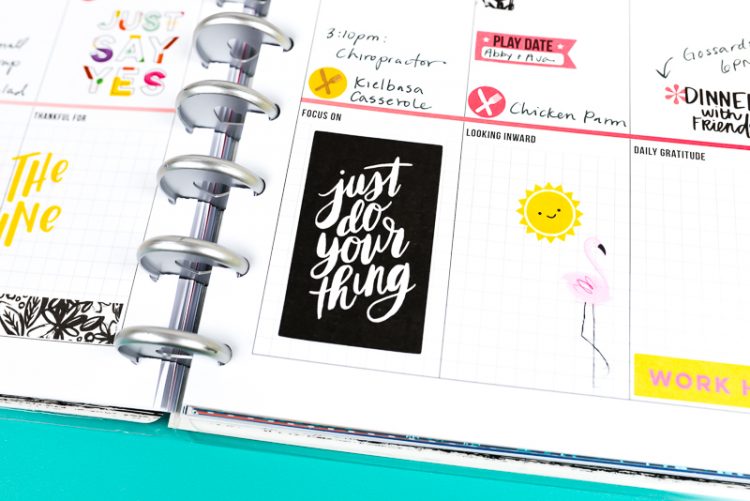
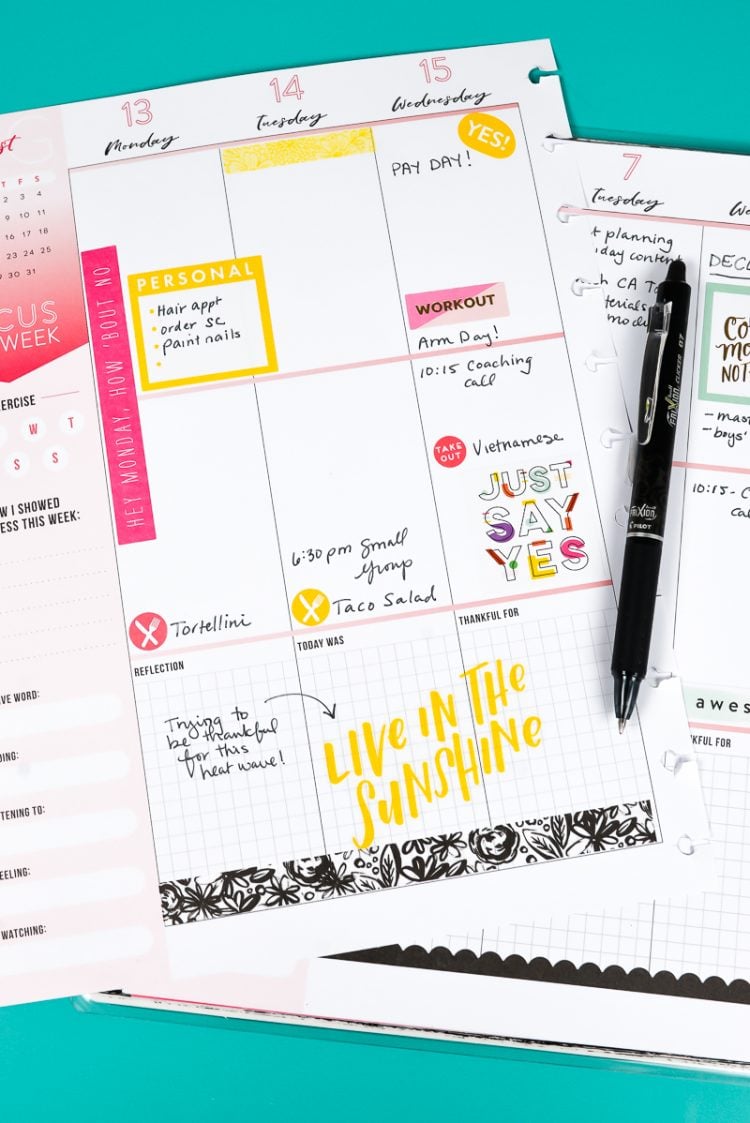
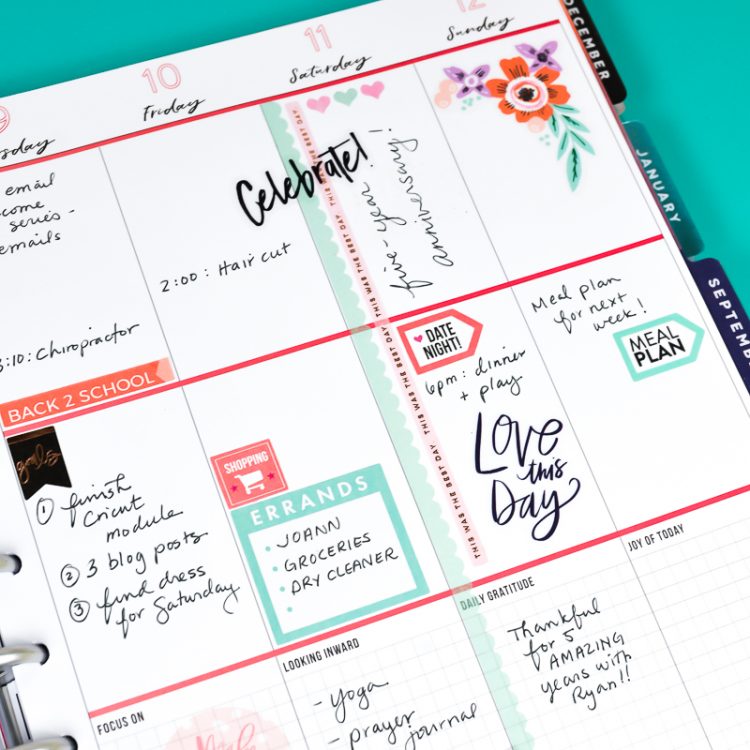
For each spread, pick a color theme. Each week can be something different, but I find it a lot easier to narrow down my sticker, washi tape, and other decor options when I only have two or three colors to choose from! In my first spread, I stuck with pink and mint, accented with black. In my second spread, I went brighter with magenta and yellow, also with black because I love the pop. Notice that my back to school planner stickers go with both themes!
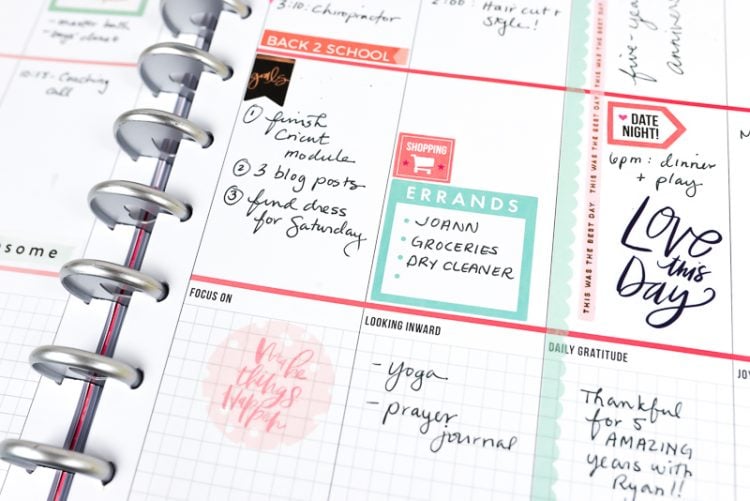
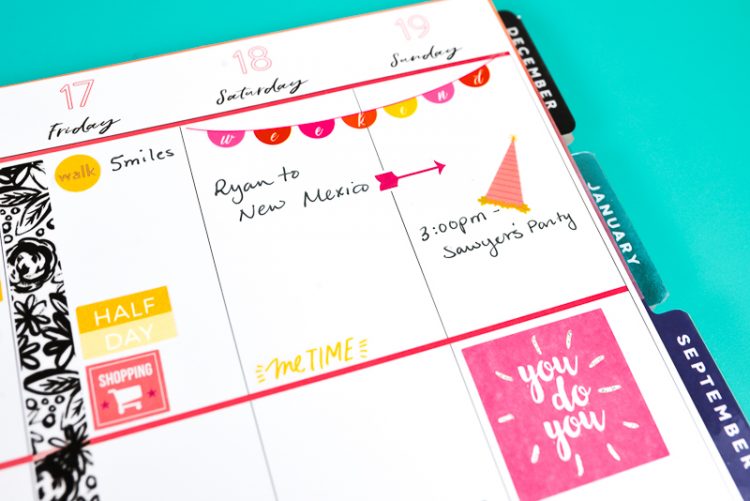
If there’s a holiday that week, that can help guide your color choices! I think it’s a lot of fun to mix up your style, week to week—you’ll love how some turn out more than others, but that’s part of the fun of discovering your own planner style.
Let Your Decorations do the Heavy Lifting
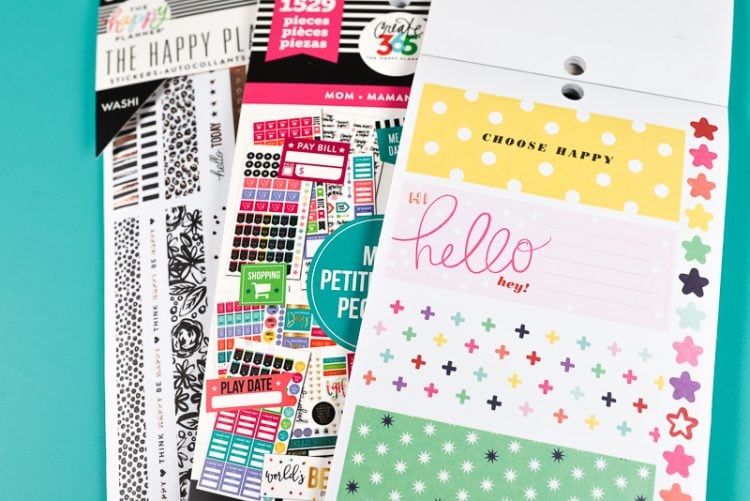
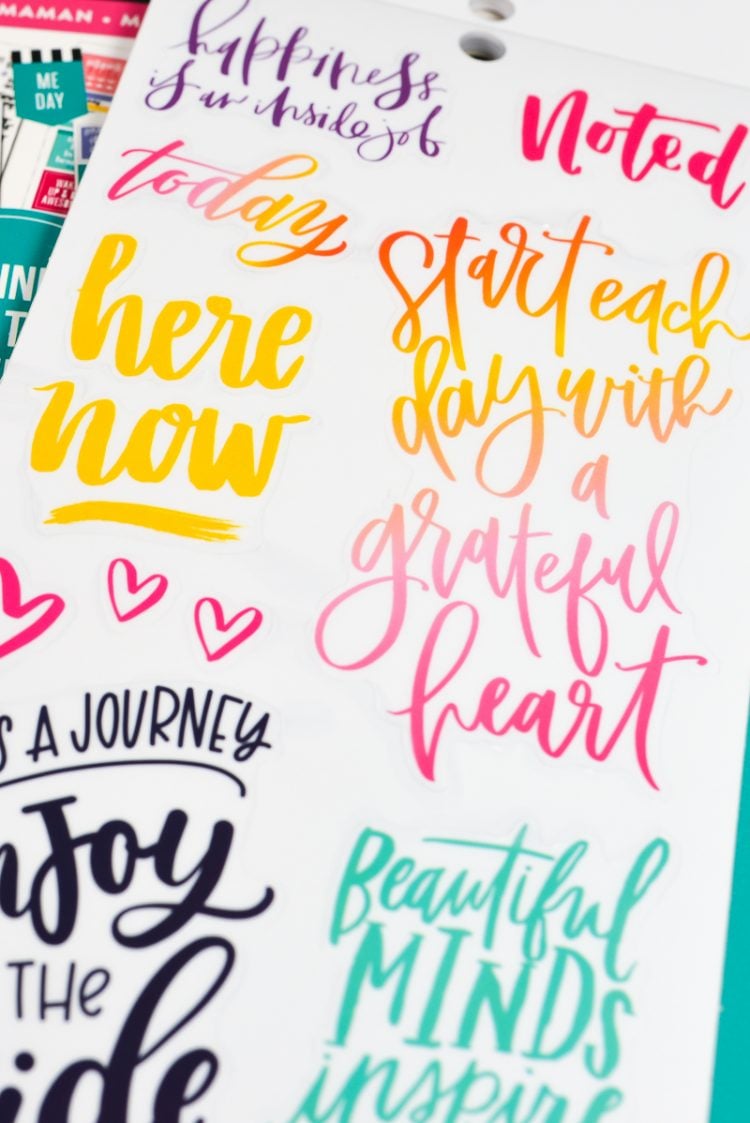
I am the first to admit I don’t have the world’s best hand-lettering or penmanship. It isn’t bad, but it’s not absolutely gorgeous like some I’ve seen. If you like the look of hand lettering, there are so many fun stickers than can create that look for you! Grab a few sticker books and get to decorating.
Try an Erasable Pen
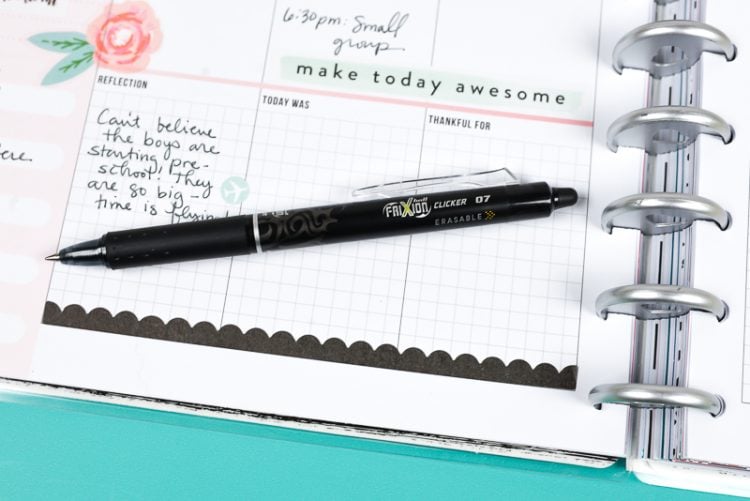
Anyone else here terrified that one misspelling will have you dumping your planner? I’m such a perfectionist, so I get that! For a while now, I’ve used Frixion pens. They are erasable. And when I say erasable, I mean the are genuinely erasable! Like it never even happened. So if you’re afraid of making mistakes, write in pencil or try and erasable pen! This is also the perfect solution for events that inevitably change dates. Some people use sticky notes to move events around—I already prefer the erasable pen.
Remove Pages
Depending on whether you’re right handed or left handed, you may find writing close to the margin difficult. With the Happy Planner, pulling out pages from the plastic rings is simple. Just remove them, write what you need to write, and put them right back in.
Only Decorate Next Week
You’re probably going to want to decorate your whole darn planner the second you get it. There are SO many stickers, so many washi tapes, so many THINGS and it’s a blast to decorate. But take a step back and try to decorate only for the next week. That gives you the space to fill in everything that’s happening and you won’t be overwhelmed by a design that you did three months ago.
If you’re just getting started in this crazy planner world, I hope you found those tips helpful! And good luck with this upcoming school year—it’s our boys first school year, so it’s a big one for us!
And what about keeping all those school supplies in order in the classroom and at home? Check out my blog for some Free Printable Classroom School Supply Labels!
BACK TO SCHOOL PLANNER STICKERS
Equipment
- Cricut Maker or
Supplies
- Free School Planner Stickers #C135
- Cricut's Sticker Paper or
- Crcicut's printable vinyl
Instructions
- Upload the SVG to Cricut Design Space. If desired, hide any labels you do not want to make, or change the colors.

- Select all and click Flatten in the Layers Panel. This will turn your file into a Print then Cut file (denoted by the printer icon in the Layers Panel). Learn more about Flatten here.

- When you click Make It, Cricut Design Space will prompt you to print your project first. Keep the bleeds on. Design Space will also place a black registration line around your project—this indicates to the Cricut where to cut. Cricut's Sticker Paper was used for this project, but now recommend their printable vinyl over the sticker paper—it's thinner and better to cut.

- Once you've printed your stickers on your home printer, place your printed sticker sheet onto a Cricut mat, and select Sticker Paper as your material.

- The Cricut will then cut around the edges of each individual sticker!



Comments & Reviews
Laurie Cullen says
My back-to-schooler is a college freshman. Is there a way to revise the text on the print, then cut stickers for the planner?
Cori George says
Unfortunately no. I designed them in Illustrator so you can’t change them. Sorry!