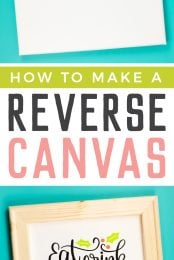
Framing art can be so expensive, but making a reverse canvas is a quick trick to an inexpensive frame! Here’s how to make a reverse canvas out of a basic wrapped canvas for Christmas or any time during the year!

Today let’s do a project that looks a lot harder than it actually is—turning a plain wrapped canvas into a piece of artwork using the reverse canvas technique!
I’ve made this cute “eat, drink, and be merry” for the Christmas season, but this tutorial works for any image you might want! It’s infinitely customizable. Here are just a few of the things you can switch up when making your own reverse canvas:
- Paint or stain the frame.
- Use a cut file image with any type of iron-on vinyl, including sparkle, holographic, and more.
- Use a print then cut image on printable iron-on vinyl.
- Hand-paint an image on the canvas.
- Stencil an image on the canvas.
- Do a “hot mess canvas” technique.
- Use the frame as a shallow shadowbox for sentimental items like movie tickets, baby wristbands from the hospital, or photos.

Reverse Canvas Supplies

- Wrapped canvas
- Craft knife
- Acrylic ruler (optional)
- Iron on vinyl (I used black, pink, and green)
- EasyPress Mini, EasyPress, or Iron
- Hot glue gun
- Push pins
- Cricut Design Space file
Reverse Canvas Instructions
Using the craft knife, carefully remove the canvas from the frame, cutting on the outside of the staples. I find an acrylic ruler makes this really easy.
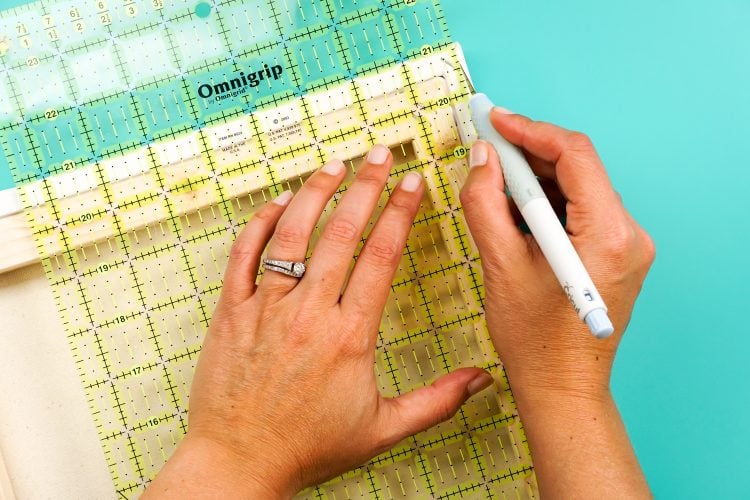

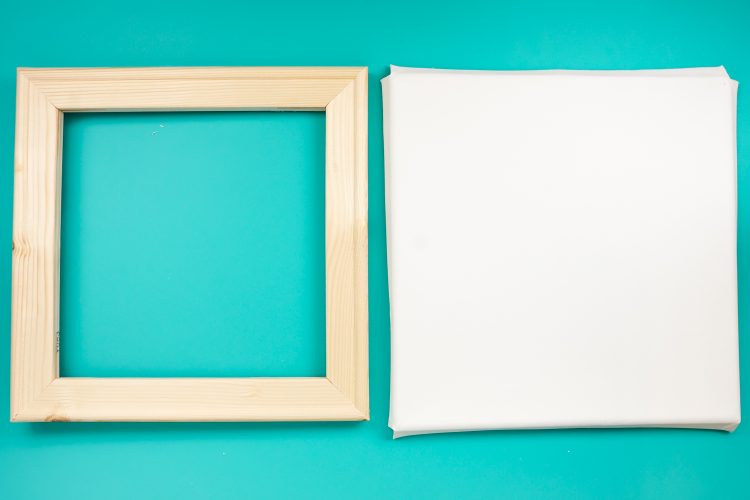
Pull off the canvas and set the frame aside. If you want to paint or stain the frame, now is a good time to do that it can dry while you do the rest of your project.
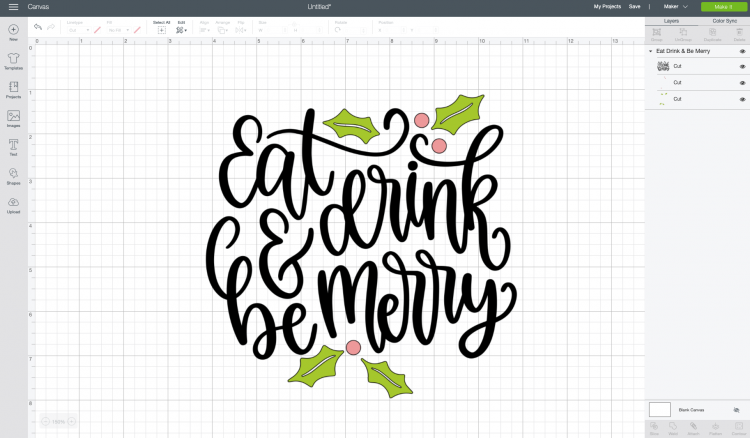
Cut your image using your Cricut. I decided on a cute “eat, drink, and be merry” file in Design Space (link in the supply list). Remember to mirror your iron on vinyl before cutting, and place the shiny side of the iron on vinyl on the mat.
Center your image on your canvas. It doesn’t have to be perfectly centered—you’ll have some wiggle room later in the process. Adhere using your preferred heat source. I’m using my EasyPress Mini, which works perfectly for small projects like this.

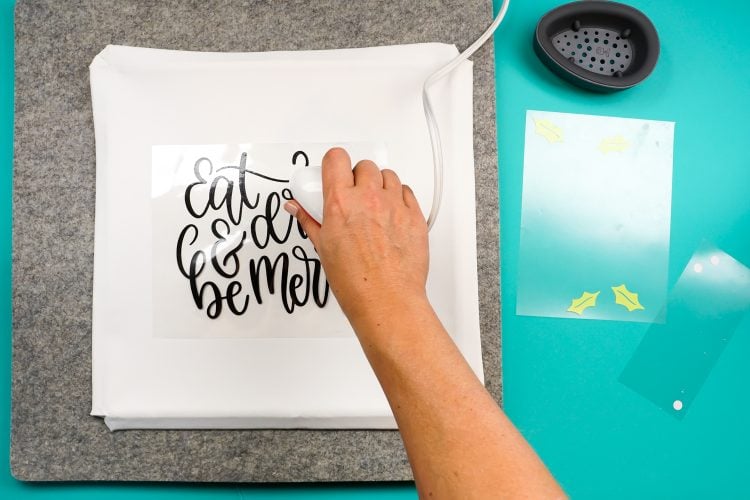

Then repeat with the remaining two layers.

Center your canvas behind the frame. You’ll see here that though I thought my canvas was straight, I ended up off-centering it a bit to get it squared up in the frame. Once centered, carefully flip the frame over.

Without shifting the canvas, pin the canvas to the back. This just helps you keep it lined up as you glue.

Starting in one corner, hot glue the canvas to the inner part of the frame, keeping the canvas taut.


Using the craft knife, trim off the extra canvas. I find the channel between the two parts of the frame makes a perfect guide for cutting off the back. If you want, you can cover the back with felt for a more finished look.


Flip it over and admire your handiwork! I love that this project looks much more complicated than it is. These reverse canvases are perfect for Christmas gifts for friends, family, and even neighbors!

Have any questions? Leave me a comment and I’ll bee happy to answer!

HOW TO MAKE A REVERSE CANVAS
Supplies
Instructions
- Using the craft knife, remove the canvas from the frame.
- Paint or stain the frame, if desired.
- Cut your iron on vinyl using your Cricut.
- Center the first image layer on the canvas, and use the EasyPress Mini to adhere.
- Repeat with the remaining layers.
- Center your canvas behind your frame and carefully flip the frame over without shifting the canvas.
- Pin the canvas to the back of the frame.
- Hot glue the canvas to the frame.
- Trim off the excess canvas.



Comments & Reviews
wheelie party says
This reverse canvas tutorial is such a creative and cost-effective way to frame art! The step-by-step instructions are easy to follow and perfect for DIY enthusiasts. For more fun DIY ideas, check out wheelie party for endless inspiration!
Brenda says
Thank you for sharing this cute idea for gift giving
Jocelyn says
I thought in order to get the HTV to adhere on the canvas properly (actually show the true bold colors and not faded), the material has to be 100% cotton. Is that what this canvas was made of or was it polyester?