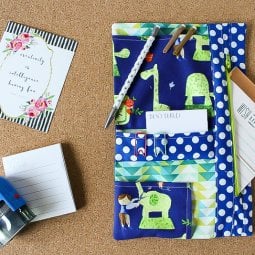
Need a better way to keep your planner organized? Get the free tutorial to sew a custom planner organizer to hold all of your pens, stickers, and anything else you need to may need!
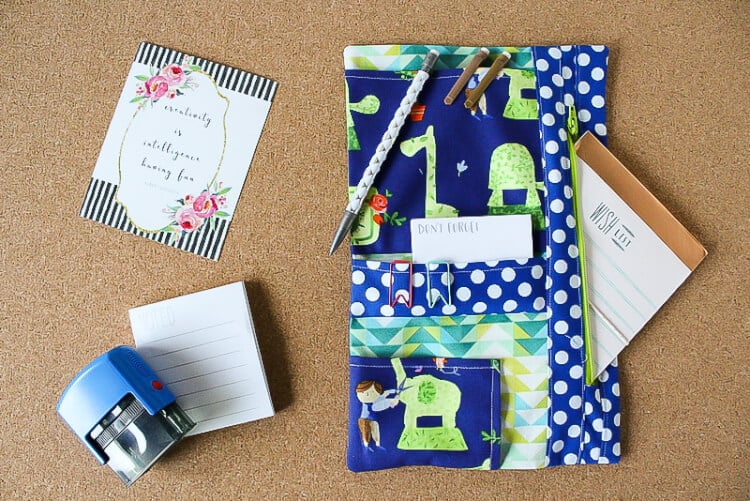
Today I’m happy to have my friend Alicia from Sew What Alicia here to share a fabulous sewing tutorial with you! I haven’t had a sewing tutorial up in a while, so I hope you enjoy!
Hi! I am Alicia and I am usually over on Sew What Alicia sharing great sewing projects for beginners! I am so excited to be here with you all today to help you get organized in the new year!! Let’s get started shall we?
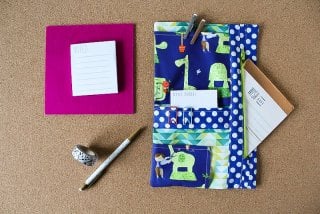
One of my favorite things to do at the end of the year is pick a new planner! I love making lists and staying organized (or trying at least!). There are so many cool planners nowadays with tons of cool accessories. But what to do with all the accessories? That is where my planner organizer comes in. This handy little guy will go right onto your planner so you can keep all your pens, stickers, and everything else close at hand and organized!! Here we go:
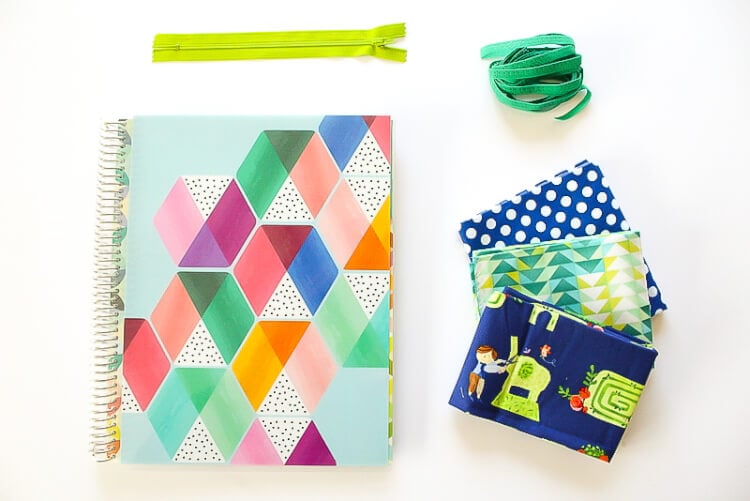
Planner Organizer Supplies
- 3 fat quarters in varying patterns (you will have plenty of fabric left over.)
- 7″ zipper
- Fun elastic – two strips that measure the height of your planner.
Planner Organizer Instructions
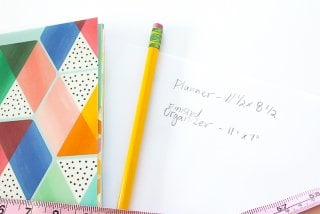
The first step in creating your organizer is to measure your planner. My planner measures 11.5 x 8.5. You are going to want the finished piece to measure 1/2″ to 1 1/2″ less than the planner. I decided that I wanted my finished planner to measure 11″ x 7″.
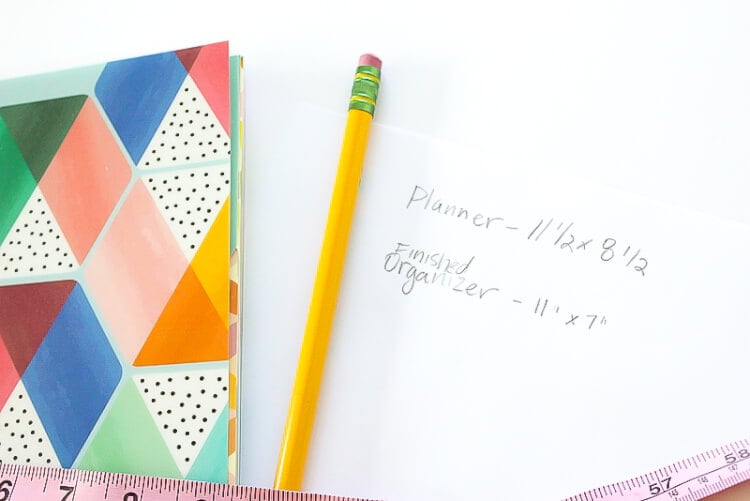
Once I had the finished measurements I sketched the different pieces I wanted to include in my organizer and found the measurements to make each piece. When you are sketching be sure to add 1/4″ to every side of all the pieces for the seam allowance.
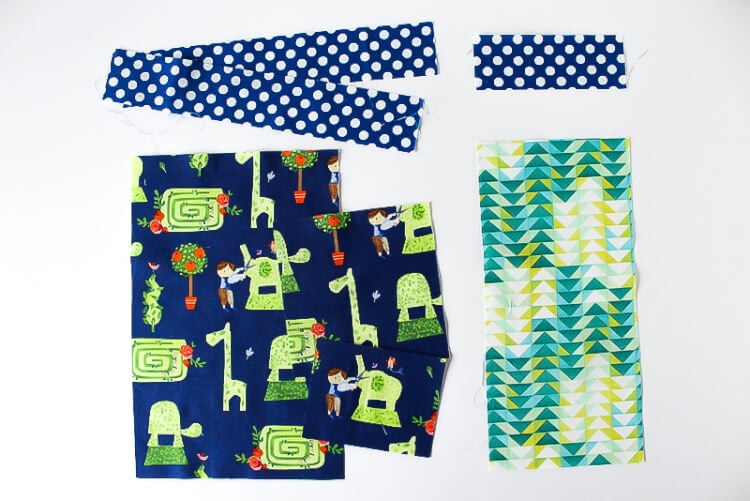
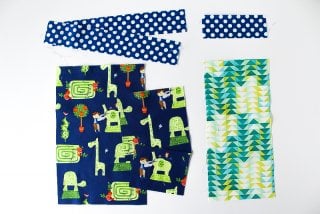
Here are the different pieces that I came up with. (The number in parentheses is how many of each cut.)
From the polka dot fabric:
- For the zipper- 11.5″x2″ (2)
- Small pocket- 5.5″x3″ (1)
- Scraps for zipper ends.
From the geometric fabric:
- Front piece- 11.5″ x 5.5″ (1)
From the topiary fabric:
- Back- 11.5″ x 7.5″ (1)
- Top pocket- 5.5″ x 5″ (1)
- Bottom pocket- 4.5″ x 3.5″ (1)
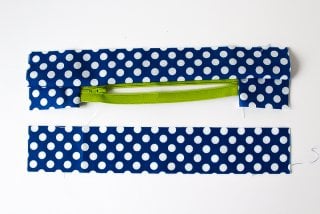
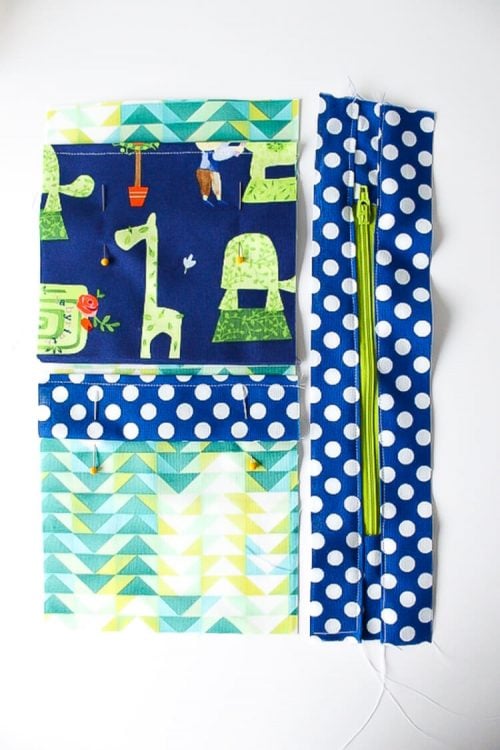
To assemble the organizer I started by inserting the zipper. Use two scraps of the same fabric that you cut the 2″ strips from. Attach one scrap to each end of the zipper. The zipper and fabric should be 11.5″ once you have attached these scraps. Then attach the 2″ strips to either side of the zipper.
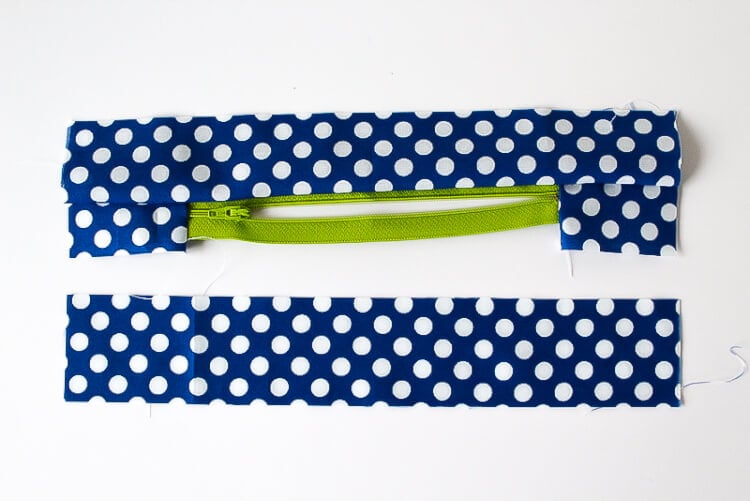
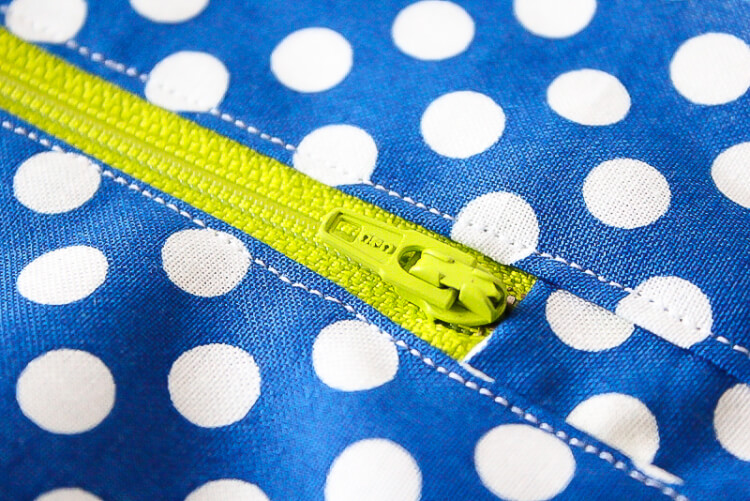
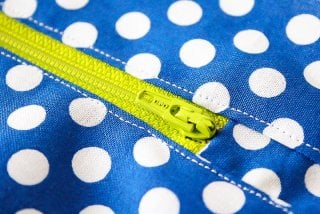
Top-stitch along each edge of the zipper to help it lie flat. Now square this piece up so that it measures 11.5″ x 2.5″.
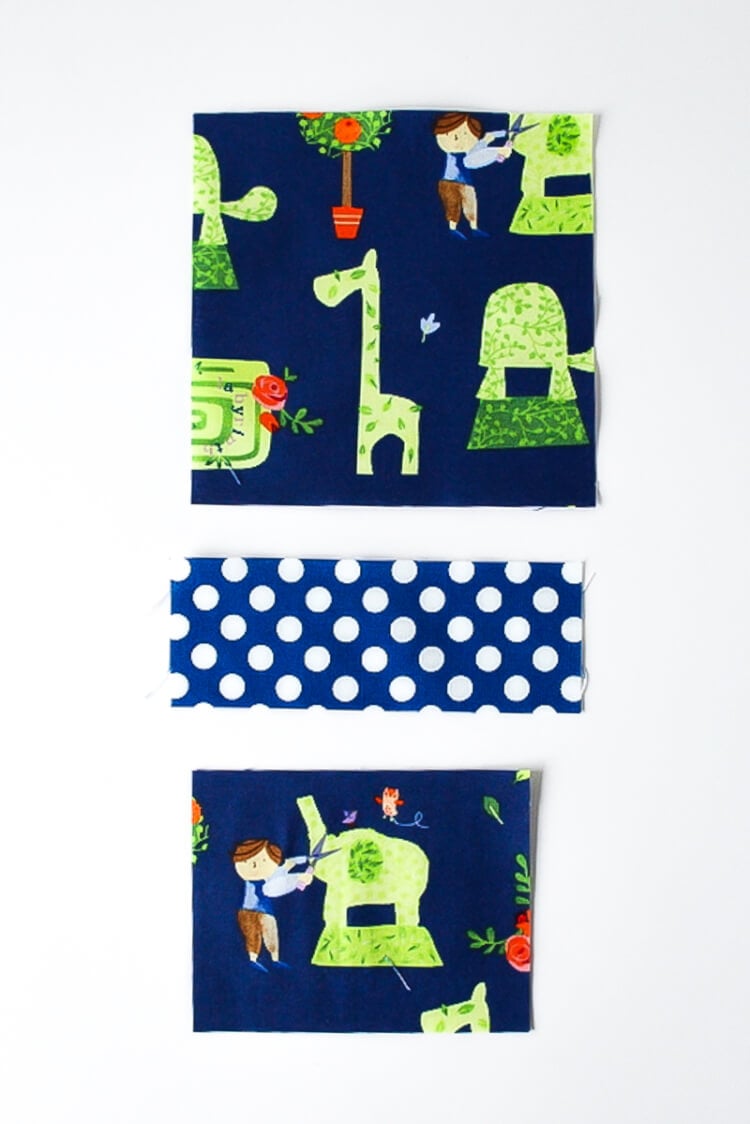
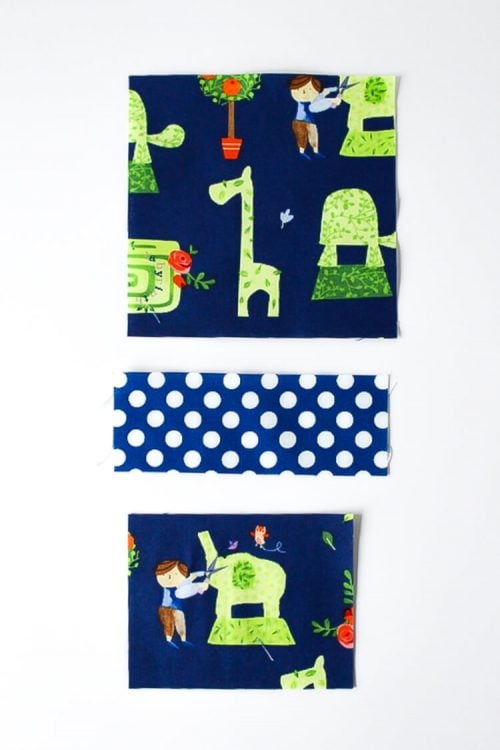
Next we will work with the pockets. Grab the three different pocket pieces. Press the top edge under on all three of the pockets. Then sew the seam in place. Then on the 3.5″ x 4.5″ pocket press the right edge under and sew the seam in place.
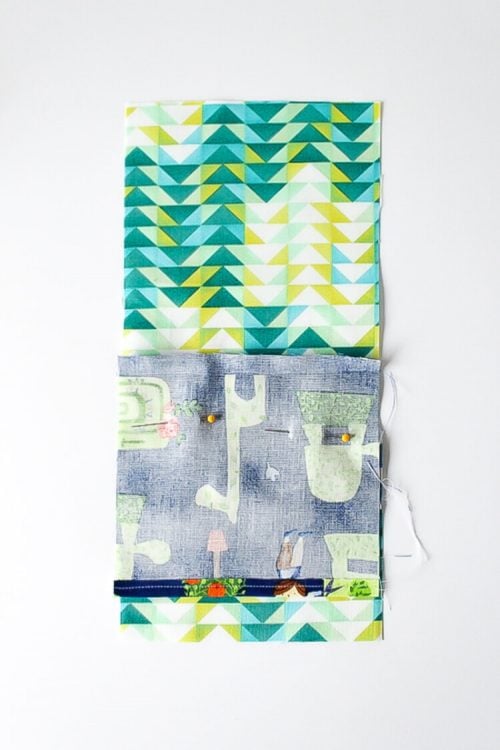
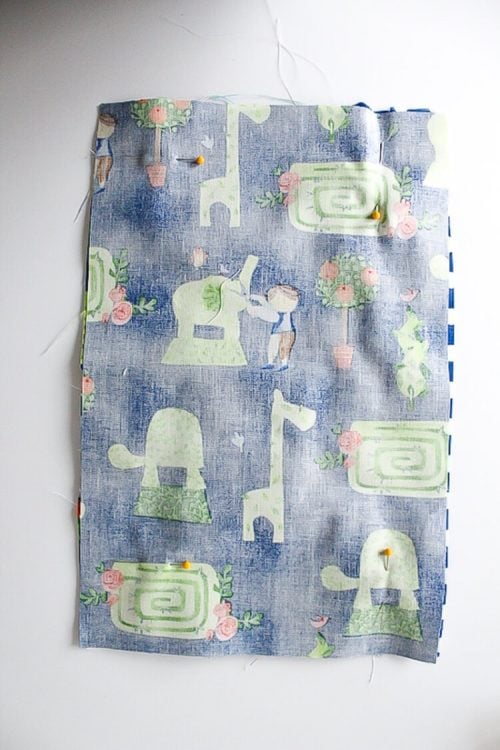
To place the pockets line up the top pocket where you want it to go (remember to leave an extra 1/4″ for the seam. Then flip the pocket down and pin in place. You are going to sew the pocket in place, in the picture below you would sew 1/4″ down from the top raw edge (just above the pins.) Then flip the pocket up and press the seam in place.
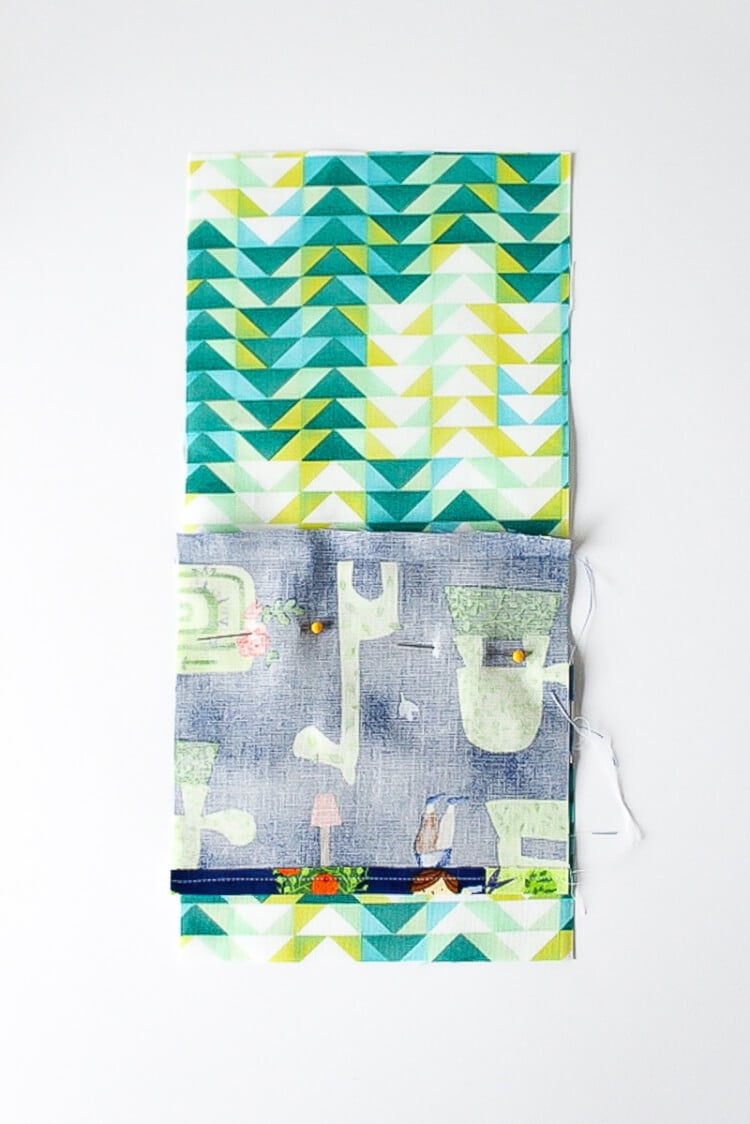
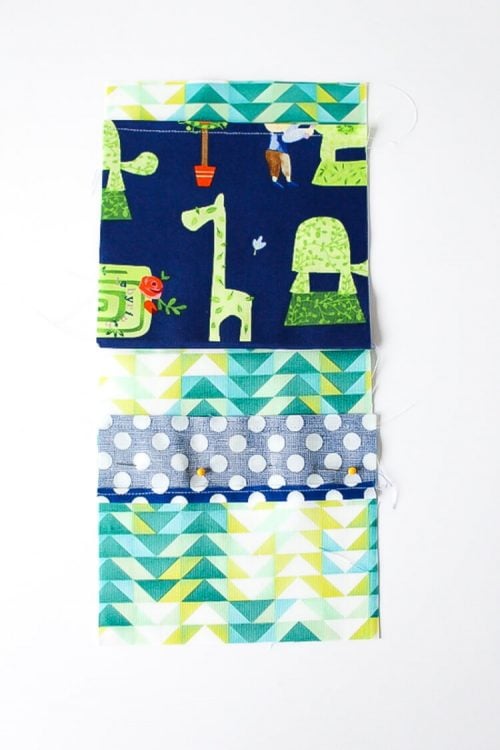
Now add the second pocket in the same manner.
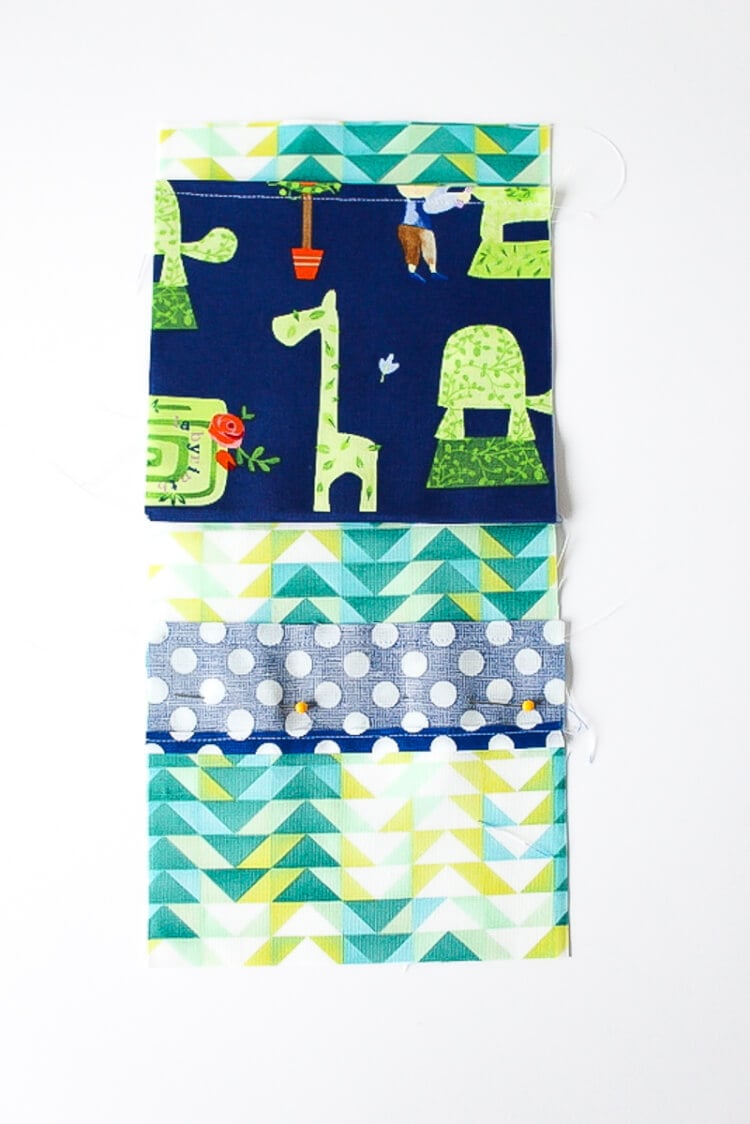
The last pocket won’t need to be sewn in place because it will be attached when we assemble the entire organizer.
The next step will be to add the zipper piece to the pocket piece.
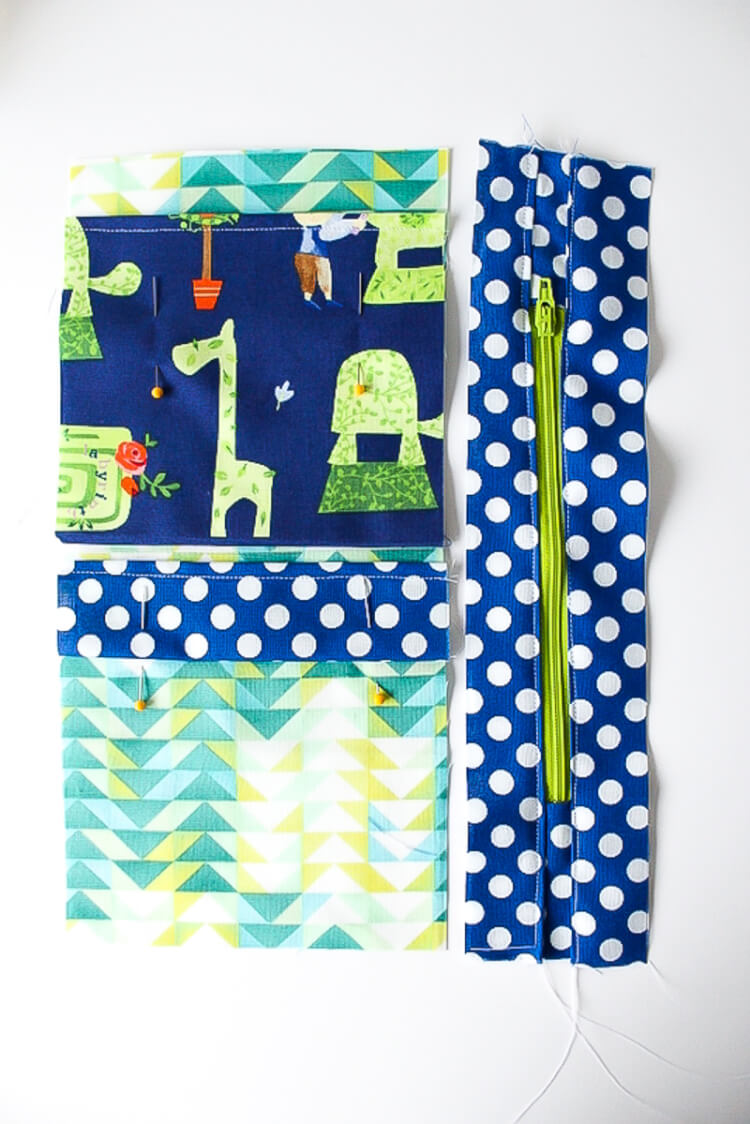
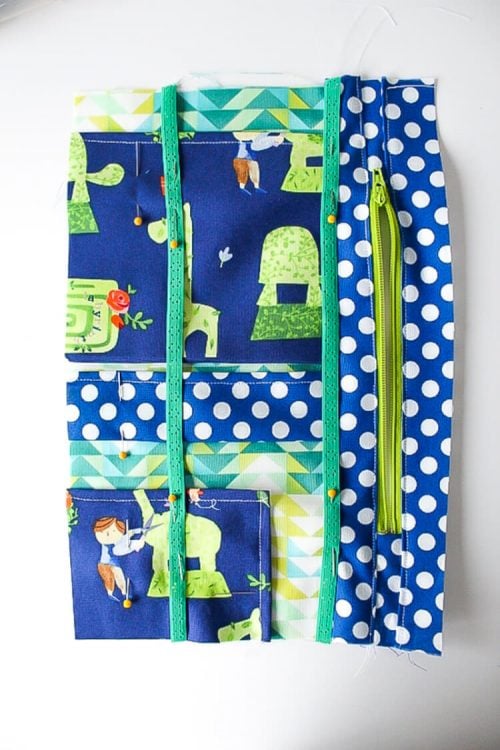
Now pin the last pocket in place. Then pin the two 11.5″ strips of elastic to the piece.
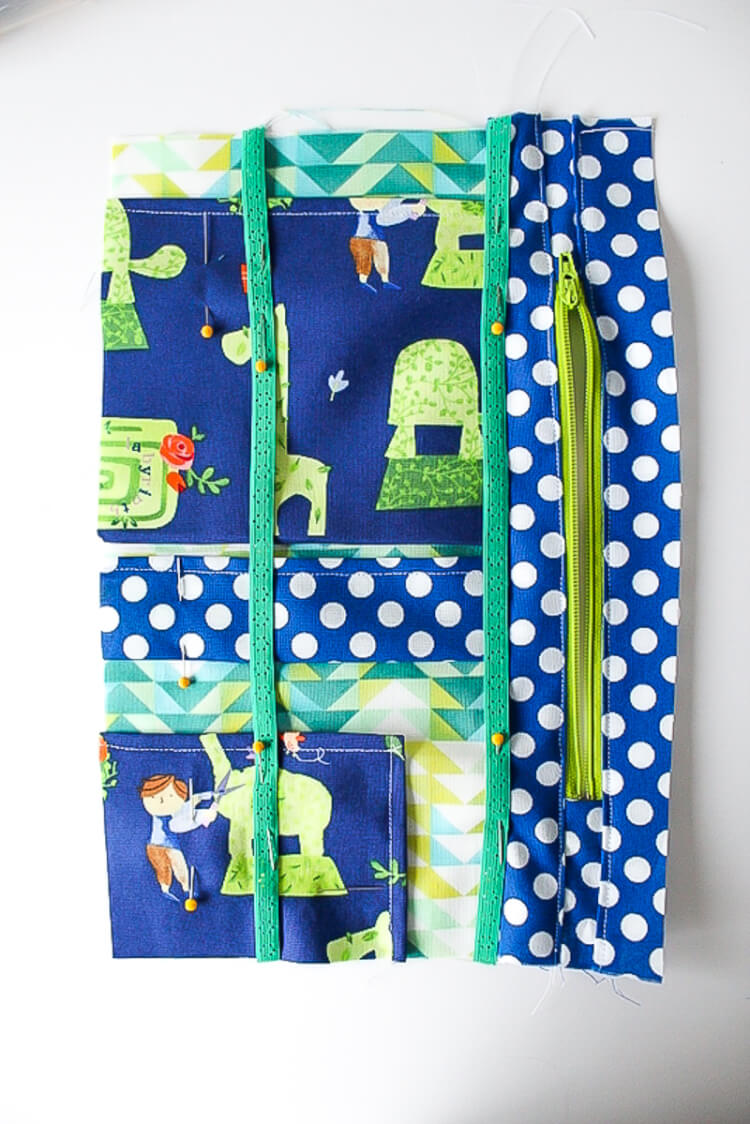
Pin the back piece right side down to the main piece. Be sure to leave the zipper completely unzipped because that is how we are going to turn the piece out. Sew around all 4 edges.
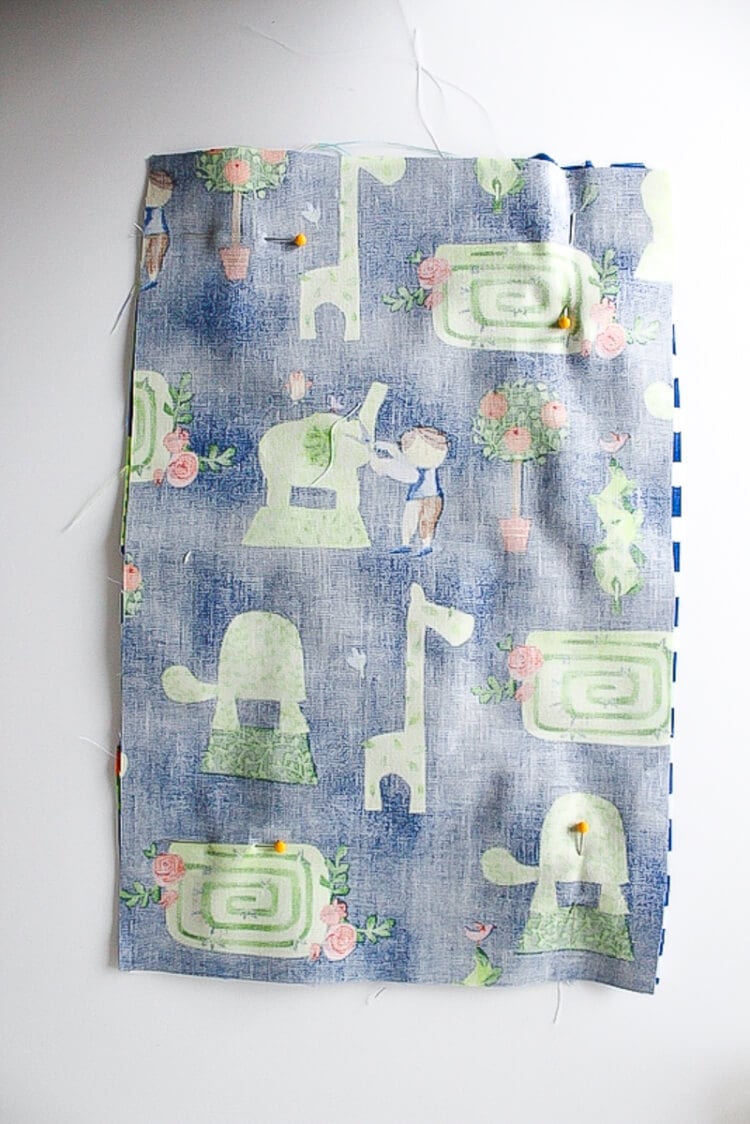
Turn the piece out and press the edges to get a nice crisp looking finished product.
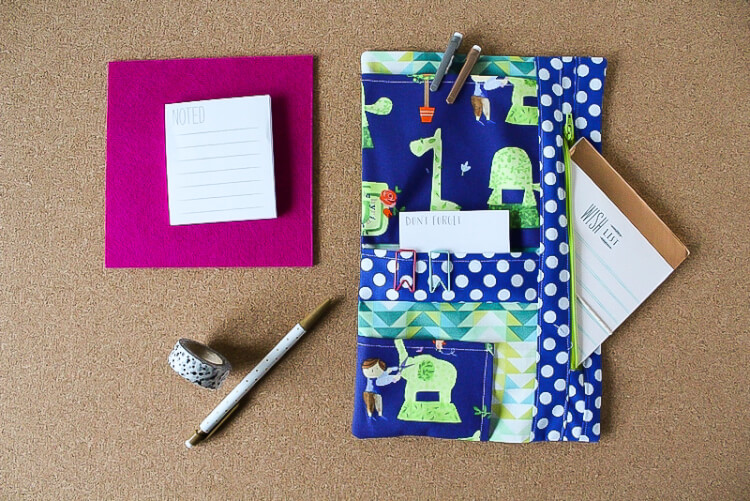
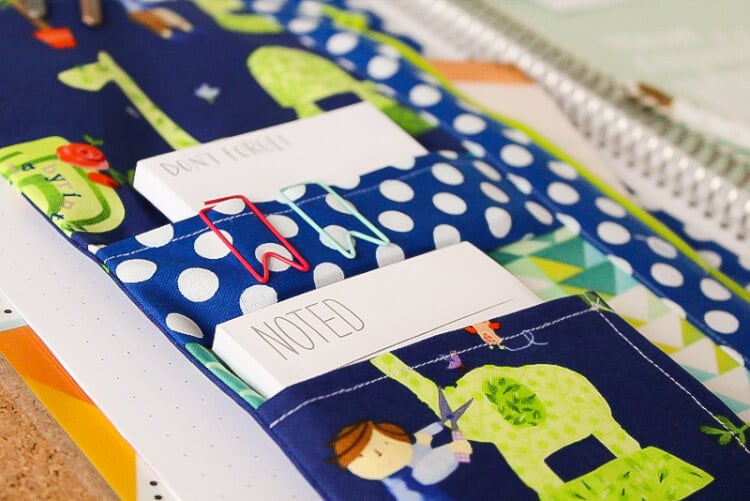
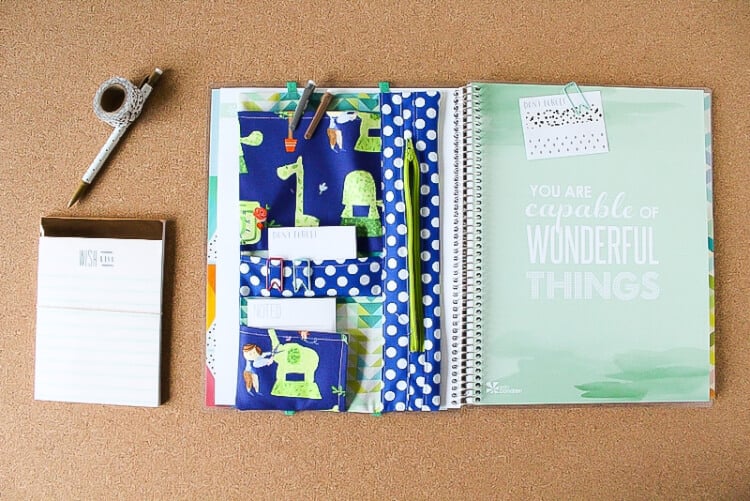
What will you put in your organizer?
Thanks for letting me share planner organizer tutorial with you! You can find me over on Sew What Alicia sharing sewing tutorials and other great sewing tips!
Connect with Sew What Alicia
Facebook // Pinterest // Instagram // Twitter
Here are a few of my recent projects that you might enjoy!
Star Wars Stuffed AT ACT // Best Fabric Shops on Etsy // DIY Cocktail Napkins (Free Cut File)
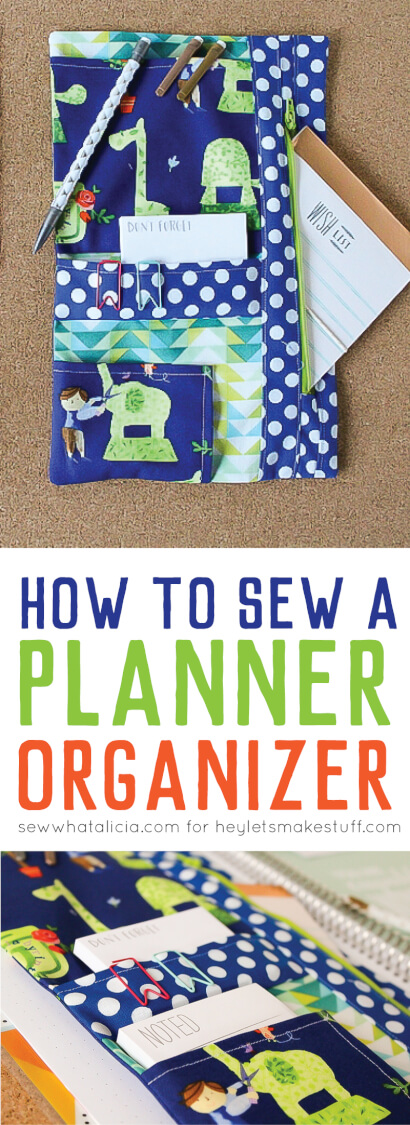
HOW TO SEW A CUSTOM PLANNER ORGANIZER
Equipment
Supplies
- 3 fat quarters in varying patterns (you will have plenty of fabric left over.)
- 7" zipper
- Fun elastic two strips that measure the height of your planner.
Instructions
- NOTE: Credit for these instructions go to: Alicia from Sew What Alicia The first step in creating your organizer is to measure your planner. The planner for this project measures 11.5 x 8.5. You are going to want the finished piece to measure 1/2" to 1 1/2" less than the planner. For this project it was decided that the finished planner would measure 11" x 7".

- Once the finished measurements are determined, sketch the different pieces you want to include in your organizer and find the measurements to make each piece. When you are sketching be sure to add 1/4" to every side of all the pieces for the seam allowance.Here are the different pieces for this project. (The number in parentheses is how many of each cut.)From the polka dot fabric:For the zipper- 11.5"x2" (2)Small pocket- 5.5"x3" (1)Scraps for zipper ends.From the geometric fabric:Front piece- 11.5" x 5.5" (1)From the topiary fabric:Back- 11.5" x 7.5" (1)Top pocket- 5.5" x 5" (1)Bottom pocket- 4.5" x 3.5" (1)

- To assemble the organizer start by inserting the zipper. Use two scraps of the same fabric that you cut the 2" strips from. Attach one scrap to each end of the zipper. The zipper and fabric should be 11.5" once you have attached these scraps. Then attach the 2" strips to either side of the zipper.

- Top-stitch along each edge of the zipper to help it lie flat. Now square this piece up so that it measures 11.5" x 2.5".

- Next we will work with the pockets. Grab the three different pocket pieces. Press the top edge under on all three of the pockets. Then sew the seam in place. Then on the 3.5" x 4.5" pocket press the right edge under and sew the seam in place.

- To place the pockets line up the top pocket where you want it to go (remember to leave an extra 1/4" for the seam. Then flip the pocket down and pin in place. You are going to sew the pocket in place, in the picture below you would sew 1/4" down from the top raw edge (just above the pins.) Then flip the pocket up and press the seam in place.

- Now add the second pocket in the same manner.

- The last pocket won't need to be sewn in place because it will be attached when we assemble the entire organizer.The next step will be to add the zipper piece to the pocket piece.

- Now pin the last pocket in place. Then pin the two 11.5" strips of elastic to the piece.

- Pin the back piece right side down to the main piece. Be sure to leave the zipper completely unzipped because that is how we are going to turn the piece out. Sew around all 4 edges.

- Turn the piece out and press the edges to get a nice crisp looking finished product.




Comments & Reviews
bat smash says
This planner organizer tutorial is super creative and practical! Perfect for staying organized with style. Love the detailed instructions and fabric choices. For more amazing ideas, visit bat smash – your hub for inspiration and creativity!
Anthony says
I love how this tutorial offers a creative solution for organizing planners. The idea of sewing a custom planner organizer to neatly store pens, stickers, and other essentials is brilliant! It’s fantastic to see the detailed step-by-step guide on creating something practical and stylish. This project not only helps keep things in order but also adds a personal touch to organization. I can imagine customizing it with different fabrics and designs to suit individual preferences. Thanks for sharing such a fun and useful DIY idea! If you enjoy getting creative with organization, you might also like exploring some crafting 67 Clicker that allow you to design and customize items digitally.
Anne says
Wonderful!! I’ve got a Craft Gossip post scheduled for this afternoon that features your tutorial: http://sewing.craftgossip.com/?p=91080 –Anne
Emily Ruebsamen says
Great information, but!! Green print does not show up well, very difficult to read