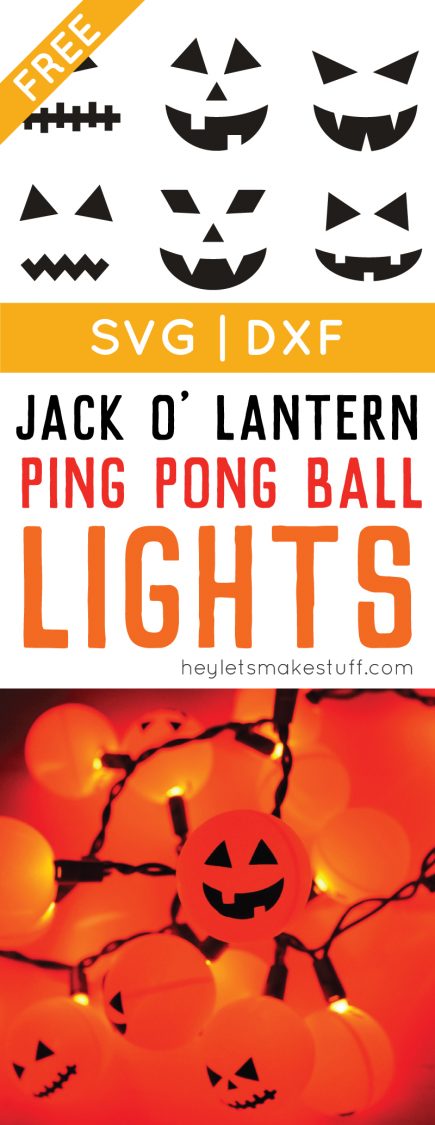
Orange ping pong balls plus fairy lights equal a fun Halloween Jack O’ Lantern decoration! An easy project anyone can do using a Cricut or other electronic cutting machine, or even just a Sharpie.
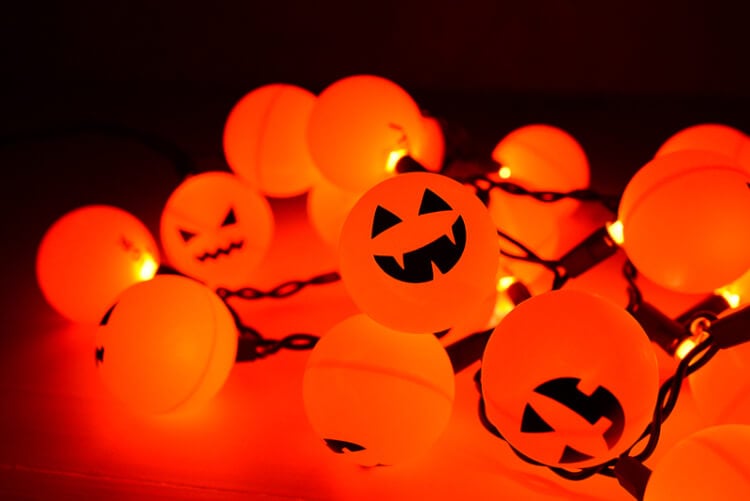
I’ve seen tutorials for ping pong ball lights before, but I decided to make a Jack O’ Lantern set for Halloween! I’m going to string the set of lights from our porch this year.
Our court goes all out for Halloween (seriously, last year they strung a ten-foot-tall Harry Potter dementor thirty feet above the street between two pines!). It’s never been one of those holidays that I’ve done much for, but this year I am starting early, making projects here and there so our house isn’t a dud on this fun street.
This was a really easy project—I put it together one evening after my boys went to bed. Which means I didn’t take pictures of the process because hashtag-mom-brain.
But trust me, this is a simple one. I used my Cricut to cut the vinyl jack o’ lantern faces, but you can use a permanent marker and draw them on. Whatever works for you!
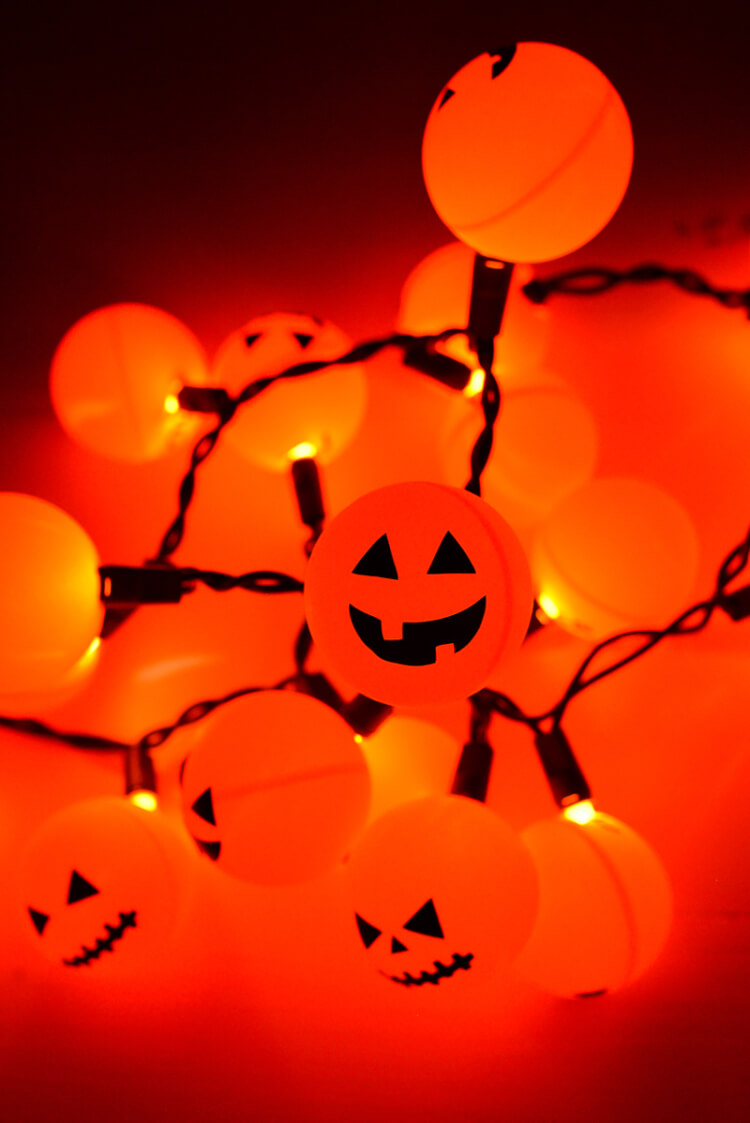
Jack O’ Lantern Ping Pong Ball Lights Supplies
- String lights
- Orange ping pong balls
- Xacto Knife
- Sharpie
- Black vinyl + cutting machine (like the Cricut Explore or Cricut Maker)
- Jack O Lantern Face SVG
Get the Free File:
Want access to this free file? Join my FREE craft library! All you need is the password to get in, which you can get by filling out the form below. The file number is: C15.
Jack O’ Lantern Ping Pong Ball Lights Instructions
Using the Xacto knife, cut a small “x” over the logo of a ping pong ball (be careful—obviously that knife is sharp!). If your ping pong balls don’t have a logo, cut your “x” anywhere but the seam. It’s just easier to avoid the extra strong plastic at the seam. Learned from experience on that one.
You can either draw/vinyl the jack o’lanterns faces before or after assembling the lights—I did it after, but I think it might be easier to do it before, especially if you’re drawing.
If you want to use your Cricut or other electronic cutting machine, you can download the files (in the supply list) and apply the vinyl directly to each ping pong ball. I changed up which eyes went with which mouth, to make them all different.
Stick the first light on the string through the “x” that you made, making sure to push it in all the way.
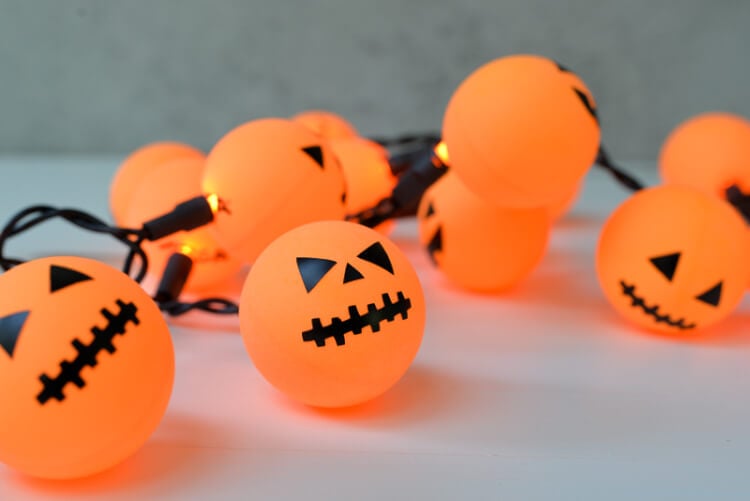
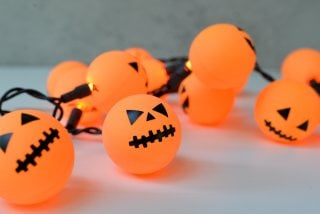
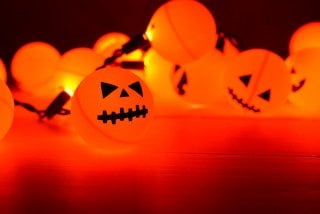
Repeat, repeat, repeat until you’ve cut and placed all the ping pong balls. It’ll look something like this during the day:
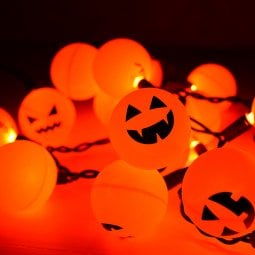
And something like this at night!
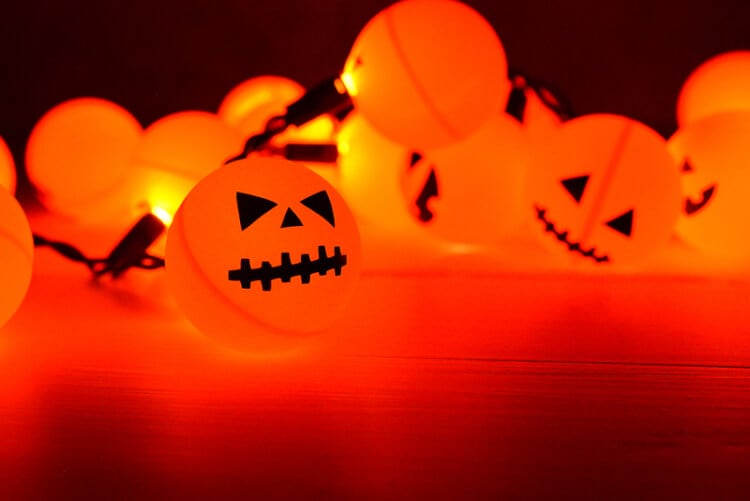
So fun and spooky!
HALLOWEEN JACK O’LANTERN PING PONG BALL LIGHTS
Supplies
Instructions
- Using the Xacto knife, cut a small "x" over the logo of a ping pong ball (be careful—obviously that knife is sharp!). If your ping pong balls don't have a logo, cut your "x" anywhere but the seam. It's just easier to avoid the extra strong plastic at the seam. Learned from experience on that one.You can either draw/vinyl the jack o'lanterns faces before or after assembling the lights. If you want to use your Cricut or other electronic cutting machine, you can download the files (in the supply list) and apply the vinyl directly to each ping pong ball. You can change up which eyes go with which mouth, to make them all different.
- Stick the first light on the string through the "x" that you made, making sure to push it in all the way.Repeat, repeat, repeat until you've cut and placed all the ping pong balls. It'll look something like this during the day:

- And something like this at night!So fun and spooky!



Comments & Reviews
Best laptop for Citrix says
This is a great tutorial, very creative and informative. I’m sure my kids will enjoy it.
authentictip says
I read your article. I have benefited a lot from this article. This article is very informative.
Anu Thakur says
Many thanks for your valuable content. You are an inspiration with your hard work.
Keep up the awesome work and know that you’re appreciated!
Thanks
Anu Thakur
Kendra says
Love the creativity, make these each year on Halloween
Zamrie Boutique says
This is the creative ideas and simply to do it. My son really loves it. Thank so much for your sharing.
Jeebon says
Awesome tutorial, very informative and creative. My kids love it.
Ronny says
That’s so cool! It doesn’t look too hard. I’ll try this out and tell you guys how it went.
Joseph says
That’s very creative, truly! I like the simplicity and how does it look. We’ve made something similar in the past, though we were using permanent markers (like Sharpies) and damaged balls from our local club. Another suggestion – you can mix orange ones with white ones and draw skulls on them.