Learn how to use printed patterned HTV! This cutting machine material is different than other iron on—it uses a transfer sheet to apply the HTV to your surface. Here’s how to get the best results!
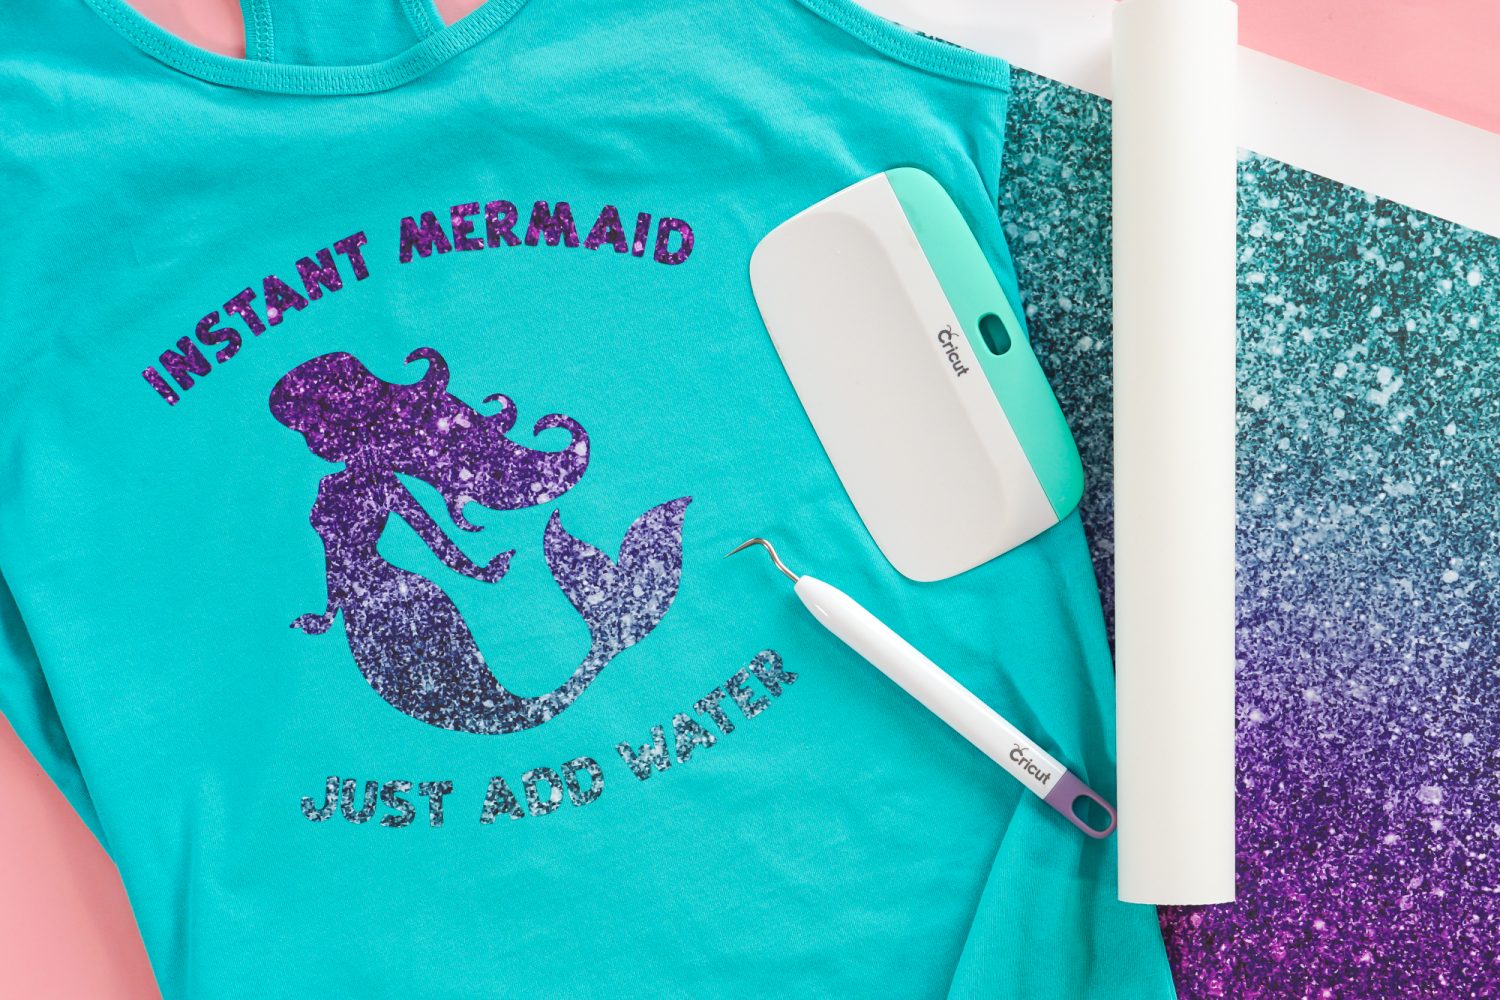
This post is sponsored by Happy Crafters.
Today I’m partnering with one of my favorite online suppliers, Happy Crafters, to bring you a tutorial on using patterned HTV with a mask transfer. They have all sorts of amazing patterned HTV and I’m happy to share this tutorial with you!
Note: HTV is short for “heat transfer vinyl,” also called “iron on” or “iron on vinyl.” For this post, I’m going to use the term HTV, but know that all those terms are interchangeable.
Using HTV with a mask transfer sheet is different than other types of HTV that have the carrier sheet built in. If you’re new to this material, you may find it a bit confusing, so we’re going to demystify it in this post!
Here’s what we’re going to cover:
- What is patterned HTV?
- What are the different types of patterned HTV?
- How do I know if I need a mask?
- Do I need to mirror my patterned HTV before cutting?
- Which side of patterned HTV faces up on my mat?
- Can I reuse the mask?
- Start to finish patterned HTV with a mask transfer tutorial
What is patterned HTV?
Patterned HTV is a material used with cutting machines (like your Cricut or Silhouette) that has a pattern instead of a solid color. It is adhered to a surface, like a t-shirt or apron, using a heat-activated adhesive, like a heatpress, Cricut EasyPress, or iron.
What are the different types of patterned HTV?
But all patterned HTV isn’t the same. There are actually two different types of patterned HTV you might come across—printed patterned HTV and standard patterned HTV.
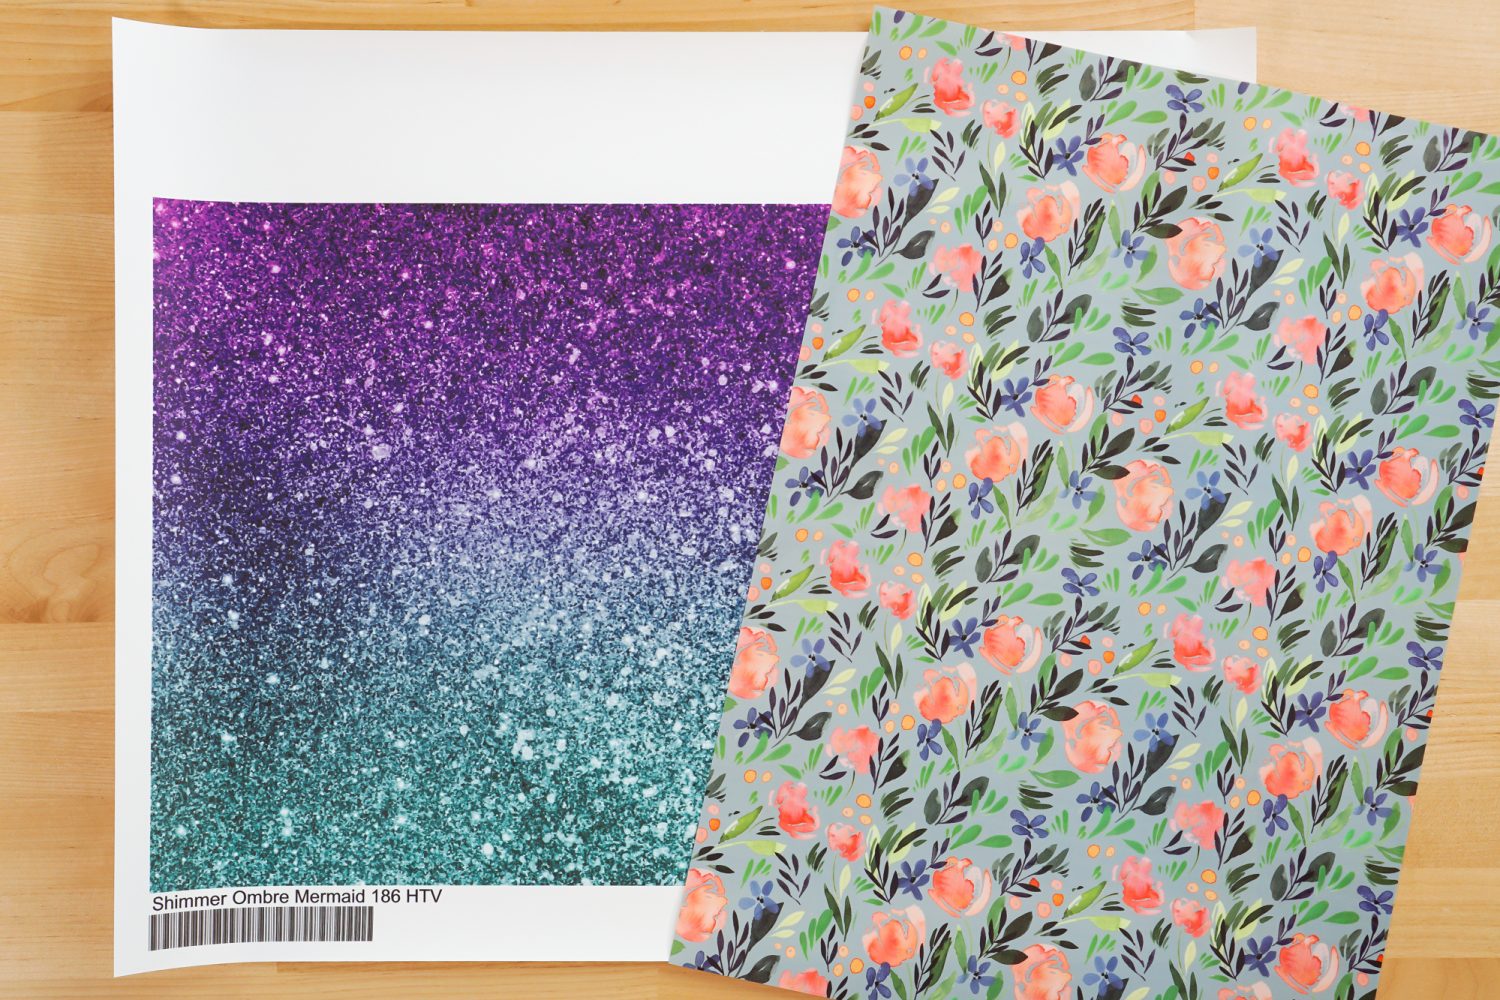
Standard Patterned HTV
The first is basically regular HTV but with a patterned print, like Cricut’s patterned HTV. You can check out my tutorial on Using Cricut Patterned Iron On to learn more. This patterned HTV has a plastic carrier sheet just like any other HTV, and the process for adhering it to your base projects is generally the same.
Printed Patterned HTV
The second type of patterned HTV is printed with a special type of printer and uses something called a mask. It’s basically HTV’s version of transfer tape, if you’ve used that with adhesive vinyl. You’ll cut your design and use the separate mask transfer sheet to place it on your base project.
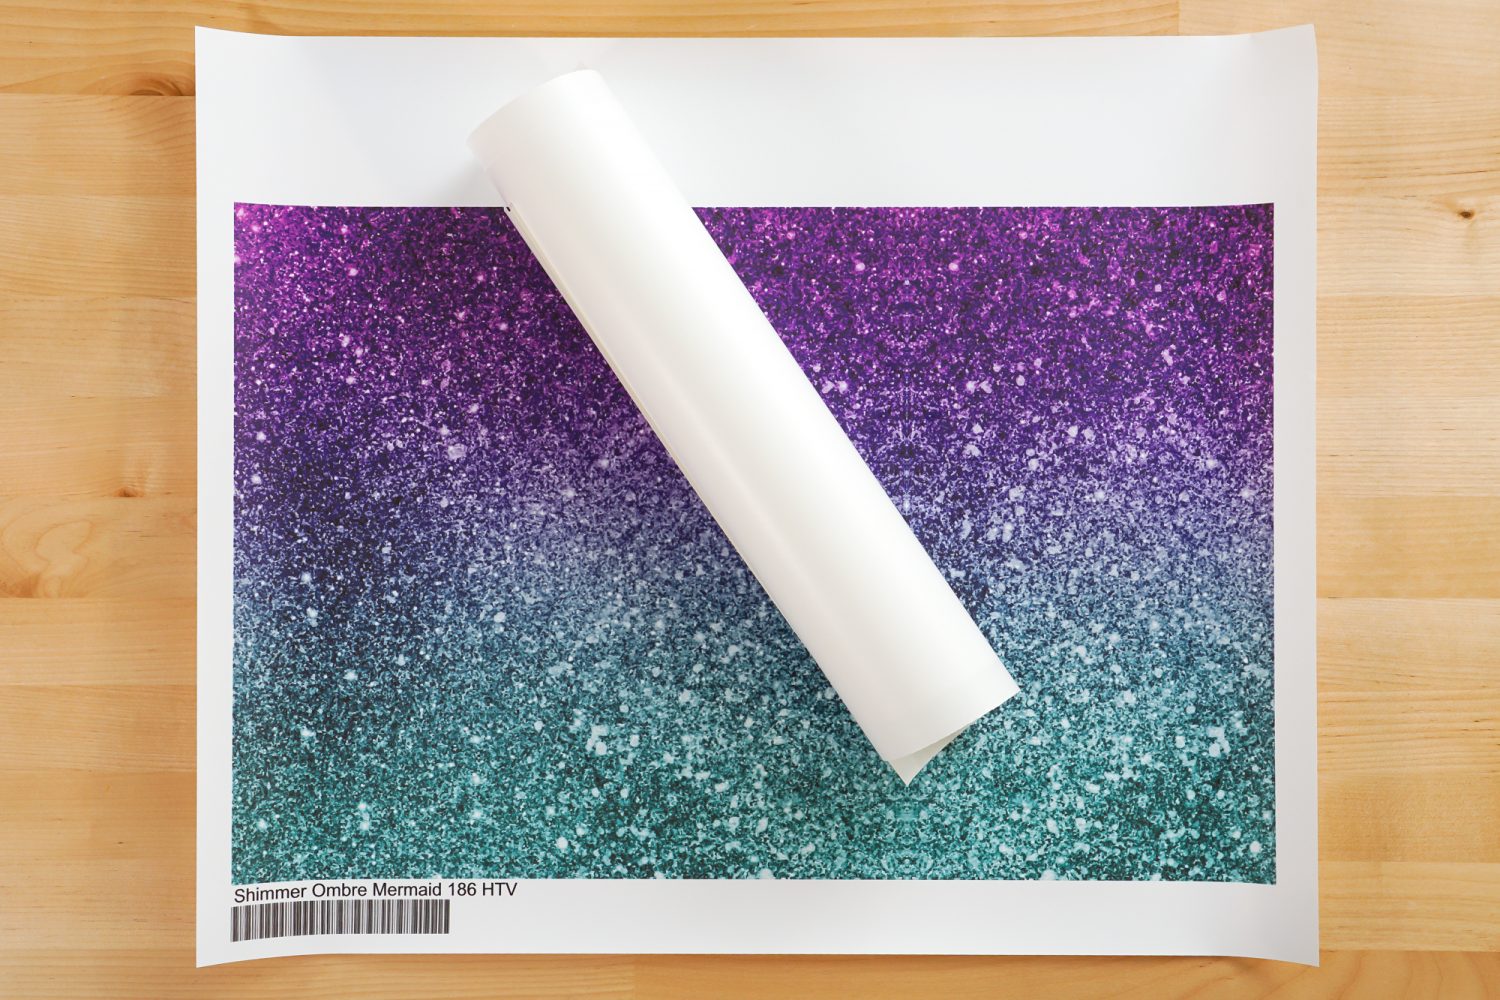
This is the type of patterned HTV we’ll be talking about in the rest of this post!
How do I know if I need a mask?
You might be wondering how you can tell the difference between the two types of patterned HTV, but it’s easy.
Standard patterned HTV looks just like regular HTV, with a plastic carrier sheet on top of the colored vinyl.
Masked patterned HTV looks like it was printed on a special printer (surprise, it was!) and may have a white border around it. Note that all effects are printed—so if you order a “glitter” pattern (see the project below), it’s a printed glitter effect, not actual glitter material.
This type of material also doesn’t have a plastic carrier sheet. You may need to cut it down to size to fit on your cutting machine mat, too.
Do I need to mirror my patterned HTV before cutting?
If you’re using standard patterned HTV, you’ll mirror your project just like you would any other standard HTV project.
BUT…if you’re using a patterned HTV that needs a mask, DO NOT mirror your project. You’ll see why as we move along.
Which side of patterned HTV faces up on my mat?
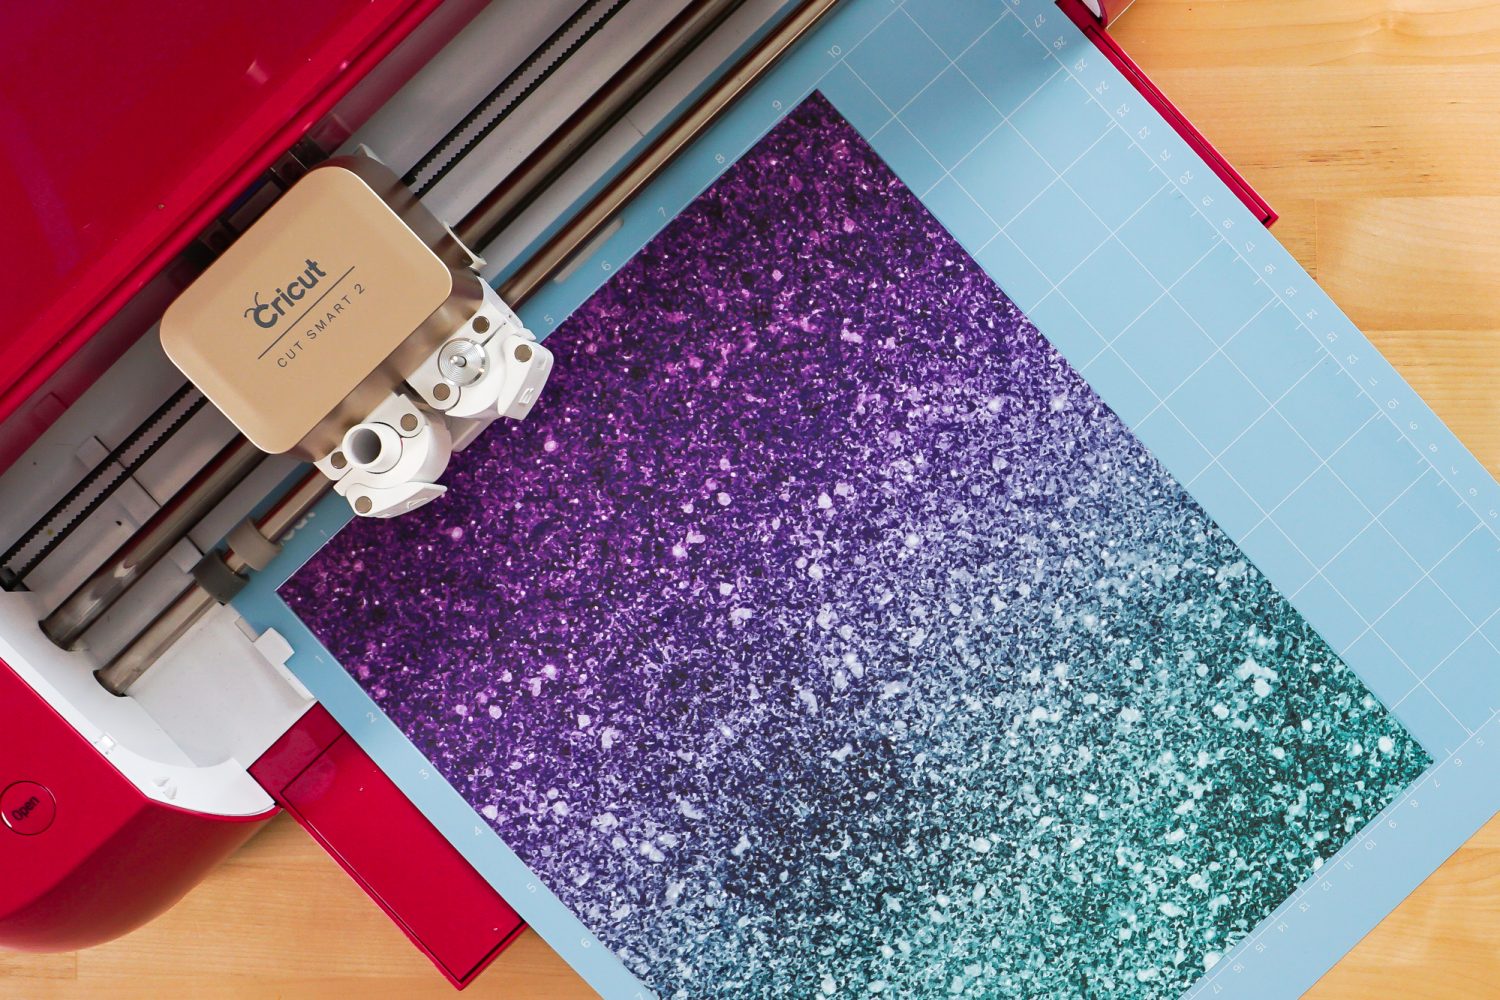
Normally, you’ll place the shiny carrier sheet side of your HTV face down on the mat and the cutting machine will cut your design from the back. This is why you mirror the design—when you flip it over to press it, it will face the right direction.
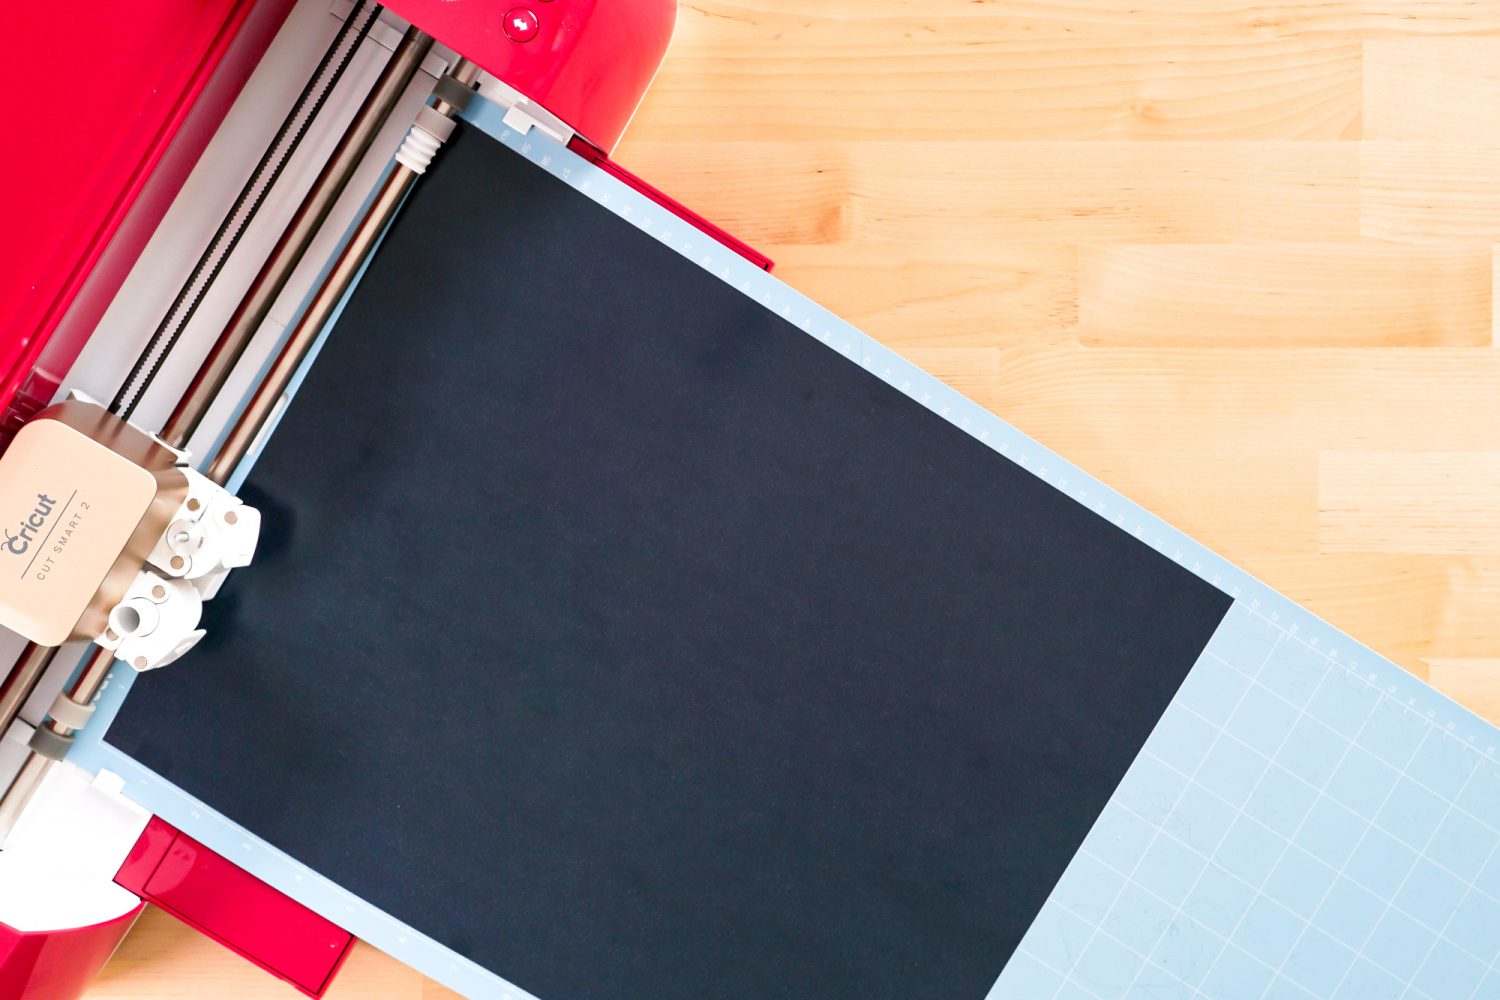
But with masked patterned HTV, you’ll place it colored-side up on the mat and the cutting machine will cut it from the front. This is why you don’t want to mirror your printed patterned HTV—if you mirror it, because it’s facing up, it’ll cut backward!
Can I reuse the mask?
In some cases, yes! If you are careful with your mask, you may be able to reuse it with multiple projects.
Start to finish patterned HTV with a mask transfer tutorial
Now that we have a better idea of how this printed patterned HTV works, let’s make a project using your Cricut! If you’re using a different cutting machine the process for cutting the patterned HTV is the same.
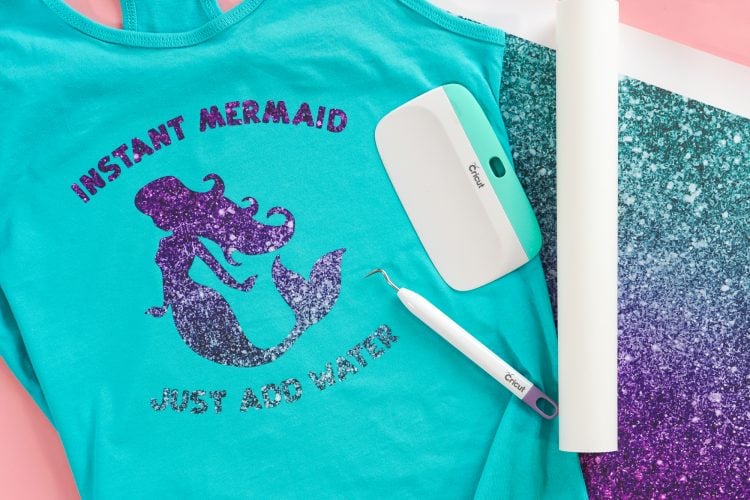
Supplies for Mermaid Shirt
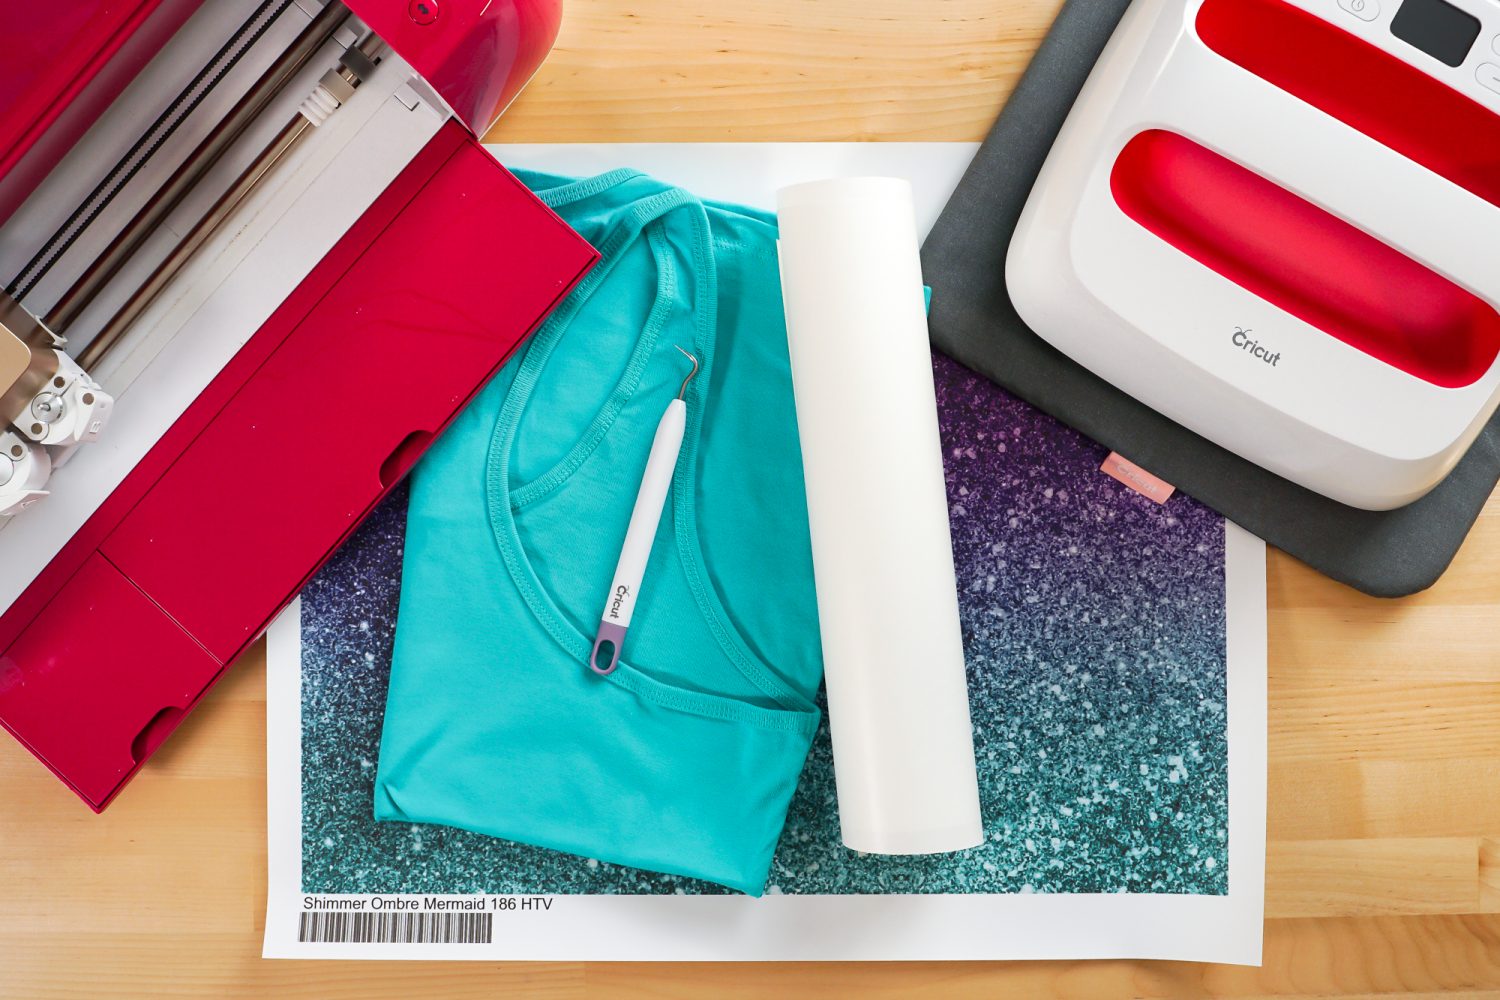
- Mermaid Patterned HTV from Happy Crafters
- Heat transfer mask
- Cutting machine like a Cricut Explore
- LightGrip cutting mat
- Weeding tool
- Scraper or squeegee
- Heat press or Cricut EasyPress + pressing mat
- Base, like a tank top
- SVG (see below)
Get the Free File
Want access to this free file? Join my FREE craft library! All you need is the password to get in, which you can get by filling out the form below. The file number is: C357.
Instructions to Make Mermaid Shirt
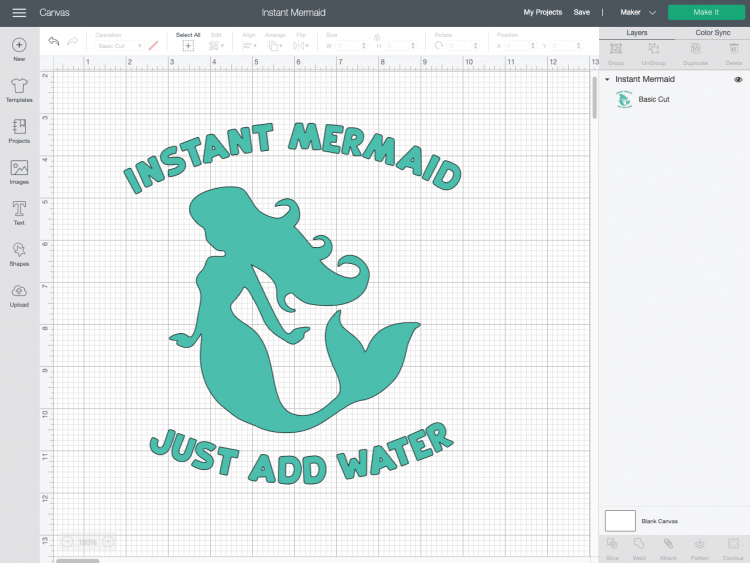
Start by uploading the Instant Mermaid SVG file to Cricut Design Space. Learn more about How to Upload SVG Files to Cricut Design Space. Then resize to fit your shirt. I made mine 8″ wide.
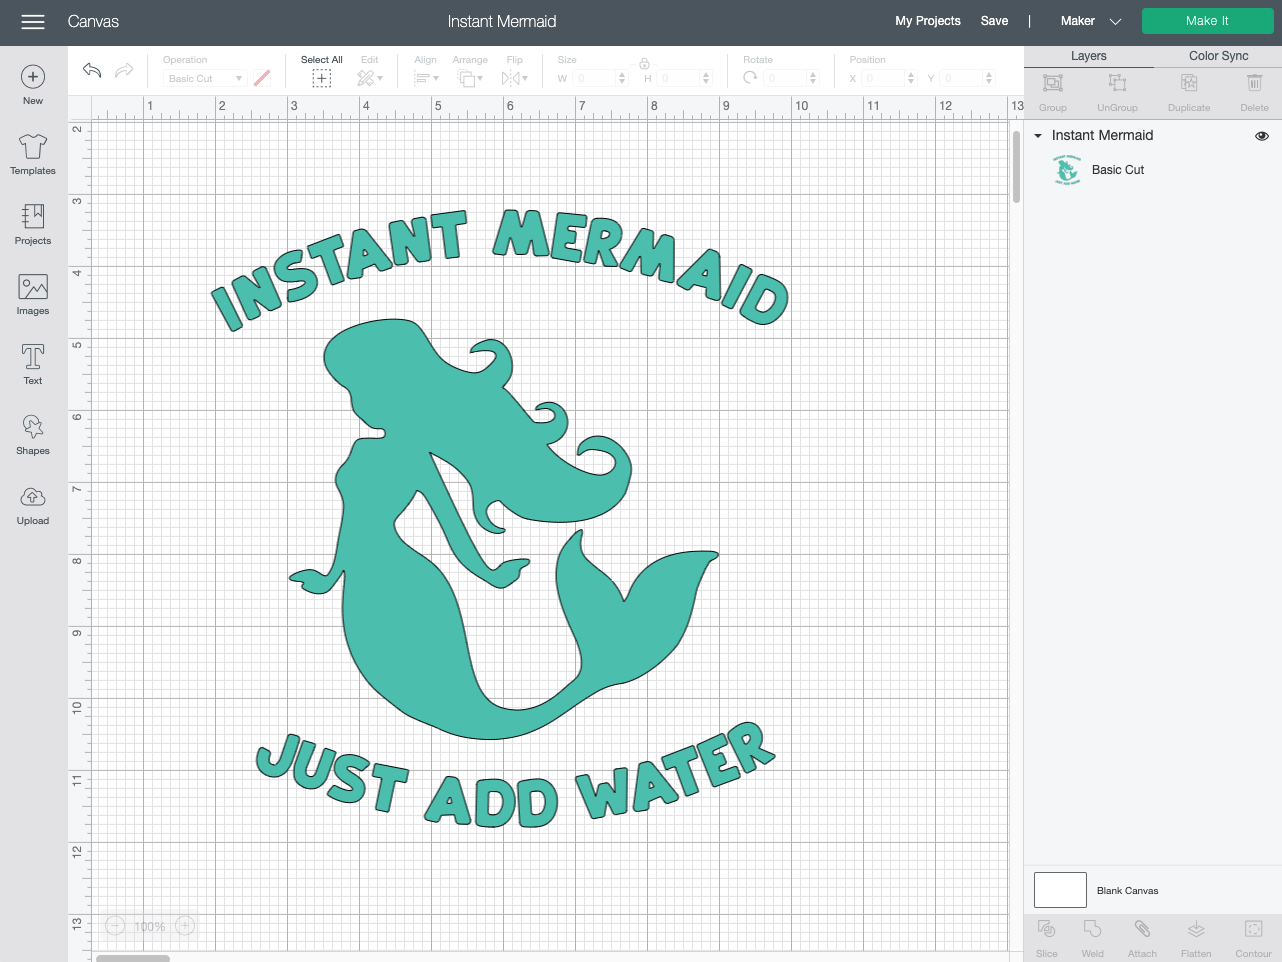
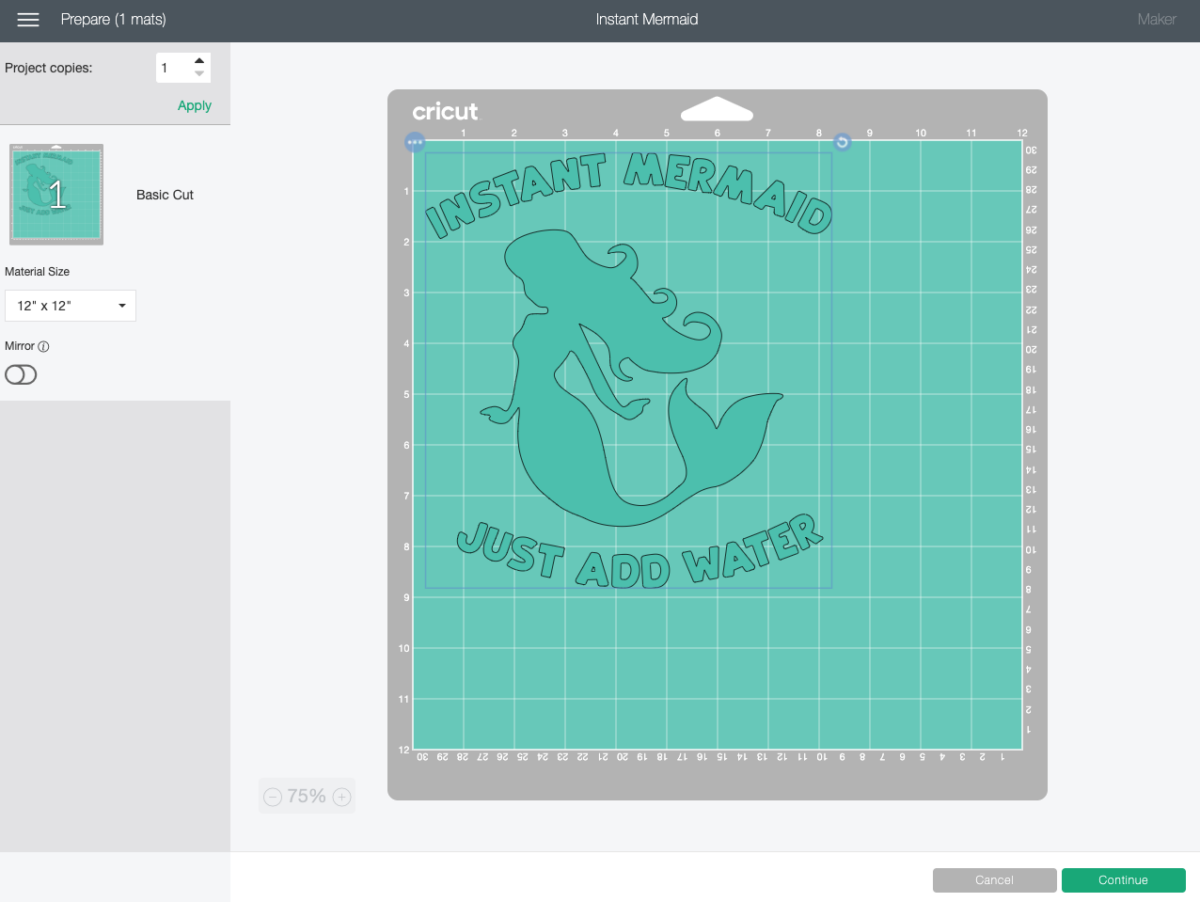
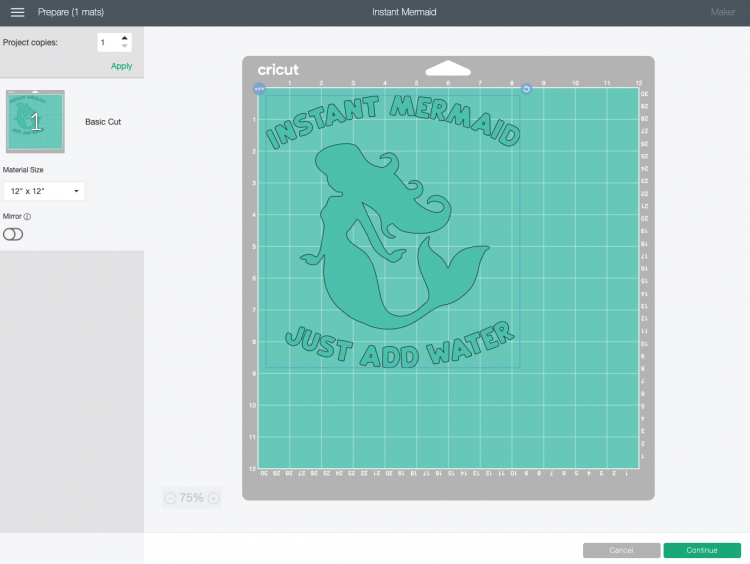
Click Make It in the upper right. In the Prepare Screen, DO NOT mirror your iron on. Click Continue.
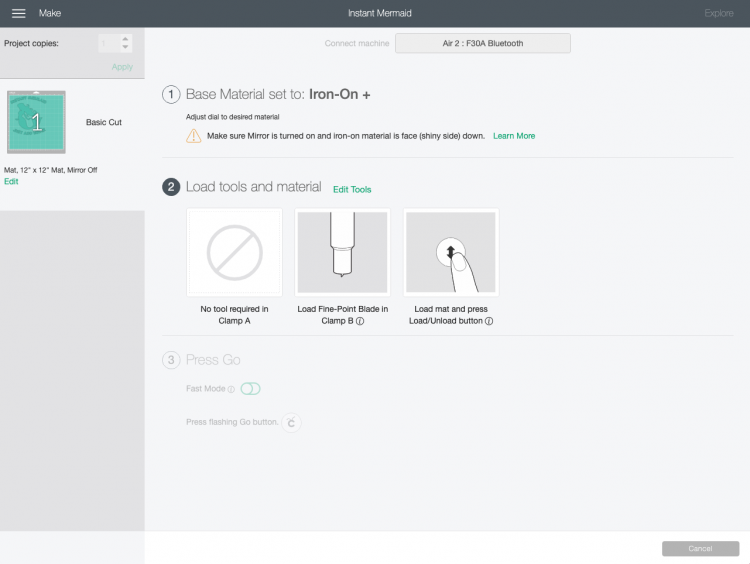
In the Make Screen, set your material—for this I’m using the standard iron on setting. Insert your fine point blade.
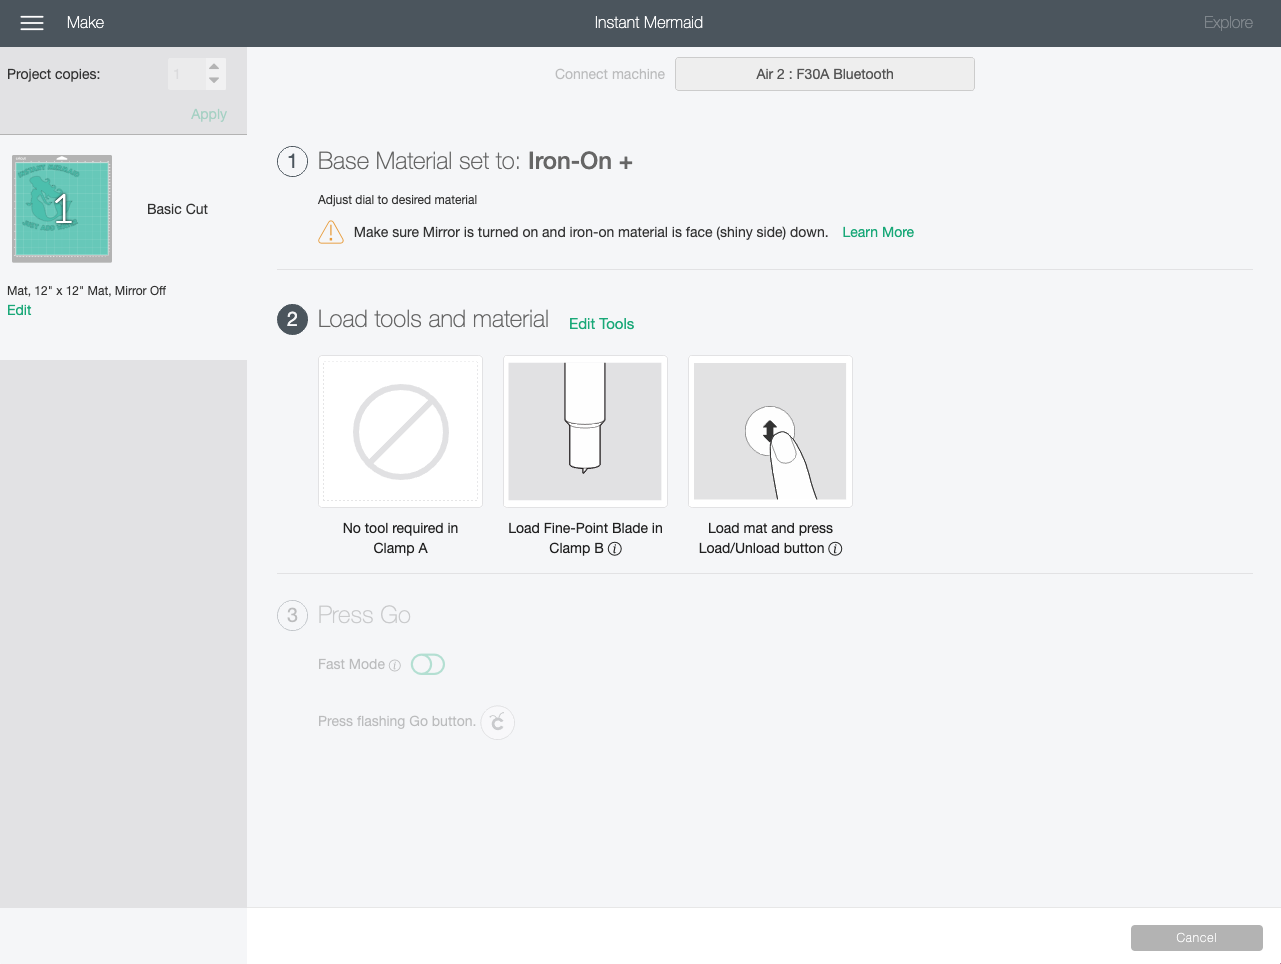
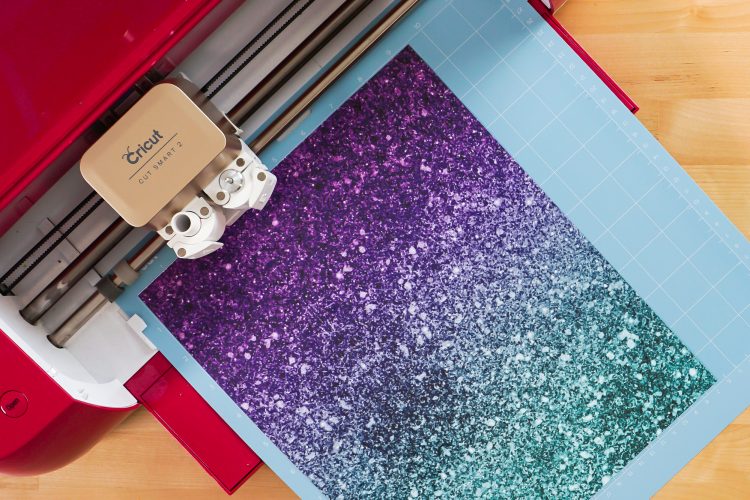
Pre-cut your patterned HTV to an inch larger than your project image. Place face-up on the cutting mat. Then cut your project.

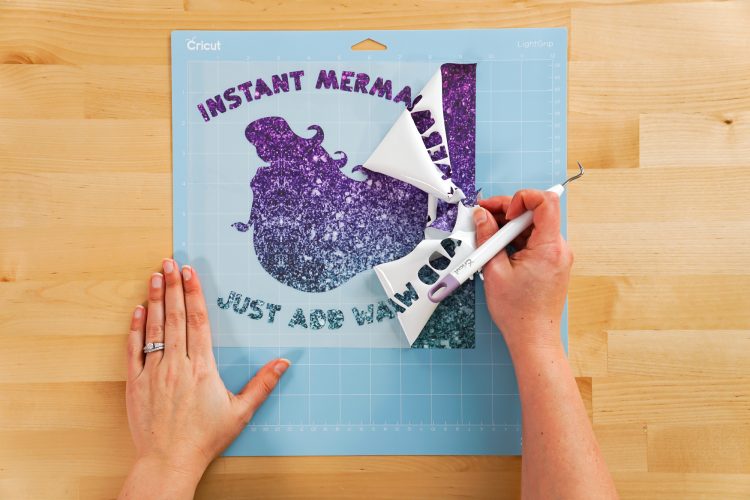
Use the weeding tool to weed your project. It weeds so easily! Once your image is weeded, carefully remove the whole thing from your mat.
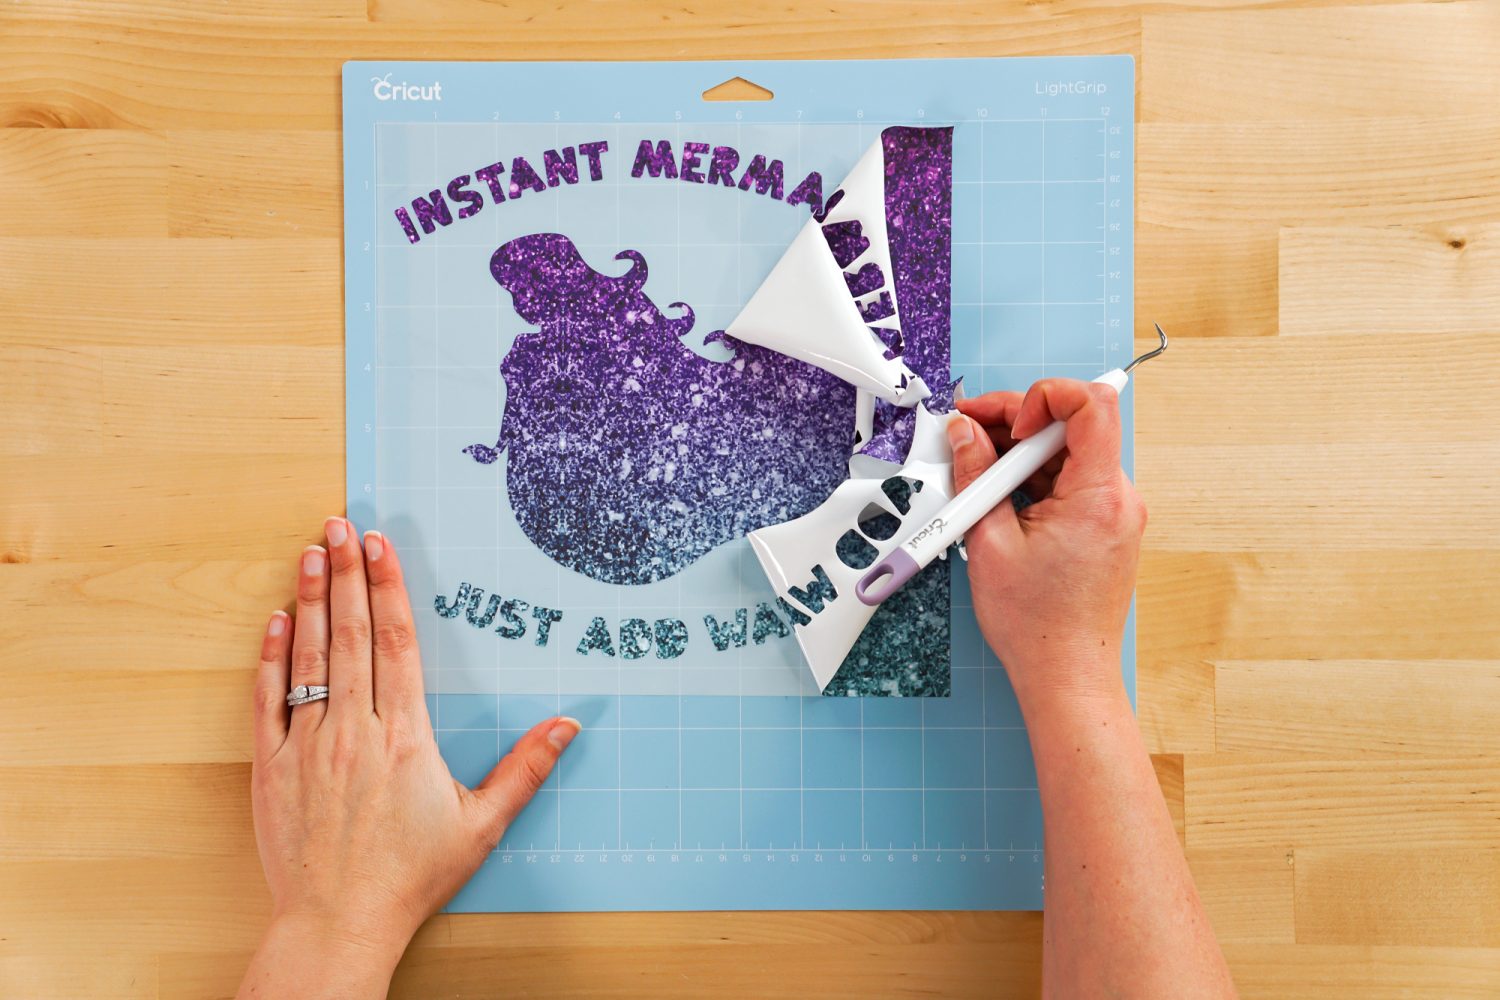
Cut a piece of the HTV mask slightly larger than your project. Peel back the liner from the sticky mask.
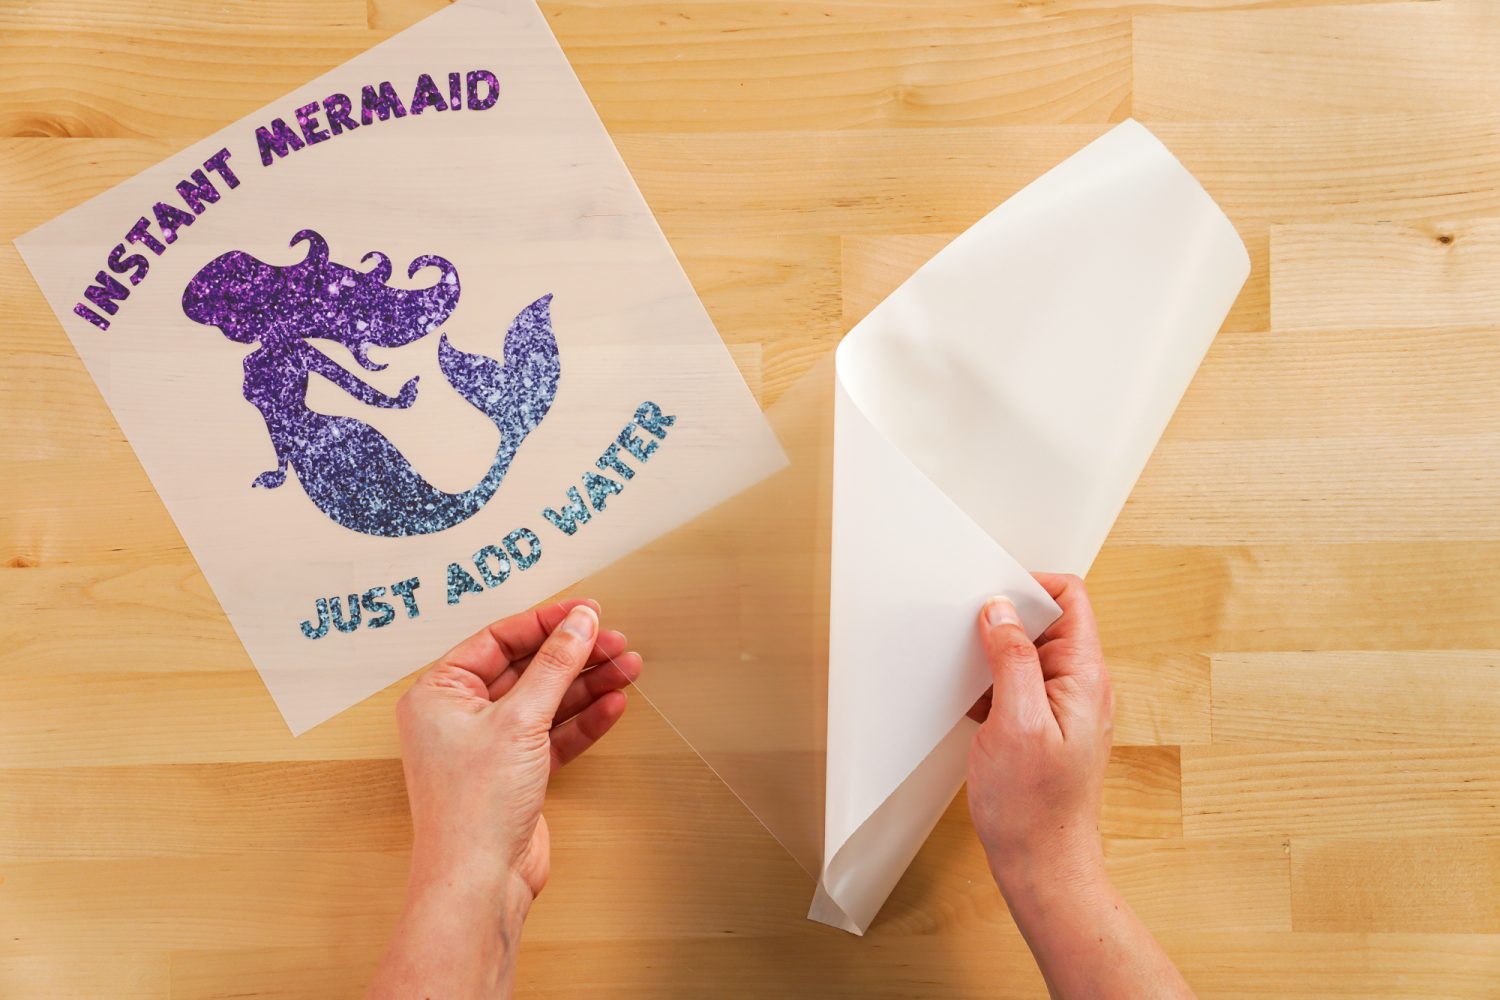
Bending the mask in the middle, place it carefully down on top of your image.
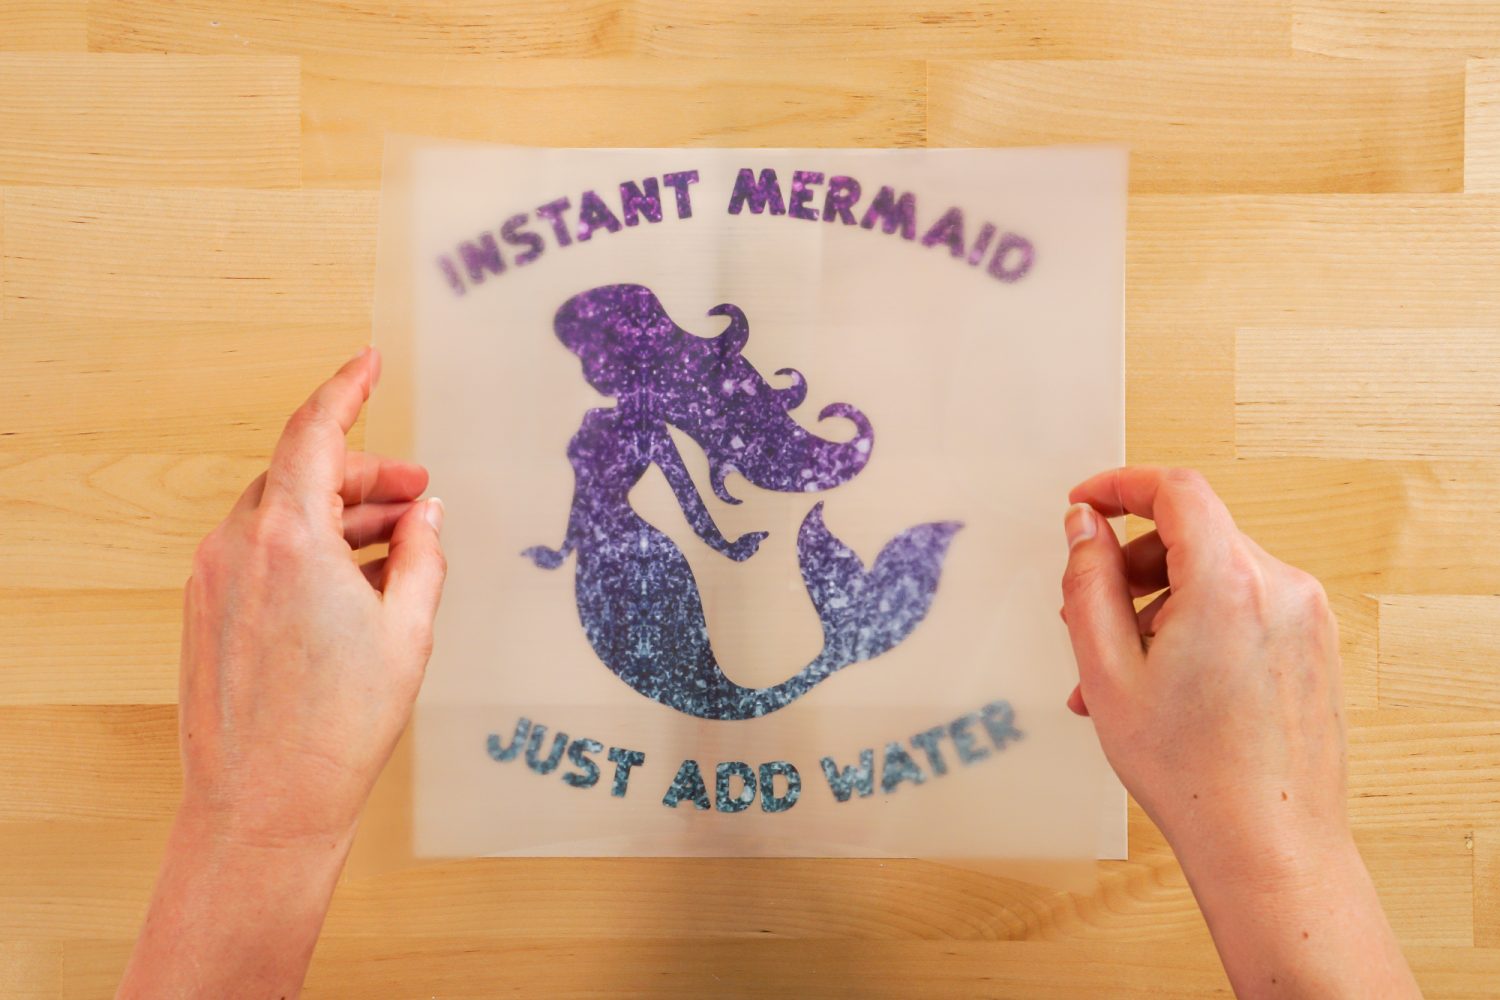
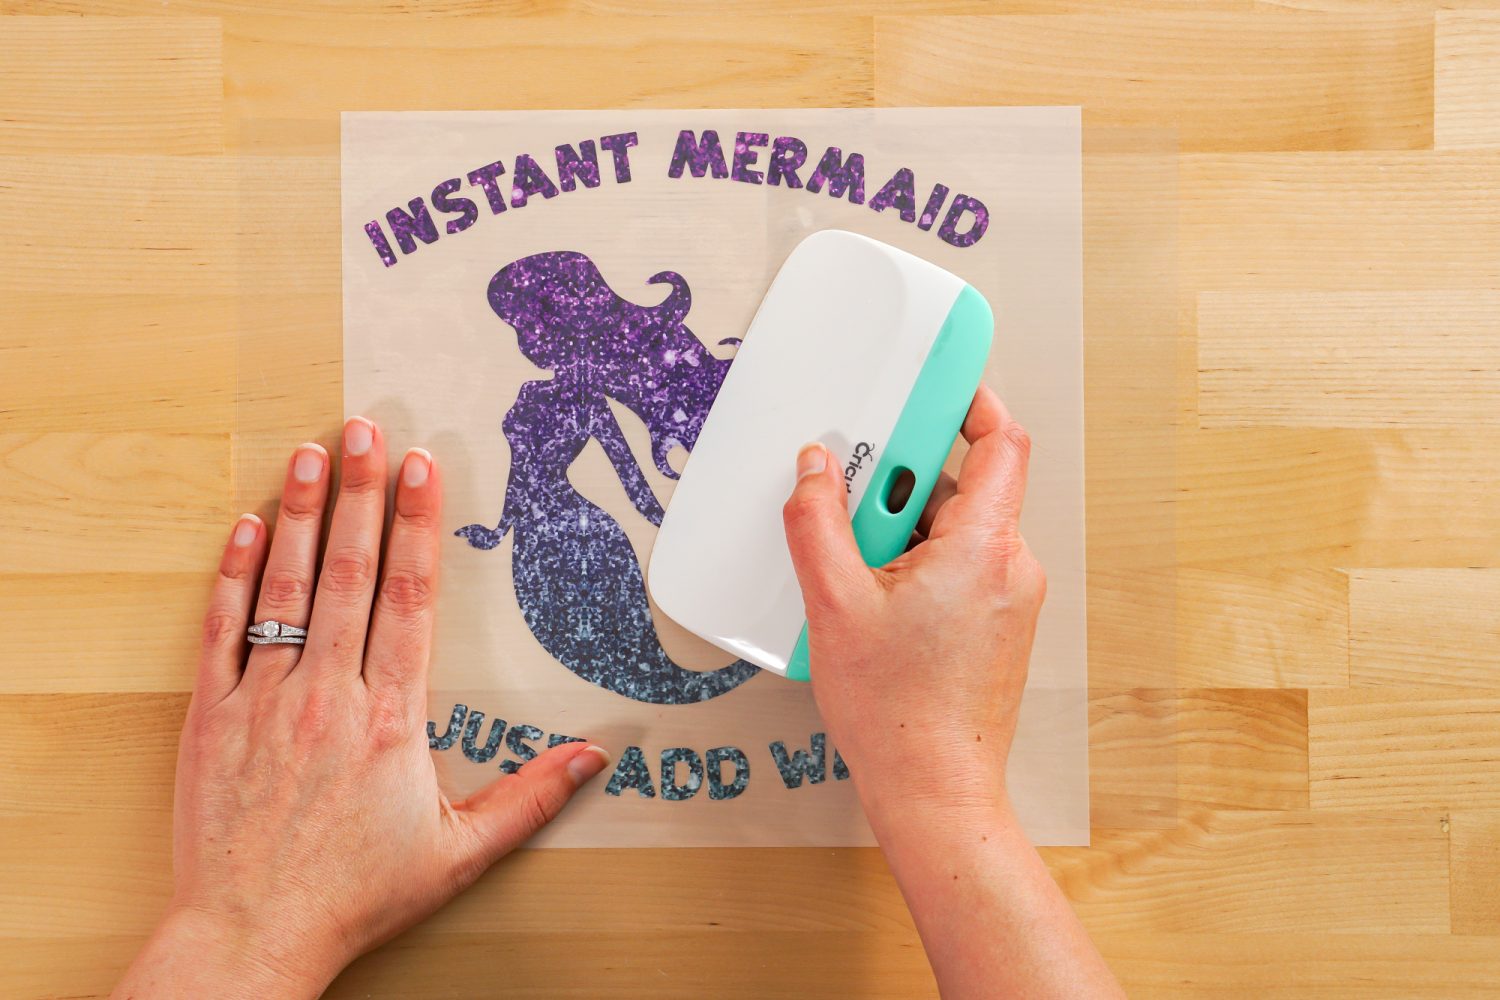
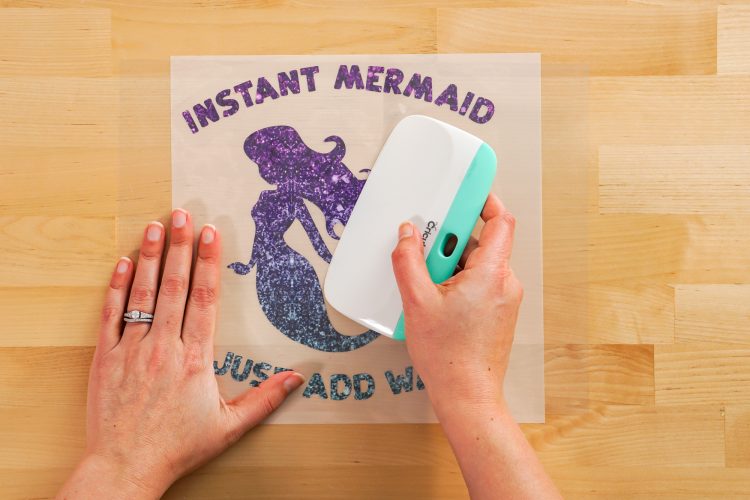
Then use the scraper to burnish the mask to the image, working from the center out so there are no bubbles.
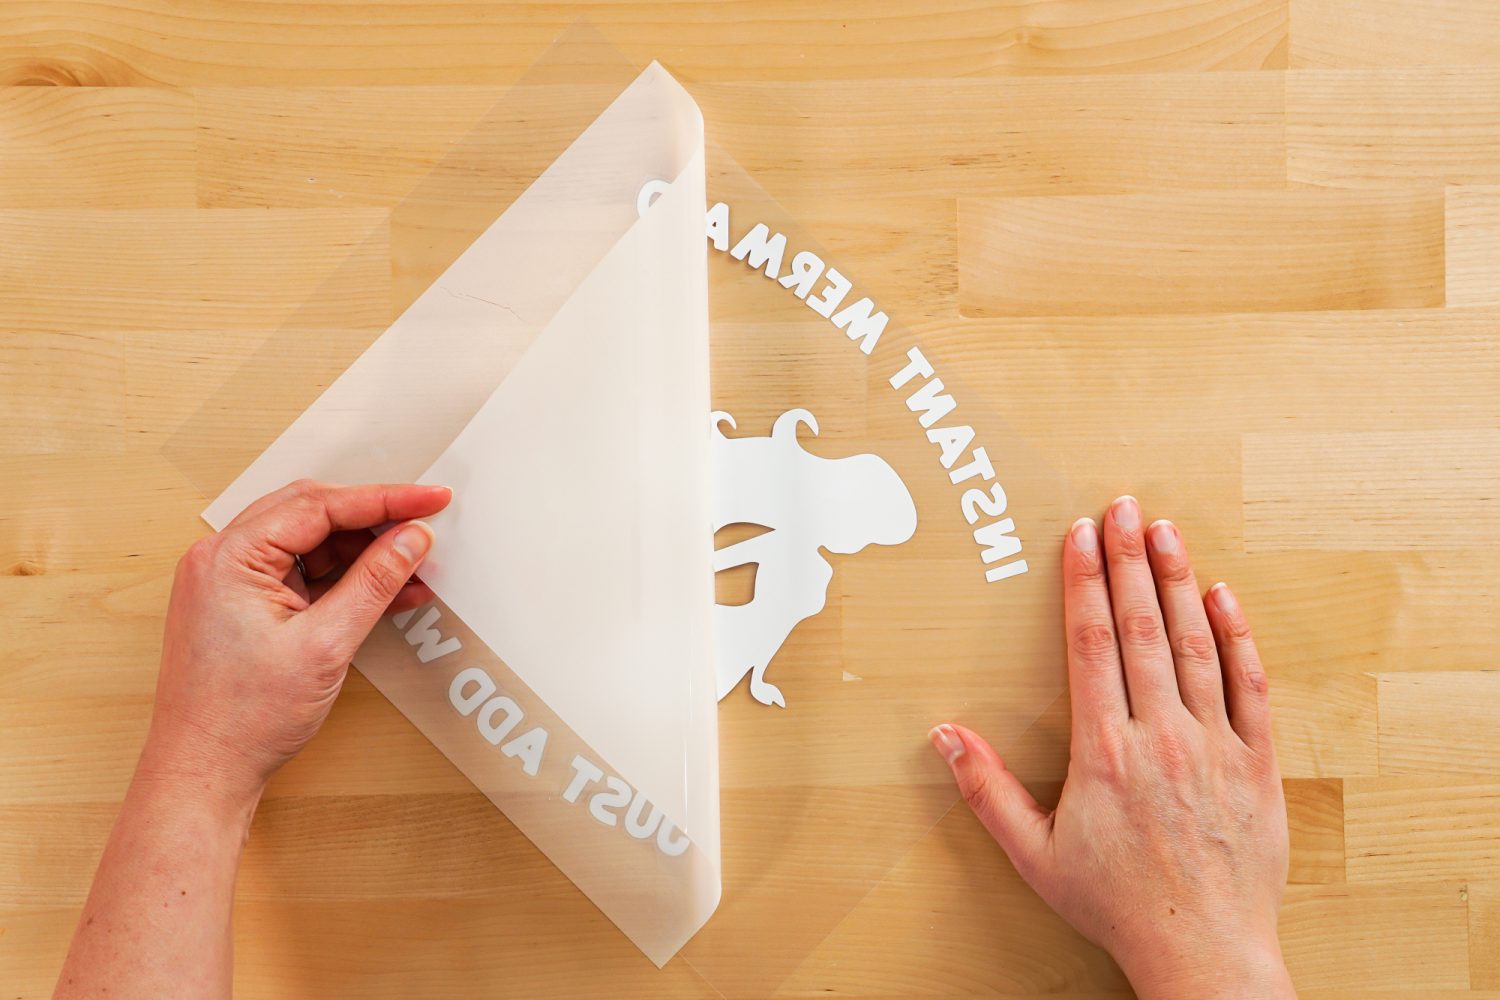
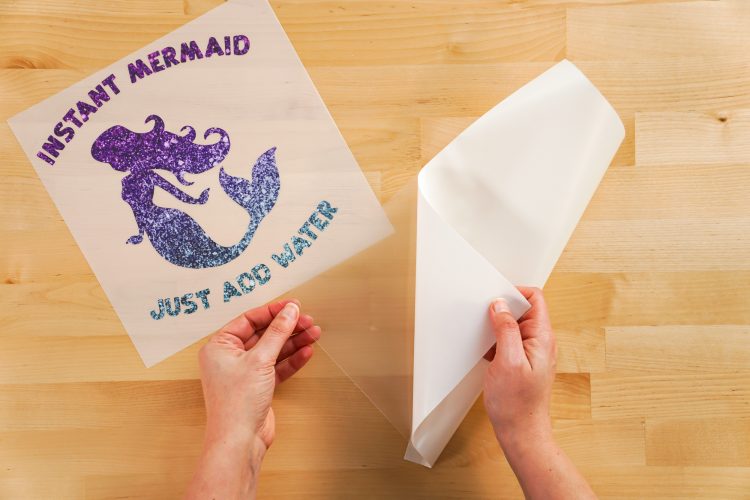
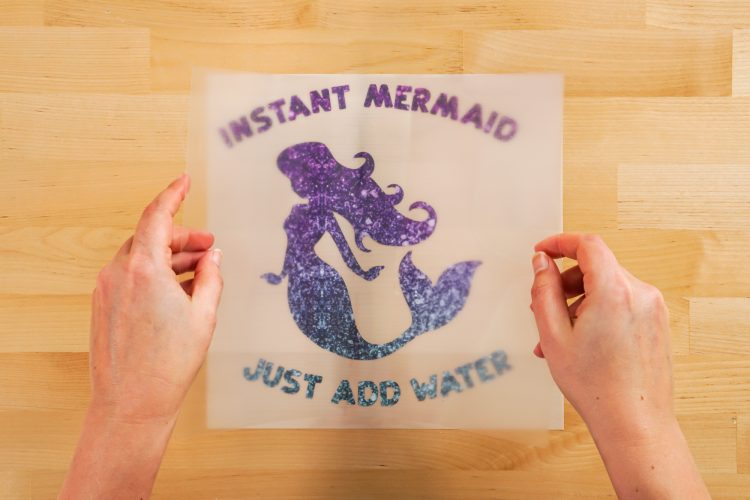
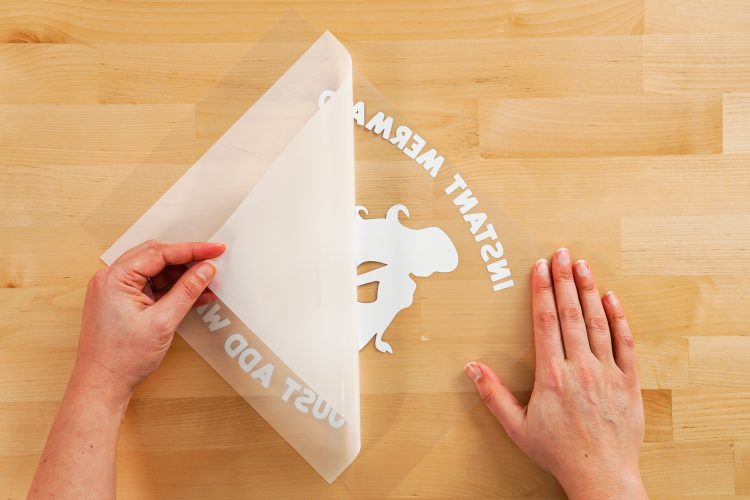
Then carefully peel back the liner from the image—the image will stick to the mask!
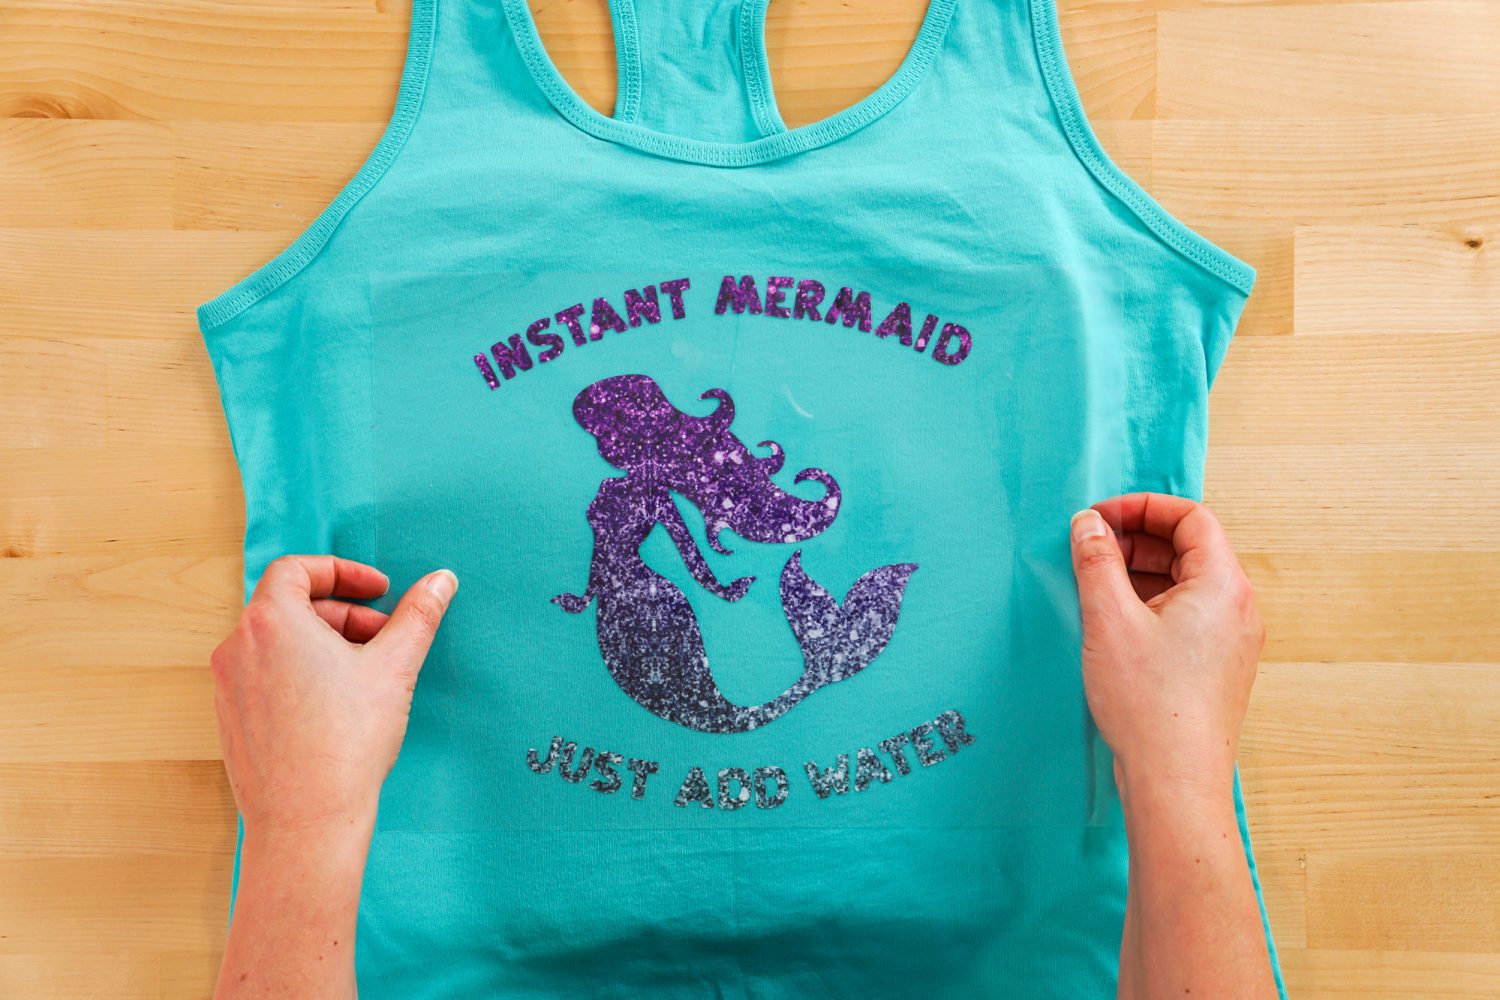
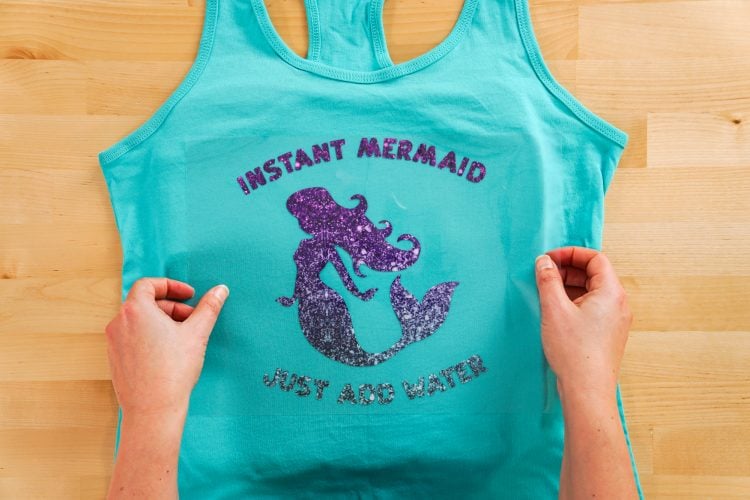
Prepare your base (in this case, I’m making a tank top) by pressing for 15 seconds to preheat it. Then place the image on the shirt.
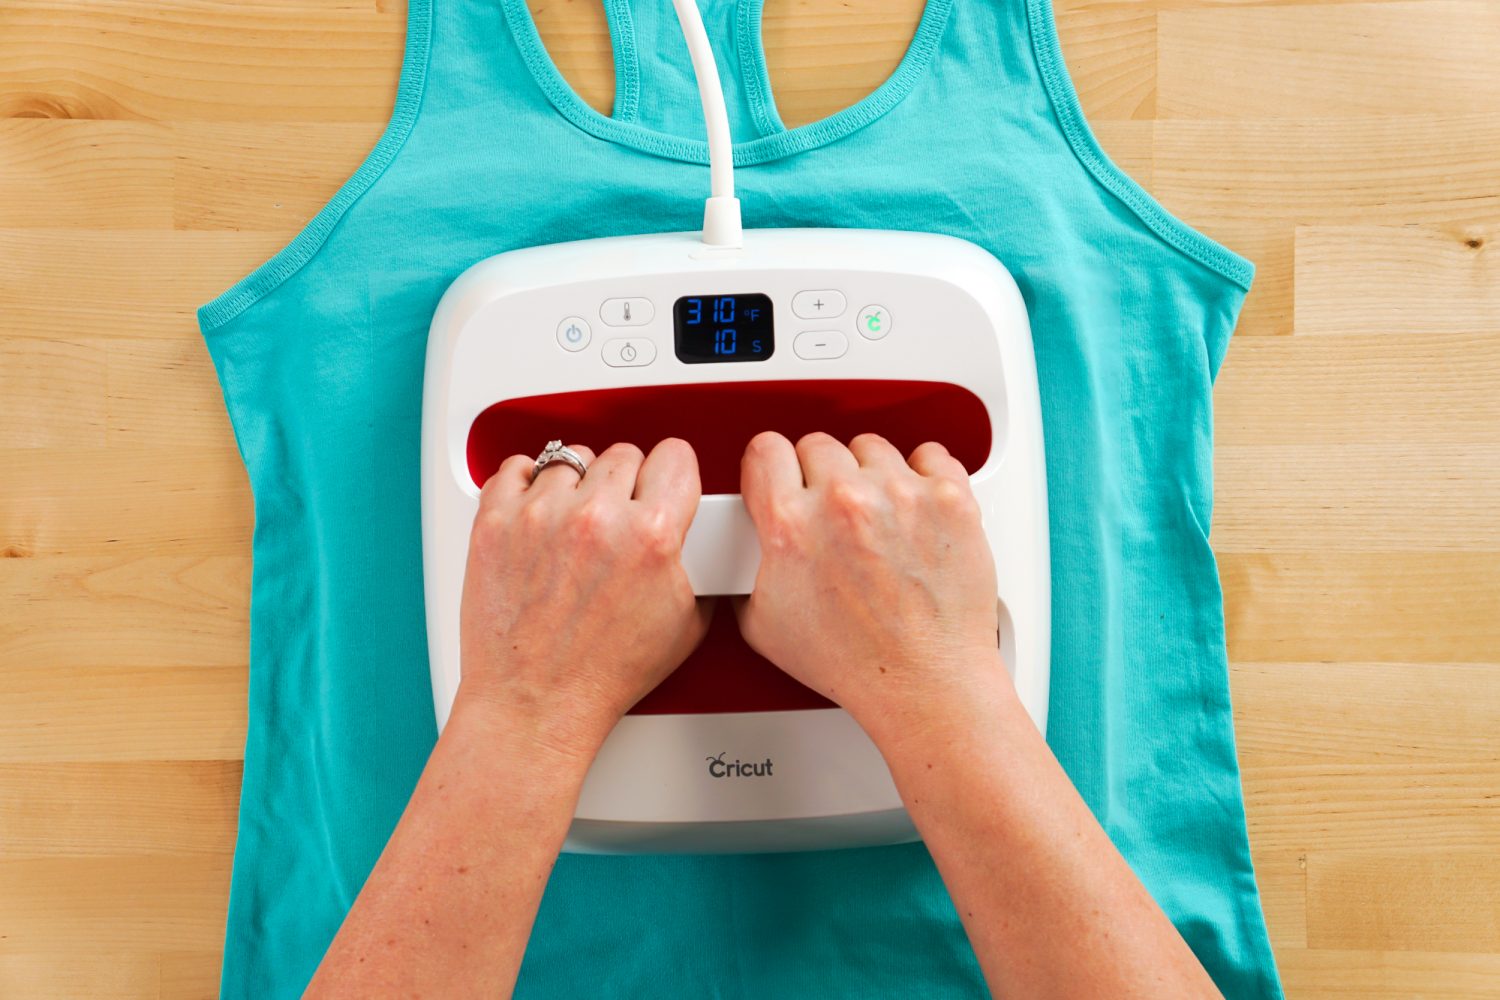
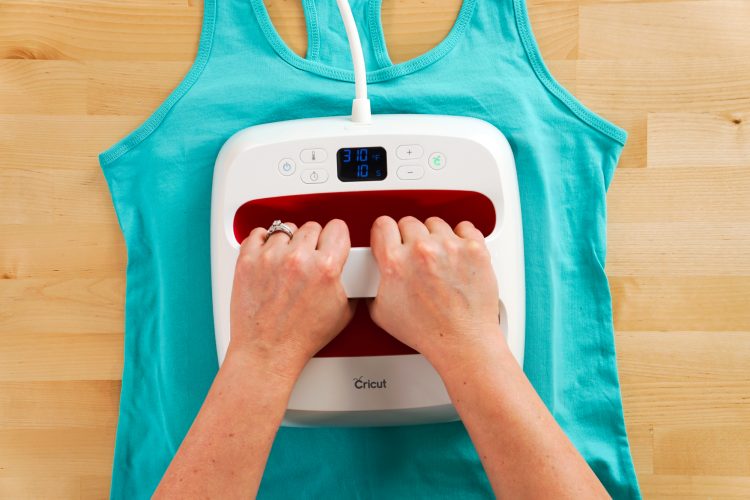
Set your EasyPress or heat press to 300° and press for 10 to 15 seconds.
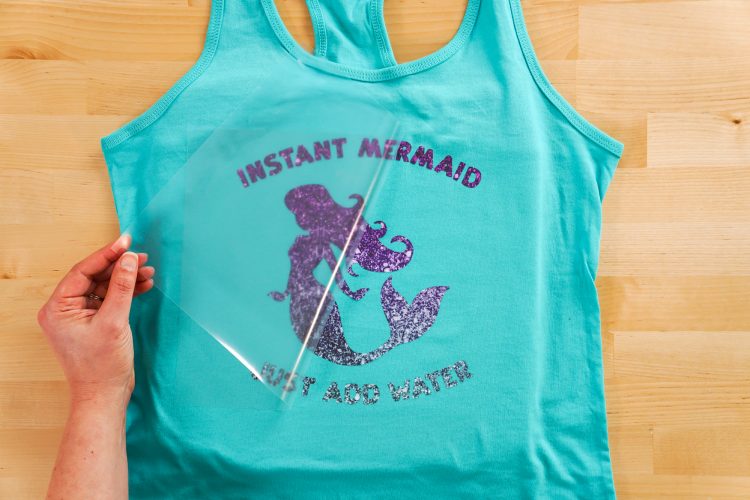
Let cool for a bit, and peel back the liner. You do not need to wait until it’s fully cooled.
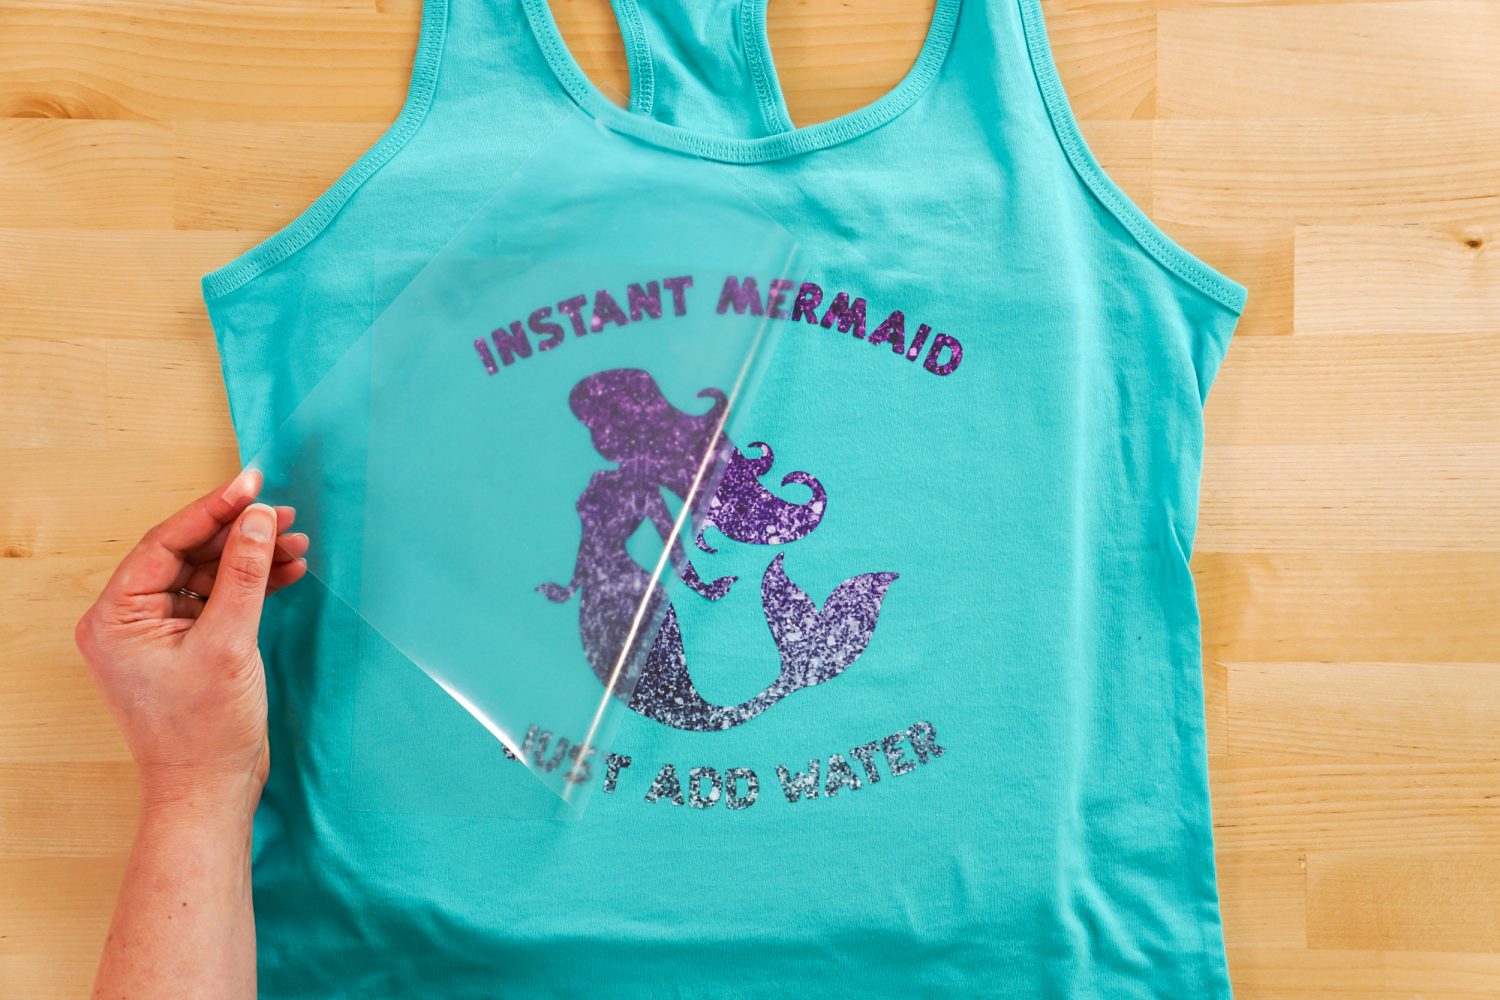
Then press from the back for 10 – 15 seconds to set the image and you’re done!

If you have any questions about using this type of patterned HTV, please let me know in the comments!
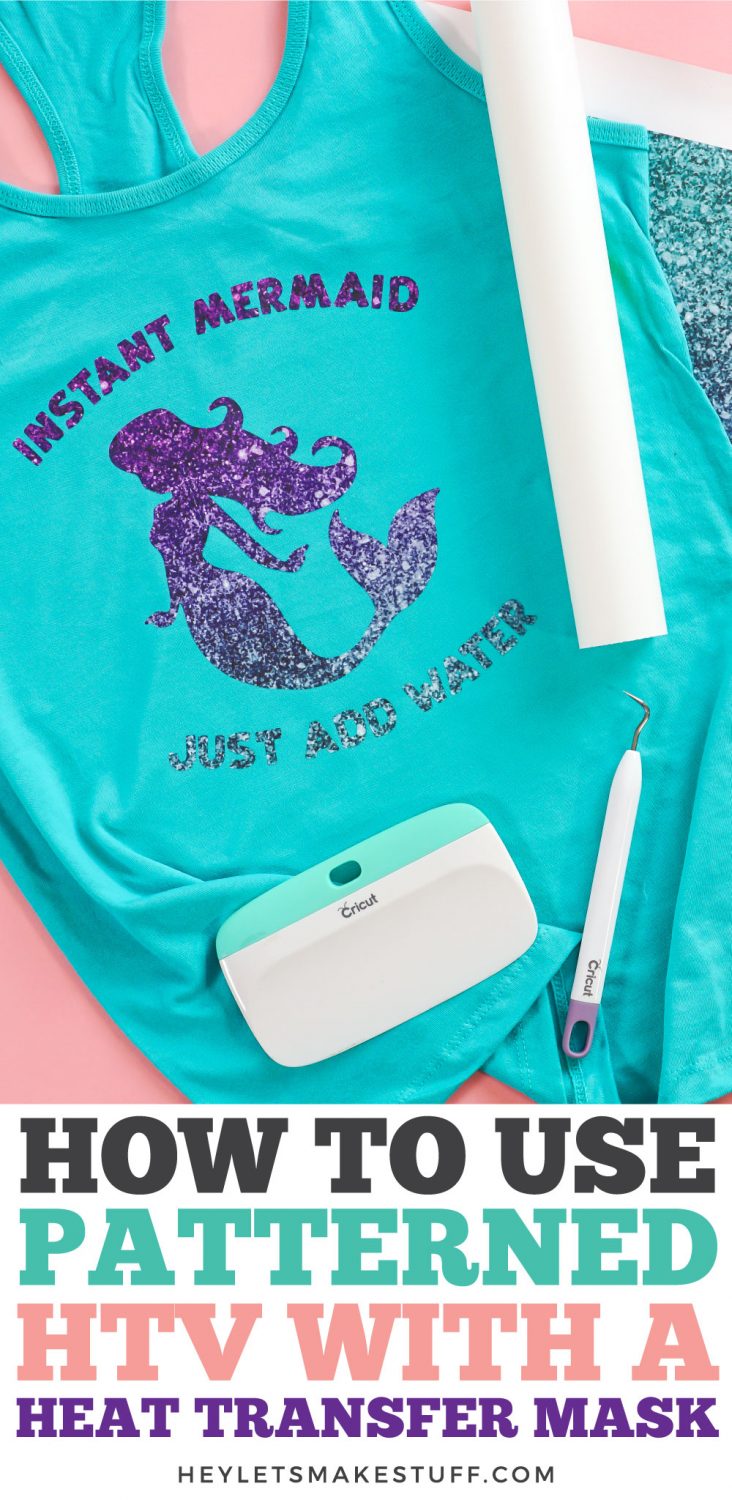
HOW TO USE PATTERNED HTV WITH A MASK TRANSFER
Equipment
- Cricut Explore or any other cutting machine
- Scraper or
- Heat press or
- Cricut EasyPress + pressing mat
Supplies
- Mermaid Patterned HTV from Happy Crafters
- Base, like a tank top
- Free Instant Mermaid File #C357
Instructions
- Start by uploading the Instant Mermaid SVG file to Cricut Design Space. Learn more about How to Upload SVG Files to Cricut Design Space. Then resize to fit your shirt. For this project is was made 8" wide.

- Click Make It in the upper right. In the Prepare Screen, DO NOT mirror your iron on. Click Continue.

- In the Make Screen, set your material—for this the standard iron on setting is being used. Insert your fine point blade.

- Pre-cut your patterned HTV to an inch larger than your project image. Place face-up on the cutting mat. Then cut your project.

- Use the weeding tool to weed your project. It weeds so easily! Once your image is weeded, carefully remove the whole thing from your mat.

- Cut a piece of the HTV mask slightly larger than your project. Peel back the liner from the sticky mask.

- Bending the mask in the middle, place it carefully down on top of your image.

- Then use the scraper to burnish the mask to the image, working from the center out so there are no bubbles.

- Then carefully peel back the liner from the image—the image will stick to the mask!

- Prepare your base by pressing for 15 seconds to preheat it. Then place the image on the shirt.

- Set your EasyPress or heat press to 300° and press for 10 to 15 seconds.

- Let cool for a bit, and peel back the liner. You do not need to wait until it's fully cooled.

- Then press from the back for 10 – 15 seconds to set the image and you're done!



Comments & Reviews
Liz says
thank you for this I was procrastinating on a project with this type of vinyl, It worked out perfectly.