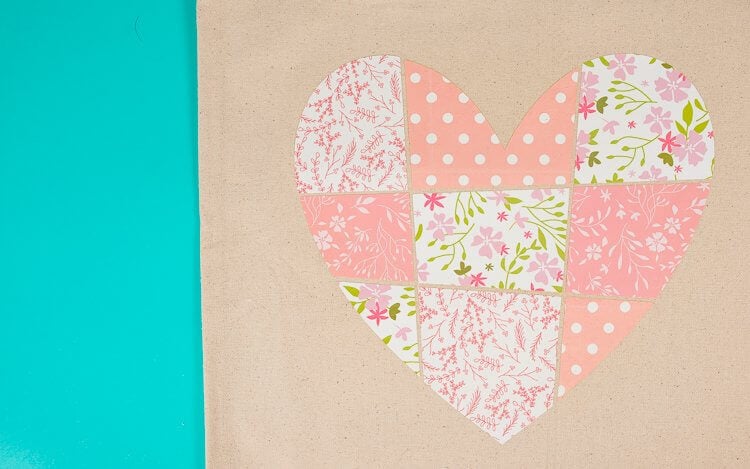
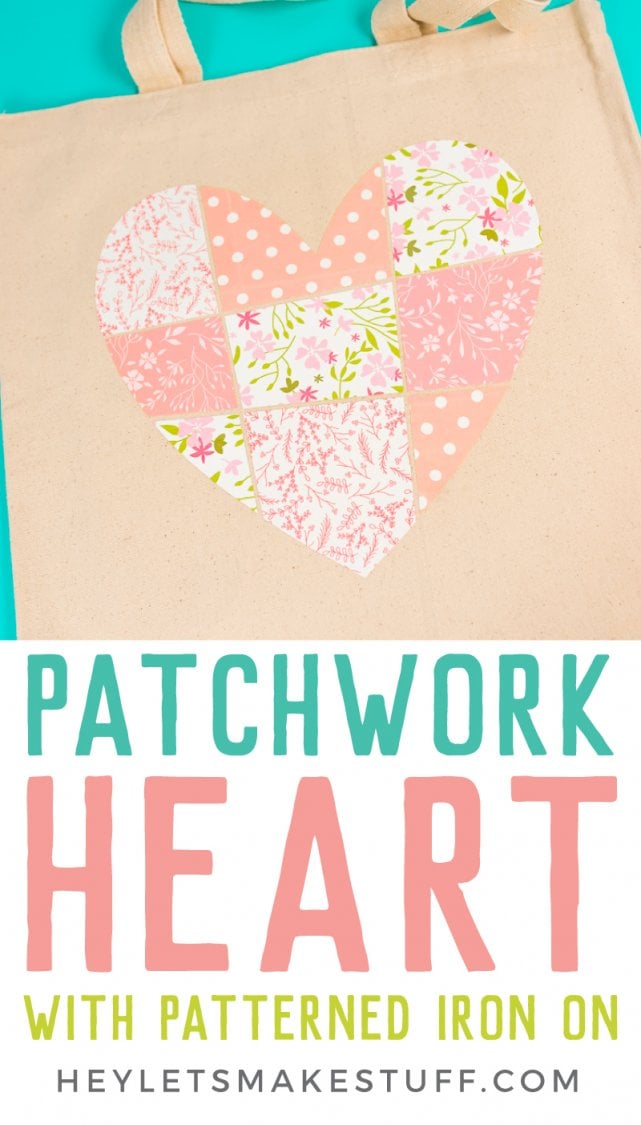
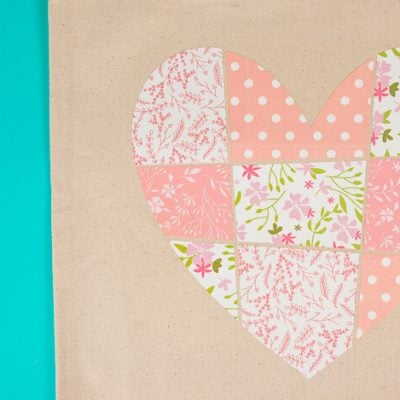
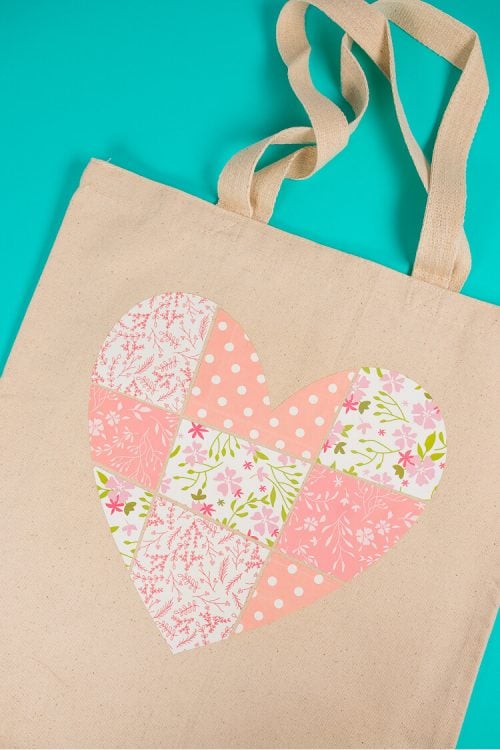
Add this patchwork heart to your t-shirts, totes, notebooks and so much more using Cricut’s Patterned Iron On™! Make this file yourself from a single heart in Cricut Design Space using the Contour Tool. It’s easy!
This post is sponsored by Cricut.
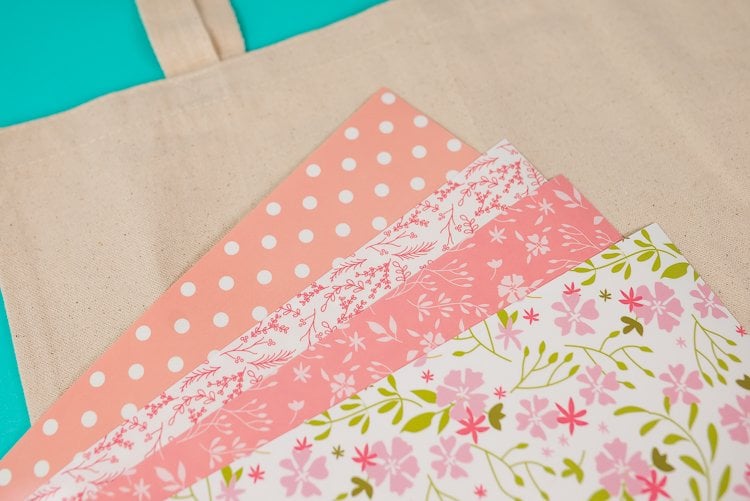
I recently flew out to Cricut headquarters where I got to learn about a ton of new materials that Cricut has recently released, as well as some that will be in stores soon! One of the most exciting products was Cricut Patterned Iron On™. I am so excited about this new product—iron on designs are cool but you can really give them some dimension with patterned iron on. There are currently nine different sampler packs, each with three 12″ x 17″ sheets. They are perfect for mixing and matching on projects like this one!
Today I’m going to share how I made this patchwork heart. It’s made using basic shapes in Cricut Design Space, along with the Contour tool. If you want to skip the whole tutorial and just make the project, you can find it Cricut Design Space here. I do feel like it’s helpful to see the entire step-by-step process I used to create this heart, because this technique could be used in so many other ways! Let’s get started.
Supplies
To make this tote bag, you’ll need:
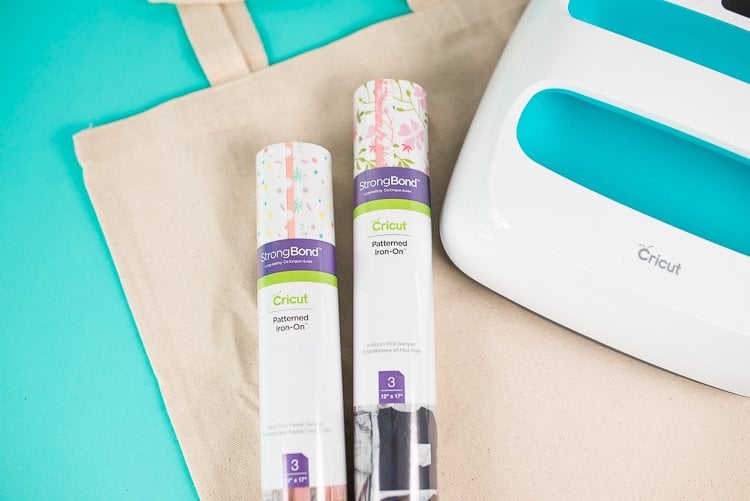
- 4 sheets of Cricut Patterned Iron On (I used all three colors from the In Bloom sampler pack and one from the Party Time sampler pack which is no longer available).
- Tote Bag
- Cricut Explore or Maker
- Cricut EasyPress or iron
- Cricut EasyPress Mat or folded towel
- Weeding Tool
Creating the Patchwork Heart in Cricut Design Space
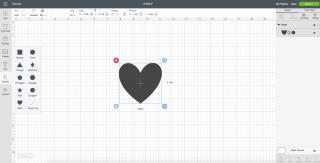
Start by adding a simple heart to your Canvas using the Shapes tool in the Design Panel on the left. You can make it bigger and recolor it, if you’d like. I made mine bigger and pink.
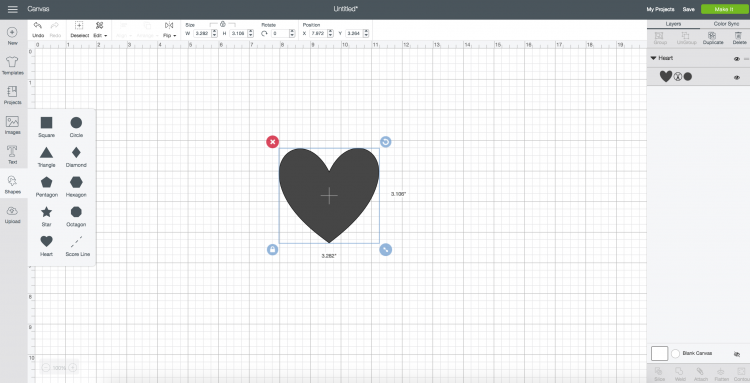
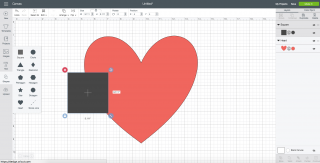
Then insert a square from that same menu.
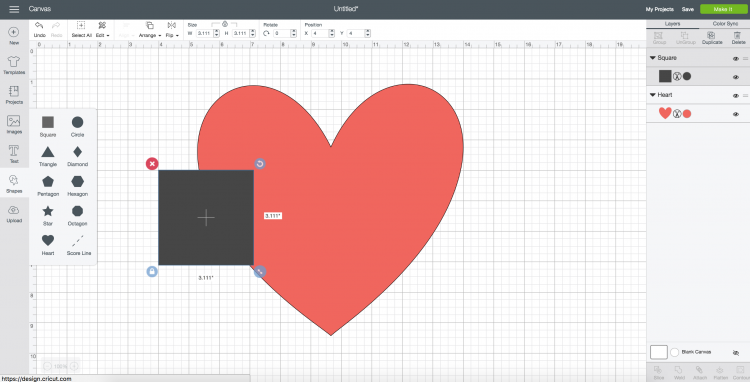
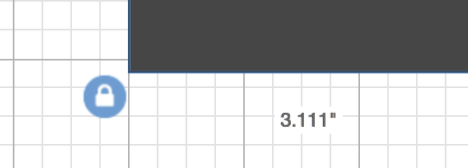
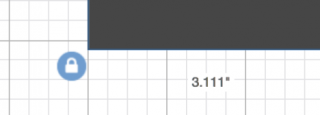
Click the little lock icon in the lower left of your square. This will allow you to change the dimensions instead of constraining it to a square.
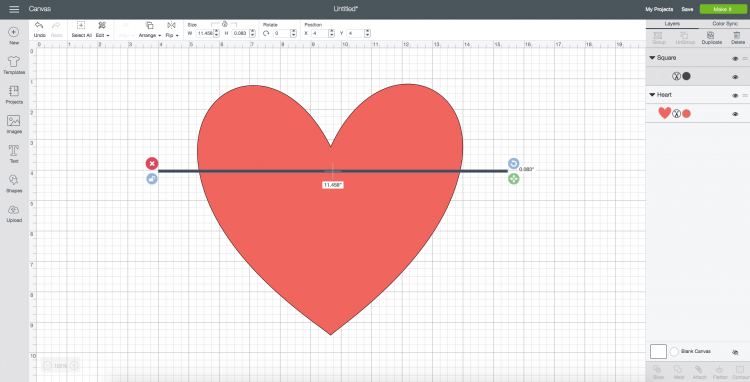
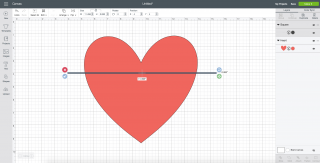
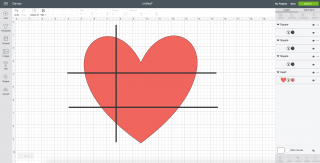
Change your square into a long, very skinny rectangle and place over your heart.
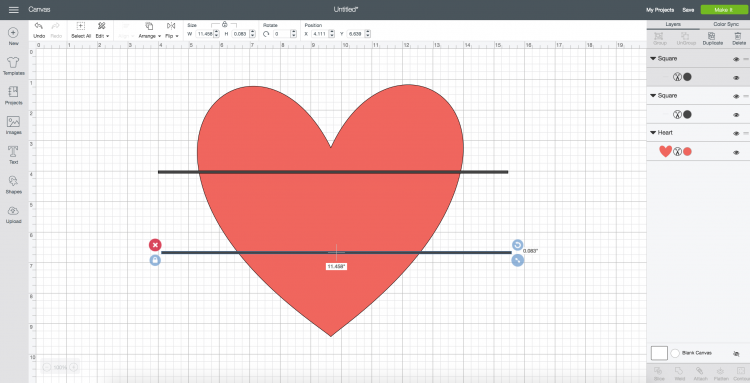
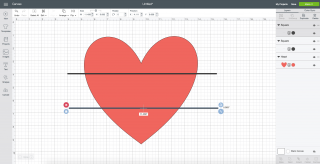
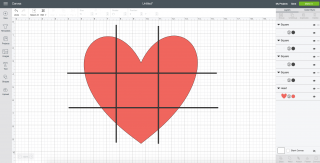
Duplicate this line three times, making a hash mark pattern over your heart. For the second two lines, use the rotate icon in the upper right of your rectangle.
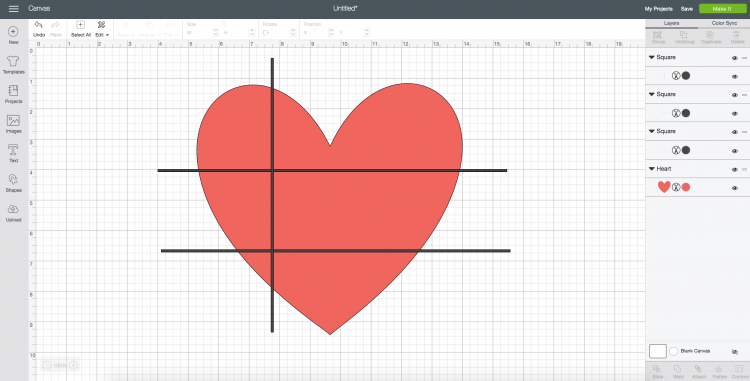
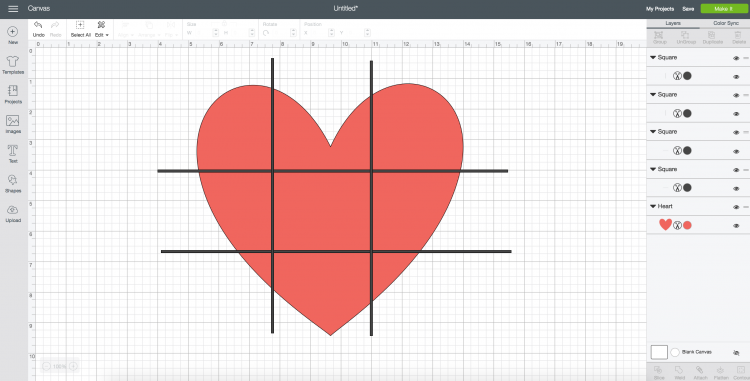
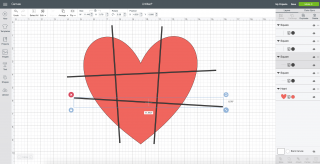
Once you have all four lines, use the rotate icon to rotate your rectangles/lines ever so slightly so they are a bit off kilter and, let’s face it, a little more adorable.
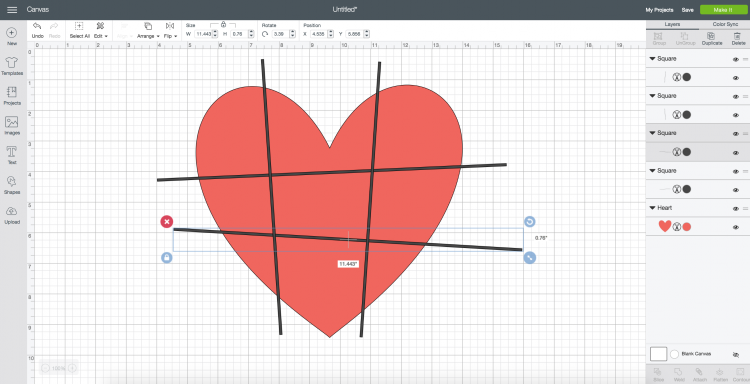
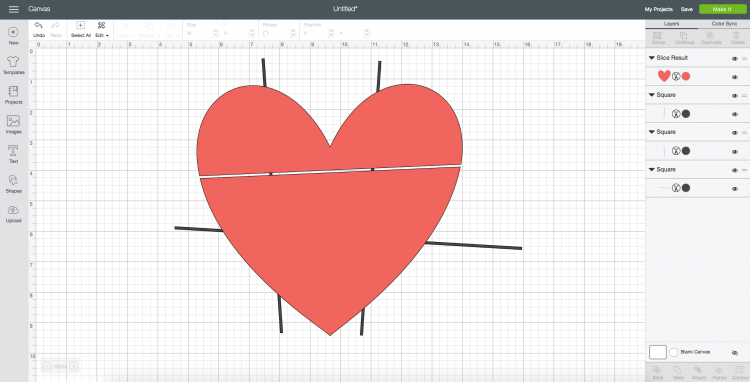
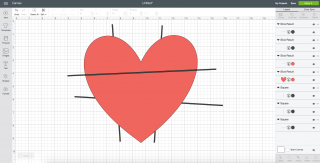
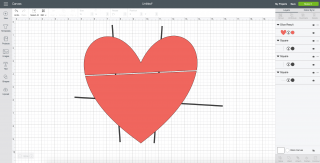
Then we’re going to use the slice tool to cut the rectangles/lines out of the heart. You can only slice two items at a time, so you have to do this four times. Start by selecting one line and the heart and clicking Slice in the bottom of the right-hand Layers Panel.
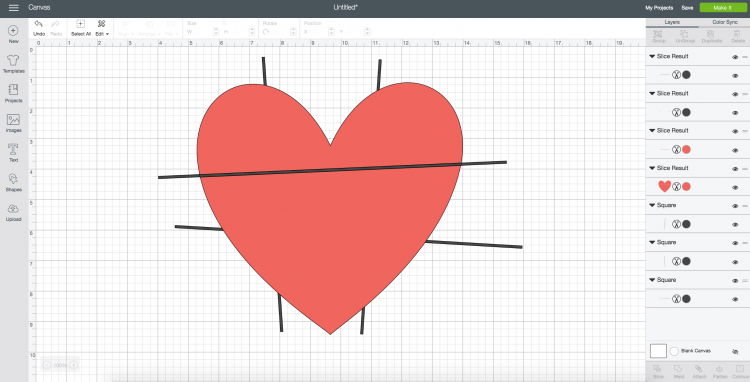
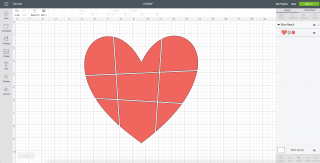
What you’re left with is a bunch of leftover shapes. Delete the black line (both the part in the heart and the two lines outside the heart, plus the extra pink line inside the heart). You know you’re done deleting when you can see the canvas between your the parts of your heart. Continue to do this with the other three lines, until all of your lines are sliced out of your heart.
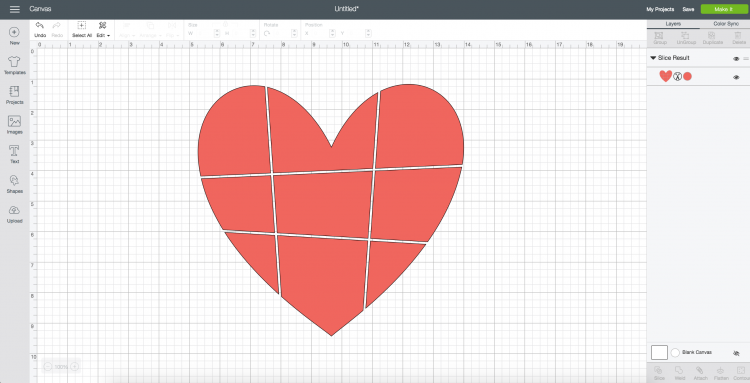
Now it would be awesome if we could just re-color each part of this heart to different colors, but Cricut Design Space still sees this as a single image that you can’t ungroup or detach (see how it’s one shape in the Layers Panel). So to work around this, we’re going to use the Contour tool.
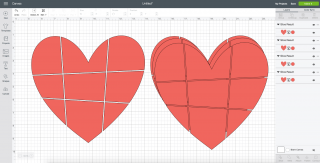
Start by creating three additional copies of your heart so you have four. I have four patterns I want to use, so I made four copies. If you have more or fewer patterns you want to use, adjust your copies accordingly.
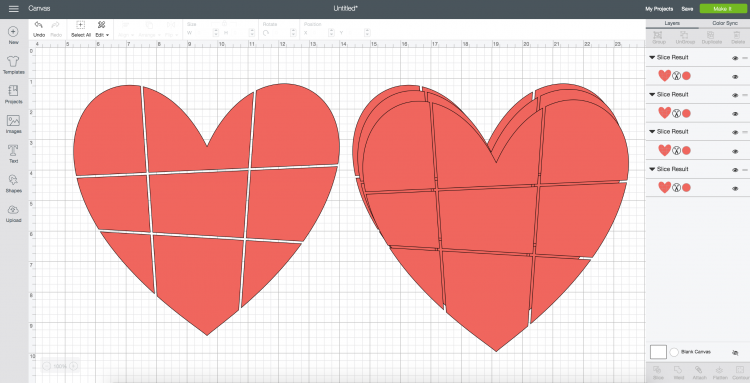
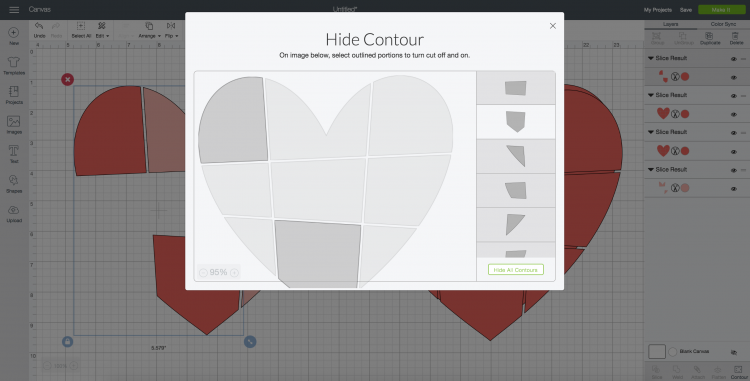
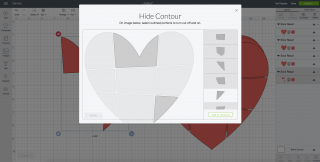
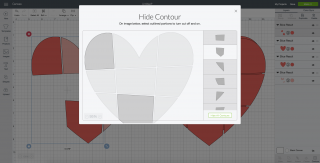
Then, for our original heart, we’re going to use the contour tool to “delete” all but two of the different pieces of our heart. Select it and click Contour in the bottom of the Layers Panel. A screen will pop up and you can just delete the pieces of the heart you don’t want showing. I left the top middle and bottom right piece for this first layer. Recolor that first layer so you know which pieces belong together.
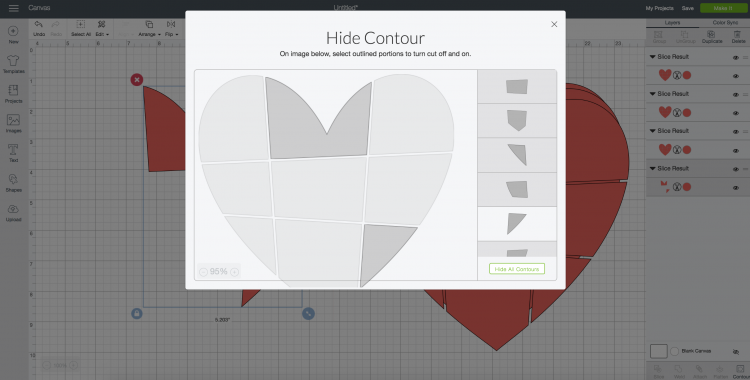
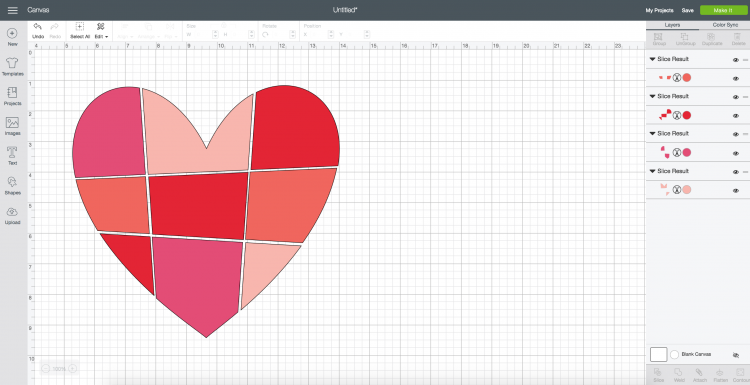
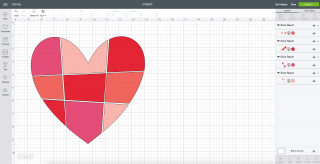
Then drag a new copy of the heart over the original and delete different pieces, making sure to color them a different color than your first heart. Repeat with the other two heart copies until you have four separate contoured hearts making one complete patchwork heart.
You can see in the Layers Panel that I have four different images now, coming together as one patchwork heart. Resize to the size you’ll need for your tote bag or other project.
Adhering the Patchwork Heart to Your Tote Bag
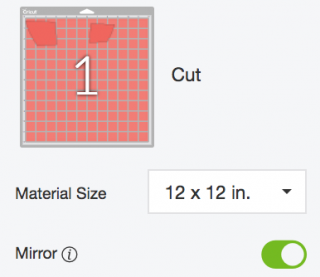
To cut out your patchwork heart in patterned iron on, click Make It in the upper right. In the Prepare Mat screen, make sure to mirror each of the layers.
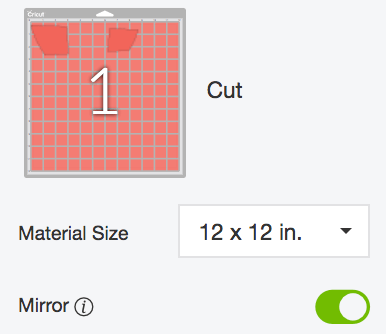
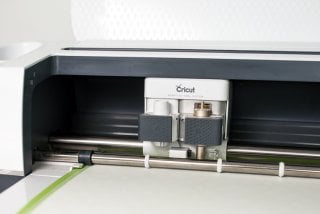
Then cut each layer in four patterns! You’ll want to make sure you’re placing your iron on shiny/patterned side down on your Cricut mat.
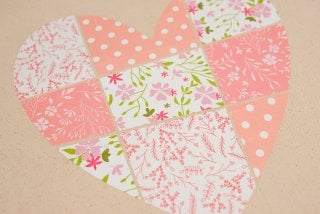
Once your pieces are cut out, use the weeding tool to remove the negative space around your heart pieces. I love how easy this patterned iron on is to weed!
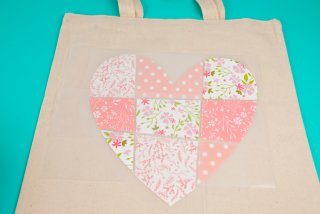
Then layer them on your tote bag so you can see how they will place, making sure to leave a small amount of space between each piece.
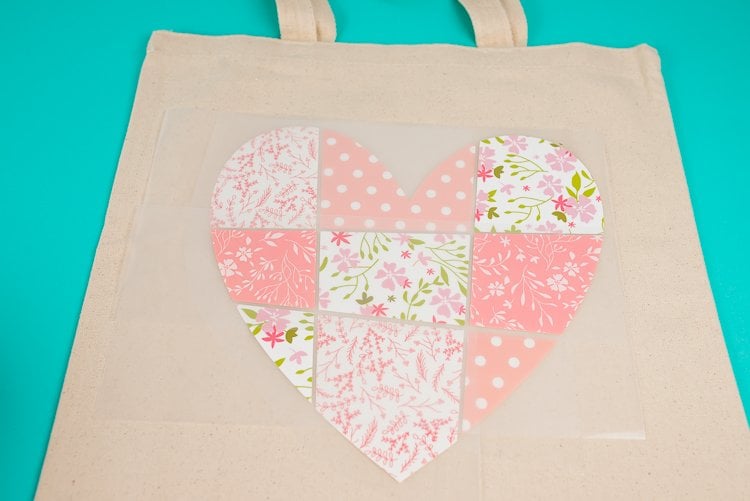
I find that adhering the layers is easiest using my Cricut EasyPress. Learn more about why I love my EasyPress here. I now have a Cricut EasyPress Mat as well, so gone are the days of using a couple of random mini quilts I had lying about my craft room. I love the mat because it stores easily and I can be sure that it’s not going to let my EasyPress damage the surface underneath the mat.
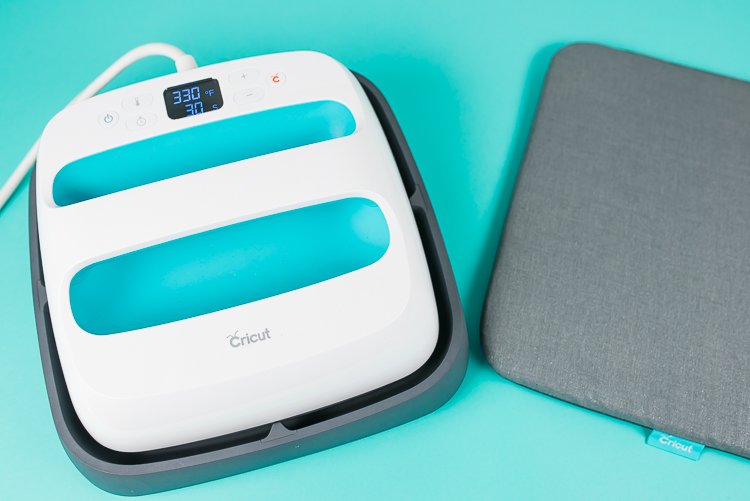
Remove all but the bottom layer of your patchwork heart, and use the EasyPress or your iron to adhere it to your tote bag. I didn’t use a pressing cloth and it worked beautifully. The temperature setting for Patterned Iron On is 340° and 30 seconds. Make sure to do a 5-second preheat of your tote bag as well, to prime it for your material.
Important: Make sure to let your patterned iron on cool completely before removing the plastic transfer sheet. Patterned iron on is COLD PEEL, meaning you will mess up your project if you try and peel it when it’s hot!
Then I did the next three layers, using the old plastic transfer sheets to cover the already-adhered iron on, so that my EasyPress didn’t come in direct contact with it.
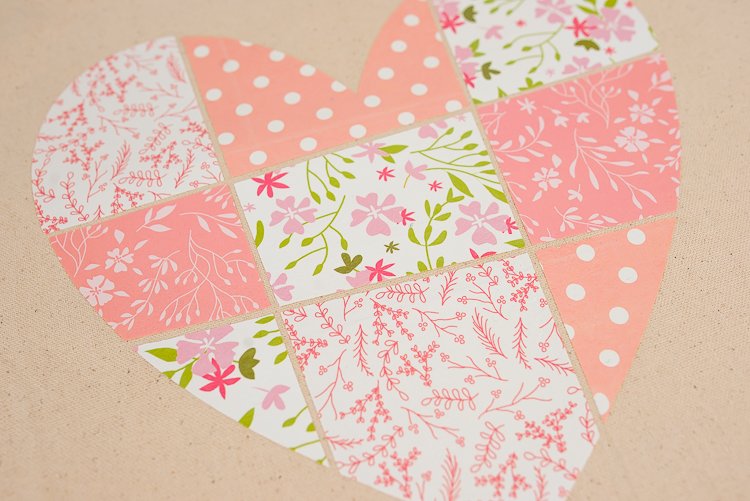
That’s it! I love how this project turned out and it gave me a chance to play around with the Contour tool a little more, as well as fall in love with Cricut’s patterned iron on. What will you make with it?
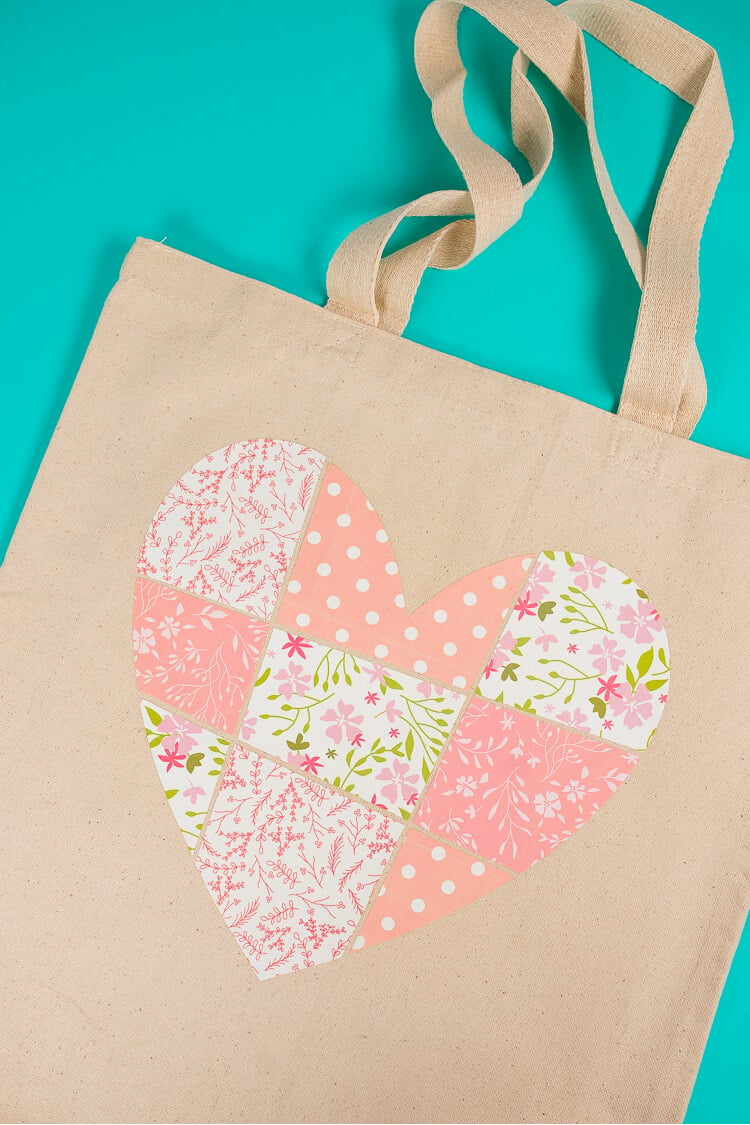
PATCHWORK HEART TOTE
Equipment
- Cricut Maker or
- Cricut EasyPress Mat or towel
Supplies
- 4 sheets Cricut Patterned Iron On
- Tote Bag
Instructions
- Start by adding a simple heart to your Canvas using the Shapes tool in the Design Panel on the left. You can make it bigger and recolor it, if you'd like.

- Then insert a square from that same menu.

- Click the little lock icon in the lower left of your square. This will allow you to change the dimensions instead of constraining it to a square.

- Change your square into a long, very skinny rectangle and place over your heart.

- Duplicate this line three times, making a hash mark pattern over your heart. For the second two lines, use the rotate icon in the upper right of your rectangle.


- Once you have all four lines, use the rotate icon to rotate your rectangles/lines ever so slightly so they are a bit off kilter and, let's face it, a little more adorable.

- Then we're going to use the slice tool to cut the rectangles/lines out of the heart. You can only slice two items at a time, so you have to do this four times. Start by selecting one line and the heart and clicking Slice in the bottom of the right-hand Layers Panel.

- What you're left with is a bunch of leftover shapes. Delete the black line (both the part in the heart and the two lines outside the heart, plus the extra pink line inside the heart). You know you're done deleting when you can see the canvas between your the parts of your heart. Continue to do this with the other three lines, until all of your lines are sliced out of your heart.


- Now it would be awesome if we could just re-color each part of this heart to different colors, but Cricut Design Space still sees this as a single image that you can't ungroup or detach (see how it's one shape in the Layers Panel). So to work around this, we're going to use the Contour tool.Start by creating three additional copies of your heart so you have four. For this project there are four vinyl patterns being used, so four copies were made. If you have more or fewer patterns you want to use, adjust your copies accordingly.

- Then, for our original heart, we're going to use the contour tool to "delete" all but two of the different pieces of our heart. Select it and click Contour in the bottom of the Layers Panel. A screen will pop up and you can just delete the pieces of the heart you don't want showing. The top middle and bottom right piece were left for this first layer. Recolor that first layer so you know which pieces belong together.

- Then drag a new copy of the heart over the original and delete different pieces, making sure to color them a different color than your first heart. Repeat with the other two heart copies until you have four separate contoured hearts making one complete patchwork heart.

- You can see in the Layers Panel that there are four different images now, coming together as one patchwork heart. Resize to the size you'll need for your tote bag or other project.

- Adhering the Patchwork Heart to Your Tote BagTo cut out your patchwork heart in patterned iron on, click Make It in the upper right. In the Prepare Mat screen, make sure to mirror each of the layers.

- Then cut each layer in four patterns! You'll want to make sure you're placing your iron on shiny/patterned side down on your Cricut mat.

- Once your pieces are cut out, use the weeding tool to remove the negative space around your heart pieces.Then layer them on your tote bag so you can see how they will place, making sure to leave a small amount of space between each piece.

- Remove all but the bottom layer of your patchwork heart, and use the EasyPress or your iron to adhere it to your tote bag. The temperature setting for Patterned Iron On is 340° and 30 seconds. Make sure to do a 5-second preheat of your tote bag as well, to prime it for your material.Important: Make sure to let your patterned iron on cool completely before removing the plastic transfer sheet. Patterned iron on is COLD PEEL, meaning you will mess up your project if you try and peel it when it's hot!Then the next three layers were done, using the old plastic transfer sheets to cover the already-adhered iron on, so that the EasyPress didn't come in direct contact with it.

- That's it!



Comments & Reviews
Irma says
OK. I’m lazy. Is there some place I can buy designs like this?