Make these sweet DIY paper Christmas stars using cardstock and your Cricut Maker, Cricut Explore, or Cricut Joy! Perfect for ornaments, hanging from the mantel, or adding as gift toppers.
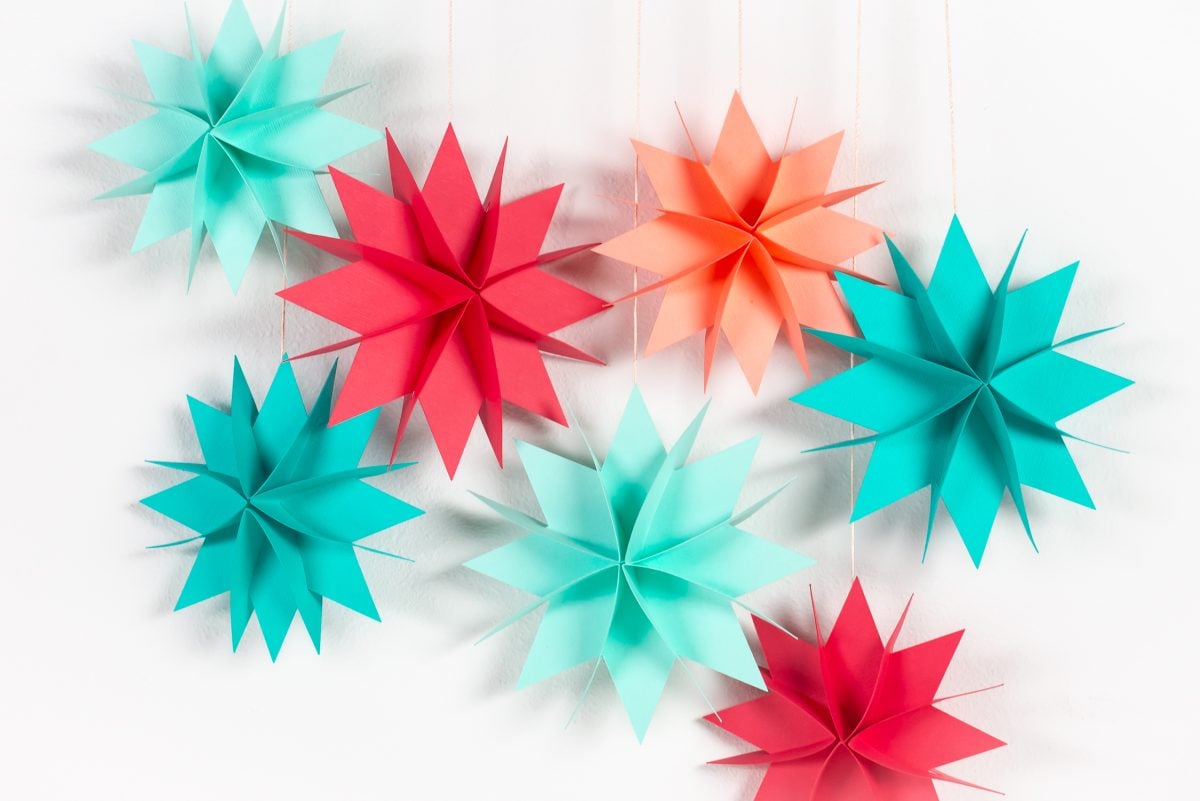
It’s that time of year and I’m getting craft for Christmas! I was over on Instagram the other day and saw a tutorial for the prettiest hand-cut paper Christmas stars from Fall For DIY. I wanted to make my own to use as ornaments, but crafts using scissors is tough for me with my chronic pain condition.
So of course, I decided to turn these beautiful Christmas decorations into a Cricut cut file template! Head to Fall for DIY’s Instagram if you’d like to hand-cut with a pair of scissors and fold them yourself, or you can download the free file below to cut and score them using your Cricut. I’ve designed the file with a line for scoring, but if you have a Cricut Joy you can just delete that layer
The paper stars in the file measure about 5″ in diameter, but you can resize the file as large or small as you’d like. You can make them in white like traditional snowflakes or mix it up with different colors or patterns. They’d also be really pretty in specialty glitter or foil papers. You don’t need a hot glue gun or other adhesives—these paper star decorations just slide together.
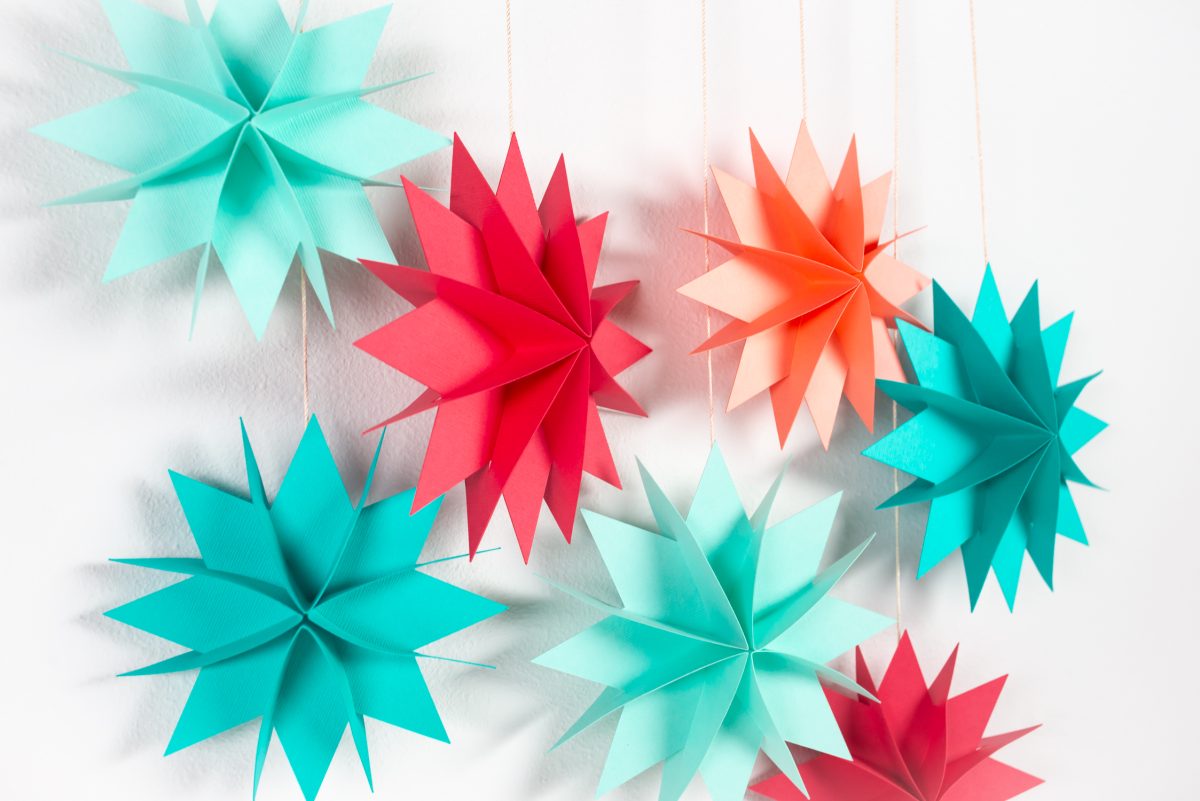
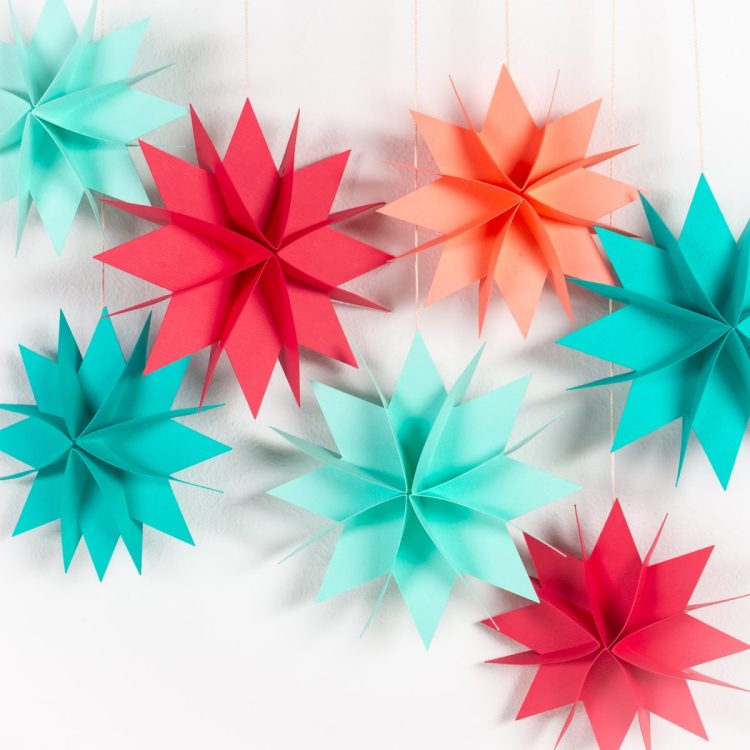
They are perfect for hanging from the Christmas tree, mantel, stair railing or ceiling. Make a bunch of small ones and turn them into a garland or use them on a wreath. Use twine, fishing wire, string, or ribbon to hang them, and maybe combine them with snowflakes made from paper bags. You could even make small versions and tie them to presents as cute gift toppers, or make a really big star (or several larger stars) to use as a tree topper.
Supplies Needed for Paper Christmas Stars
Get everything you need to make these paper Christmas stars on my Amazon shopping list!
- Card stock or heavy scrapbook paper
- Cricut Maker, Cricut Explore, or Cricut Joy
- Fine Point Blade
- Scoring Tool (Maker and Explore only)
- Blue LightGrip or Green StandardGrip cutting mat
- Twine or ribbon for hanging
- Paper Star SVG File (see below)
Get the Free File
Want access to this free file? Join my FREE craft library! All you need is the password to get in, which you can get by filling out the form below. The file number is: C457.
Instructions for Paper Christmas Stars
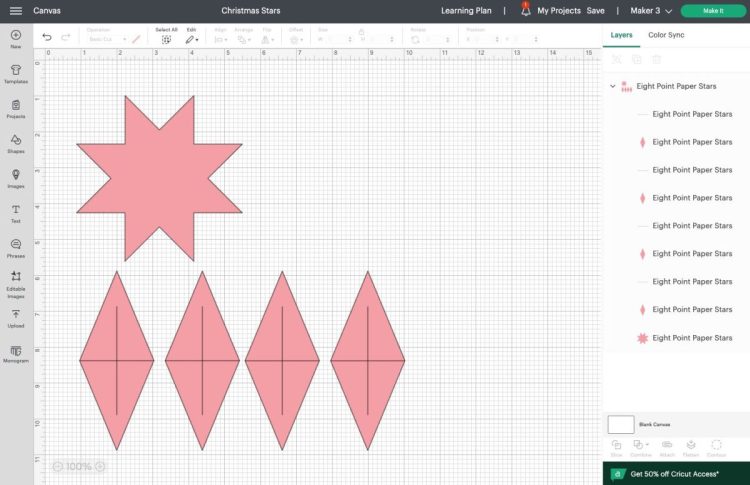
Let’s start by uploading the file to Cricut Design Space (learn more about uploading files if you need help).
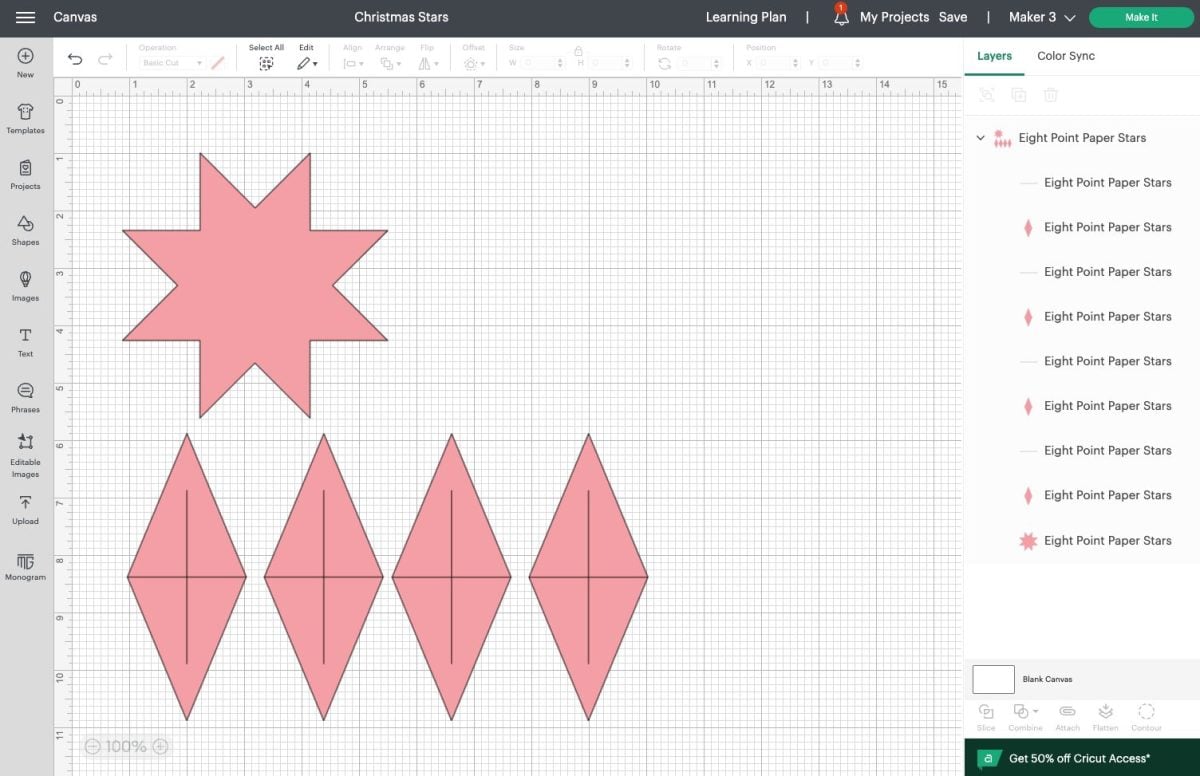
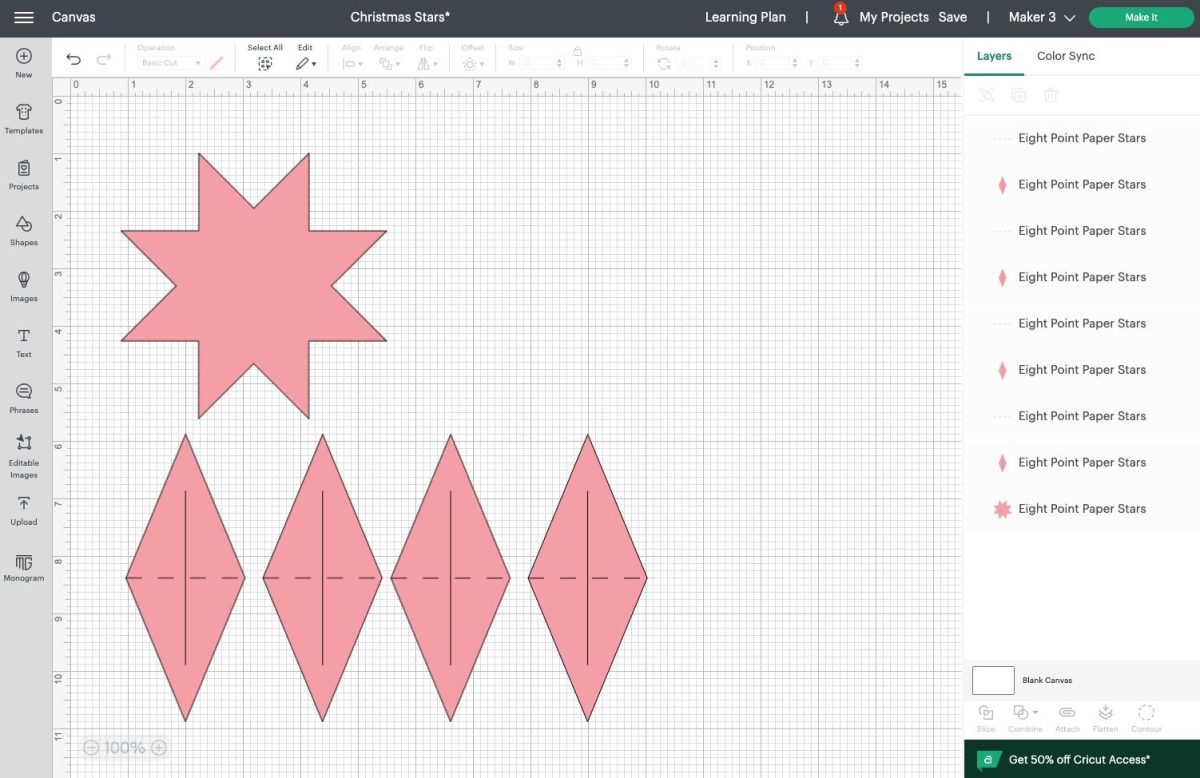
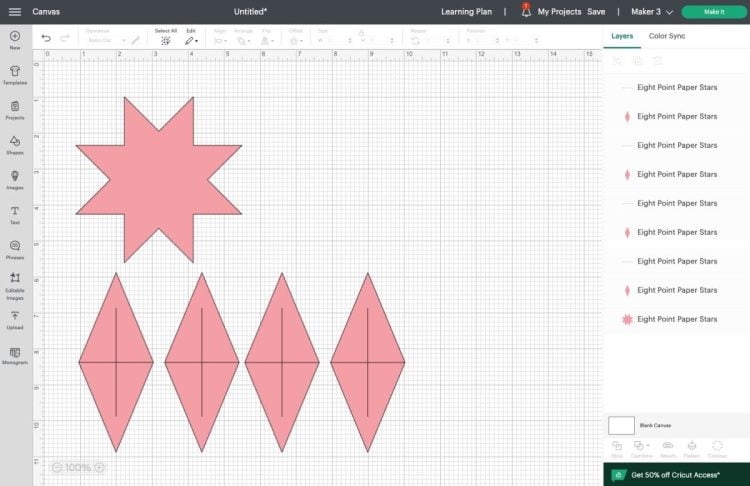
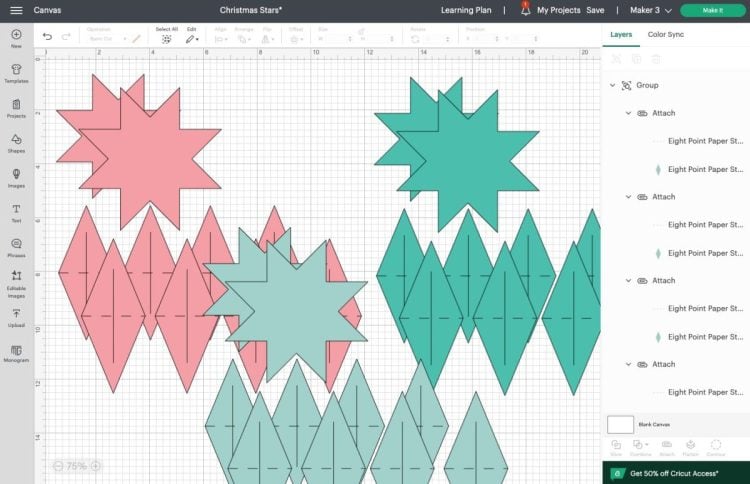
Start by selecting the image and clicking Ungroup at the top of the Layers Panel (the two overlapping squares). This will make it easier to work with the individual pieces.
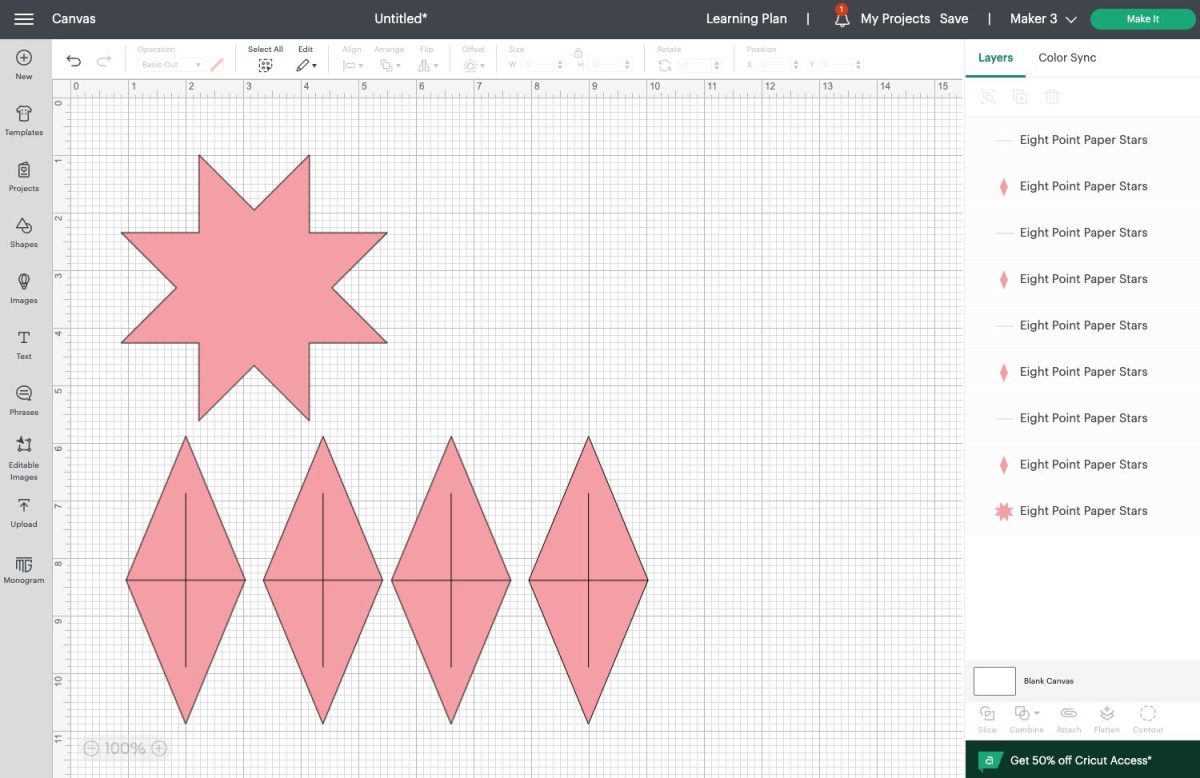
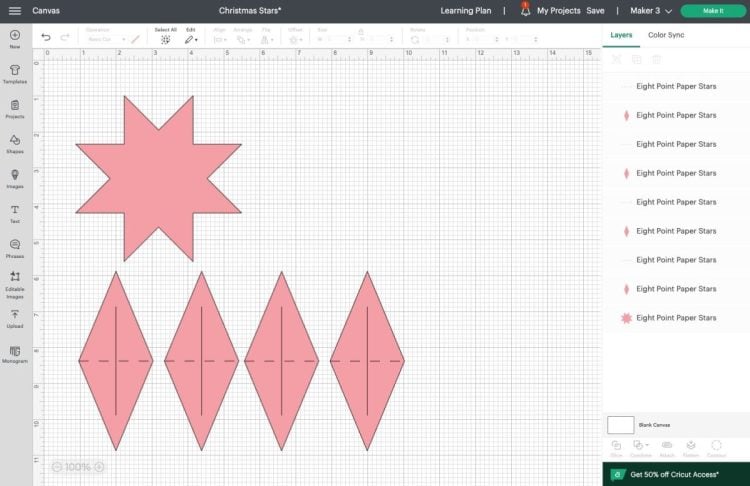
If you have a Cricut Maker or a Cricut Explore, click on the four horizontal lines that intersect the diamond pieces and change them to score lines. I find it easiest to do by clicking on each layer in the Layers Panel and then selecting Score from the Operation dropdown in the Edit bar at the top. You’ll know you’ve done it correctly if the lines turn into dashed lines. If you have a Cricut Joy, delete those lines entirely.
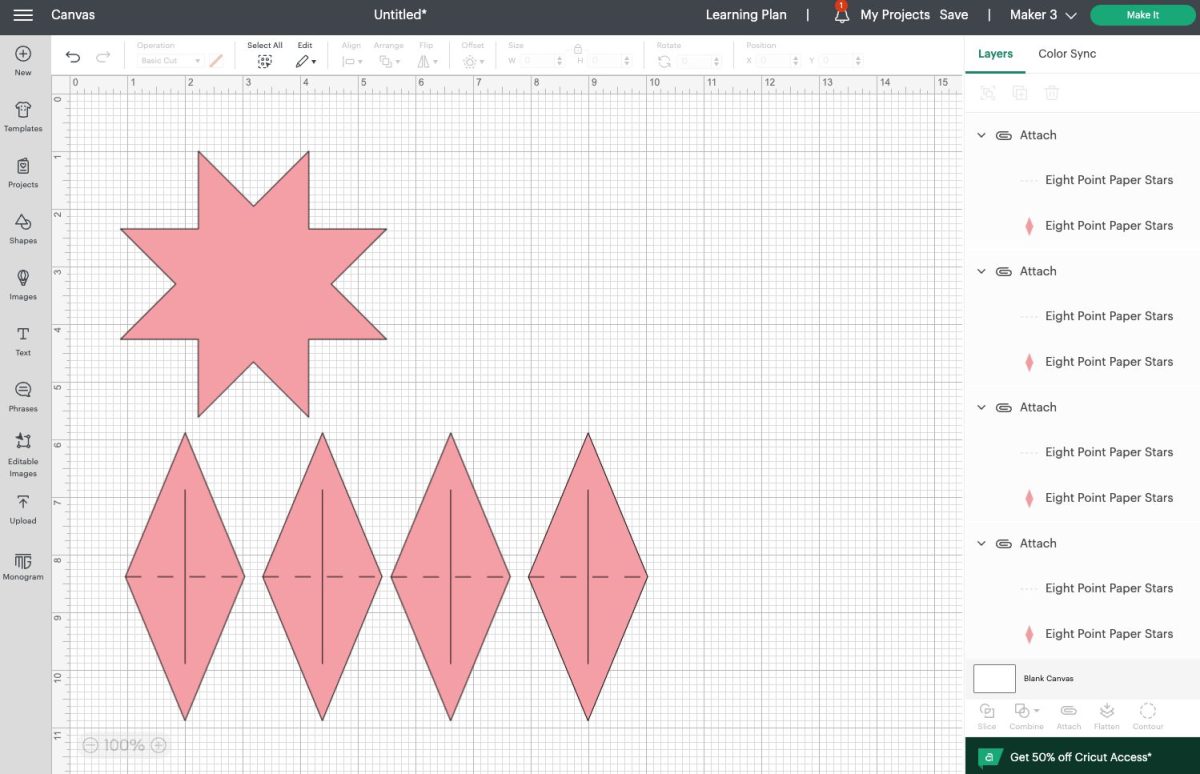
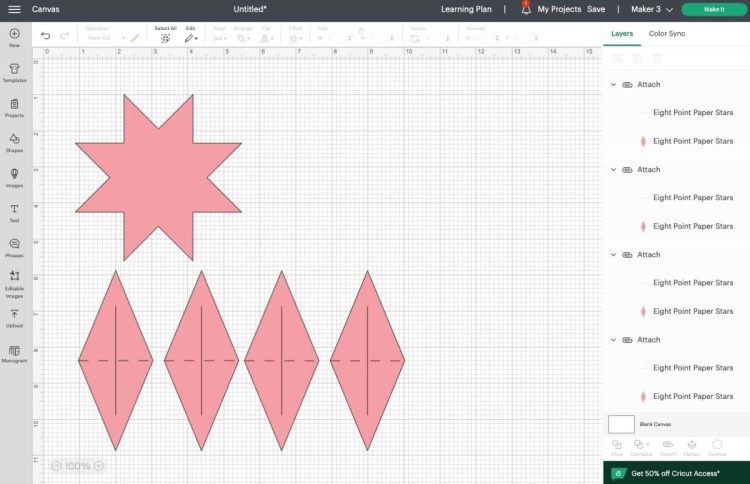
Then you’ll need to attach that score line to each diamond. Select the score line and the diamond and click Attach at the bottom of the Layers panel. Do this for each of the diamonds.
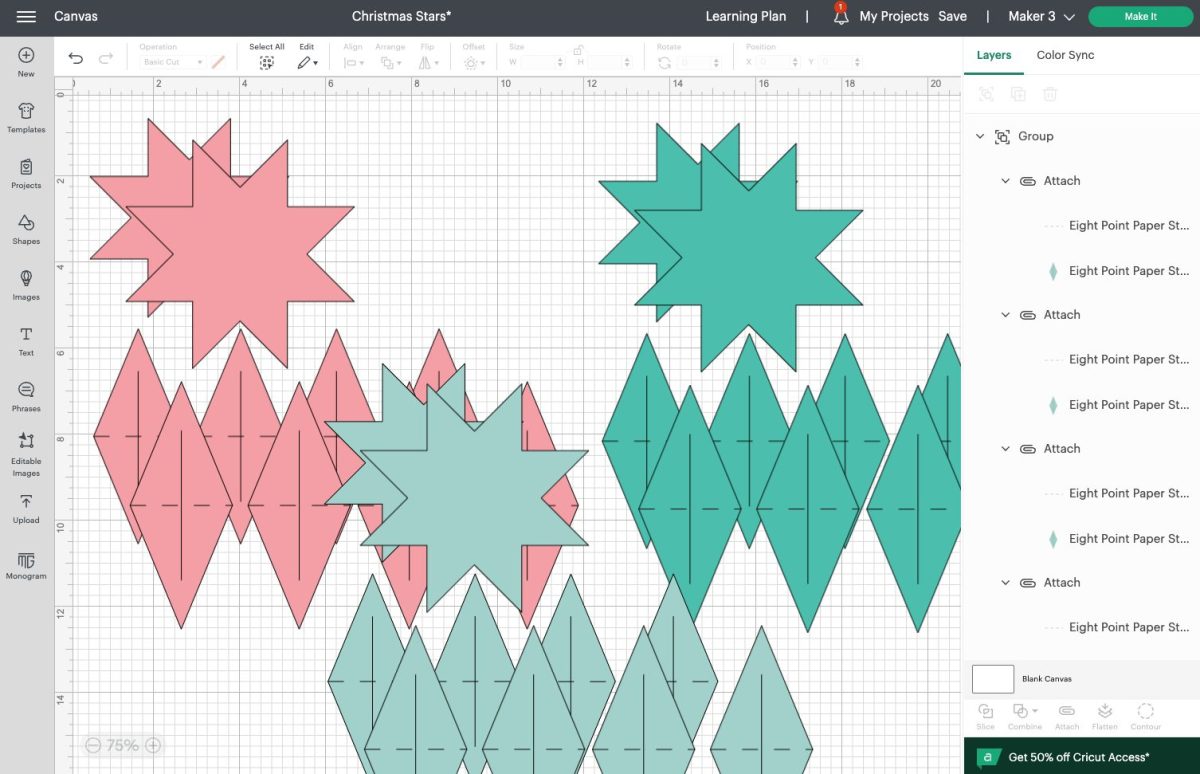
If you’d like, resize or re-color your image. Duplicate for more stars if you’d like. So in this instance I am making six stars, two in each color. And I made a smaller and larger one in each color.
Once you’re ready, click Make It in the upper right.
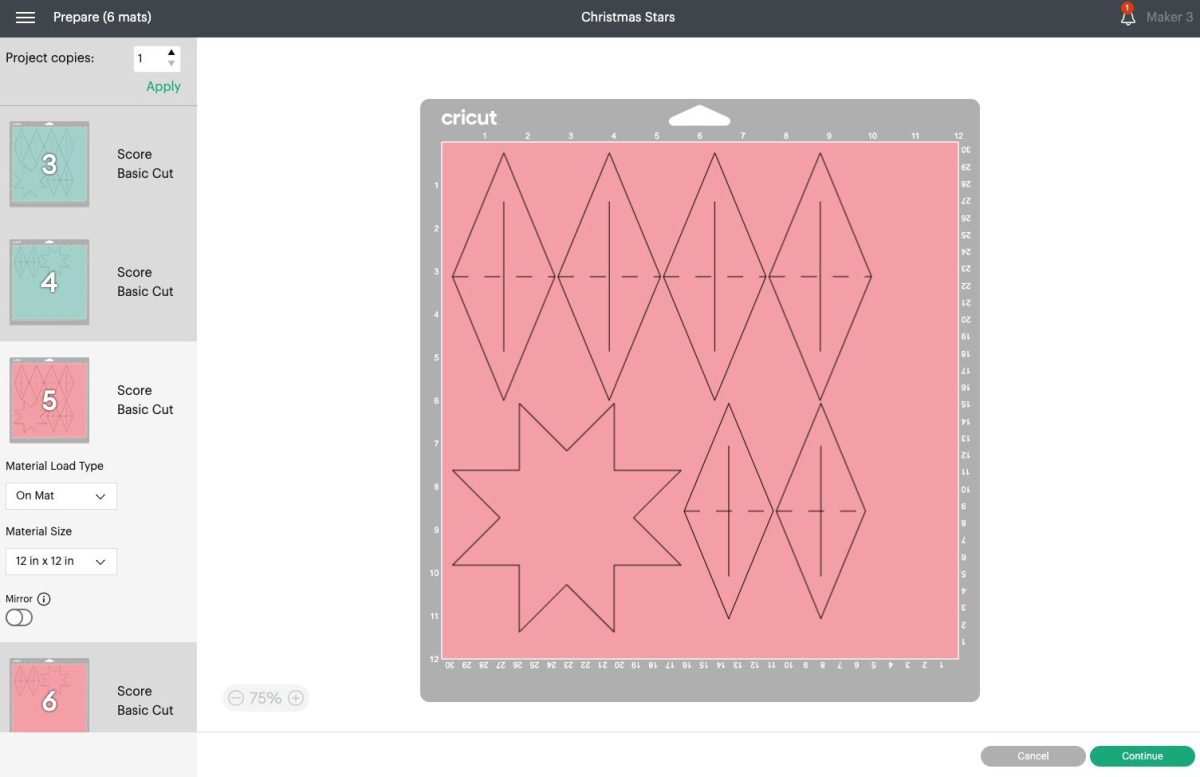
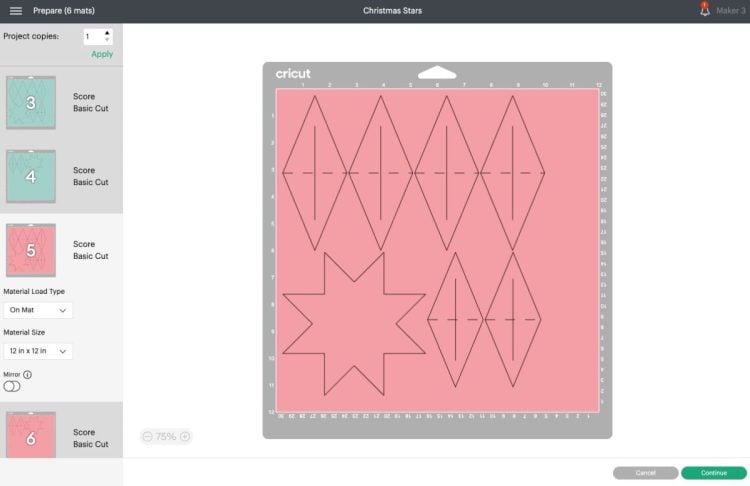
In the Prepare Screen you’ll see all of your mats with your stars. If you see a white mat with score lines and no shapes, go back and try attaching your files properly. Click Continue.
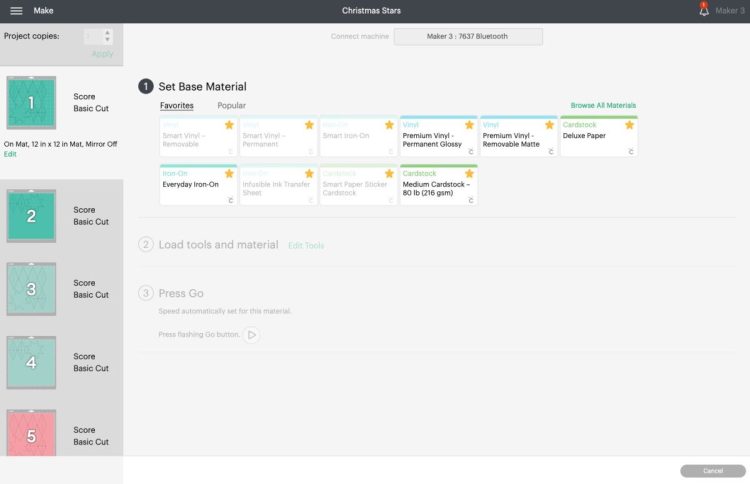
In the Make Screen, set your material to cardstock.
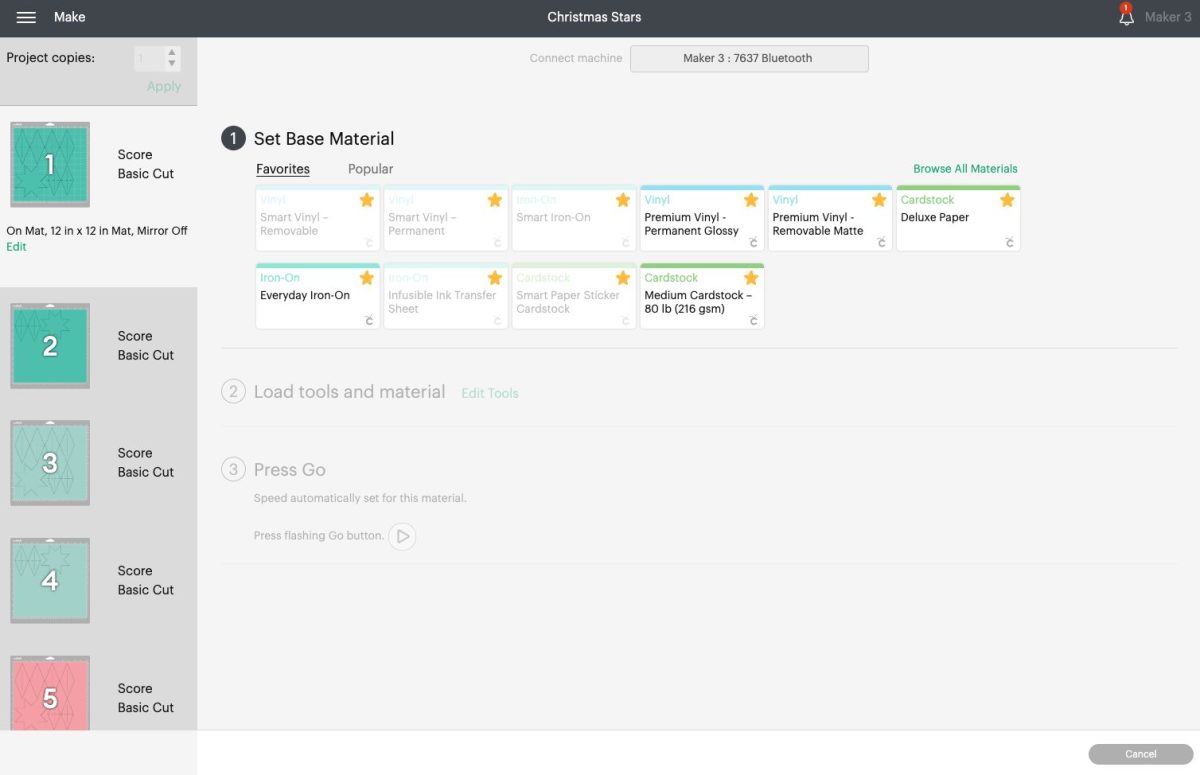
If you’re using the Scoring Stylus in your Cricut Maker or Explore, insert that into clamp A and your Cricut will score and then cut your project. If you’re using the Scoring Wheel in your Cricut Maker, remove your blade and insert the Scoring Wheel into Clamp B. Once it’s done scoring, you’ll swap it out for the blade and your Cricut will cut your project.
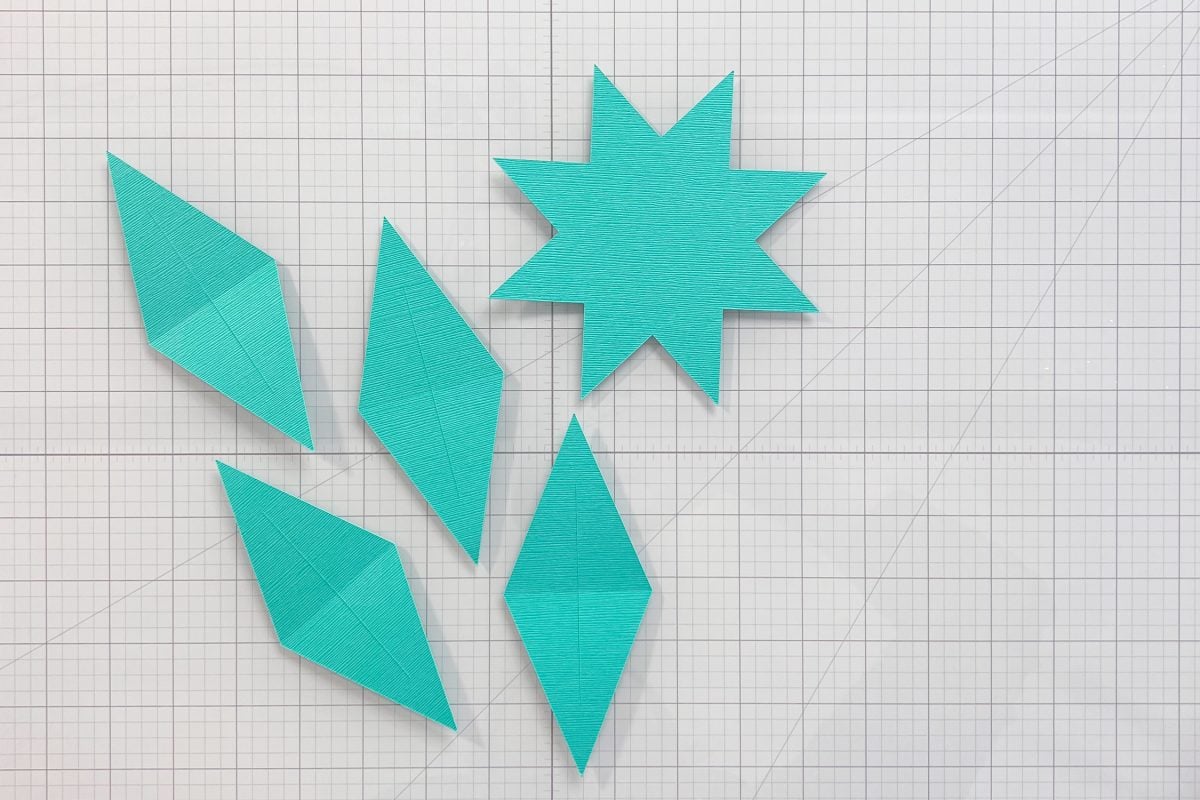
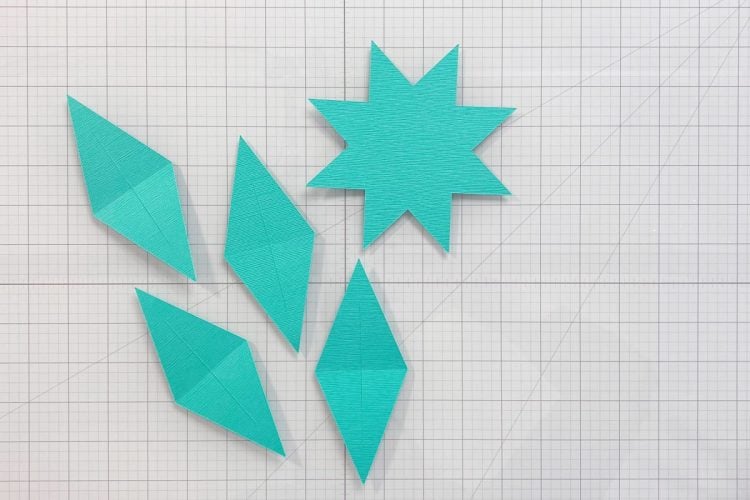
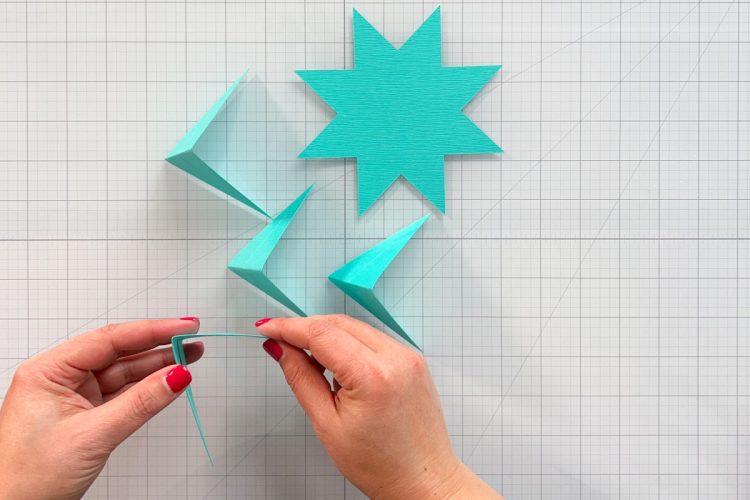
Once you have your pieces, assembly is easy. Just fold the diamond pieces in half along the crease line.
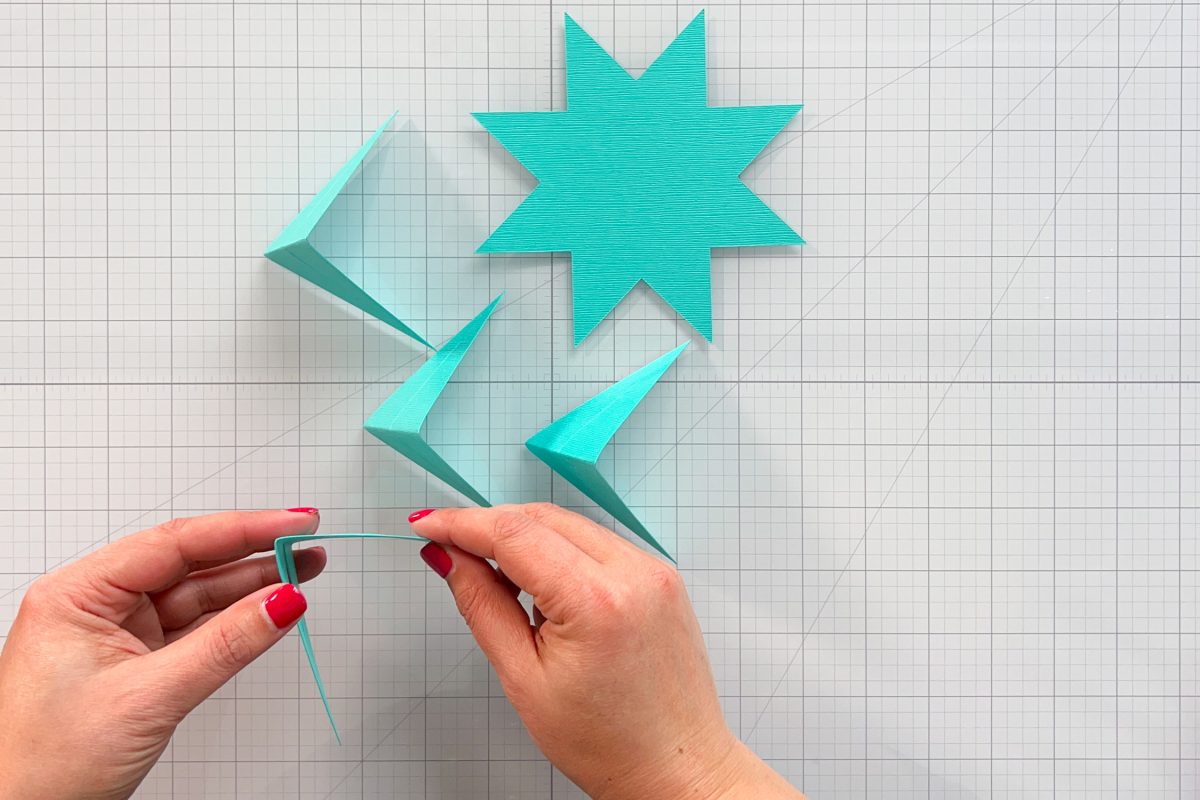
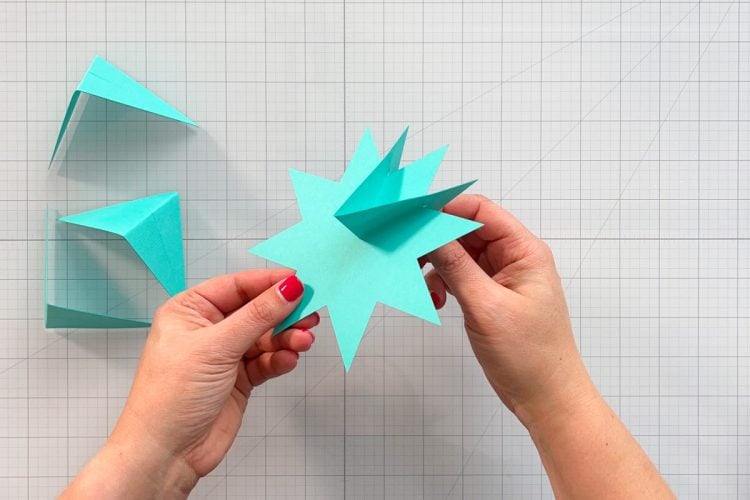
And then insert the “V” you just made onto the main star piece using the slit.
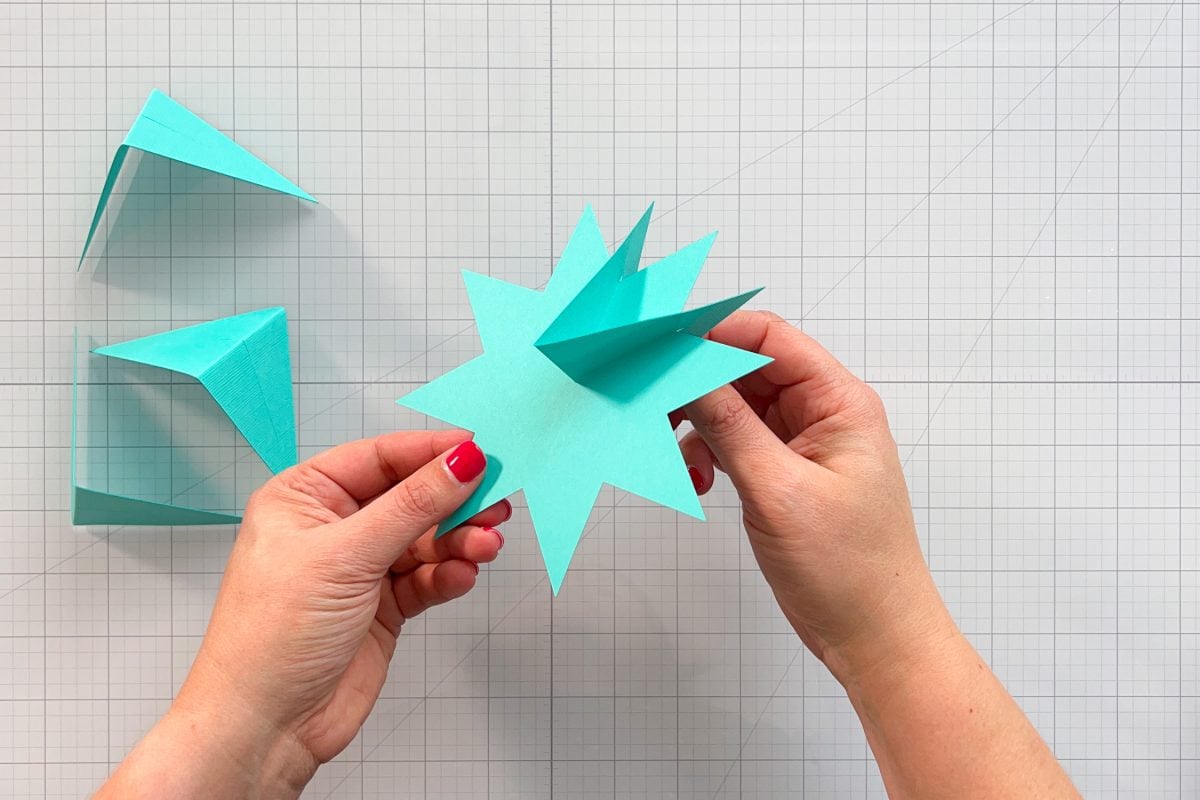
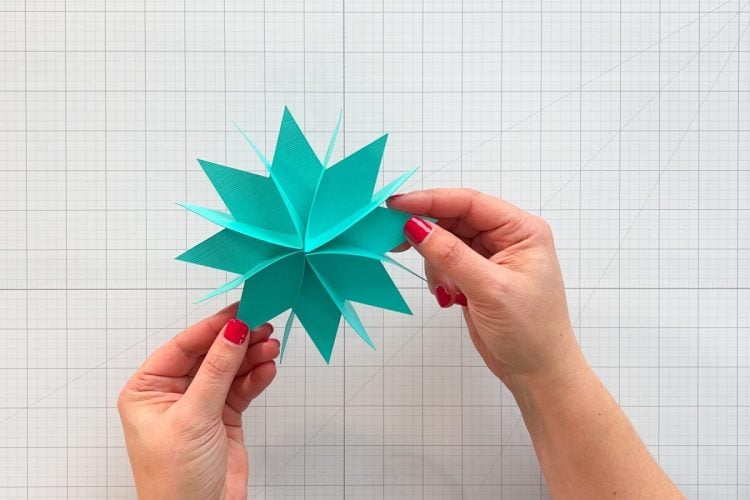
Repeat for every other point of the star and you’re done!
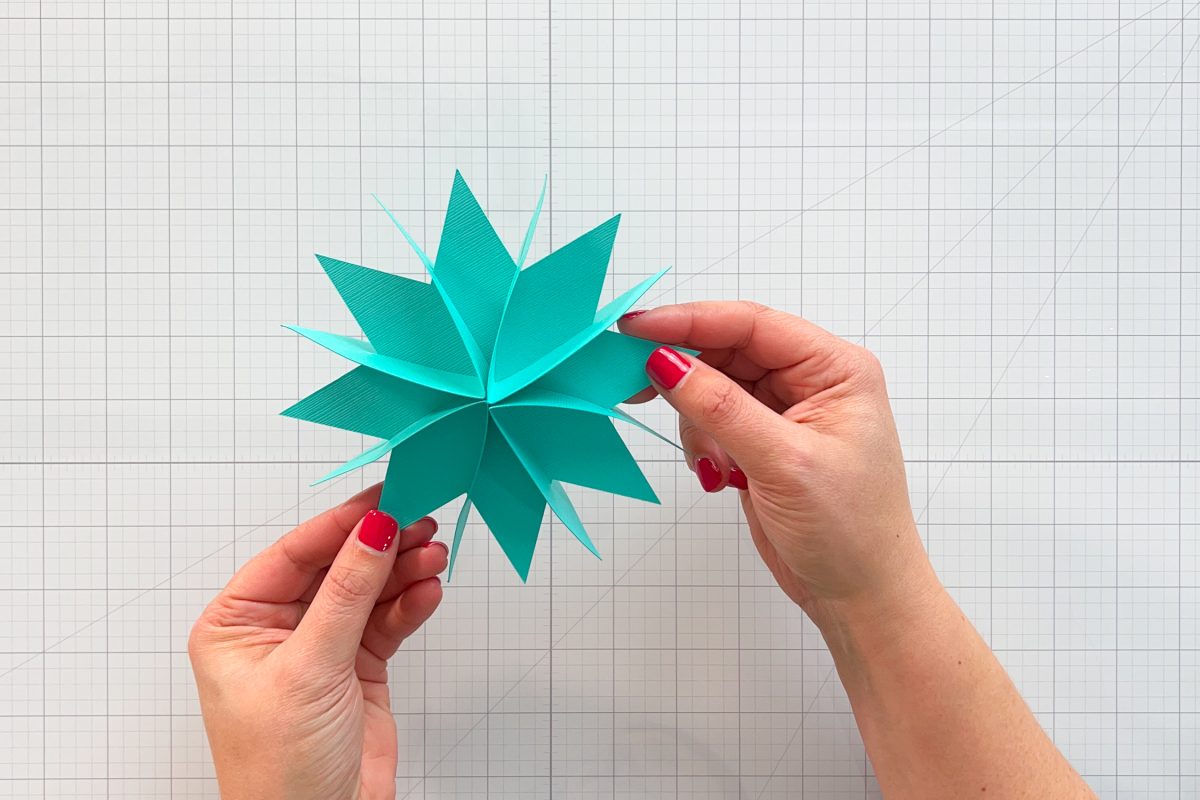
To hang, you can use a hole punch at top of one of your points (you could even add a hole in Cricut Design Space before cutting if you’d like!). Tie some twine, thread, or ribbon and you’re good to go!
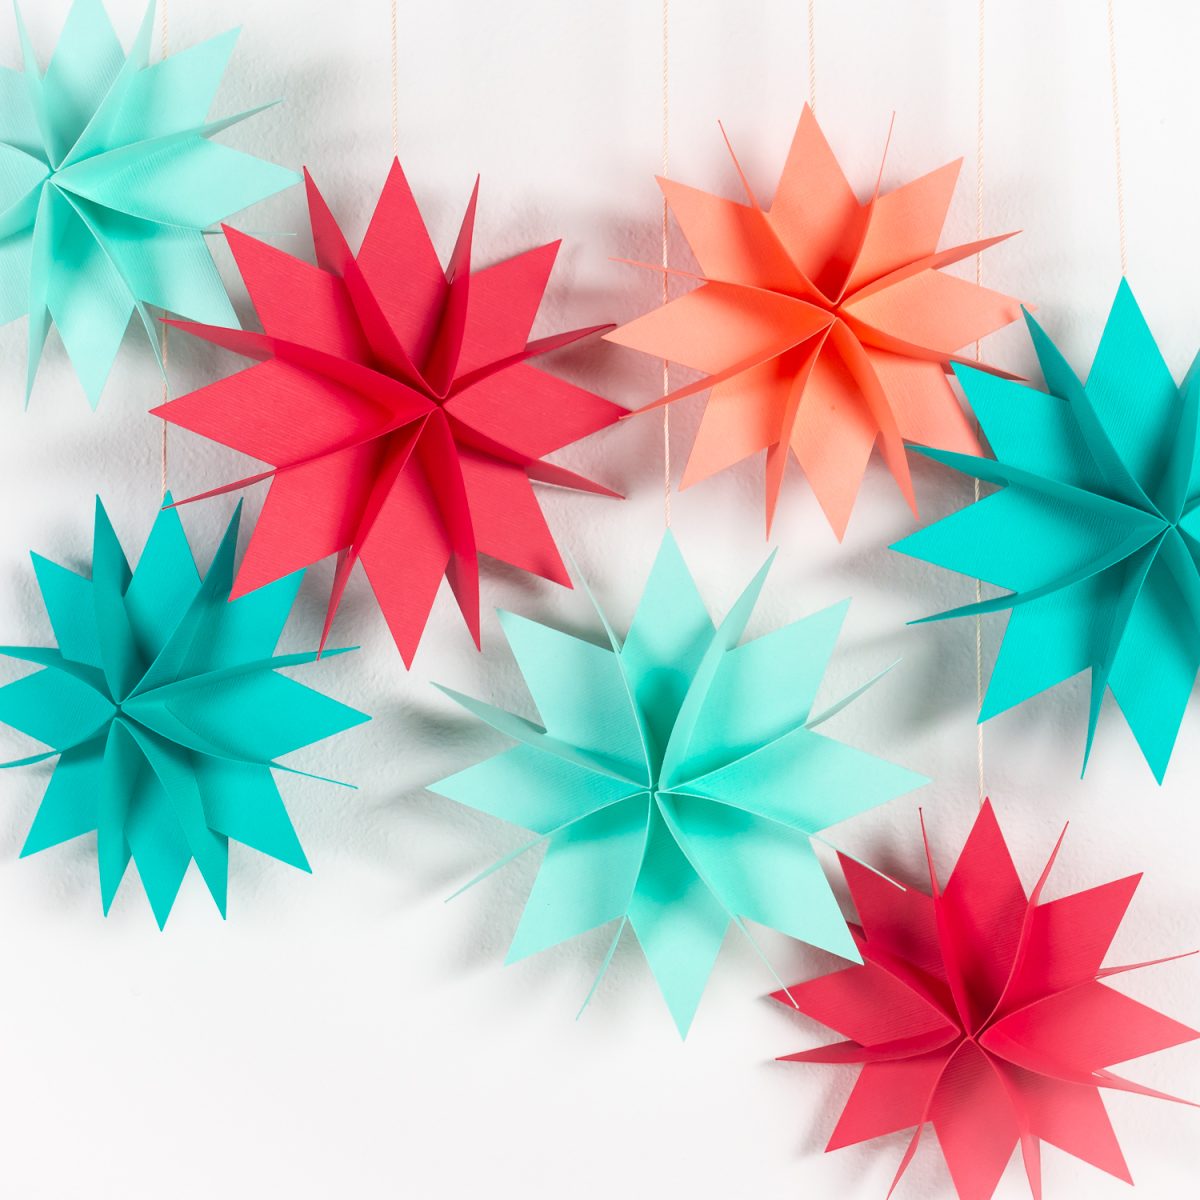
Hope you enjoyed these easy paper Christmas stars! Have a very merry Christmas and happy crafting throughout the new year.
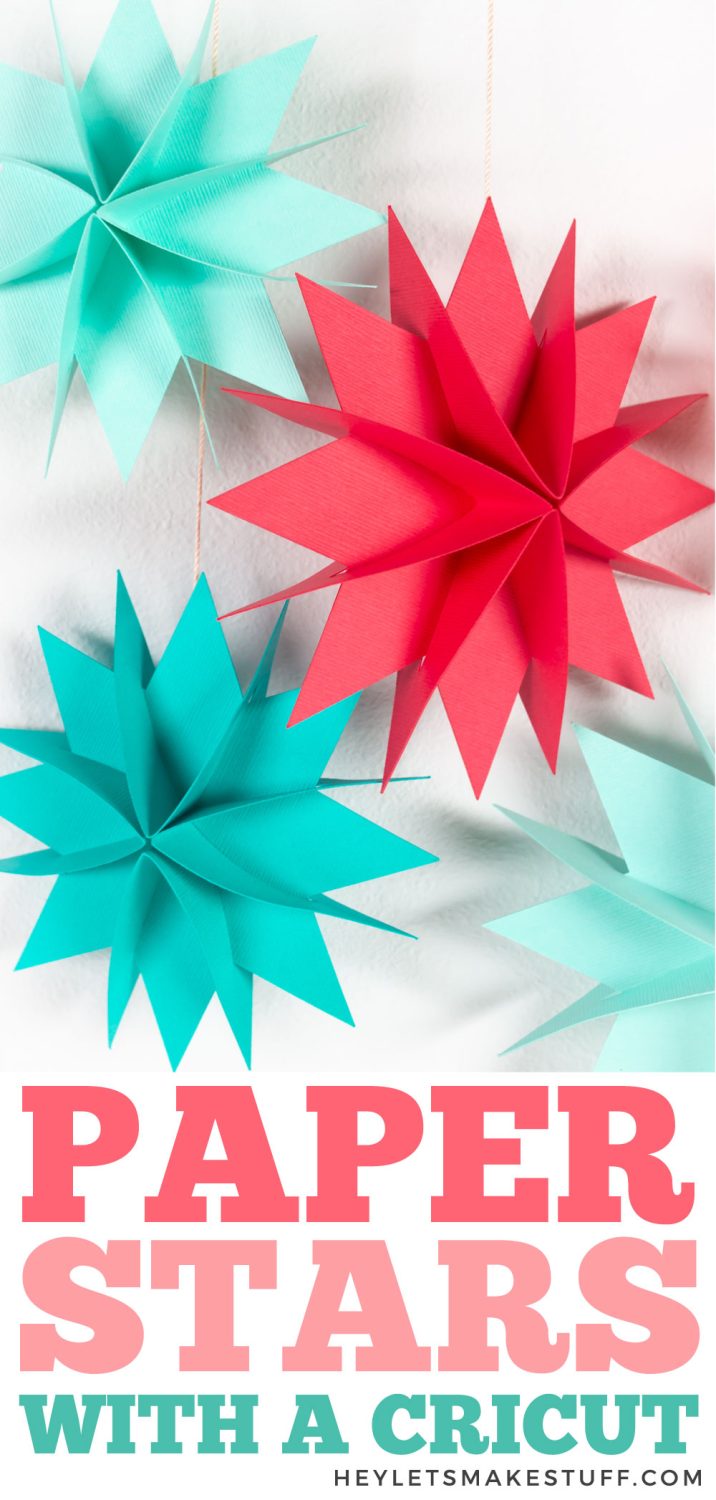

DIY PAPER CHRISTMAS STARS
Equipment
- Cricut Maker or
- Scoring Tool (Maker and Explore only)
- Blue LightGrip cutting mat or
- Green StandardGrip cutting mat
Supplies
- Card stock or heavy scrapbook paper
- Twine or ribbon for hanging
- Free Paper Stars File #C457
Instructions
- Let's start by uploading the file to Cricut Design Space (learn more about uploading files if you need help).

- Start by selecting the image and clicking Ungroup at the top of the Layers Panel (the two overlapping squares). This will make it easier to work with the individual pieces.

- If you have a Cricut Maker or a Cricut Explore, click on the four horizontal lines that intersect the diamond pieces and change them to score lines. The easiest way to do this is by clicking on each layer in the Layers Panel and then selecting Score from the Operation dropdown in the Edit bar at the top. You'll know you've done it correctly if the lines turn into dashed lines. If you have a Cricut Joy, delete those lines entirely.

- Then you'll need to attach that score line to each diamond. Select the score line and the diamond and click Attach at the bottom of the Layers panel. Do this for each of the diamonds.

- If you'd like, resize or re-color your image. Duplicate for more stars if you'd like. So in this instance six stars are being made, two in each color. And a smaller and larger one in each color was made.

- Once you're ready, click Make It in the upper right.In the Prepare Screen you'll see all of your mats with your stars. If you see a white mat with score lines and no shapes, go back and try attaching your files properly. Click Continue.

- In the Make Screen, set your material to cardstock.

- If you're using the Scoring Stylus in your Cricut Maker or Explore, insert that into clamp A and your Cricut will score and then cut your project. If you're using the Scoring Wheel in your Cricut Maker, remove your blade and insert the Scoring Wheel into Clamp B. Once it's done scoring, you'll swap it out for the blade and your Cricut will cut your project.

- Once you have your pieces, assembly is easy. Just fold the diamond pieces in half along the crease line.

- And then insert the "V" you just made onto the main star piece using the slit.

- Repeat for every other point of the star and you're done!

- To hang, you can use a hole punch at top of one of your points (you could even add a hole in Cricut Design Space before cutting if you'd like!). Tie some twine, thread, or ribbon and you're good to go!



Comments & Reviews
Nicki says
Thank you for the star pattern. I saw the hand cut version of it as well, and wanted to adapt it. I was excited to see that you had already created the Cricut pattern and were offering it today. YAY!!
Cori says
Hi Nicki,
You are so welcome! Enjoy! :)