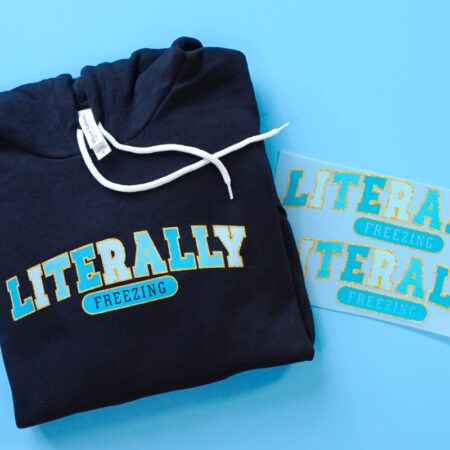
Not ready to own a DTF (direct-to-film) printer? You can still get in on the DTF magic by ordering transfers and pressing them yourself! Here’s how to order DTF transfers, and how to press them to a garment. It’s quick and easy!
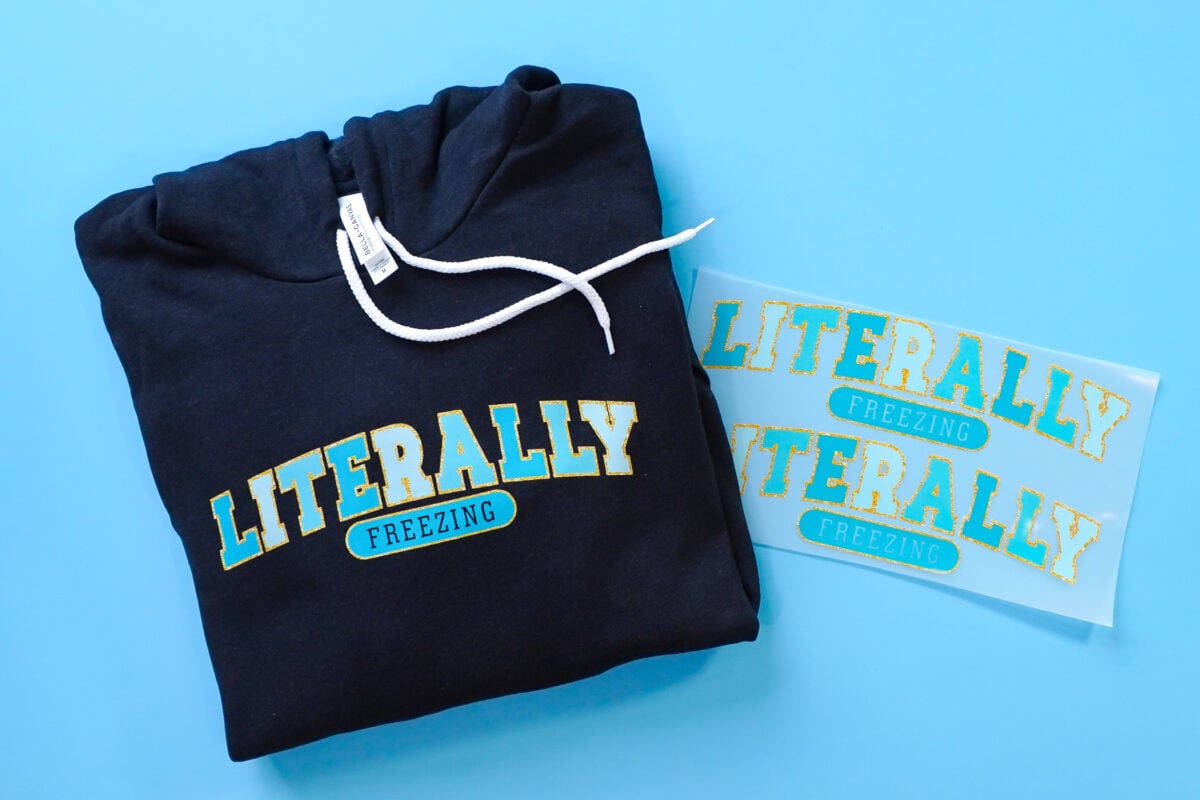
I’ve been writing about DTF (direct-to-film) a bit lately, but while some folks are excited about this new printing technology, many people are like “nope, that’s not for me!” because the actual printer itself is expensive and requires a lot of maintenance.
But DTF transfers are so amazing that I want you to be able to try them out! Luckily, you can buy ready-to-press DTF transfers from a variety of sellers online. There are folks with DTF printers who sell custom transfers on Etsy, and there are now other companies, like Heat Transfer Warehouse, that will print and send you custom DTF transfers.
Today I’m going to walk you through the process of ordering and then pressing custom DTF transfers. I’ll be ordering from Heat Transfer Warehouse, but the pressing part of this tutorial works with any DTF transfers you might buy. I also learned of Limitless Transfers, which offers free shipping on some orders.
I also have this free varsity-style “literally freezing” PNG for you! Use it for DTF, sublimation, or however else you’d like!
Watch the Video
Want to see DTF printing in action? Hit Play below! Or keep reading for a written tutorial.
Get the Free File
Want access to this free file? Join my FREE craft library! All you need is the password to get in, which you can get by filling out the form below. The file number is: S30.
Ordering Custom DTF Transfers
You can order from many different places online, but I’m going to walk you through ordering from Heat Transfer Warehouse. It’s super easy!
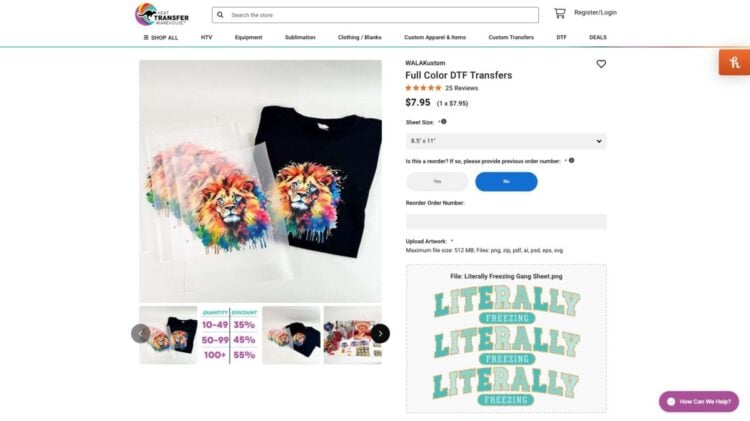
To start, go to their navigation and go to Custom Transfers > Full Color DTF Transfers.
Note: For this order, I chose to create a gang sheet so I could fit multiple images on one sheet. I created my gang sheet design in Illustrator, but you could use other design tools such as Canva. Just be sure to size your design according to the specs you choose on the ordering website.
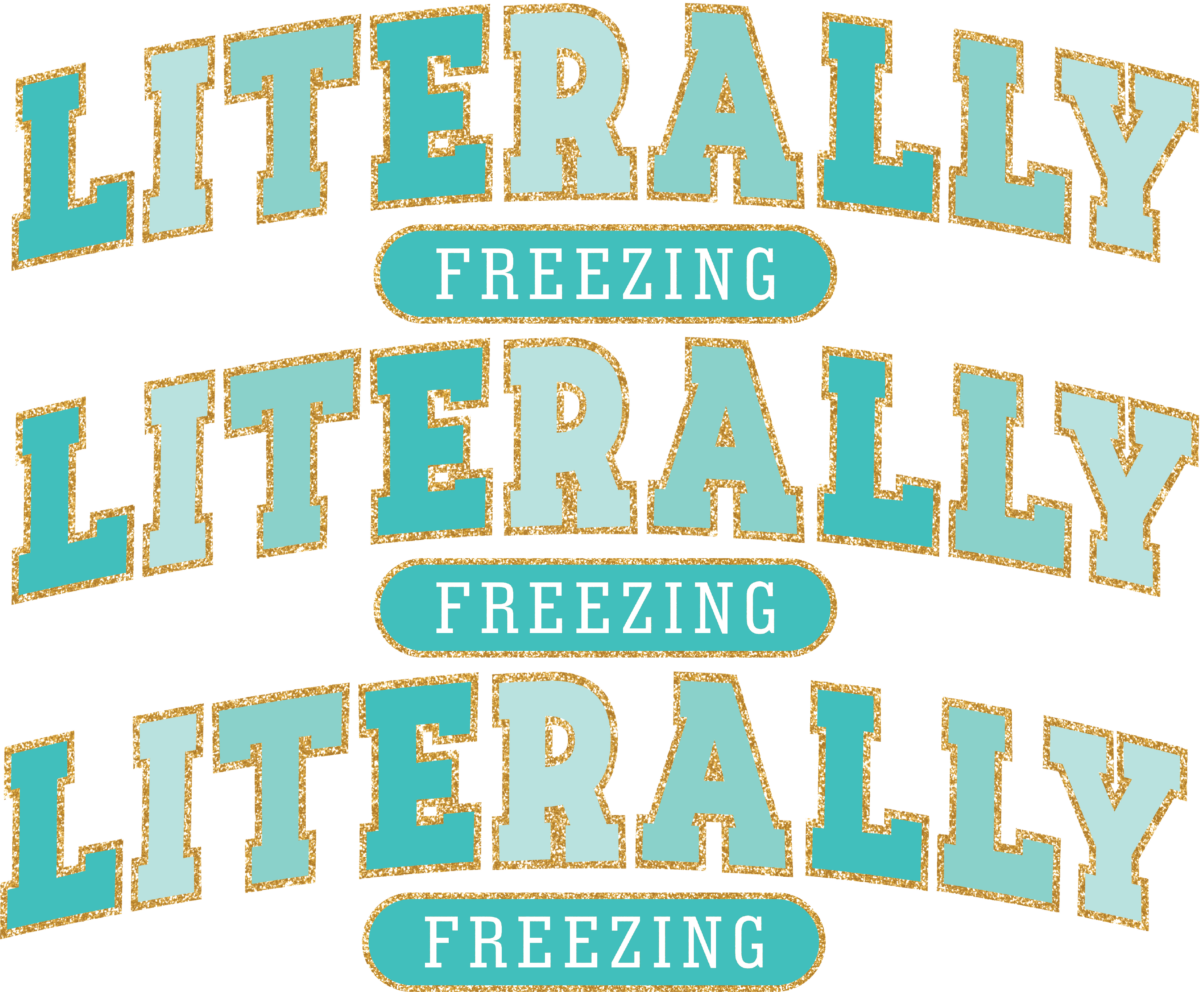
One quick note about gang sheets. There is an option to purchase gang sheets through Heat Transfer Warehouse. For example, if I needed to make 20 of these Literally Freezing shirts, I could have created a gang sheet order. This would allow me to create as many designs on one sheet as I needed. Often, it’s a bit cheaper to do it this way—especially if you have a small craft business. HTW offers the option of up to 17″ wide and any length you’d like for your gang sheet.
Choose your sheet size. I chose an 8.5″ x 11″ transfer. To determine the sheet size, you’ll want to measure your shirt or apparel item and determine how large you’d like the design to be.
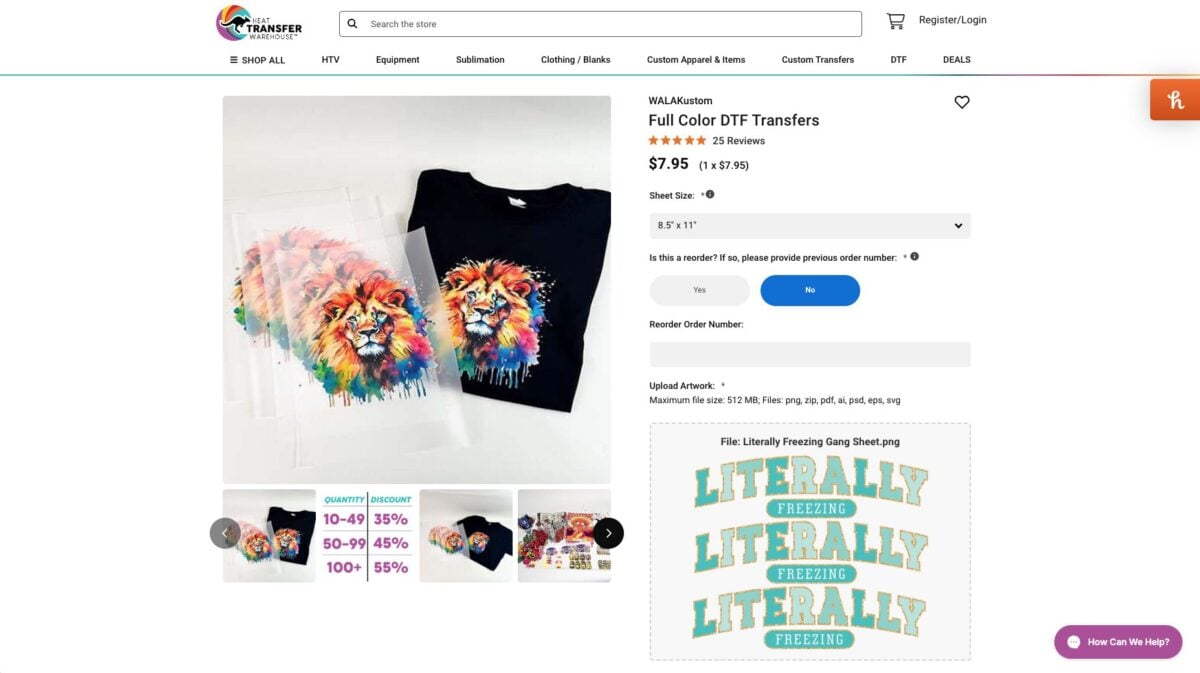
You can ignore the reorder section (unless of course, this is a reorder of a previous order).
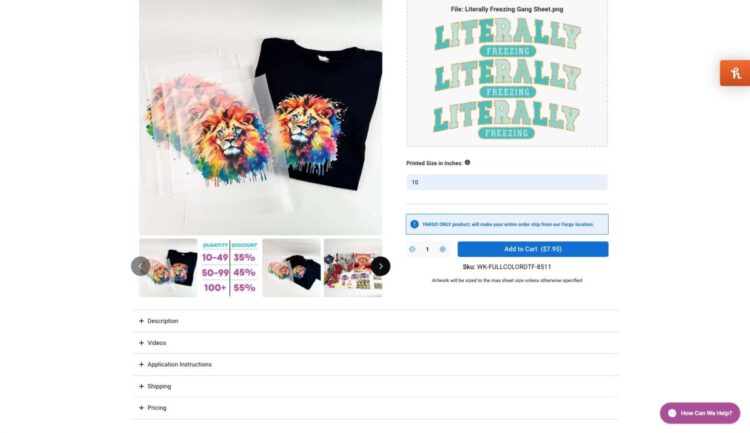
Upload your design file. Be aware of maximum file size, as well as the types of files accepted. Below you’ll see I also set a printed size in inches for my order. I chose 10″ because I wanted my design to be 10″ wide.
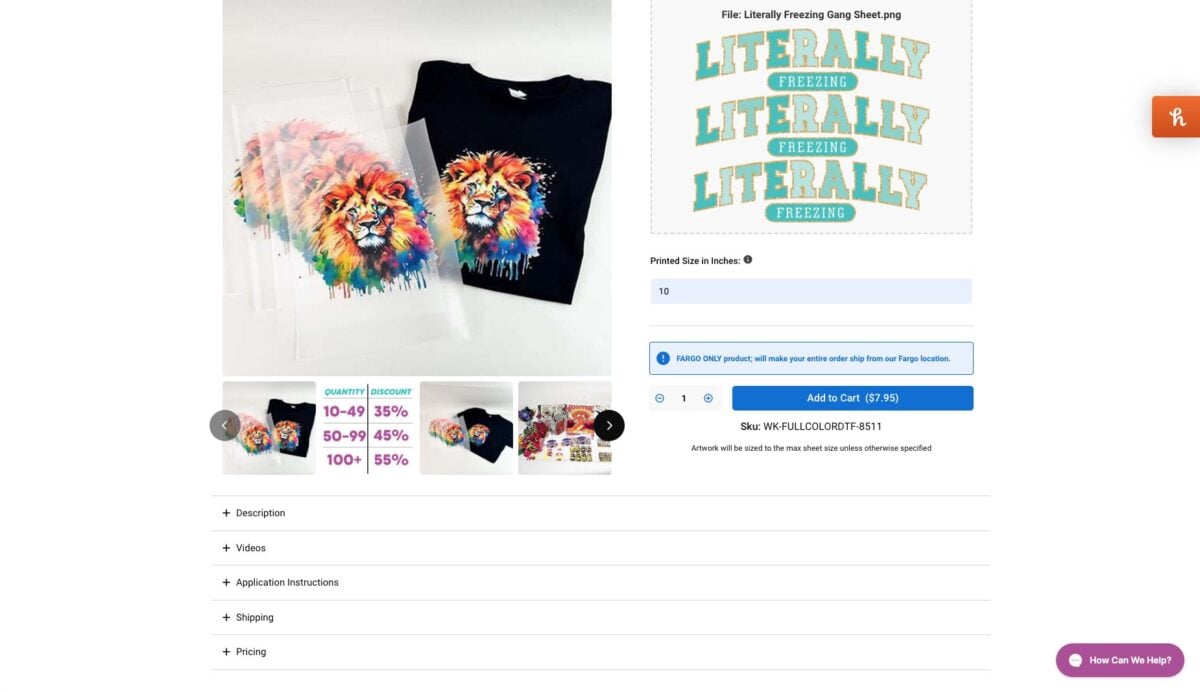
Finally, add to cart and check out!
BELLA+CANVAS Apparel
Now let’s talk a little more about the shirt I used for this tutorial. I grabbed the BELLA+CANVAS Unisex Sponge Fleece Pullover Hoodie. It’s so soft and cozy and warm!
This hoodie comes in multiple colors and fabrics, but all of the colors work for DTF transfers because DTF transfers work on a huge variety of fabrics (including 100% cotton, 100% polyester, and any mix of the two!). And because DTF transfers are backed in white ink, you can put them on any color, including black and the dark gray heather I am using for this project! You aren’t limited to white or light colors like you are with sublimation printing.
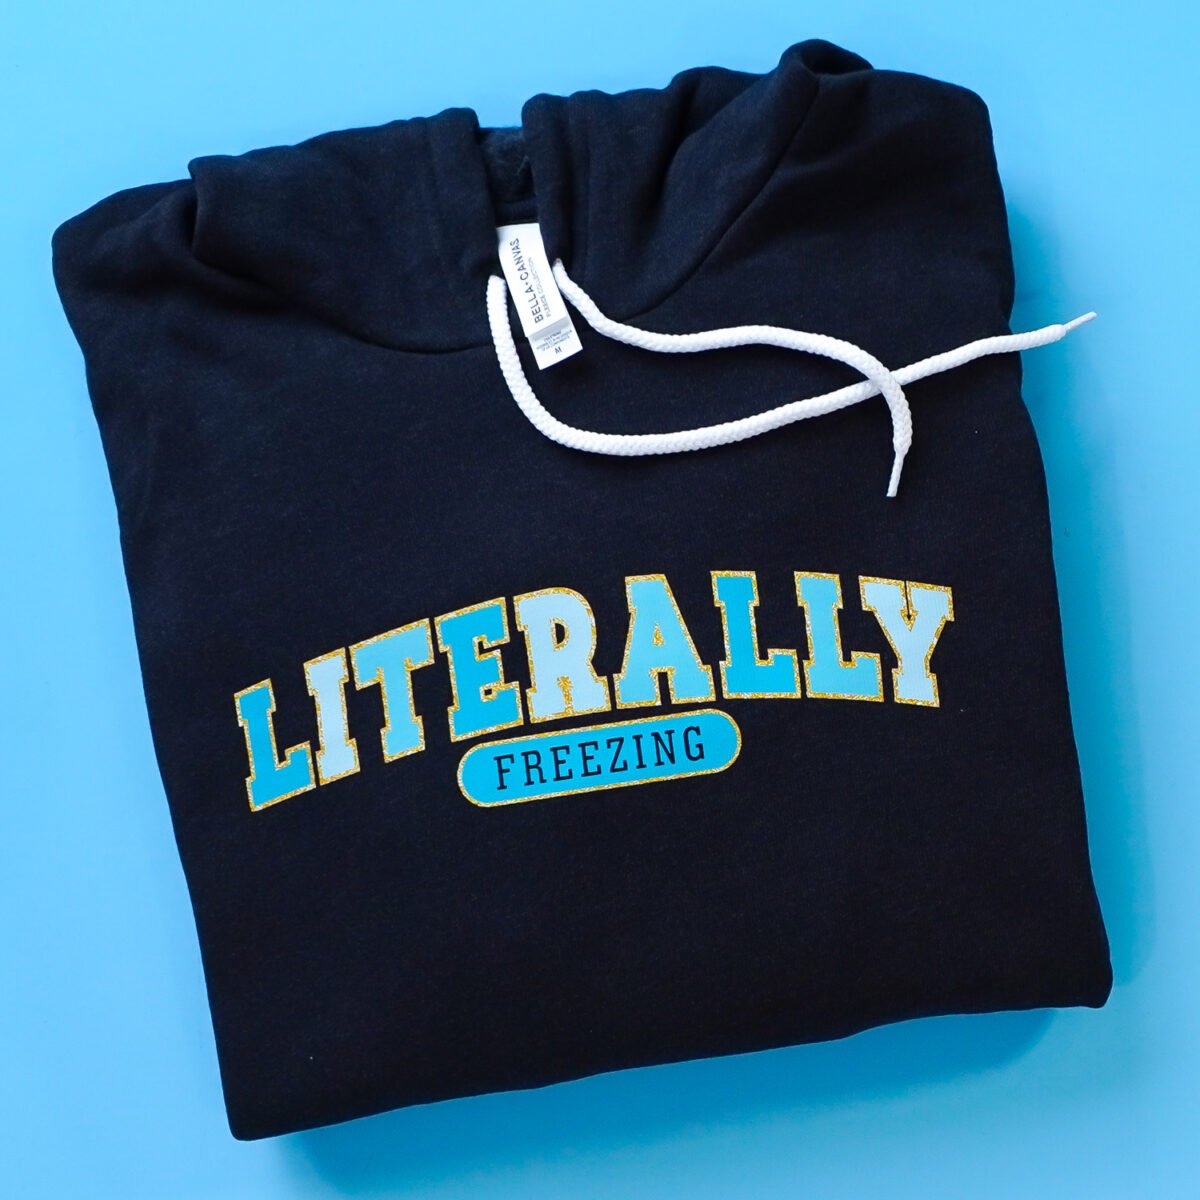
BELLA+CANVAS hoodies are a staple of my winter wardrobe and with DTF printing I can decorate them in so many ways!
Did you know you can buy BELLA+CANVAS garments at wholesale pricing without a reseller license? Get a BELLA+CANVAS Maker’s Account! This account allows you access to the wholesale side of their business without the need for any permits or licenses. Even better? It’s free! Learn more in my post Buying Wholesale Blanks without a Resale License!
Applying a DTF Transfer
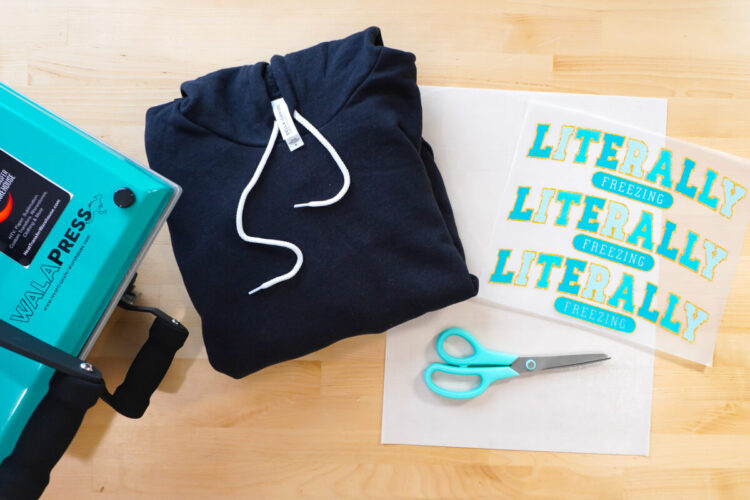
You don’t need much to apply a DTF transfer! Just the transfer itself and a heat press. You may also want to have scissors on hand to cut your sheet if needed and a piece of parchment paper for the post-press.
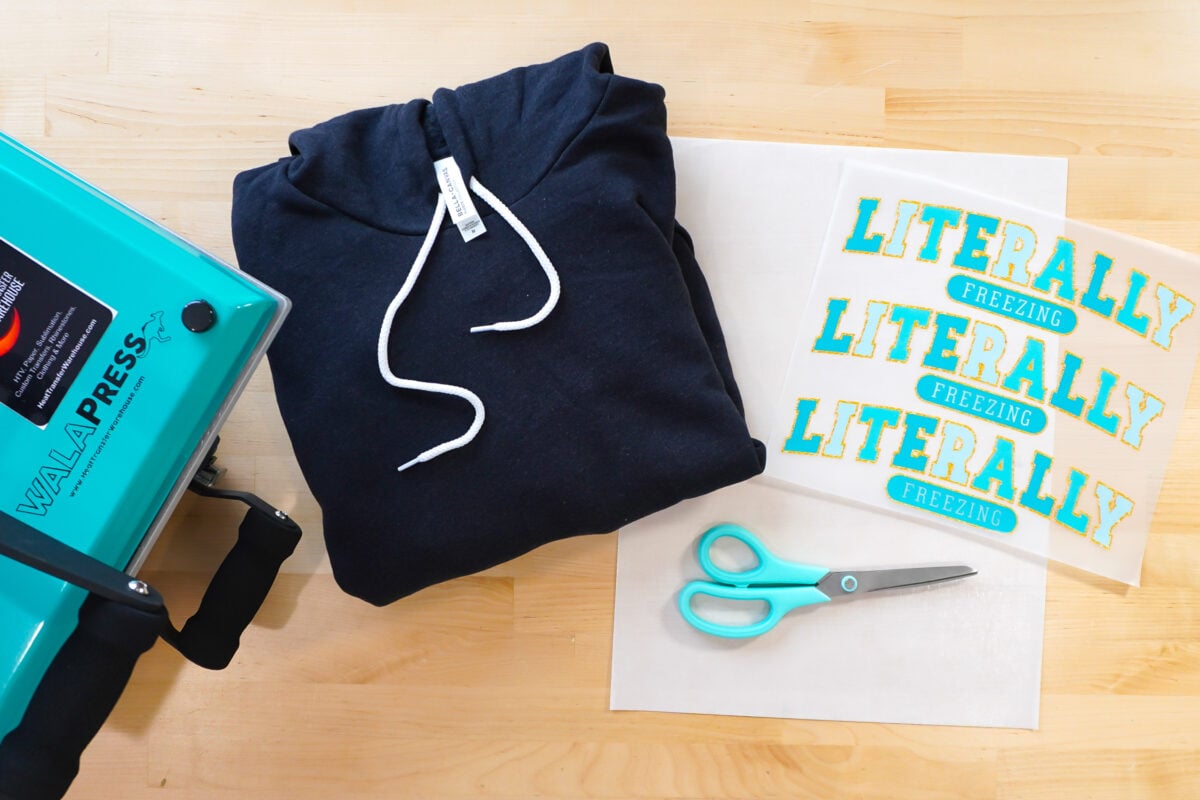
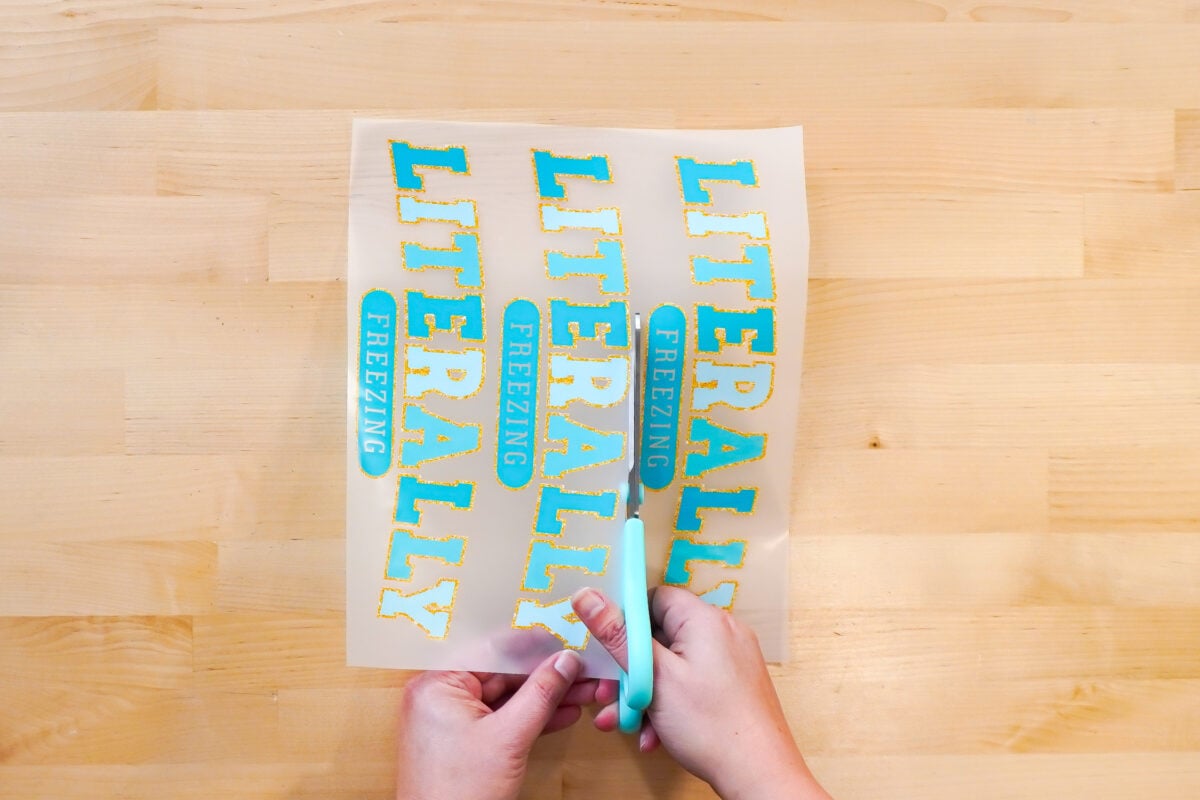
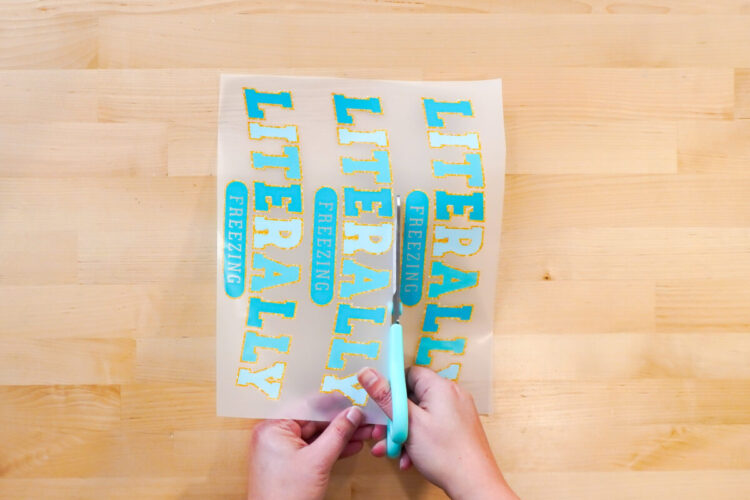
Set your heat press to 325° at 15 seconds with medium pressure. Cut down the gang sheet if needed.
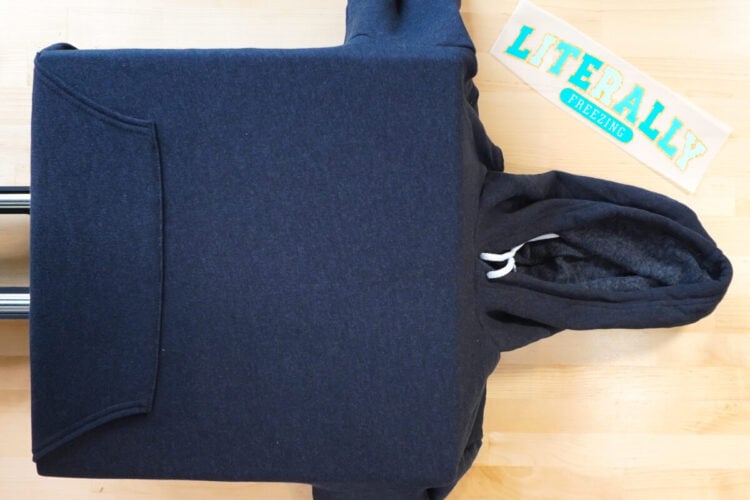
Place your garment on the base of the heat press. If you can, thread your garment so just the top layer of the garment is on the heat press. Then pre-press your garment for 10 seconds.
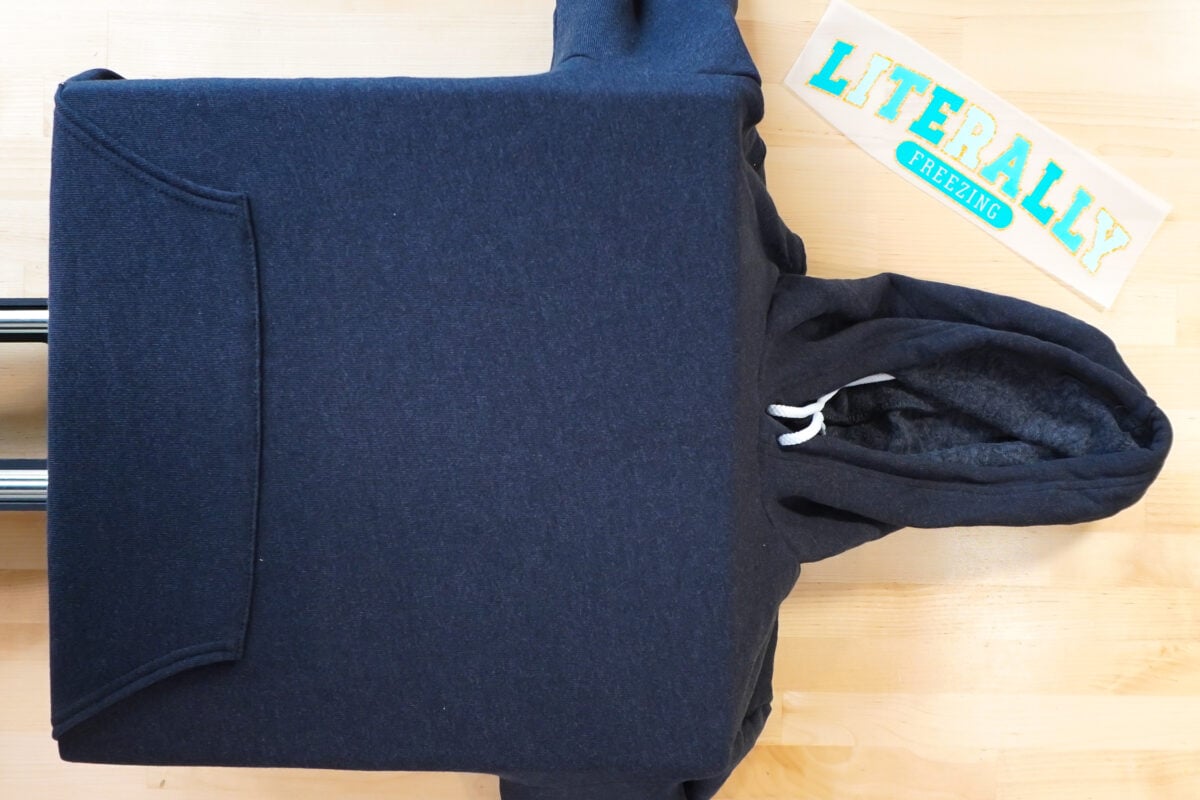
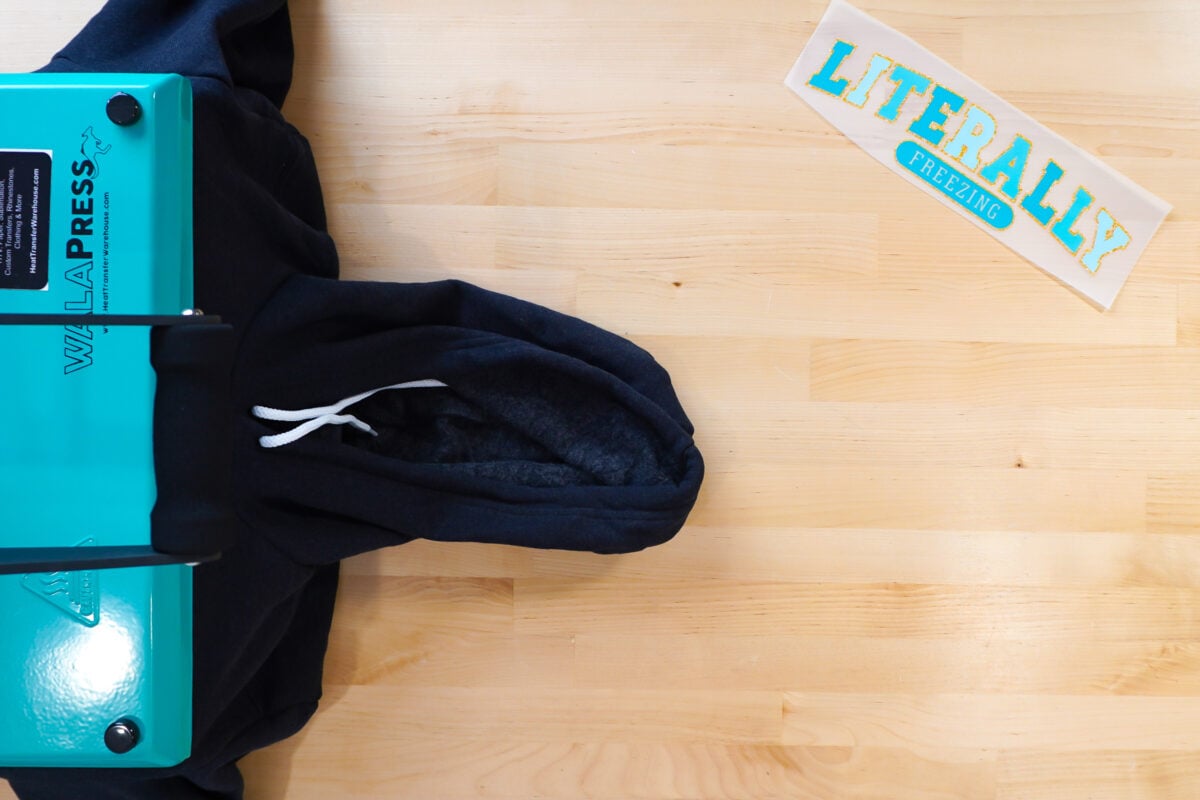
Add the DTF transfer to the garment, making sure it’s centered (see T-Shirt Ruler Comparison if you need help with placement on your shirt!). You do not need a cover sheet or anything for a DTF print. Press for 15 seconds.
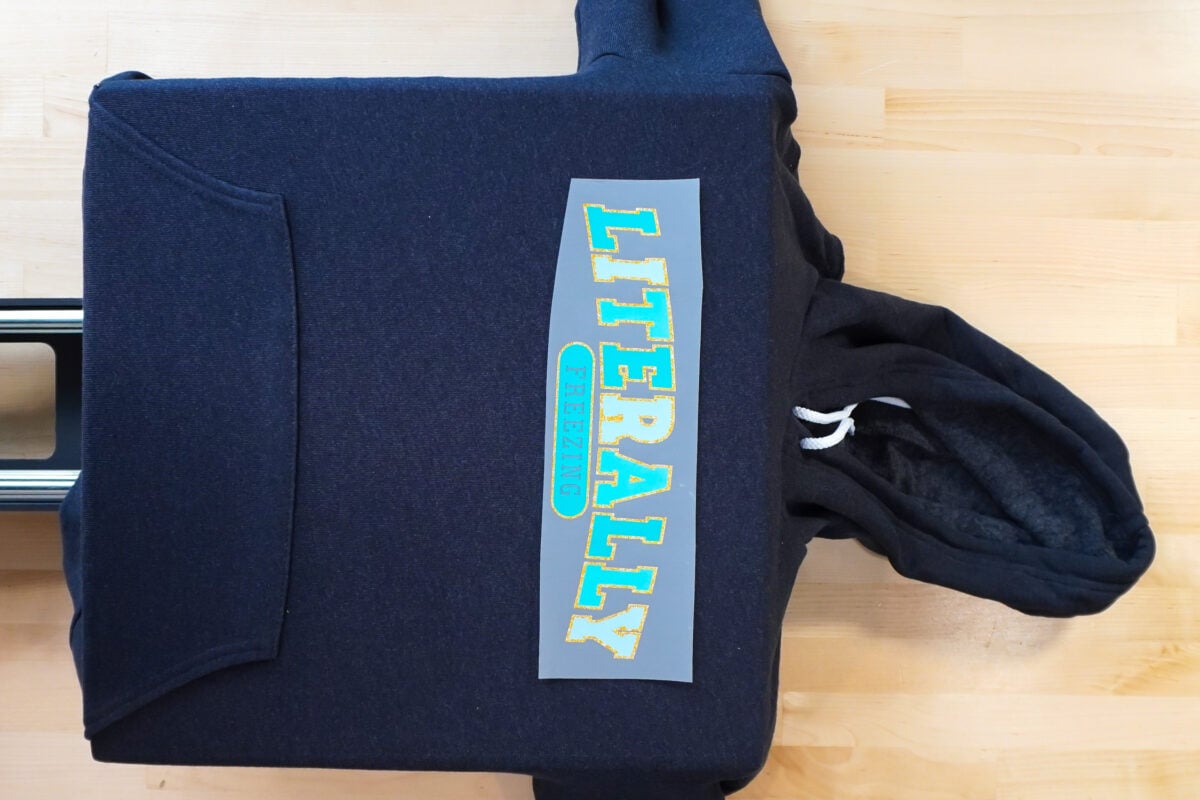
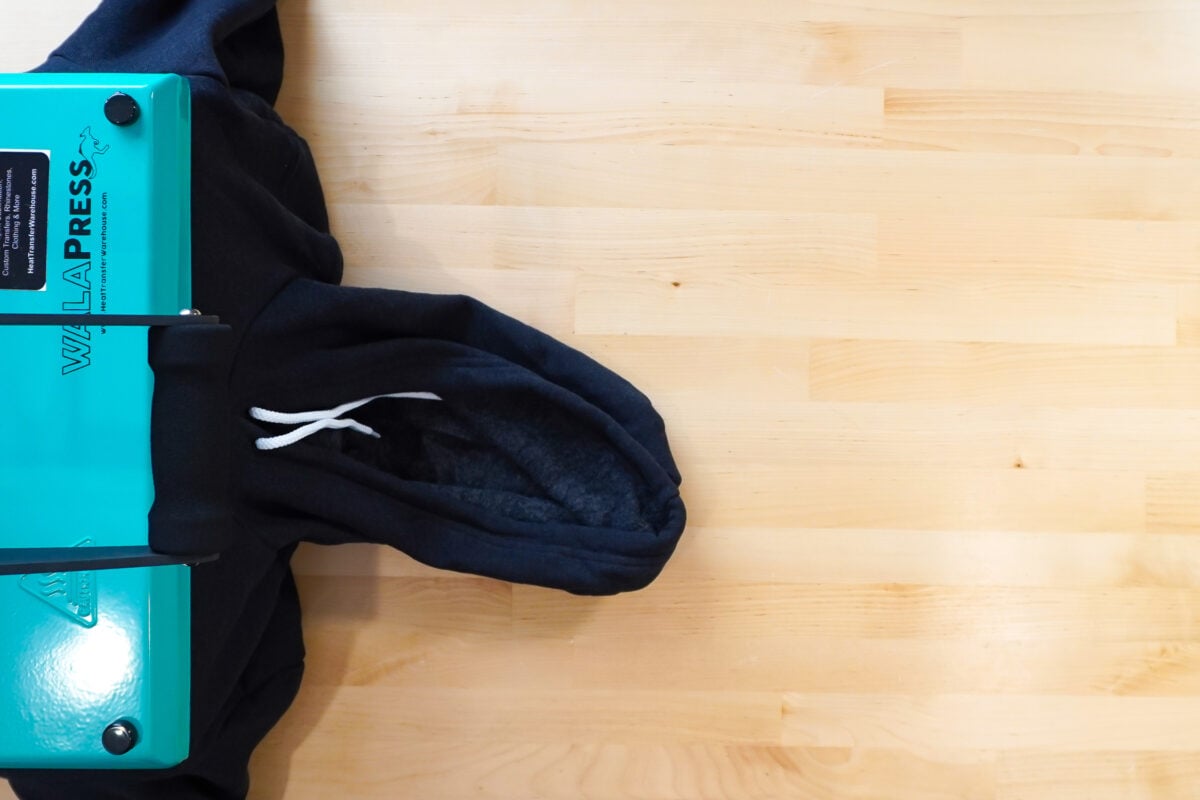
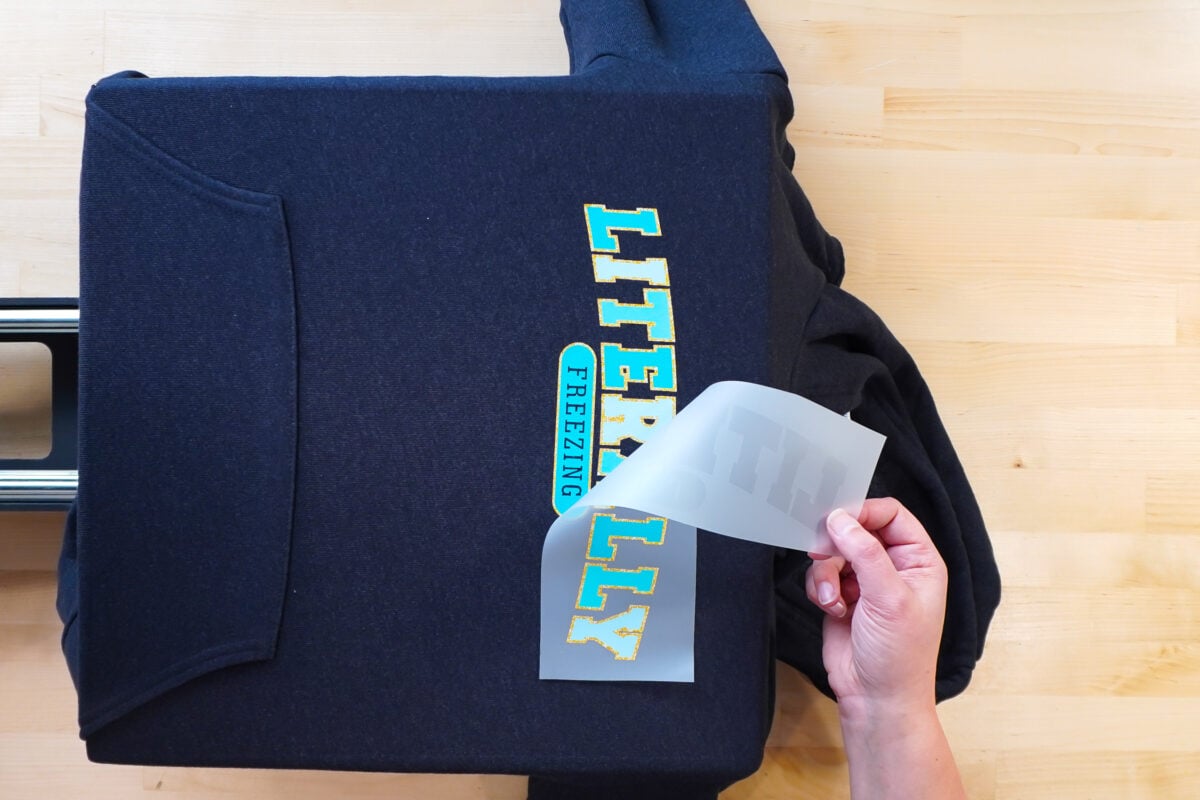
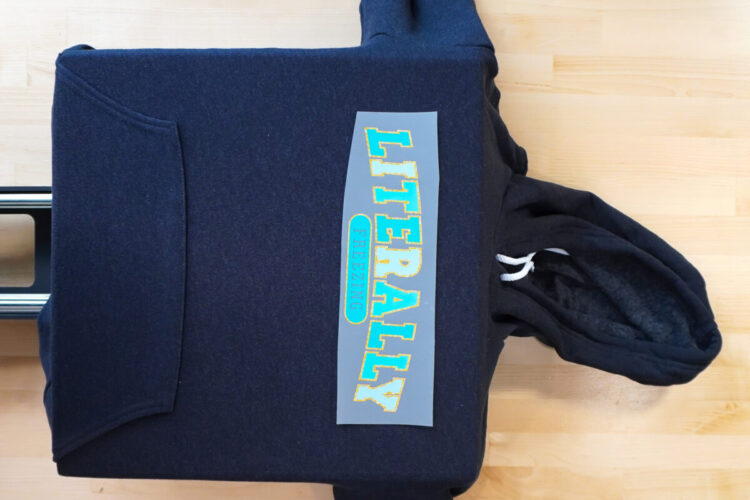
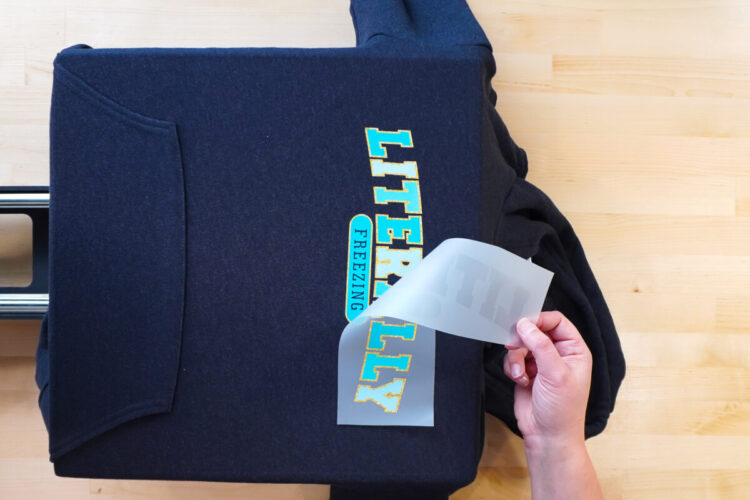
Once the press is open grab the corner of the film and peel it back while it’s still warm. Peel it back in one quick go without pausing partway through, which can leave an unsightly line through your transfer.
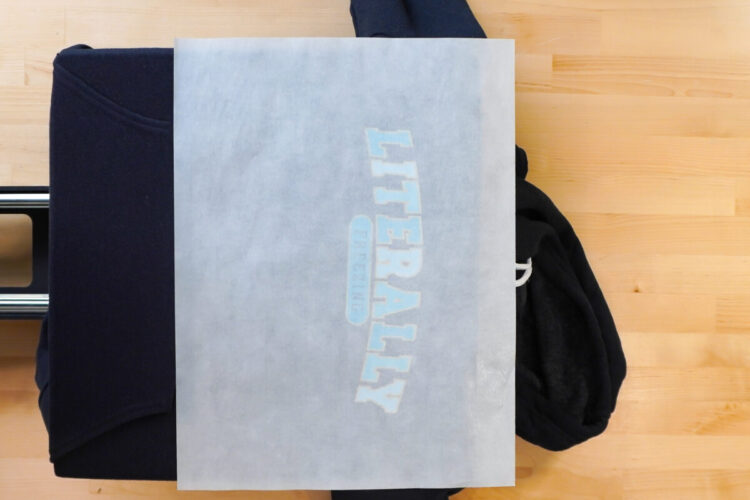
Then do a post-press. If you are using a garment without a pocket, you can fold the bottom of the garment up to cover the DTF transfer and press for 10 seconds more. Because this garment has a pocket, though, I am going to use a piece of parchment paper and press for 10 seconds.
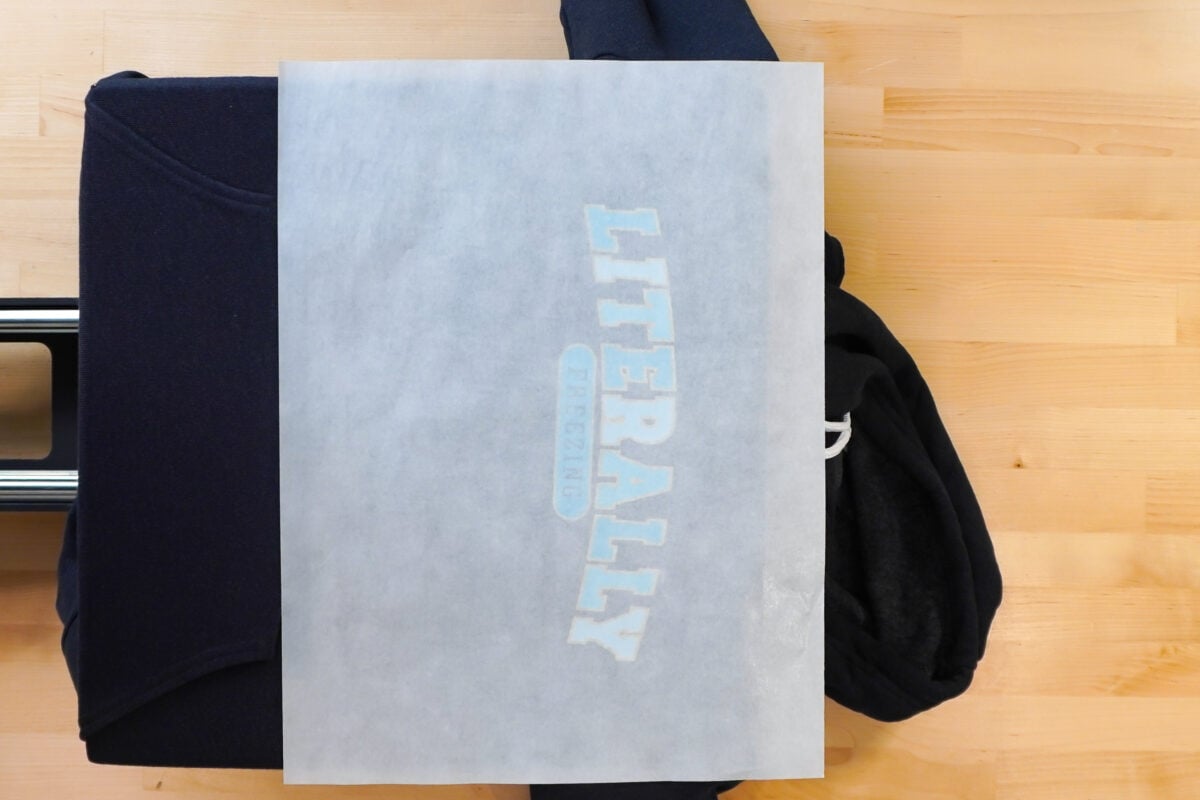
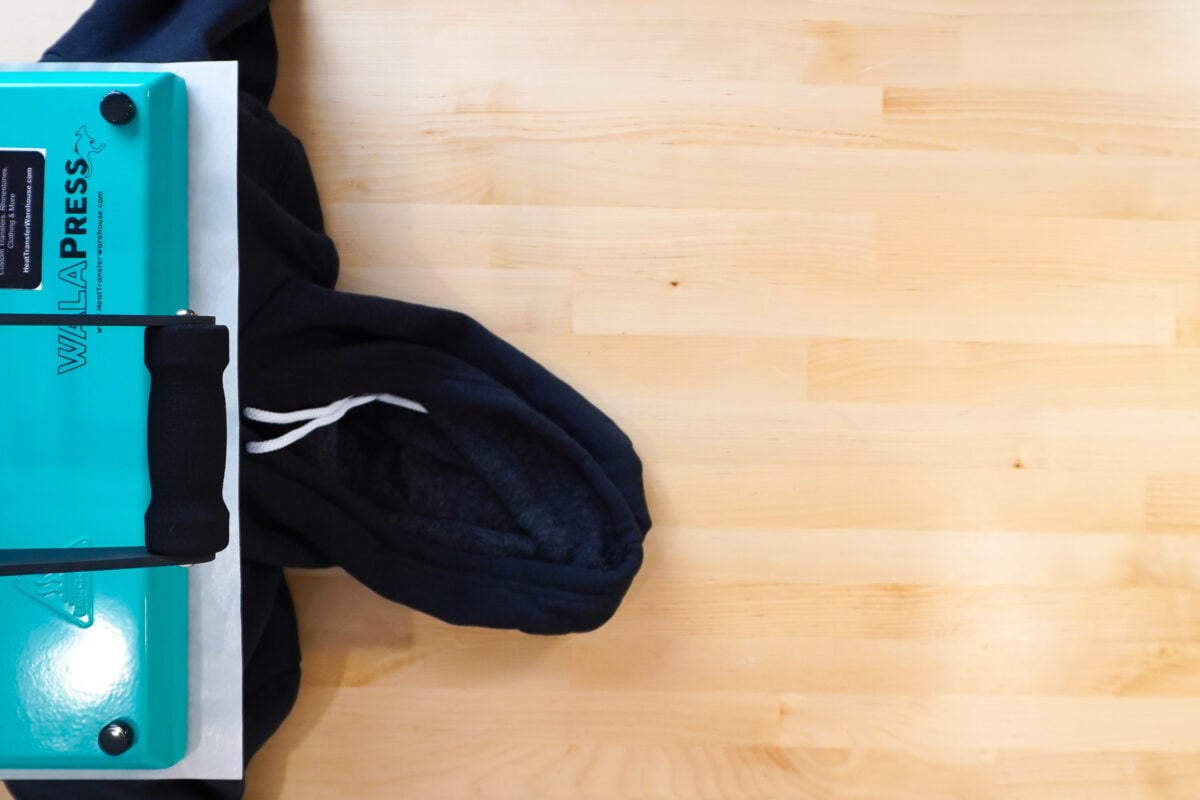
You can use a pressing cloth, but to make it easy, I just fold the bottom of my t-shirt on top of my DTF transfer and press for 10 more seconds to really adhere the transfer.
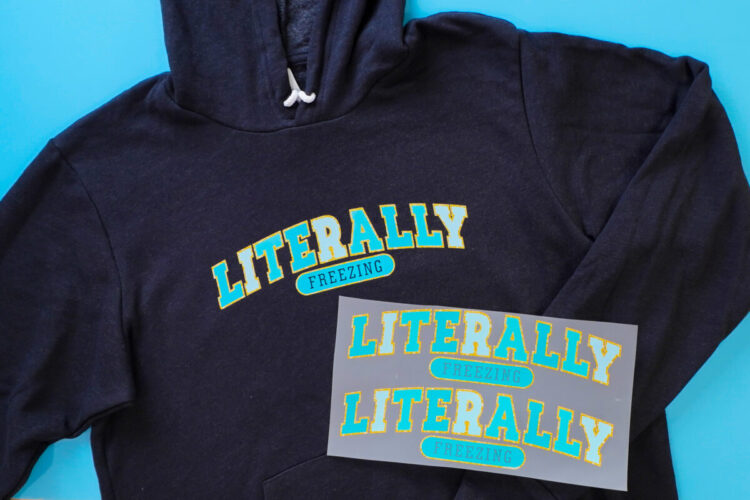
And that’s it! Your DTF transfer is ready to wear. I absolutely love the bright colors I get with these transfers and how they pop on dark colors!
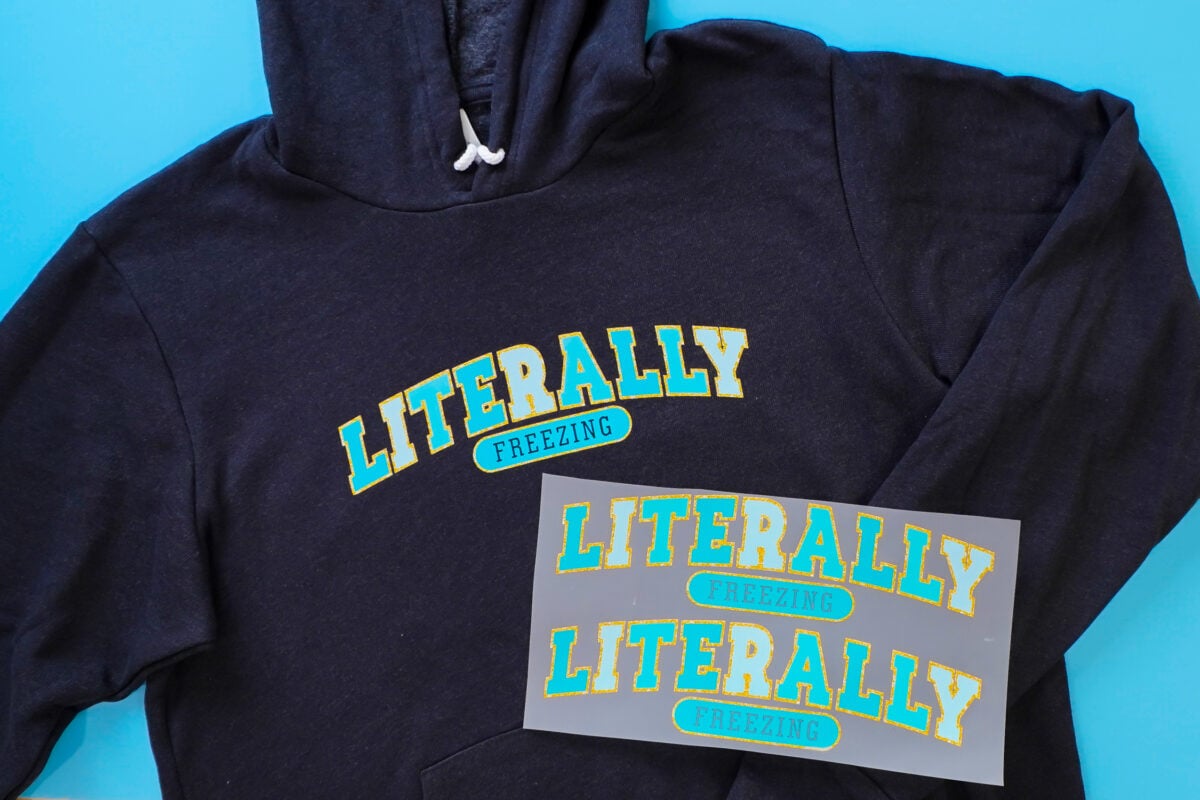
I wash my garments inside out and so far the transfers have held up beautifully in the wash. When applied correctly, you should get 50 to 100 washes out of a DTF transfer!
Let me know if you plan to order DTF transfers for yourself! Once you’ve used them, you may be more inclined to get a DTF printer yourself!
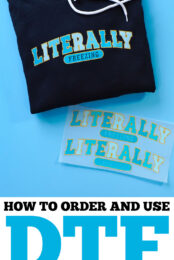
HOW TO ORDER & APPLY DTF TRANSFERS
Supplies
- Free Literally Freezing PNG #S30
- Shirt or Hoodie 100% cotton, 100% polyester, and any mix of the two
- Parchment Paper
Instructions
- The following instructions will walk you through the process of ordering and then pressing custom DTF transfers. The ordering process part will be from Heat Transfer Warehouse, but the pressing part of this tutorial works with any DTF transfers you might buy. Limitless Transfers, also carries DTF transfers and offers free shipping on some orders.There is also a free varsity-style "literally freezing" PNG for you! Use it for DTF, sublimation, or however else you'd like!
- Ordering Custom DTF TransfersOrdering from Heat Transfer Warehouse:To start, go to their navigation and go to Custom Transfers > Full Color DTF Transfers.Note: For this order, a gang sheet was created to fit multiple images on one sheet. The gang sheet design was created in Illustrator, but you could use other design tools such as Canva. Just be sure to size your design according to the specs you choose on the ordering website.Another quick note about gang sheets. There is an option to purchase gang sheets through Heat Transfer Warehouse. For example, if you needed to make 20 of these Literally Freezing shirts, you could create a gang sheet order. This would allow you to create as many designs on one sheet as needed. Often, it's a bit cheaper to do it this way—especially if you have a small craft business. HTW offers the option of up to 17" wide and any length you'd like for your gang sheet.

- Choose your sheet size. I chose an 8.5" x 11" transfer. To determine the sheet size, you'll want to measure your shirt or apparel item and determine how large you'd like the design to be.

- You can ignore the reorder section (unless of course, this is a reorder of a previous order).Upload your design file. Be aware of maximum file size, as well as the types of files accepted. You can also set a printed size in inches for your order. For this project 10" was chosen because the design needed to be 10" wide.Finally, add to cart and check out!

- BELLA+CANVAS ApparelThe BELLA+CANVAS Unisex Sponge Fleece Pullover Hoodie was used for this project.This hoodie comes in multiple colors and fabrics, but all of the colors work for DTF transfers because DTF transfers work on a huge variety of fabrics (including 100% cotton, 100% polyester, and any mix of the two!). And because DTF transfers are backed in white ink, you can put them on any color, including black and the dark gray heather being used for this project! You aren't limited to white or light colors like you are with sublimation printing.

- Applying a DTF TransferYou don't need much to apply a DTF transfer! Just the transfer itself and a heat press. You may also want to have scissors on hand to cut your sheet if needed and a piece of parchment paper for the post-press.

- Set your heat press to 325° at 15 seconds with medium pressure. Cut down the gang sheet if needed.

- Place your garment on the base of the heat press. If you can, thread your garment so just the top layer of the garment is on the heat press. Then pre-press your garment for 10 seconds.

- Add the DTF transfer to the garment, making sure it's centered (see T-Shirt Ruler Comparison if you need help with placement on your shirt!). You do not need a cover sheet or anything for a DTF print. Press for 15 seconds.

- Once the press is open grab the corner of the film and peel it back while it's still warm. Peel it back in one quick go without pausing partway through, which can leave an unsightly line through your transfer.

- Then do a post-press. If you are using a garment without a pocket, you can fold the bottom of the garment up to cover the DTF transfer and press for 10 seconds more. Because this garment has a pocket, though, I am going to use a piece of parchment paper and press for 10 seconds.

- You can use a pressing cloth, but to make it easy, just fold the bottom of the t-shirt on top of the DTF transfer and press for 10 more seconds to really adhere the transfer.And that's it! Your DTF transfer is ready to wear.Wash the garments inside out! When applied correctly, you should get 50 to 100 washes out of a DTF transfer!






Leave A Reply!