Want to learn how to hand letter? Skillshare has a huge array of online calligraphy and hand lettering courses! I’ve taken a bunch of them—here are six classes for learning hand lettering I found particularly helpful.
I took a lot of December off from regular blogging to really delve into what I want to do with my time in 2019. You can read more about how I am deliberately planning for next year. Like most working moms, I live in one of two worlds. First, being a mom—playing, snuggles, cooking, cleaning, breaking up fights, picking LEGO out of the carpet. Second, being a business owner—blogging, running my academy, social media, conferences, finances.
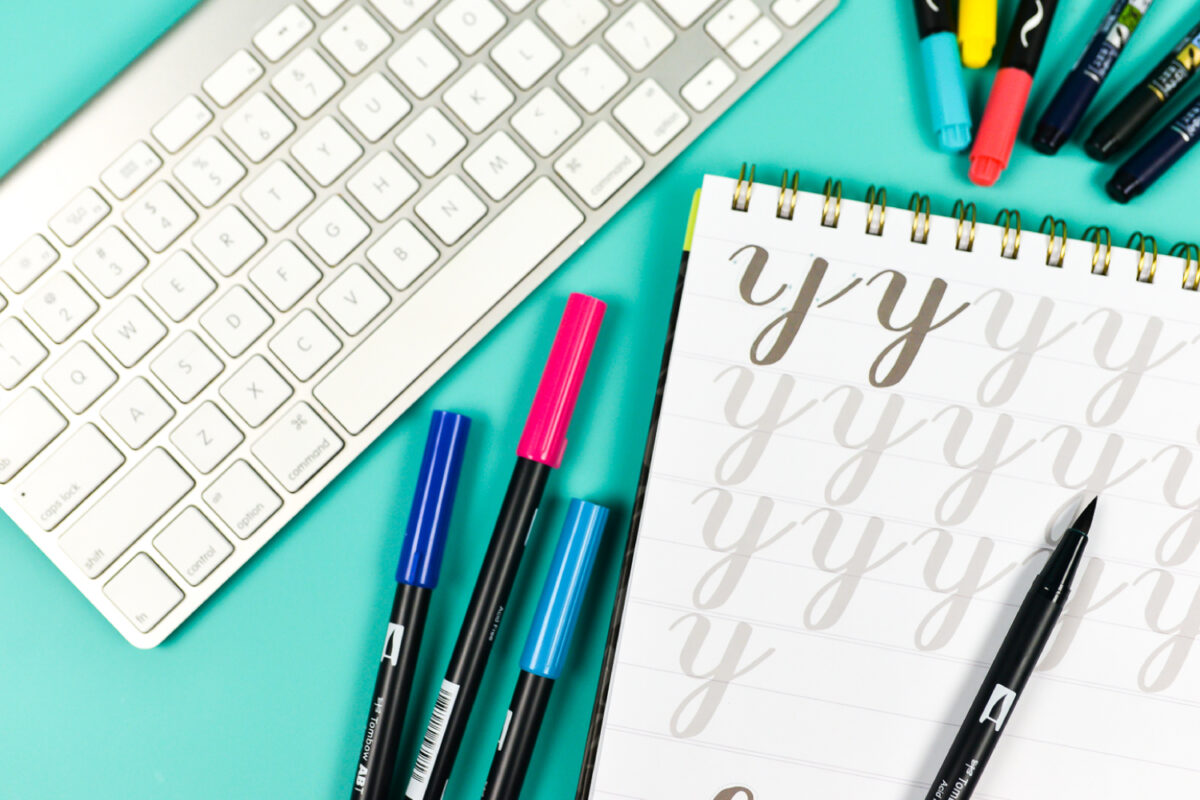
So one of my big goals next year is to take more time for me. Things that are neither momming, nor working. To read more. To exercise more. And to learn a new skill—hand lettering! I have wanted to learn to hand letter for years now, but I haven’t made the time to learn. I’ve literally had all of the supplies sitting in my craft room for more than a year—piles of Tombow pens, paper, and notebooks; even an iPad Pro and Apple Pencil to learn digital hand lettering. And it’s all basically gone unused while I’ve concentrated on being a mom and running a business.
Thanks to some very deliberate goal setting, I’m setting aside an hour a day, three days a week, to practice my lettering. One of my biggest learning resources is Skillshare. If you’re new to Skillshare, it’s an online learning community. You can take one of 25,000+ classes on all sorts of creative topics, like design, photography, and even culinary arts. It starts as low as $8.25 a month for unlimited classes. If I think about how much I pay for other online courses, this is a great deal!
And Skillshare has generously offered my readers a great perk! You can get one month of Skillshare Premium for FREE! Try it out, take as many classes as you want for those two months—my guess is you’ll be hooked, just like I am!
I actually couldn’t wait to get started learning, so I began taking hand lettering classes back in December. Here are six classes that I’ve found particularly helpful for someone totally new to hand lettering.
Let’s Start at the Beginning! – Basics of Hand Lettering | Chelle Perea
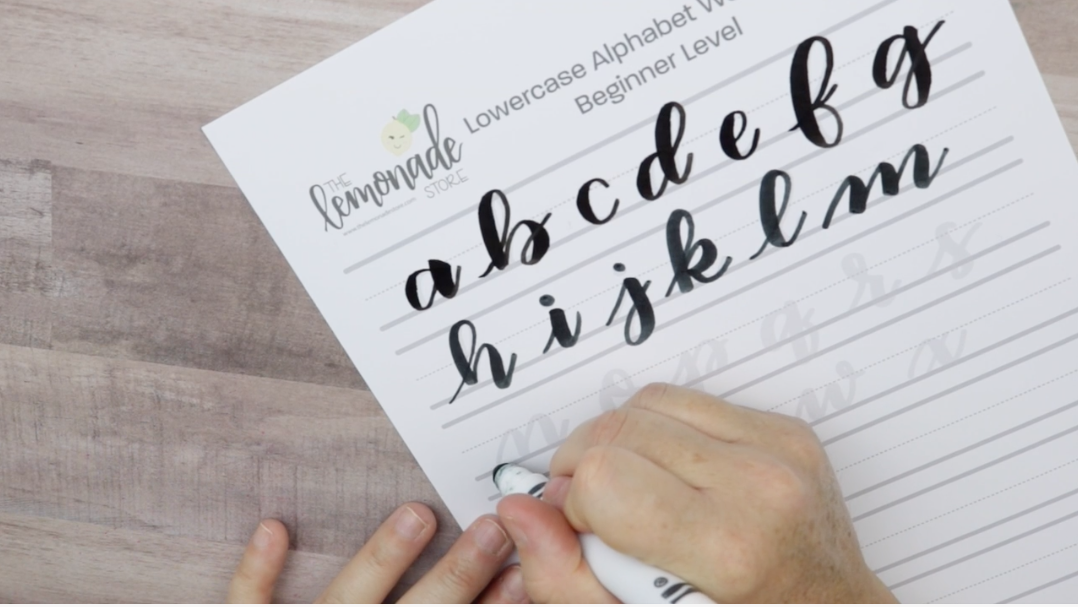
Chelle’s Let’s Start at the Beginning class was the perfect class to get started with. She teaches you how to hold a pen, which sounds like something you’ve done since you were four, but it helps to know how to hold a pen specifically for hand lettering. I also love that one of her preferred pens is the giant Crayola marker—it’s so much less intimidating than the Tombow and Fudesunoke. She also has printable drill pages, which I found helpful as well. It’s not a particularly in-depth class, but it does get your pen to paper, which is right where a beginner needs to be!
Faux Calligraphy: How to Get Started With Hand Lettering or Modern Calligraphy the Easy Way | Shelley Hitz
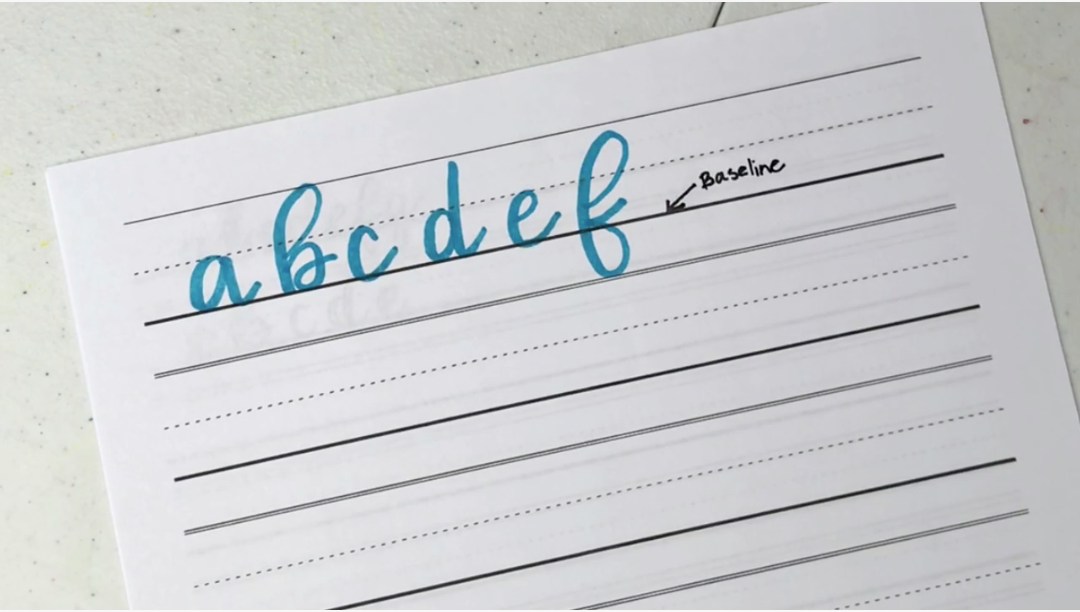
I took Shelley’s Faux Calligraphy class on a rain Friday in December. The boys were at school, I wasn’t feeling the best, so I decided to ignore my nagging to-do list and learn a bit. There were three things I found really helpful with this course. The first was that she really went into the terminology of hand-lettering—for instance, what are all the lines on practice sheets called, and how do you use them?
Second, she introduced me to the idea that hand lettering is not handwriting. It’s more like drawing or illustration—it’s more of an art-form that has to be done slowly and deliberately, especially at the start.
Second, she gives you sort of a “cheat” to begin with on your hand lettering journey. In this course, Shelley teaches you how to do “faux” hand lettering, which is a lot easier to master than the thick downstrokes and thin upstrokes. I found it helpful in starting to learn different letterforms without having to also concentrate on the pressure I was using with my pen.
Hand Lettering: 4 Easy Steps to Modern Calligraphy | Peggy Dean
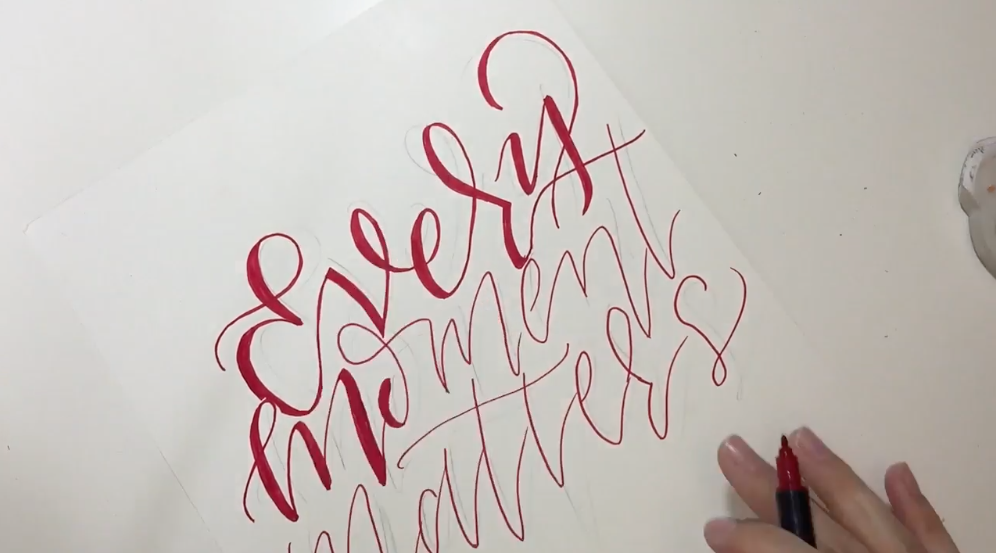
Once you’ve take the course above, it’s an easy transition into Peggy Dean’s Modern Calligraphy course. She builds on the idea of “faux” hand lettering but adds some bounce and fun to her letters. I really love her modern lettering style and find myself returning to this lesson to see how she creates certain letterforms. She also touches a bit on stylistic alternatives and composition in her class project at the end of the class. This class is a really good place to start!
Brush Lettering Made Simple | Dreya, Type Stuff
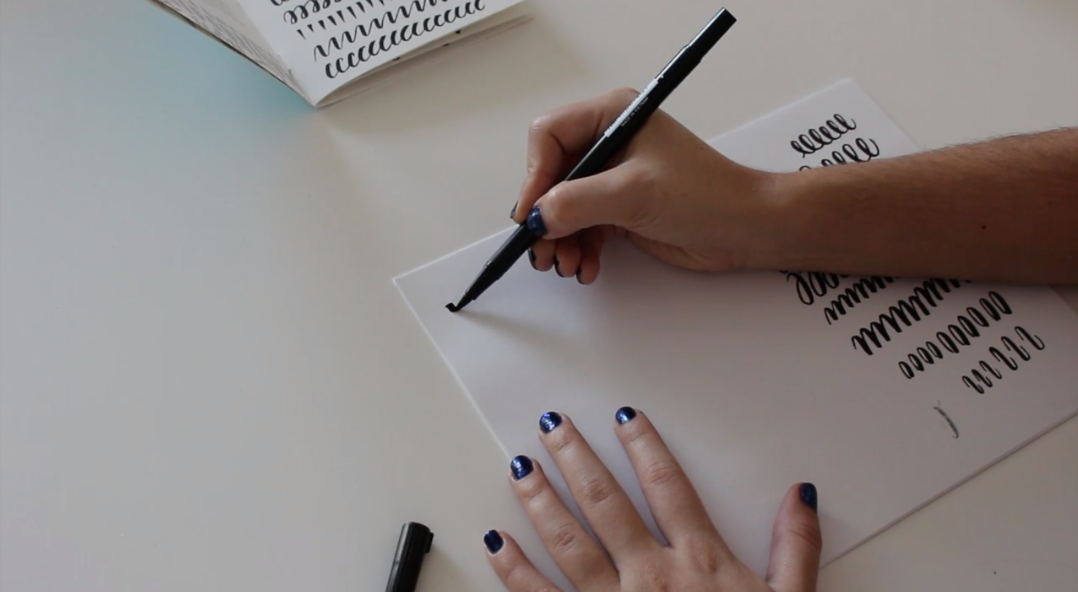
Once I practiced the faux lettering above, I wanted to break out my brush pens (I mean, they’ve been sitting in my office for so long!) so I took Brush Lettering Made Simple. I really liked Dreya’s emphasis on drills. I always want to start with letters and words and phrases, but after watching Dreya practice drills, I realized how important it is to teach your hand the muscle memory of making different shapes and how to use the pressure of the pen to create different thicknesses to my lines. I’ve started practicing drills now—not the most exciting thing, but I can get a better feel for making those shapes than I can with actual letters.
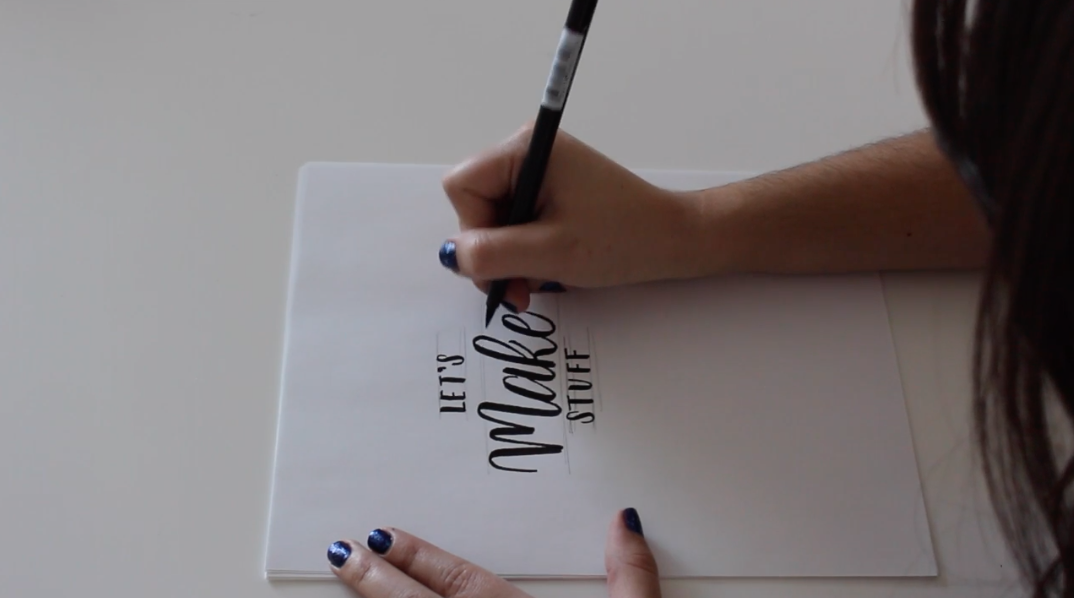
She also has great instruction for setting up the composition of a phrase, as well as turning the piece of paper for horizontal lines—that way you keep the same thick/thin you have for the lines that are vertical. I also may be partial to her class because she practically wrote out my blog name for me!
iPad Lettering: The Ultimate Guide | Peggy Dean
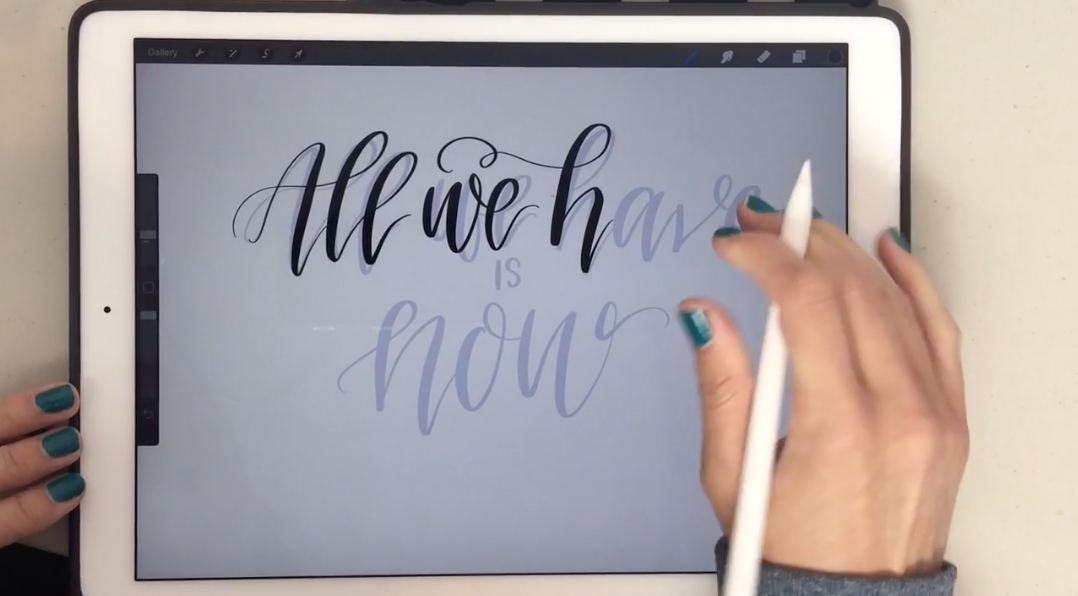
Finally, I took one iPad lettering class—iPad Lettering: the Ultimate Guide. It’s also by Peggy Dean, who did the Modern Calligraphy course above. It’s a huge overview of using Procreate for the iPad and it’s a class that I will return to over and over again—she goes through every menu and gives a great overview of the program. There’s no details on actually how to hand letter in these courses, but you can take what you’ve learned from the above five classes and easily take your hand lettering digital using this course.
There’s one amazing tidbit of information, though, that you’ll want to know if you’re beginning to hand letter using the iPad, and that’s tracing. Let’s say you hand lettered a phrase. You’re not thrilled with it, but you also don’t want to start from scratch. You can actually use the Layers in Procreate to create a semi-transparent version of your file, and then put a new layer over the top. Then you can “trace” your original artwork, making changes where needed. You can do this as many times as you like! I’ve had files where I’ve traced at least a dozen versions to get something that I’m happy with. See the “Tracing” video in this class for all the details on how to do this! You can also take this particular technique offline, by using different layers of paper to trace your previous designs.
Don’t forget that Skillshare is offering my readers two months of FREE classes! I’d love for you to sign up and tell me what you’re learning in the comments!
Want to learn a neat trick to hand lettering? Check out my blog on Using the Cricut Brightpad for Hand Lettering!


Comments & Reviews
Michelle says
Thanks for this list! Just what I need. I’m currently using a free month of courses on Linked In Learning. Is there a deadline date that I need to start the free learning on Skillshare?