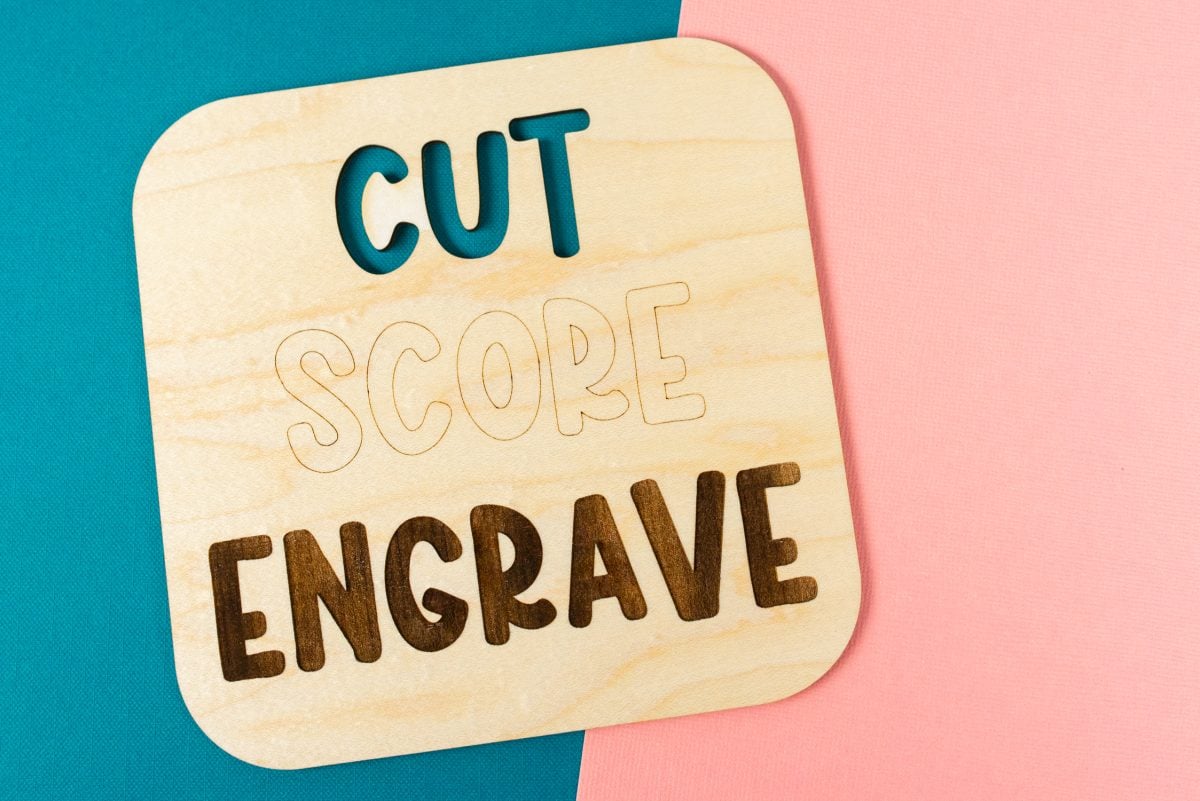
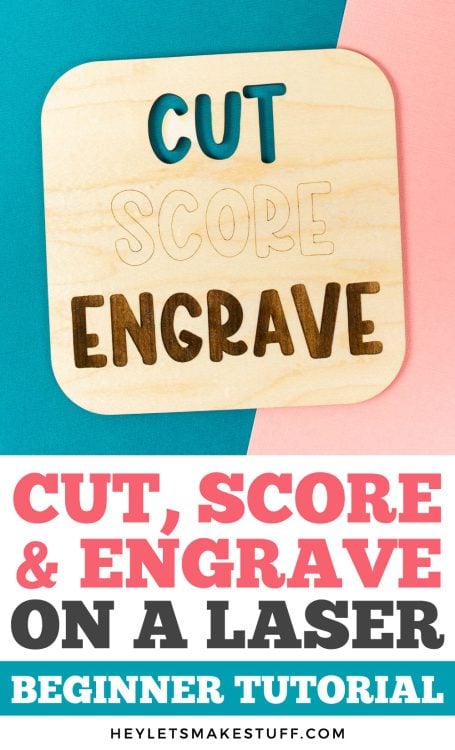
If you’re new to the laser world, you may be confused about the three main laser linetypes: cut, score, and engrave. Here’s an overview of which linetype to use for your various projects!
Perhaps you’ve decided to take the leap and purchase a laser cutting machine (or are still considering it). Either way—welcome! I’m excited for you! Whether you have a smaller craft laser like a Glowforge Aura or xTool M1 or a larger CO2 laser like a Glowforge Plus/Pro or an xTool P2, a laser is such a fun machine and truly opens up a world of crafting possibilities.
Get all my must-have laser supplies in my Amazon shop!
When I first started laser crafting I wish there had been more beginner tutorials to help me understand laser basics. So in today’s post, we’re tackling linetypes—cut, score, and engrave—to hopefully get you on the right track to making projects more easily.
Watch the Video
Want a video overview of this post? Just hit play below!
What is a Linetype?
A linetype is basically what it sounds like. It’s the type of line your machine will read and decide what to do with. Whether you’re crafting with a Glowforge, an xTool, or another laser, you’ll see various linetypes within your machine’s software. You should be able to switch the linetype of any layer of a design within the laser software.
The three linetypes are cut, score, and engrave. Here is a basic overview of each, and then we’ll go into more detail below.
- Cut: This linetype cuts all the way through your material using the laser. This is when the laser is at its most powerful. Depending on the type of laser you have, you may find that your laser has to do more than one “pass” around the cut line to cut all the way through the material.
- Engrave: Engraving works by moving the laser back and forth to fill in an area. It can engrave single lines like a score, but because the laser moves back and forth instead of following the path of the line, it’s much slower.
- Score: Scoring is basically a cut set to a much lower power setting so that it doesn’t come anywhere close to cutting all the way through your materials.
Let’s talk about each of these in detail!
Cutting on a Laser Machine
Cutting is pretty straightforward—you’re cutting all the way through the material using the laser. You can make all sorts of fun projects using only the cut linetype and it’s often a good one to start with as a beginner, especially if you’re using a “qualified” material (a material that is already set up as a preset within your laser software, like Glowforge Proofgrade materials). Just place your material in the bed of the laser, upload your file and set it to cut, and your laser will cut your project.
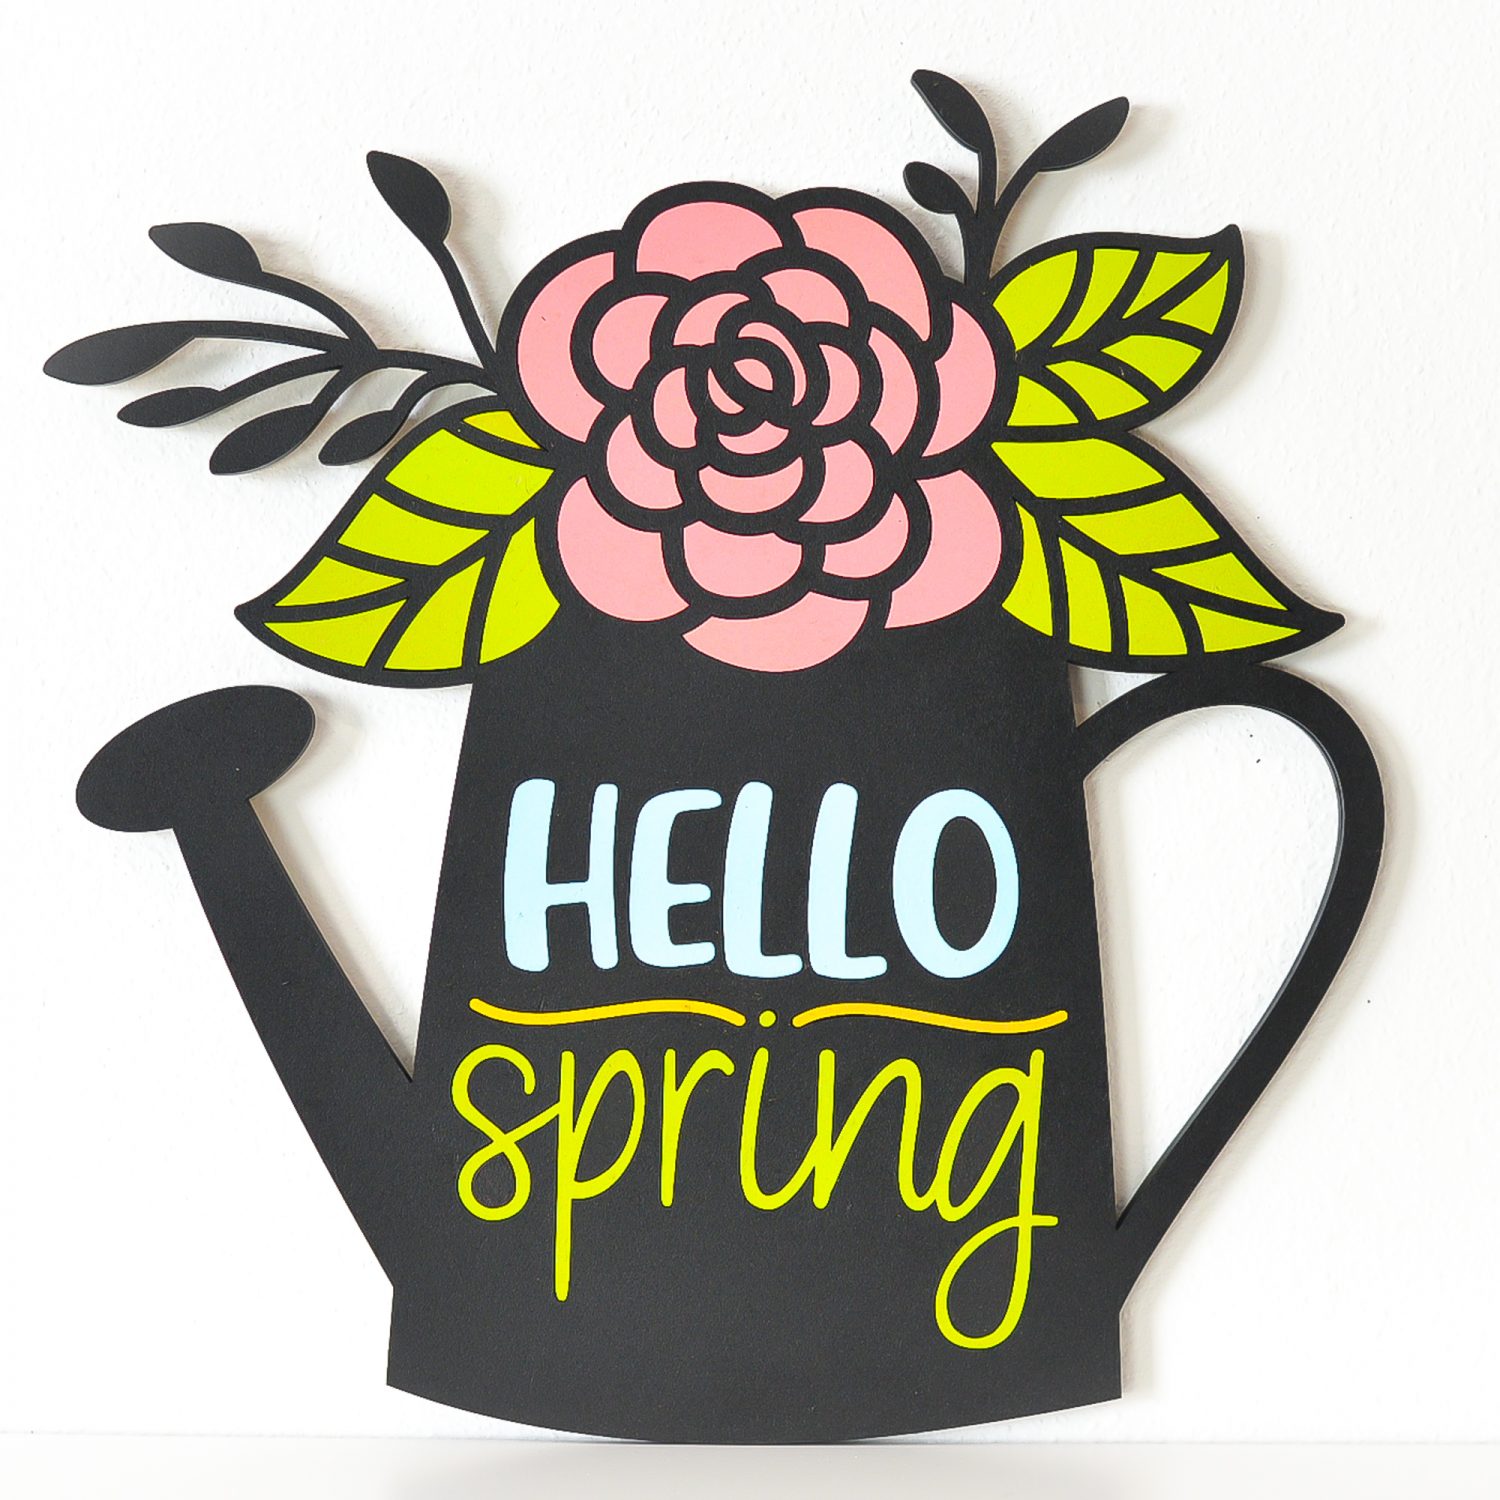
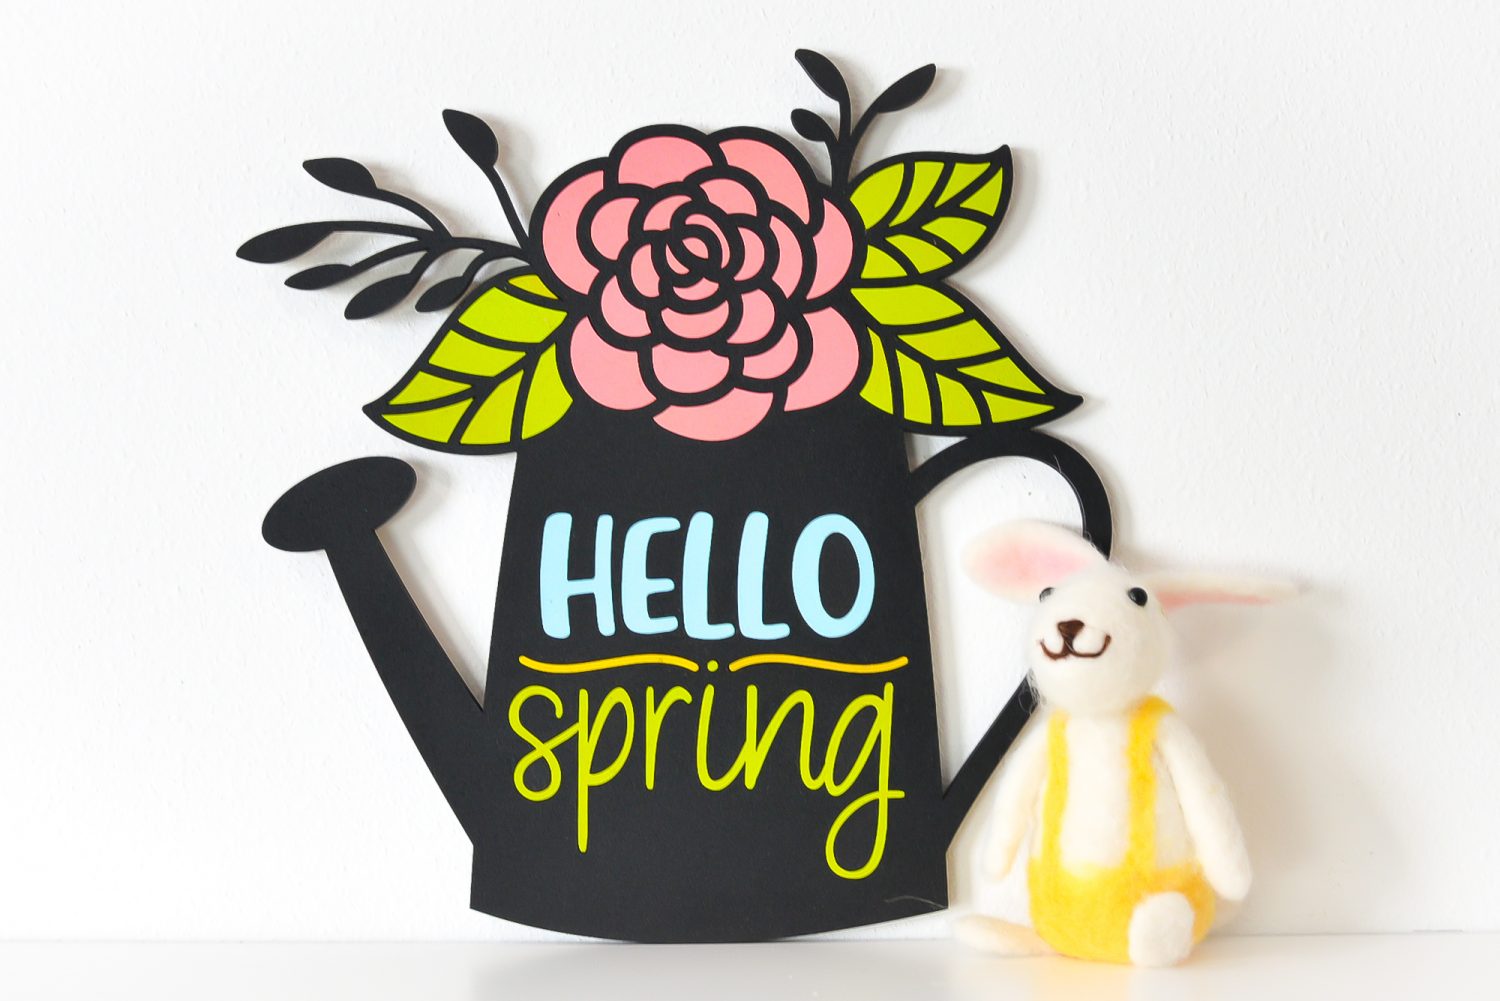
My project Hello Spring Sign with the Glowforge only uses the cut linetype and is a good example of what you can do with just cutting! I cut this project out of draftboard on my Glowforge Pro, painted it, and assembled it like a puzzle.
Because cutting is when the laser is at higher power, you will likely see more smoke than with other linetypes.
While you can upload a variety of file types to your laser software, best practices will have you uploading a vector file (usually an SVG). Most files that you buy will be vector files and if you’re making your own files, exporting them as an SVG will get you the cleanest cut line. The two most popular software programs for creating vector files are Adobe Illustrator and Inkscape.
Your cut settings will be determined by your material and has three components: speed, power, and passes. Some materials will require more power, a slower speed, or more passes. Often the manufacturer of the material will have suggested settings to get you started and there are tons of laser groups online that may have suggested settings as well.
If you are using a “qualified” material (like Glowforge Proofgrade materials or xTool’s materials) and the material already has a setting inside your laser software, start there. If your material isn’t available and you don’t have any manufacturer’s instructions…but there is a similar material to the one you are using, you can try that. Always do test cuts before making your final project, especially if you’re working with a material you haven’t used before.
You can also combine cutting with the other linetypes, by adding scoring or engraving within the cut lines!
Scoring on a Laser Machine
A score linetype is actually a very low power cut that is designed to just mark your material, not cut all the way through it. You are cutting a very fine layer of the material in order to leave an outline or a design on your final piece. Score is only used for outlines. You cannot fill in an area using score. That is where the engrave linetype comes in, which I’ll talk about later in this post.
Like with cutting, a score should use a vector file, such as an SVG. Single line fonts are a good example, but you can do it with any line created in a software that deals with vector files.
Often, score is used to show placement of letters or other elements in a design. For example, if you are creating a name keychain with two layers of acrylic (one for the base and one for the name), you can score the name design into the base layer so you know exactly where to place the letters.
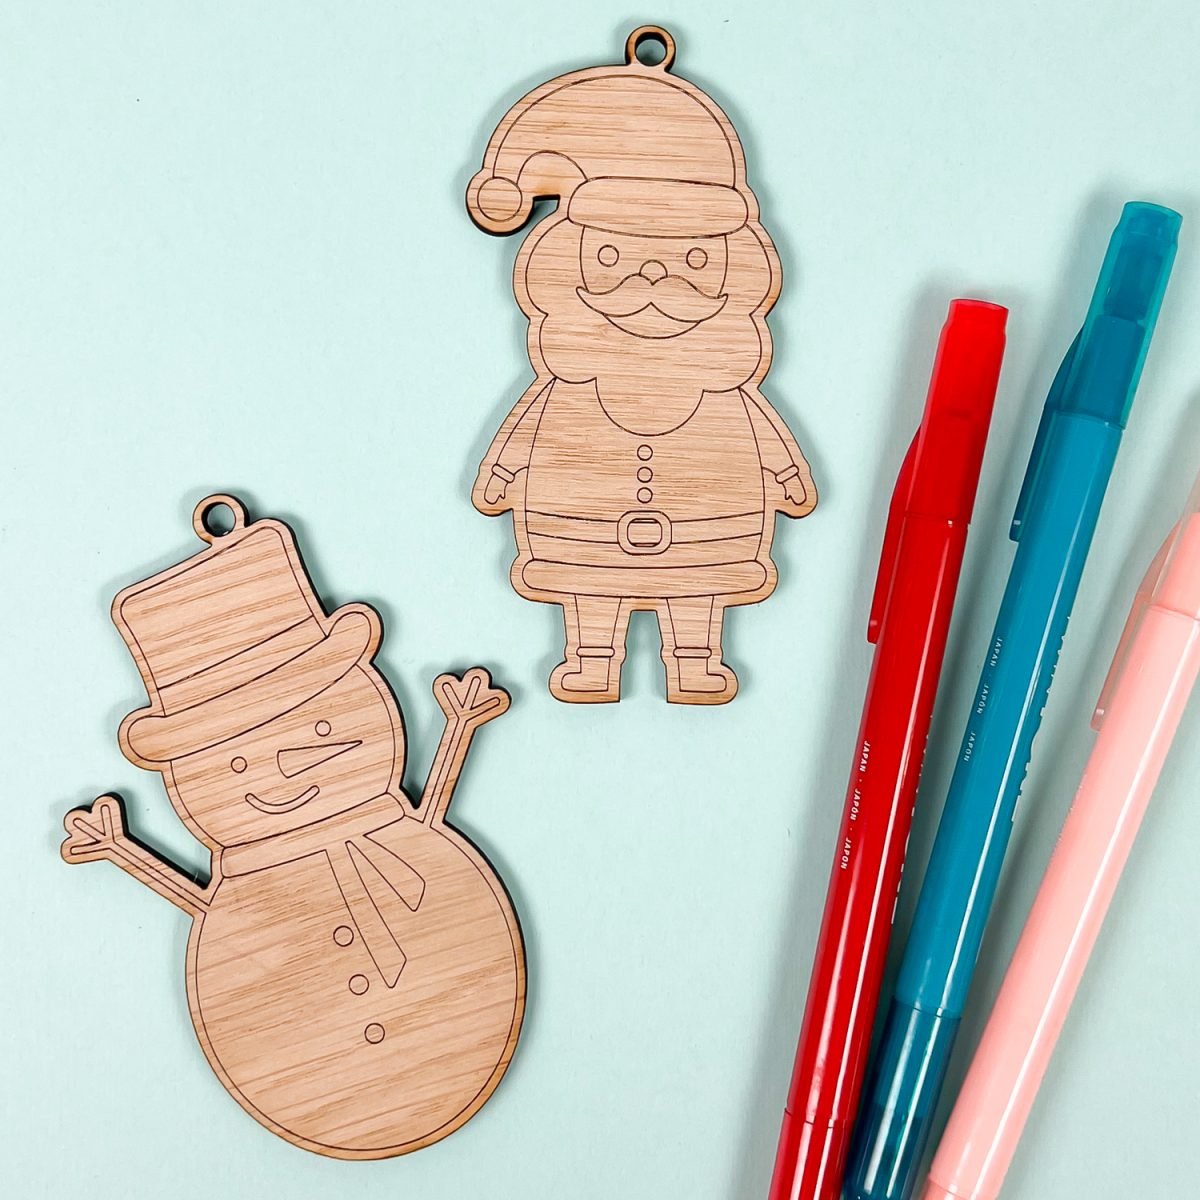
It’s also useful when engrave may take too long and you’re looking to make projects quicker! I used score lines in my Laser Cut Wood Ornaments for Coloring or Painting instead of engraving because the process was so much faster.

Engraving on a Laser Machine
Engraving allows you to basically fill a field by removing the top layer of your material without cutting all the way through. The laser head moves back and forth and “fills in” the area creating a shaded effect. Engraving is much darker than scoring and you can fill with it, vs. just scoring an outline.
You can change your engraving settings to get an engraving depth and darkness that you are happy with. Start with the manufacturer’s recommended settings or qualified material settings in your laser program. But then, if you want, you can change up the settings.
- Slower speed = darker engraving
- Faster speed = lighter engraving
- More power = darker engraving
- Less power = lighter engraving
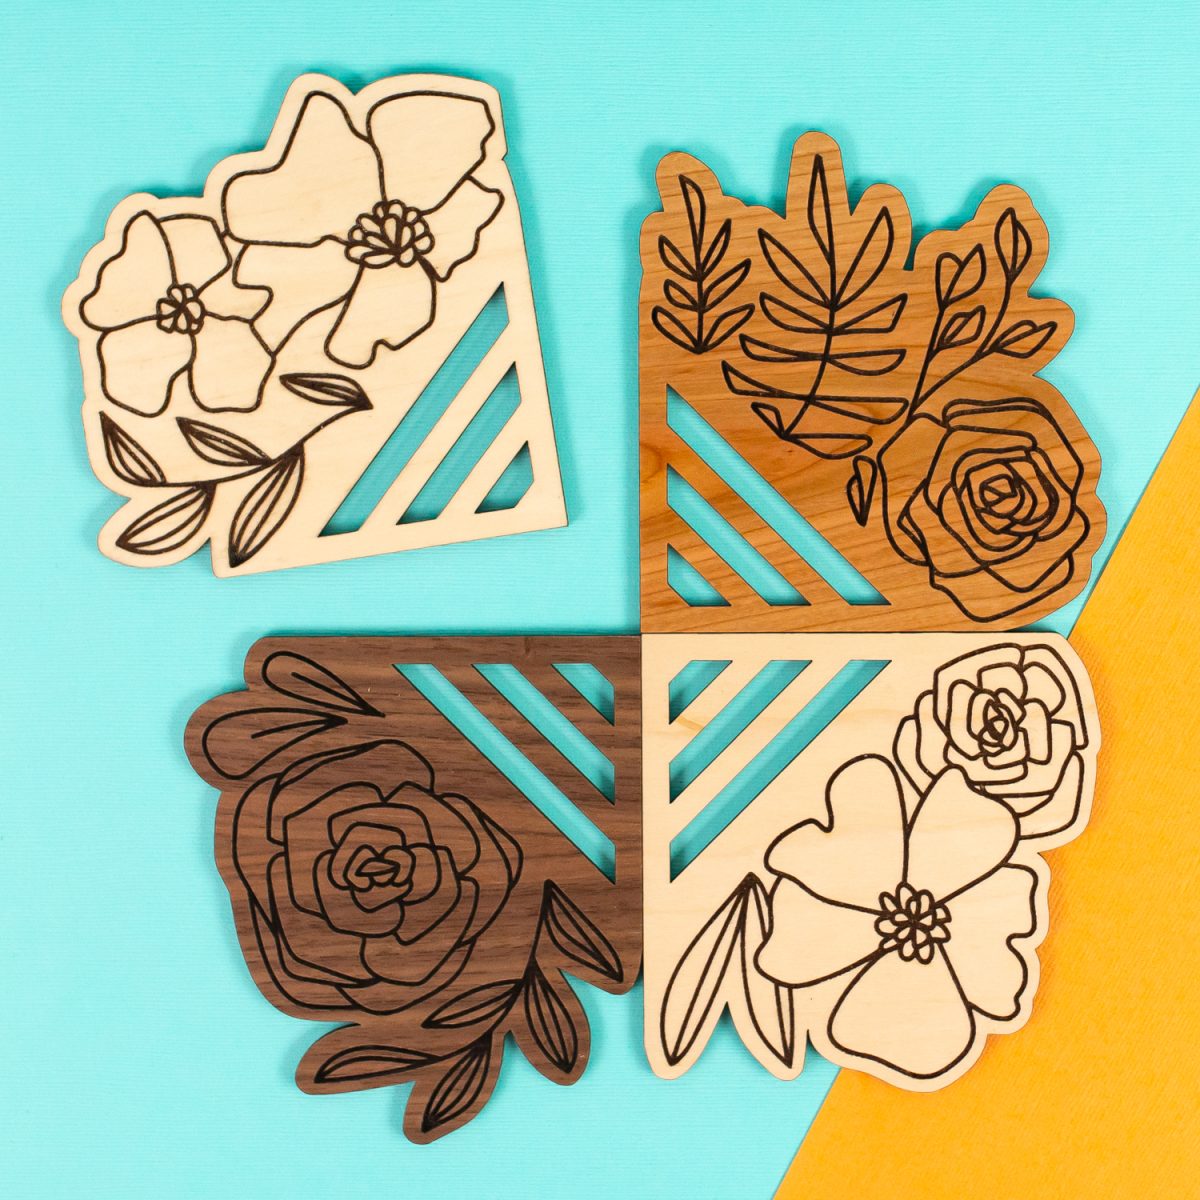
Engraving is generally the slowest process for your laser, so it can take a while to engrave your projects (especially on a craft laser). I made these coasters and each one took me an hour to engrave and cut on my Glowforge Aura! That’s four hours for four coasters. The process would’ve been much faster on my CO2 laser, but the engraving process really is much slower than most cuts or scores.

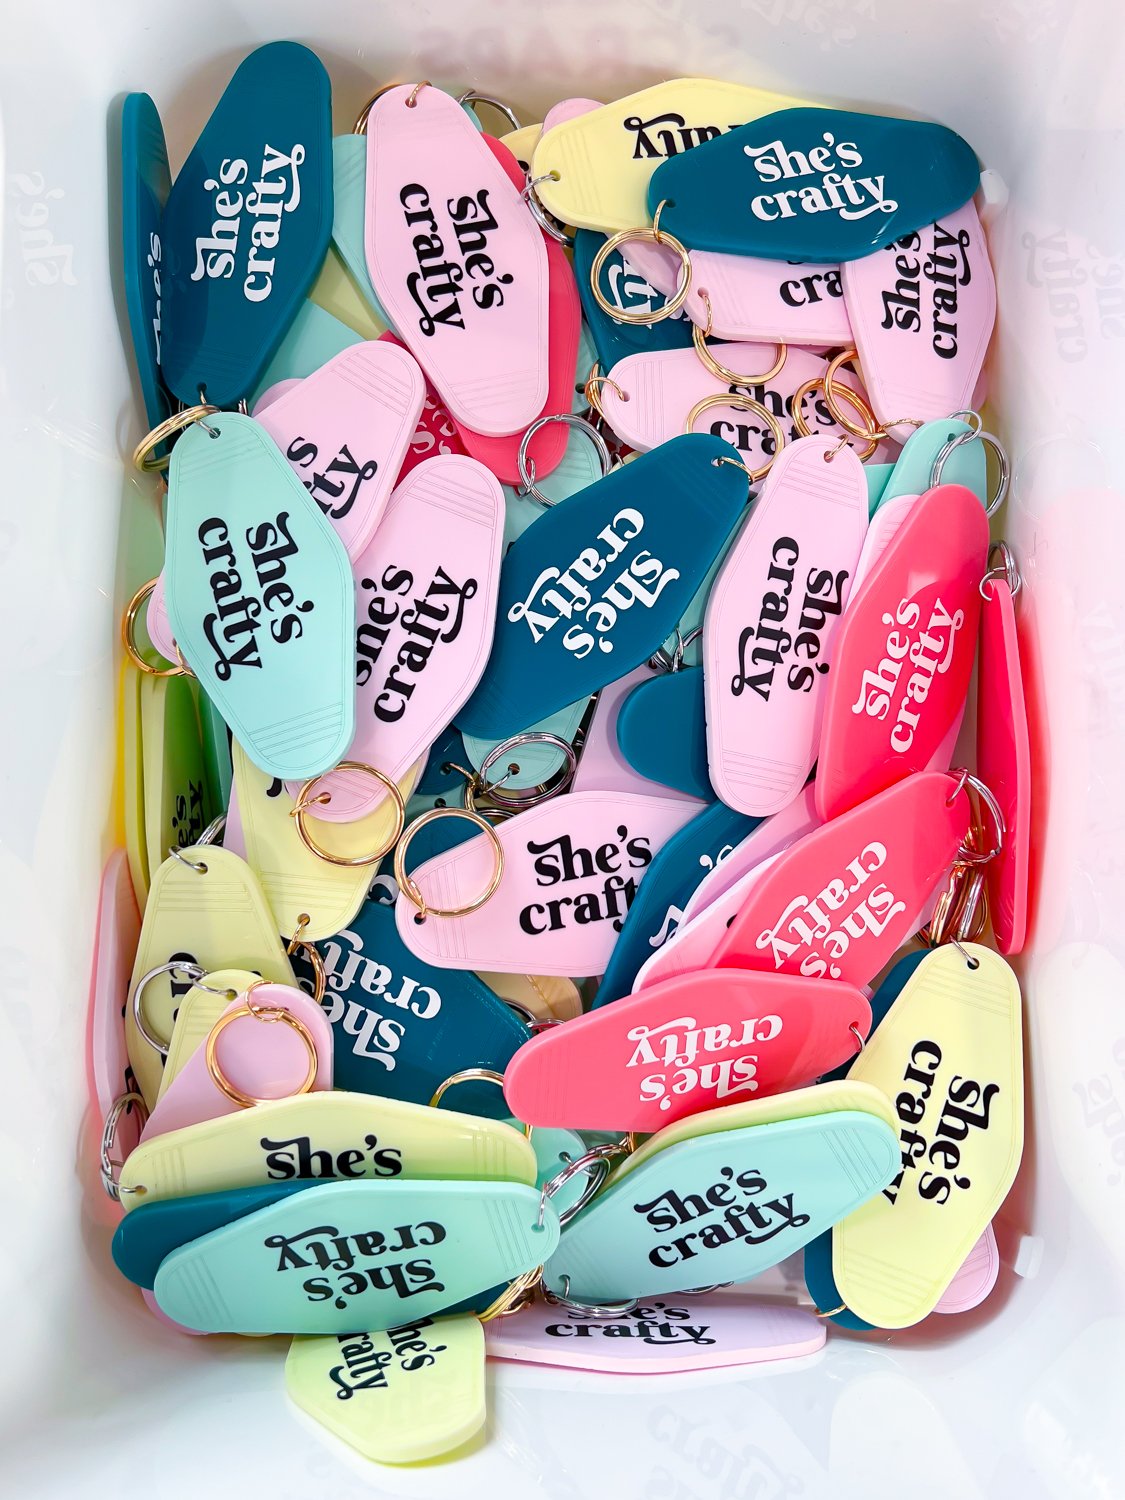
Depending on your file, if you’re creating multiple items or crunched for time, you may want to use a score linetype instead. For example, I wanted to create a decorative engraving outline on these acrylic hotel keychains. The engraving was more than an hour per sheet of keychains while the scoring was just minutes. The scoring is very light, as you can see. Would I have preferred engraving? Yes. Did I save myself a ton of time using score instead? Also yes.
For engraving you can use almost any file type. You can upload an SVG and set the file to engrave and it will fill and engrave it. Or you can upload a bitmap/raster/pixel file (a JPG, PNG file, most commonly) and your Glowforge will automatically turn it into an engraving. Photos are a particular fun one to engrave! Note that if you upload a bitmap file, you won’t be able to turn it into a cut or score linetype.
One of my favorite engraving tips is to use paint pens to “fill” the engraving with color. I do this a lot with acrylic in particular. For example, I wanted the smiley face on this Stanley cup topper to be white, not the same pink as the rest of the acrylic. So before I removed the mask, I used a paint pen to ink in the engraving, creating a cute white smiley face! You can do this with wood, too, but sometimes the paint pen can bleed into the grain of the wood.

I hope you found this helpful as you get started with your laser! If you have any questions about these three laser linetypes, I’d be happy to answer them!


Comments & Reviews
Dean T Newberry says
Hey Cori,
You talk about color filling areas in a laser project. Th
A potential problem is color bleeding into the wood grain or creeping under the masking. I believe if you prepare the area with a light clear coat first, then the edges will remain crisp.
Pam says
So…exactly HOW do you change the linetypes in an SVG file? Is it something that’s done once you load the file into the Glowforge?