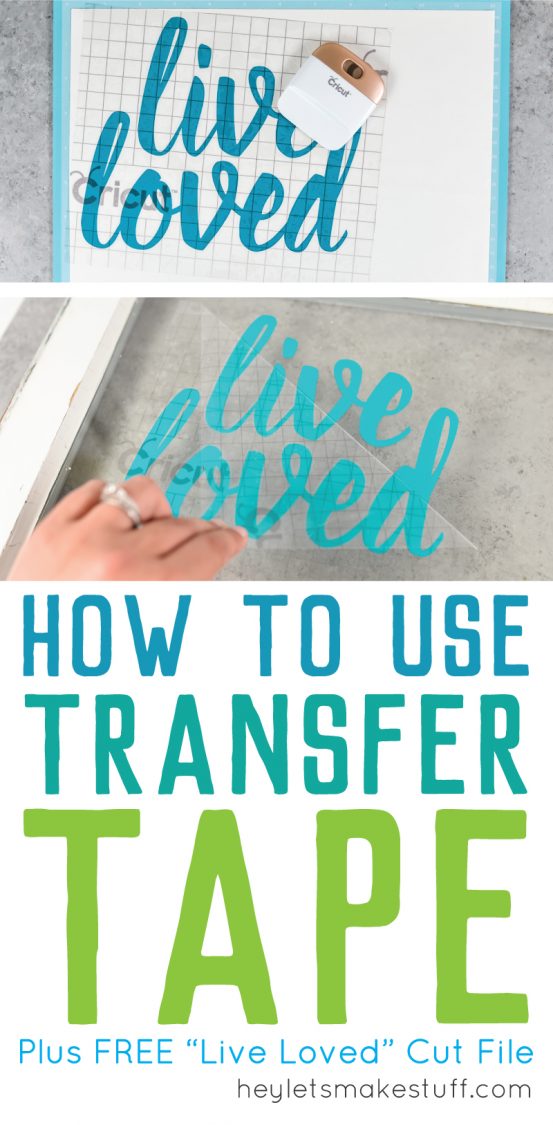
Not sure how to use transfer tape? Here’s how to get professional results for your vinyl projects, plus tips and tricks for getting it perfect.
If you’ve ever looked at your vinyl Cricut or Silhouette project and wondered how you’re going to get it from the backing paper and onto your final project material, then this is the tutorial for you!
While cut vinyl may look like a big sticker that you can just remove from the backing paper and stick onto your project, the vinyl is actually quite thin so it’s difficult to transfer by hand. It gets even more complicated with intricate designs with more than one piece.
Enter transfer tape. The word “tape” is a bit of a misnomer — really it’s just a sticky-backed piece of material that helps you transfer vinyl from the backing paper to your final project.
What Transfer Tape Should I Use?
There are a lot of transfer tape options out there. The two main versions are opaque or transparent. Both work, but I tend to like the transparent version because I think it makes lining up vinyl easier.
Most often, I use the Cricut Transfer Tape because it’s what I have on hand. I have several friends who like the Silhouette Transfer Paper (you do not have to use Cricut transfer tape for Cricut projects or Silhouette transfer tape for Silhouette projects — you can use what you like best!).
There’s also other manufacturers of transfer tape — I have used Best Crafts transfer tape. It’s a great deal and you get a LOT of product for your money! It also comes in different widths, which is handy. Craftopia is another brand that friends have recommended, though I haven’t used it personally.
How To Use Transfer Tape
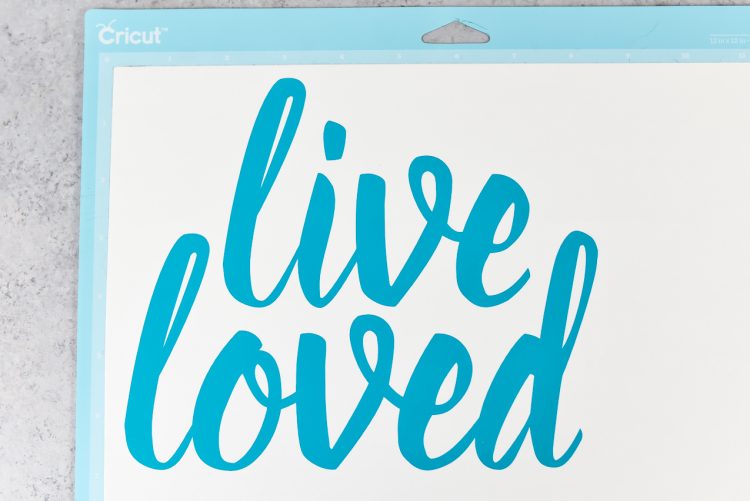
To demonstrate how to use transfer tape, I’m going to use this “Live Loved” cut file that I made for an Illustrator tutorial. I’m going to be adhering the vinyl to a pane of an antique window.

Get the Free File
Want access to this free file? Join my FREE craft library! All you need is the password to get in, which you can get by filling out the form below. The file number is: C30.
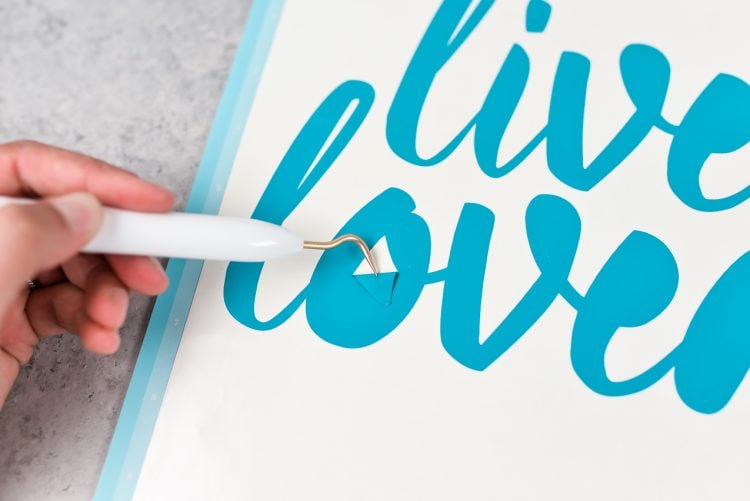
Cut out the file using your Cricut Explore or Silhouette Cameo. Using a weeding tool, remove the extra vinyl. I like to do this with my backing paper still attached to my cutting mat.
See more tips for weeding iron on vinyl here!
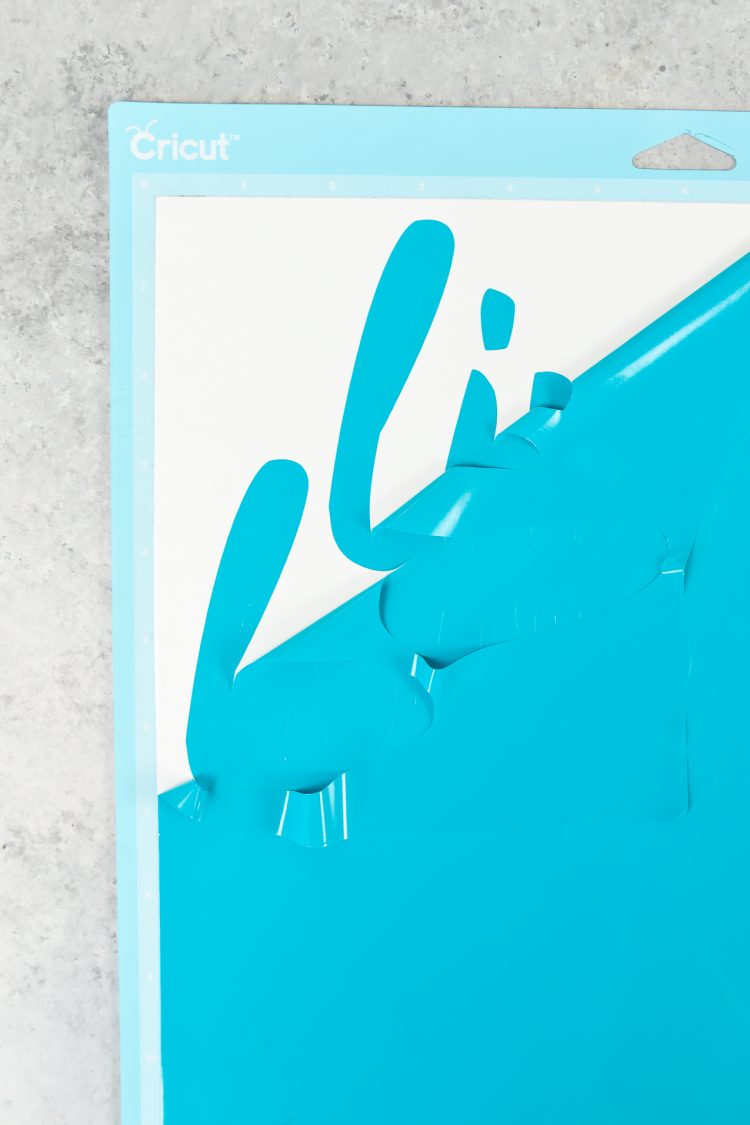
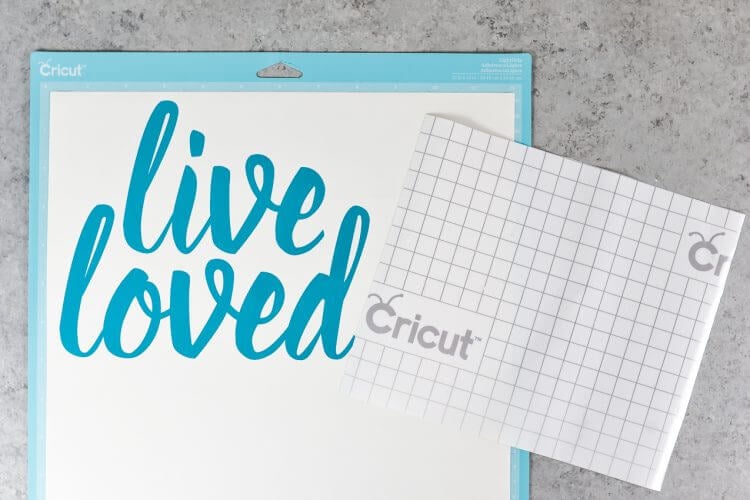
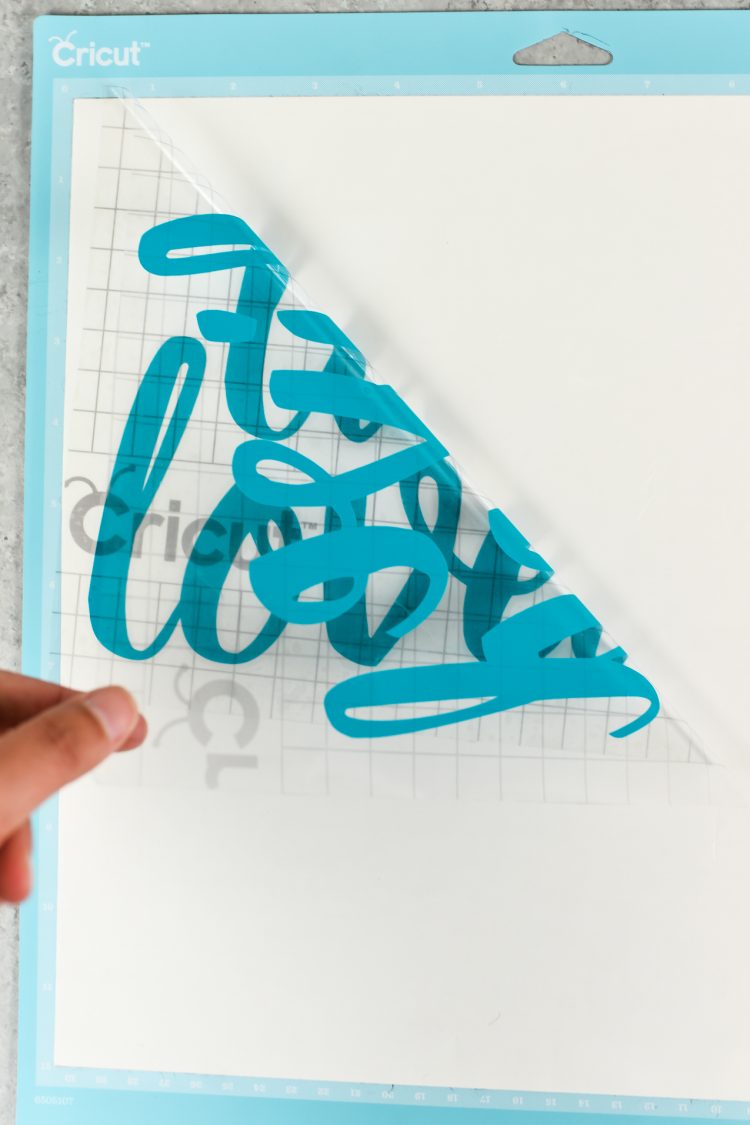
Once you have your vinyl ready to go, cut a piece of transfer tape slightly larger than your design. Peel the backing paper off the tape and place it sticky side down on the top of your vinyl.
If your project is large, start by peeling off a corner of the backing paper and stick that corner onto the edge of your vinyl. Then peel the backing off as you stick down the rest of the transfer tape. This will help prevent bubbles in larger projects.
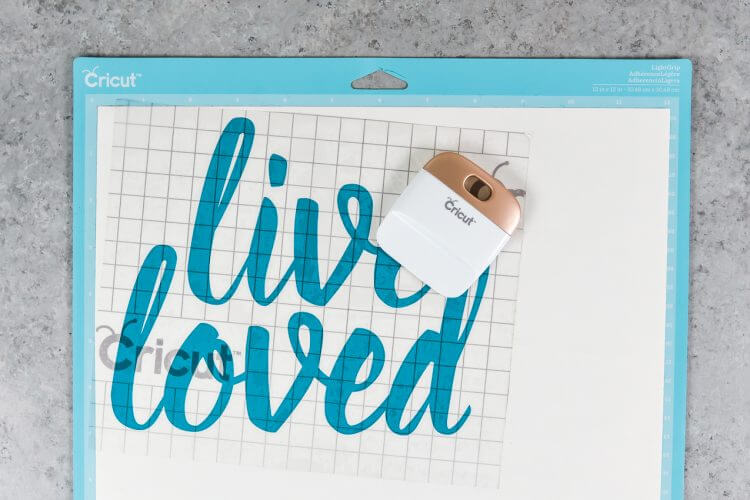
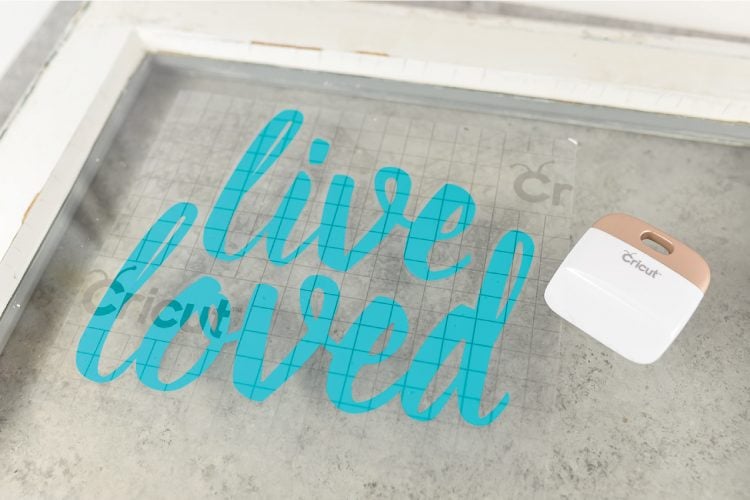
Using a scraper, burnishing tool, or side of a credit card, press the transfer tape onto the vinyl so that it sticks really well. Then peel off the transfer tape you just laid down — it should peel up your vinyl with it!
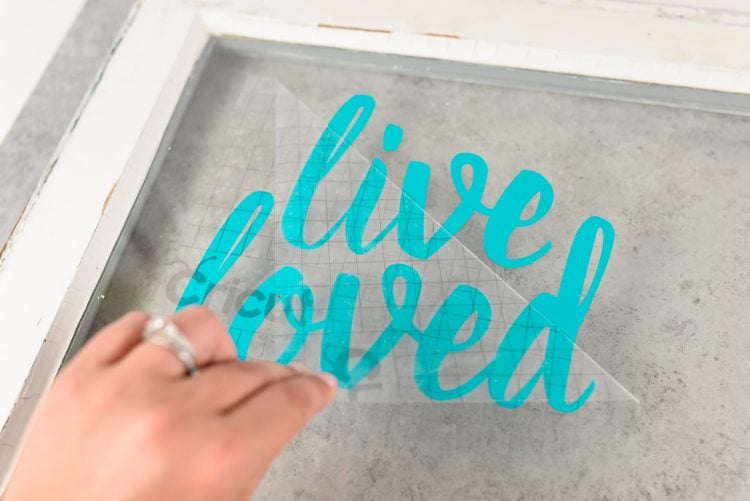
Now line up your transfer tape and vinyl where you’d like it on your project material (for me, this is the pane of glass). Then place one corner down, sticky side down, and slowly press it onto the material, trying to get it as flat as possible. Using the same scraper, burnishing tool, or credit card, press the transfer tape and vinyl onto your project material.

Then peel the transfer tape back up! The vinyl should stick to your project.
Should is the important word here. Depending on a few factors — the stickiness of your vinyl, the stickiness of the tape, the type of material you’re adhering to — you may have a little trouble getting your vinyl to stick — especially on small pieces or tails of letters.
I usually use my fingernail to help press down the edges as I go. Be slow, be patient, and you’ll be able to stick vinyl to almost anything!

If you find you have bubbles, I highly recommend The Silhouette School’s little tricks for removing bubbles — brilliant!