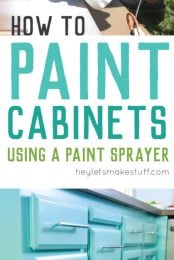
Get a perfect finish on your cabinets by taking the time to paint them right! Here’s how to paint cabinets using latex paint and a paint sprayer.
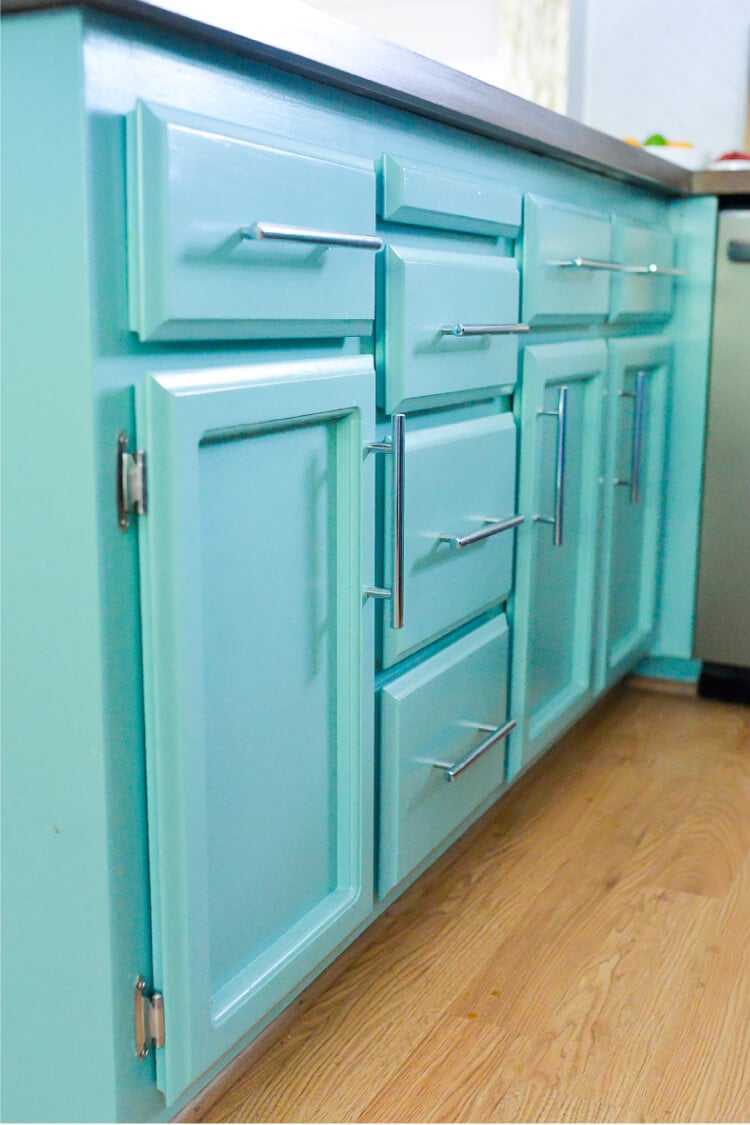
A big thank you to Sherwin Williams for providing the paint and to Homeright for providing a paint sprayer and shelter for our kitchen renovation.
Two weeks ago I talked about preparing cabinets for latex paint, and last week I shared some amazing teal cabinet inspiration to get you thinking. Now your cabinets are clean and ready to be painted and you know what color you’re going to use. Here’s the method I used to get a gorgeous finish on my cabinets.
If you’re looking for tutorials on how to use chalk paint for your cabinets, I’m not your gal. But if you want to use a traditional latex paint, here’s how to do it.
First, prep your cabinets. This is actually the most difficult part of the whole process. Remember, the cleaner they are, the better your paint will adhere!
You can also number you cabinets (especially if you have a lot of them!) where the hinges screw in. Put a piece of masking tape over the number so you can peel it off at the end and know which door is which!
Before you paint, if you are going to add hardware to your cabinets and drawers, drill the holes for your hardware and sand down the holes so no wood splinters are sticking up. We use a template to help us drill the holes.
Supplies
- Primer
- Latex paint (we used Sherwin Williams “Drizzle” on the lower cabinets and “Swiss Coffee” on the upper cabinets)
- Polycrylic finish
- Paint sprayer
- Paint sprayer cleaning kit (optional)
- 220 grit sandpaper
- Paint brushes
- Painter’s Pyramids (optional)
- Spray shelter (optional)
Instructions
The process for painting cabinets is actually very simple. Two coats of primer, two coats of paint, two coats of polycrylic. Sand in between. You might want to take a look at my post about painting mistakes you don’t want to make—there’s some important stuff there!
For the cabinet frames, we decided to paint them by hand because the way our kitchen is attached to the rest of the house (vaulted ceiling) would have made it very difficult to tape off. I used my favorite priming trick to tint the primer — this helped us use fewer coats of actual paint on the cabinets.
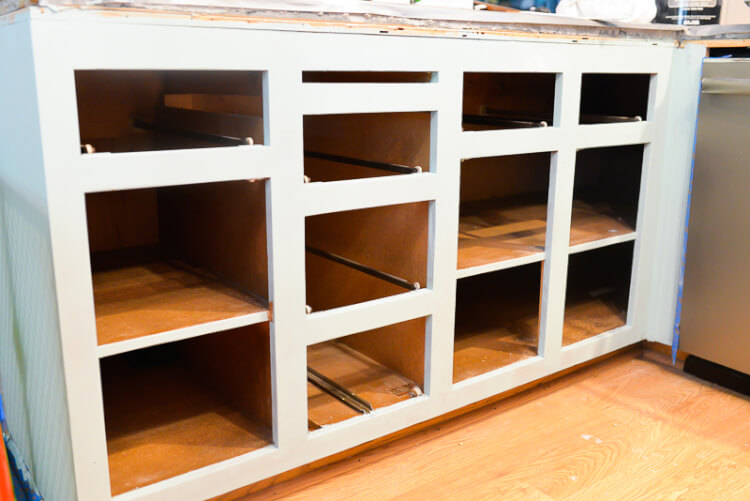
Then two coats of paint, and two coats of polycrylic. Make sure to let your coats really dry — wet paint on wet paint is a recipe for disaster.
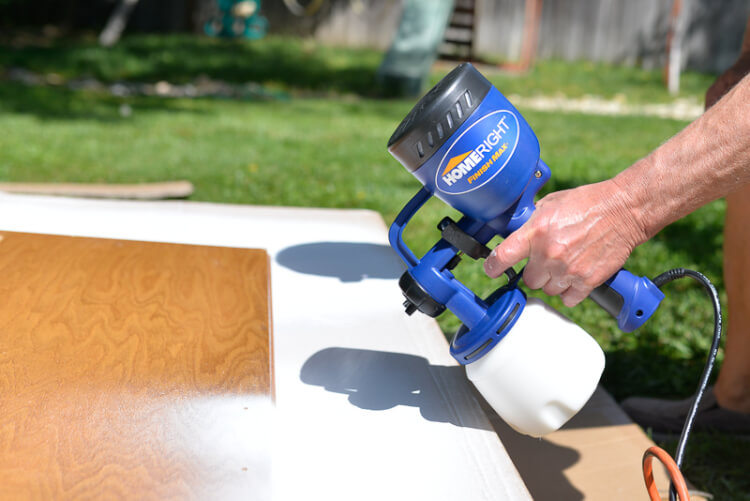
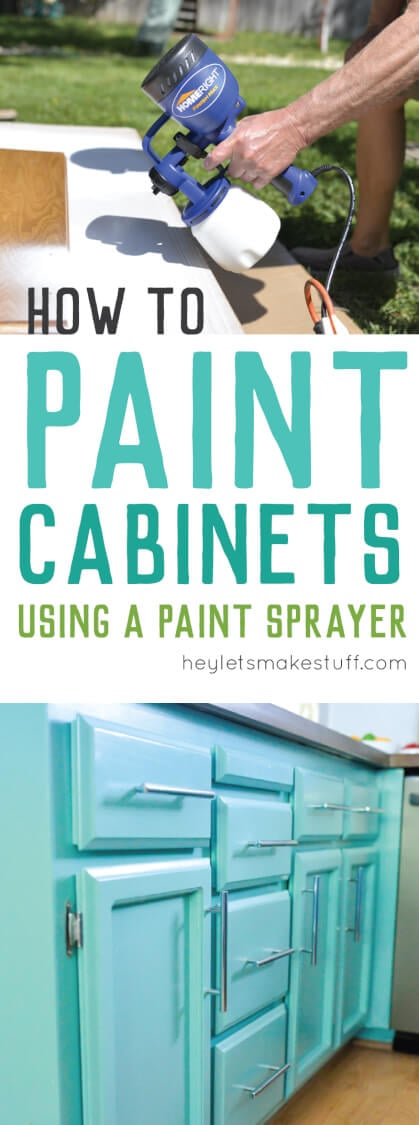
For the cabinet doors, we used the Homeright FinishMax paint sprayer to paint outside and I can’t say enough good things about it. At a price point of just $60, you sort of wonder if it’s going to do a good job. And lo and behold, it was a powerhouse! My dad and I knocked out all six coats of primer/paint/poly in a couple days — the only thing slowing us down was dry time.
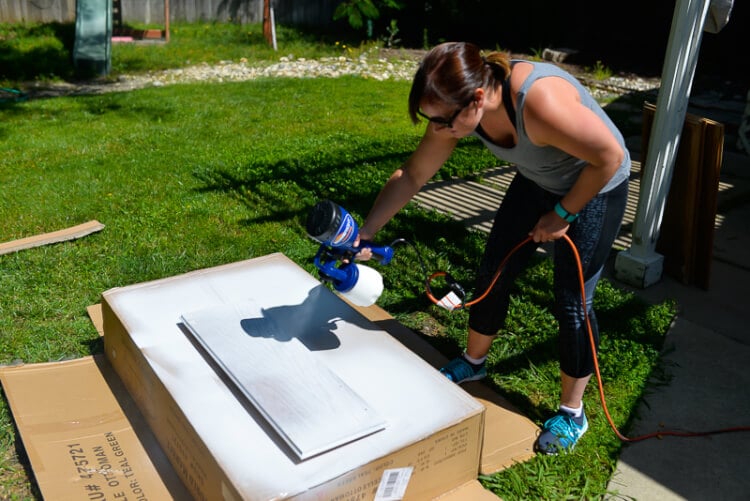
We used painter’s pyramids to raise the cabinet doors off our work surface (a giant cardboard box, because that’s how we roll) and that worked very well.
To use the Homeright FinishMax, you have to water down your paint so it will flow evenly through the nozzle. There’s a guide (basically a funnel) that you can use to test the viscosity of your paint by measuring how long it takes to flow through the funnel. Our measurements were:
- 1/2 cup primer to 1/2 cup water
- 2/3 cup paint to 1/3 cup water
- No water in the polycrylic
But definitely do the test for yourself — every paint is different! The even coverage was still pretty incredible, despite the paint having water in it.
To get the best performance out of the paint sprayer, make sure to hold it mostly upright so that the straw can pull the paint from the reservoir out the nozzle. The nozzle can be turned in three directions, to give you a flat spray (both horizontal and vertical) and a cone spray (like a can of spray paint). We tried all three and found the vertical spray worked best for our needs.
I did a light sanding with 220 grit sandpaper in between all of the coats (except the two coats of poly). On a few of the drawers, particularly we found that I hadn’t sanded down the wood filler as well as I thought I had while prepping the cabinets. Those got a solid sanding with my corner cat and an extra coat of primer.
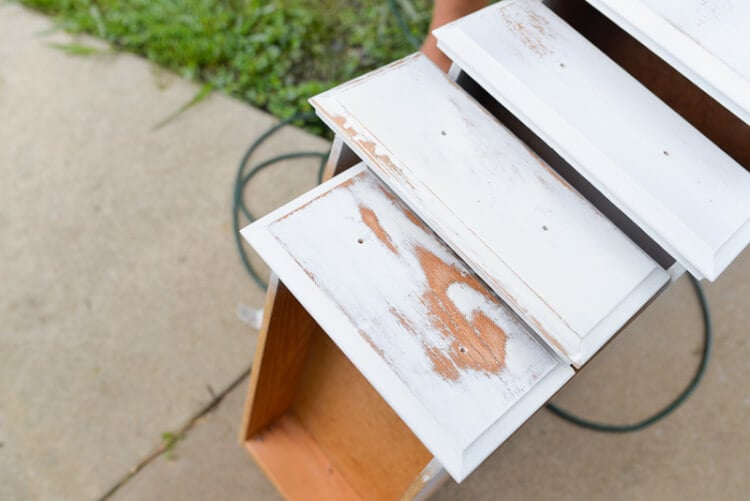
Once the paint is dry, you can take off the masking tape, reveal your cabinet numbers and re-install the doors!
The difference between our old kitchen and new kitchen is so startling — the teal cabinets really make our kitchen a star!
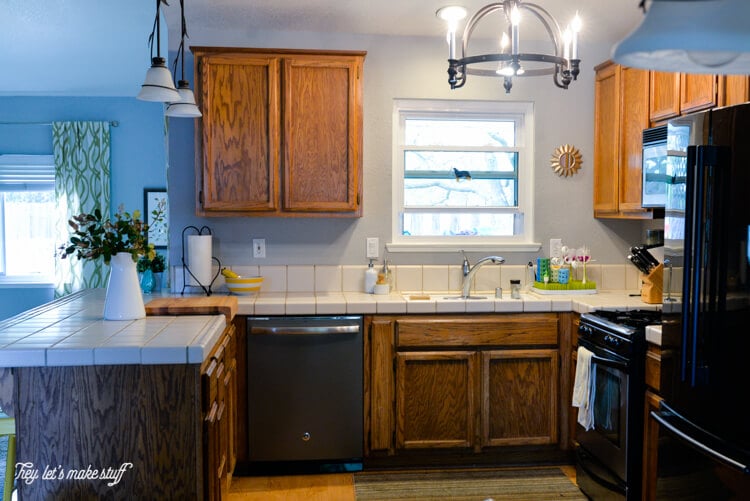
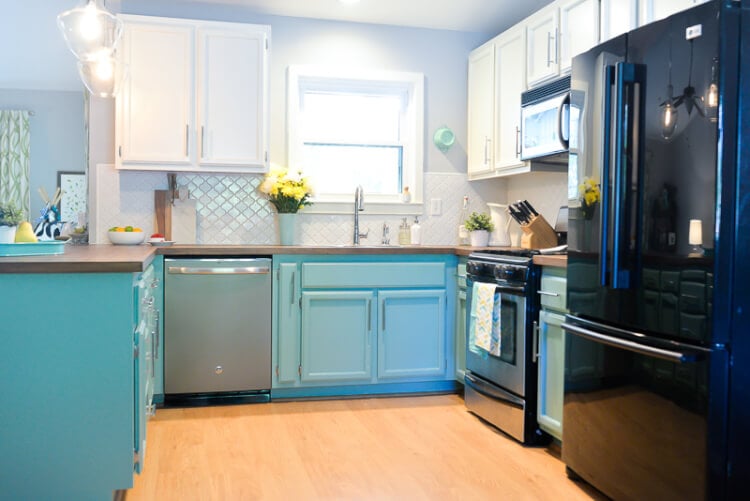
You can also check out how I installed our GORGEOUS butcher block countertops!


Comments & Reviews
shirley S says
I had no idea that “latex paint” was a thing, I really need to do more research before I start doing any cabinet painting.
andrea says
I love this blog THANKS for sharing
esmeralda says
It’s a stunning blog entry that gives such countless thoughts and information about paints. It is truly ideal to have pleasant dependable cabinet paints. Much obliged for sharing a particularly enlightening and definite article.
esmeralda says
I like everything about this post, I love these ideas a lot, thank you very much for sharing
Przemyslaw Dankowski says
Great article. Well, I am a professional painter and decorator so this article is really informative for me as well as for the people who don’t know how to paint cabinets in a good way like a professional. Thanks for sharing.
Tareque Sarker says
I think a paint sprayer is best for painting for home furniture. Your painting is amazing. I loved it. Can you please tell me which color brand did you use for this painting?
Philip says
I have been planning of painting my cabinets. I am glad I found this guide. Thank you for these steps!
Nico says
Thanks for sharing your guide. I will surely follow it.
Carina says
I looove that color! It looks fantastic. I never would have thought to use that color in a kitchen but it fits so well. This is making me want to paint some cabinets….. :)
Cori George says
It was a risk, but I think it paid off!
Stacey says
Hi! Can you please share what type of Sherwin Williams latex paint you used? Was it ProClassic? Thanks!